Simple meals don’t have to be boring
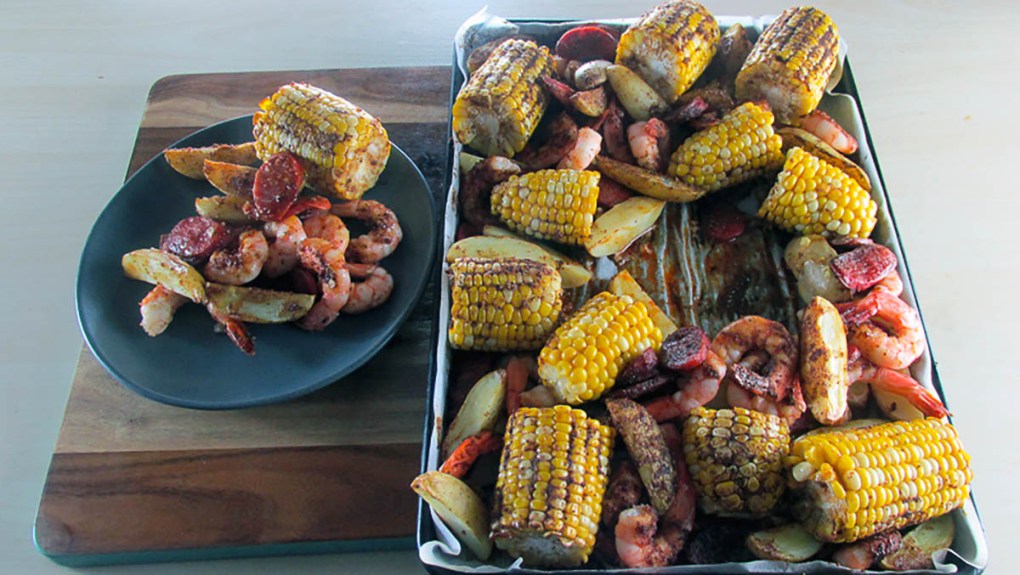
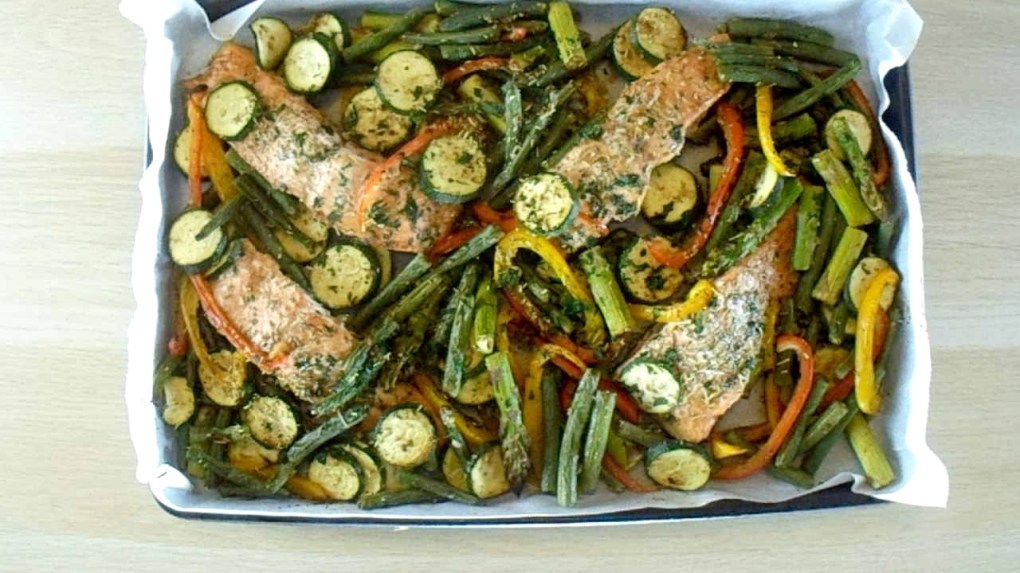
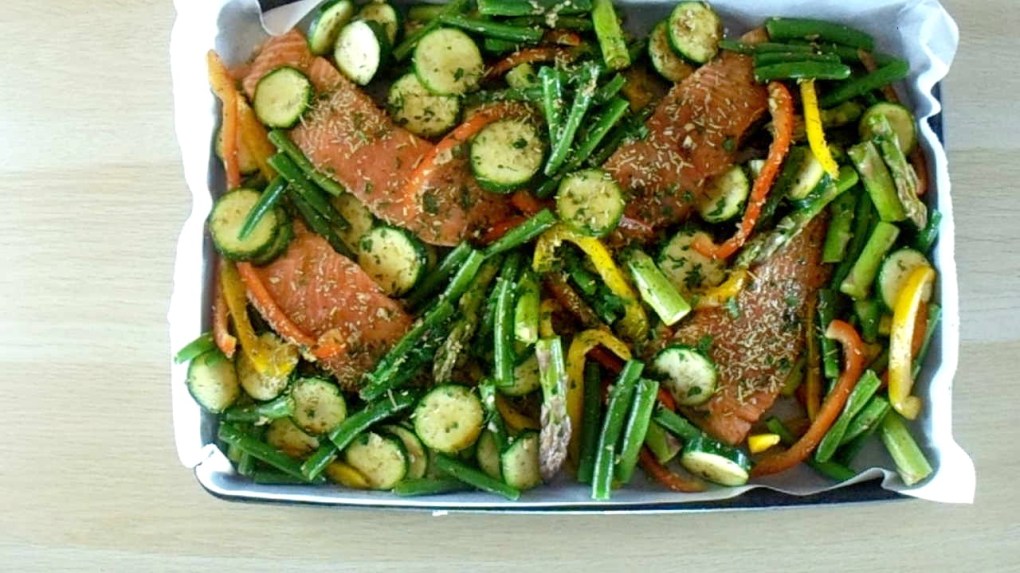
I have been on a mission to make simple and tasty meals. I aim to create recipes that can be prepared and cooked quickly on a busy weeknight. We all struggle to make healthy and delicious meals while keeping on top of everything else in life. So this recipe is designed to be healthy, delicious and easy to make. You can cook this meal on a single tray in the oven. The preparation takes no more than 20 minutes and is portioned to feed four adults.
More ways to eat chicken
As the kids get older 1 And they are more open to trying new foods and different flavours. Not long ago, the kids would have answered even the suggestion of Moroccan flavours with “It’s too spicy” and ‘I don’t like things like that’. Now I get responses like ‘I’ll try that’ and ‘mmm, that smells nice! We don’t always end up with a new kid-friendly meal, but it makes me happy they are willing to try. I’ll be honest that this recipe was not very successful with the kids; it was a winner for the grown-ups.
The spice mix I use in this recipe is one of my own creations, and you can always use one you like or make your own.
Friday night favourite
As with almost every other night, Friday night is busy; by the time I’ve picked up the little (not so little now) guy, we have done our weekly food shop and navigated the joy that is Auckland traffic, it is hard to find the motivation to make dinner. That is why I love this recipe; I can have dinner in the oven within 10 minutes of dropping the shopping bags in the kitchen. While this tasty and filling dinner cooks, I can empty the dishwasher, put the shopping away and get a load of laundry going before it needs any attention. What more could you want?
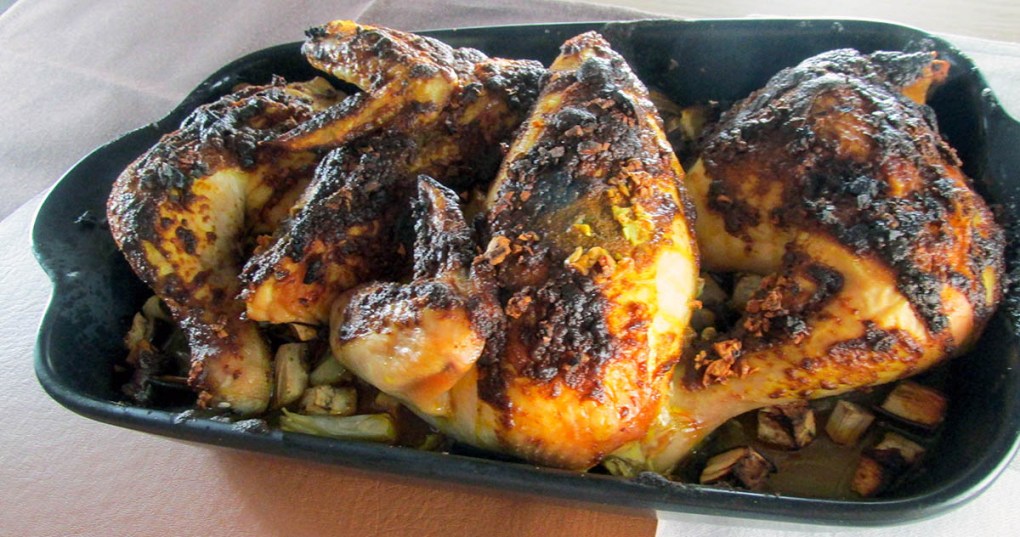
Moroccan chicken bake recipe
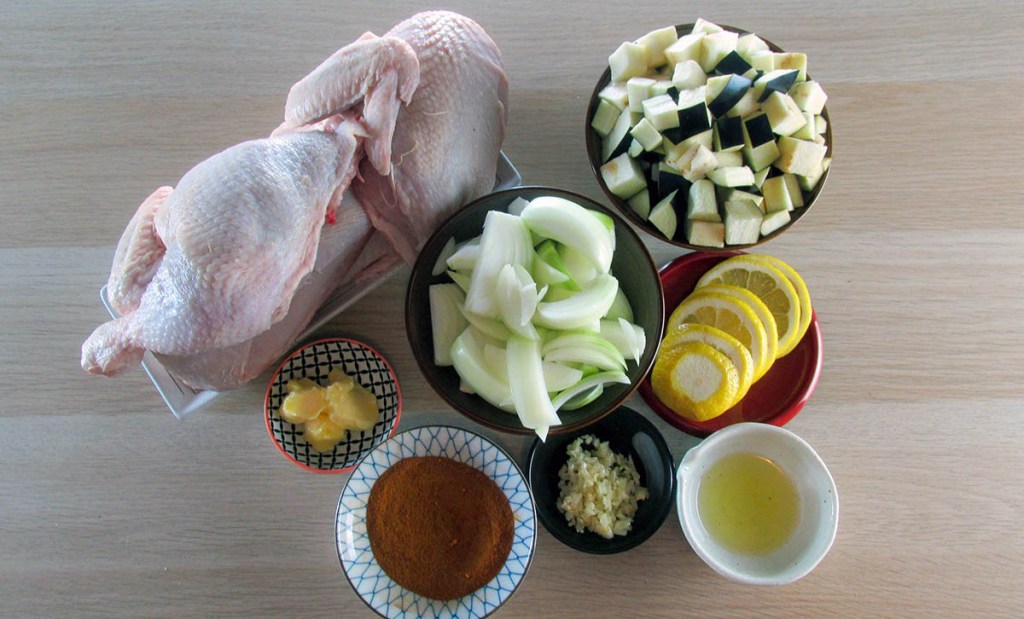
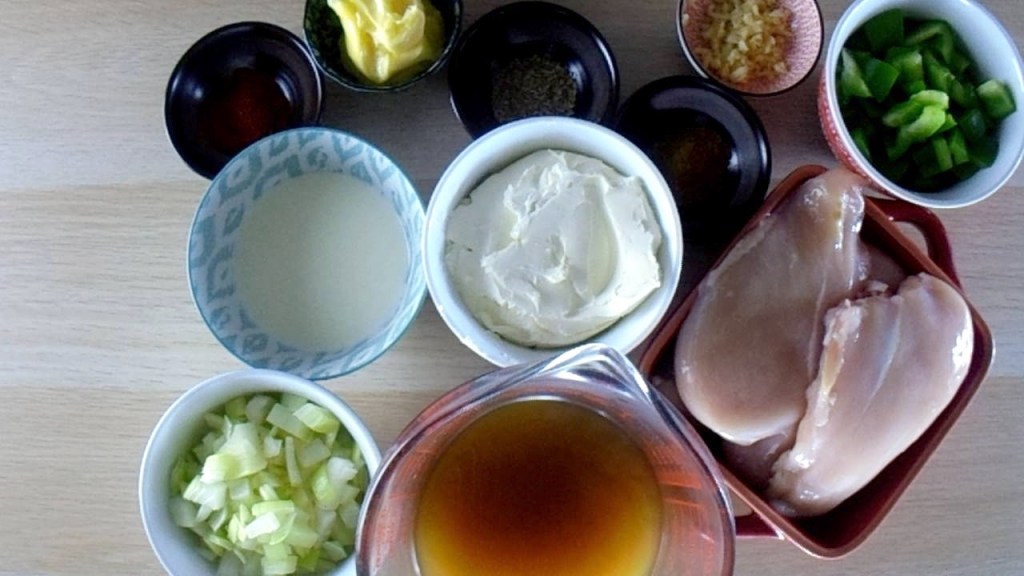
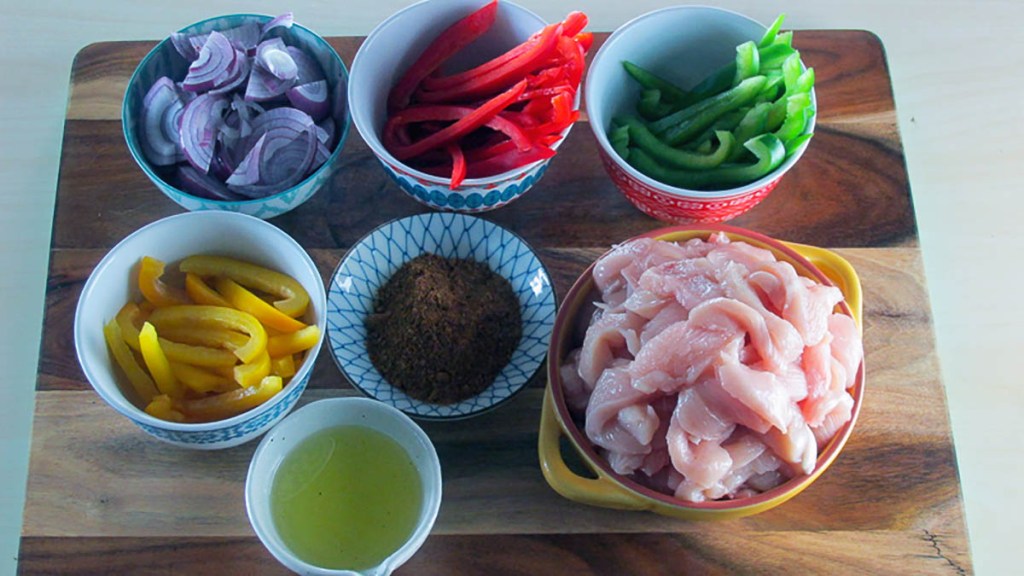
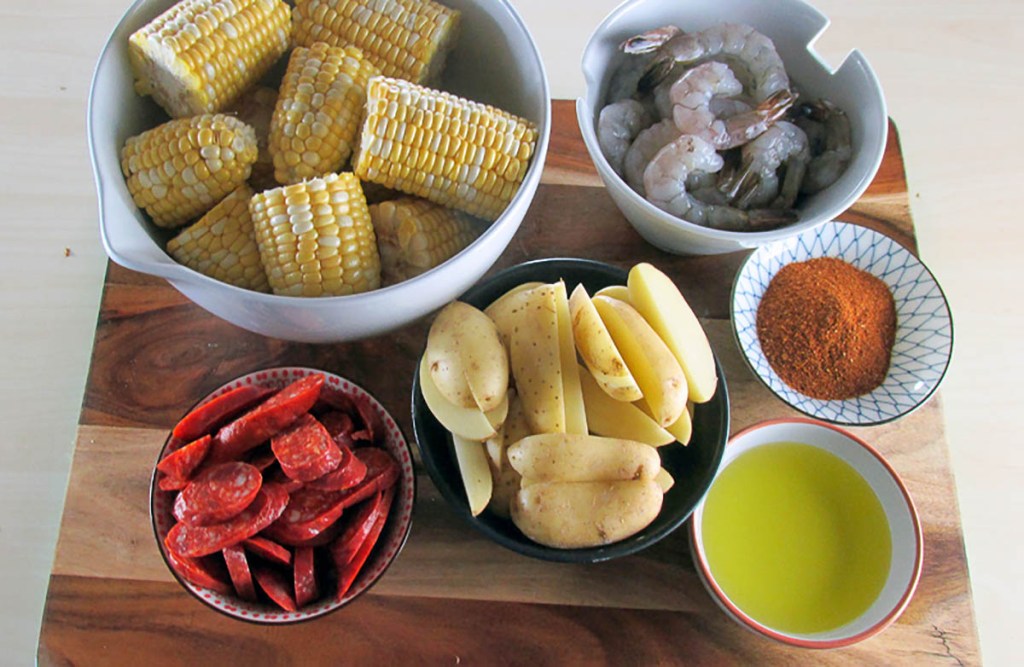
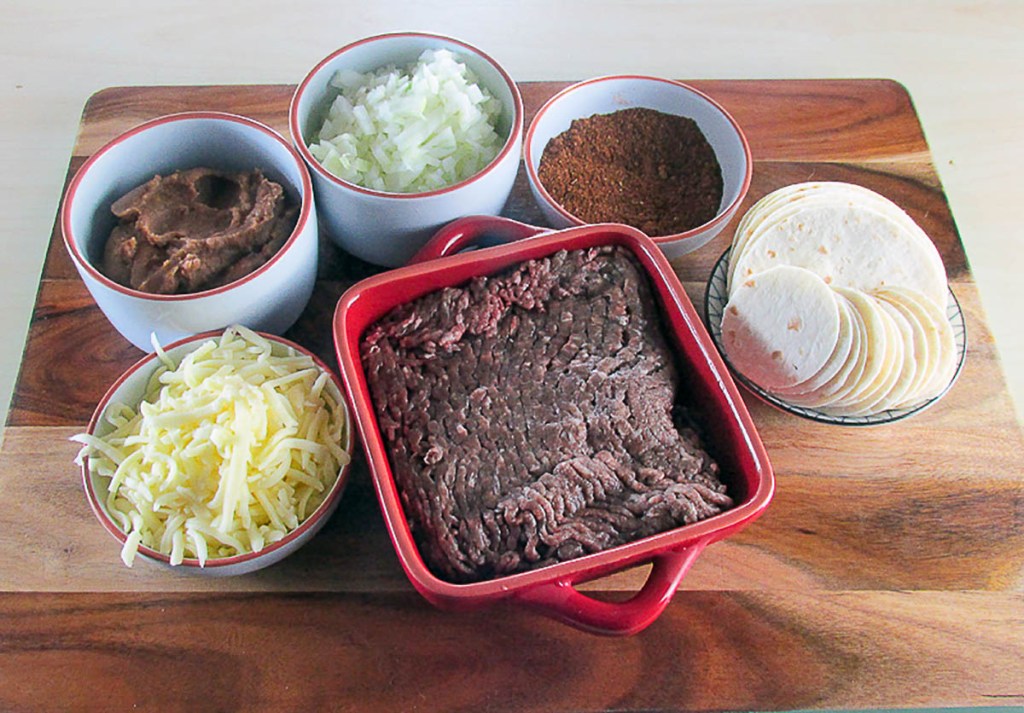
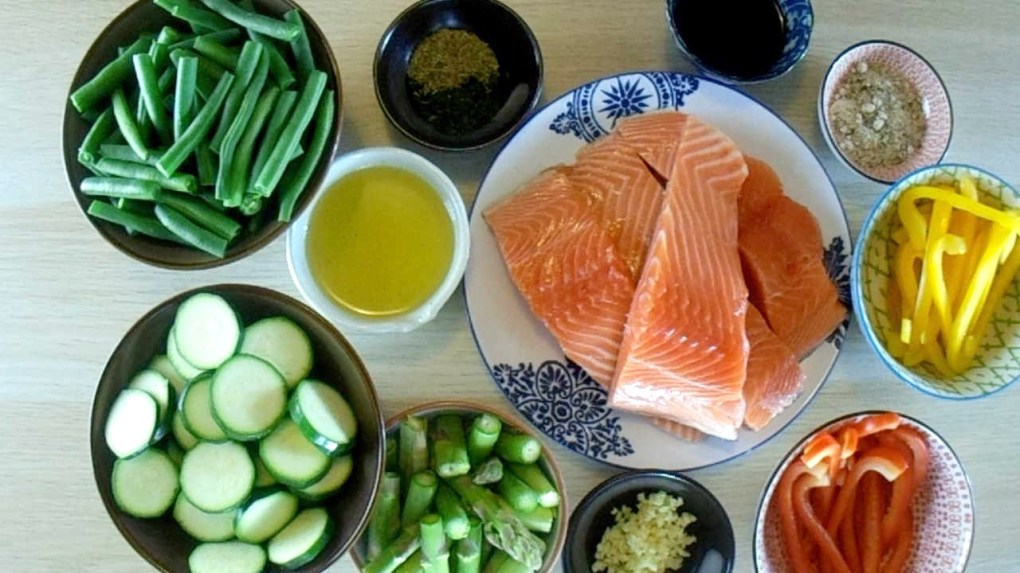
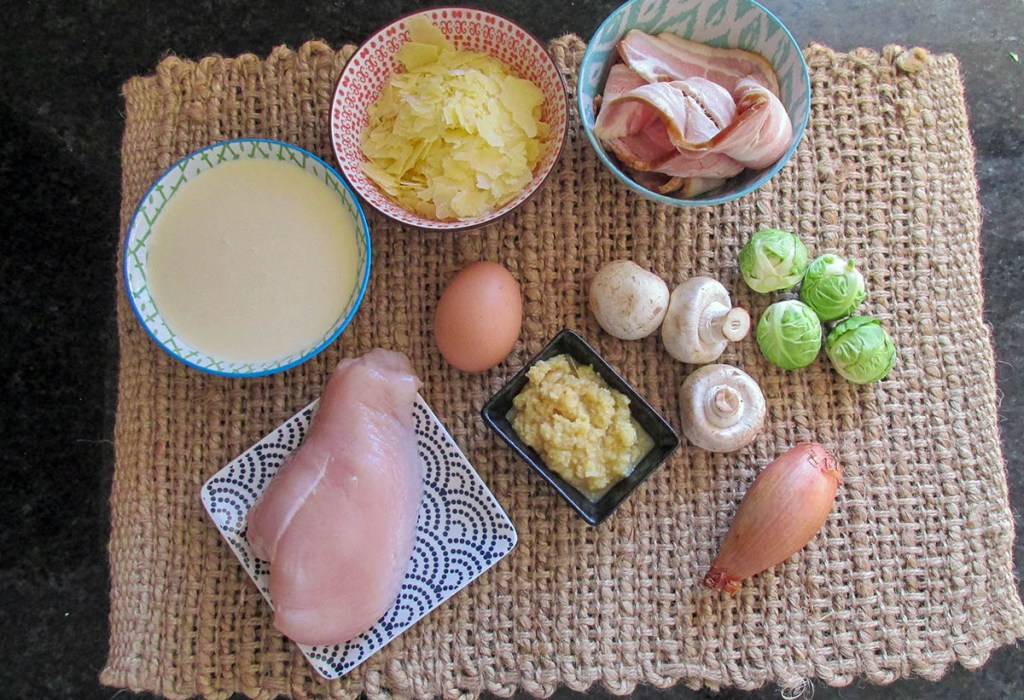
Ingredients
- 3/4 tsp. salt
- 1/4 tsp. ground cumin
- 3/4 tsp. paprika
- 3/4 tsp. turmeric
- 1/4 tsp. ground cayenne pepper
- 1/4 tsp.
- 1 tbsp. olive oil
- 1 tbsp. butter
- 4 garlic cloves, minced
- 1 lemon
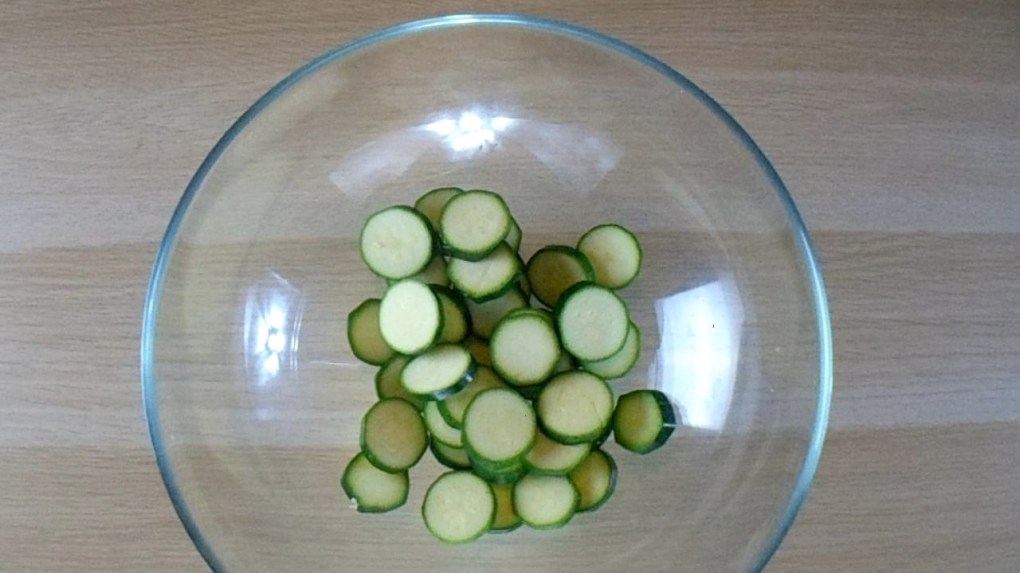
- 1 aubergine, cubed
- 2 onions, cut into wedges
- 1 chicken, quartered


Moroccan chicken bake
“For
Credit: Cath @ easycleaneats
Ingredients
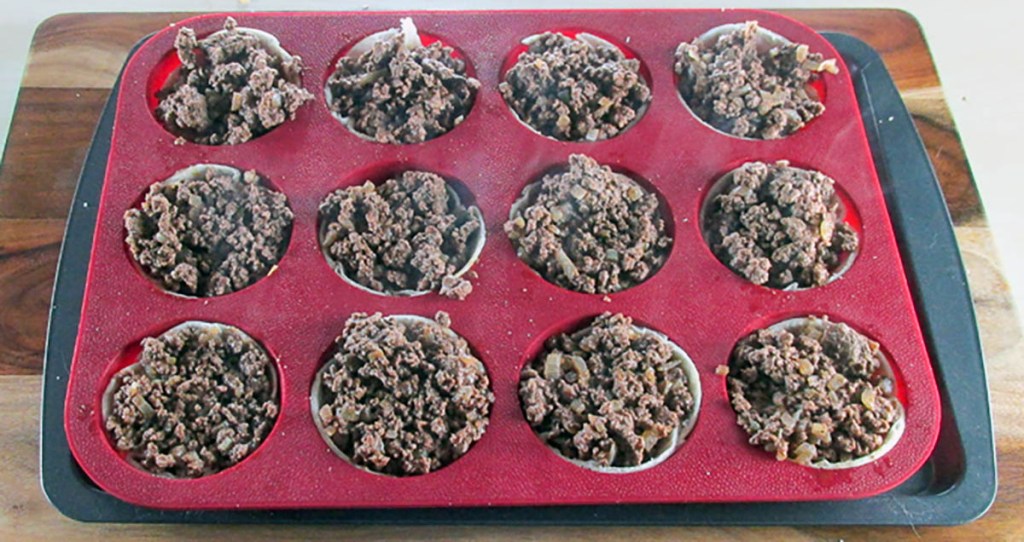
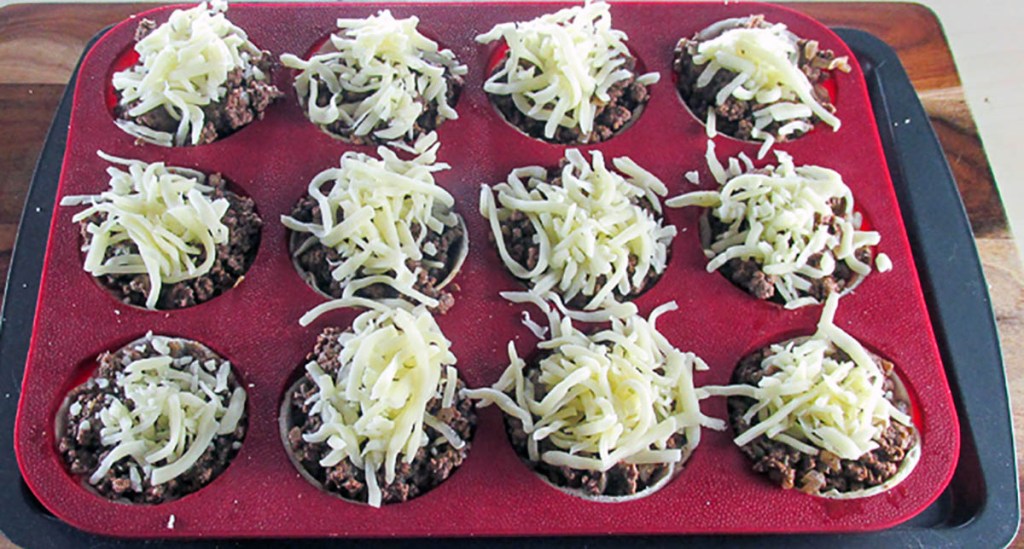
–3/4 tsp. salt –1/4 tsp. ground cumin –3/4 tsp. paprika –3/4 tsp. turmeric –1/4 tsp. ground cayenne pepper –1/4 tsp. –1 tbsp. olive oil –1 tbsp. butter –4 garlic cloves, minced –1 lemon –1 aubergine, cubed –2 onions, cut into wedges –1 chicken, quarteredDirections
- Preheat an oven to 250 degrees c/ 475 degrees f.
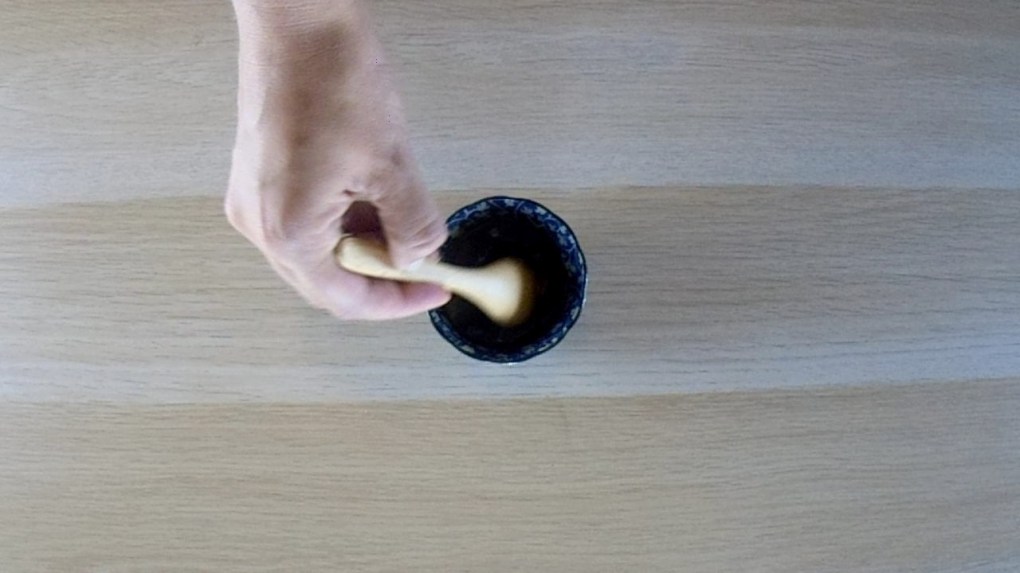
- Mix together the salt, ground cumin, paprika, turmeric, cayenne, and black pepper in a bowl.
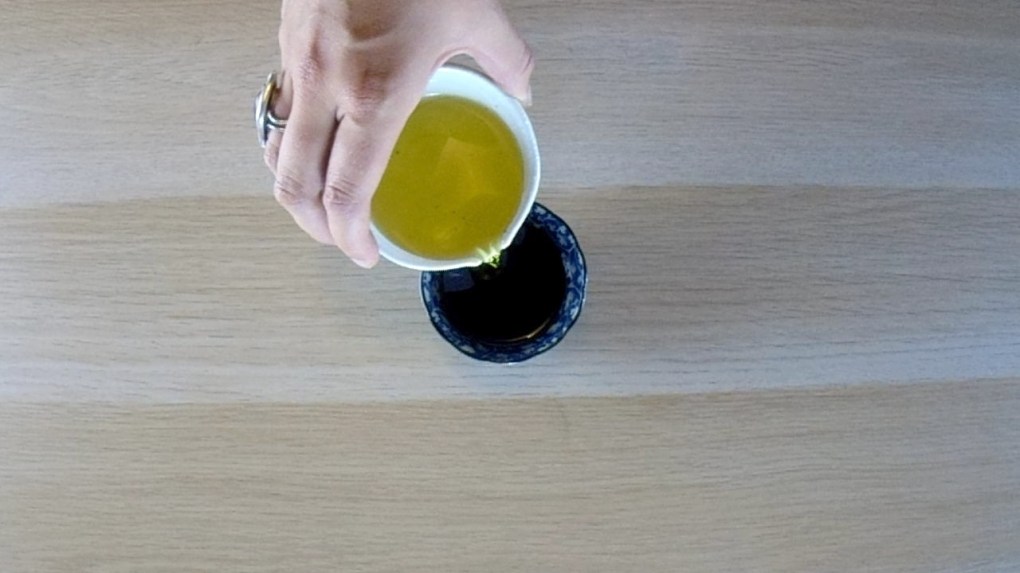
- Add the butter, garlic and oil to the spices and mix to create a thick paste.
- Cut the lemon in half, put one half to one side for later, but the other half into thin slices.
- Take a large baking dish, place the lemon slices in the bottom of the dish next, add the aubergine and onions.
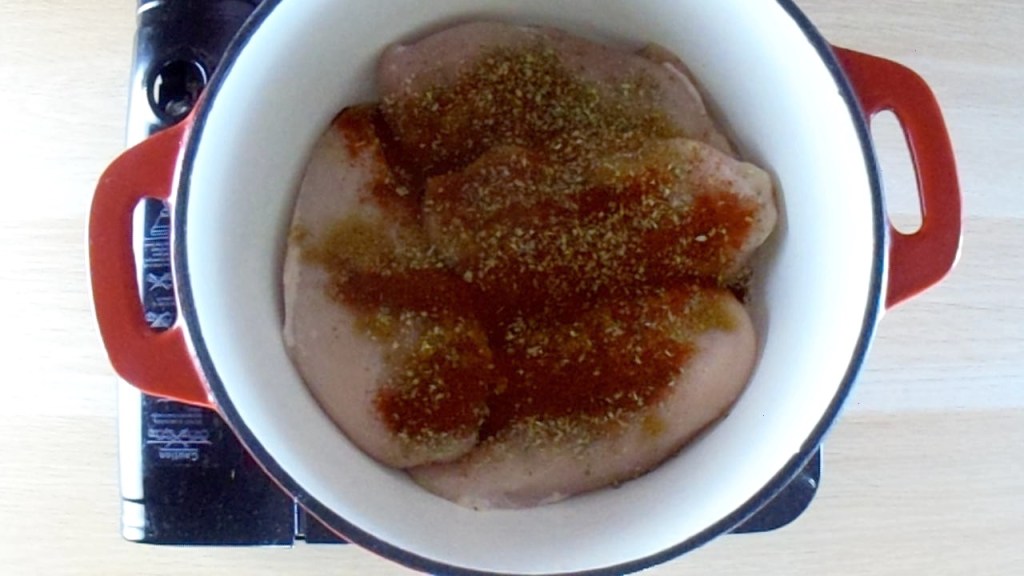
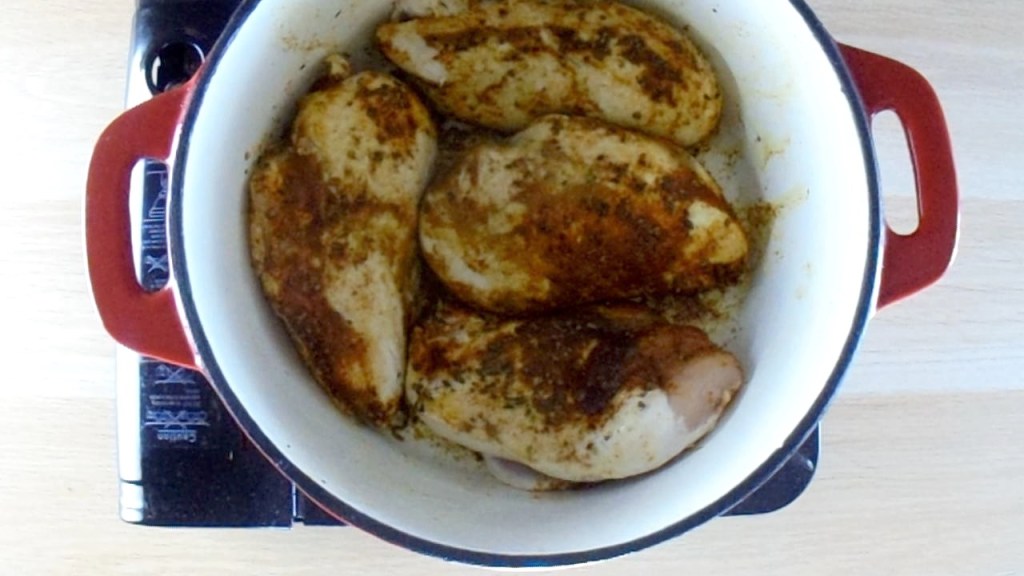
- Add the chicken quarters to the top of the onions.
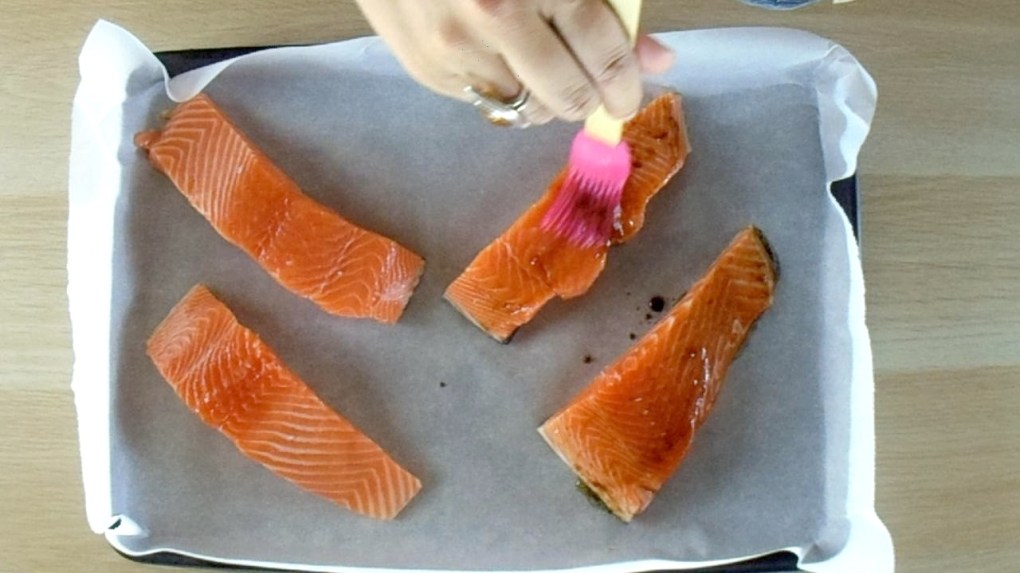
- Spread the spice paste over the skin of each part of the chicken.
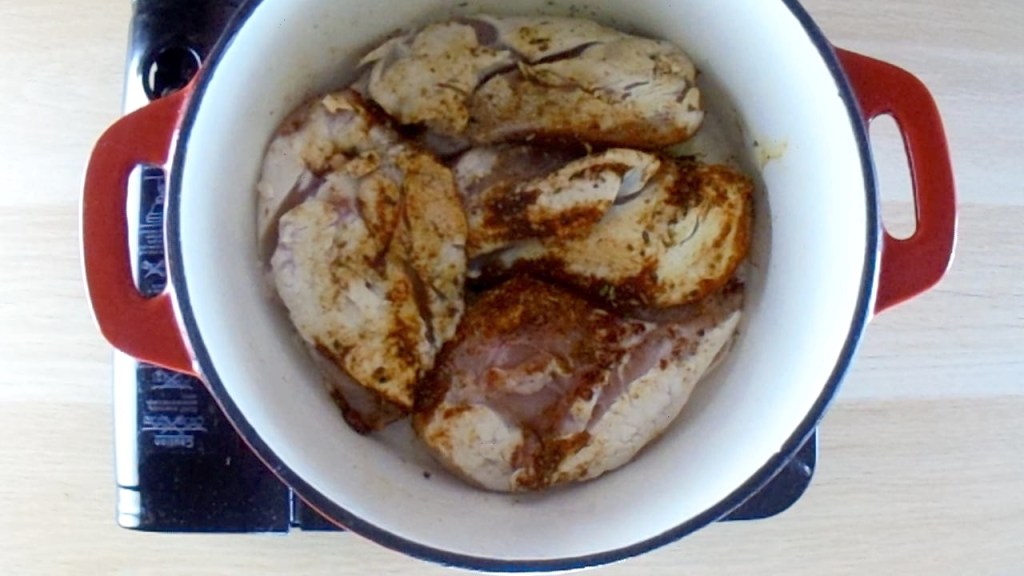
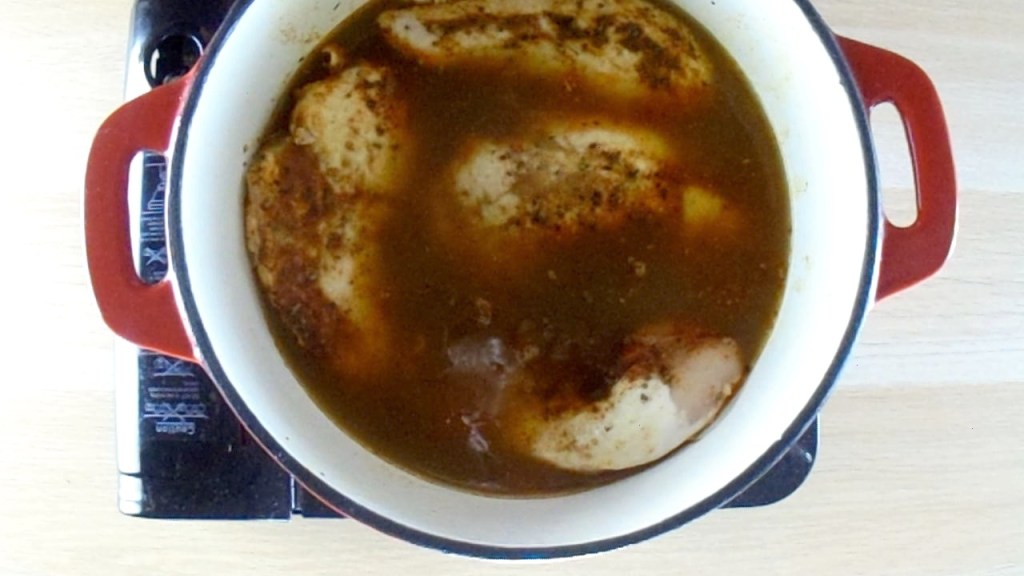
- Bake in the oven for 30 40 minutes, the chicken should be cooked through, and the juices run clear.
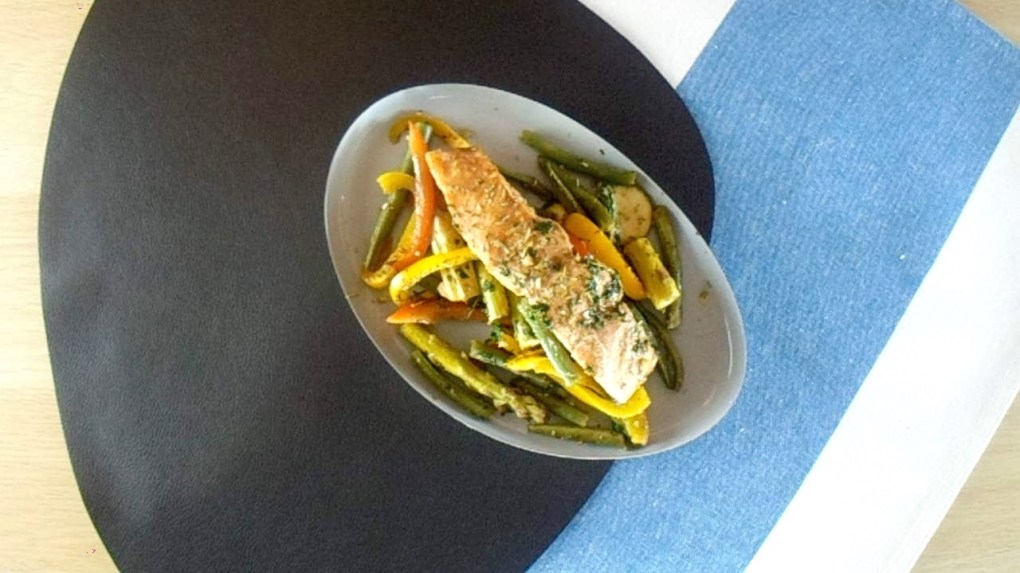
- Serve with a squeeze of fresh lemon juice.
Nutrition
Per Serving: 436 calories; 24g fat; 12.5g carbohydrates; 40g proteinEquipment
- Knife
- Chopping board
- Baking dish
- Mixing bowl
- Fork
- Measuring spoons
Nutritional disclaimer
Nutrition information is provided as an estimate based on the ingredients used and available in my area (New Zealand). The nutritional information is here to help you understand the recipe; I use MyFitnessPal to generate my estimates. For more accurate nutritional information, please use a nutritional calculator with the ingredients in your area.