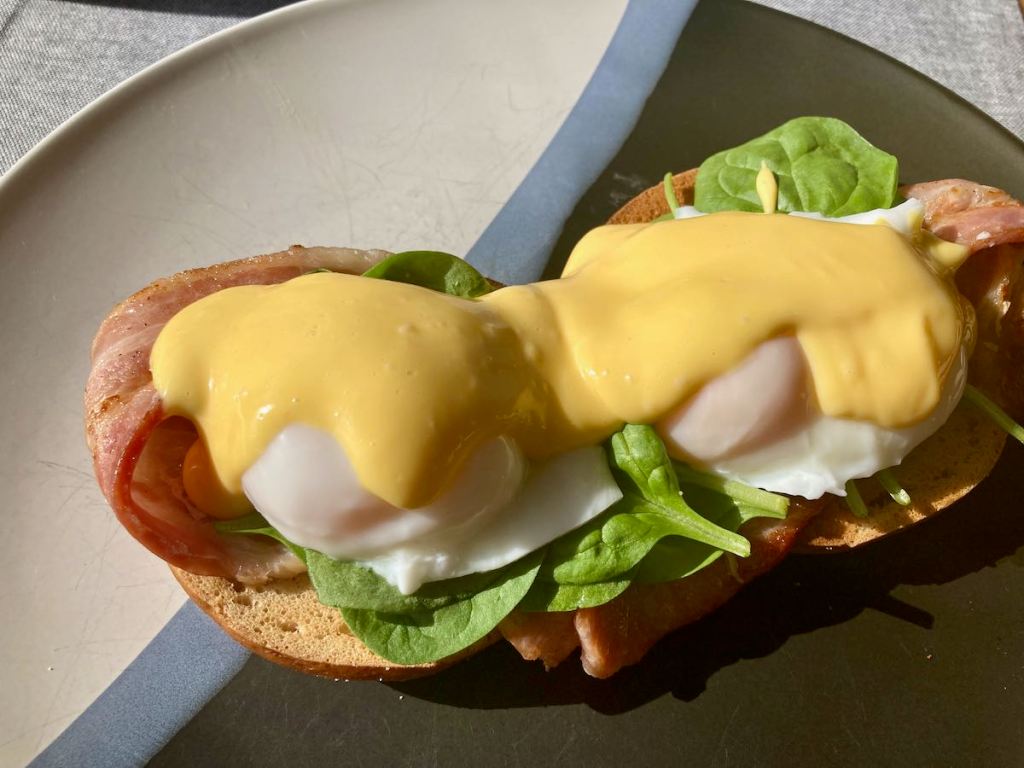
Something fancy
It’s been a busy few weeks; I’ve been keeping my meals simple and relying on freezer staples while operating in survival mode. I have a little bit of breathing room now and an intense craving for something fancier for dinner.
Fancy but easily
In my book, fancy doesn’t have to mean spending hours in the kitchen boiling to death over a hot stove. This recipe delivers a very fancy meal with minimal effort; it is all cooked on a single tray, which makes it perfect.
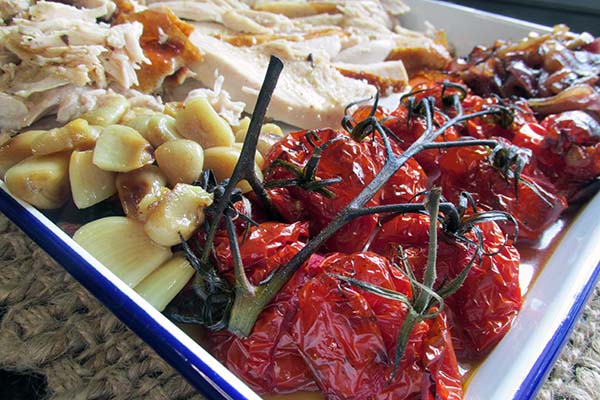
The roasted garlic is the star of this meal for me. The bed of garlic under the chicken means you get great flavour throughout the meat, while the roast garlic cloves have a deep, rich flavour that complements the rest of the dish.
The quick prep and hands-off cooking mean you can get on with other things and come back to a perfectly roasted chicken that can satisfy any desire for a fancy dinner.
Dinner ready without effort
While living in survival mode, I try to make life easier for myself by multitasking so that life admin and essential tasks don’t take away from much-needed rest and relaxation. In the spirit of multitasking, I combined a trip home from the office with a pit stop at the supermarket to get everything I needed for my fancy dinner and did the prep (putting everything on a tray) while I waited for the kettle to boil. Knowing I would be ready for dinner after my workout, I smashed dinner in the oven before heading downstairs to throw around some weights. By the time I finished my workout, the chicken was ready for the foil and baking paper to be removed, and there was plenty of time for me to shower before sitting down to a flavourful, filling and fancy dinner.
Italian roast chicken recipe
Ingredients
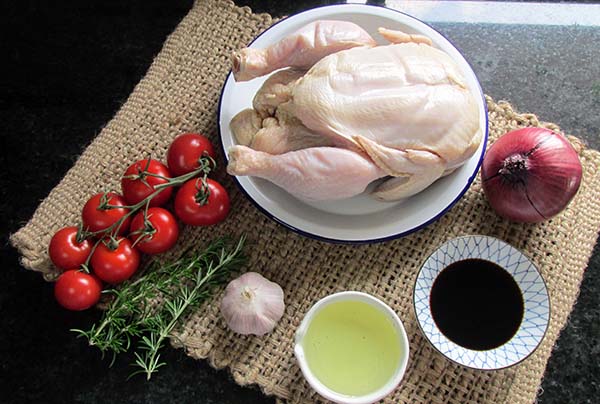
- 2 large tomatoes thickly sliced
- 250g cherry tomatoes
- 1 red onion thinly sliced
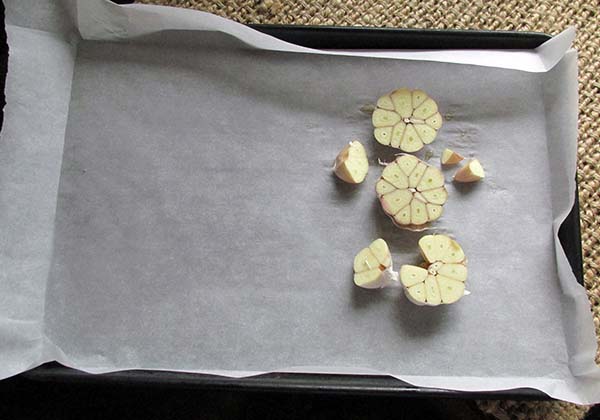
- 1 garlic bulb peeled and bruised
- 1/3 cup flat-leaf parsley chopped
- 1/3 cup red wine vinegar
- 1/4 cup olive oil
- 3 sprigs rosemary
- 1.6 kg chicken

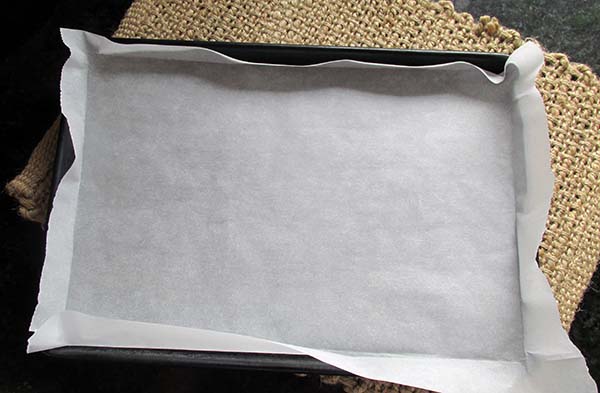
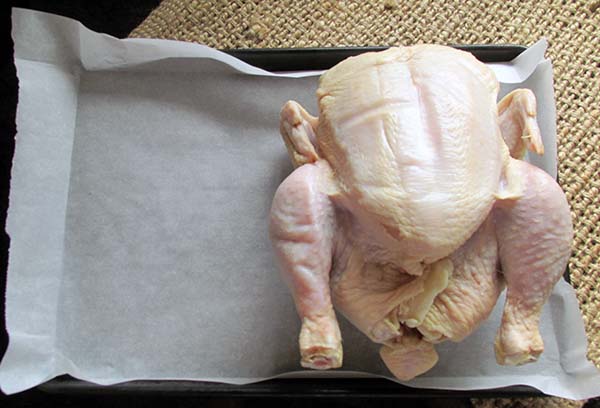
Take a large baking tray.
Place one garlic bulb on the baking tray.
Lay the chicken on top of the garlic.
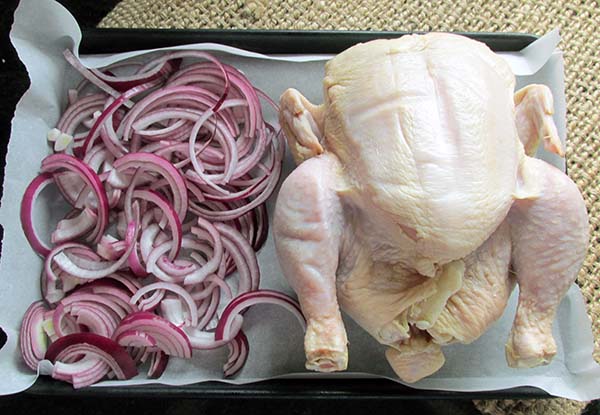
Spread out the onion next to the chicken.
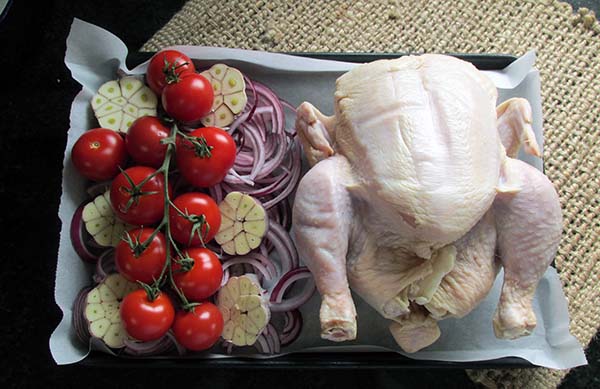
Add the remaining garlic bulbs on top of the onions.

Add the tomatoes on top of the garlic.
Drizzle the vinegar and olive oil over the chicken and vegetables.
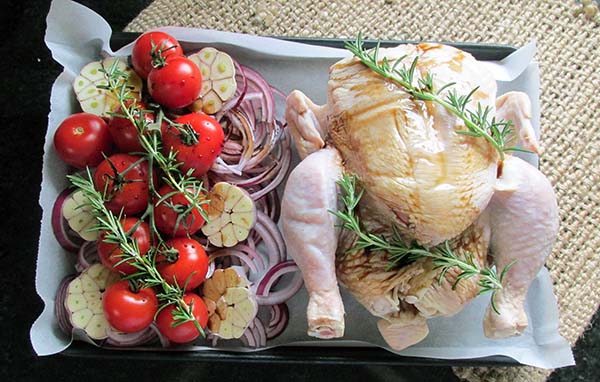
Place the rosemary sprigs on top of the chicken and the vegetables.
Cover the baking tray with baking paper.
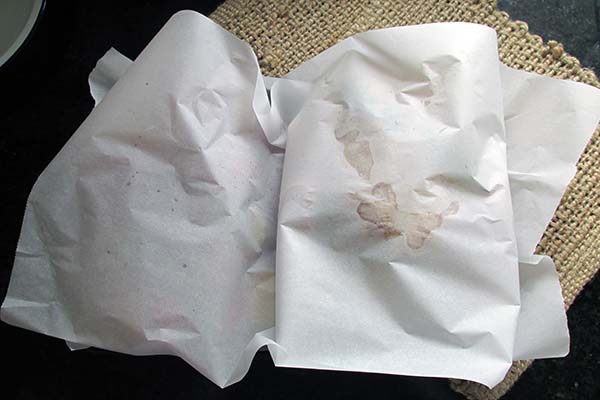
Cover the baking paper with foil.
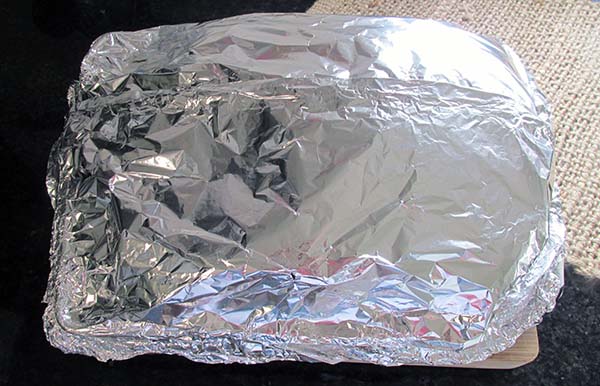
Bake for 1 hour.
Check the chicken to make sure the meat is cooked and the juices are running clear before removing the baking paper and foil, this will depend on the size of the chicken.
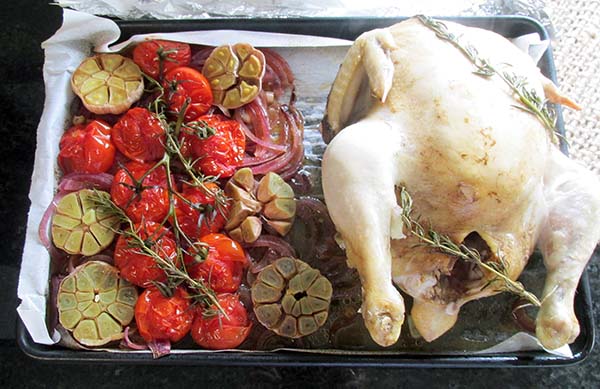
Return the chicken to the oven uncovered for another 20 minutes or until the skin is golden brown.

Slice the chicken, squeeze out the garlic and serve while hot.
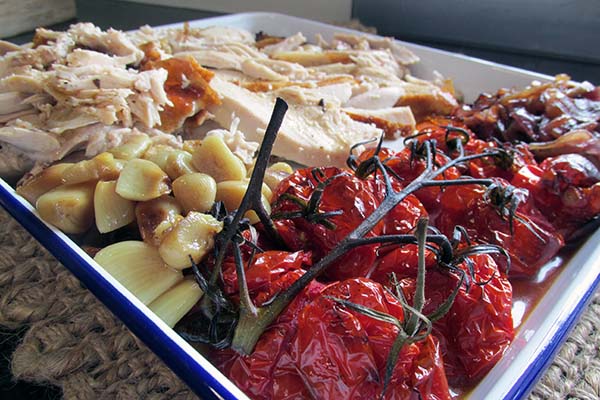
Italian roast chicken

This one tray meal a great option for busy week nights or an action packed weekend.
Credit: Cath @ easycleaneats
Ingredients
- 2 tomatoes thickly sliced
- 250g cherry tomatoes
- 1 red onion thinly sliced
- 1 garlic bulb peeled and bruised
- 1/3 cup flat leaf parsley chopped
- 1/3 cup red wine vinegar
- 1/4 cup olive oil
- 3 sprigs rosemary
- 1.6 kg chicken
Directions
- Preheat the oven to 200 degrees C/ 400 degrees F.
- Take a large baking tray.
- Place one garlic bulb on the baking tray.
- Lay the chicken on top of the garlic.
- Spread out the onion next to the chicken.
- Add the remaining garlic bulbs on top of the onions.
- Add the tomatoes on top of the garlic.
- Drizzle the vinegar and olive oil over the chicken and vegetables.
- Place the rosemary sprigs on top of the chicken and the vegetables.
- Cover the baking tray with baking paper.
- Cover the baking paper with foil.
- Bake for 1 hour.
- Check the chicken to make sure the meat is cooked and the juices are running clear before removing the baking paper and foil, this will depend on the size of the chicken.
- Return the chicken to the oven uncovered for another 20 minutes or until the skin is golden brown.
- Slice the chicken, squeeze out the garlic and serve while hot.
Nutrition
Per Serving: 349 calories; 14 g fat; 9 g carbohydrates; 53 g proteinEquipment
- Roasting tin
- Baking paper
- Aluminium foil
- Measuring cups
- Scales
Nutritional disclaimer
Nutrition information is provided as an estimate based on the ingredients used and available in my area (New Zealand). The nutritional information is here to help you understand the recipe; I use MyFitnessPal to generate my estimates. For more accurate nutritional information, please use a nutritional calculator with the ingredients in your area.