Summer means BBQ, which means lots of burgers. You will never catch me complaining about burgers. A recent trip to the supermarket scored a pineapple for cheap, and I knew exactly what I wanted to do with it: grill it on the BBQ, then smash it on a burger! I love grilled pineapple on burgers, and I don’t think it should be saved for chicken burgers. I know that might sound like I’ve lost my mind (maybe I have, but stick with me a moment), grilled pineapple can work with beef burgers as long as you bring a little something special to the party, teriyaki sauce.
Make your own
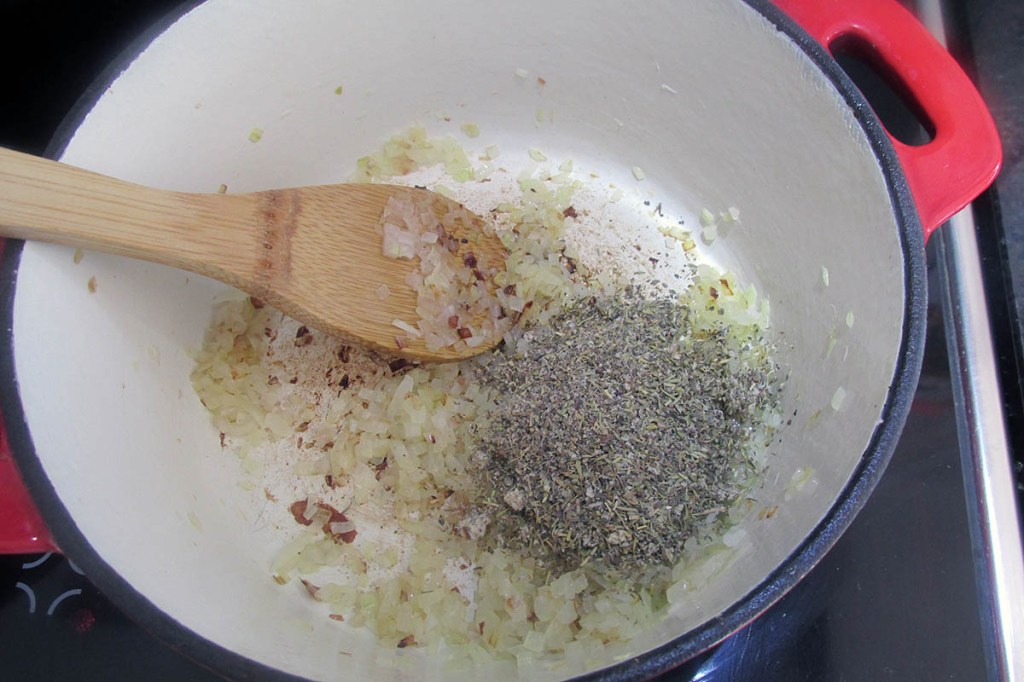
If you are like me and you try to avoid mass-produced processed foods, the best option is to make your own. When you make your own, you control which ingredients you use and how much or how sweet you want it to be. Once you have a go at making your own and realise how easy it is, you will never go back to store-bought again. I try my best to stay away from soy and sugar, but it’s hard to avoid when it comes to teriyaki sauce, which is why I make my own. As a bonus to these kick-ass burgers, here is my teriyaki sauce recipe, which is super easy to make.
Back to the burgers
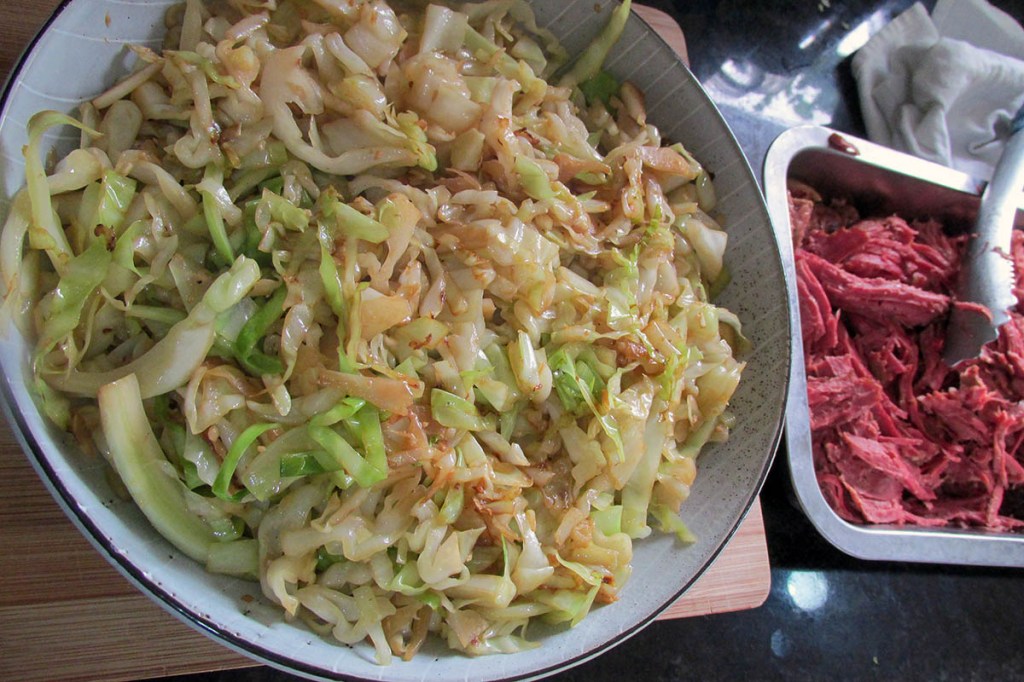
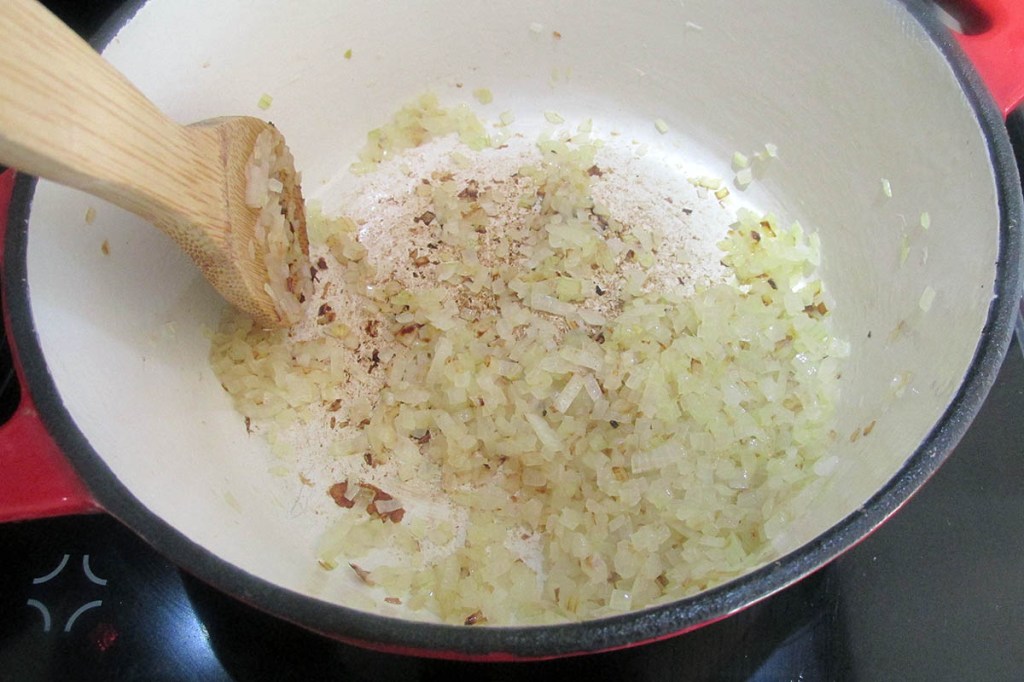
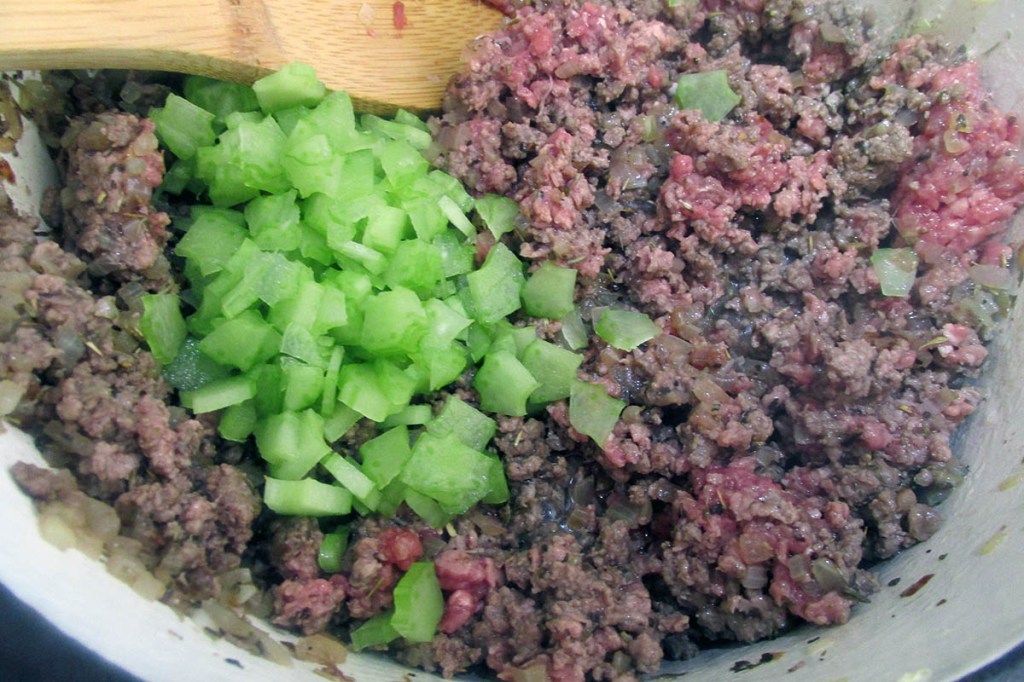
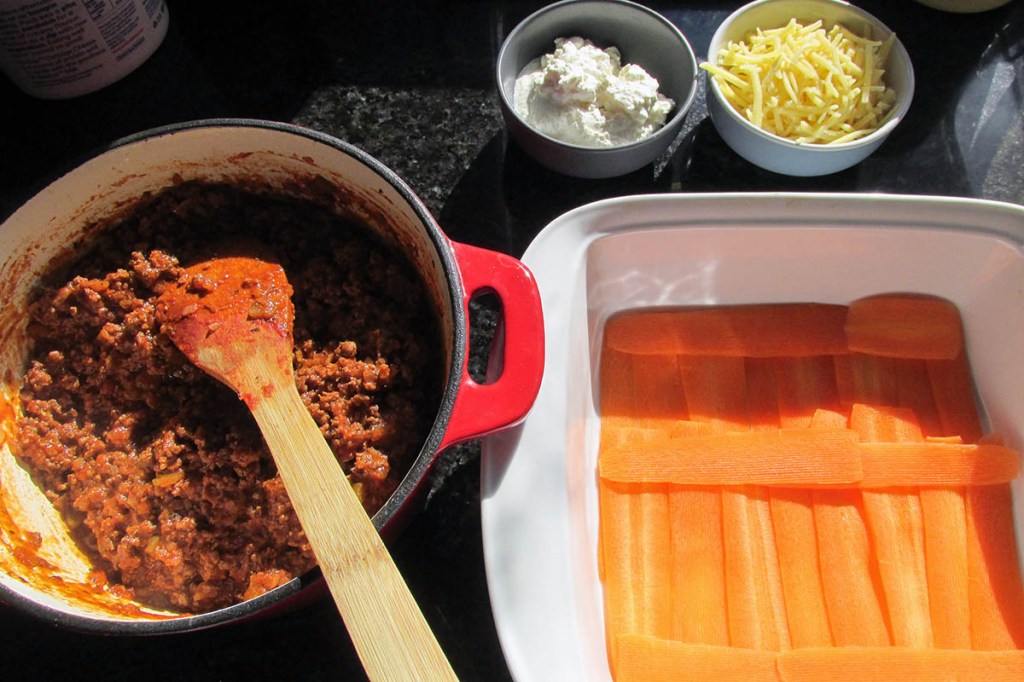
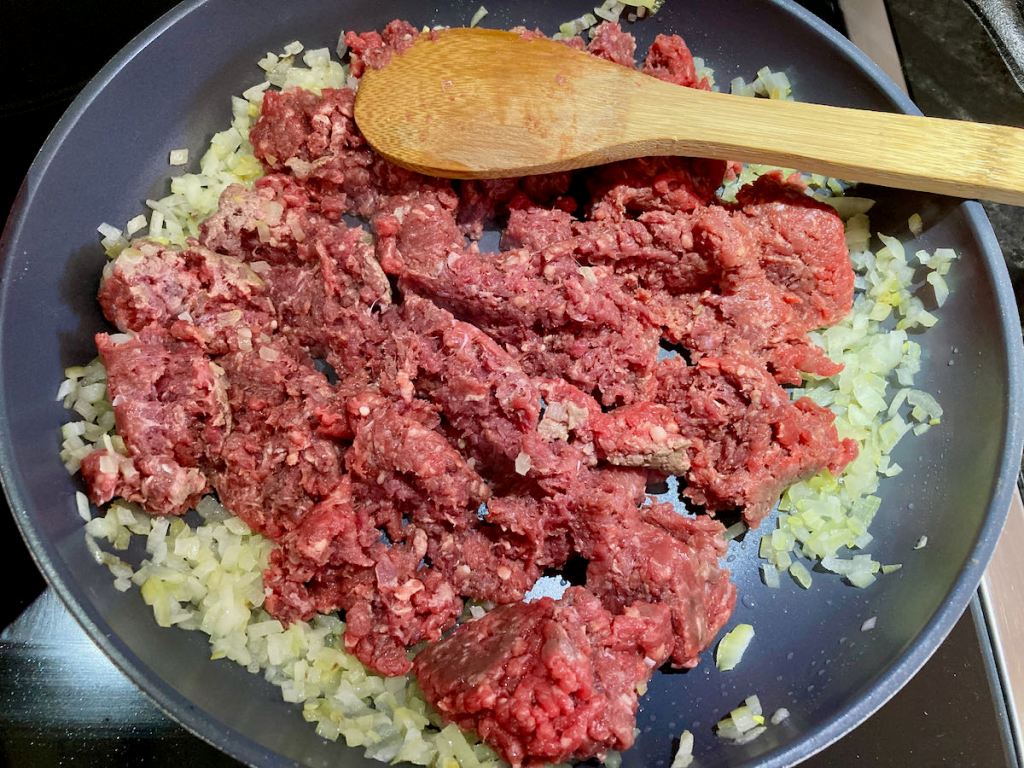
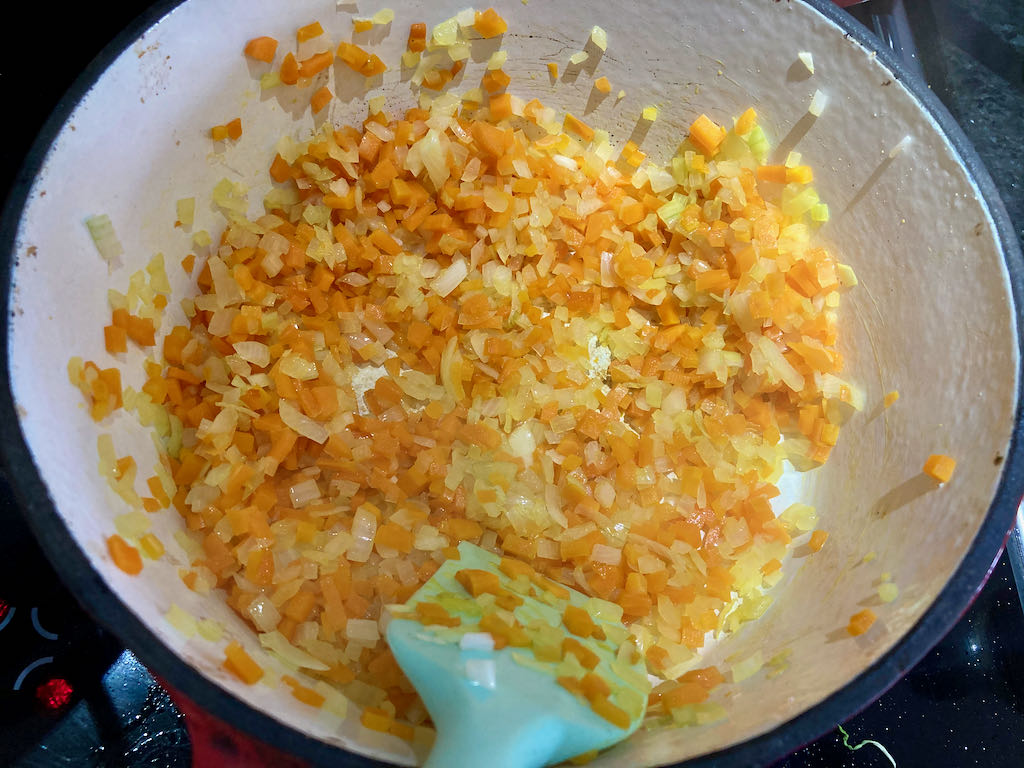
A long time ago, I had to get creative to get two small boys to eat vegetables without it turning into a war of wills. Very finely chopped vegetables are easy to sneak into burgers, and even when discovered, there is very little chance the burger will go uneaten. Nowadays, I don’t need to hide vegetables; I can openly include them and enjoy every bite. For this recipe, the carrot and spring onion not only add some flavour and texture but also a nice pop of colour and help balance the sweetness of the pineapple.
Teriyaki burger recipe
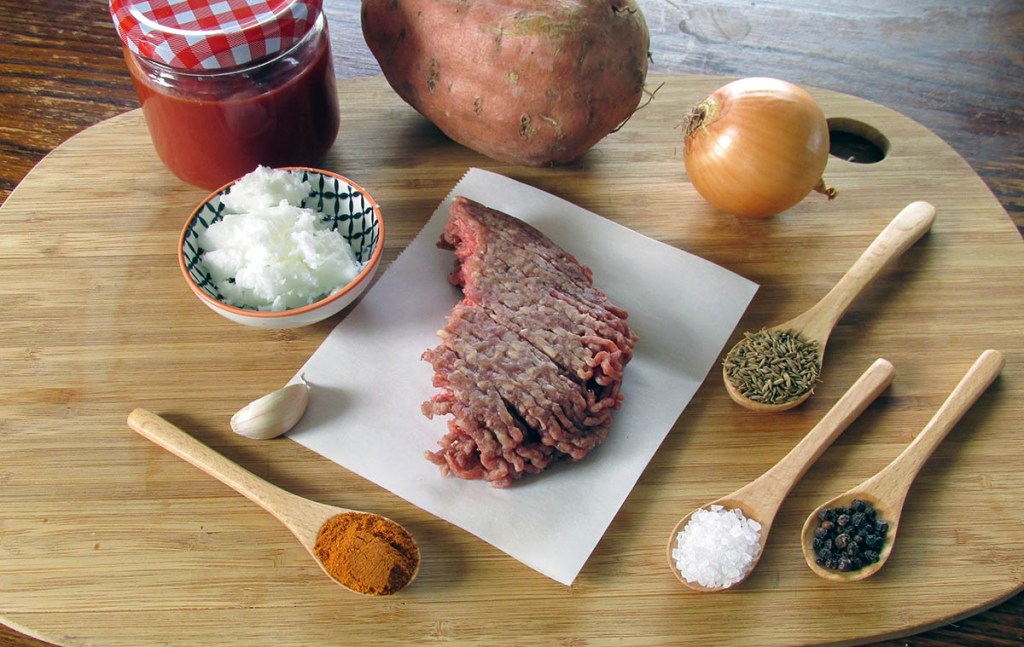
Ingredients
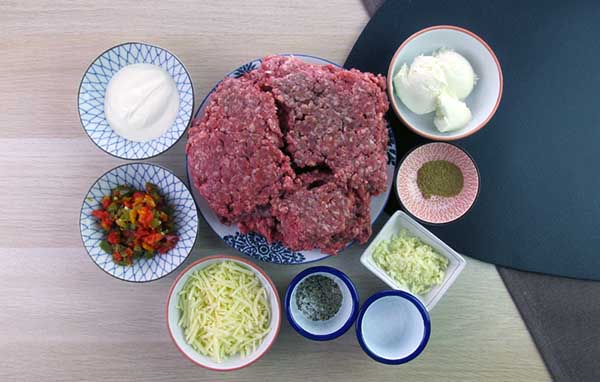
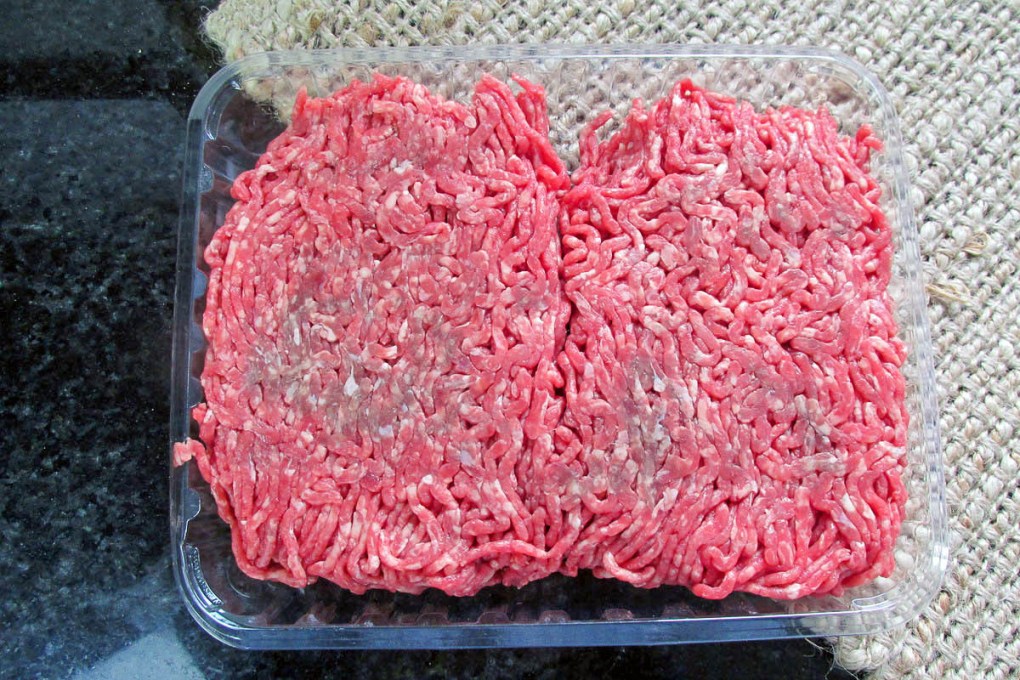
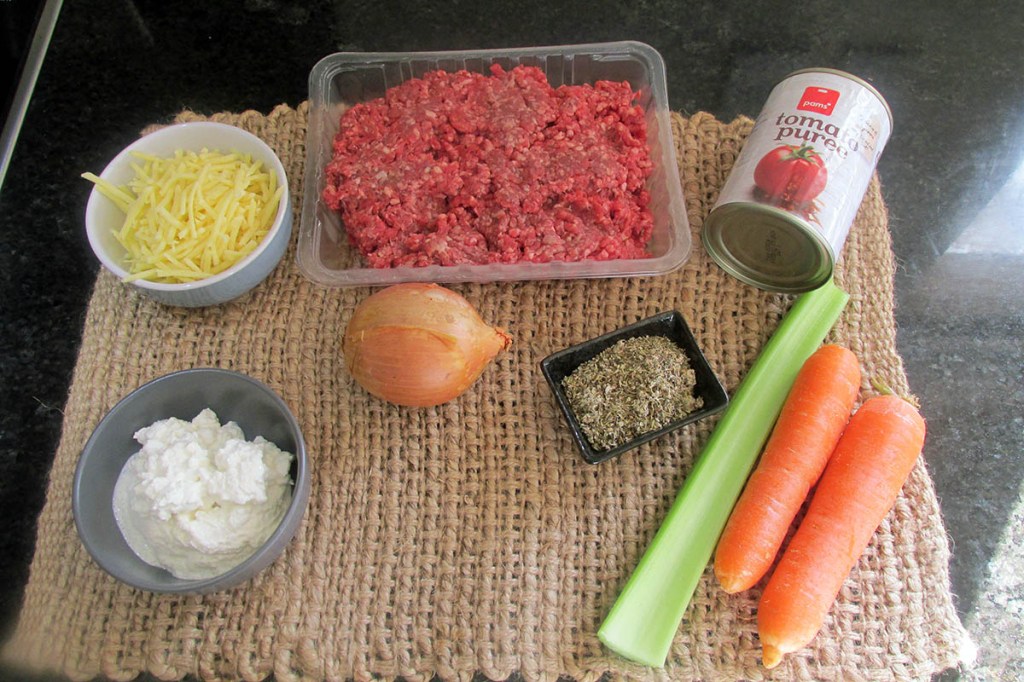
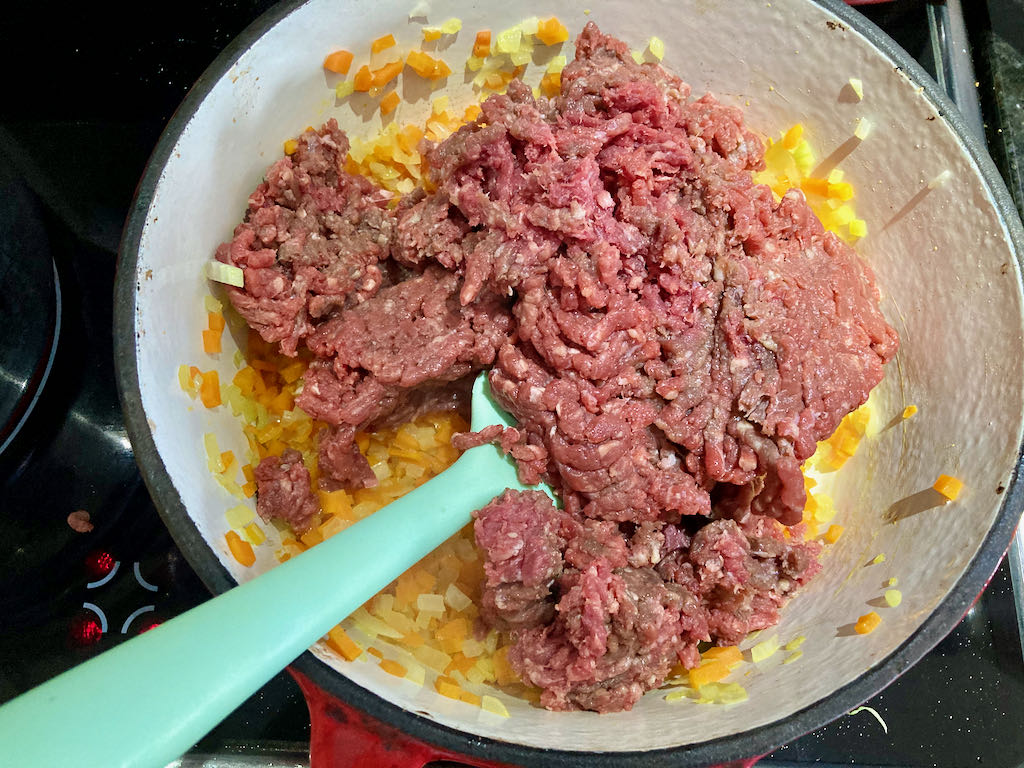
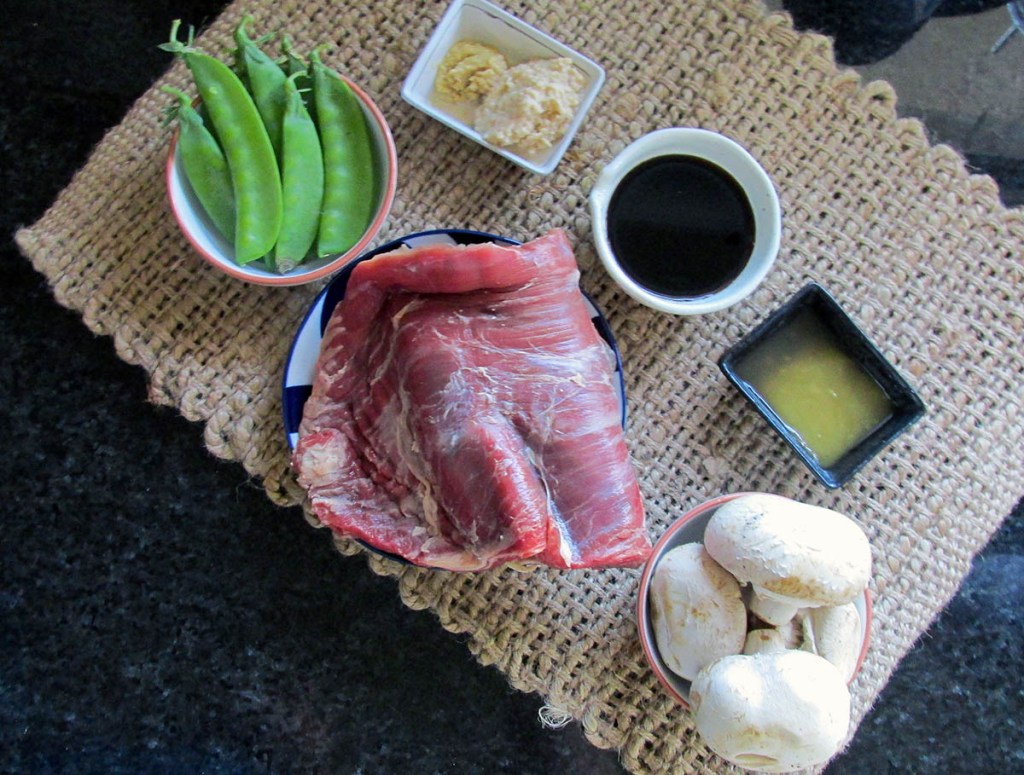
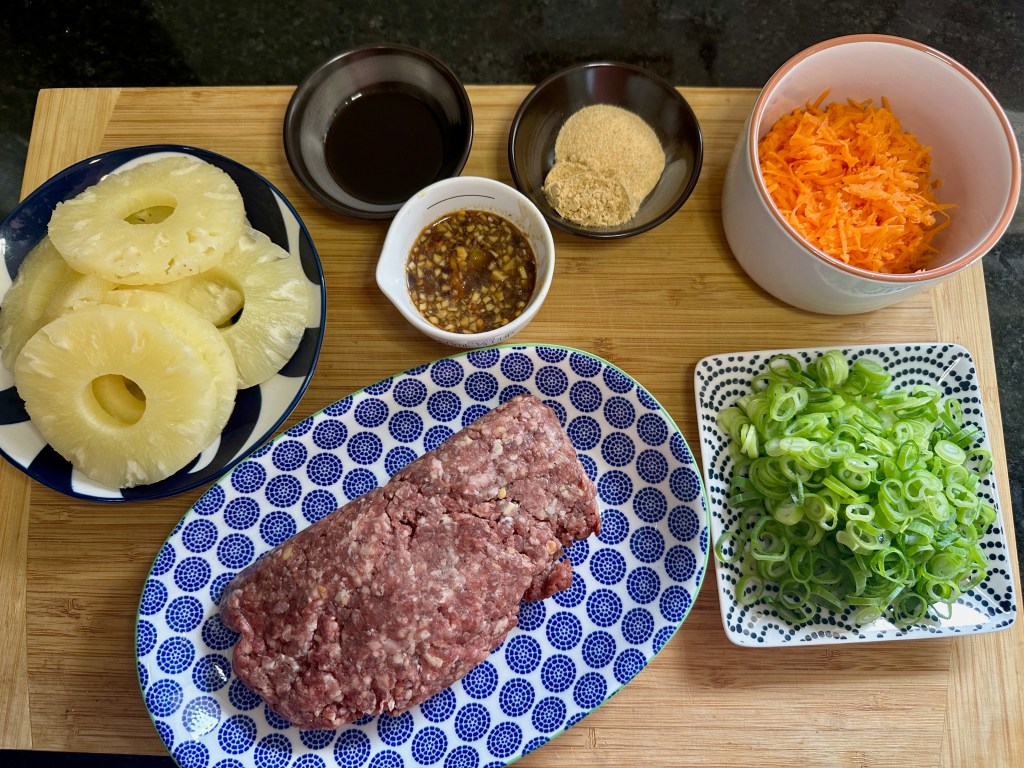
- 900g minced beef
- 1 carrot, grated
- 3 spring onions, chopped
- 1 tsp. ginger
- 1 tsp. coconut aminos
- 1 tsp. garlic powder
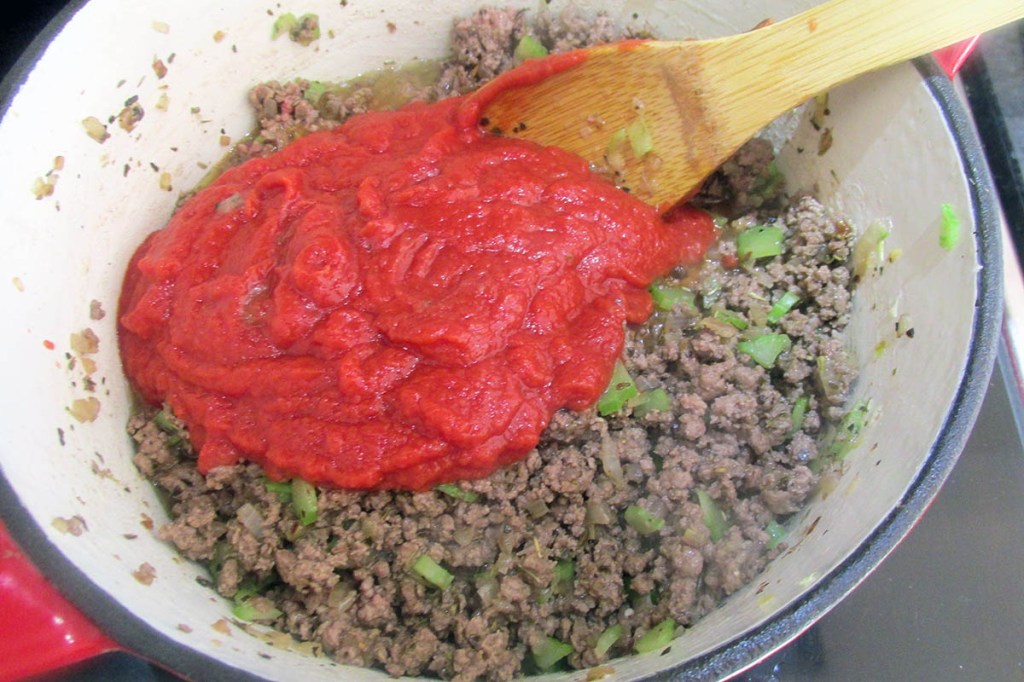
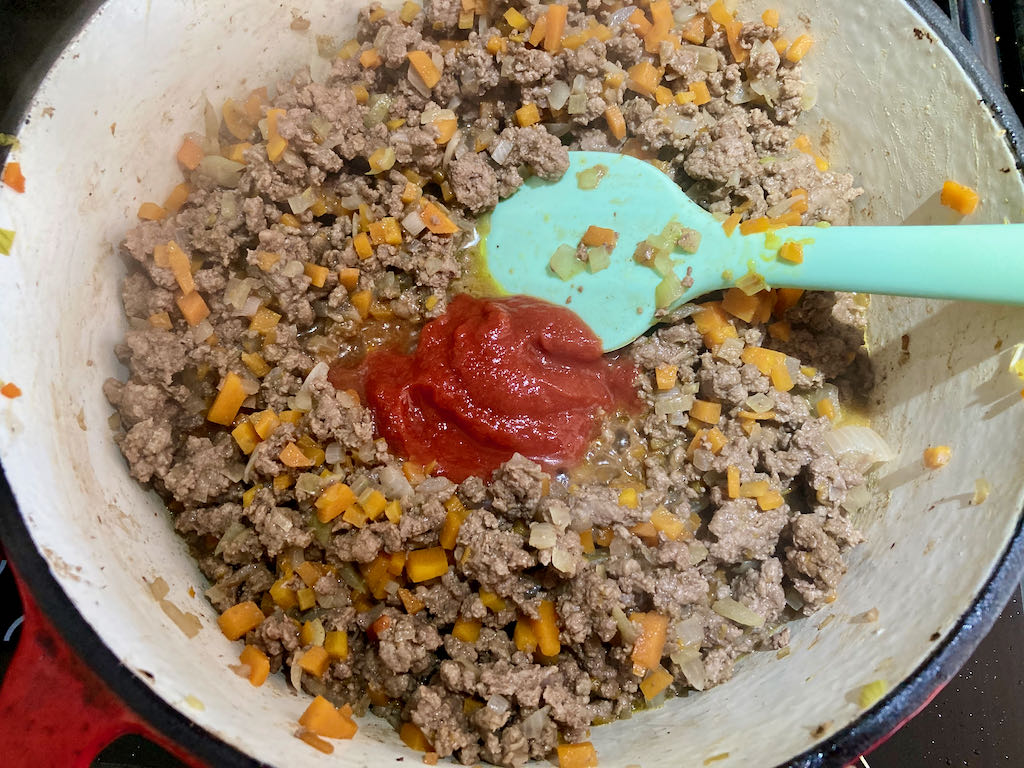
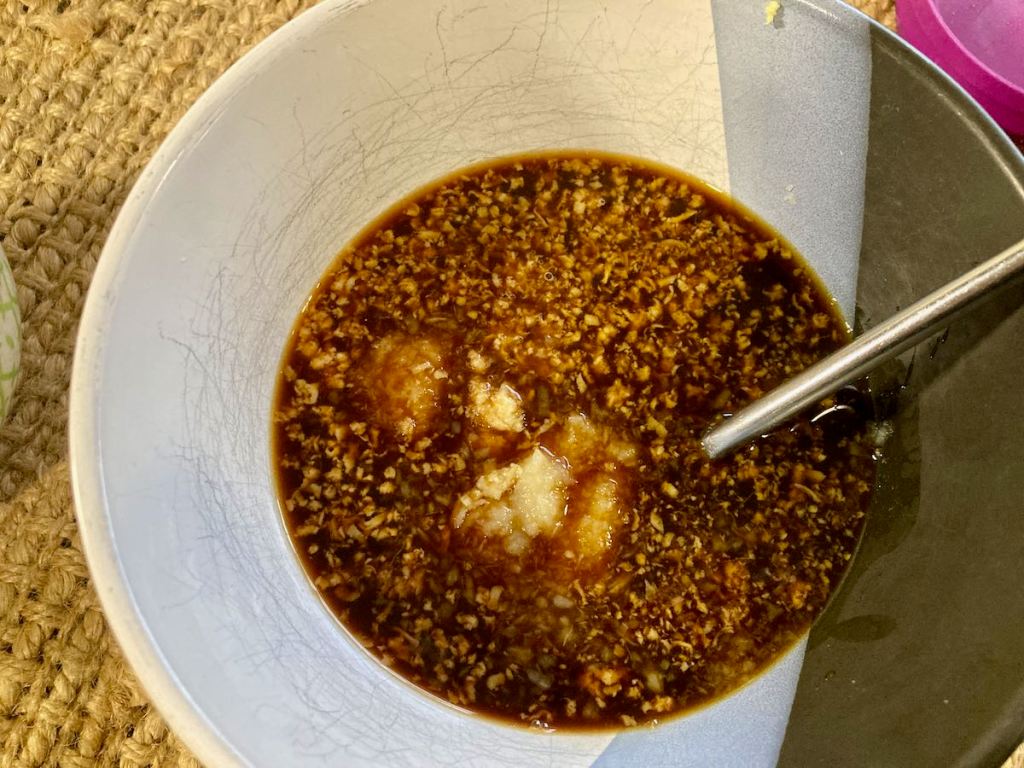
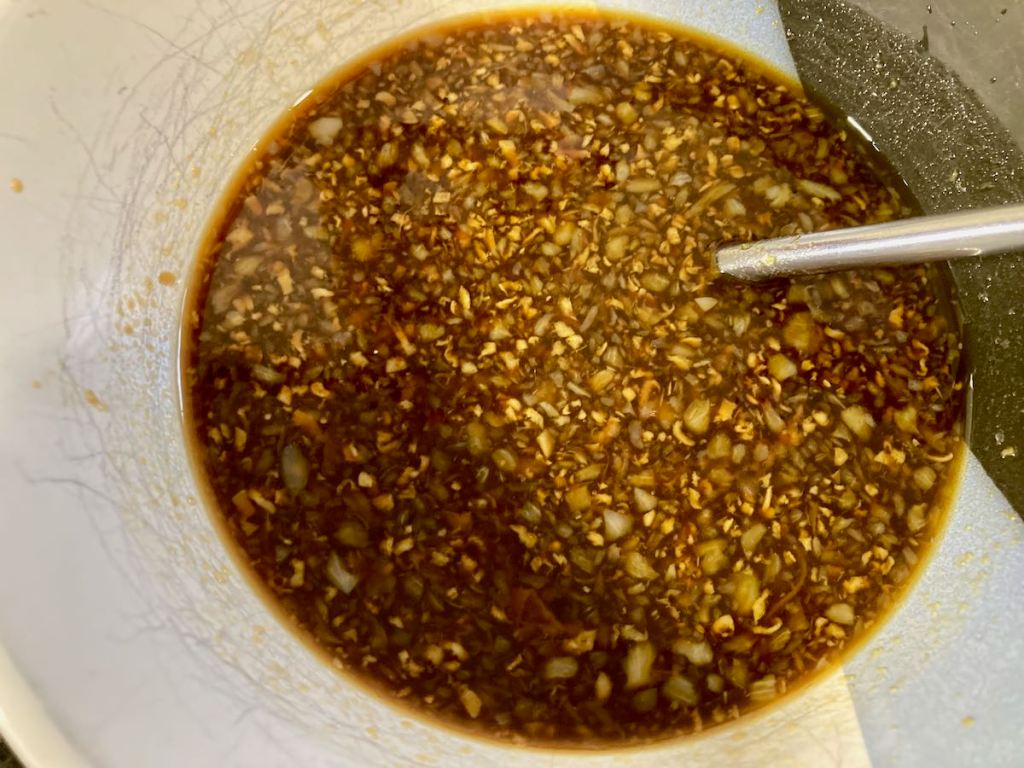
- 1/4 cup teriyaki sauce
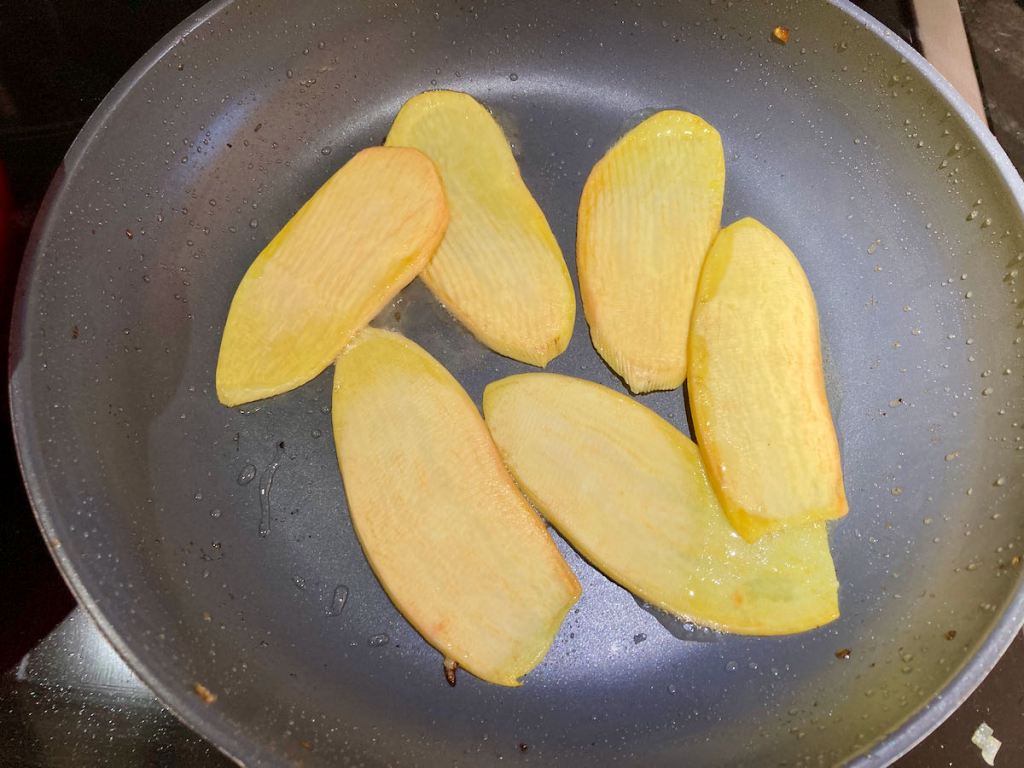
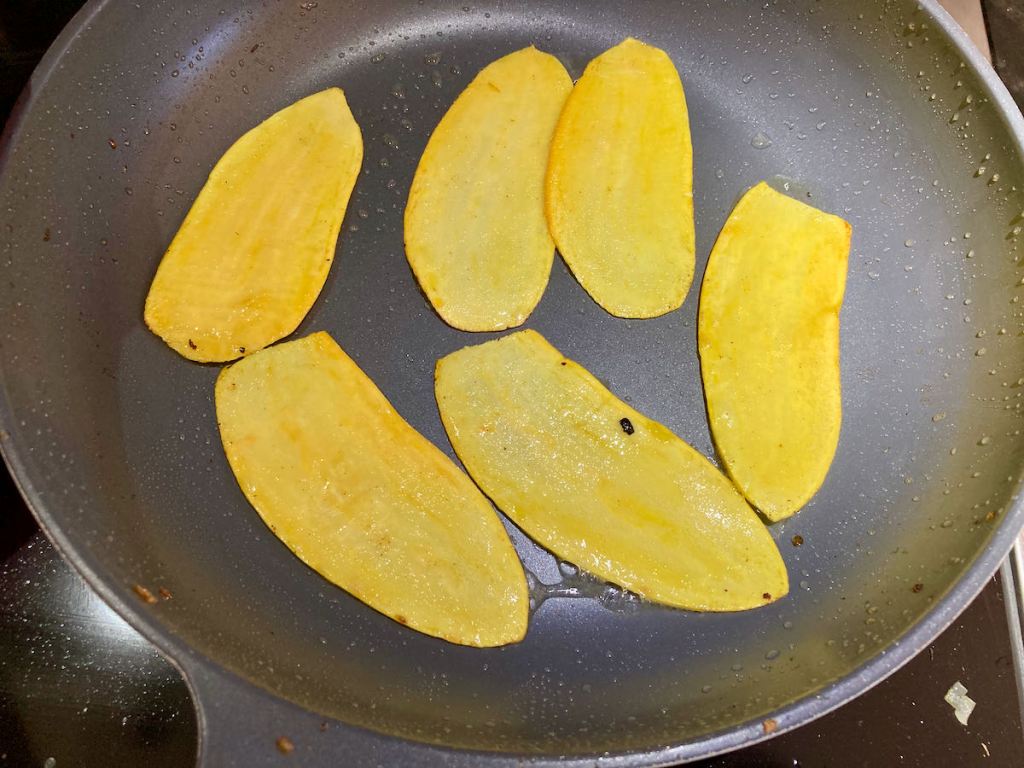
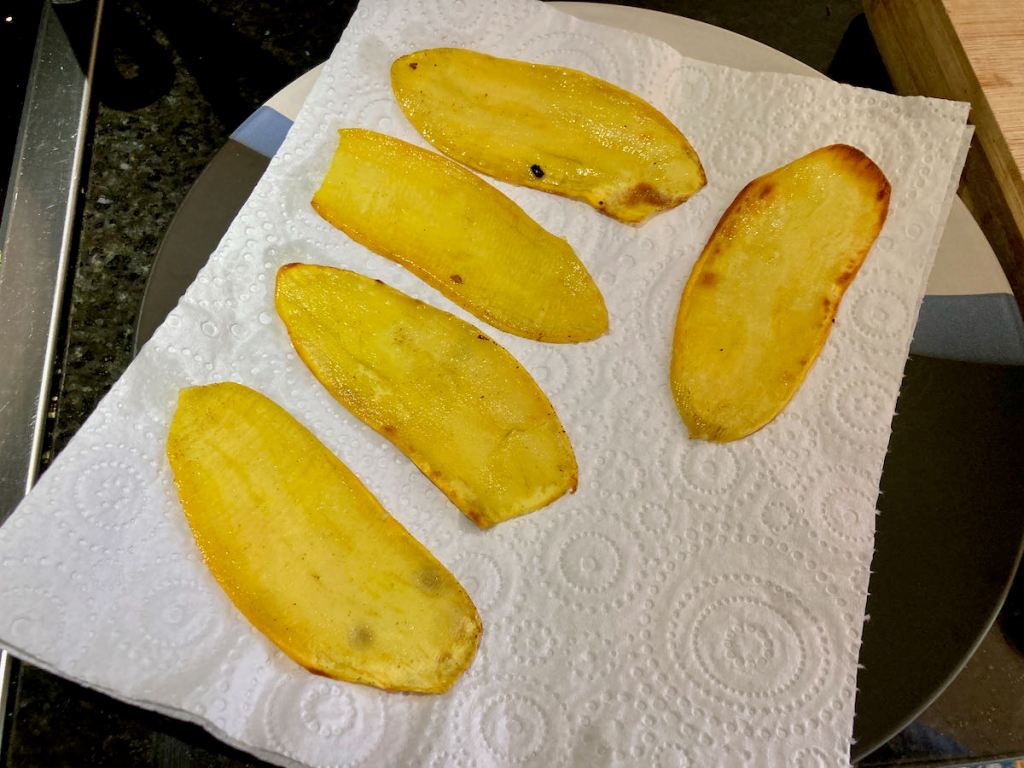
- 8 pineapple slices
Instructions
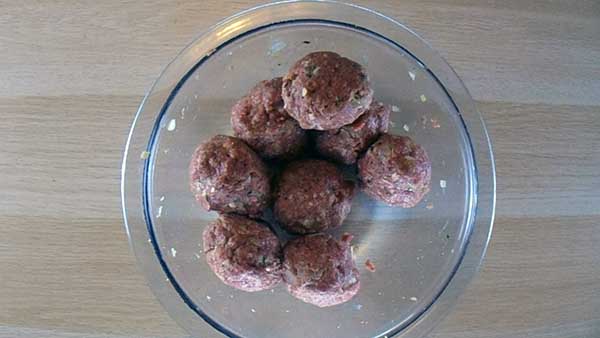
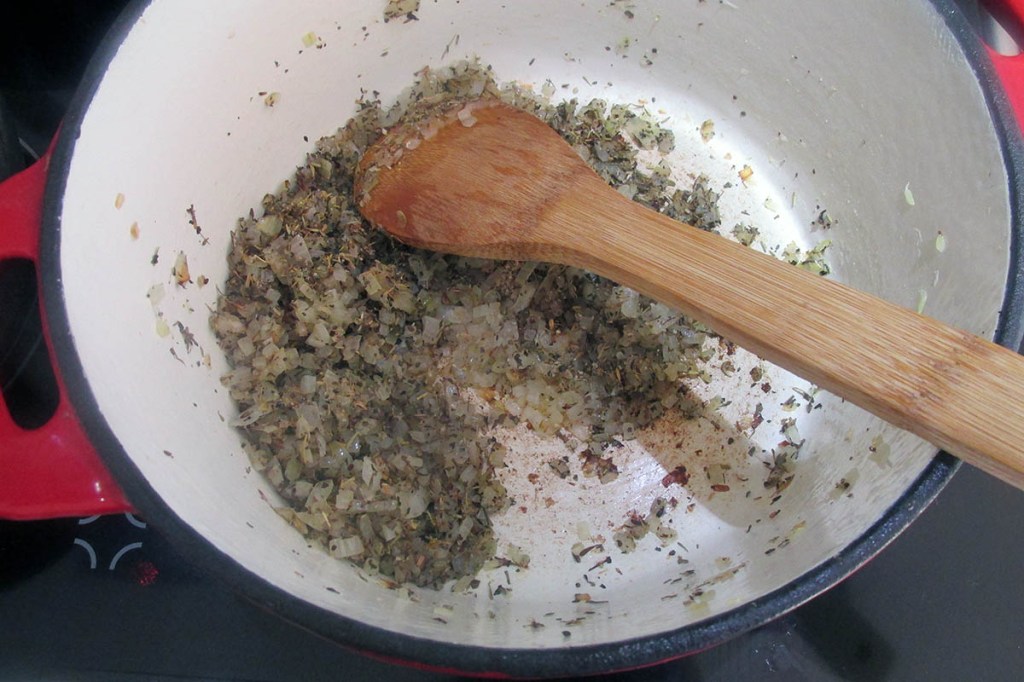
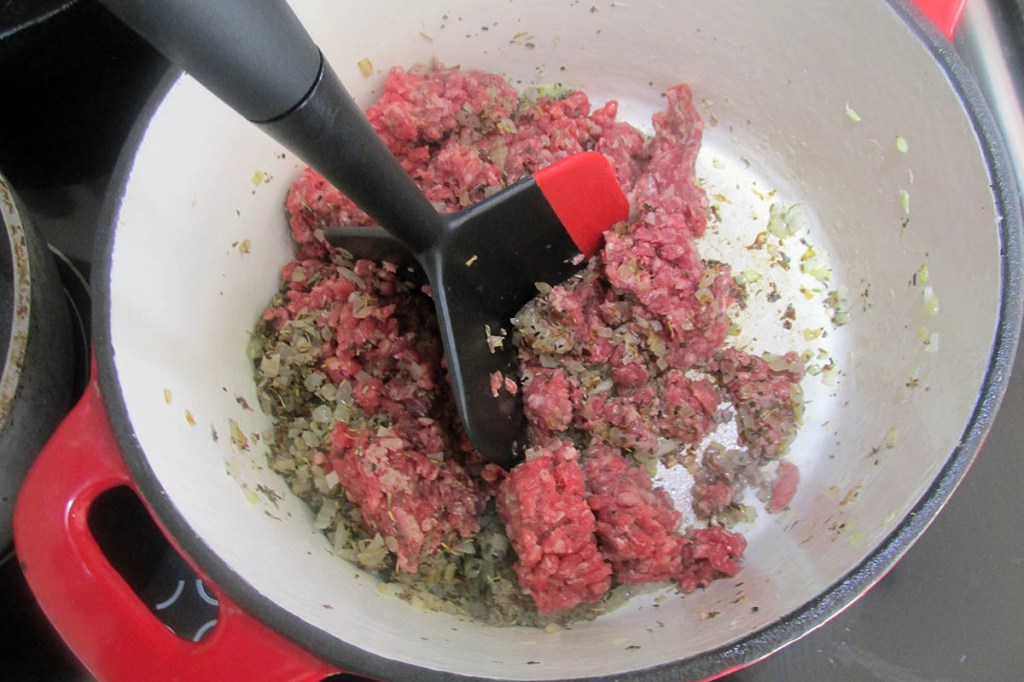
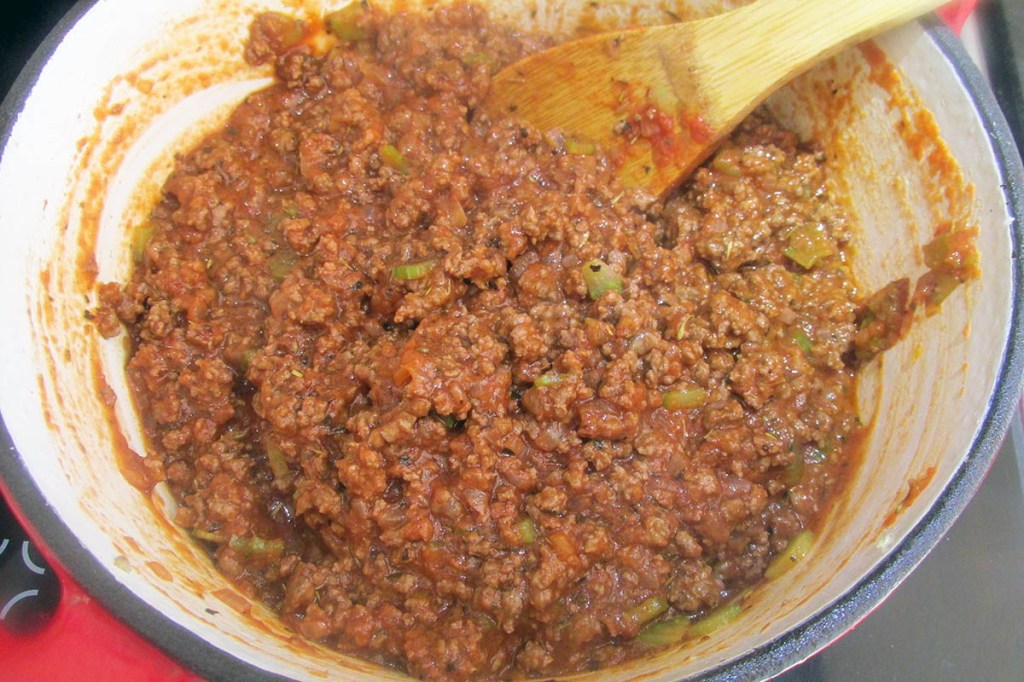
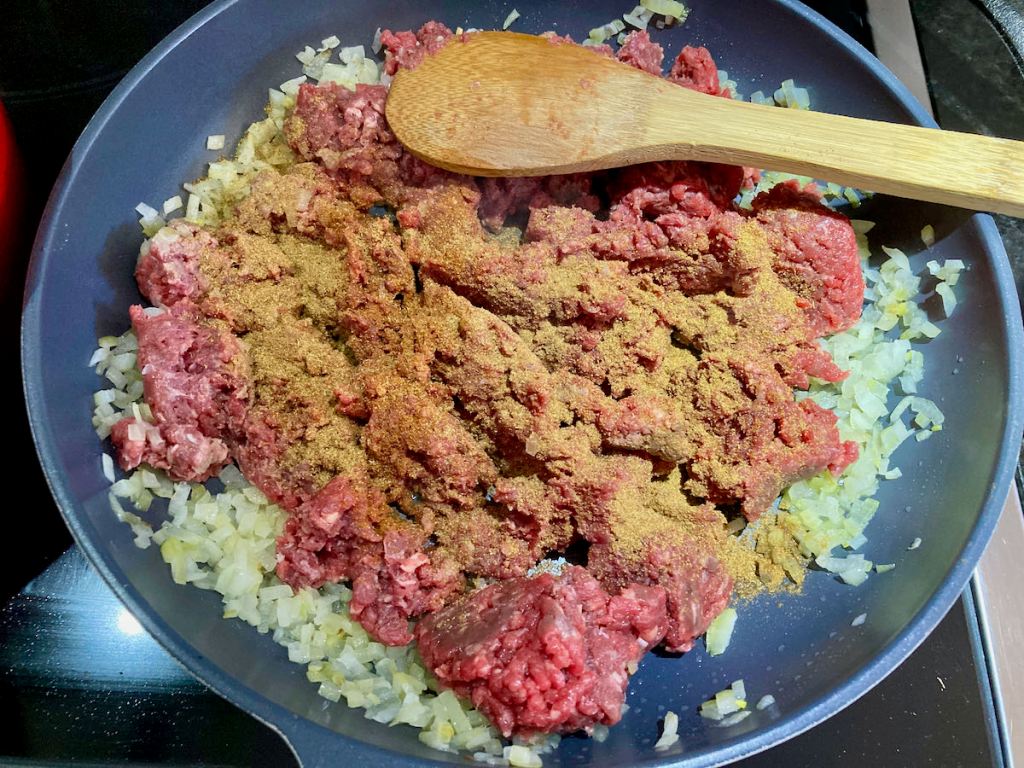
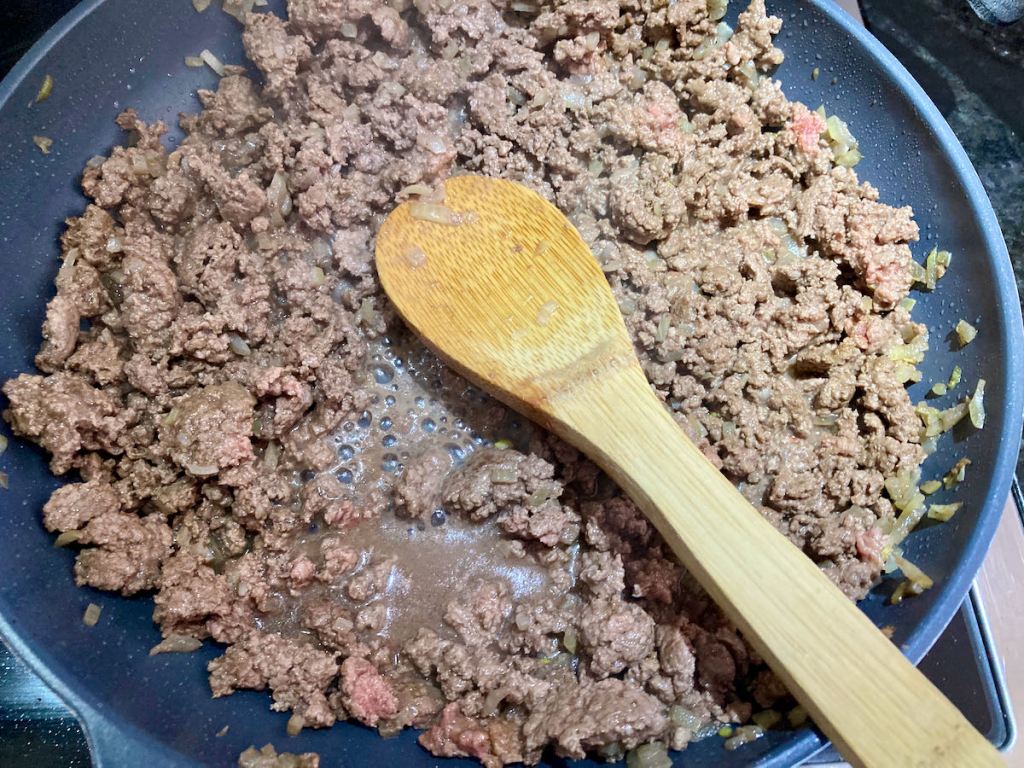
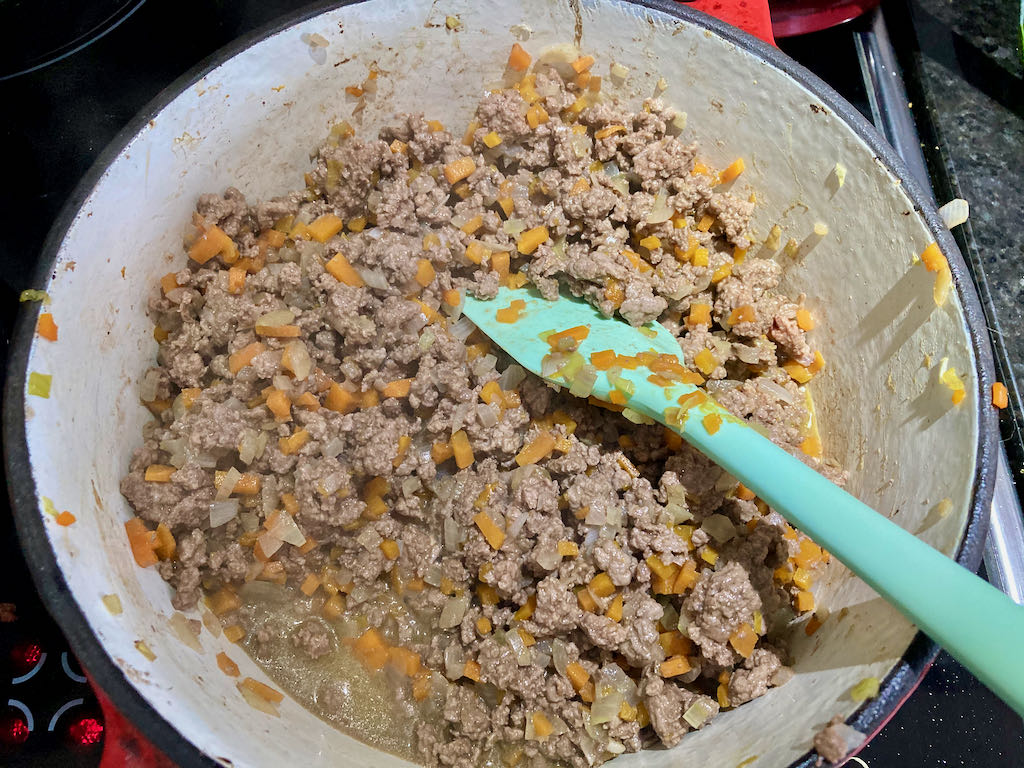
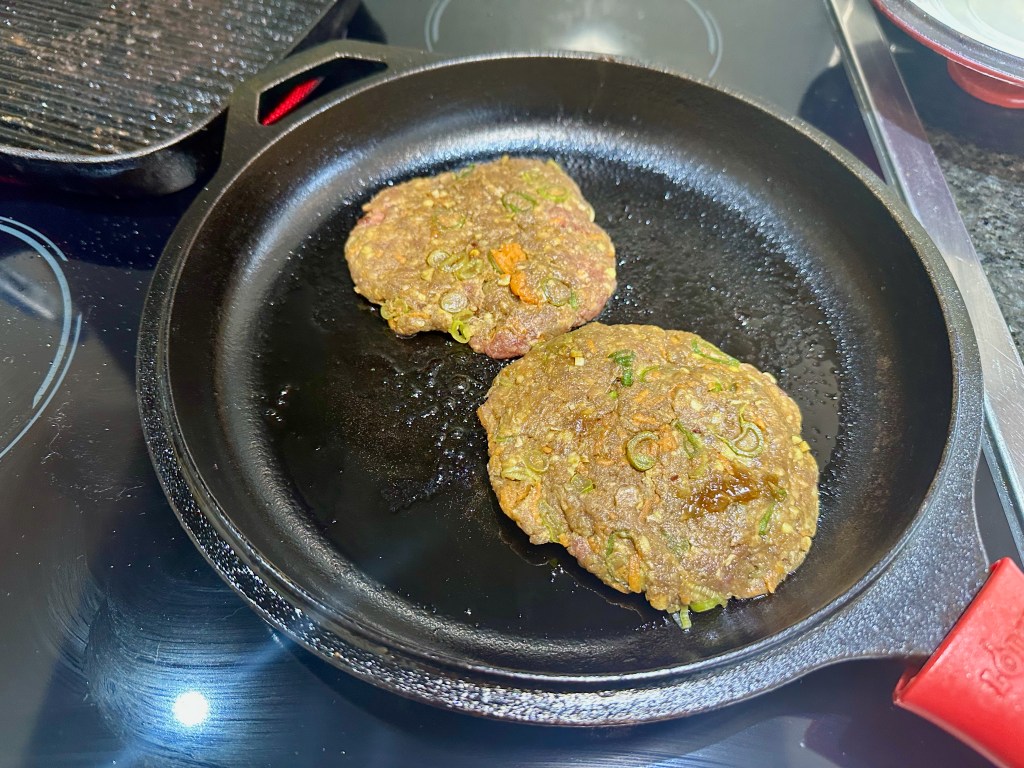
In a large bowl, combine the beef mince, carrot, spring onions, ginger, garlic powder and coconut aminos.
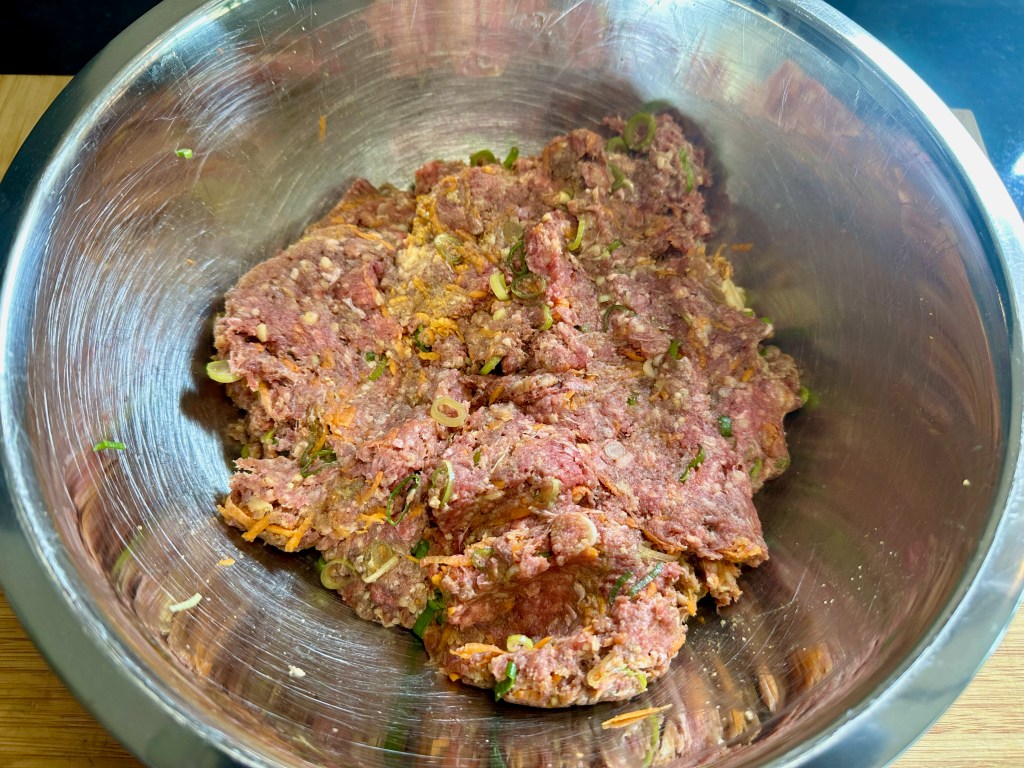
Try not to overwork the meat, mix it enough to bring it all together and spread the flavours.

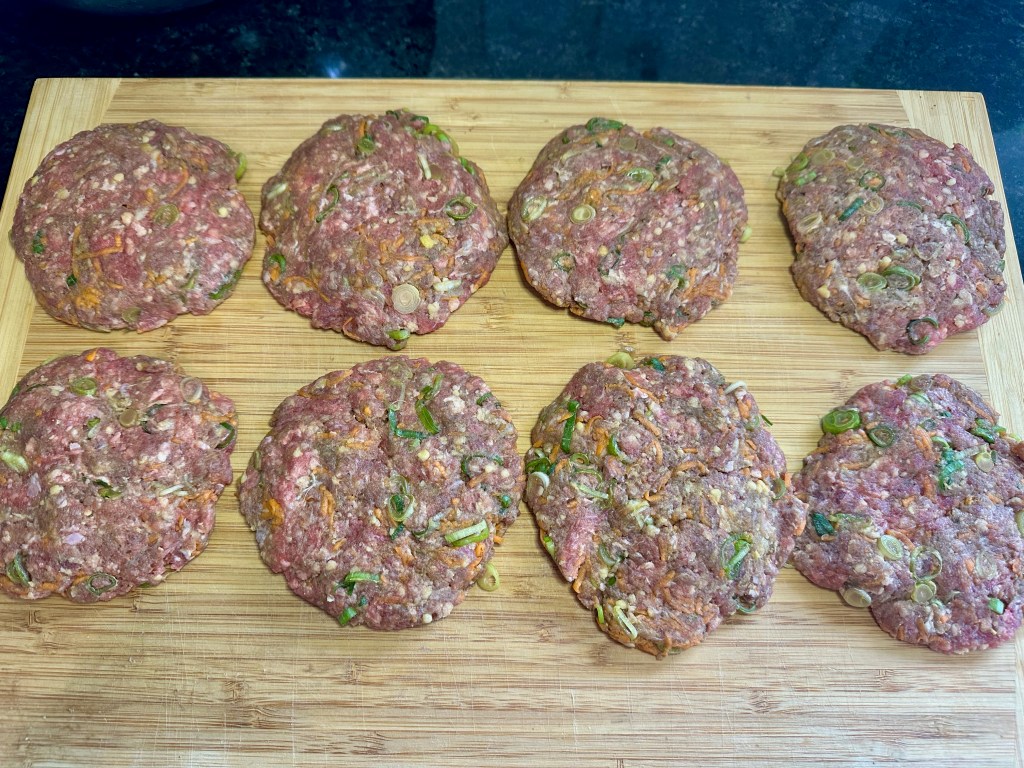
Divide the meat into eight portions and shape them into burger patties.

Place the burgers on a lined baking tray.
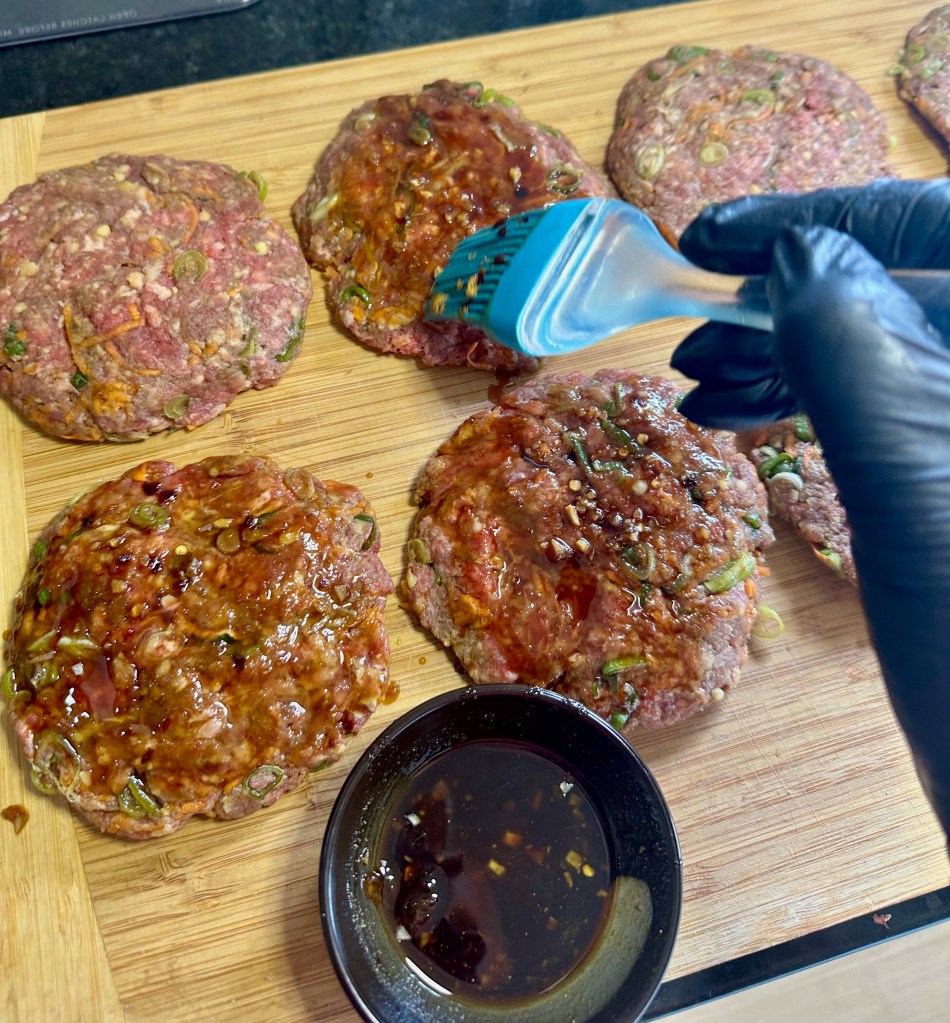
Spread a little of the teriyaki sauce over each burger.
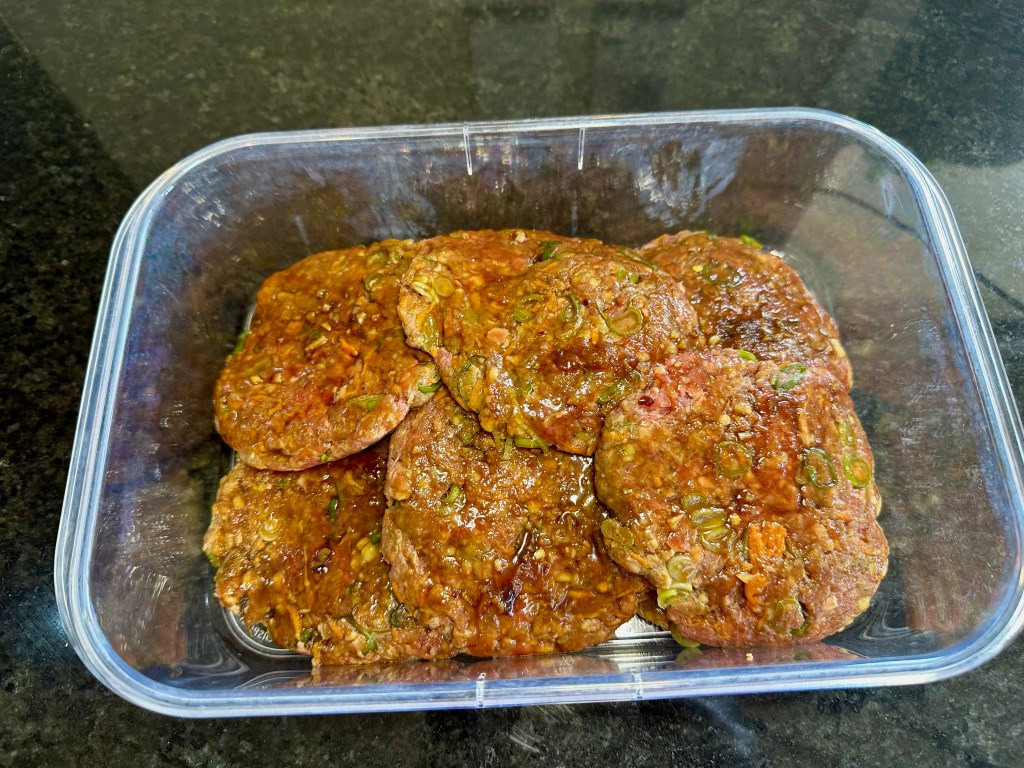
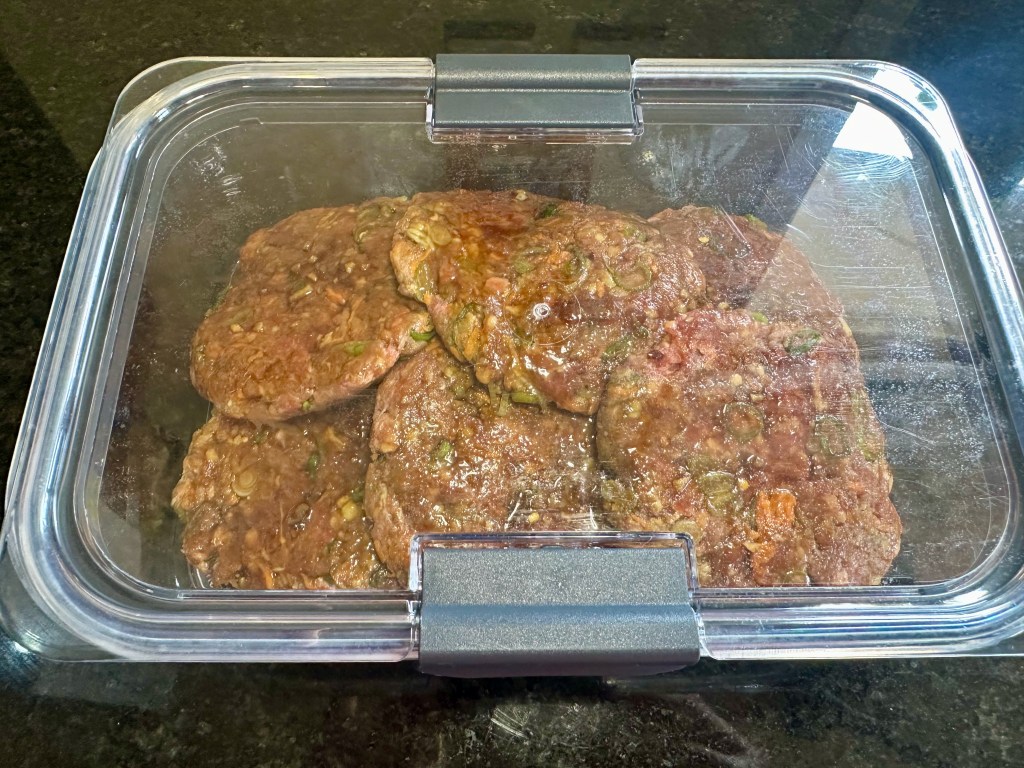
Cover the burgers and refrigerate for about 30 minutes.
Cook your burgers over high heat, either on a BBQ or in a griddle pan.
Add a little of the teriyaki sauce to each side while cooking.
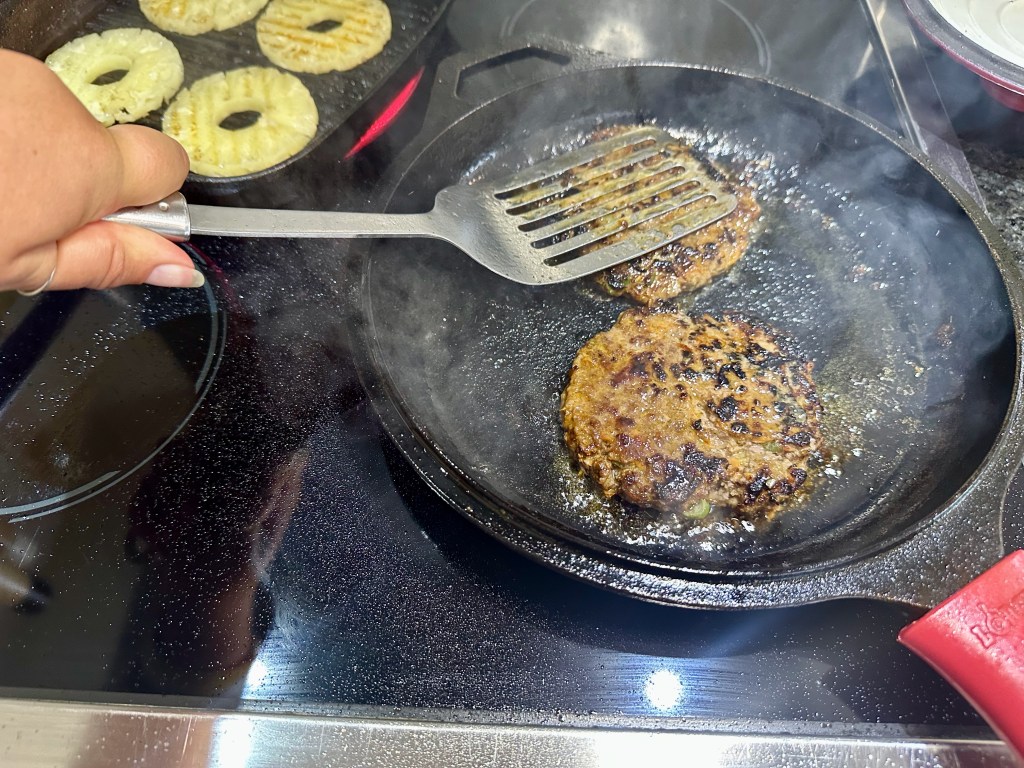
Depending on the thickness of your burgers, it should take about 5 minutes per side.
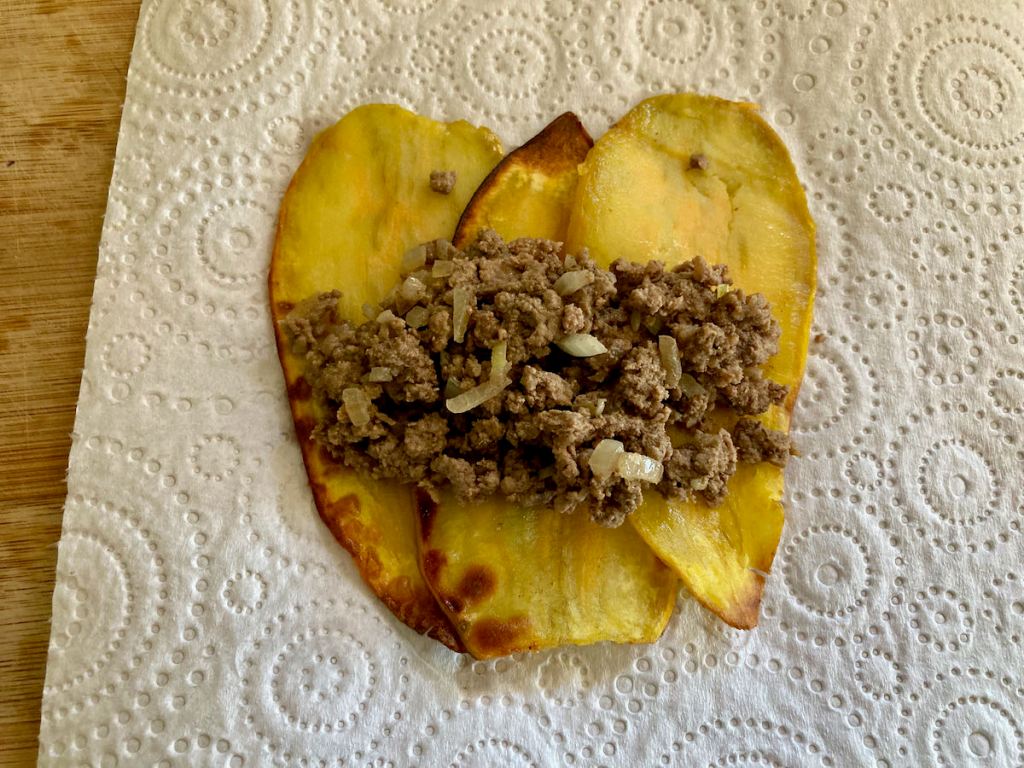
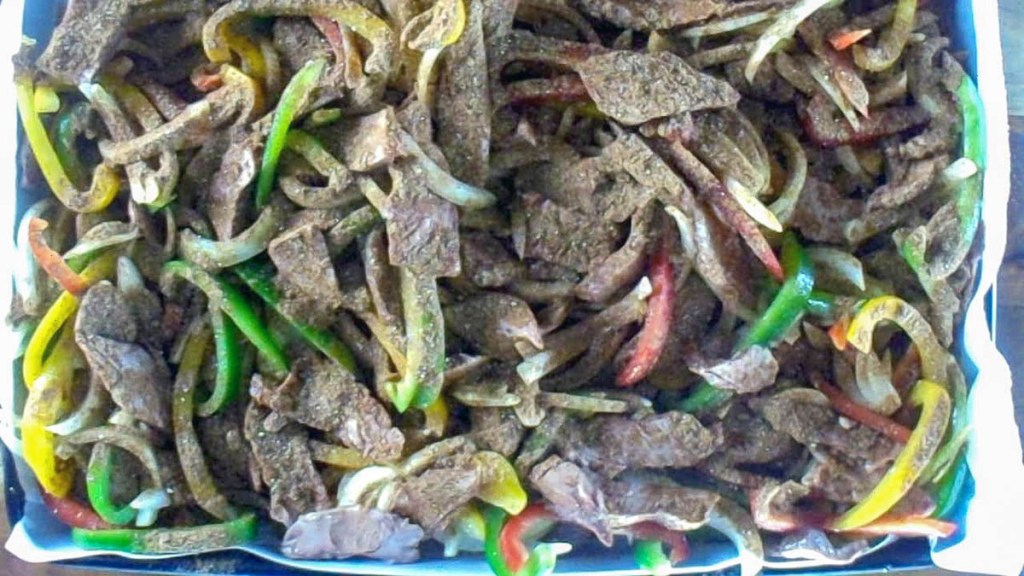
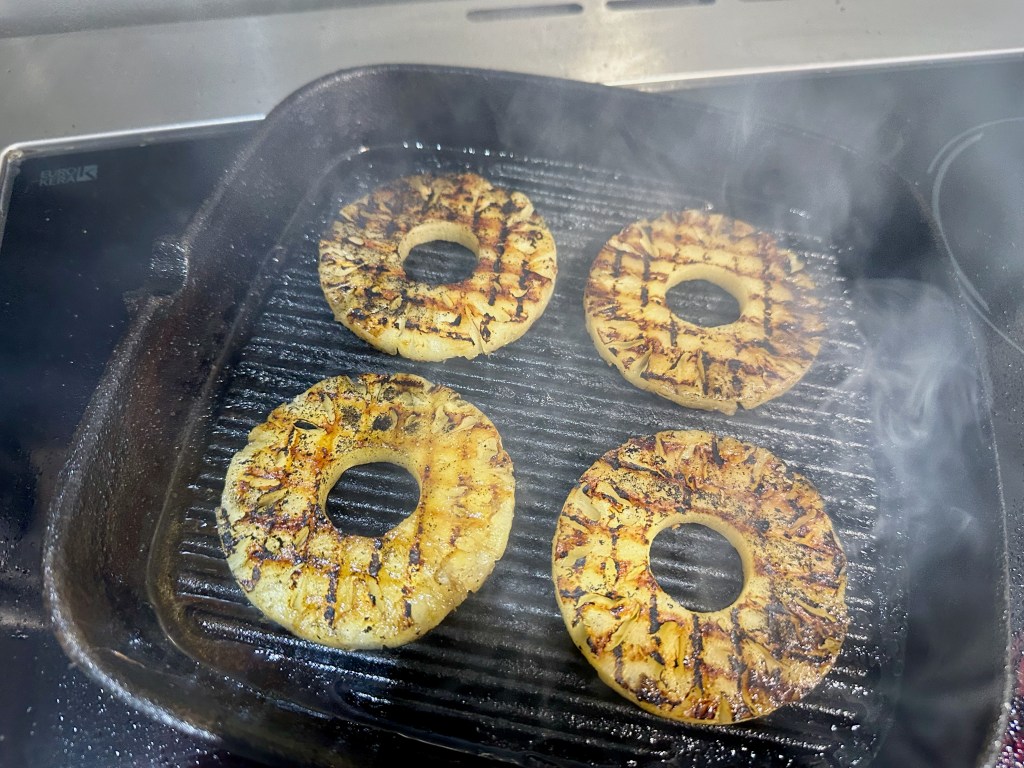
While the burgers are cooking, start grilling the pineapple; it should take 3 minutes on each side, or until it begins to caramelise. If you are cooking on a BBQ, the pineapple may cook more quickly. Keep it away from direct heat so it doesn’t burn.


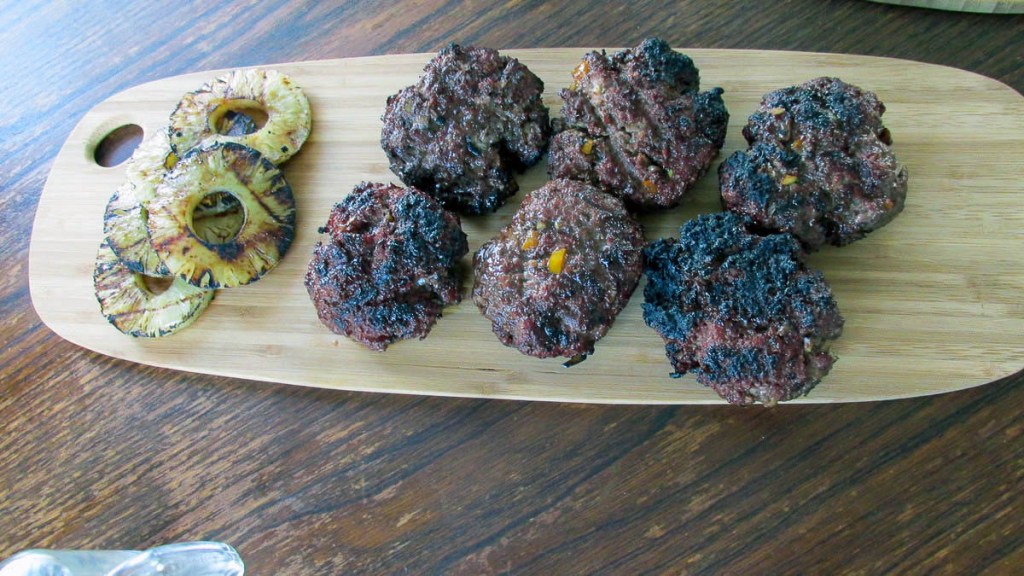

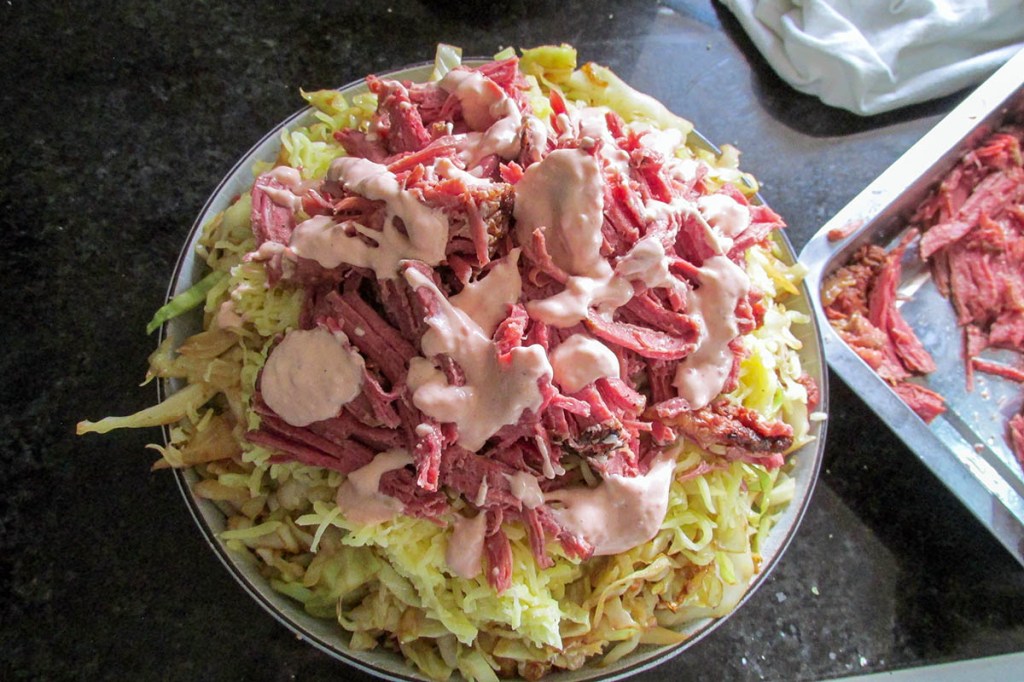
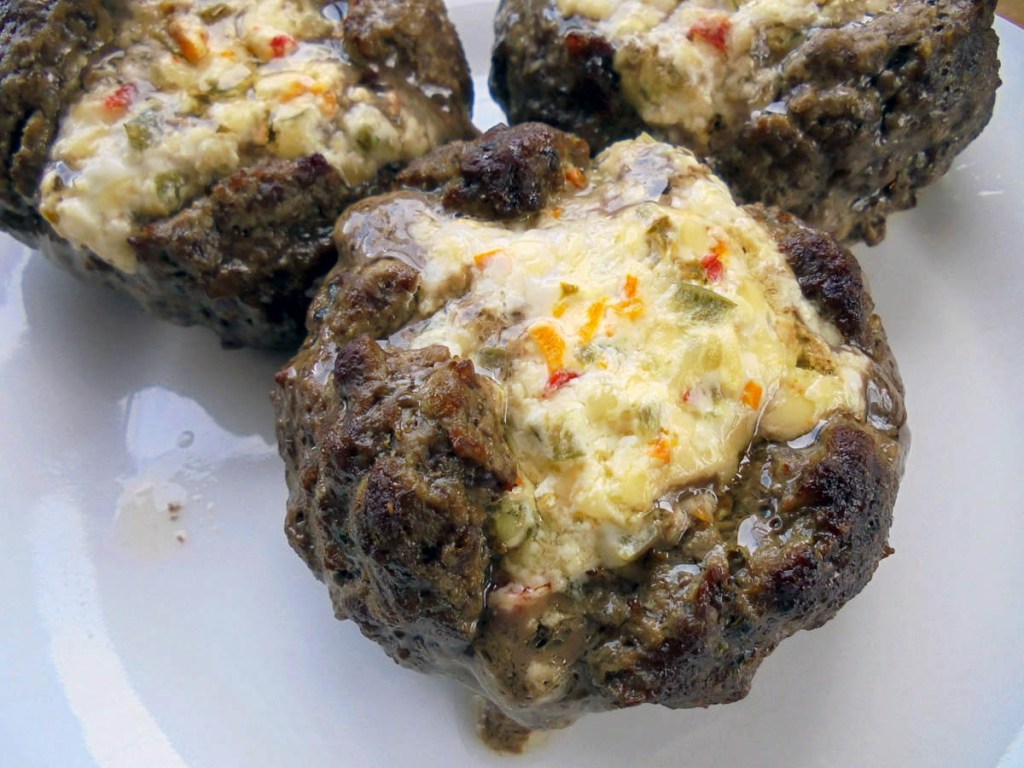
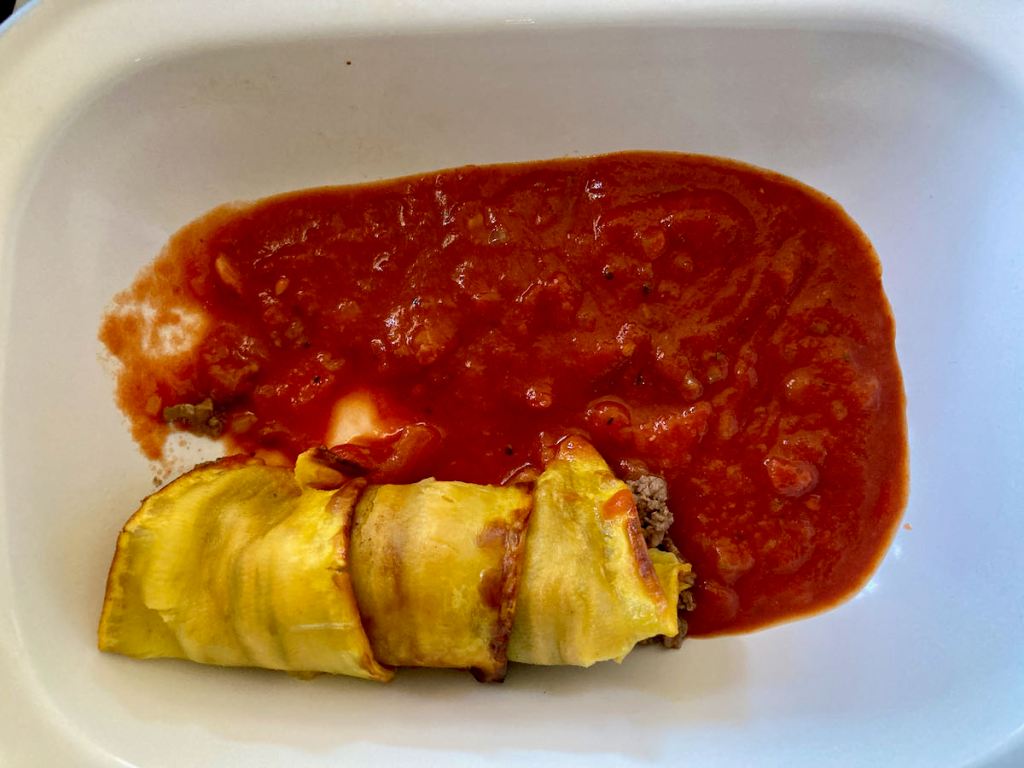
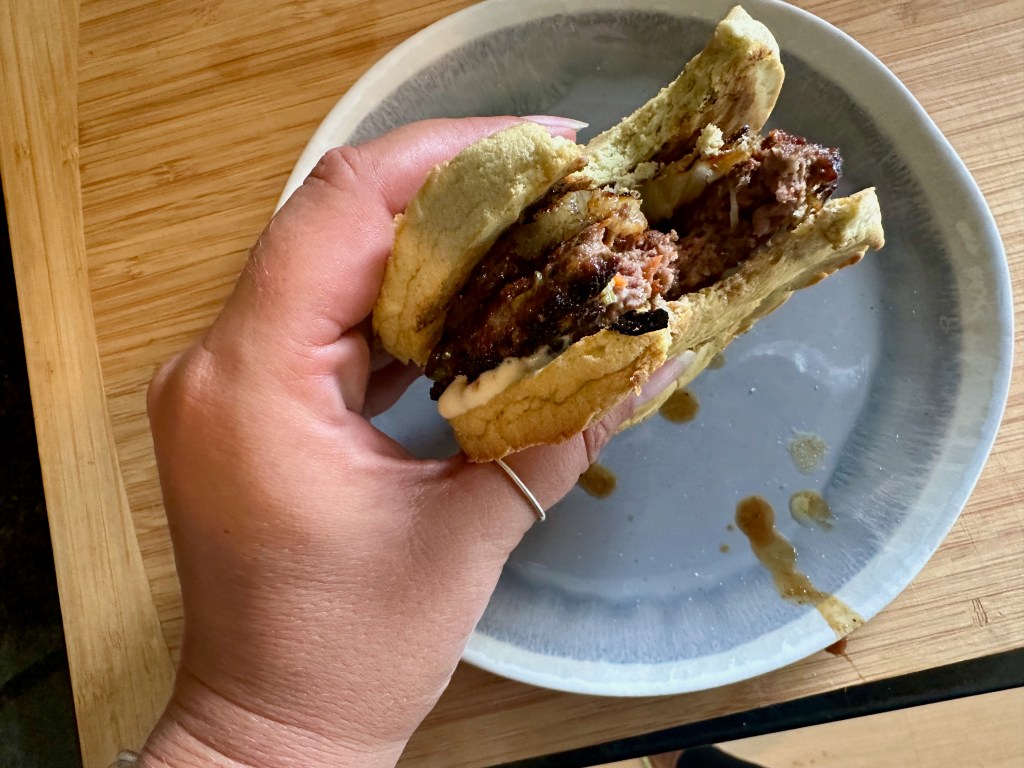
Serve the burgers on a lettuce bun with a grilled pineapple slice.
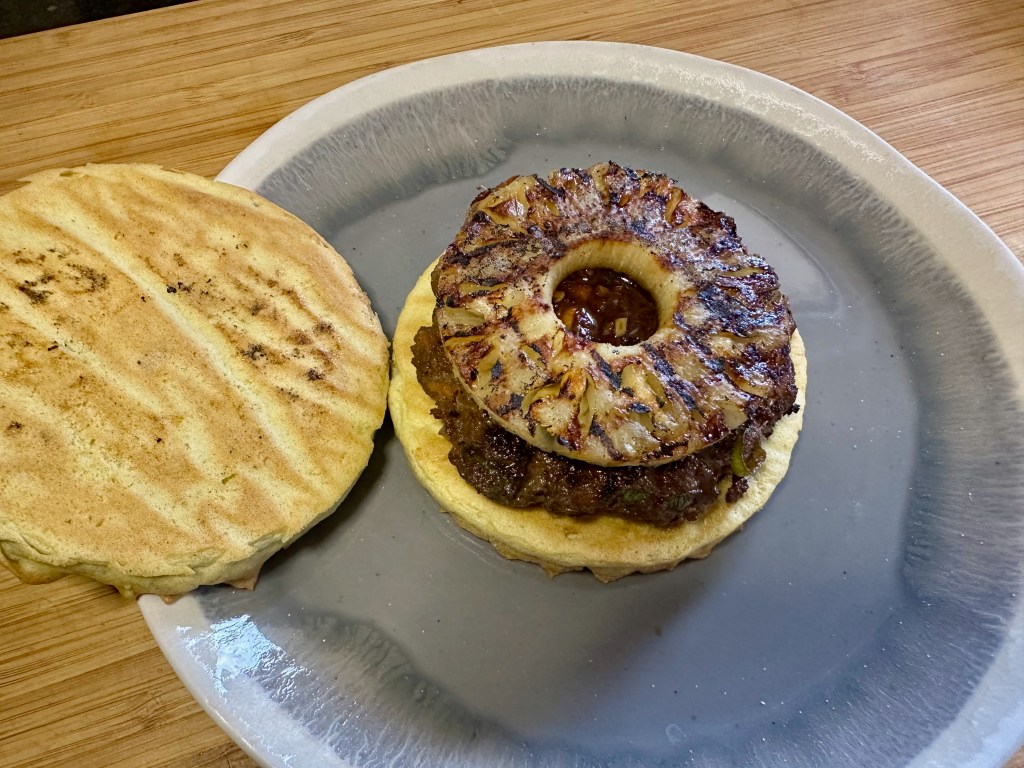
“Teriyaki
“These
Credit: Cath @ easycleaneats
Ingredients
- 900g minced beef
- 1 carrot, grated
- 3 spring onions, chopped
- 1 tsp. ginger
- 1 tsp. coconut aminos
- 1 tsp. garlic powder
- 1/4 cup teriyaki sauce
- 8 pineapple slices
Directions
- In a large bowl, combine the beef mince, carrot, spring onions, ginger, garlic powder and coconut aminos.
- Try not to overwork the meat, mix it enough to bring it all together and spread the flavours.
- Divide the meat into eight portions and shape them into burger patties.
- Place the burgers on a lined baking tray.
- Spread a little of the teriyaki sauce over each burger.
- Cover the burgers and refrigerate for about 30 minutes.
- Cook your burgers over high heat, either on a BBQ or in a griddle pan.
- Add a little of the teriyaki sauce to each side while cooking.
- Depending on the thickness of your burgers, it should take about 5 minutes per side.
- While the burgers are cooking, start grilling the pineapple; it should take 3 minutes on each side, or until it begins to caramelise. If you are cooking on a BBQ, the pineapple may cook more quickly. Keep it away from direct heat so it doesn’t burn.
- Serve the burgers on a lettuce bun with a grilled pineapple slice.
Nutrition
Per Serving:187 calories; 4.6g fat; 15.2g carbohydrates; 22.5g proteinEquipment
- Large mixing bowl
- Baking tray
- Beeswax wrap
- BBQ or Griddle pan
- Sauce brush
- Spatula
- Tongs
Nutritional disclaimer
Nutrition information is provided as an estimate based on the ingredients used and available in my area (New Zealand). The nutritional information is here to help you understand the recipe; I use MyFitnessPal to generate my estimates. For more accurate nutritional information, please use a nutritional calculator with the ingredients in your area.