Why cast iron pans rule
Cast iron pans are fantastic but they take a little bit of care and take some getting used to when you start cooking with them. That being said when you find your feet with cast iron you never want a non-stick frying pan again.
Let’s get a few things clear about cast iron
- ïIt’s not difficult to look after you just need to know the basics for looking after cast iron.
- ïSeason it when you get a cast iron pan you need to season it, even the pre-seasoned cast iron pans need to be seasoned.
- ïRe-season every time you use the pan when you have rinsed the pan out re-season.
- ïUse it a lot the more you use the pan, the better the pan will get.
- ïDon’t let it stay wet once you have cleaned the pan dry it off and re-season it straight away, wet pans rust no matter how good your seasoning is.
So with all that said let’s look at cast iron pans. There is a strange misconception that cast iron is high maintenance, needs to be handled carefully and will be ruined if you don’t look after it right. The truth is that cast iron pans are the kitchen equivalent to the terminator. Some people have the cast iron pan their grandmother got as a wedding gift, 40 plus years of use and they are still going strong. Cast iron is built to last, unlike most new pans. The most difficult thing with cast iron is seasoning the pan, it is also the most important part of using a cast iron pan. Seasoning is not that hard because you can buy them pre-seasoned now, so it’s not really a big problem. As long as your pan is well seasoned, you should never need to worry about chipping or rust.
It’s non-stick
Cast iron is non-stick, in the right circumstances. When it comes to cast iron how well it is seasoned has a great deal to do with how non-stick the surface is, the better the seasoning, the less your food sticks. Another important part is the heat of the pan, unlike new material pans you can’t add food to a cold pan and expect it not to stick. Your cast iron pan needs to be hot before you put food near it.
Washing the pan with soap will not ruin it
People think that washing a cast iron pan with dishwashing soap will remove the seasoning and ruin the pan. This isn’t true, I’m not a boffin so here’s my understanding of the science (think of this as my bro science). You heat oil in the pan and coat the pan, you do this repeatedly. The repeated application of oil and then exposure to heat changes the properties of the oil, it turns it into a plastic-like coating that sticks to the pan. Like the oil, you used to coat the pan is no longer technically an oil, so dishwashing soap doesn’t impact or remove the seasoning. So washing your pan with soap won’t ruin it, but letting it soak in water will.
Keep the pans exposure to water to a minimum, wash and dry the pan in one go then re-season as soon as it is dry.
Not all cast iron is made equal
As with most things in life you get what you pay for, this applies to cast iron pans. The quality of the modern cast iron pan is not the same as the quality of pans made in the early 20th century. This has more to do with the way pans were made back then vs. how they are made now. The truth is I don’t want to bore you with a bunch of information about casting that you won’t care about. What you will care about is how the different pans available now have different finishes and which one is best. Basically, there are 3 finishes available for cast iron pans
- Smooth
- Bumpy
- Coated
Here are the key differences
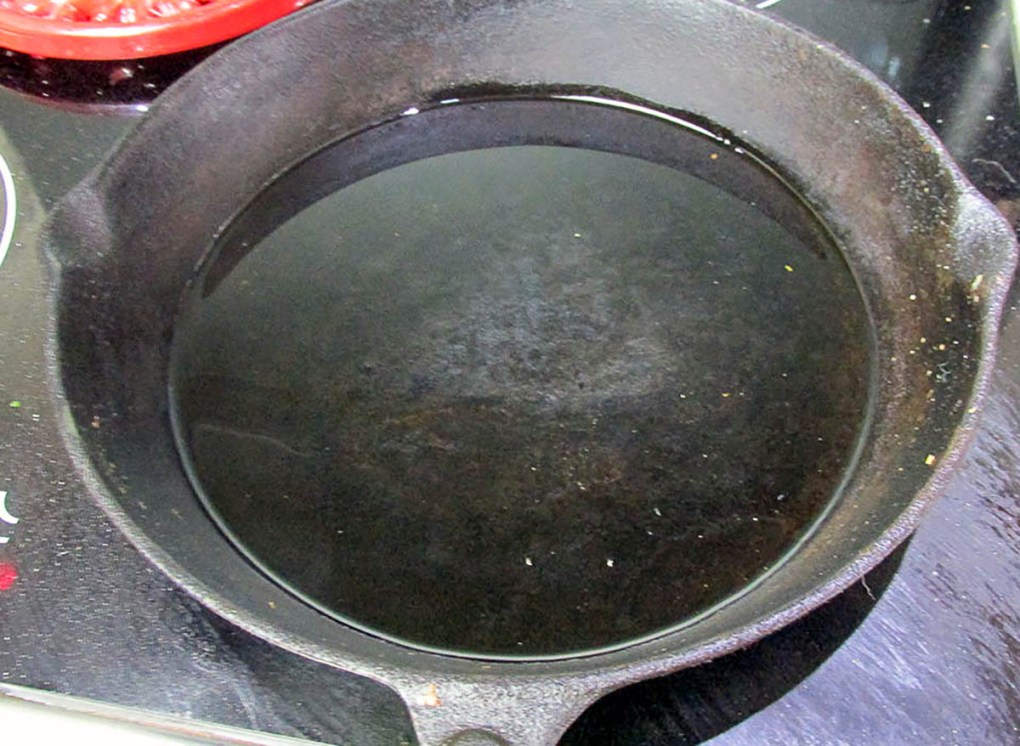
Smooth
These pans have been cast and then polished, this removes the uneven surface of the pan. It still needs to be seasoned and looked after. Generally speaking, pans that have been polished are not as heavy so are a good option if you aren’t seeking to increase your upper body strength while you make dinner. Other than the weight they are no different than the bumpy pans.

Bumpy
These pans have been cast and retain what is basically the imprint of the mould, the surface of the pan will always be uneven. They generally have more weight to them but have all the same properties as the smooth pans.
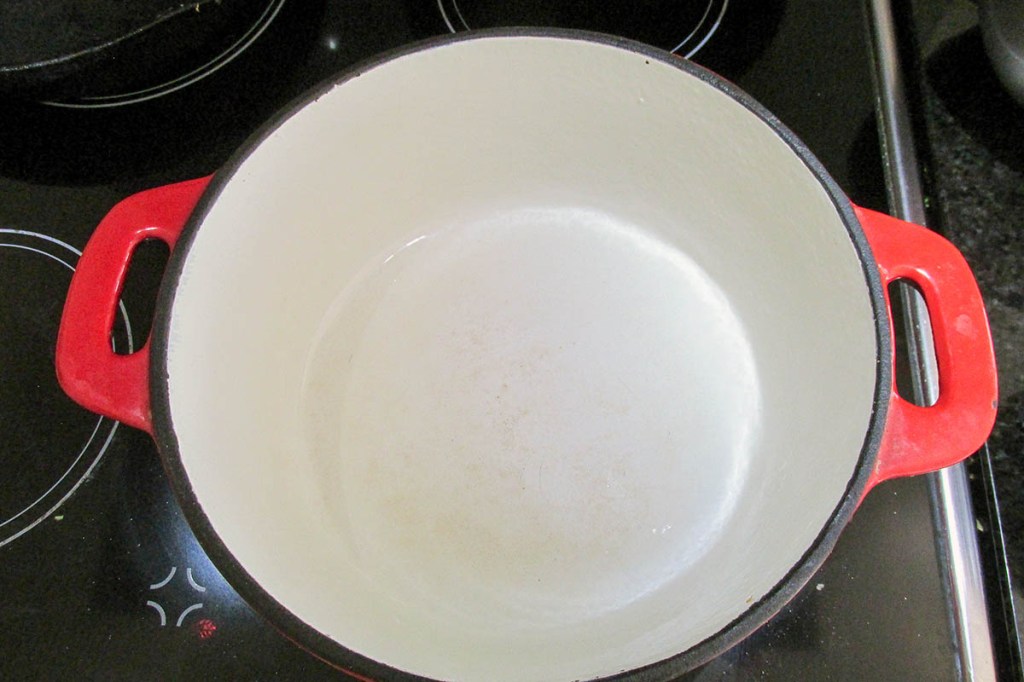
Coated
These pans are cast and then typically covered in enamel, the coating acts as a skin for the cast iron, you get the benefits of using cast iron without the need to constantly re-season. These pans are just as good as the bumpy and smooth pans and have very similar properties.
So what is cast iron good for? what can you cook in your cast iron pan?
Answer
Pretty much whatever you want. My cast iron pans get regular use when cooking things like
- Bacon
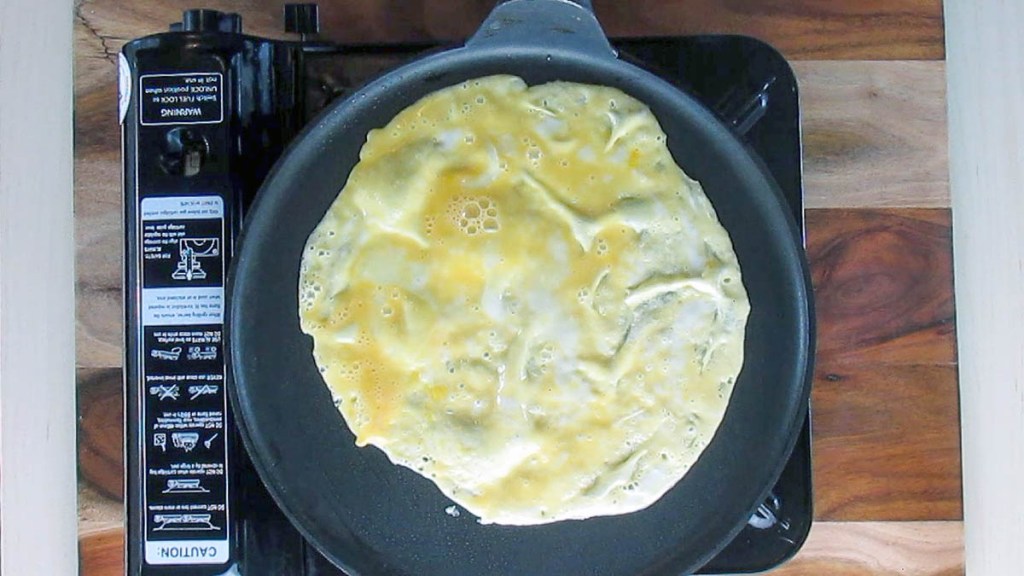
- Fried eggs
- Frittata
- Burgers
- Sausage
- Steak
- Meatballs
- Buttered greens
- Searing seafood
I’ve even been known to make pancakes in there.
I love using my cast iron pans for anything that needs a high heat to cook, a crisp skin or that needs to start on the stovetop and finish off in the oven. It’s a versatile tool that deserves a little bit of love and attention. Once you adjust to the way it heats up, how to wash it and how to season it, it is hard to go back to the Teflon coated pan in the back of the cupboard.
If you are ready to migrate over to a cast iron pan, there are only a few rules you need to know that will ensure a successful and lifelong relationship with your cast iron pans.
Season it when you get it
Seasoning is critical and should be done as soon as you get it, even a pre-seasoned cast iron pan can do with some additional protection.
Clean it after each use
- Clean your pan thoroughly after each use. Washing it with soap, water and scrubbing out any debris from the bottom. I use the scrubby side of a sponge for this.
- Clean it while it is still hot, it will make it easier to clean.
- Re-season it.
- When you have cleaned your pan, make sure you have rinsed out all soap with water.
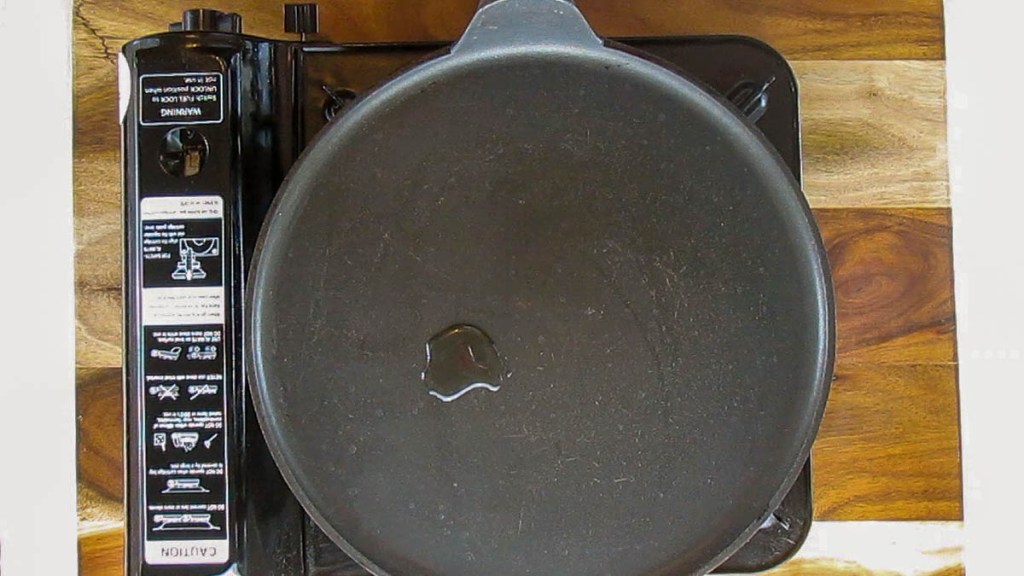
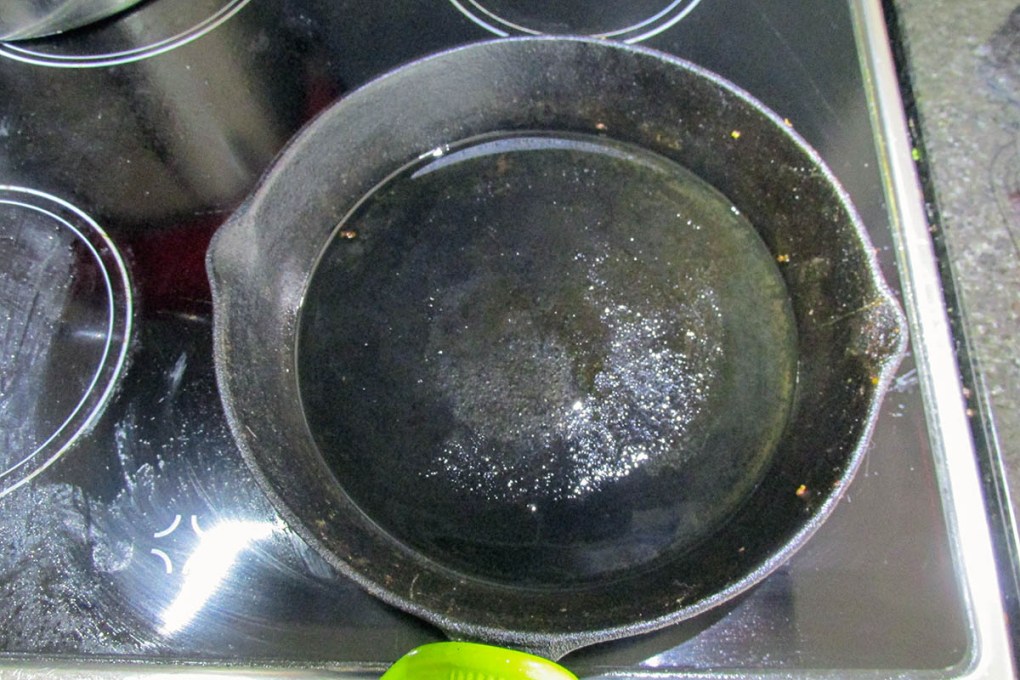
- Place the skillet over high heat.
- When the water inside the skillet has dried out, add a half teaspoon of oil.
- Rub it around with a kitchen towel.
- Keep heating the pan until it starts to smoke, give it one more good rub.
- Let it cool, and you’re done.
Fry and Sear in it
The best way to keep your pan well seasoned is to use it a lot. The more you fry, sear, or bake in it, the better that seasoning will become.
Don’t let it stay wet.
Water and iron equal rust.
Treat water like the enemy of your iron pan, don’t let a drop of water sit in your pan, even one drop can lead to a rust spot. It isn’t the end of the world, but rust will require a little scrubbing and re-seasoning. A good rule is to dry the pan and coat with a little oil before storing it.
How to season
- Heat it up on the stovetop until it’s smoking hot.
- With a paper towel rub a little oil into the pan
- Remove the pan from the heat, let it cool.
- Repeat this process a few times, and you’re ready to go.