Movement is an integral part of my day. Keeping active is how I manage my physical and mental health while navigating this busy world we live in.
Any post I share is about my experience and activity; I am not here to tell you what to do. If you are interested in doing this kind or any type of training or movement programme, I highly recommend that you seek advice and support from a professional.
Monday
5 rounds of 5 reps
No rest between exercises
Deadlift
Biceps curl
Squat
Lunge
Good mornings
Tuesday
Hot Yoga
Wednesday
5 rounds of 5 reps
No rest between exercises
Straight leg deadlift
Bent over row
Hang clean
Thruster
Overhead squat
Thursday
Anything can happen Thursday
Friday
5 rounds of 5 reps
No rest between exercises
Front squat
Strict press
Arm curls
Good mornings
Lunges
Saturday
Rest day
Sunday
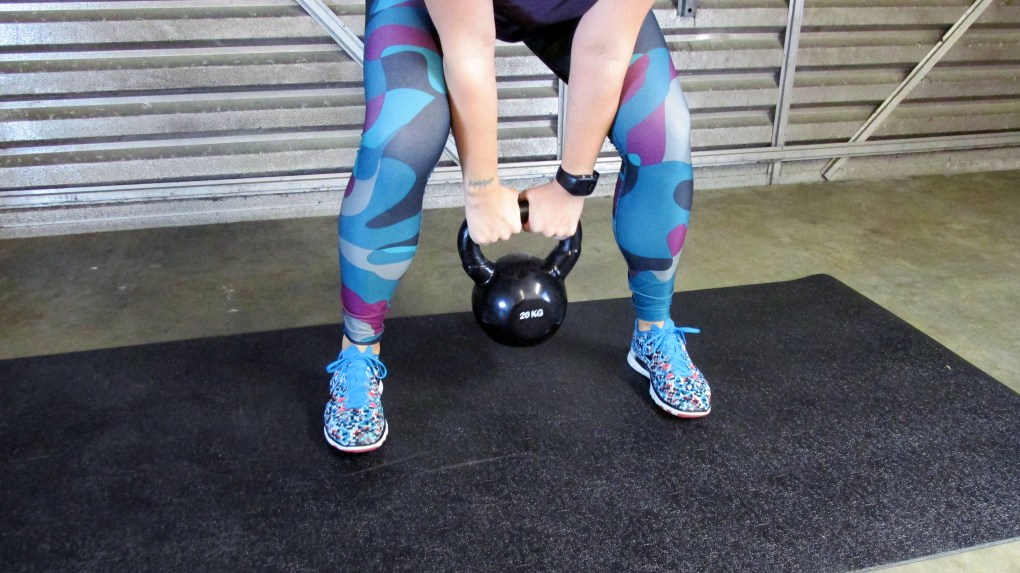
Kettlebell workout
Warm-up
Kettlebell deadlifts 50 Reps
Kettlebell swings 40 Reps
Kettlebell goblet squats 30 Reps
Kettlebell overhead press 20 Reps
Cardio
Cool down and stretch
Workout disclaimer
I share my workouts to show what I do, not to tell you what to do.
I post my workouts with a percentage of my max rather than stating what weights or speeds I use. Everyone is different and has different levels of fitness and capability. Your body is yours alone if you want to start working out, I recommend spending some time with a personal trainer who can put you on the right path.
When working out with weights, remember your one-rep max is yours alone, finding the weights that are right for you is important. If you decide to try out a workout, find out what weights you should be using first.
I can honestly say my answer is no. My slow cooker is one of the key pieces of gear that I rely on and use every week without fail. I think that a slow cooker is a must-have item for anyone wanting to make real food a part of their life, here are my reasons why;
It saves you time
You do not need to keep watch while it cooks
It is versatile
These reasons may seem basic, and honestly, they are but let me explain my reasons why you need one.
Slow cooker
Too busy for this
Cards on the table, I hate coming home from a busy day and knowing I have to walk into the kitchen at 7 pm, cook a full meal, and then clean up. Don’t get me wrong, I love cooking, it gives me the joy to create a beautiful meal for my family. This is not the case when I have had an 8-hour day at work, an hour commute to the gym, and then a heavy workout. At this point I am usually borderline hangry, I want to get home, I want my food as fast as possible.
This is where having a slow cooker comes into its own; I know that I can walk in and find a meal that is cooked, hot, and ready to serve. That means food is served as soon as we are willing to sit down, not 30 minutes later.
Life and time saver
With a little planning and preparation, you can put your meal in the slow cooker before you head out the door in the morning, time-saving and hangriness preventing. Unlike other ways of cooking, you do not need to stand over the cooker and make sure that it does not burn/stick to the bottom/cooking evenly. You set the temperature, fill the pot, and put the on the lid. You do not need to stir, check that everything is covered with enough liquid, baste meat, or turn anything over. Worry-free cooking.
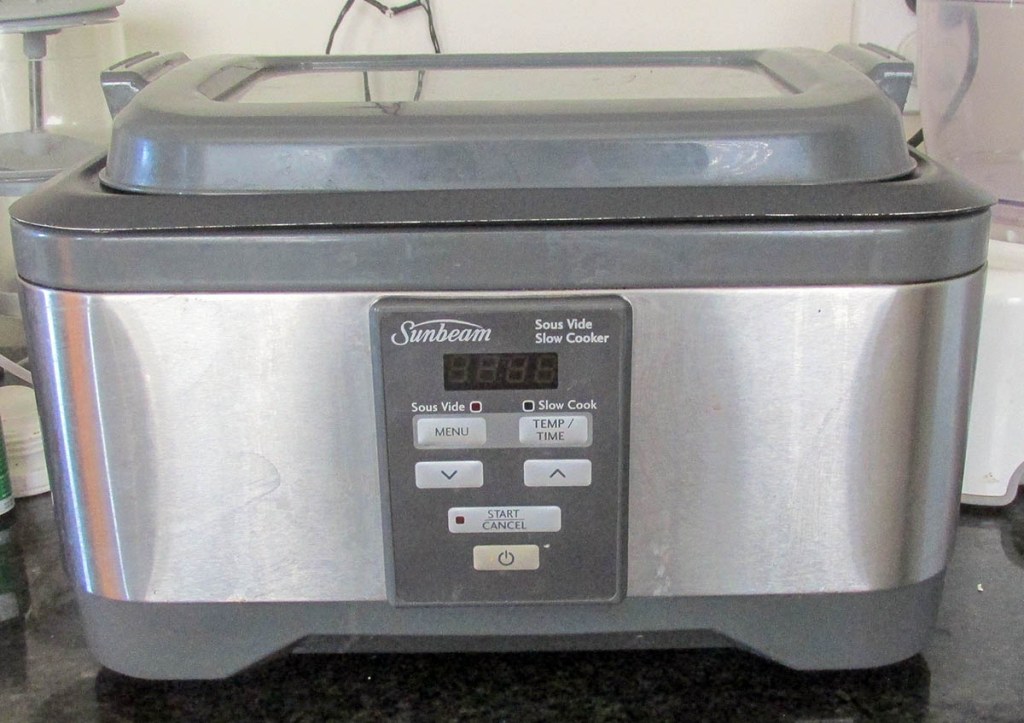
Get a big beast
I recently upgraded our slow cooker so now I have a little bit of a fancy one, it doubles as a sous vide cooker, which means my slow cooker can do two things. What you may not realise is a standard slow cooker is just as versatile, don’t believe me? Here are some of the things that I used our old slow cooker to make;
I do not really think there is an end to the things you can do with your slow cooker; you just have to give it a go.
Reasons to get a slow cooker
If you are not convinced already here are a few more reasons that slow cookers are great;
Most slow cookers are large enough that you can cook food for six people, if you are not feeding that many people at once you are in the perfect zone of ‘cook once, eat twice’ and have leftovers for the freezer.
Cheaper cuts of meat are usually a little tougher; these meats are perfect for the slow cooker, so they are good for your budget They make for an easy clean up; you have one pot to wash up which is always a bonus in my book.
You will never get a dry roast again; the slow cooker keeps in all the moisture when it is on, so you do not have to worry about your meat drying out.
If you are looking to buy a slow cooker here are a few that may interest you
Here are some options
Slow cooker meal
Budget range
Kensington TWKSL150R
Sheffield PL390
A little bit fancy range
Sunbeam HP8555
Sunbeam MU4000
Very nice range
Cuisinart 3 in 1 Multi Slow Cooker 6 Litre
If you want to find out more about some essential kitchen tools check out my post Kitchen items to invest in
Earlier in 2021, I made the move to relocate and update my website; I’ve been making changes and improving all of the things as I go. This recipe is one of the many things I’ve tried to make better.
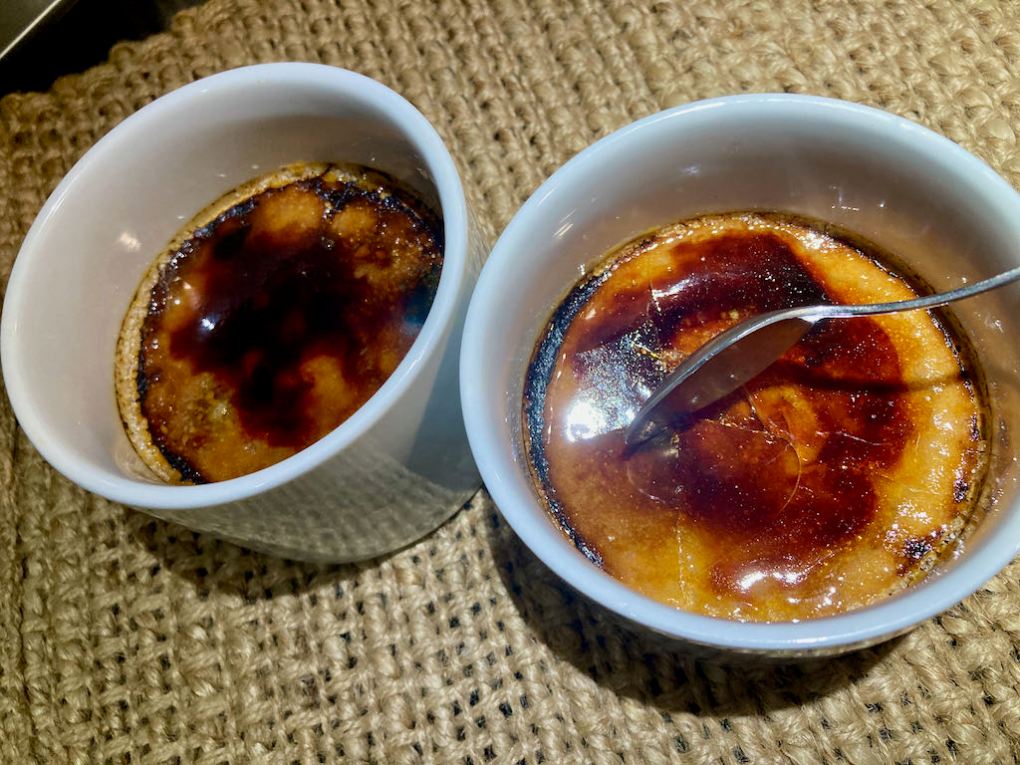
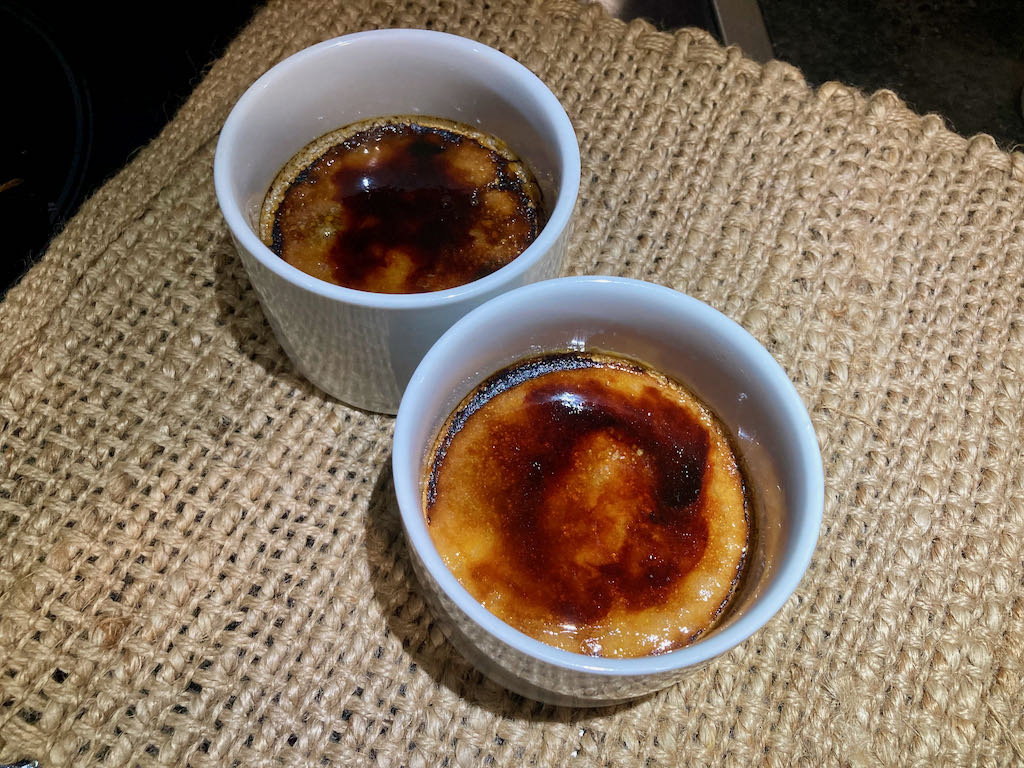
Something for a special occasion
This is the height of opulence in my book, and as such, I tend to crack out crème brûlée for special occasions. I first made this recipe for Jaime and my third anniversary, and it was amazing; even more impressive is that we celebrated our 11th anniversary in late 2021. Time fly’s when you are having all of the fun.
Not as tricky as you think
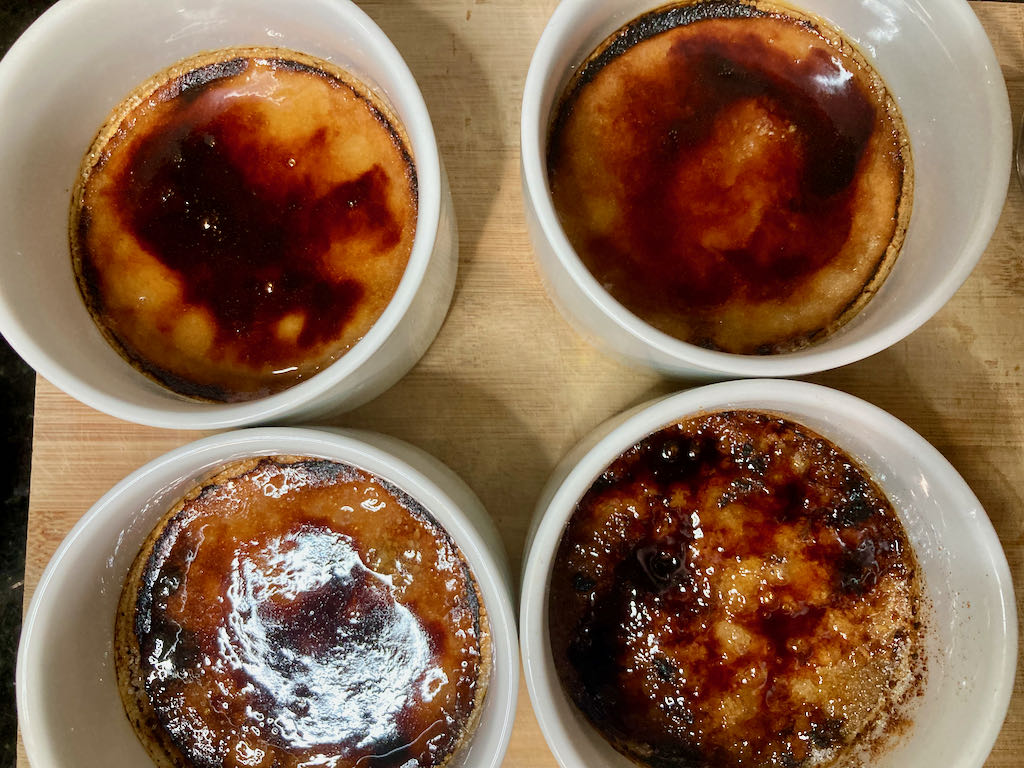
I always thought that crème brûlée was challenging to make, but the truth is they are straightforward to make. The bonus of making them is they make a big impact on those you put them in front of. This is one of the few recipes on this website that you will find normal white sugar. I tried for a long time and had many failed (burned tasting) attempts at this recipe before I realised I had to use white sugar. It is a minimal amount of sugar on the top of the custard.
Crème Brûlée recipe
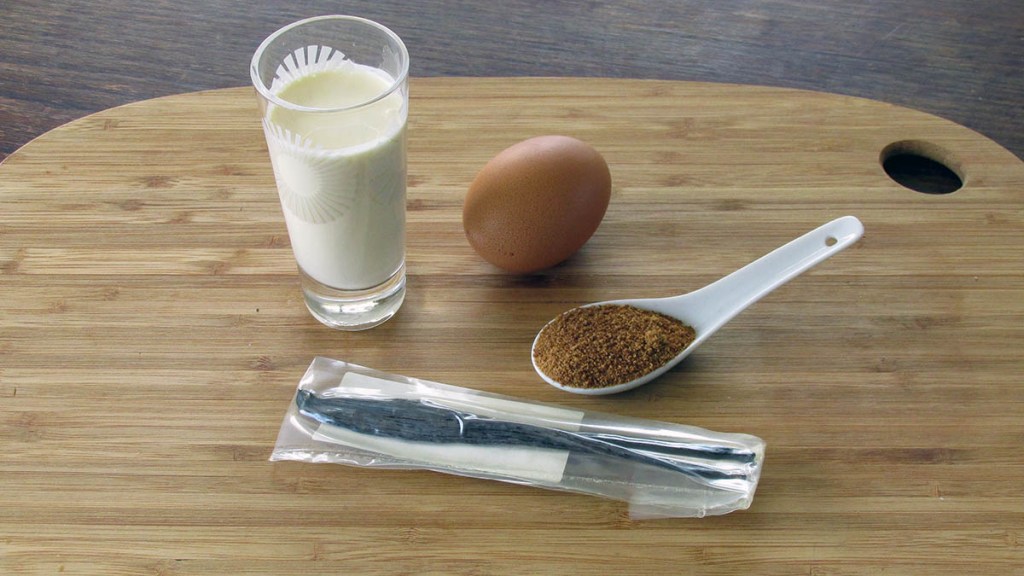
Ingredients
500ml double cream
1/4 tsp vanilla powder or 1 vanilla pod
100g coconut sugar
6 egg yolks
3 tbsp. white sugar
Instructions
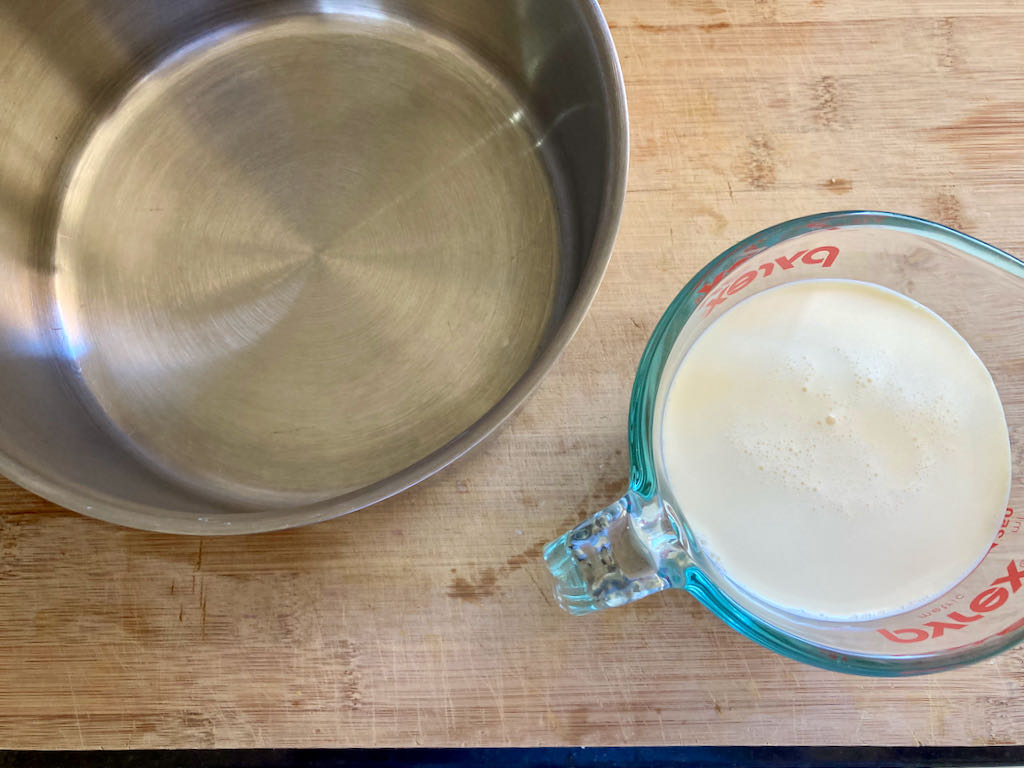
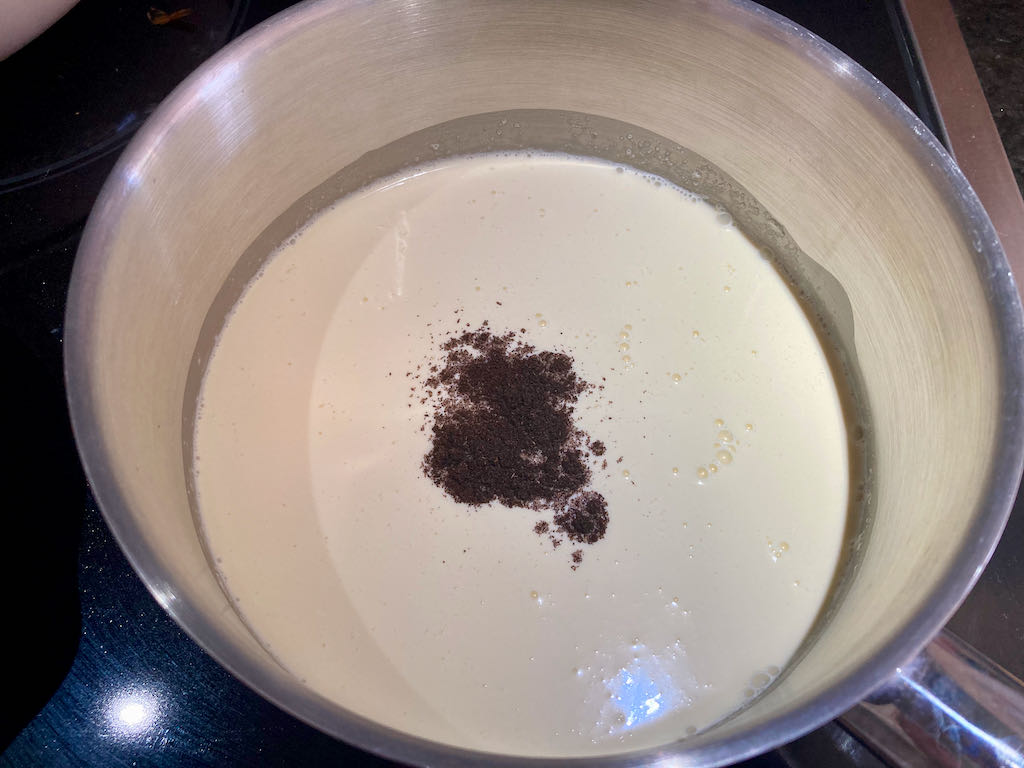
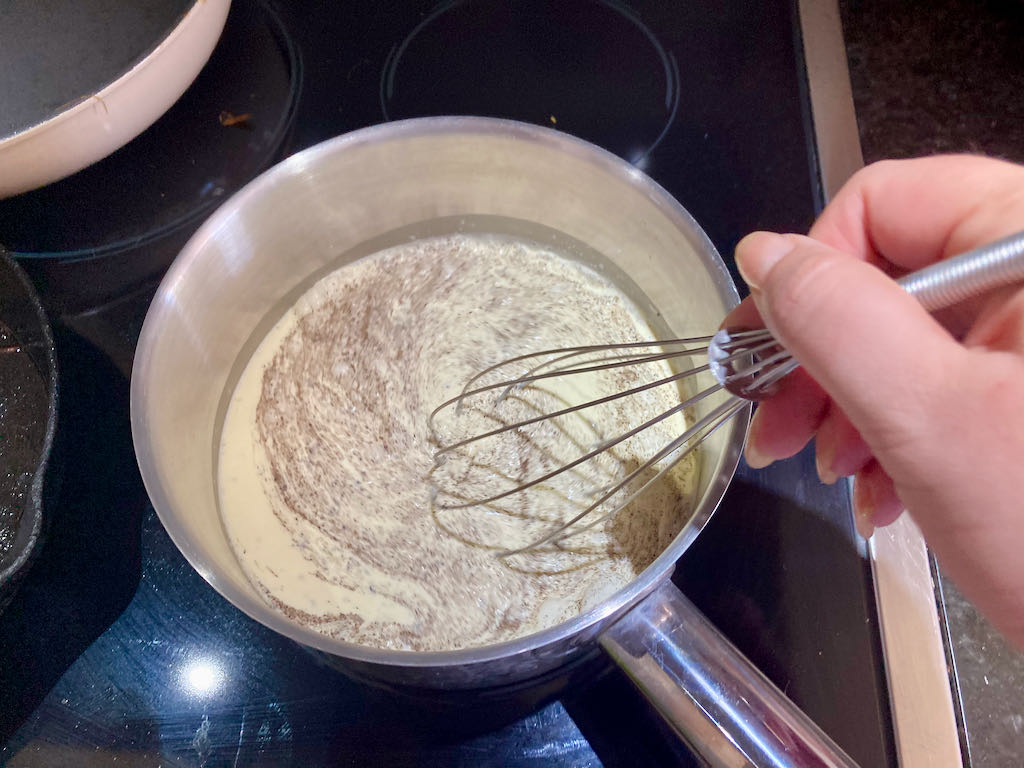
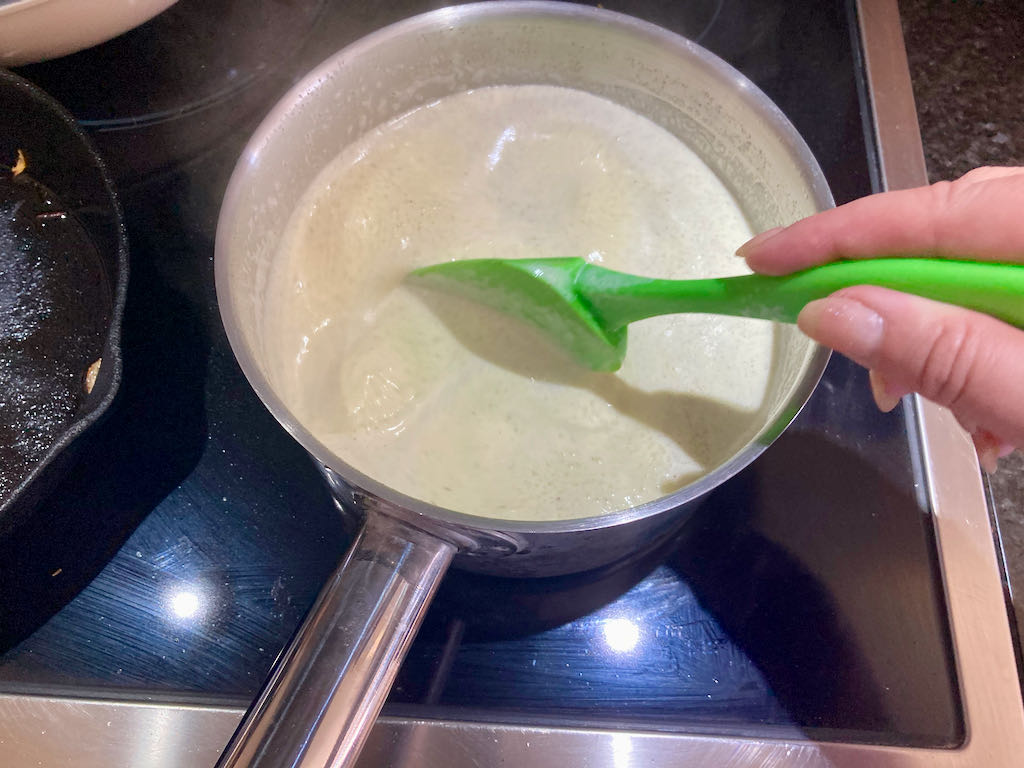
In a saucepan, mix together cream and vanilla.
Bring them to the boil.
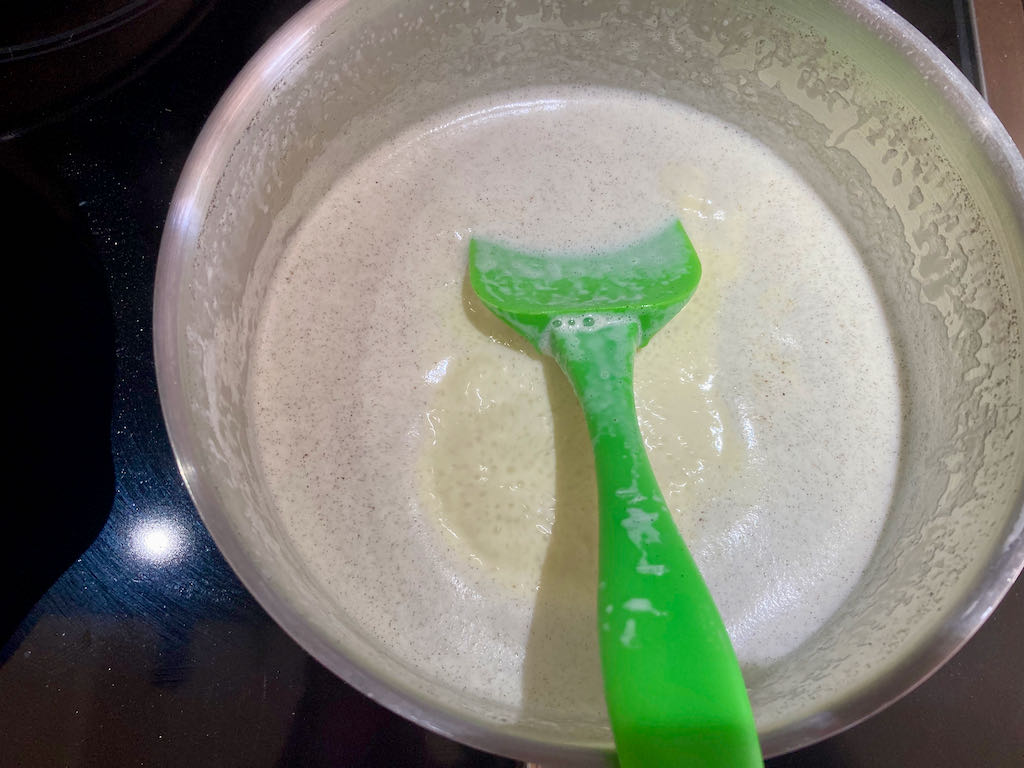
When the cream comes to a boil, reduce the heat and simmer gently for 5 minutes.
Watch this very closely; the cream can boil over very quickly.
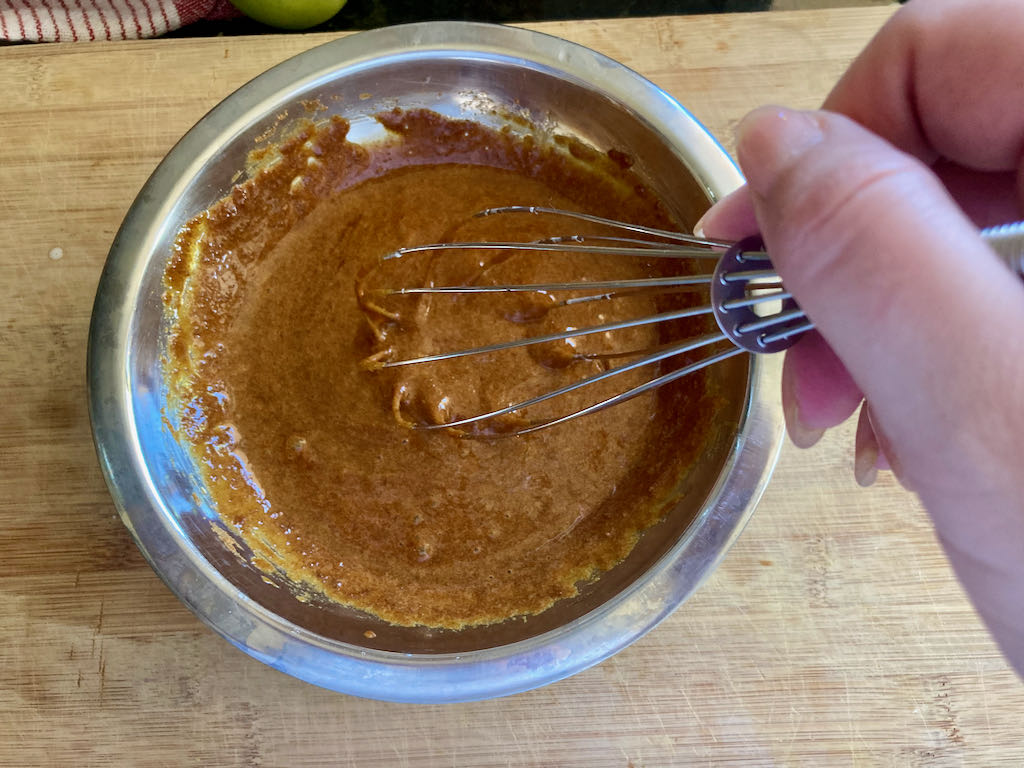
In a separate bowl, beat together egg yolks and sugar together until they are pale and fluffy.
After 5 minutes, bring the cream back to a boil.
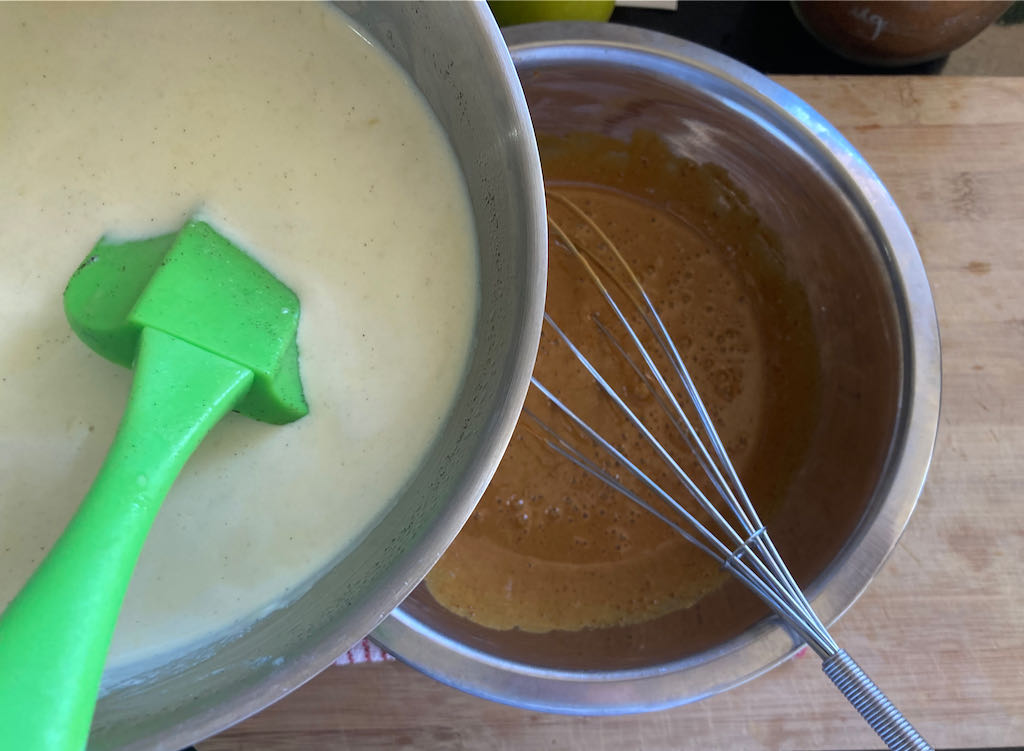
Pour a small amount of the cream over the eggs and whisk vigorously.
When the cream has been beaten into the eggs, start to add more.
Slowly pour in the rest of the cream over the eggs, continuously whisking.
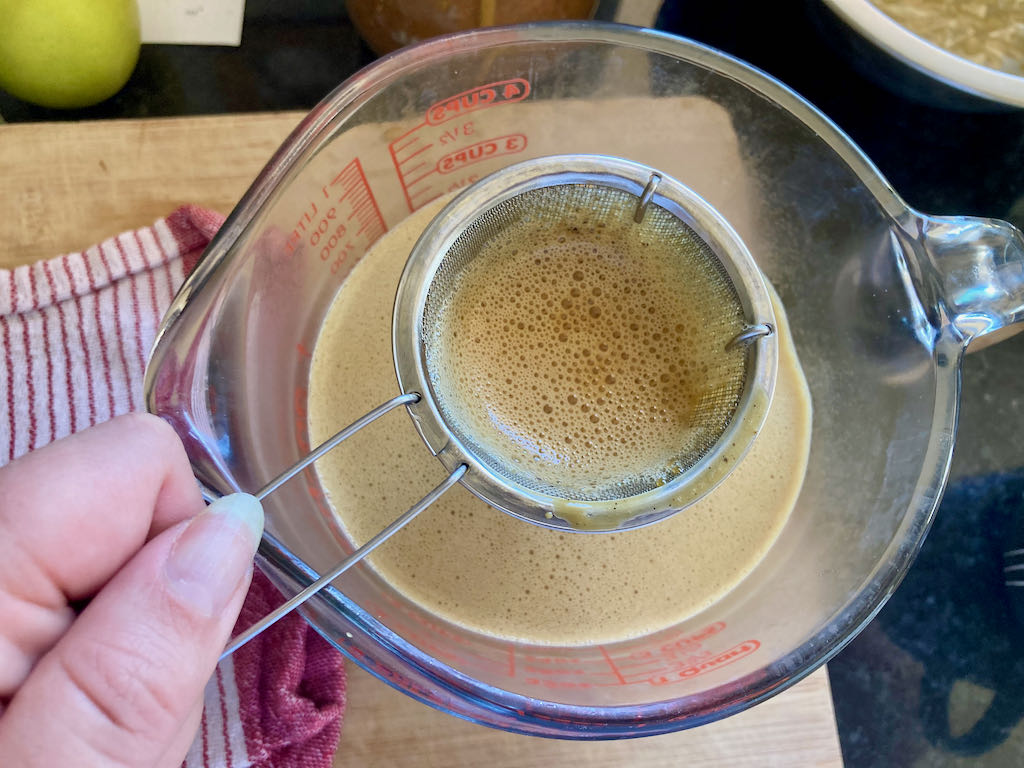
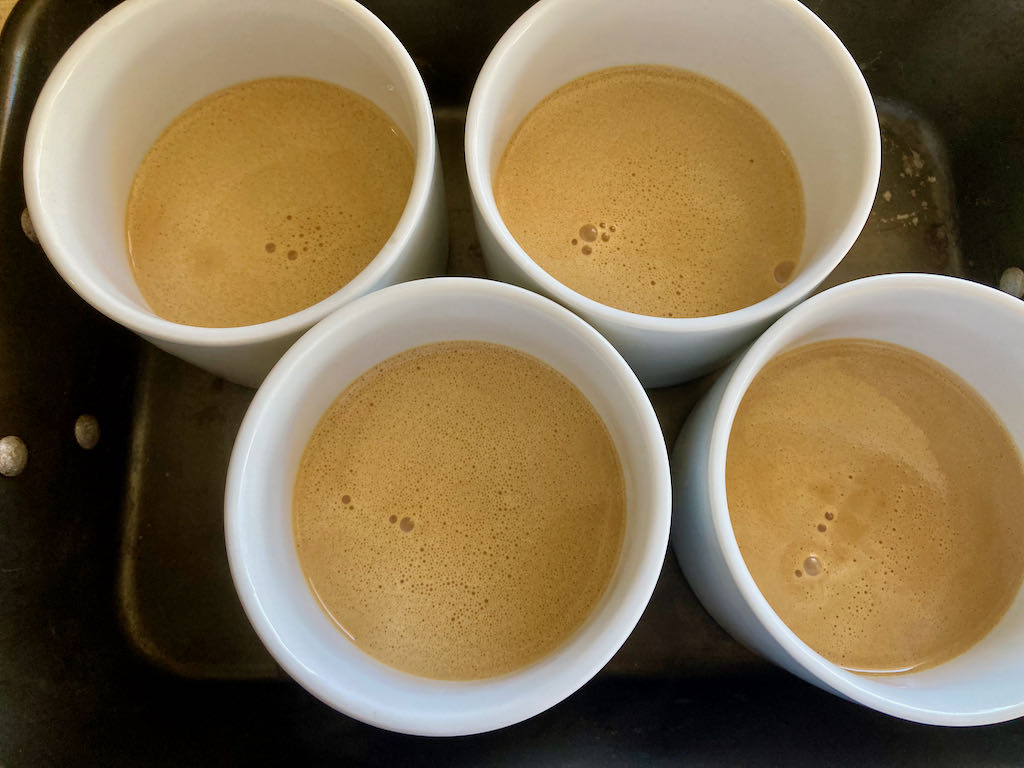
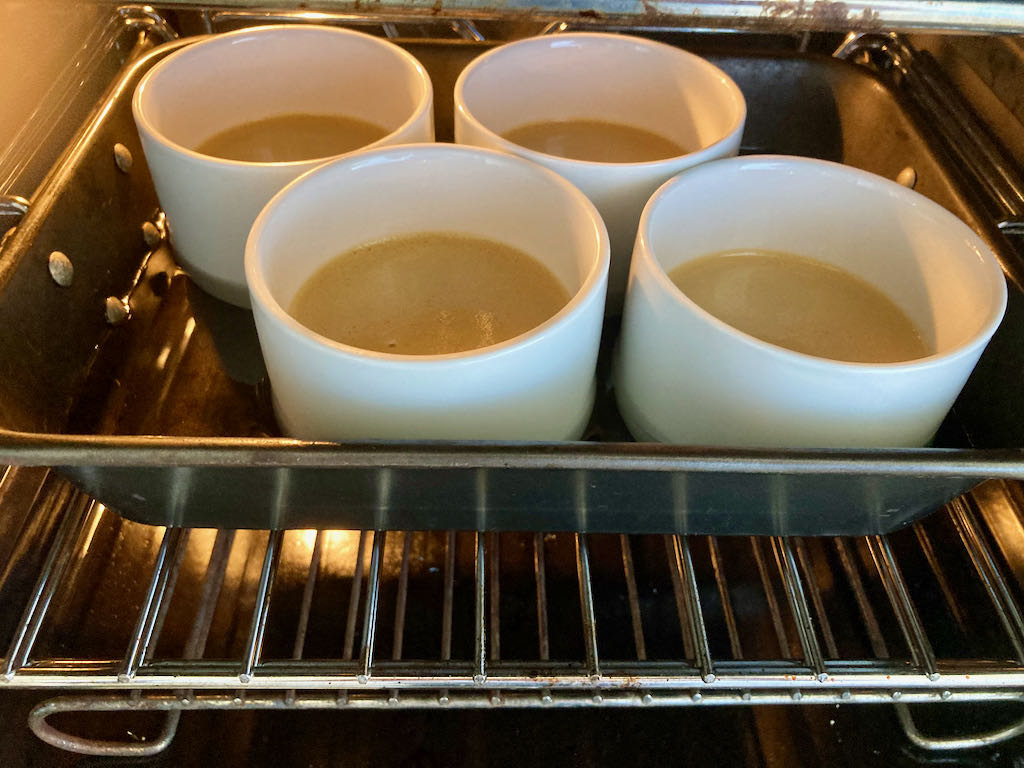
Strain the mixture, then pour it into ramekins.
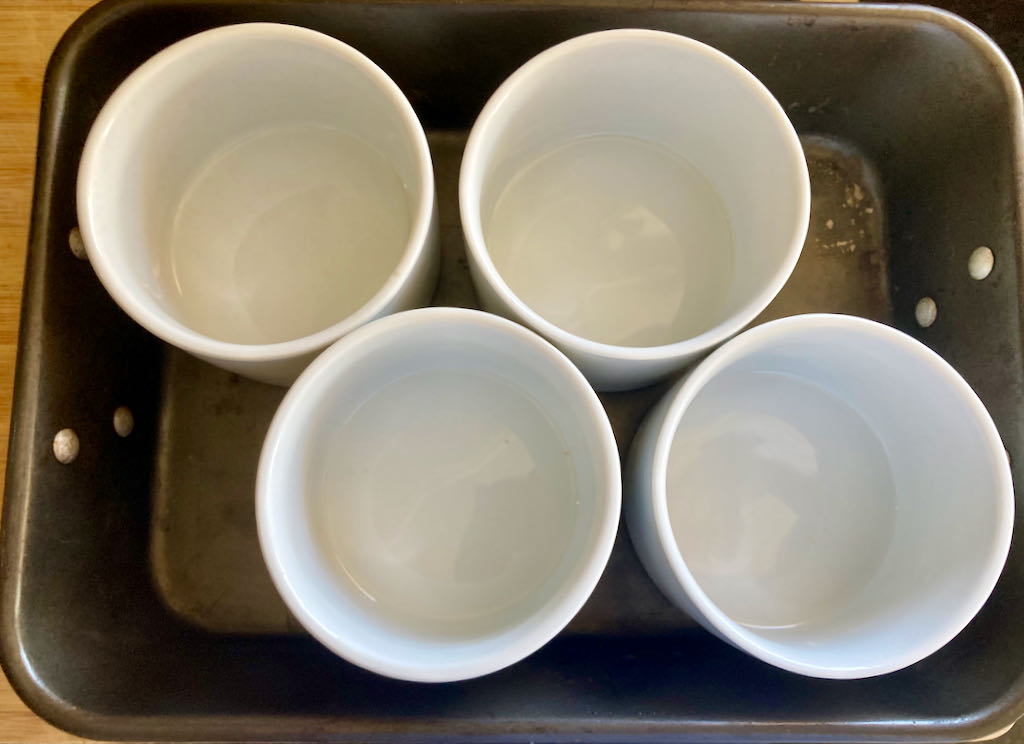
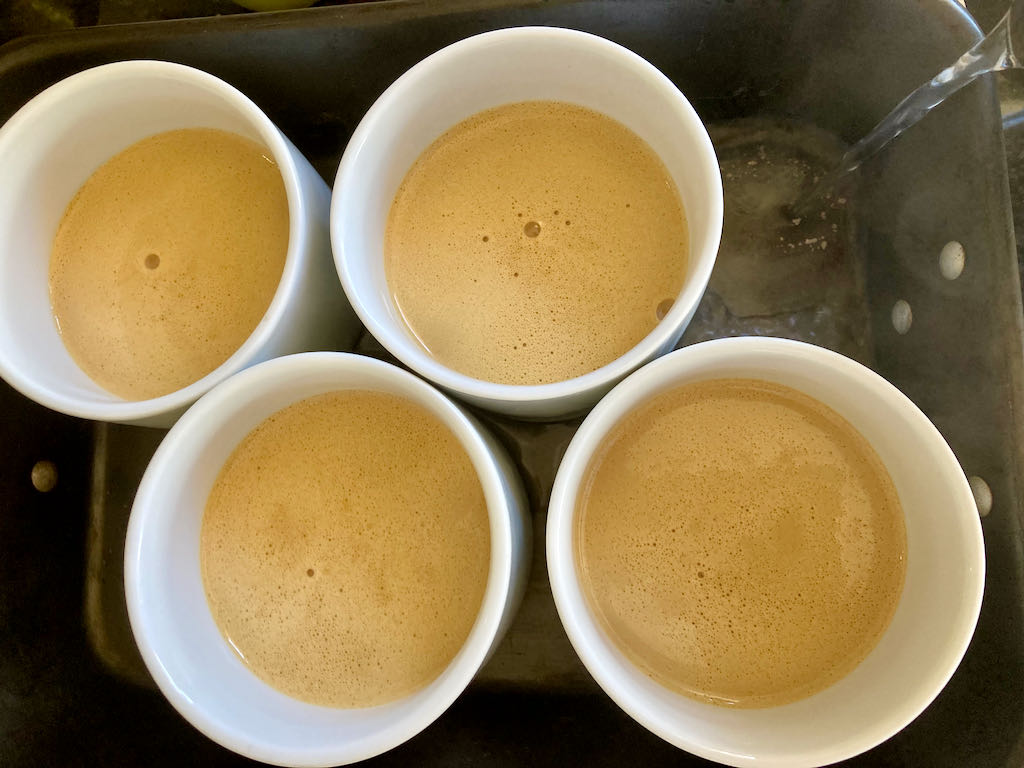
Place the ramekins in a bain-marie.
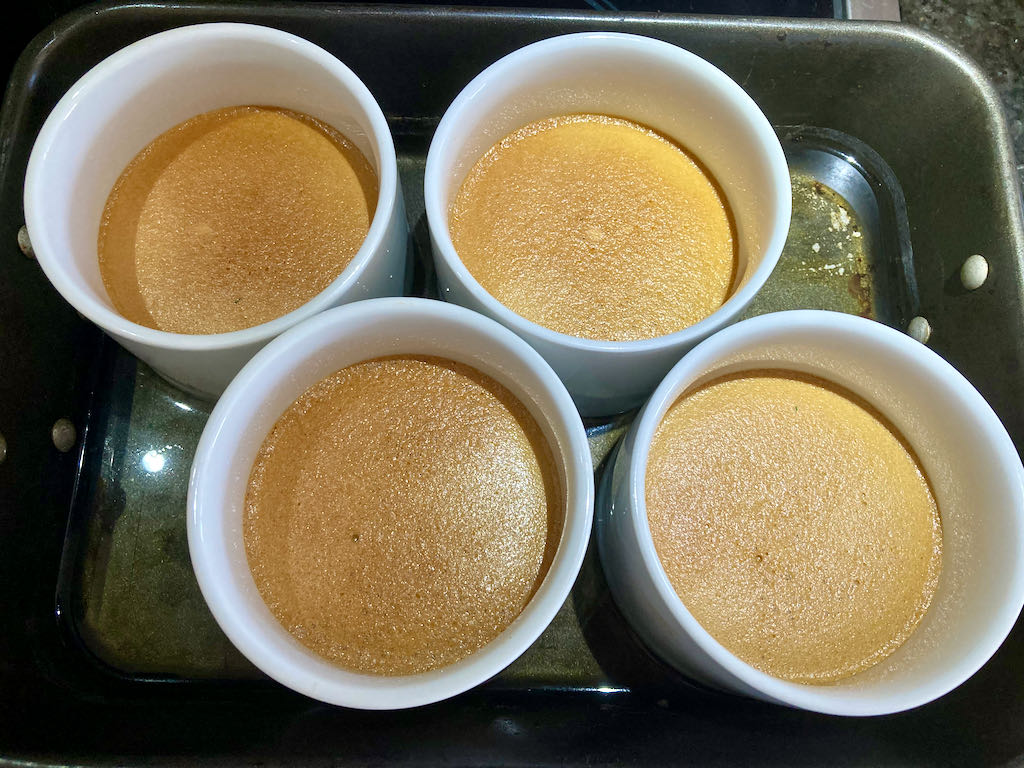
Bake at 150 degrees C/300 degrees F for 30-35 minutes.
The custard is set but still wobbly in the middle.
Remove bain-marie from the oven and chill the ramekins until needed.
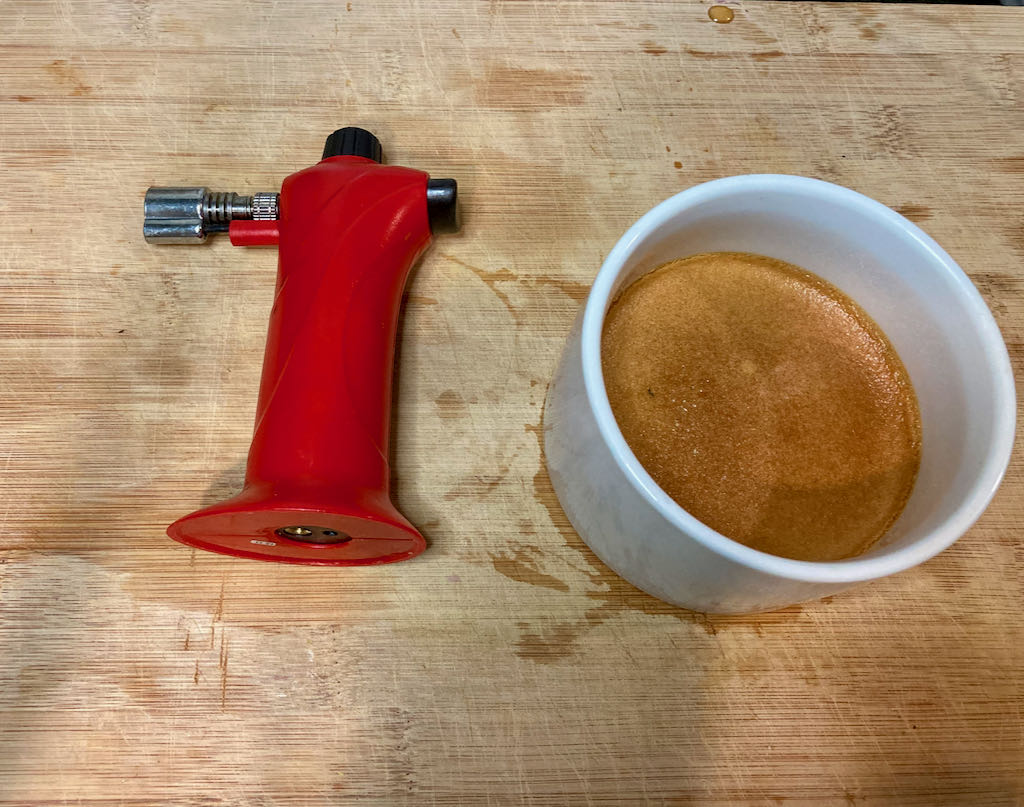
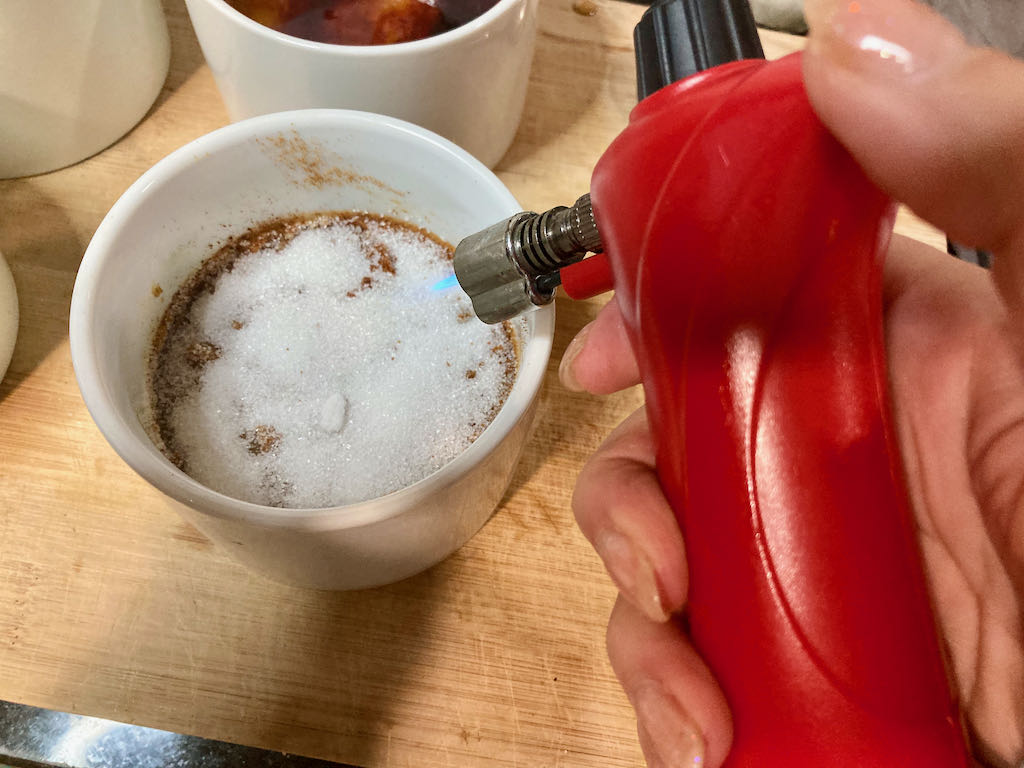
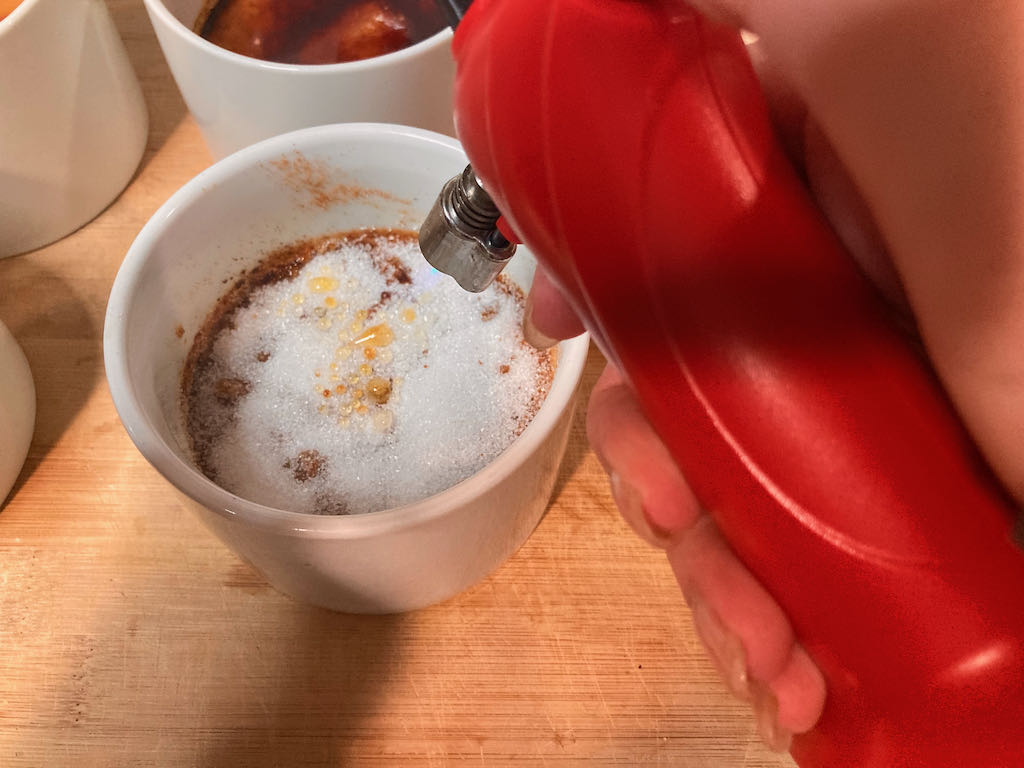
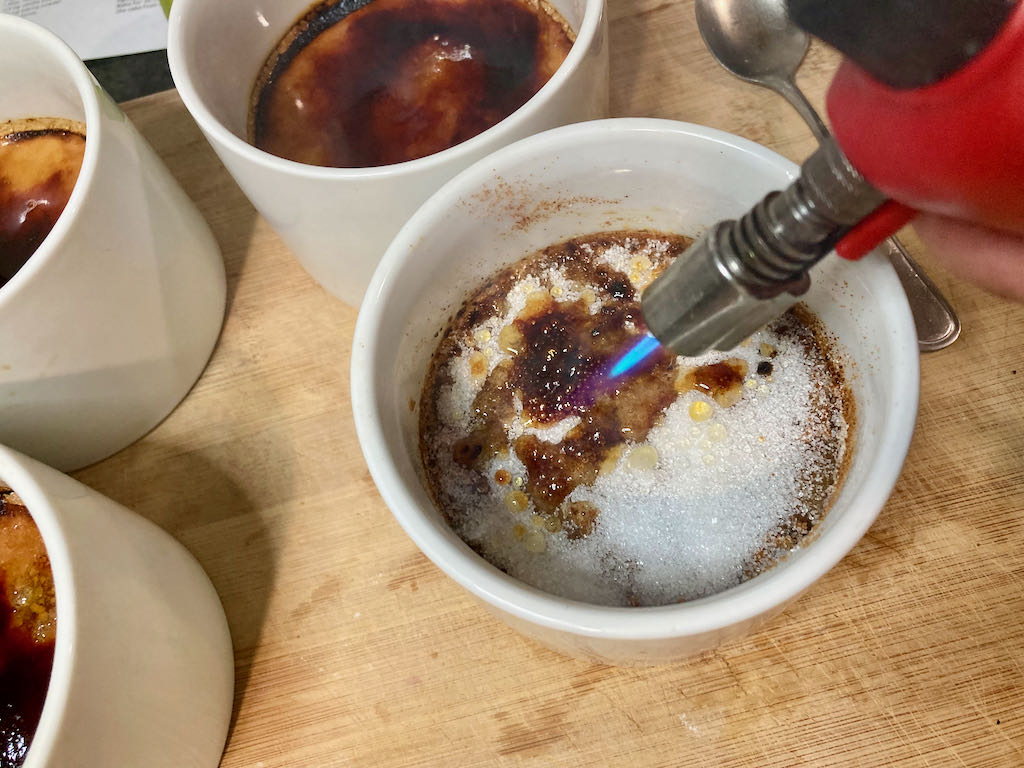
Sprinkle a small amount of sugar over the top of each custard.
Caramelise the sugar before serving.
You can do that would a kitchen blowtorch or under a hot grill.
When the cream comes to a boil, reduce the heat and simmer gently for 5 minutes.
Watch this very closely; the cream can boil over very quickly.
In a separate bowl, beat together egg yolks and sugar together until they are pale and fluffy.
After 5 minutes, bring the cream back to a boil.
Pour a small amount of the cream over the eggs and whisk vigorously.
When the cream has been beaten into the eggs, start to add more.
Slowly pour in the rest of the cream over the eggs, continuously whisking.
Strain the mixture, then pour it into ramekins.
Place the ramekins in a bain-marie.
Bake at 150 degrees C/300 degrees F for 30-35 minutes.
The custard is set but still wobbly in the middle.
Remove bain-marie from the oven and chill the ramekins until needed.
Sprinkle a small amount of sugar over the top of each custard.
Caramelise the sugar before serving.
You can do that would a kitchen blowtorch or under a hot grill.
Nutrition
Per Serving:455 calories; 38 g fat; 26 g carbohydrates; 3 g protein
Equipment
Saucepan
Whisk
Mixing bowl
Sieve
Ramekins
Baking dish
Blowtorch
Nutritional disclaimer
Nutrition information is provided as an estimate based on the ingredients used and available in my area (New Zealand). The nutritional information is here to help you understand the recipe; I use MyFitnessPal to generate my estimates. For more accurate nutritional information, please use a nutritional calculator with the ingredients in your area.
Movement is an integral part of my day. Keeping active is how I manage my physical and mental health while navigating this busy world we live in.
Any post I share is about my experience and activity; I am not here to tell you what to do. If you are interested in doing this kind or any type of training or movement programme, I highly recommend that you seek advice and support from a professional.
Monday
Warm-up
As many rounds as you can
12 minutes
Squats 5 reps
Side lunge with a toe touch 6 reps
Shoulder taps 6 reps
Guard sit-ups 5 reps
Cool down and stretch
Tuesday
Warm-up
6 rounds
30 seconds activity 10 seconds rest
Jumping squats
Lunges
Side lunge with a toe touch
Squat jacks
Cool down and stretch
Wednesday
Warm-up
5 rounds
30 seconds activity 10 seconds rest
Jumping squats
Skaters
Plank
Dying bugs
Boxers sit-ups
Lunges
Cool down and stretch
Thursday
Warm-up
6 rounds
Split jumps 10 reps
Donkey kicks 6 reps
Burpees 3 reps
Cool down and stretch
Friday
Warm-up
25 second hold
3 cycles
Mountain pose
Forward bend
Triangle
Bent leg triangle
Downward dog
Triangle
Bent leg triangle
Downward dog
Warrior
Chair pose
Forward bend
Mountain pose
Cool down and stretch
Workout disclaimer
I share my workouts to show what I do, not to tell you what to do.
I post my workouts with a percentage of my max rather than stating what weights or speeds I use. Everyone is different and has different levels of fitness and capability. Your body is yours alone if you want to start working out, I recommend spending some time with a personal trainer who can put you on the right path.
When working out with weights, remember your one-rep max is yours alone, finding the weights that are right for you is important. If you decide to try out a workout, find out what weights you should be using first.
Movement is an integral part of my day. Keeping active is how I manage my physical and mental health while navigating this busy world we live in.
Any post I share is about my experience and activity; I am not here to tell you what to do. If you are interested in doing this kind or any type of training or movement programme, I highly recommend that you seek advice and support from a professional.
Monday
Warm-up
As many rounds as you can
10 minutes
Squats 5 Reps
Side lunge with a toe touch 6 Reps
Shoulder taps 6 Reps
Guard sit-ups 5 Reps
Cool down and stretch
Tuesday
Warm-up
3 rounds
30 seconds activity
10 seconds rest
Push-ups
Handstand hold
Hollow rocks
Cool down and stretch
Wednesday
Warm-up
4 rounds
40 seconds activity
15 seconds rest
Plank
Bow and arrow
Push-ups
Cool down and stretch
Thursday
Warm-up
3 rounds
20 seconds activity
10 seconds rest
Walking lunges
Push-ups
Mountain climbers
Cool down and stretch
Friday
Warm-up
3 rounds
30 seconds activity
10 seconds rest
Ankle taps
Superman
Bow and arrow
Boxers sit-ups
Cannonball sit-ups
Dying bugs
Guard sit-ups
Leg raises
Cool down and stretch
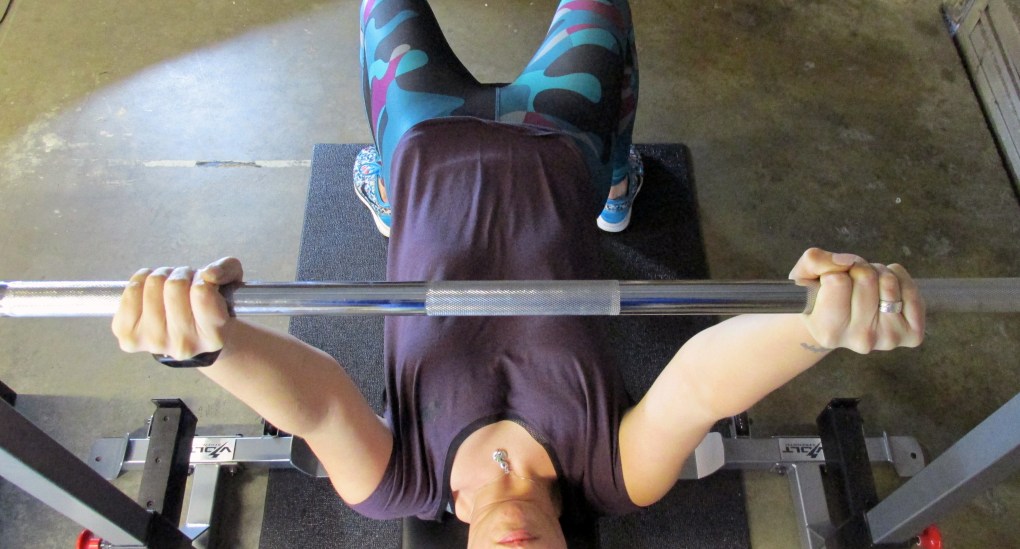
Keep Moving Fitness Deadlift
Workout disclaimer
I share my workouts to show what I do, not to tell you what to do.
I post my workouts with a percentage of my max rather than stating what weights or speeds I use. Everyone is different and has different levels of fitness and capability. Your body is yours alone if you want to start working out, I recommend spending some time with a personal trainer who can put you on the right path.
When working out with weights, remember your one-rep max is yours alone, finding the weights that are right for you is important. If you decide to try out a workout, find out what weights you should be using first.
Years ago, mayo was a high-use item; I think at one point we were using 500g a week. The problem was that the mayo we used contained a considerable amount of sugar, which is not ideal. The solution is to make your own without the sugar.
Make your own
If you are like me and you try to avoid mass-produced processed foods, the best option is to make your own. When you make your own, you control which ingredients you use and how much or how sweet you want it to be. Once you’ve tried making your own and seen how easy it is, you will never go back to store-bought again.
Making it for ourselves
Easy mayo
I came across a mayo recipe in a book and decided to give it a go, we all liked it but it’s me so I couldn’t help experimenting and seeing what if would be like using different kinds of mustard.
The winner for me was whole-grain Dijon. It added a nice flavour and a little texture that I liked. What I appreciate most is knowing exactly what went into it. It takes just a few minutes to make, and the taste is fantastic. Once you try it, you’ll likely never go back to store-bought mayo.
Easy mayo
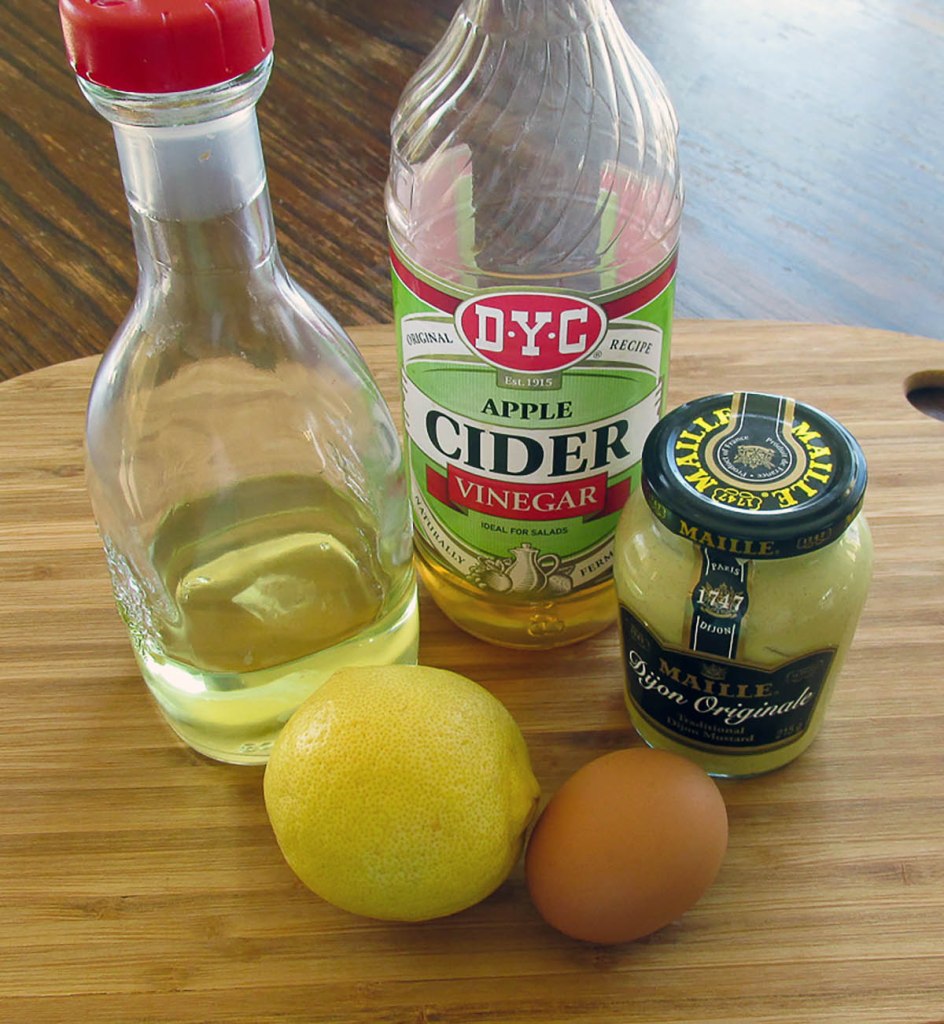
Easy mayo ingredients
Ingredients
1 egg
2 tbsp. lemon juice
1/2 tsp. Dijon mustard
1/2 tsp. apple cider vinegar
1 1/4 cup extra light olive oil
Instructions
Put one cup of oil into something that makes it easy to pour.
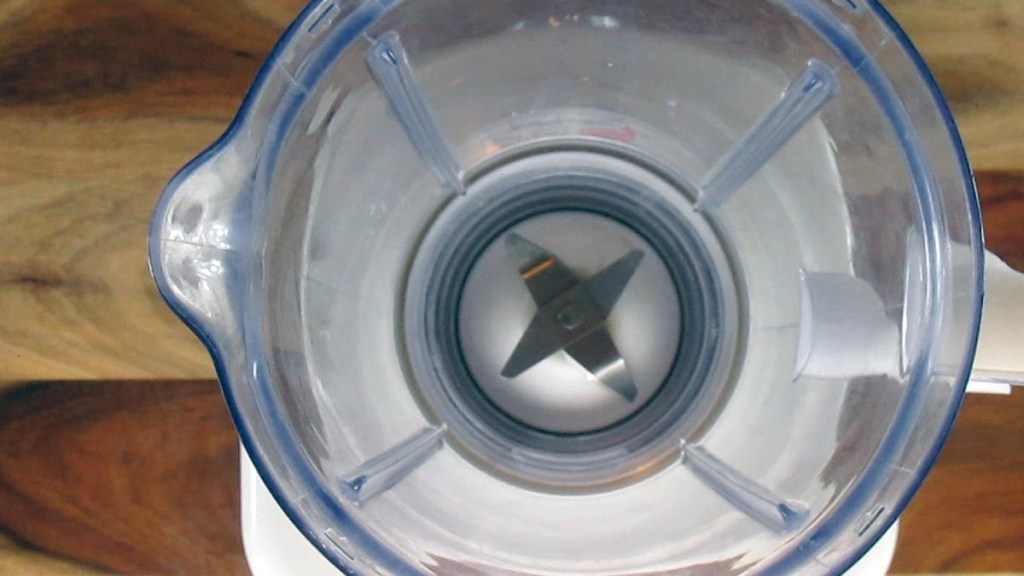
Put everything else into the blender or food processor.
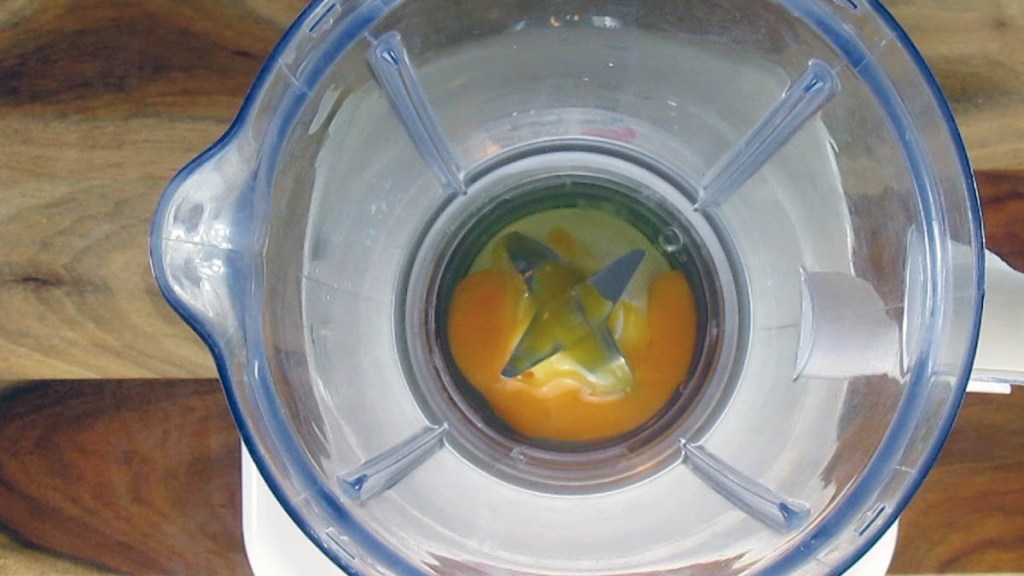
Take a blenderAdd the eggAdd the vinegar and 1/4 cup of oilAdd the mustard and let everything hang out
Let them come to room temperature together, 30 minutes.
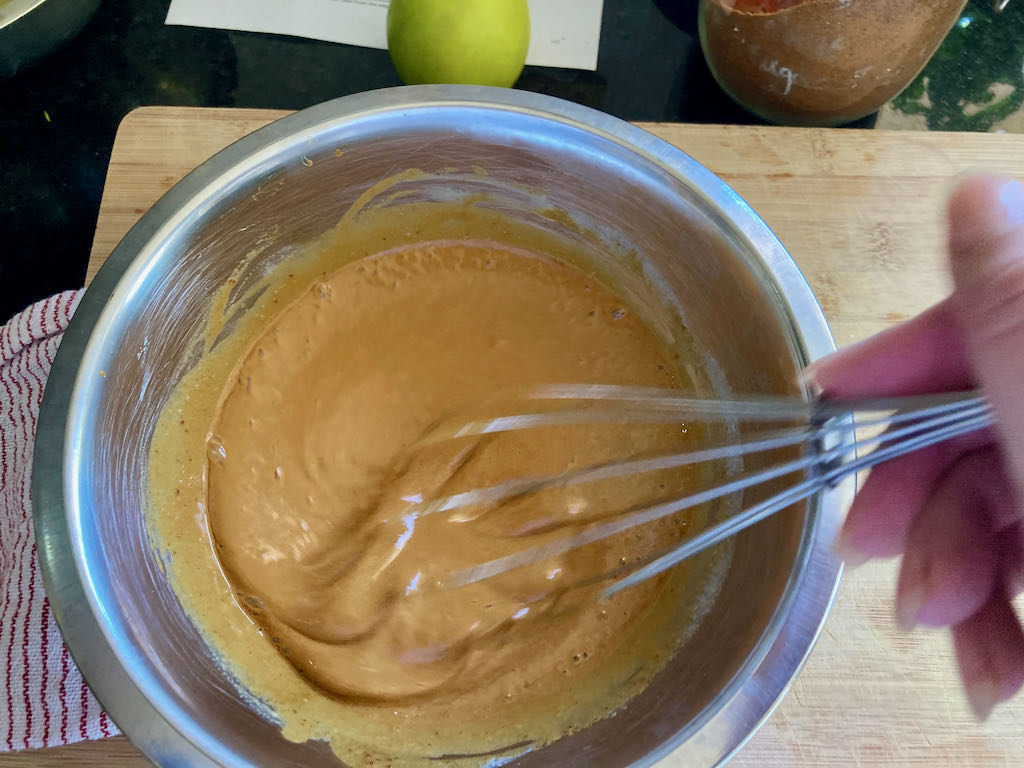
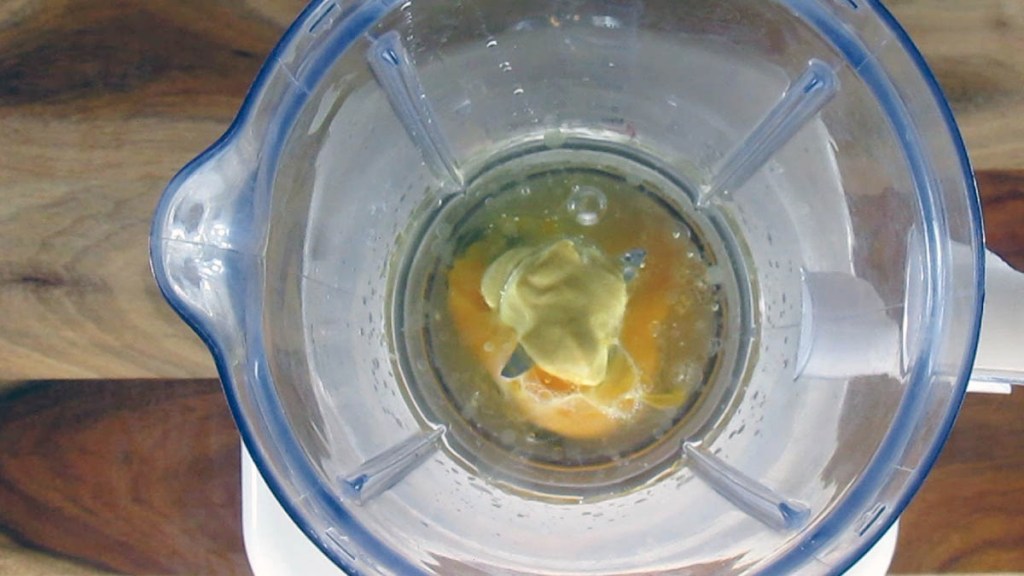
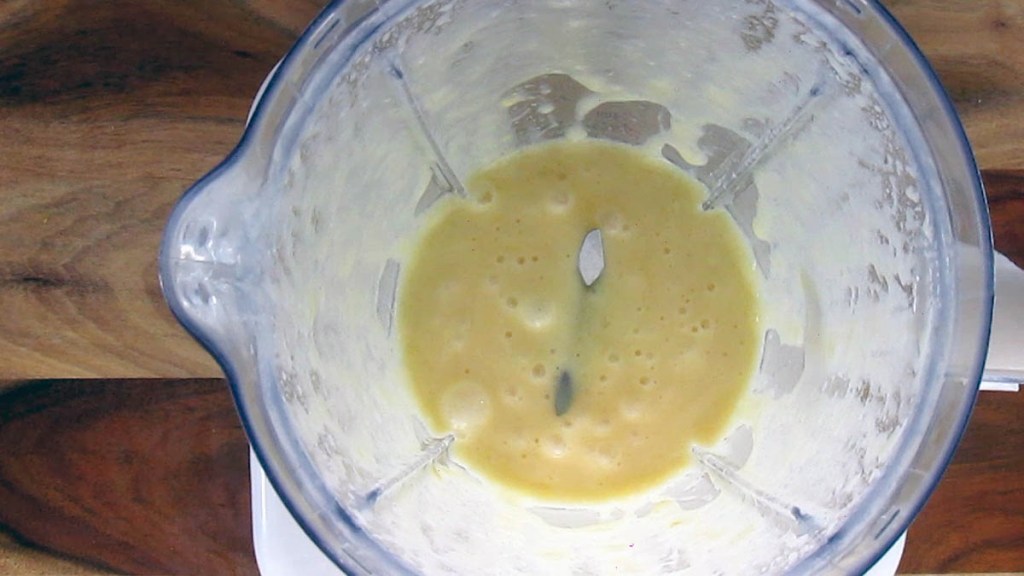
Mix everything together thoroughly so it is well blended.
Give everything a blend together so it is well mixedEverything is well blended
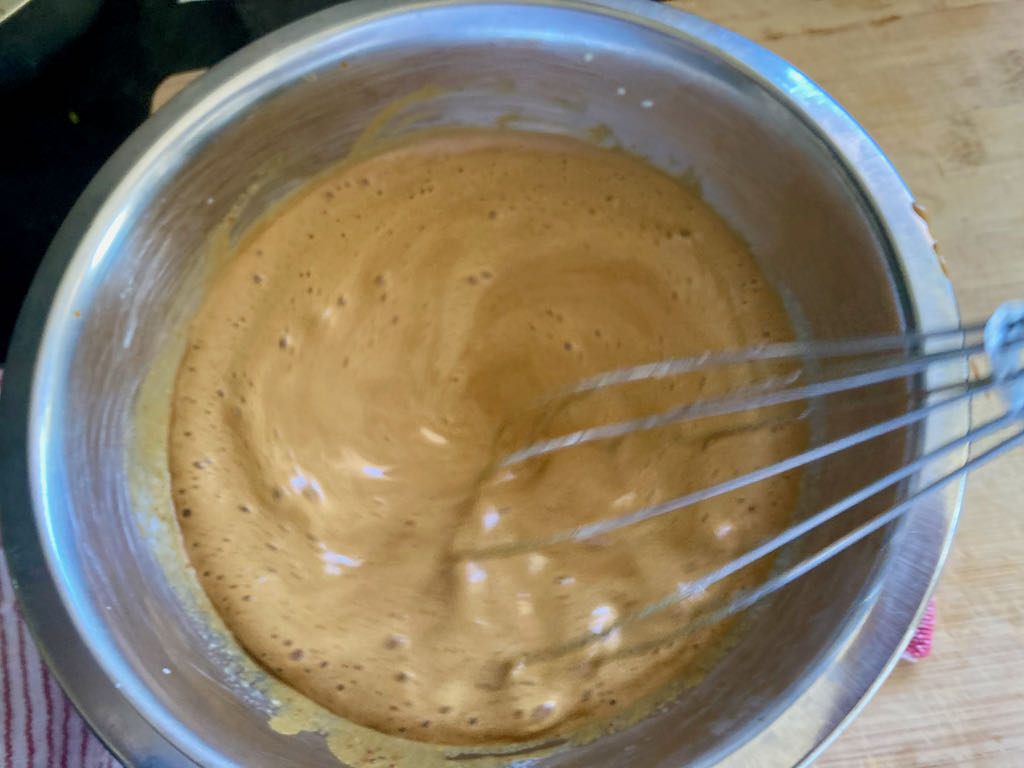
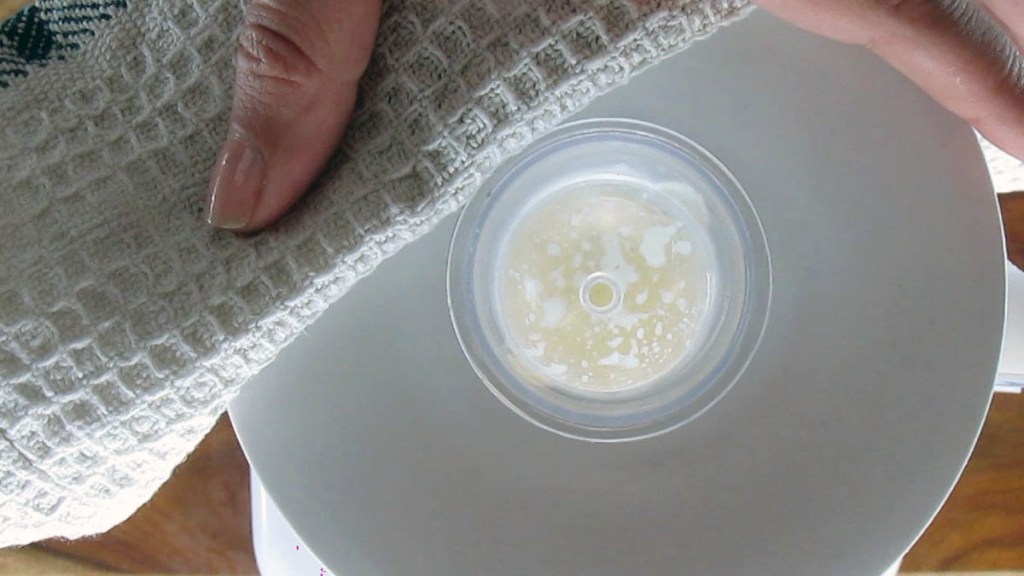
Now, for the most challenging part, incorporating the remaining 1 cup of oil into the mixture.
Now for the hardest partIncorporating the remaining 1 cup oil into the mixture slowly
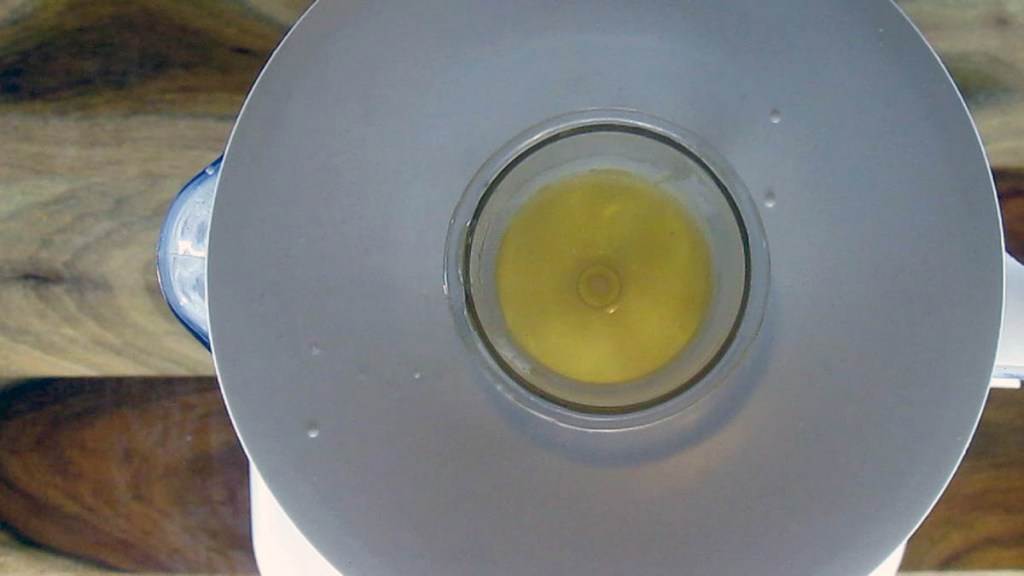
This is the hardest part because it needs to be done slowly, I mean, the slightest drizzle you can manage.
Adding the oil should take 3 minutes
Adding the oil should take 3 minutes; if you do it quicker, it may not work.
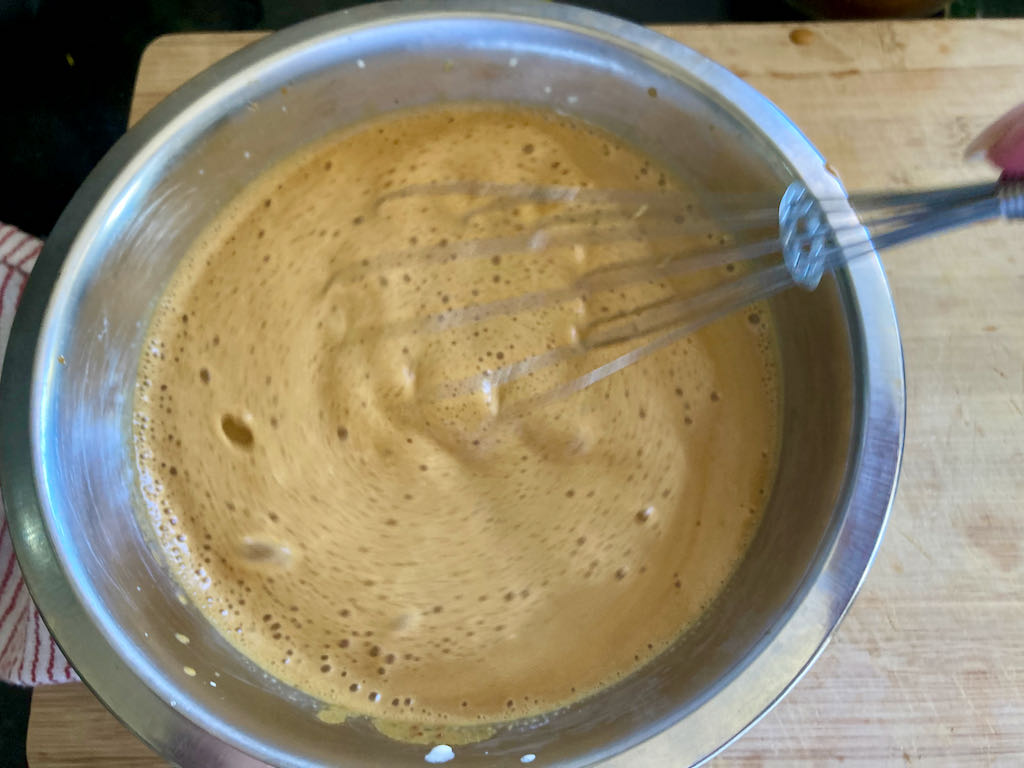
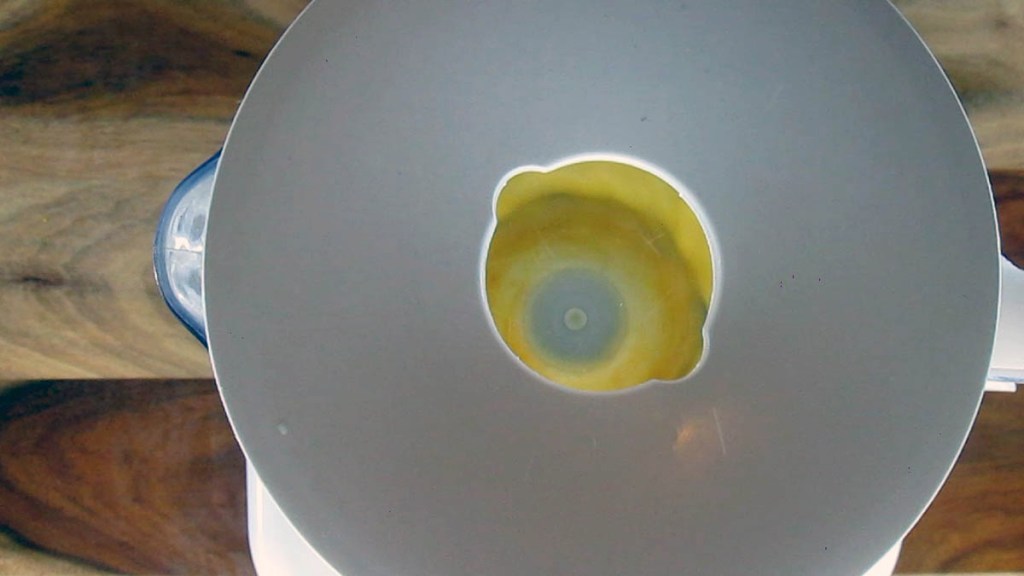
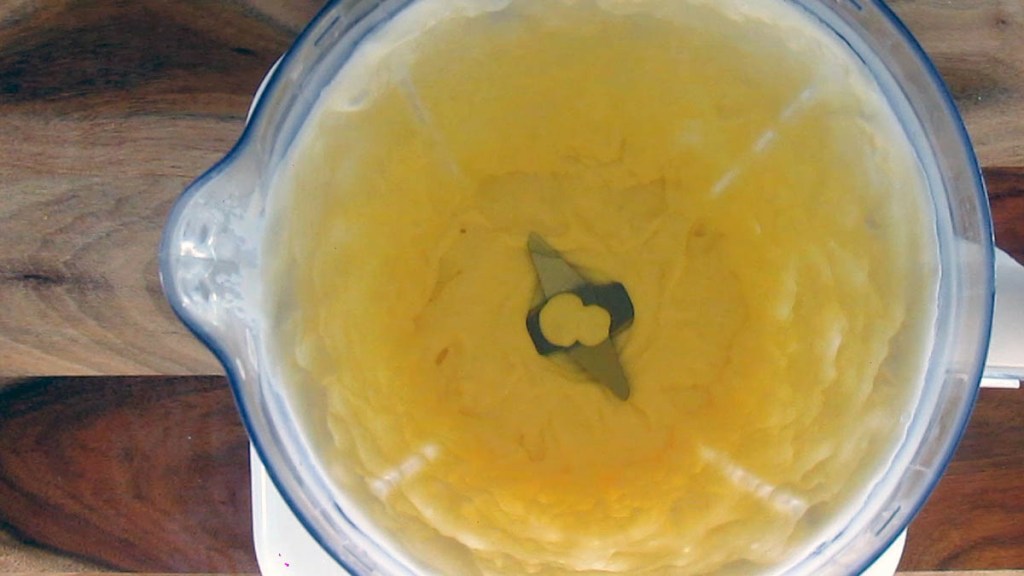
The sound of your blender or processor make will change as the closer you get to your mayo being doneScrape down the sides of the blender
The sound of your blender or processor will change as you get closer to your mayo being ready.
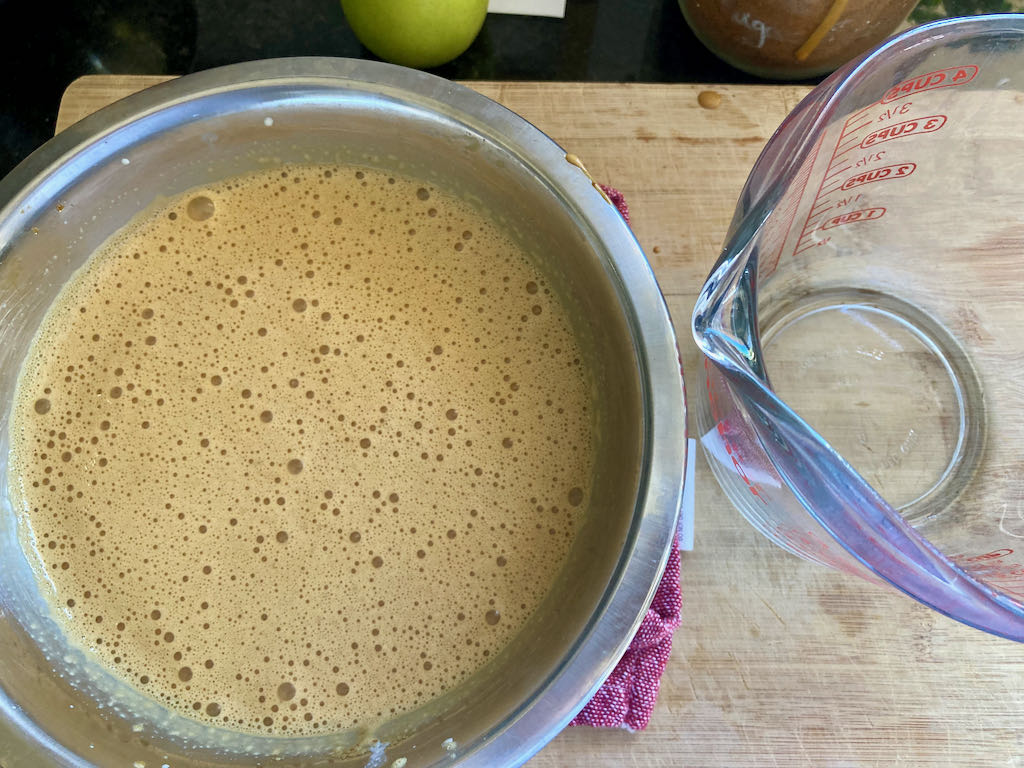
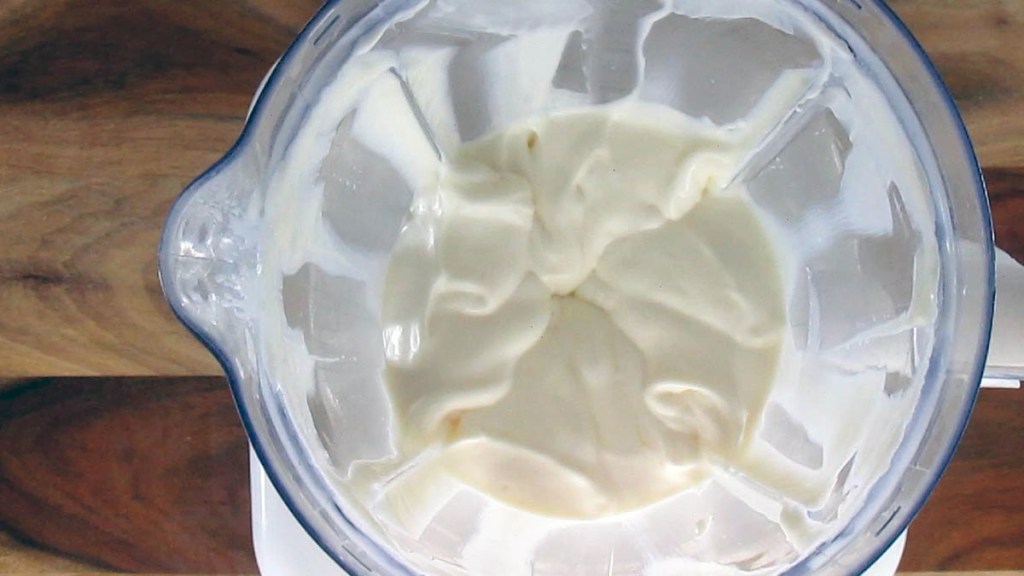
You will end up with a silky and shiny mayo
You will end up with a silky, shiny mayo ready to be put in a jar and kept in the fridge.
Easy to make, this mayo uses the whole egg and has no extra sugar or nasties.
Credit: Cath @ easycleaneats
Ingredients
1 egg
2 tbsp. lemon juice
1/2 tsp. Dijon mustard
1/2 tsp. apple cider vinegar
1 1/4 cup extra light olive oil
Directions
Put one cup of oil into something that makes it easy to pour.
Put everything else into the blender or food processor.
Let them come to room temperature together, 30 minutes.
Give everything a blend together so it is well mixed.
Now for the hardest part, incorporating the remaining 1/4 cup oil into the mixture.
This is the hardest part because it needs to be done slowly, the smallest drizzle you can manage.
Adding the oil should take 3 minutes; if you do it quicker if may not work.
The sound of your blender or processor make will change as the closer you get to your mayo being done.
You will end up with a silky, shiny mayo ready to be put in a jar and kept in the fridge.
Nutrition
Per Serving: 83 calories; 9.2 g fat; 0.4 g carbohydrates; 0.2 g protein
Equipment
Measuring cups
Measuring spoons
Measuring jug
Spatula
Blender
Nutritional disclaimer
Nutrition information is provided as an estimate based on the ingredients used and available in my area (New Zealand). The nutritional information is here to help you understand the recipe; I use MyFitnessPal to generate my estimates. For more accurate nutritional information, please use a nutritional calculator with the ingredients in your area.
Movement is an integral part of my day. Keeping active is how I manage my physical and mental health while navigating this busy world we live in.
Any post I share is about my experience and activity; I am not here to tell you what to do. If you are interested in doing this kind or any type of training or movement programme, I highly recommend that you seek advice and support from a professional.
Monday
Warm-up
6 rounds
Squats 5 Reps
Push-ups 5 Reps
Sit-ups 5 Reps
Cool down and stretch
Tuesday
Warm-up
5 rounds
Split jumps 10 Reps
Donkey kicks 6 Reps
Burpees 3 Reps
Cool down and stretch
Wednesday
Warm-up
20 seconds activity
10 seconds rest
5 rounds
Plank
Bow and arrow
Push-ups
Cool down and stretch
Thursday
Warm-up
30 seconds activity
10 seconds rest
4 rounds
Walk down Push-ups
Push-ups with a cross over
Boxers sit-ups
Leg raises
Squats
Cool down and stretch
Friday
Warm-up
3 rounds
20 seconds activity
10 seconds rest
Superman
Bow and arrow
Boxers sit-ups
Cannonball sit-ups
Dying bugs
Guard sit-ups
Leg raises
Russian twist
Scissor legs
Sit-ups
Cool down and stretch
Workout disclaimer
I share my workouts to show what I do, not to tell you what to do.
I post my workouts with a percentage of my max rather than stating what weights or speeds I use. Everyone is different and has different levels of fitness and capability. Your body is yours alone if you want to start working out, I recommend spending some time with a personal trainer who can put you on the right path.
When working out with weights, remember your one-rep max is yours alone, finding the weights that are right for you is important. If you decide to try out a workout, find out what weights you should be using first.
Hopefully, you all had a great break and enjoyed time with friends and family. I am not one for making New Year’s resolutions. I prefer to set myself goals for the year, have something to work towards and start a new year by setting my goals.
2015 the year that was
Last year, I set myself many goals; I achieved all of the important ones but never accomplished the physical goals I set thanks to injuring my Achilles in August. I spent a total of two months rocking around with a cast and then had a moon boot on. Sadly that means that all of my hard work from the year that would have seen me reach my goals was mostly undone, and I spent the remainder of the year focusing on physiotherapy and regaining my strength and flexibility. I’m still not fully recovered from my Achilles adventure (apparently, it’s a long road to recovery), so with that long layoff still fresh in my mind, I’m setting my goals and making sure I’m kinder to my body in the process.
2016 goals
Over the next 12 months, I want to:
Stay injury-free for the year, continue to recover from my injury and avoid surgery.
Improve my back squat aim to squat 80kg
Attend one yoga class a week to improve flexibility
Reduce my resting heart rate to 60bpm
Reduce my body fat to 20%
Work out at least once a day.
To make these goals achievable, I am going to break them down and give myself some milestones through the year to keep myself on track. Any goals that I reach before the end of the year will be ticked off, and I will set a new goal for myself. I want to make myself accountable for my progress, so I’ll check in each month and share my progress.
When setting off on a journey to remove processed foods from your diet, you may stop and ask yourself the question What can I eat instead of rice/couscous/pasta/bread?
The answer is to find a suitable replacement.
The options are limitless; you can find gluten-free, sugar-free, grain-free, I could go on. An easy way to eat clean and simple is to switch out the standard meal padding of rice/couscous/pasta/bread with a vegetable alternative or something you can make yourself.
This recipe is an excellent alternative that can be easily added to your meal.
Easy to make with the right tools
It is simple to make when the ingredients are prepared, but the preparation can take some time. I spent a year grating all of my cauliflowers by hand before moving over to a food processor and away from the weekly skin grafts to my fingers. I was becoming concerned that my family would develop a liking of long pig in their food. A food processor with a grating attachment is a must if you intend to move away from real rice. You can process 4 cauliflower heads in the time it takes to grate one by hand. To make couscous I like to use the larger grating attachment to get a more chunky texture.
Perfect hot or cold
As with regular cous cous you can have this hot or cold, once it has been cooked the options are unlimited. You can freeze cauliflower if it is raw or cooked. That means you can make the most of cauliflower when they are in season and cheap. I like to buy in bulk, grate, portion and freeze.
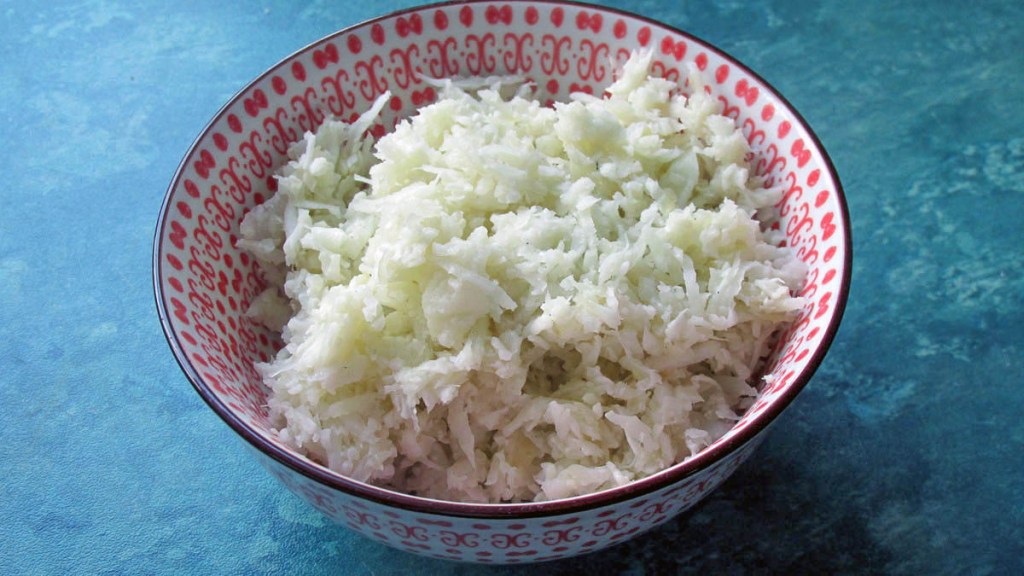
This easy to make alternative to couscous is a must know recipe for clean eating, paleo, primal and keto diets.
Credit: Cath @ easycleaneats
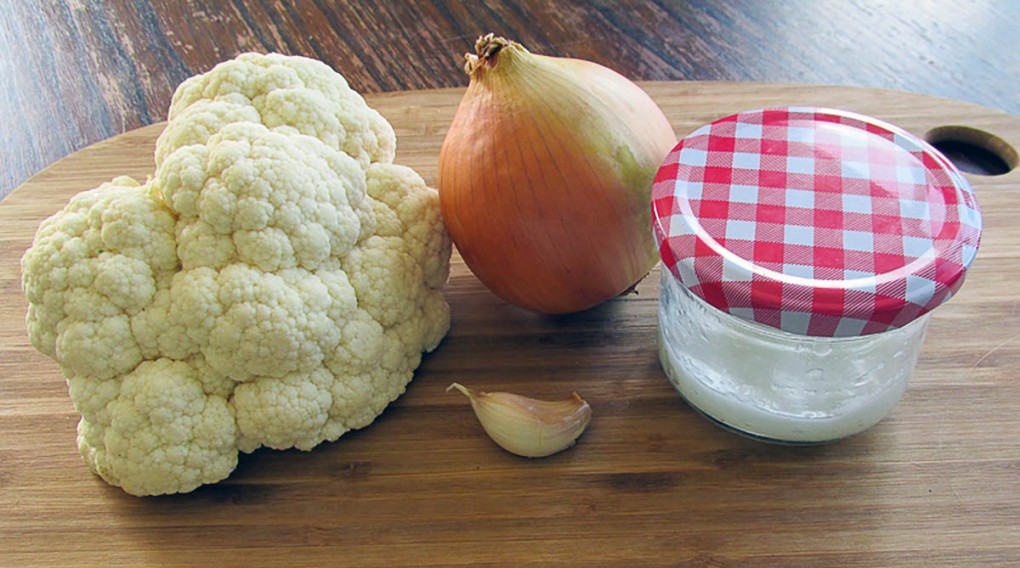
Ingredients
1 head cauliflower grated
1/2 onion, finely minced
1 tbsp. coconut oil
1 garlic clove minced (optional)
Directions
Break the cauliflower into large florets.
Use a food processor with a corse grating attachment to grate cauliflower.
If you don’t have a food processor you can grate the cauliflower by hand.
Finely chop the onion.
When all of the cauliflower is grated transfer it to a mixing bowl.
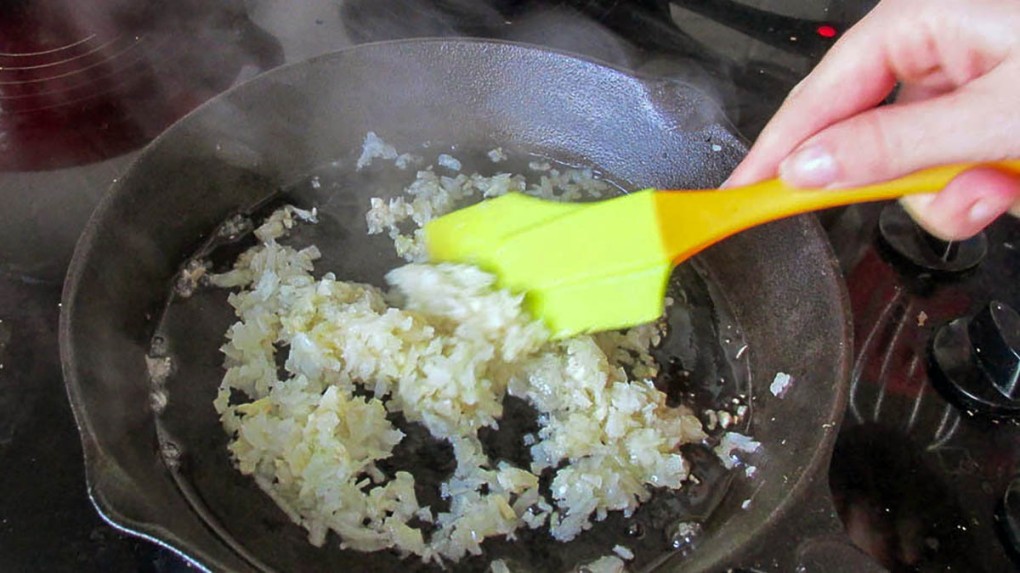
Take a large frying pan over a medium heat and melt some coconut oil.
Add the onion to the frying pan.
Cook the onion until it is softened.
Add the cauliflower to the frying pan.
Cook the cauliflower and onion for 5 minutes.
Keep the cauliflower moving in the pan, you don’t want it to colour.
When the cauliflower has softened it is ready to serve.
Serve hot or cold.
You can freeze the cauliflower cous cous to use anytime you need it.
Nutrition
Per Serving: 54 calories; 0 g fat; 12 g carbohydrates; 3 g protein
Equipment
Food processor
Grating attachment
Mixing bowl
Frying pan
Spatula
Measuring spoons
Nutritional disclaimer
Nutrition information is provided as an estimate based on the ingredients used and available in my area (New Zealand). The nutritional information is here to help you understand the recipe; I use MyFitnessPal to generate my estimates. For more accurate nutritional information, please use a nutritional calculator with the ingredients in your area.
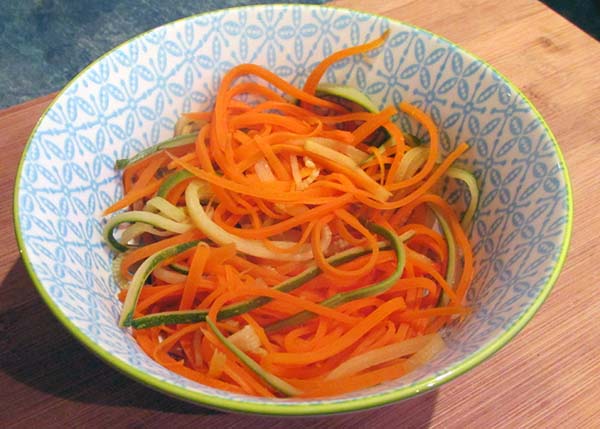
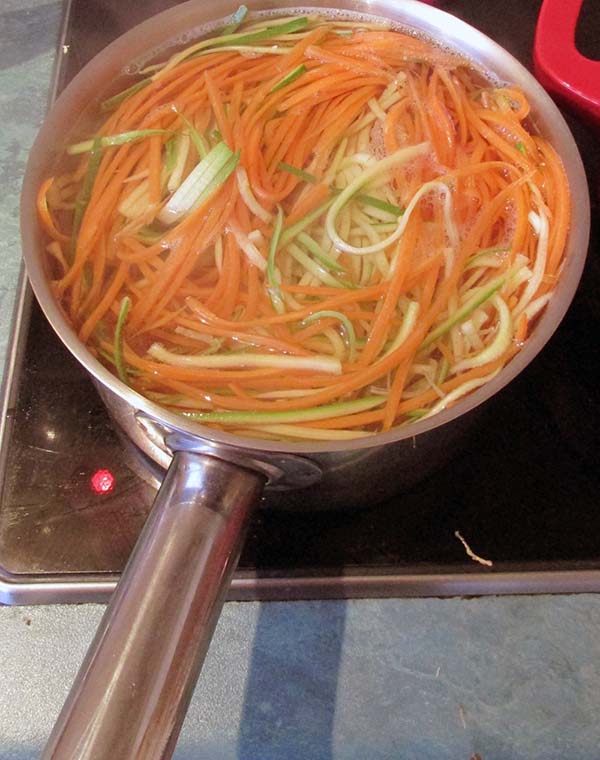
An odd name I know, some people call the zoodles, but I like to call them coodles because I’m still not comfortable calling courgettes zucchini.
These replacement noodles are a brilliant substitute for regular noodles and pasta. An excellent julienne slicer will serve you well when making coodles.
Bowl of coodles
They go with everything
Coodles are a versatile staple in our house. They can be eaten hot or cold, added to a salad or used in your favourite pasta dishes. There are many ways to make and cook coodles depending on what you intend to use them for. I cover off these different techniques in more detail in ways to make and cook coodles. For this recipe, I am going over the easiest way to make coodles.
What do you do?
When setting off on a journey to remove processed foods from your diet, you may stop and ask yourself the question What can I eat instead of rice/couscous/pasta/bread?
The answer is to find a suitable replacement.
The options are limitless; you can find gluten-free, sugar-free, grain-free, I could go on. An easy way to eat clean and simple is to switch out the standard meal padding of rice/couscous/pasta/bread with a vegetable alternative or something you can make yourself.
This recipe is the no-frills no added flavour version that can be made and then added to things like chicken carbonara, Bolognese and prawn parmesan coodles.
Coodle recipe
Coodle ingredients
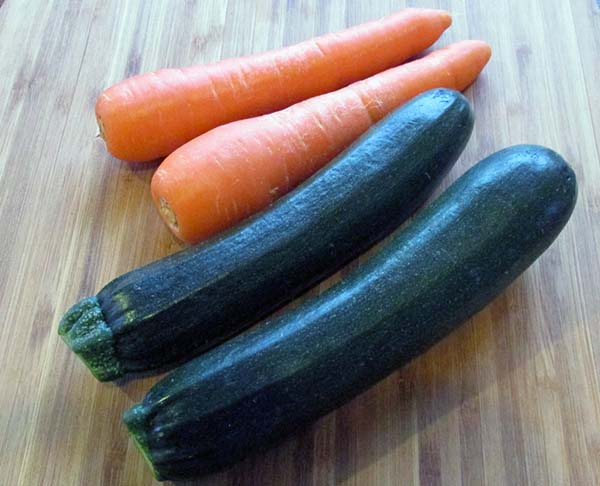
Ingredients
2 carrots
2 courgettes
Take the top and bottom off the carrots with a sharp knife.Take the top and bottom off the courgettes with a sharp knife.Julienne the vegetable to create spaghetti strings.Julienne the vegetable to create spaghetti strings.Cook the coodles for approximately 3 minutes in boiling water.Serve hot or cold.
This easy to make alternative to pasta is a must know recipe for clean eating, paleo, primal and keto diets.
Credit: Cath @ easycleaneats
Ingredients
2 carrots
2 courgettes
Directions
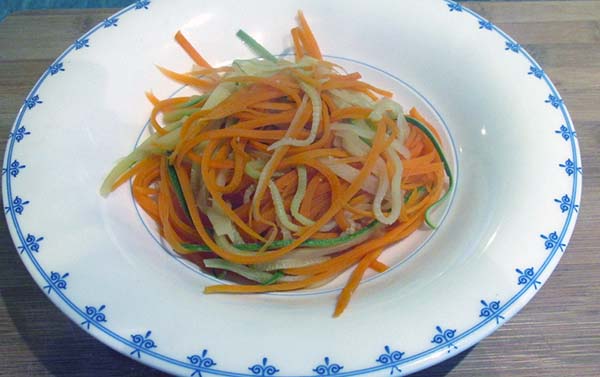
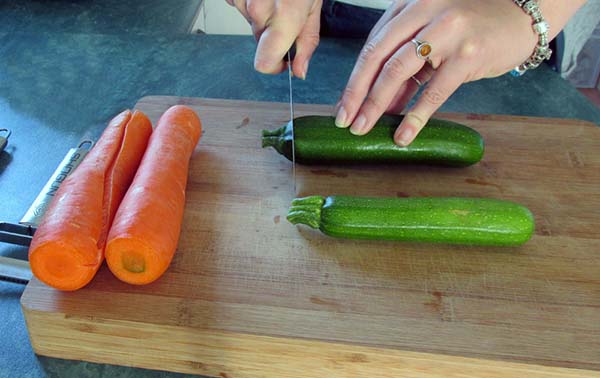
Take the top and bottom off the carrots and courgettes with a sharp knife.
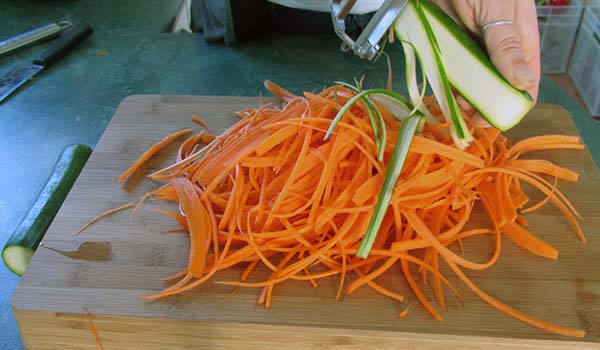
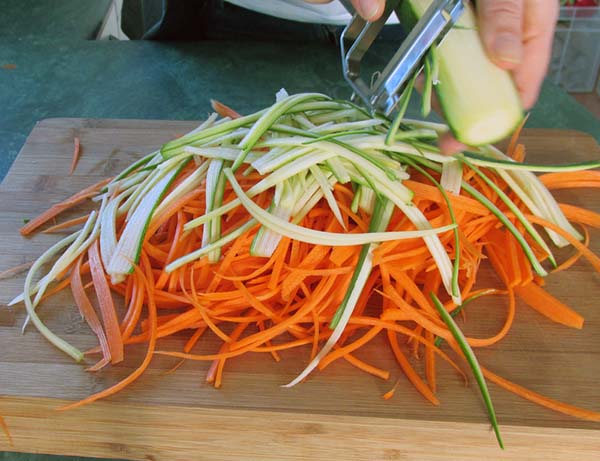
Julienne the vegetable to create spaghetti strings.
Cook the coodles for approximately 3 minutes in boiling water.
Serve hot or cold.
Nutrition
Per Serving: 54 calories; 0 g fat; 12 g carbohydrates; 2 g protein
[/recipe]
Try this with
Chicken carbonara
Lemon chicken
Equipment
Knife
Chopping board
Julienne vegetable peeler
Saucepan
Wooden spoon
Colander
Nutritional disclaimer
Nutrition information is provided as an estimate based on the ingredients used and available in my area (New Zealand). The nutritional information is here to help you understand the recipe; I use MyFitnessPal to generate my estimates. For more accurate nutritional information, please use a nutritional calculator with the ingredients in your area.