Count down and keep moving
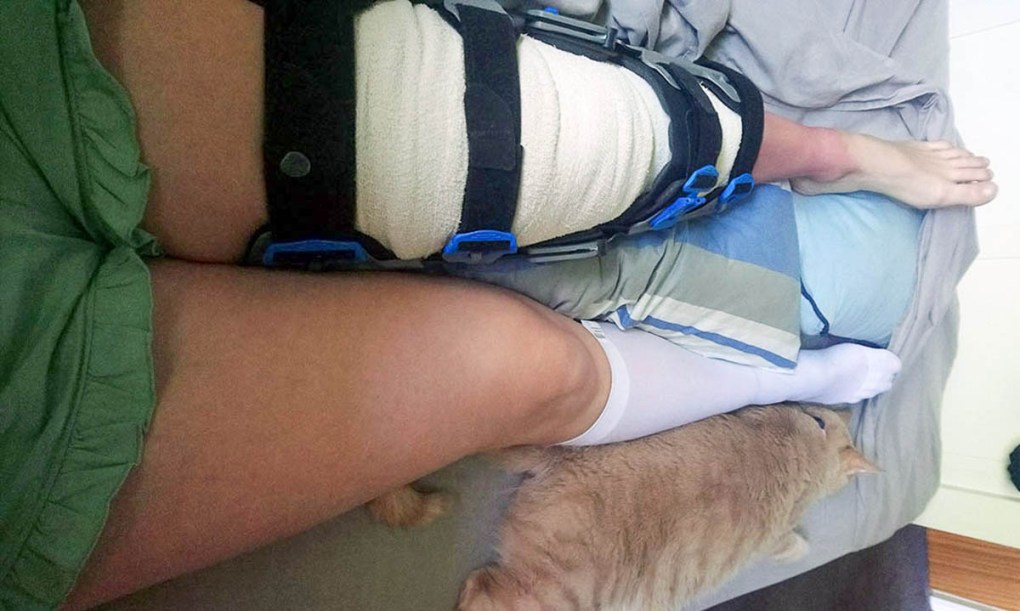
While I am on the road to recovery, am trying to keep as active as possible. Spending time on the airdyne will only get me so far so, am trying to do a heavily modified strength and conditioning programme to keep me in the best shape possible over the next few months. Working out around an injury is possible and beneficial as long as you are sensible about it. The workouts I am doing are modified to account for my inability to weight bear on my left leg. All of the weights I’m using have been dialled back, so I reduce the risk of additional injuries. All lower body exercises focus on movement, flexibility and not losing what I have in the way of muscle. Upper body I have fewer limitations but still need to modify exercises to make sure I am not putting additional strain on my lower body.
I aim to get in some kind of movement every day.
Showing signs of wear and tear
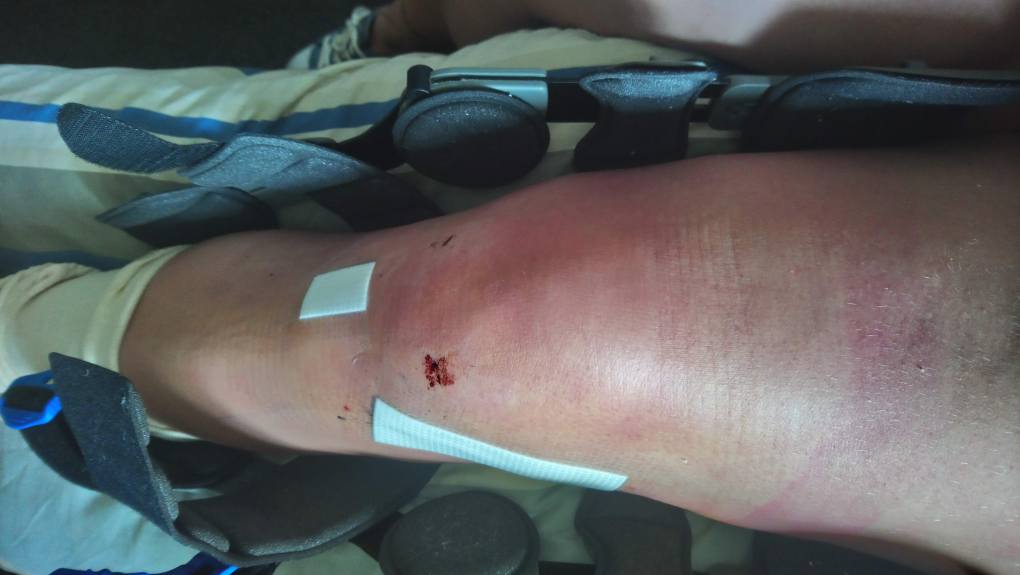
While my capacity is improving weekly from working out, I’m starting to feel the strain of being stuck on crutches for so long. Over the long weekend, I pushed myself a bit more than I should have, lots of time on my feet (or foot and crutches), and a monster mooch around in Whangarei left me feeling exhausted. I am starting to feel the extra strain on my right foot, Achillies tendon as well as my hands, not surprising after six weeks on crutches. While I am on the final countdown to my next appointment with the surgeon, I am trying to take it easy and do a lot more stretching and massage.
Moderating intensity
To keep my workouts from becoming boring, I change things up daily, some days, I push for more intensity in my workouts and other days, I aim for more endurance. This week my workout is more of an endurance workout with slightly higher weights. My endurance workouts in the Auckland humidity are not easy, but they are worth the effort.
Workout of the week
This workout was as follows
- 5 minutes warm-up @ 15 per cent of max RPM.
- 40 minutes working @ 60 – 70 per cent of max heart rate.
- 5 minutes cool down @ 10 per cent of max RPM.
Core work
- Straight leg situps – 40 reps with a kettlebell
- Single leg raises – 40 reps per leg
- Kettlebell kayaks – 40 reps with @ 30 per cent of 2RM
- Kettlebell bench press – 40 reps @ 30 per cent of 2RM
- Kettlebell overhead tricep extension – 40 reps @ 30 per cent of 2RM
- Dying bug – 40 reps
Post-workout stretches and recovery
- Right leg hamstring stretch.
- Right leg quad stretch.
- Achilles stretch right and left leg.
- Skateboard rolls with left leg
Disclaimer
I share my workouts to show what I do, not to tell you what to do. I post my workouts with a percentage of my max rather than stating what weights or speeds I use. Everyone is different and has different levels of fitness and capability. Your body is yours alone if you want to start working out, I recommend spending some time with a personal trainer who can put you on the right path. When working out with weights, remember your 1 rep max is yours alone, finding the weights that are right for you is important. If you decide to try out a workout, find out what weights you should be using first.