Something quick and easy, please

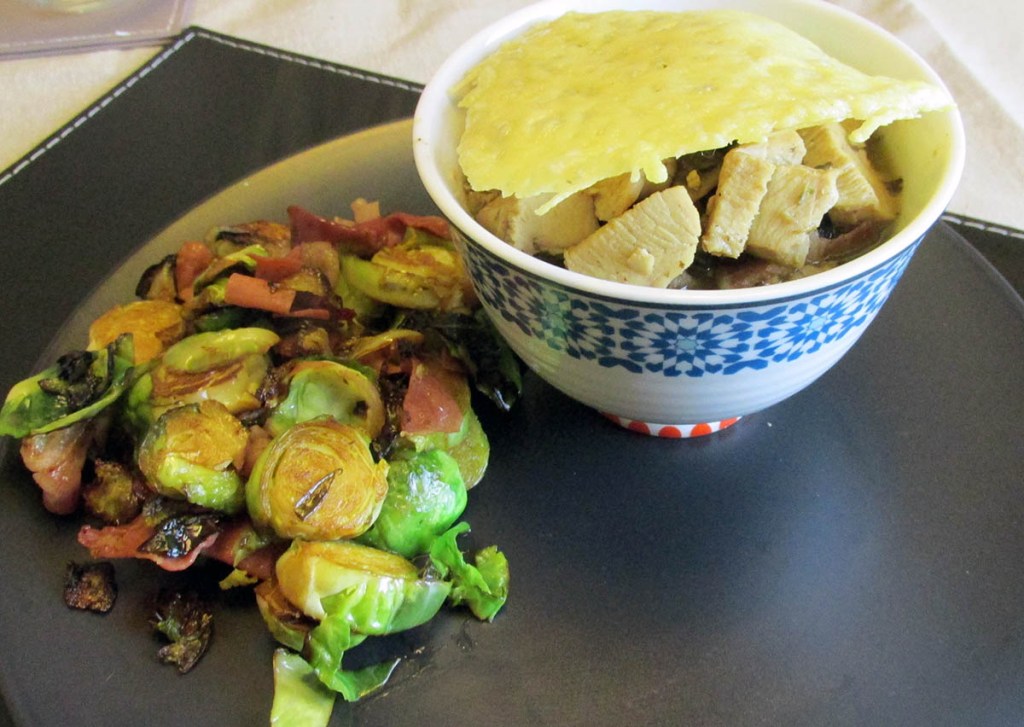
It is hot and sticky here in Auckland, the last thing I want to be doing in spending hours over a hot stove. This week’s recipe comes from the I don’t want to be in a hot kitchen collection but still want a home-cooked meal. This frittata with tomato and spinach is a quick and easy recipe that takes minutes to prepare and can be served hot or cold.
Leftovers are welcome
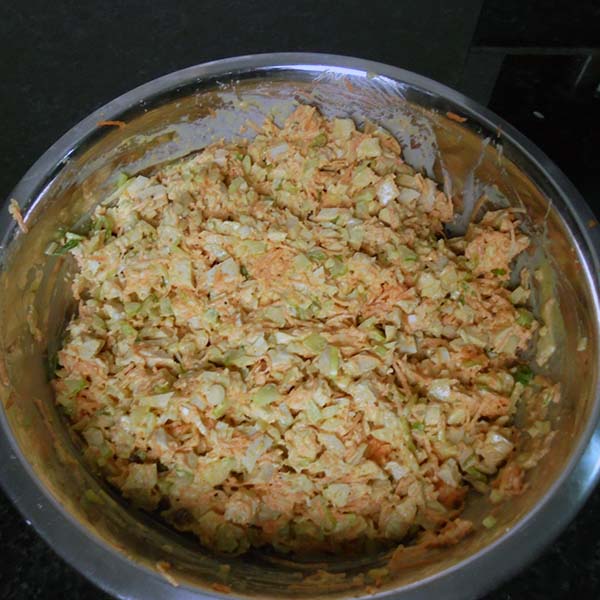
I’m not in charge of the kitchen full time at the moment, Jaime is the man responsible for breakfast and dinner, so I only have to sort myself out for lunch. While mooching through the fridge, I found a few cherry tomatoes and half a bag of baby spinach. Hardly the makings of a fully formed salad, but a good enough to make a tasty frittata. It isn’t exactly fancy, but it made me lunch that was sufficient for two days.
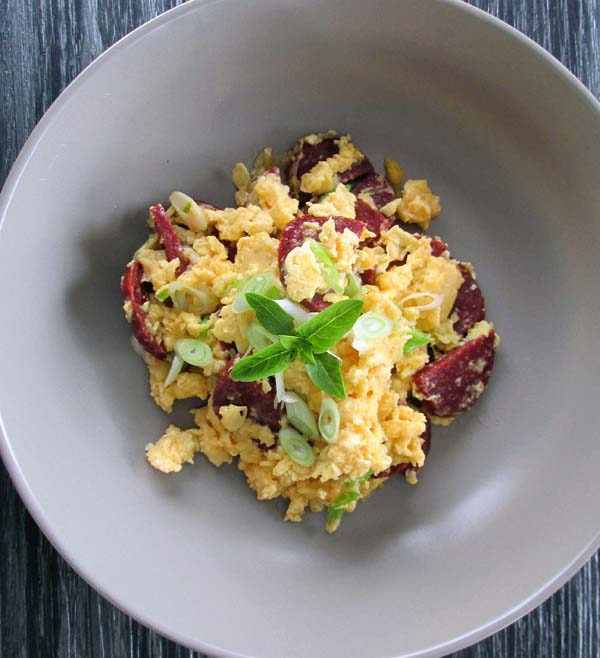
Frittata with tomato and spinach
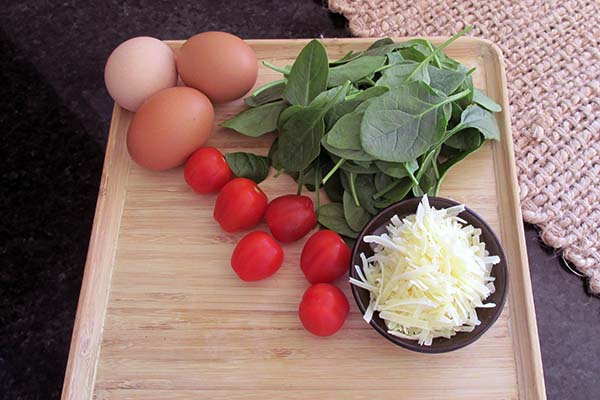
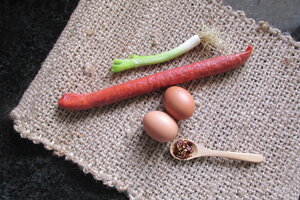
Ingredients
- 3 egg whites
- 3 eggs
- 6 cherry tomatoes, halved
- 2 handfuls baby spinach
- 1/2 cup parmesan cheese, grated
- 1/2 cup basil leaves, chopped
- 1/2 tbsp. oil
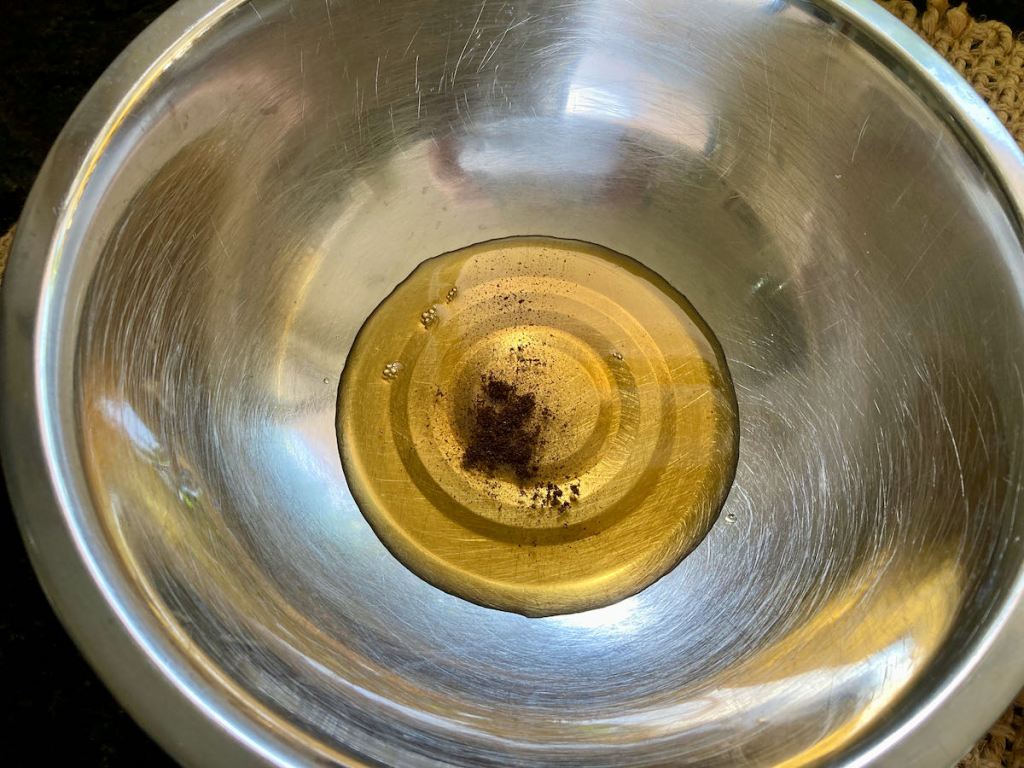
- salt and pepper


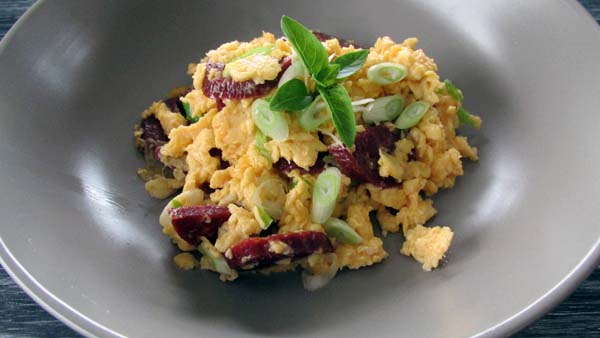
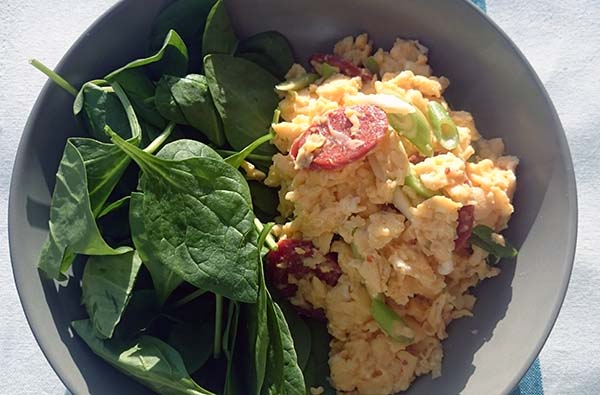
Frittata with tomato and spinach

This frittata with tomato and spinach is a quick and easy recipe that takes minutes to prepare and can be served hot or cold.
Credit: Cath @ easycleaneats
Ingredients
- 3 egg whites
- 3 eggs
- 6 cherry tomatoes, halved
- 2 handfuls baby spinach
- 1/2 cup parmesan cheese, grated
- 1/2 cup basil leaves, chopped
- 1/2 tbsp. oil
- salt and pepper
Directions
- Preheat grill to 150°C /300°F or a medium setting.
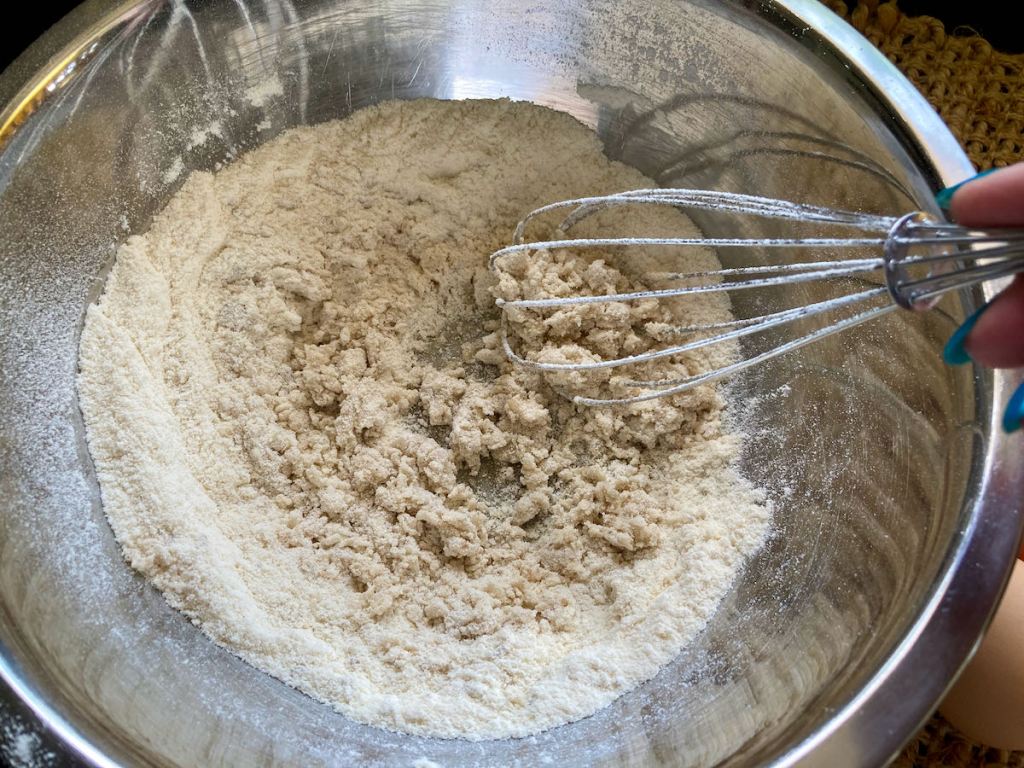
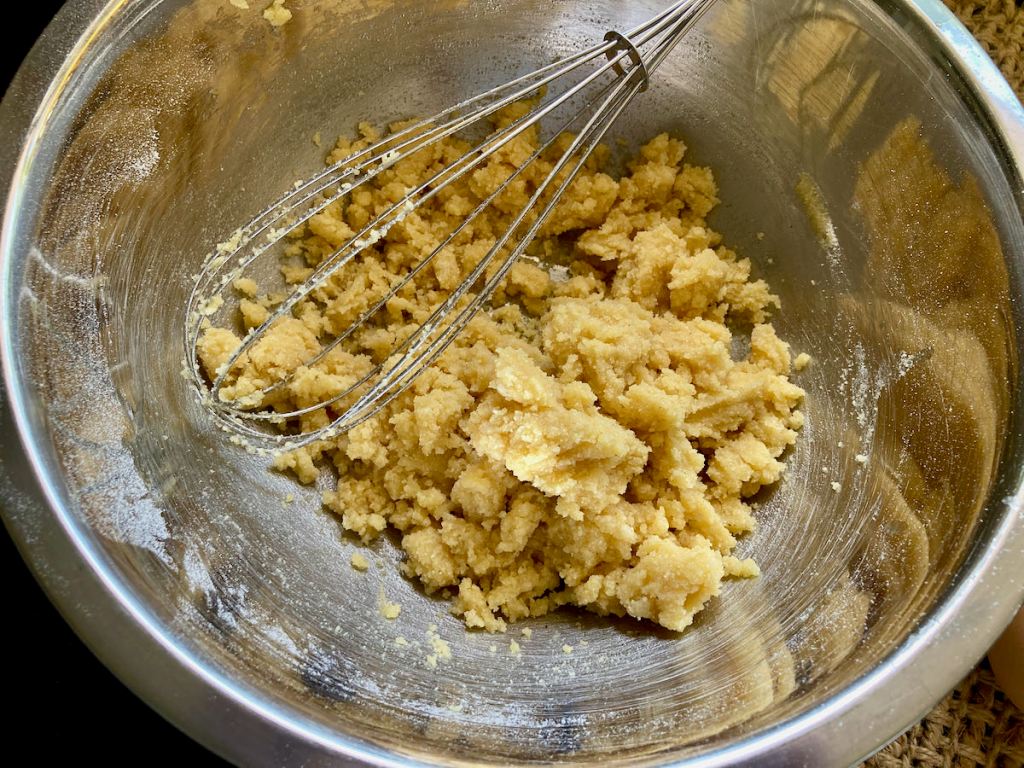
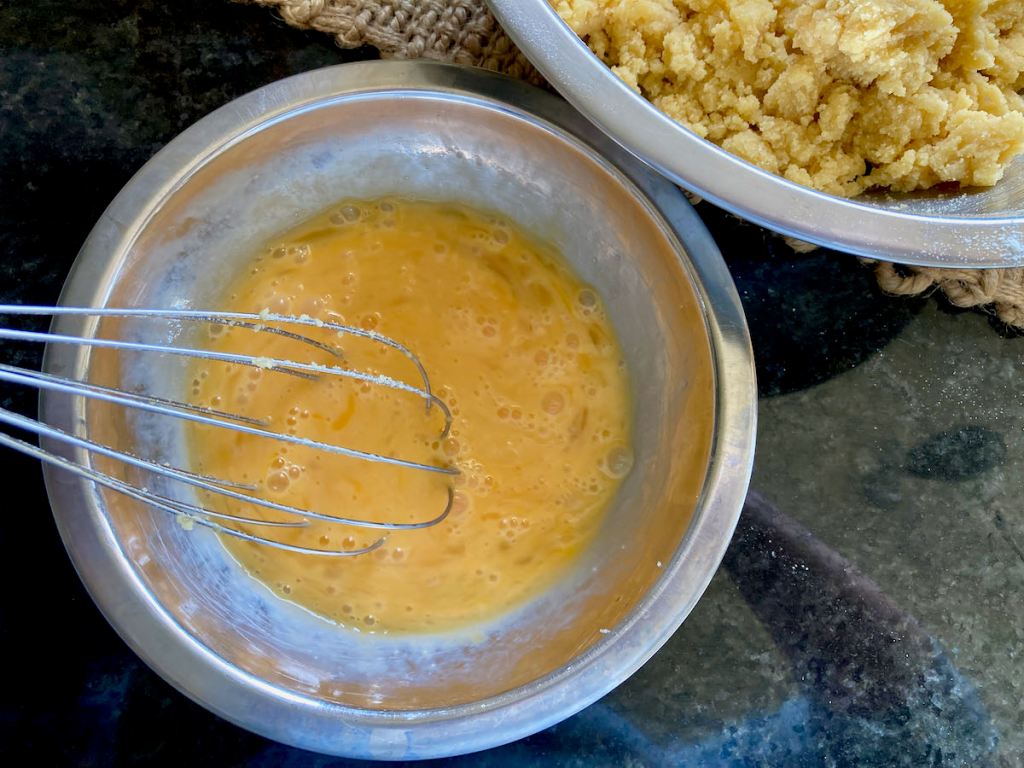
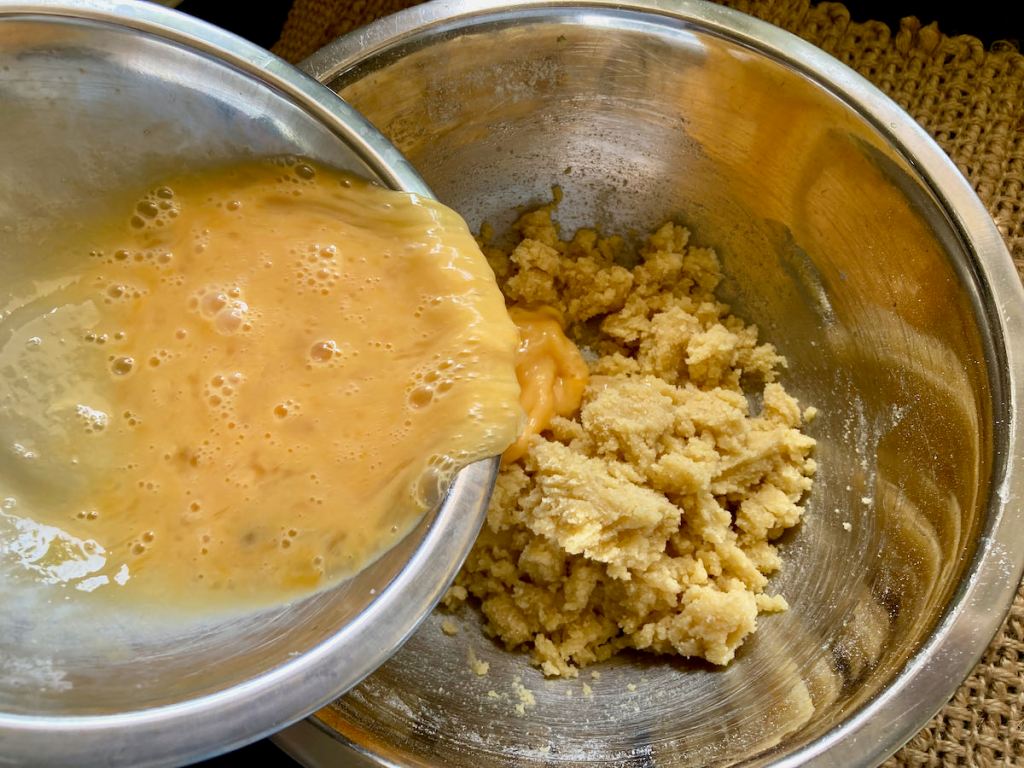
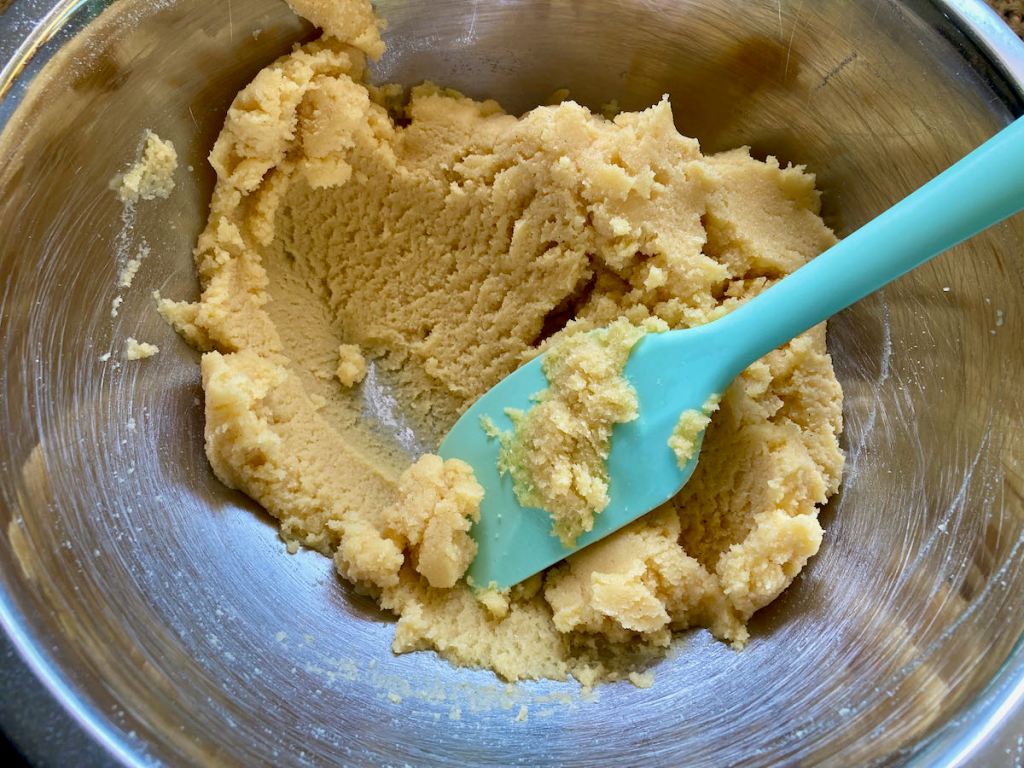
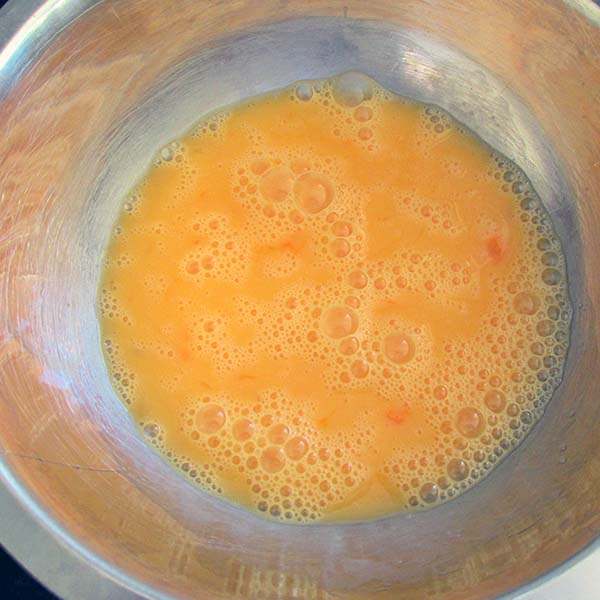
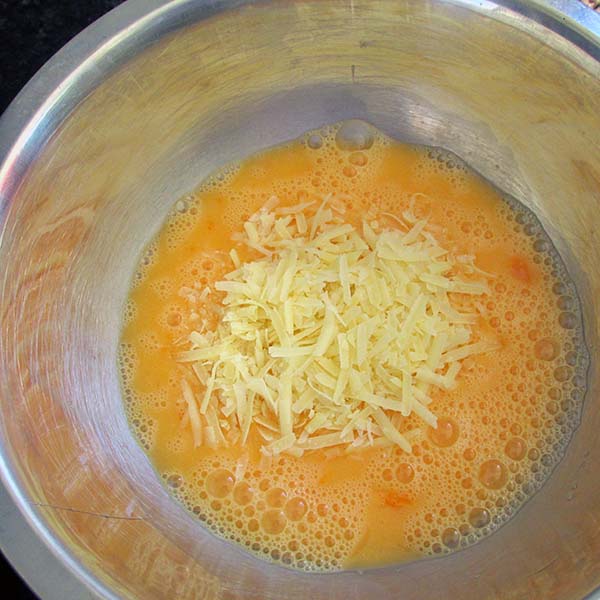
- In a bowl whisk the eggs and egg whites, then add the tomatoes, spinach, cheese, basil, salt and pepper.
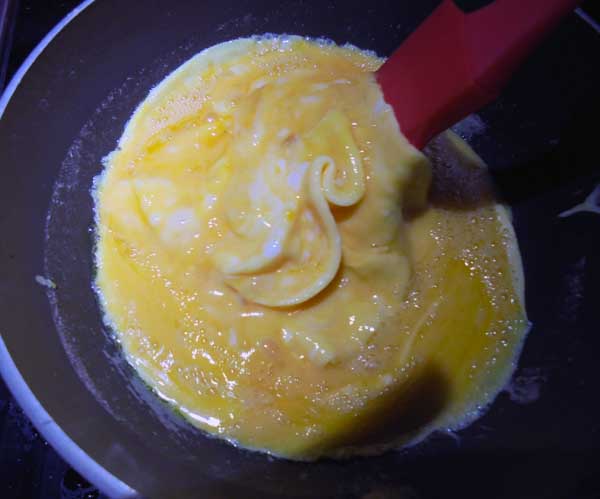
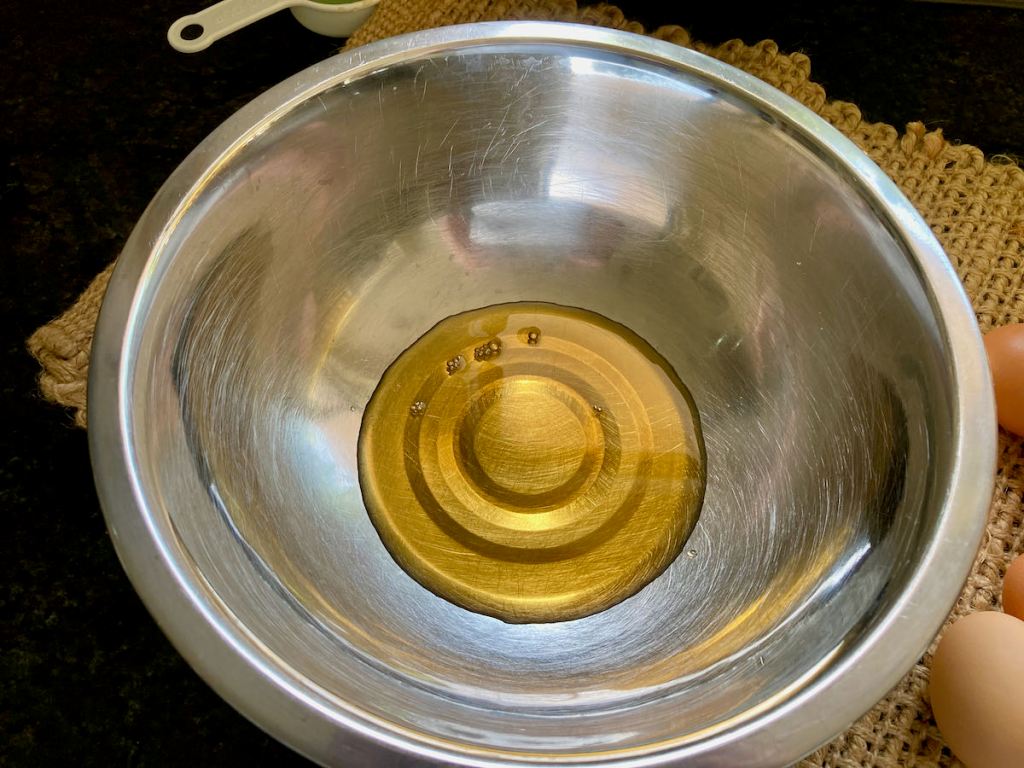
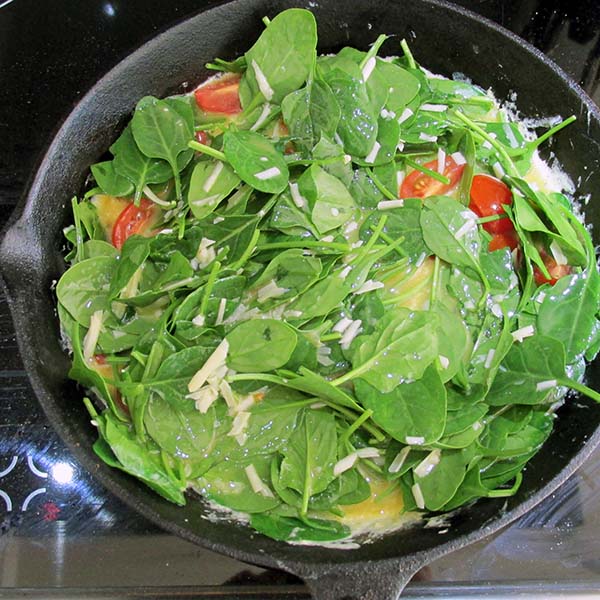
- Over medium heat add the oil to an oven-safe frying pan or cast iron pan.
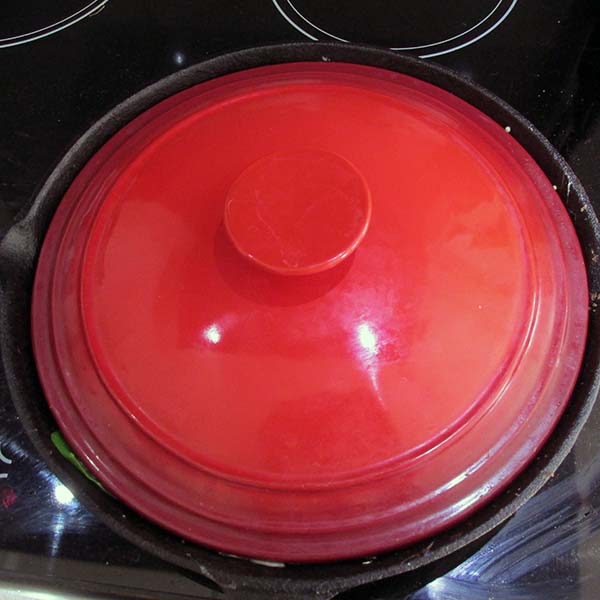
- Add the egg mix to the pan, cover and cook for three minutes
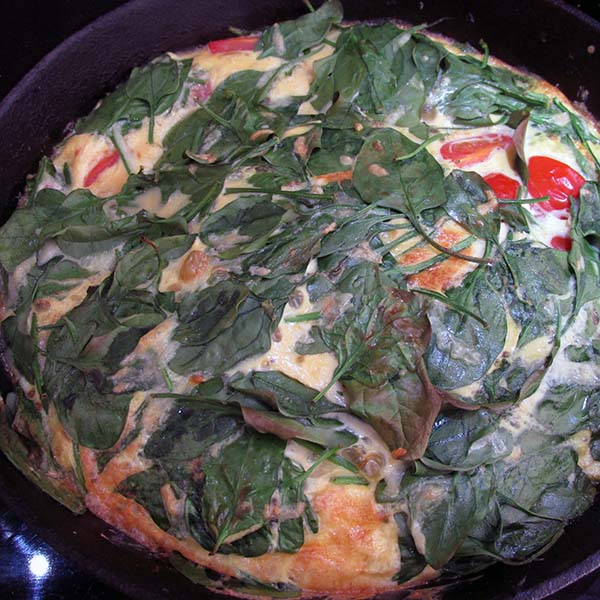
- Transfer the pan to the grill without the lid.
- Cook for three minutes or until the egg has set.
Nutrition
Per Serving: 294 calories; 17 g fat; 10 g carbohydrates; 24 g protein.Equipment
- Mixing bowl
- Fork
- Knife
- Chopping board
- Cast iron pan/oven-safe frying pan
- Spatula
- Measuring cups
- Measuring spoons
Nutritional disclaimer
Nutrition information is provided as an estimate based on the ingredients used and available in my area (New Zealand). The nutritional information is here to help you understand the recipe; I use MyFitnessPal to generate my estimates. For more accurate nutritional information, please use a nutritional calculator with the ingredients in your area.