Revisiting family favourites
I’ve been revisiting recipes that have been some of my old-school recipes and favourites that were staples when I got started eating clean. I first posted this recipe in 2015; at that time, my step kids were fussy, vegetables had to be hidden and disguised, and there was no potential for intense flavours or spice.
As the kids grew, my recipes changed organically to meet their palates and preferences. I’ve updated this recipe because of that, but fear not; the original recipe suitable for kids and less developed palates is at the bottom of the post.
Clean eating take of a classic
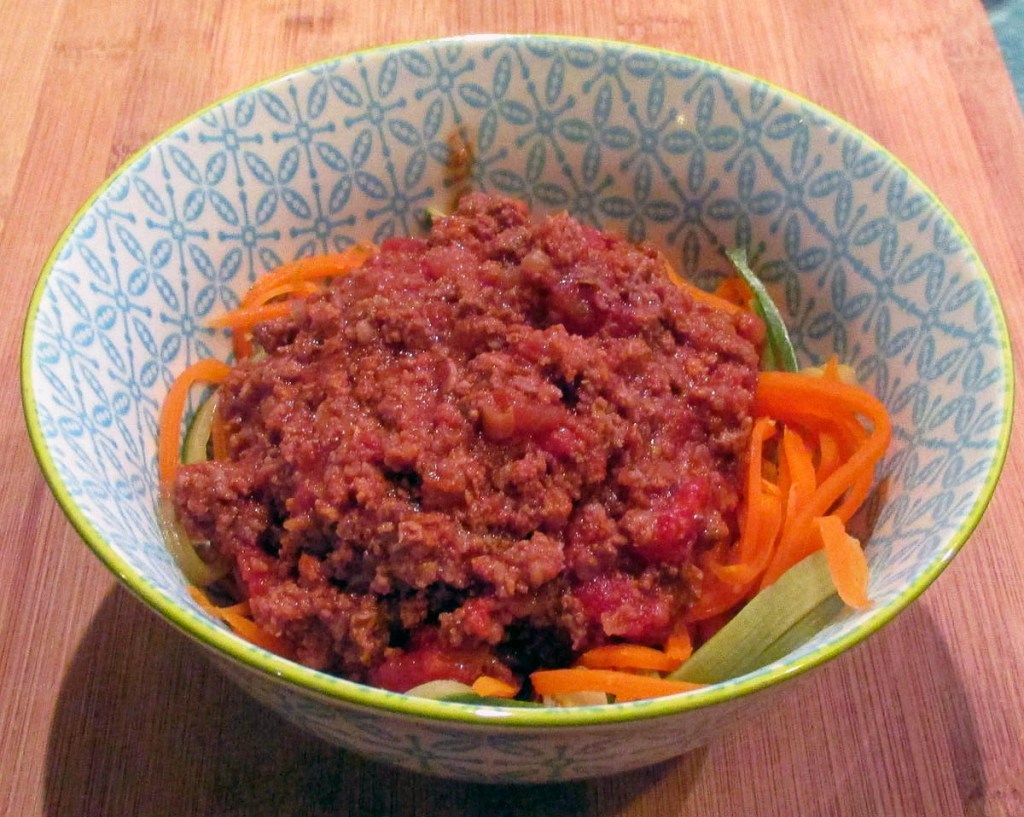
This was one of the first meals I made with a pasta alternative; much like replacing pasta with zoodles/coodles. I was always game to sneak some extra vegetables into the family meals, but this is one of the few meals I don’t need to hide the vegetables at all. The popular opinion of the kids back then was that this lasagne was better than one made with traditional pasta. I can’t say I disagree. As times have changed and this lasagne recipe is no longer entirely consumed in one sitting, it has become one of my favourite freezer meals. I can either make it in bulk and portion it out to enjoy some comfort food when needed or have a tray in the freezer for when I have company over.
Secret to success
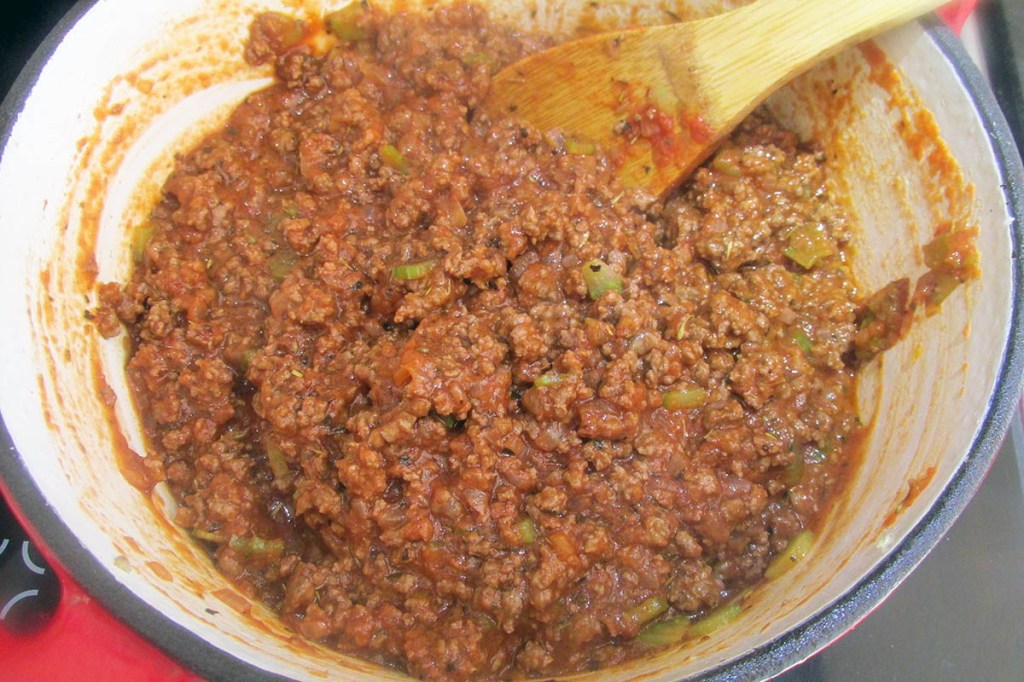
The secret to a good lasagna is the depth of flavour. Flavour isn’t instant; it takes time and some effort. When I’m making lasagna, I tend to make the meat sauce the day before to let the herbs get to know the meat and sauce, mingle, and start the flavour party. The longer you leave the meat and herbs to party, the better your lasagna will taste.
Pasta free lasagne recipe
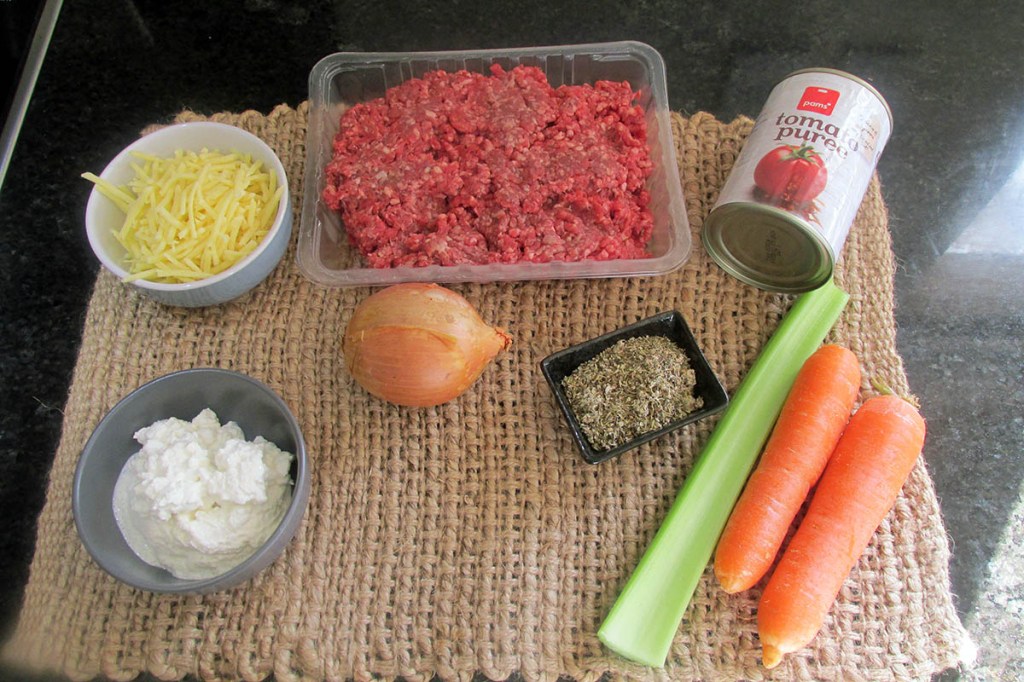
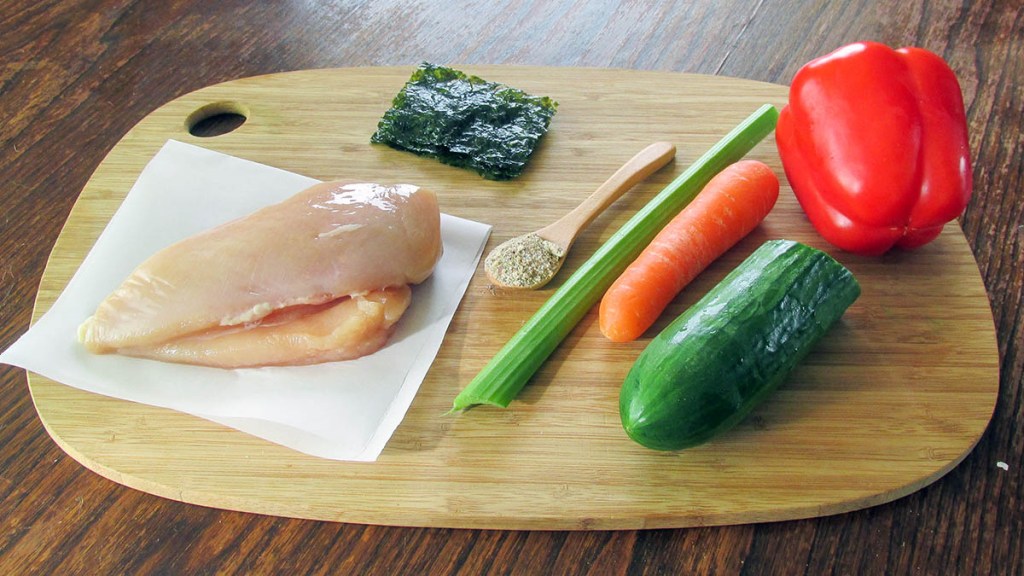
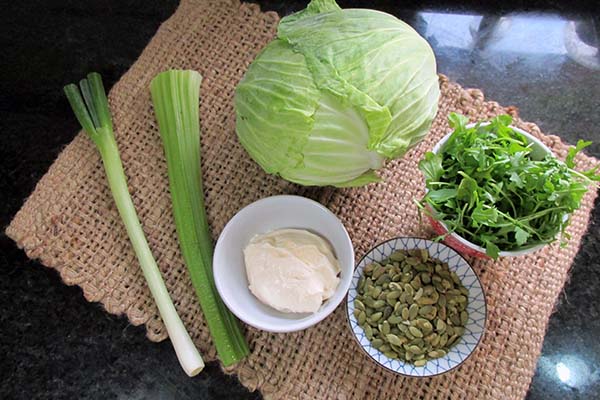
Ingredients
- 500g minced beef
- 1 onion finely diced
- 2 celery sticks, finely chopped
- 1 can tomatoes, chopped
- 2 garlic cloves minced
- 1 tsp. basil
- 1 tsp. oregano
- 1 tbsp. red chilli flakes
- 1 tbsp. coconut oil
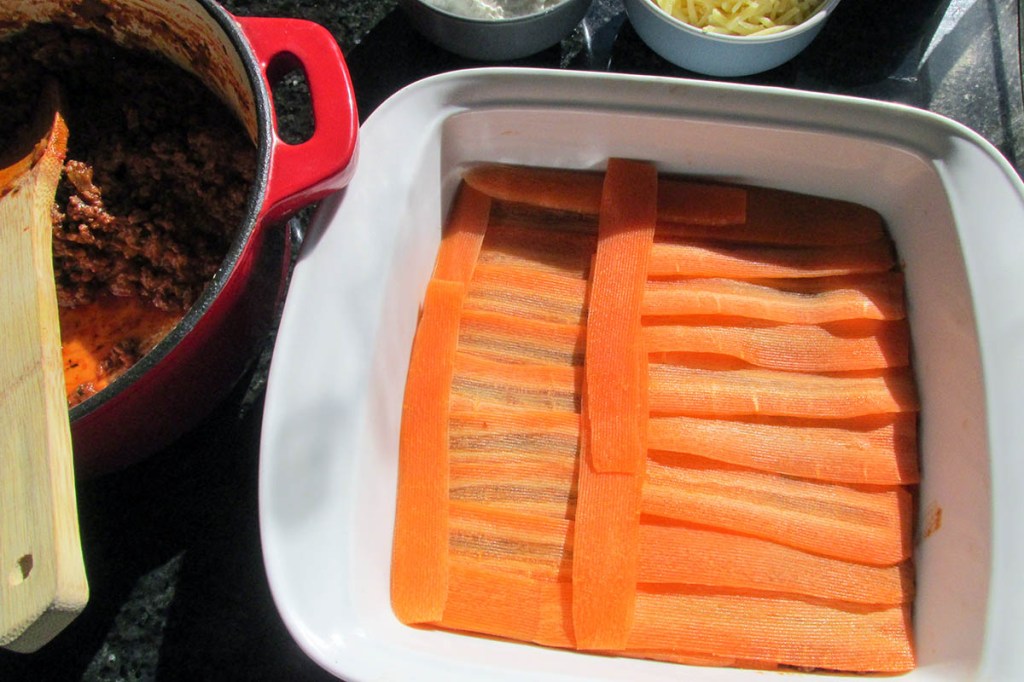
- 4 carrots cut into ribbons
- 2 cups cheese, grated
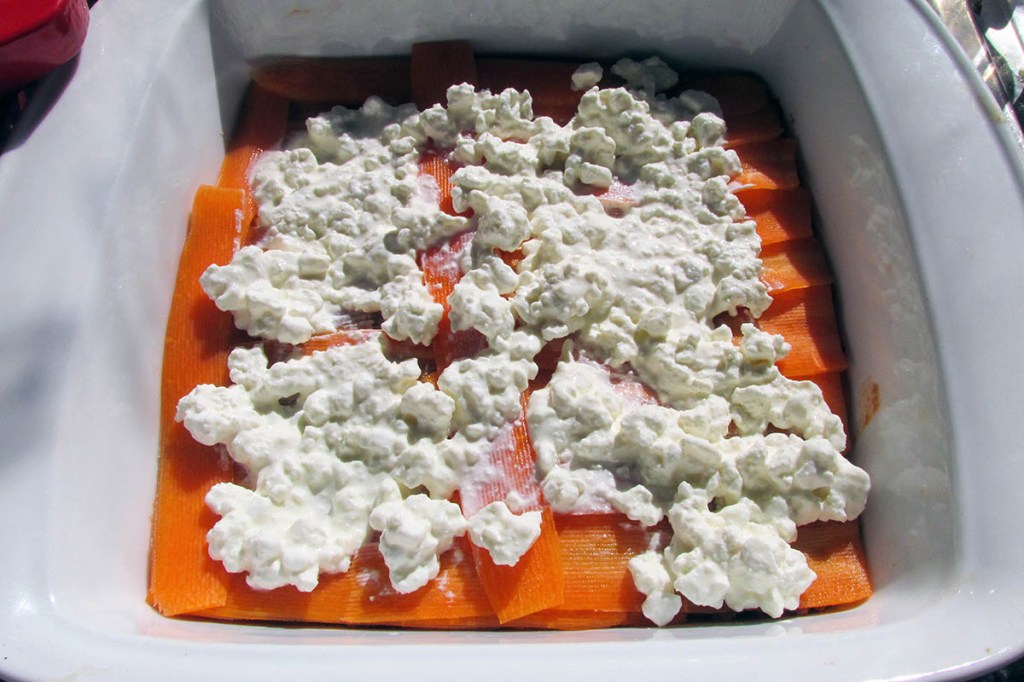
- 250g cottage cheese
Instructions
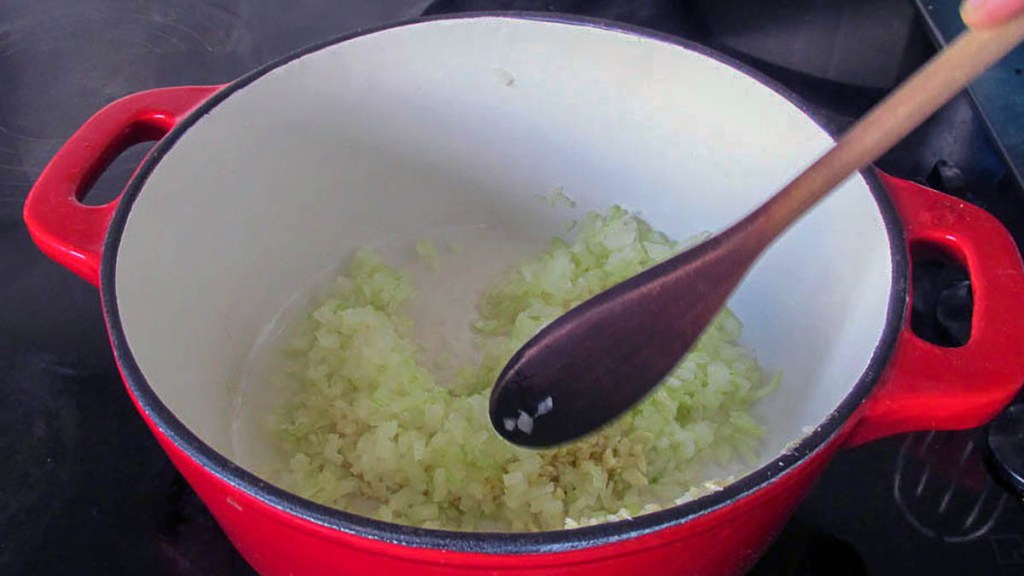
Add the coconut oil to a stockpot over medium heat.
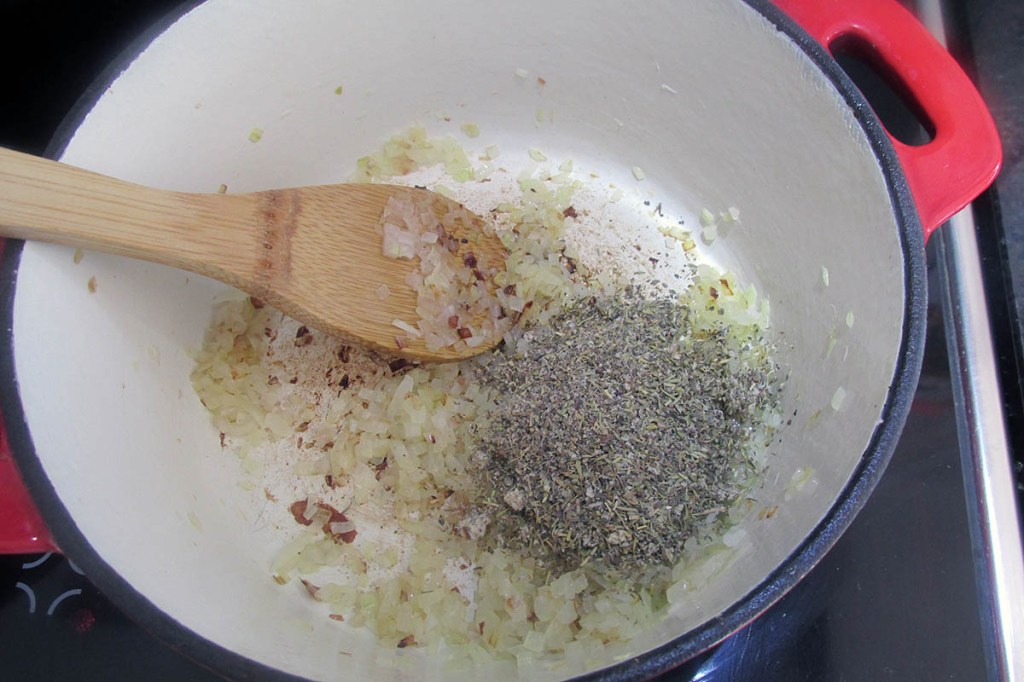
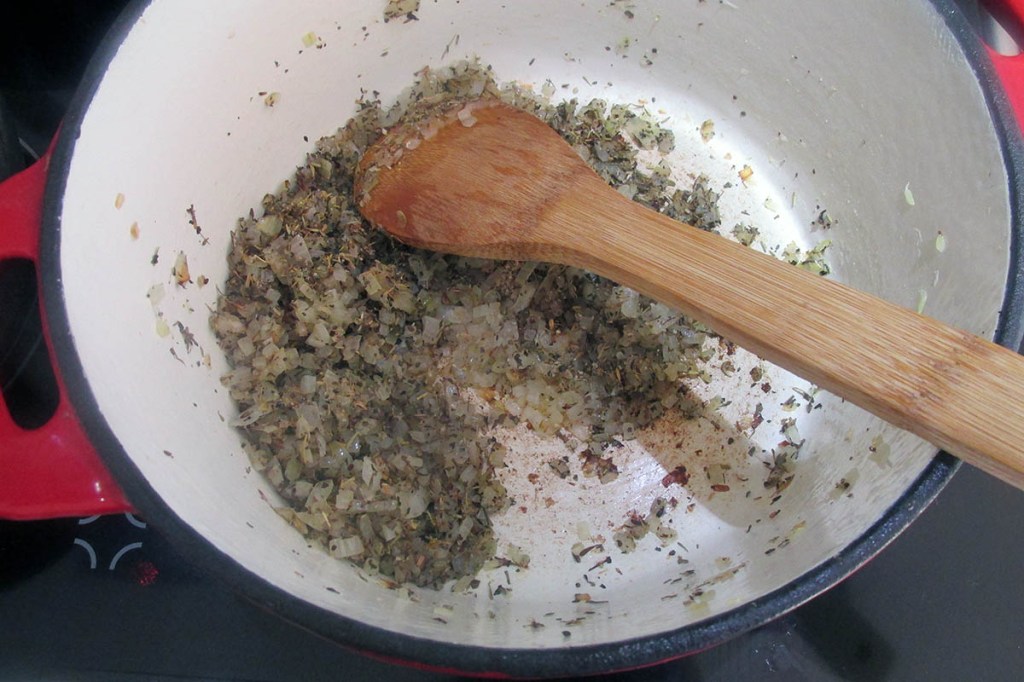
Add the onion and cook until the onion starts to soften.
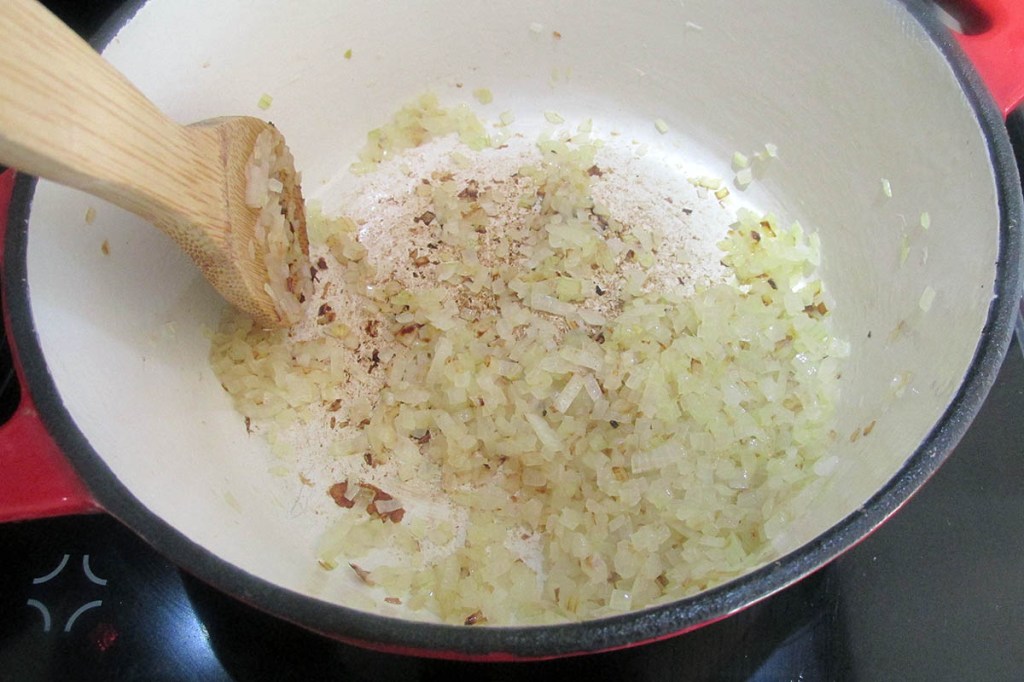
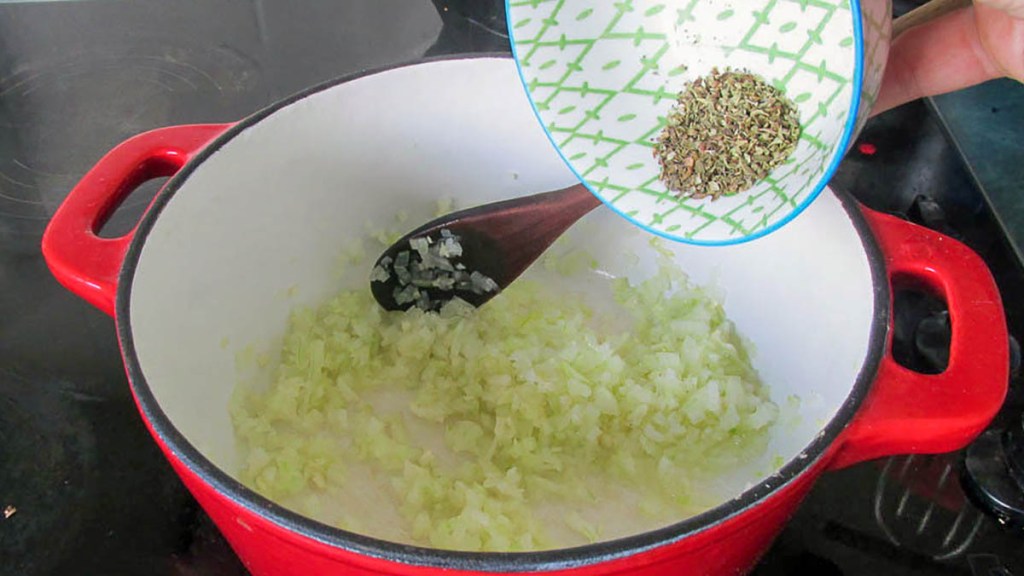
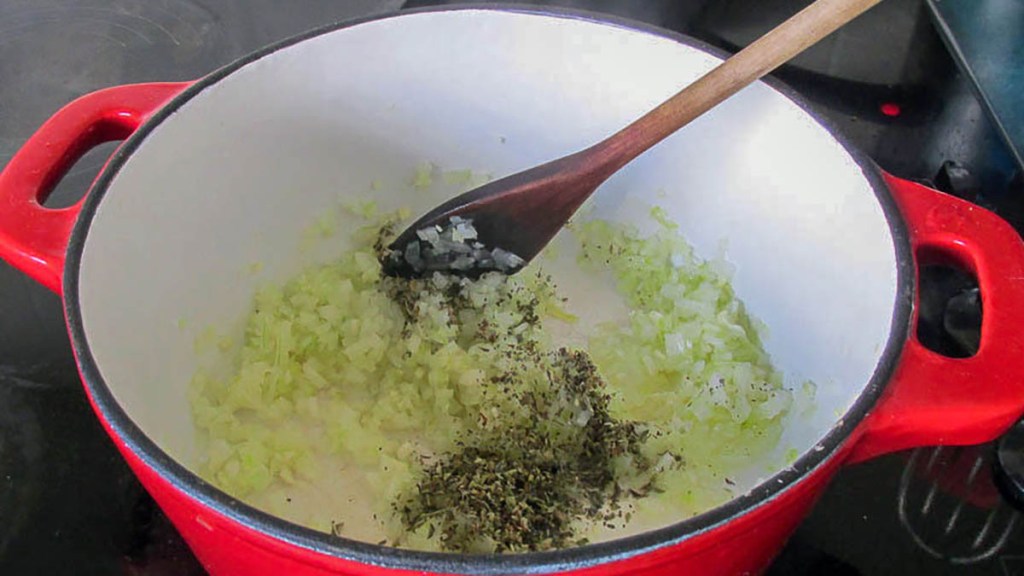
Add the garlic, basil, chilli and oregano to the pan.
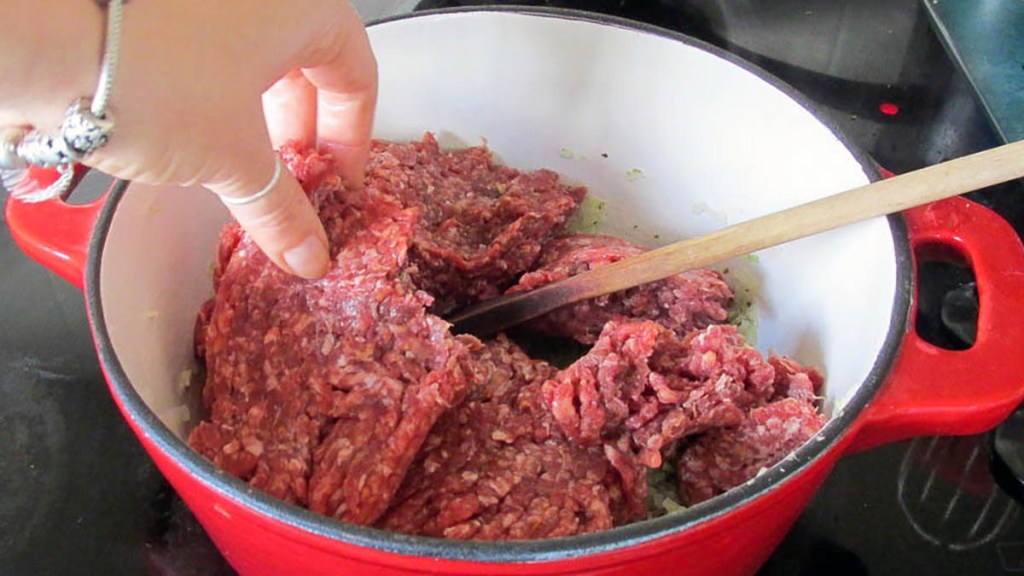
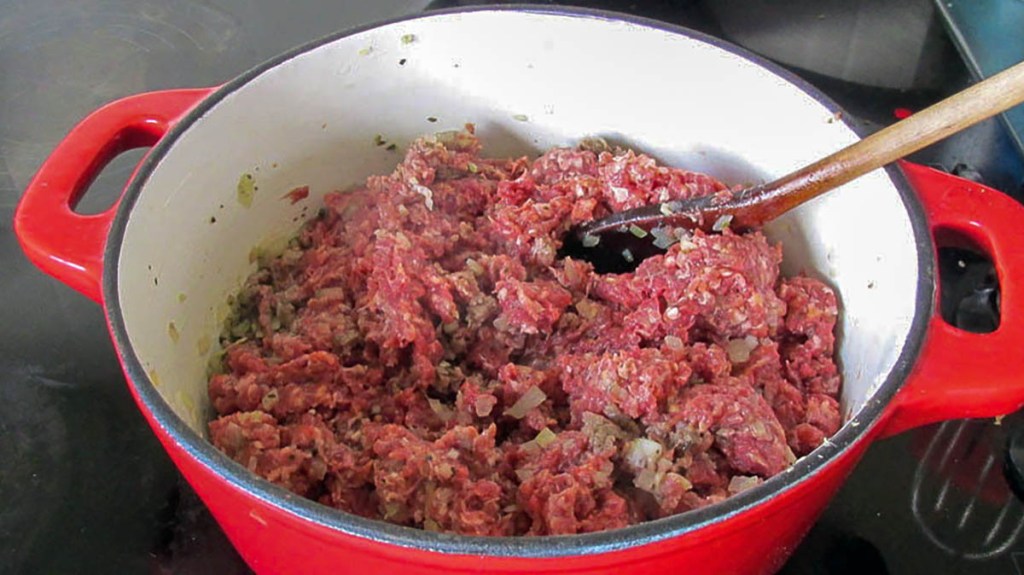
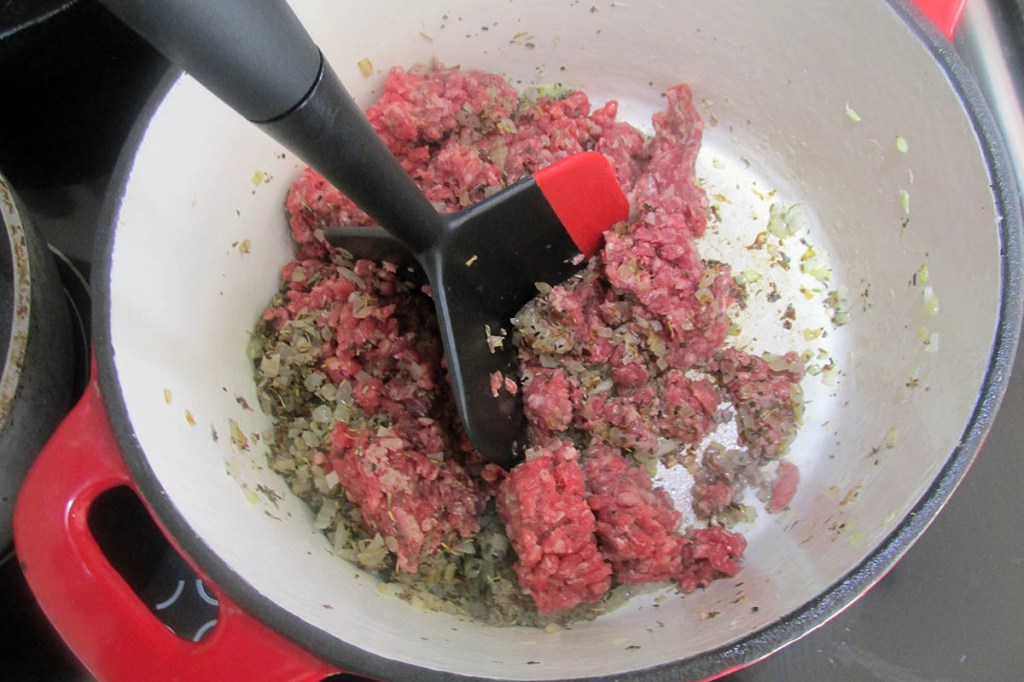
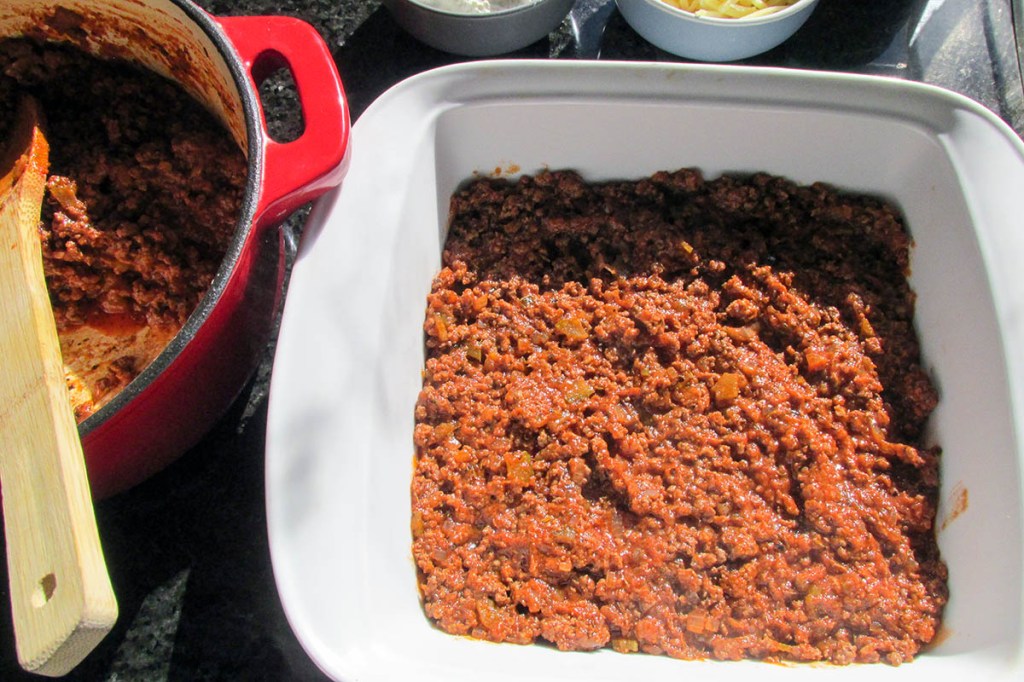
Add the beef mince to the pan and cook the beef until it browns.

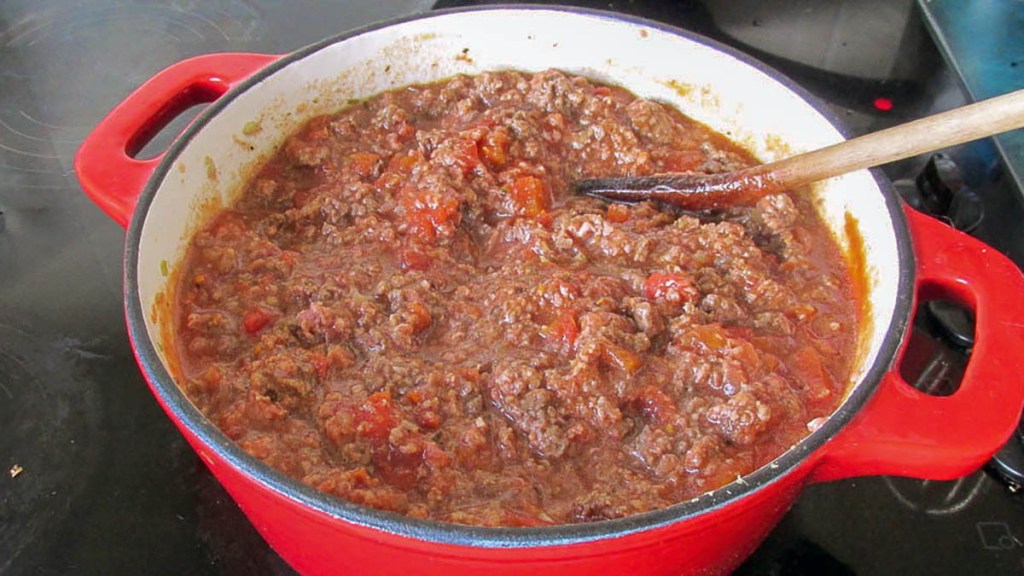
Add the chopped tomatoes to the pan along with the chopped celery.
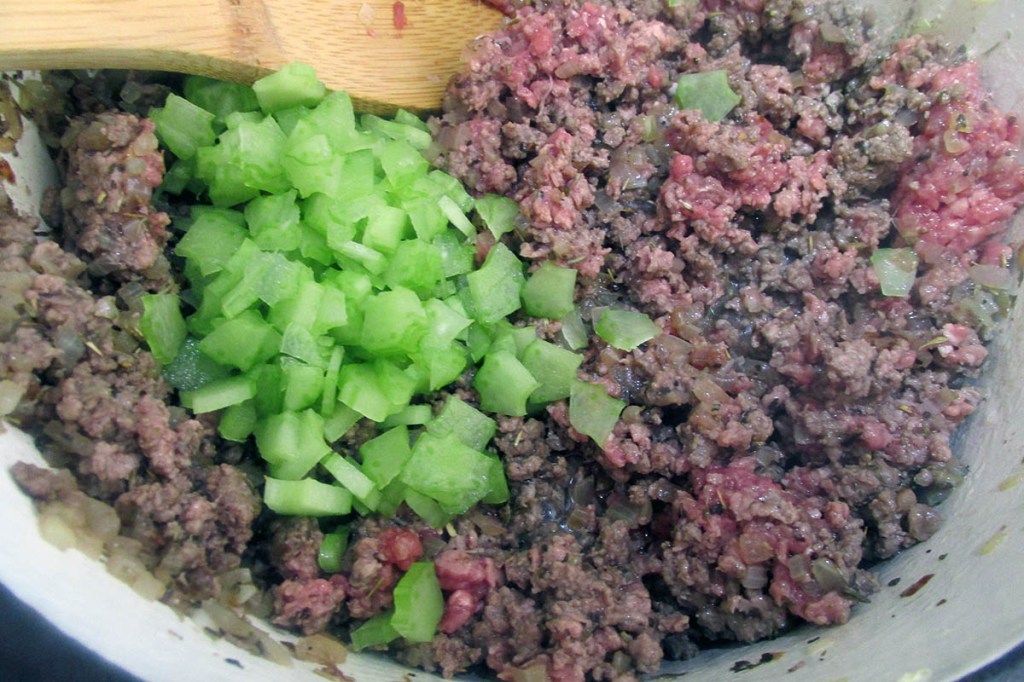
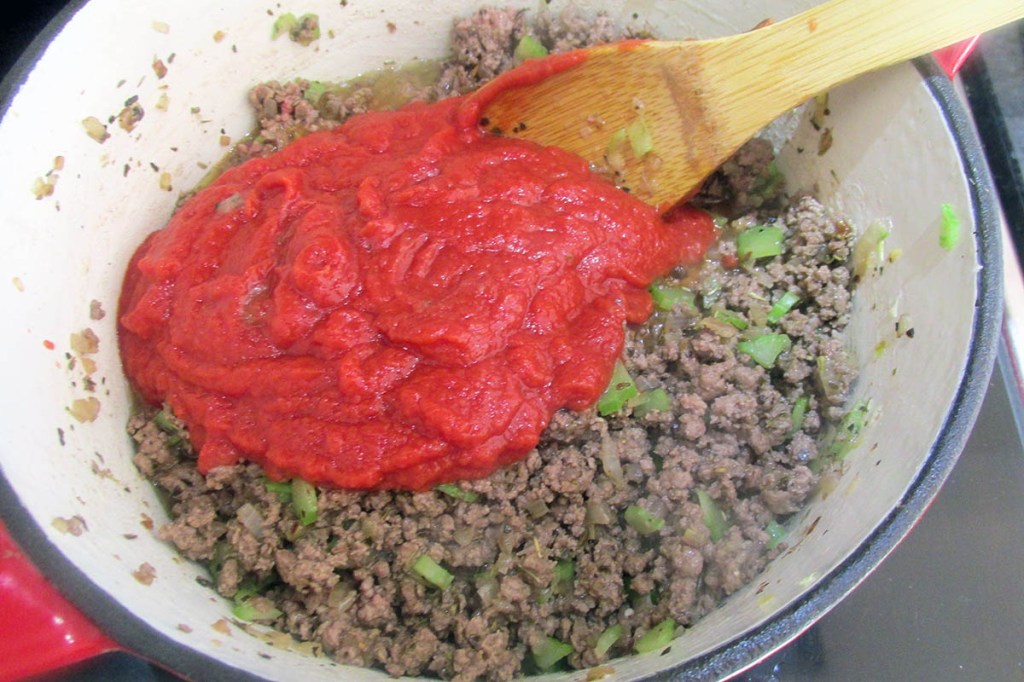
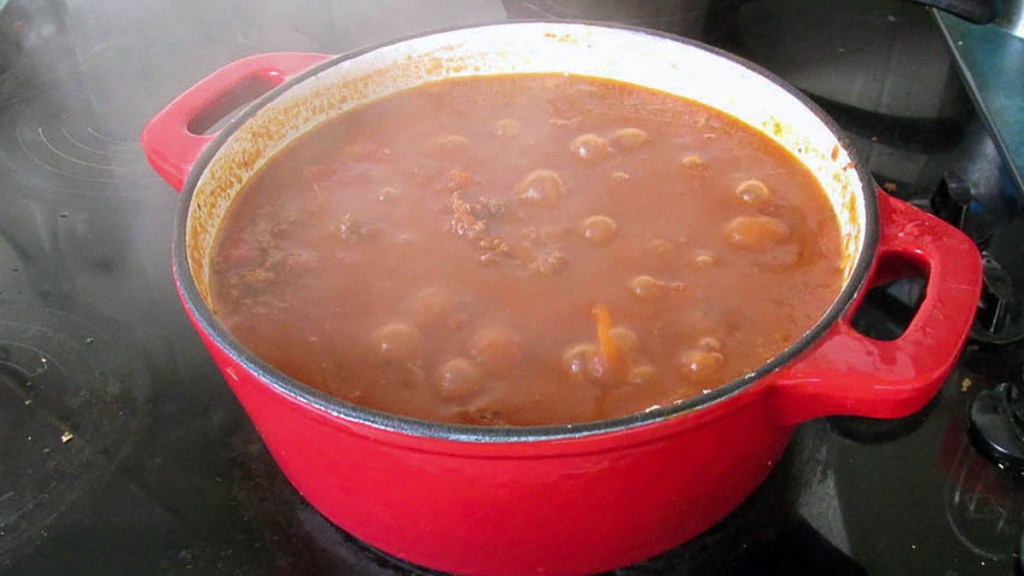
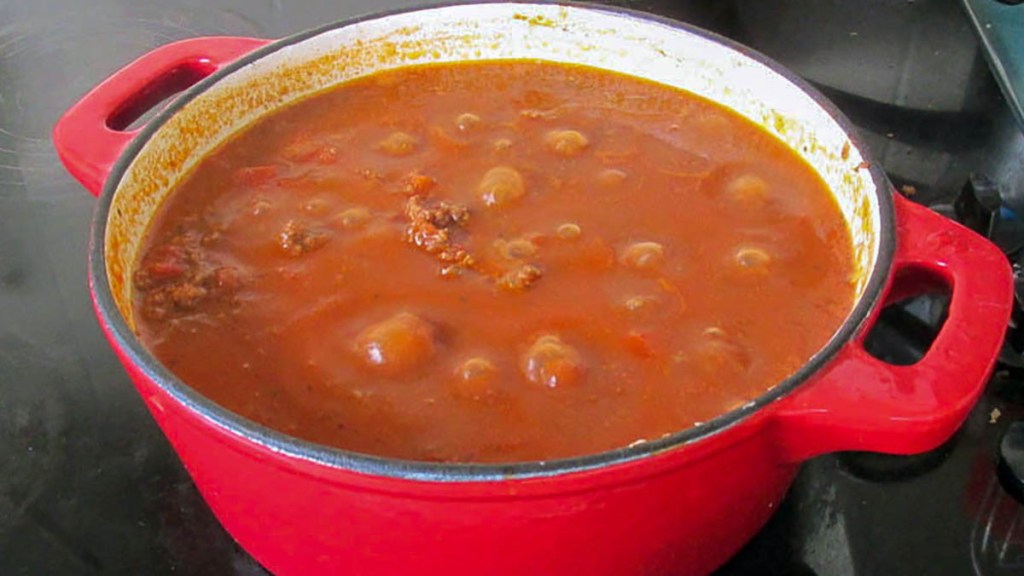
Simmer the mixture for 10 minutes, then turn off the heat.
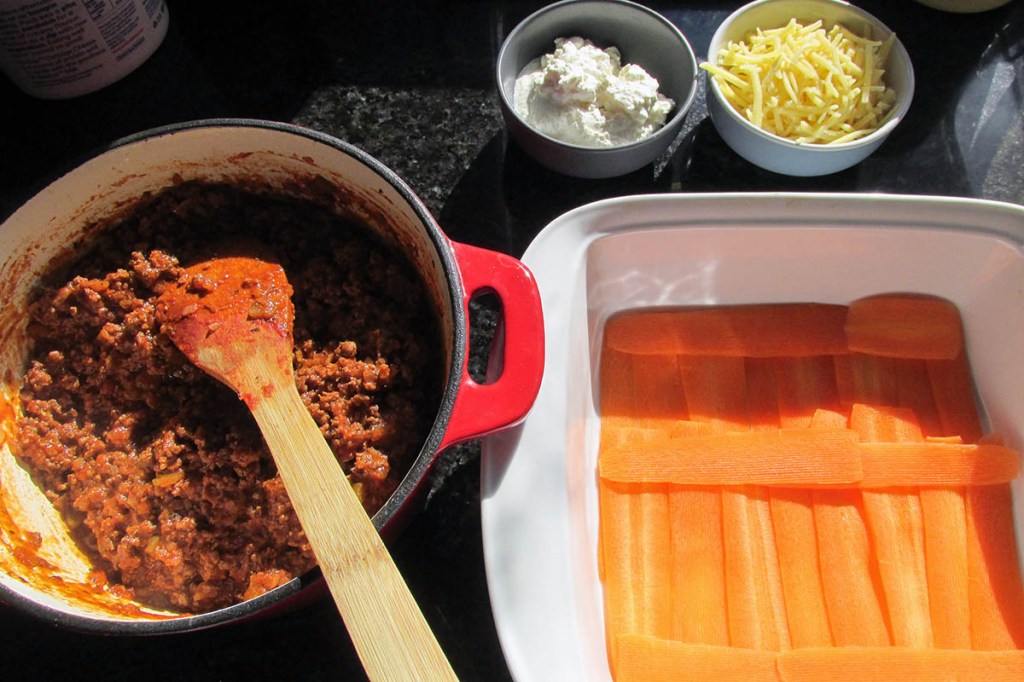
While the meat and sauce are simmering, take a baking dish and ensure you have enough carrot ribbons to build your lasagne layers.
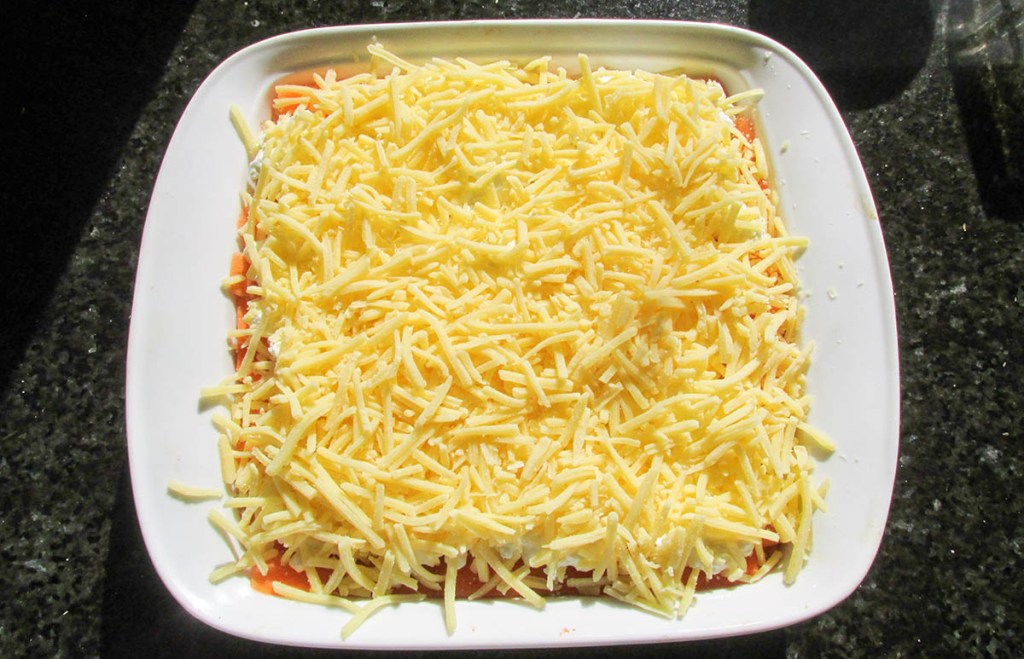
When the meat simmers, you can start to layer the lasagne.
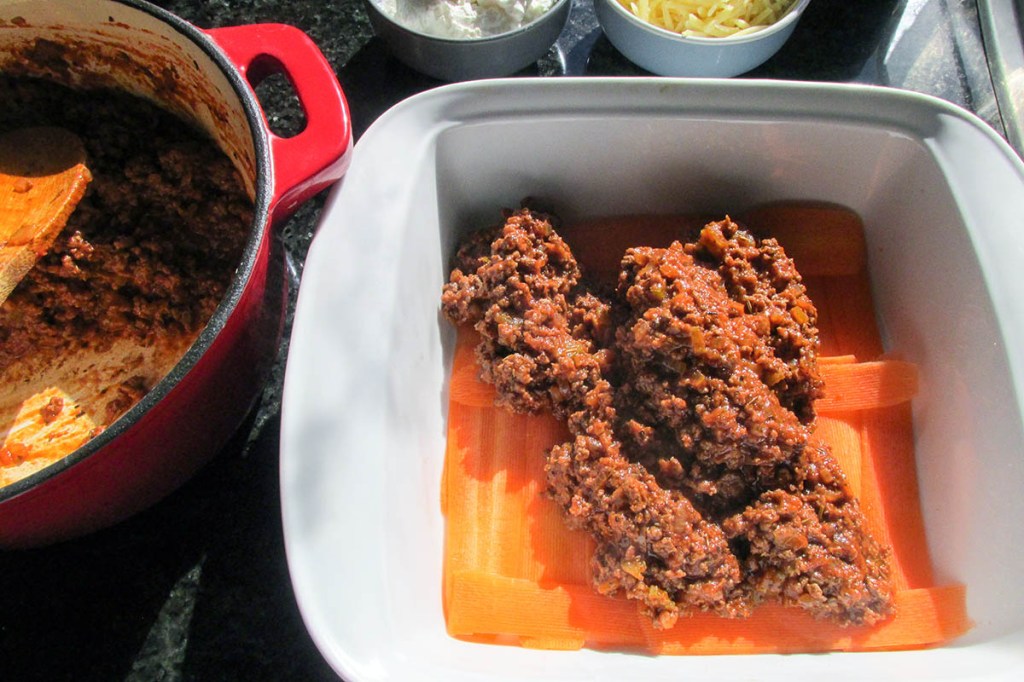
Start with a carrot ribbons layer at the baking dish’s bottom.
Next, add half the meat and sauce to create a layer in the baking dish.
Add another layer of carrot ribbons on top of the meat.
Next, add half of the cottage cheese and spread it across the dish, then top it with half the grated cheese.
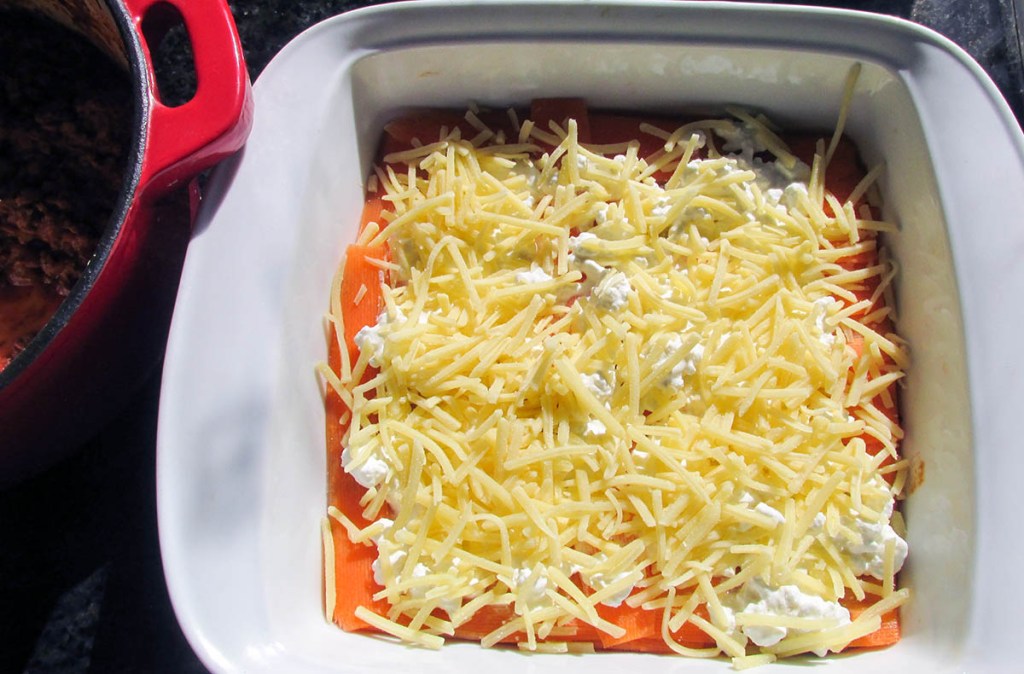
Top with half the cheese, and another layer of carrot ribbons.
Repeat the layers with meat, carrot ribbons, cottage cheese and grated cheese.
If you can leave the lasagna overnight before baking it, the longer you leave it, the better it will taste.
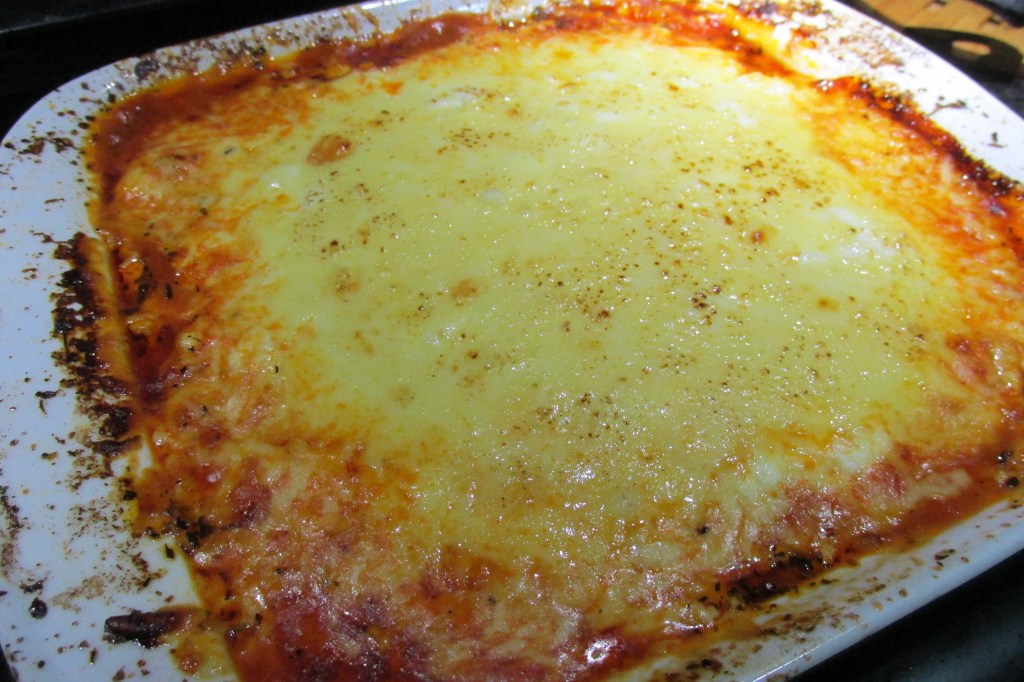
Bake the lasagne at 180 degrees C/ 350 degrees F for 30 minutes.
Remove the lasagne from the oven when the cheese is brown and bubbly.
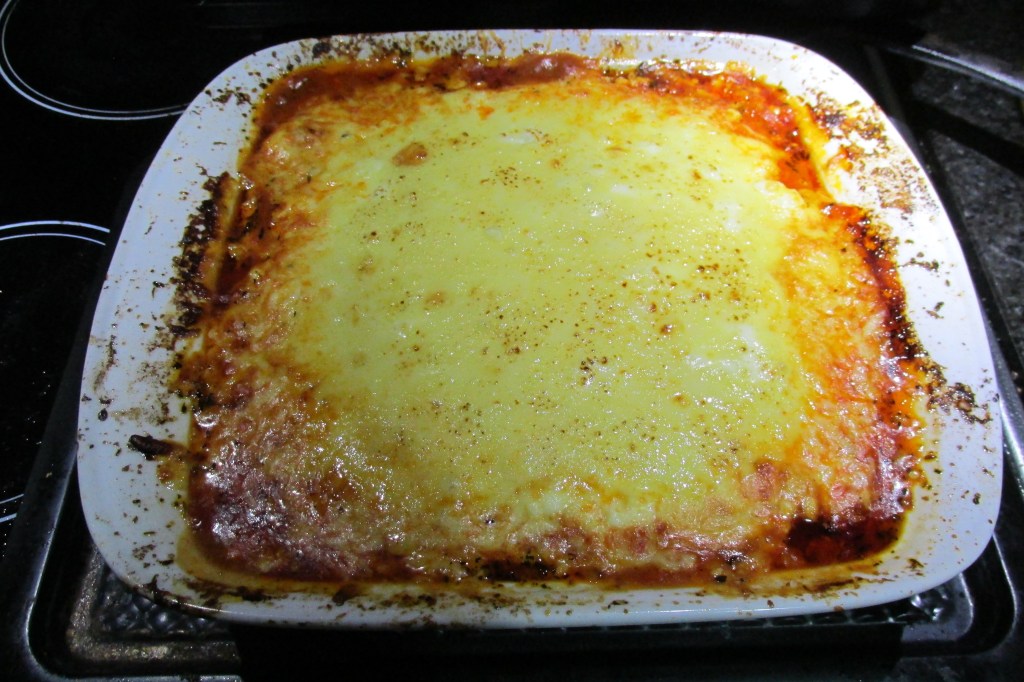
Let the lasagne rest for 5 minutes before slicing and serving.

Pasta free lasagne

Credit: Cath @ easycleaneats
Ingredients
- 500g minced beef
- 1 courgette diced
- 1 onion finely diced
- 1 red pepper diced
- 1 can tomatoes
- 2 garlic cloves minced
- 1 tsp. basil
- 1 tsp. oregano
- 1 tbsp. Red chilli flakes
- 1 tbsp. coconut oil
- 2 courgettes cut into ribbons
- 2 carrots cut into ribbons
- 2 cups cheese, grated
Directions
- Add the coconut oil to a stockpot over medium heat.
- Add the onion and cook until the onion starts to soften.
- Add the garlic, basil, chilli and oregano to the pan.
- Add the beef mince to the pan and cook the beef until it browns.
- Add the chopped tomatoes to the pan along with the chopped celery.
- Simmer the mixture for 10 minutes, then turn off the heat.
- While the meat and sauce are simmering, take a baking dish and ensure you have enough carrot ribbons to build your lasagne layers.
- When the meat simmers, you can start to layer the lasagne.
- Start with a carrot ribbons layer at the baking dish’s bottom.
- Next, add half the meat and sauce to create a layer in the baking dish.
- Add another layer of carrot ribbons on top of the meat.
- Next, add half of the cottage cheese and spread it across the dish, then top it with half the grated cheese.
- Top with half the cheese, and another layer of carrot ribbons.
- Repeat the layers with meat, carrot ribbons, cottage cheese and grated cheese.
- If you can leave the lasagna overnight before baking it, the longer you leave it, the better it will taste.
- Bake the lasagne at 180 degrees C/ 350 degrees F for 30 minutes.
- Remove the lasagne from the oven when the cheese is brown and bubbly.
- Let the lasagne rest for 5 minutes before slicing and serving.
Nutrition
Per Serving: 350 calories; 25.7 g fat; 8.2 g carbohydrates; 21.7 g proteinEquipment
- Stockpot
- Wooden spoon
- Vegetable peeler
- Knife
- Grater
- Chopping board
- Baking dish
Nutritional disclaimer
Nutrition information is provided as an estimate based on the ingredients used and available in my area (New Zealand). The nutritional information is here to help you understand the recipe; I use MyFitnessPal to generate my estimates. For more accurate nutritional information, please use a nutritional calculator with the ingredients in your area.
Pasta free lasagne – kid friendly recipe
Ingredients
- 500g minced beef
- 1 courgette diced
- 1 onion finely diced
- 1 red pepper diced
- 1 can tomatoes
- 2 garlic cloves minced
- 1 tsp. basil
- 1 tsp. oregano
- 1 tbsp. coconut oil
- 2 courgettes cut into ribbons
- 2 carrots cut into ribbons
- 2 cups cheese, grated
Instructions
- In a stockpot heat the coconut oil, garlic, onion basil and oregano over a medium heat, cook until the onion is soft.
- Add the beef mince and cook off until browned.
- Pour in the tomatoes along with the diced vegetables to the meat and cook for 10 minutes.
- In a baking dish create a layer of carrot ribbons to cover the bottom add a layer of meat then cover with a layer of courgette ribbons, top with cheese.
- Repeat until you reach the top of the baking dish, top the final layer with cheese.
- If you can leave the lasagne overnight before you bake it, the longer you leave it the better it will taste.
- Bake the lasagne at 180 degrees C/ 350 degrees F for 30 minutes.
- When the cheese is brown and bubbly remove the lasagne from the oven.
- Let the lasagne rest for 5 minutes before slicing and serving.