Not the custard of childhood
Custard was a strong feature in the desserts of my childhood, apple crumble and custard was one of my favourites when i was growing up. There is nothing better on a cold night than a warm dessert with a generous helping of custard. Full disclosure, when I was younger I was a big fan of tinned custard, I wasn’t so fond of the packet powder custard that was always lumpy and watery. While I do miss custard, l don’t miss the massive amount of sugar that you get in store bought custard.

All the flavour with much less sugar
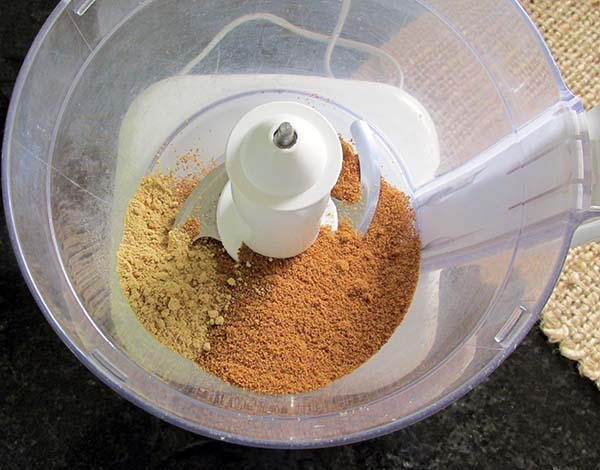
As with most of my clean eating versions of traditional recipes, it isn’t always the easiest process to find alternative ingredients that deliver the same flavours and in this case the right texture. All new recipes take time to get right, this one was no exception. I tired making custard with coconut sugar, maple syrup and with honey. Finding the balance between sweet enough and too sweet was the greatest challenge. After some trial and error
I found the honey gave the best flavour and the right amount of sweetness for me.
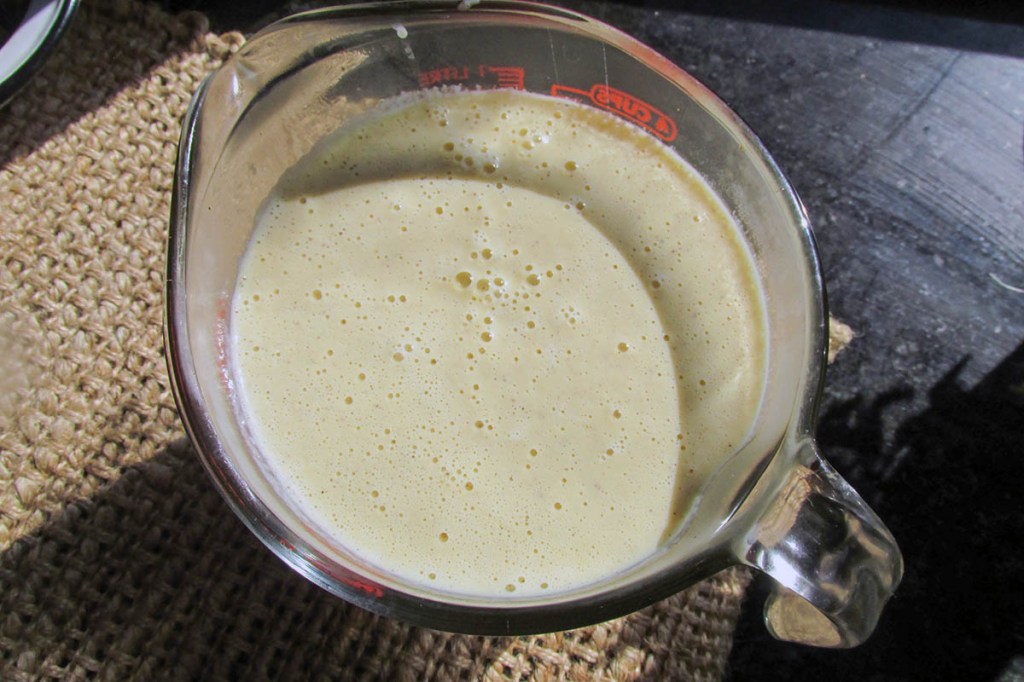
Smooth and silky
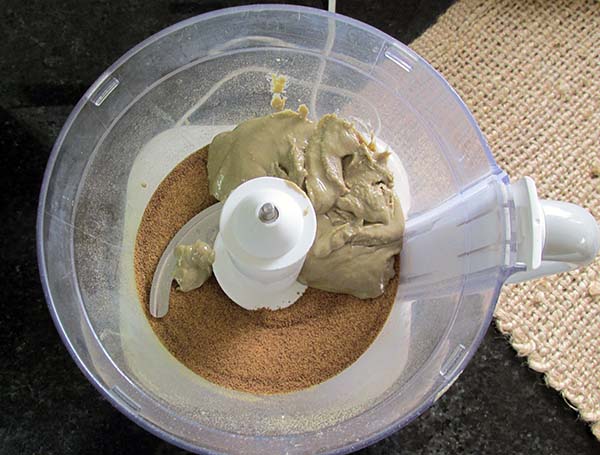
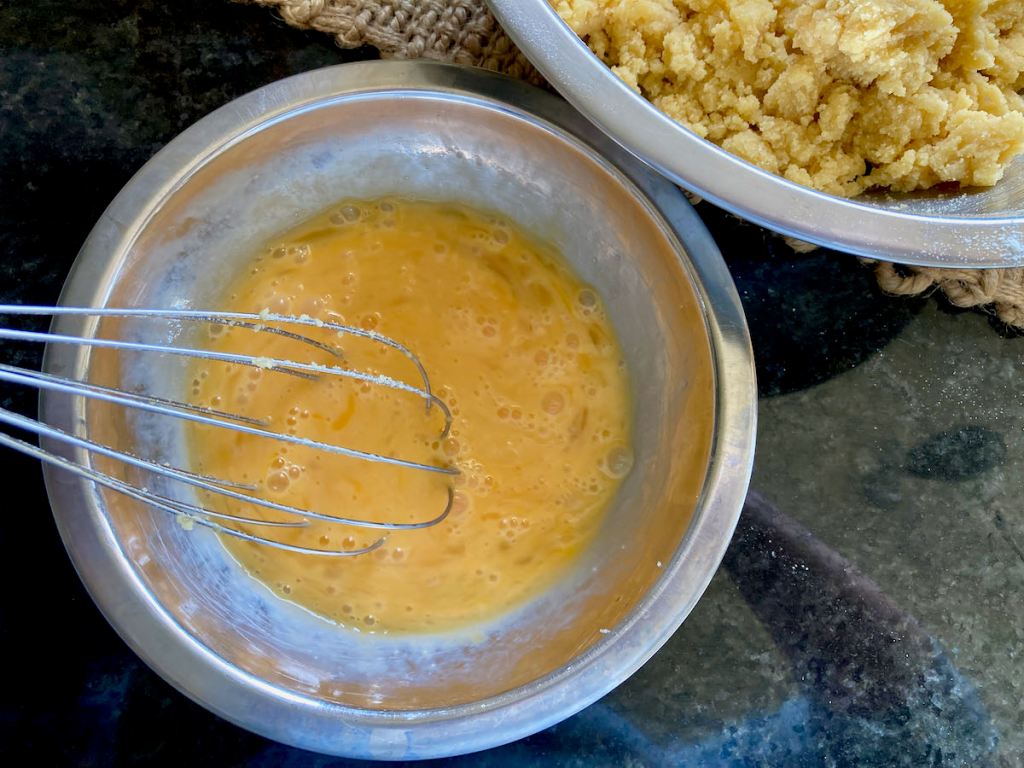
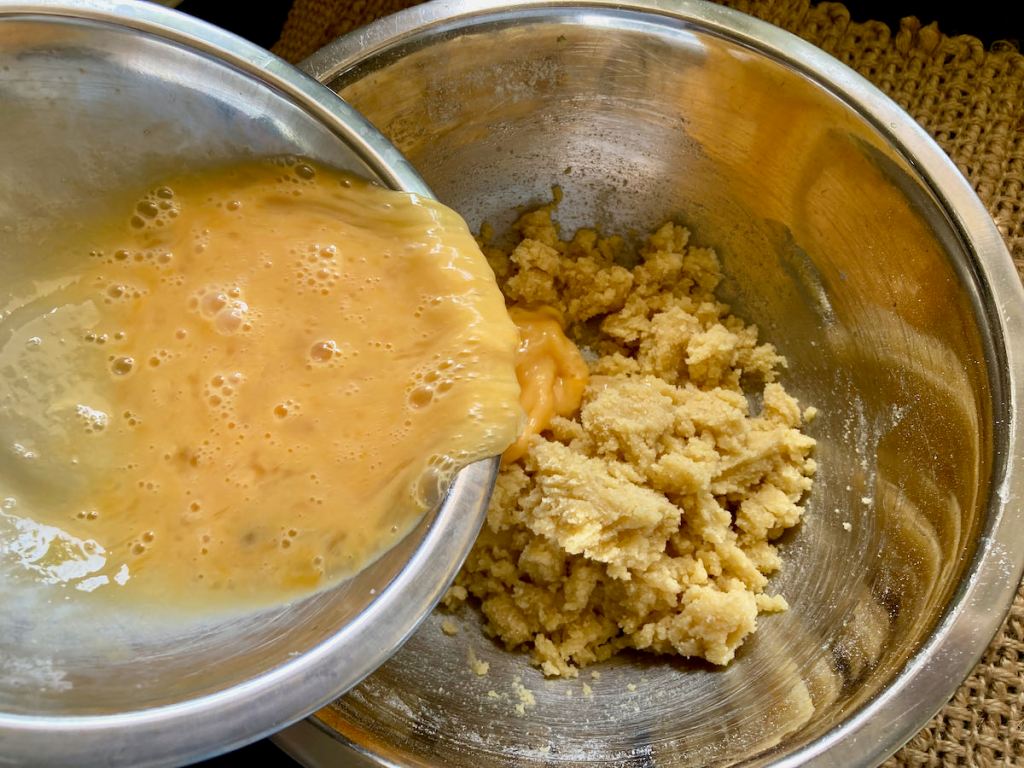
Smooth custard isn’t as easy as I thought it was going to be. When I’ve made custard with cane sugar in the past, it was reasonably easy to stop the eggs in the custard from scrambling in the custard. When making custard with honey, you have to watch the heat and take it slowly when heating the custard up. It is easy to overcook the eggs and end up with a lumpy mess.
Easy custard recipe
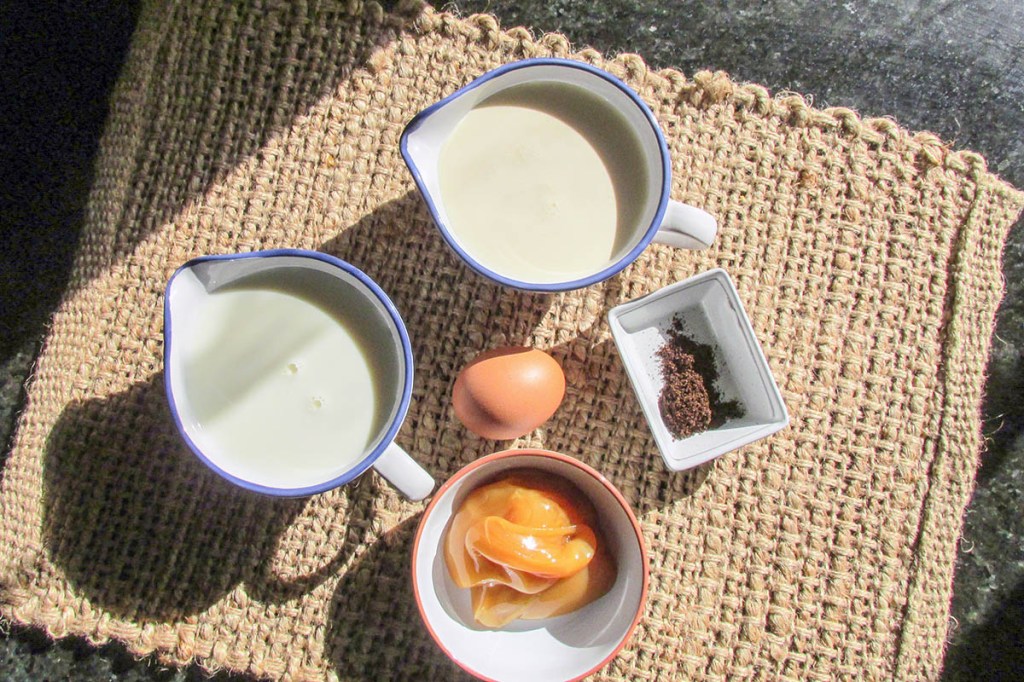
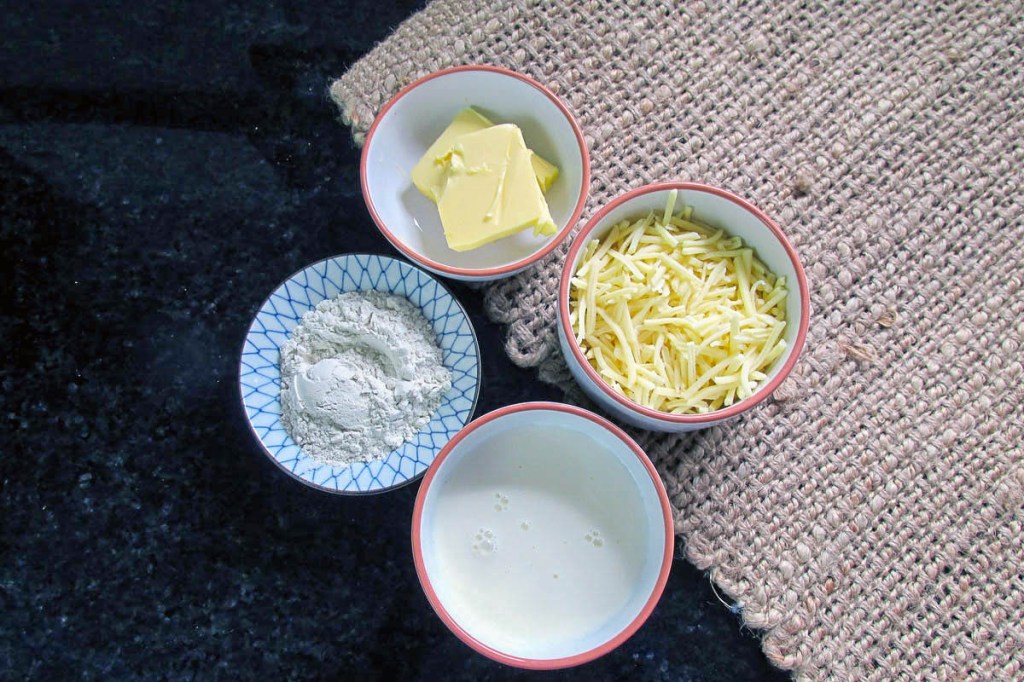
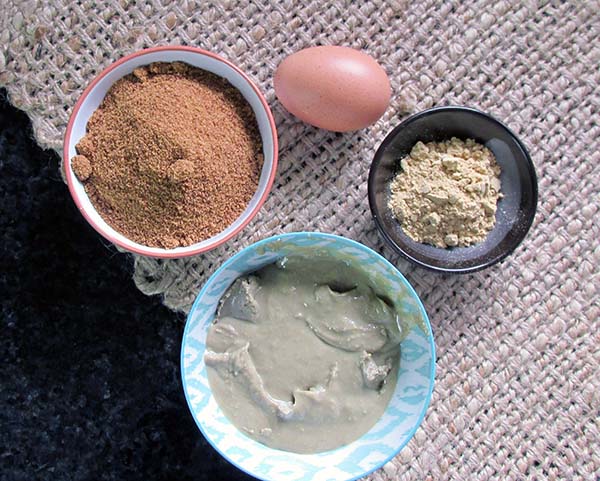
Ingredients
- 300ml milk
- 300ml double cream
- 3 eggs
- 1/2 tsp. vanilla
- 3 tbsp. honey


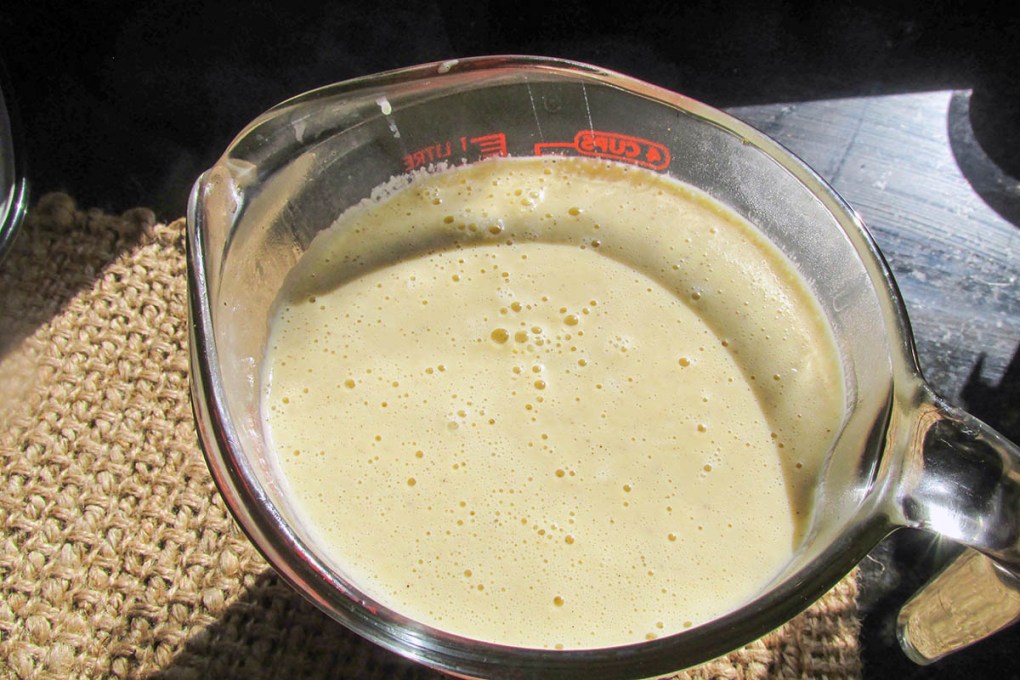
Easy custard
This custard is lower in sugar without being lower in taste.
Credit: Cath @ easycleaneats
Ingredients
- 300ml milk
- 300ml double cream
- 3 eggs
- 1/2 tsp. vanilla
- 3 tbsp. honey
Directions
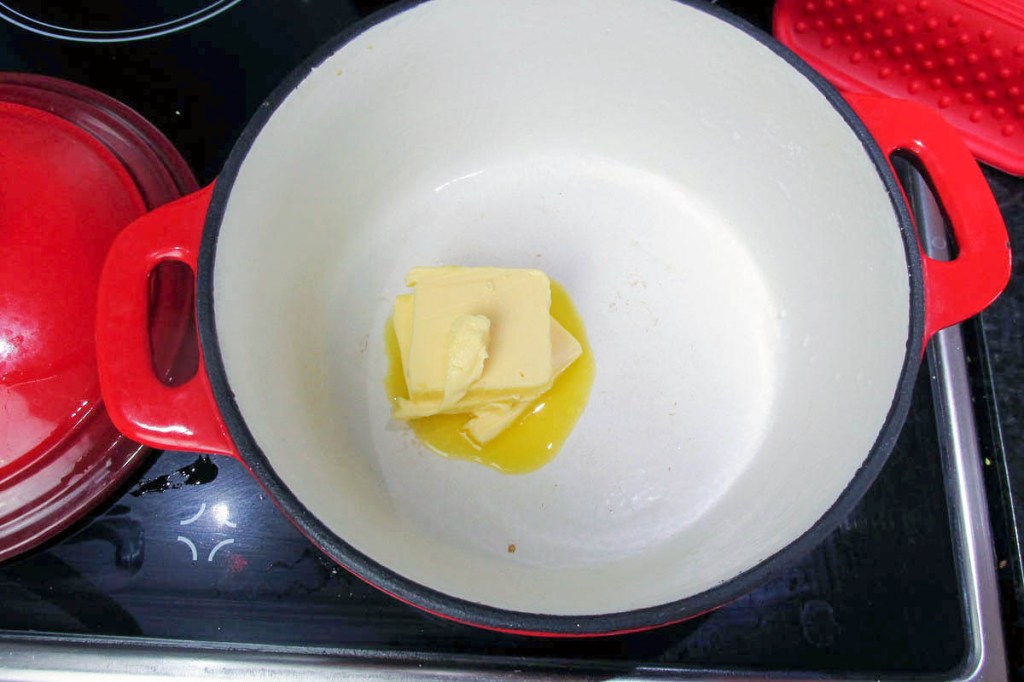
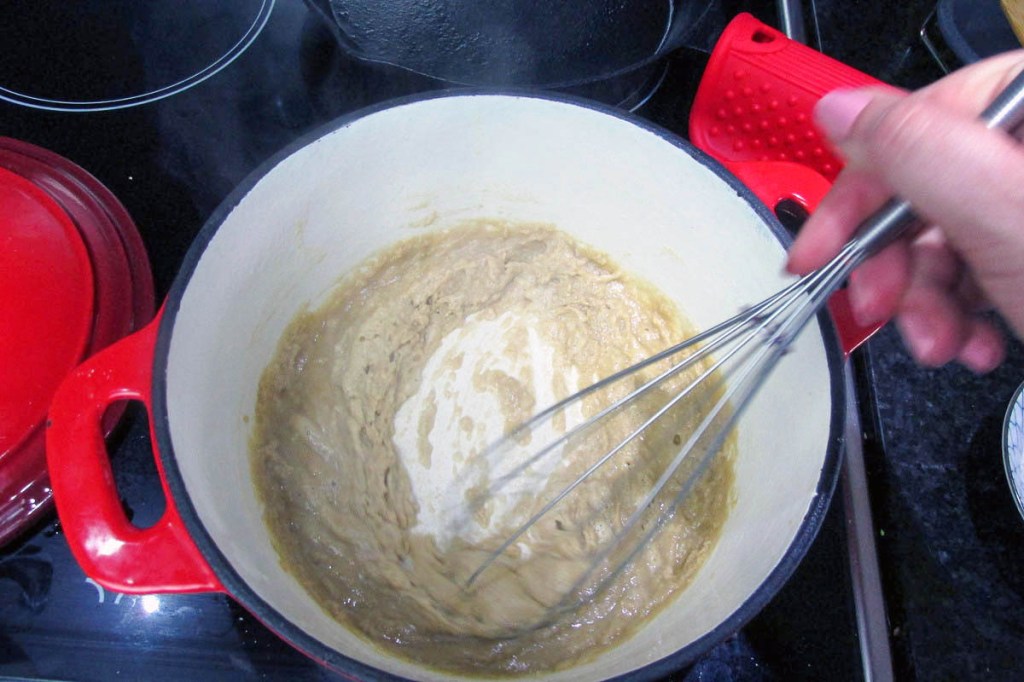
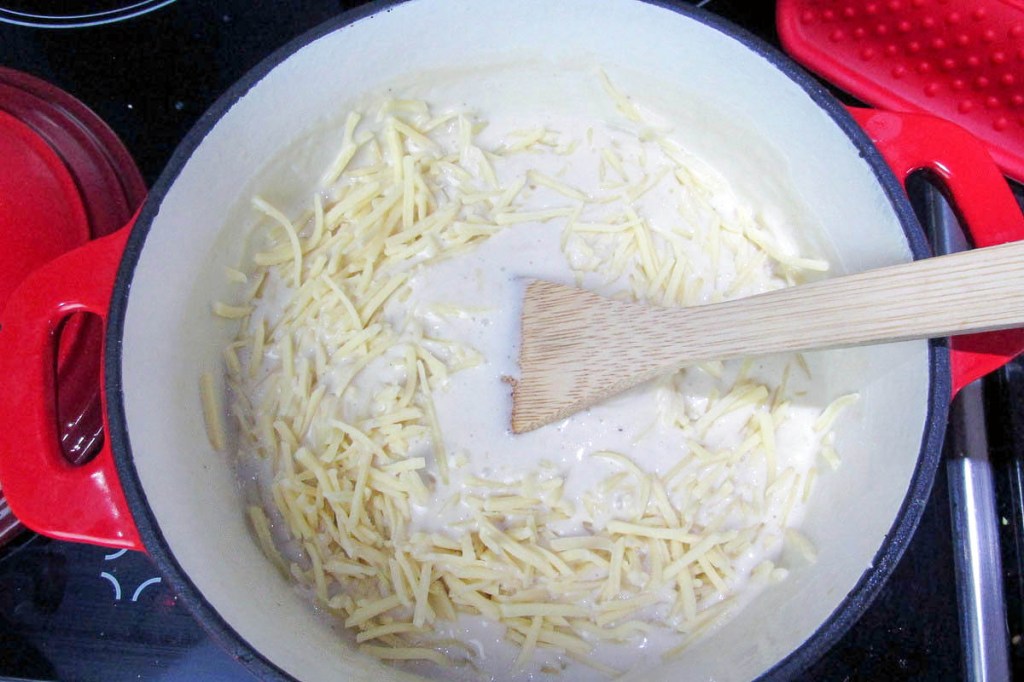
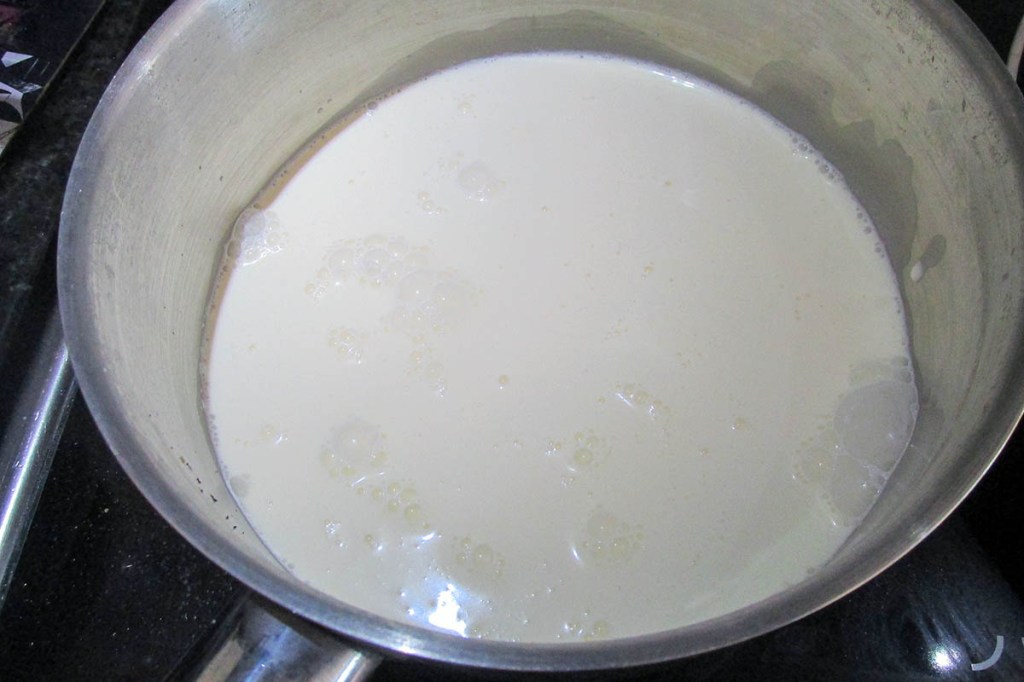
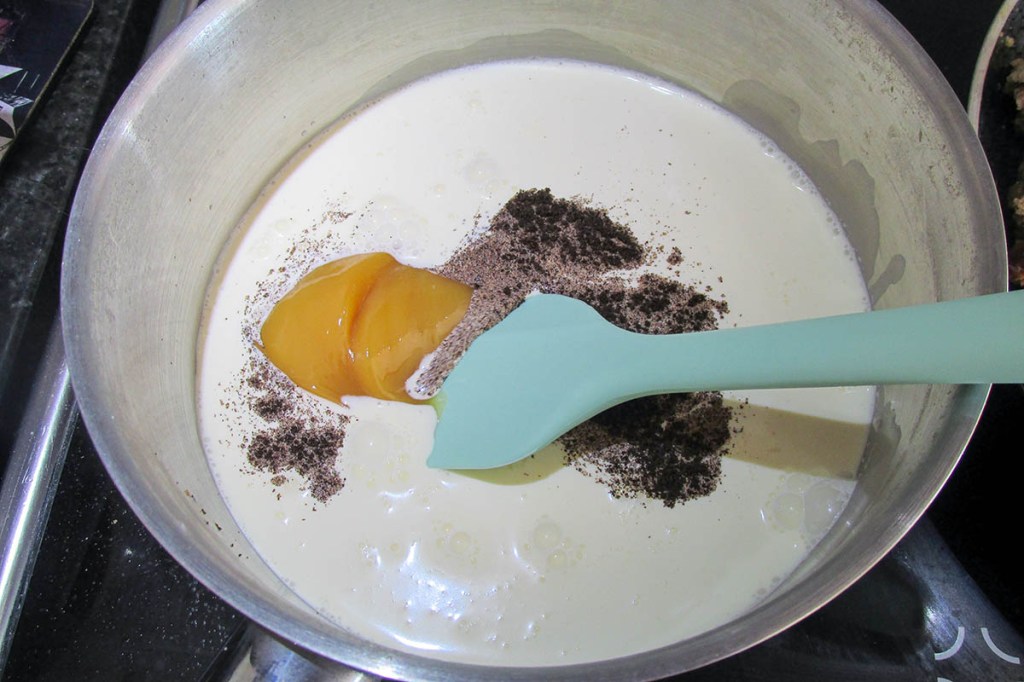
- Take a large saucepan.
- Add the milk and cream to the pan.
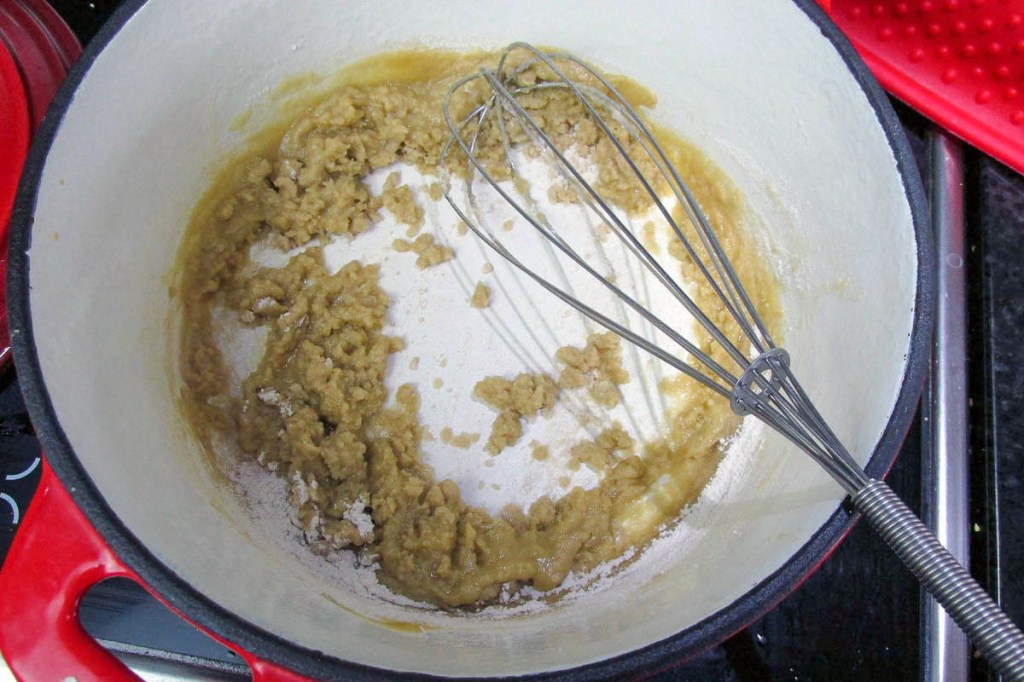
- Stir in the honey and vanilla.
- Stir until all of the honey is dissolved.
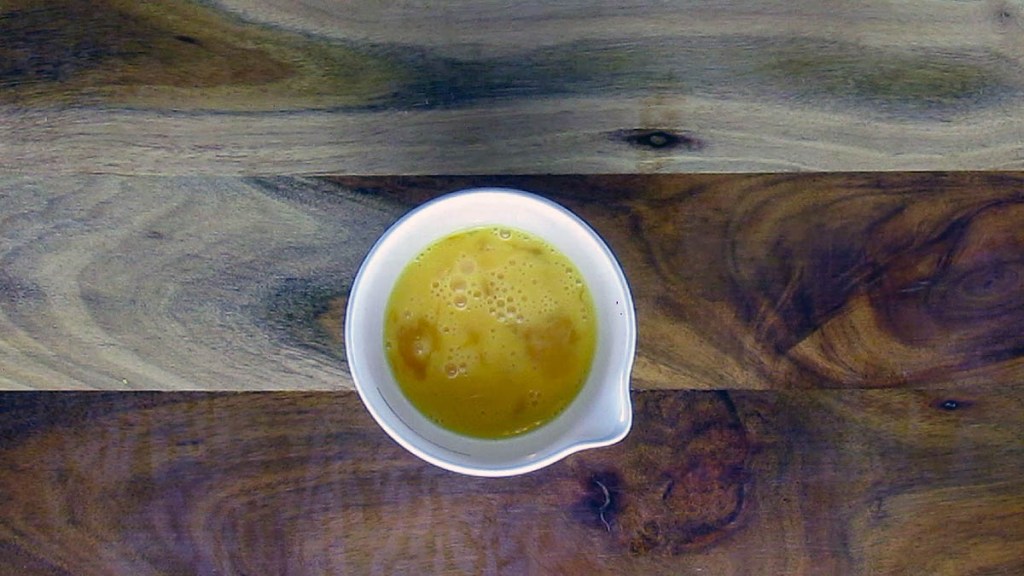
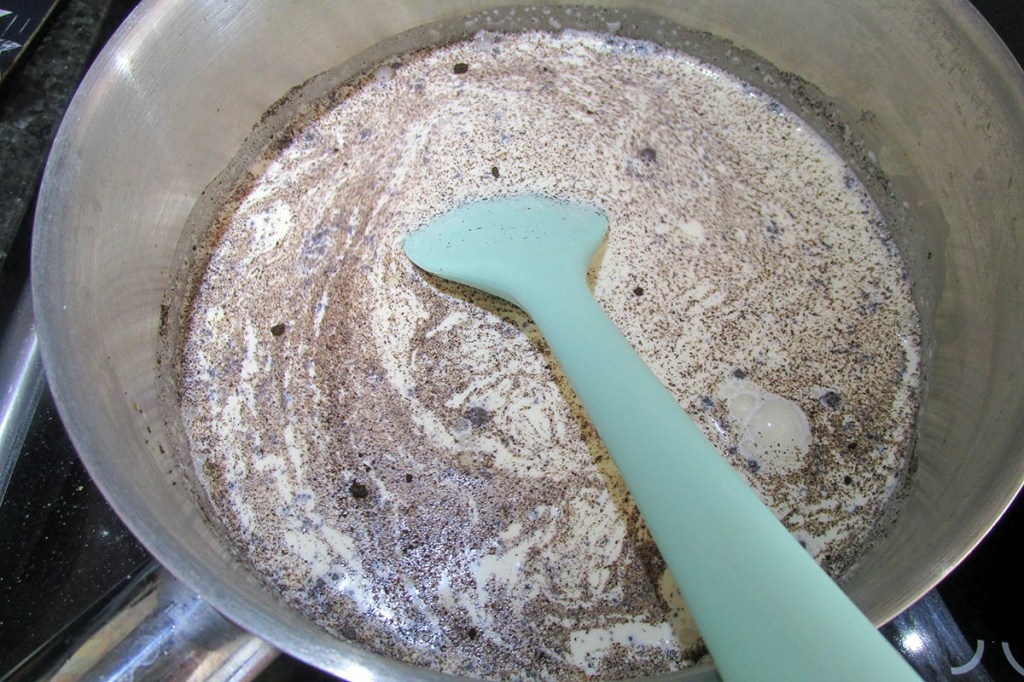
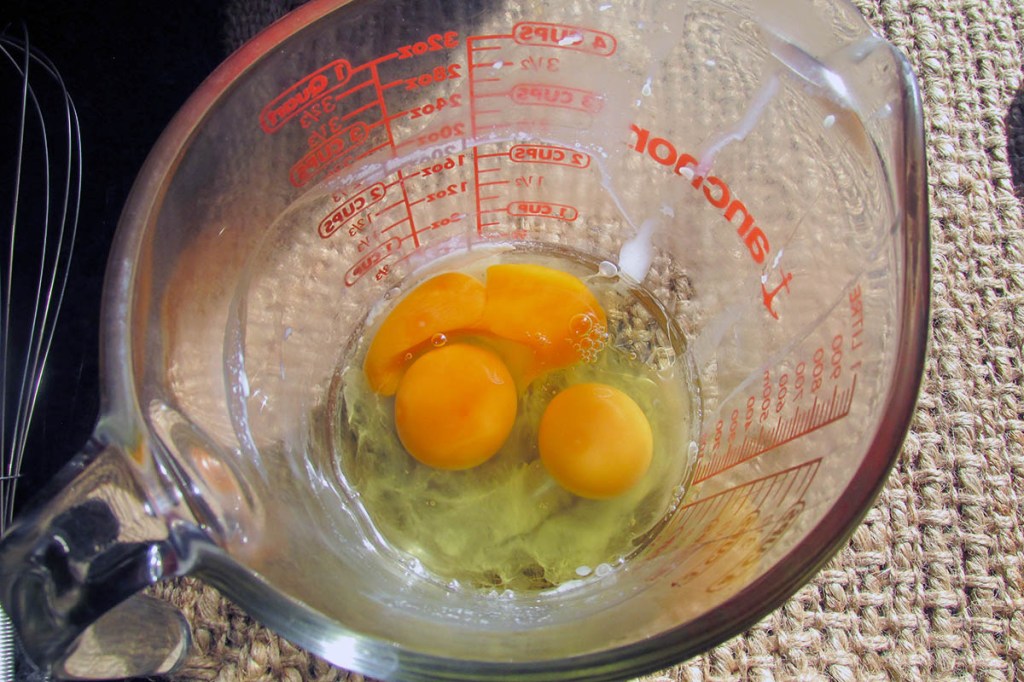
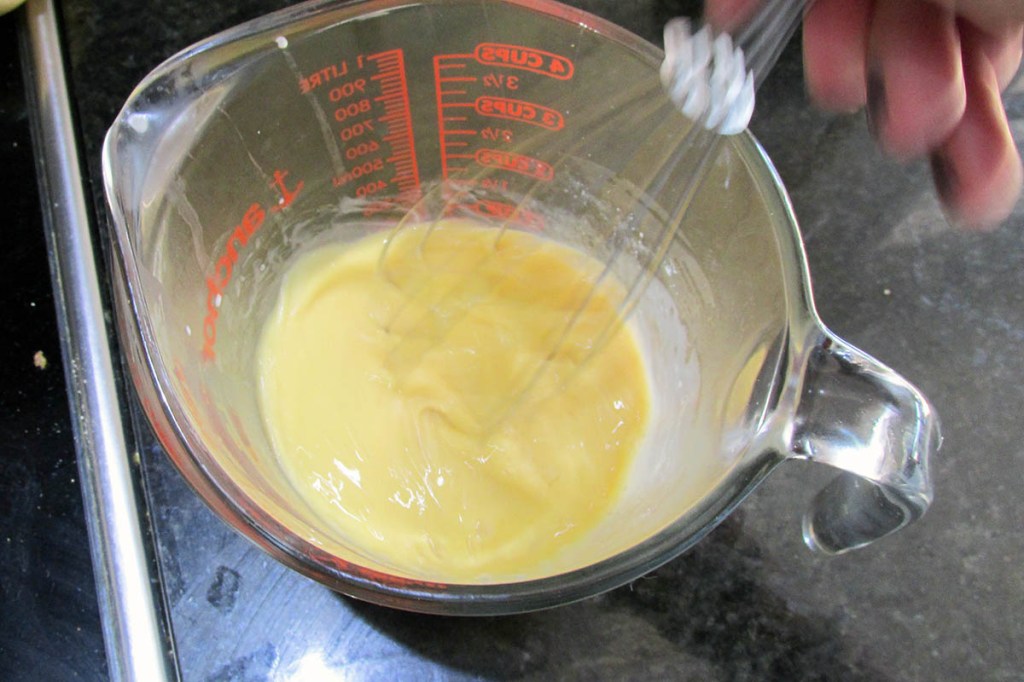
- In a bowl or jug beat the eggs until smooth.
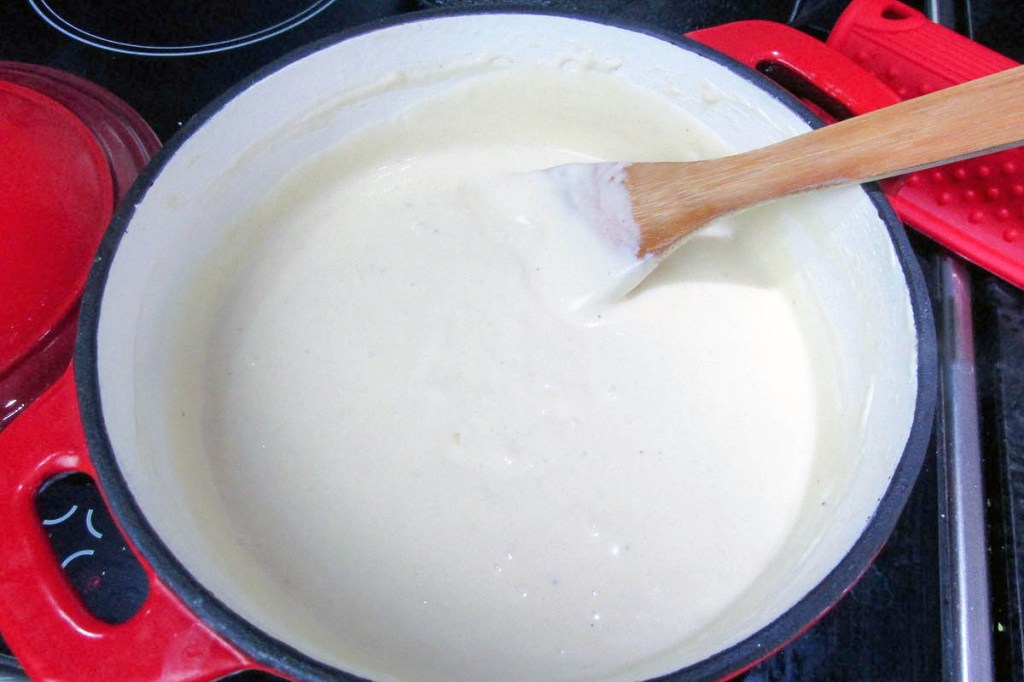
- When the milk has started to steam it is ready to use.
- Make sure the milk is warm not hot, it will cook the eggs if it is too hot.
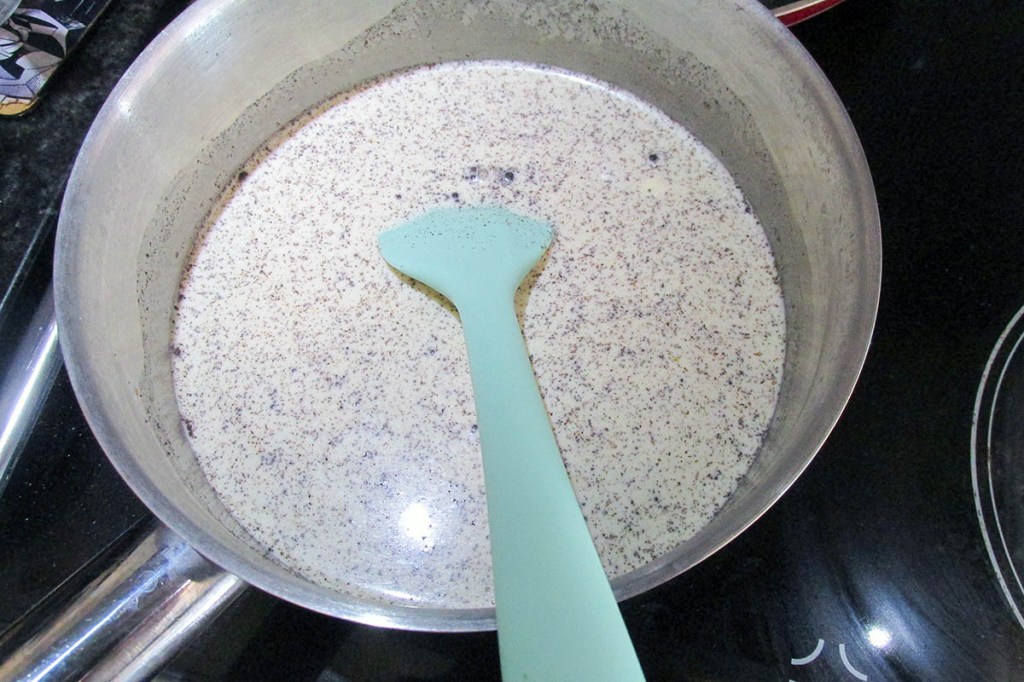
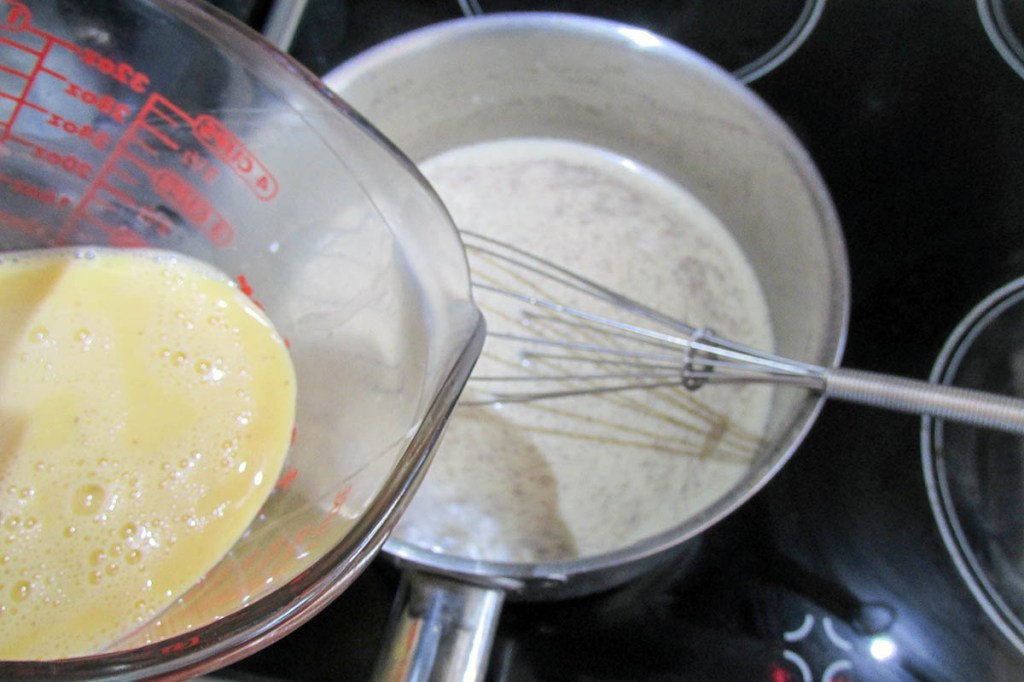
- Add three tablespoons of the milk mix to the eggs and whisk.
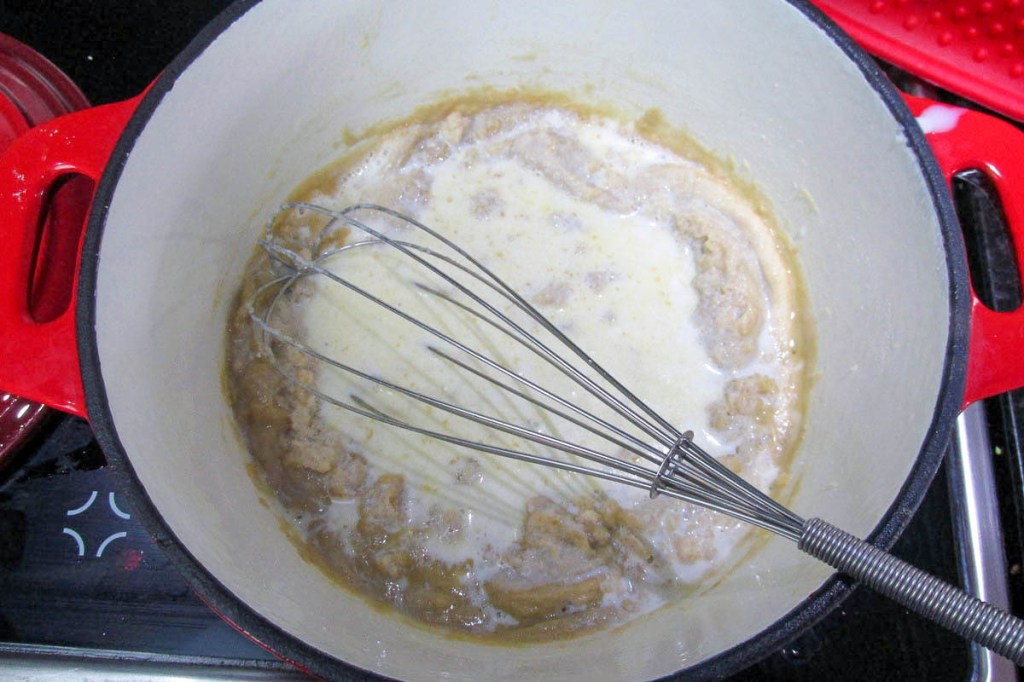
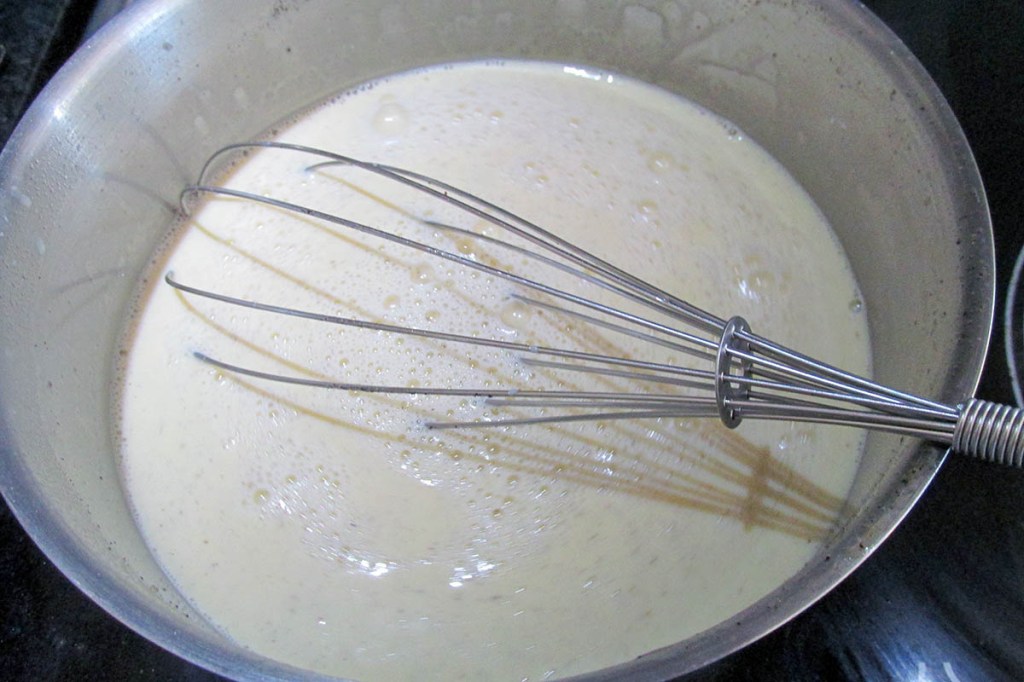
- Slowly whisk the eggs into the remaining milk .
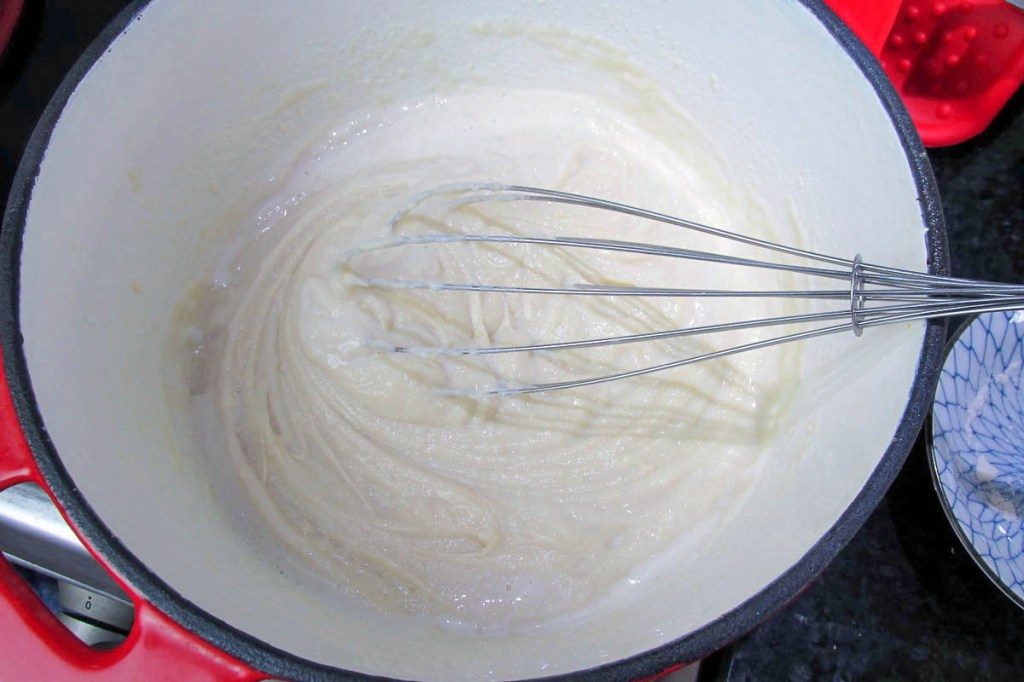
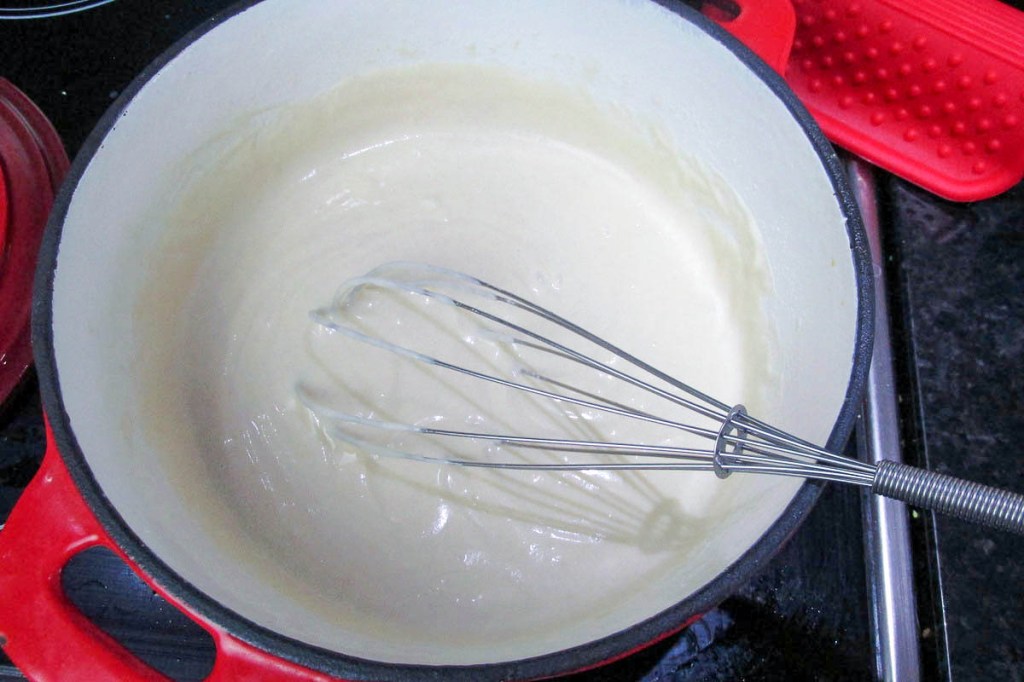
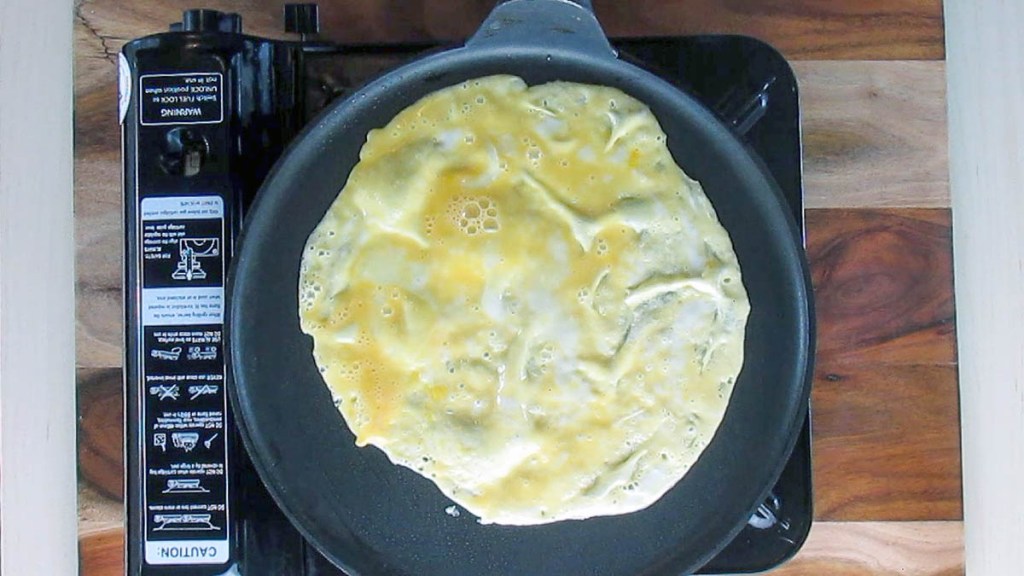
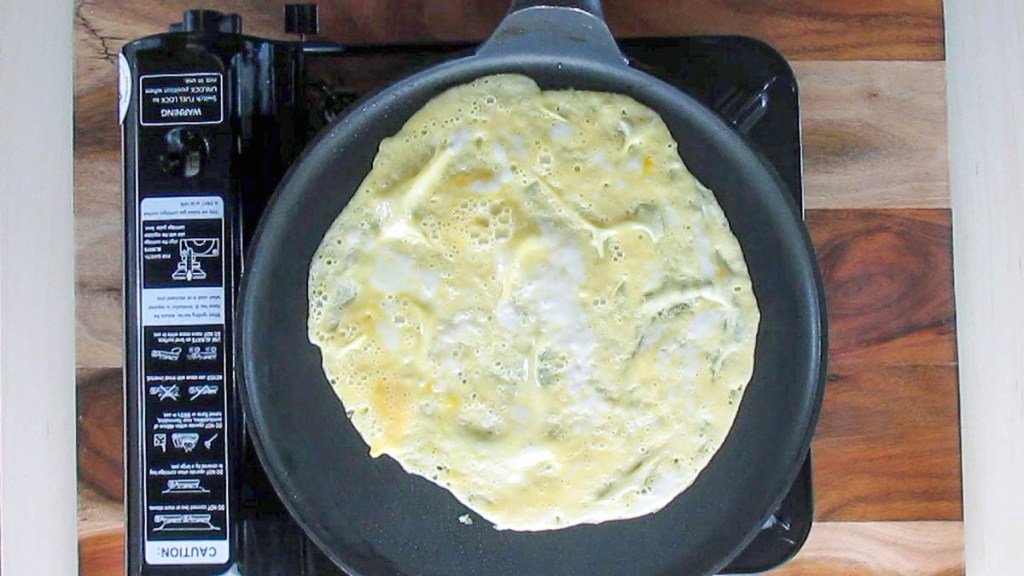
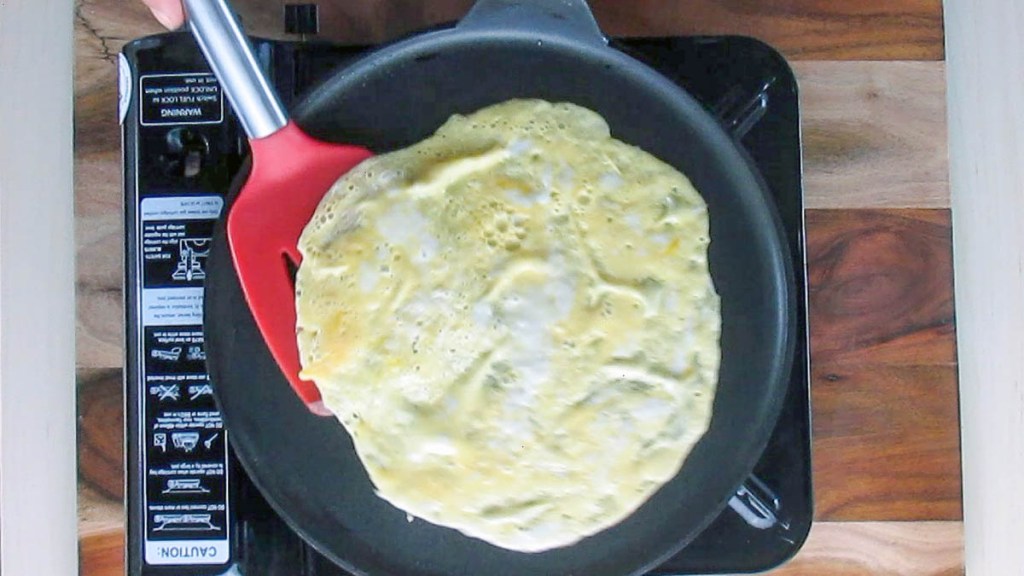
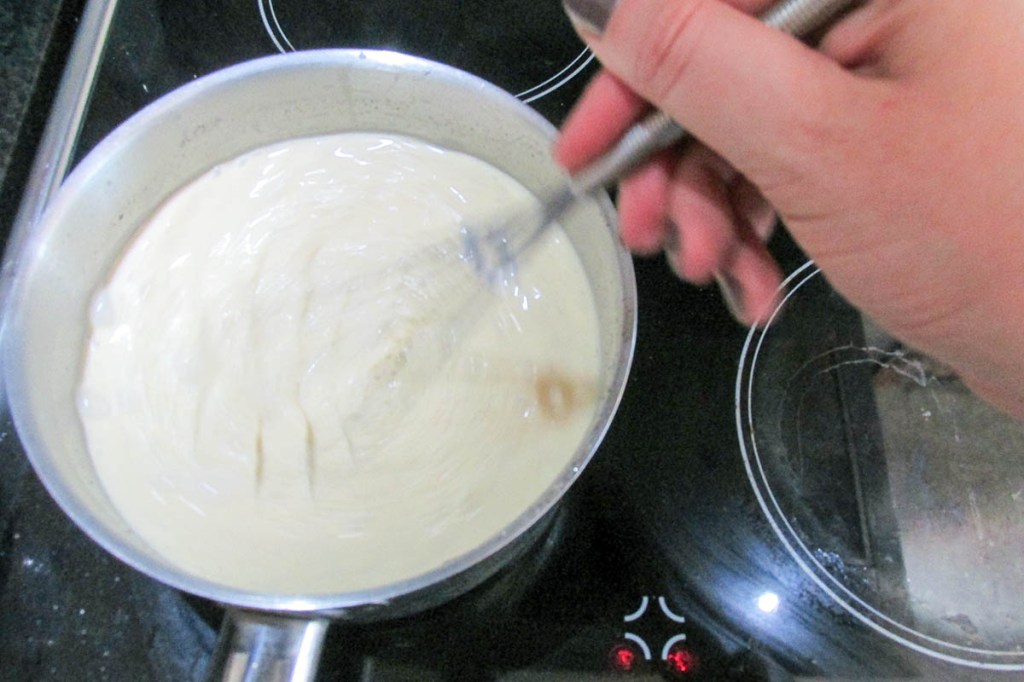
- When combined return to the heat to thicken.
- Watch the custard closely, keep stirring and remove it from the heat before it over cooks.
- Pour the custard into a bowl and set it in the fridge to cool completely.
- If you want warm custard reheat it gently in a saucepan.
Nutrition
Per Serving: 228 calories; 19 g fat; 9 g carbohydrates; 4 g proteinEquipment
- Saucepan
- Wooden spoon
- Whisk
- Measuring jug
- Bowl
Nutritional disclaimer
Nutrition information is provided as an estimate based on the ingredients used and available in my area (New Zealand). The nutritional information is here to help you understand the recipe; I use MyFitnessPal to generate my estimates. For more accurate nutritional information, please use a nutritional calculator with the ingredients in your area.