Early in 2021, I relocated and started updating my website; I’ve been making changes and improving everything as I go. This recipe is one of the many things I’ve tried to improve.
Getting off the sugar train
Over the last year, sugar has crept back into my diet, and I’ve noticed the adverse effects of late. Between my busy work life and lots of travel for work, I have found it challenging to eat clean and stay healthy. I decided to return to the sugar-free wagon and start feeling more like myself again.
Easy snack
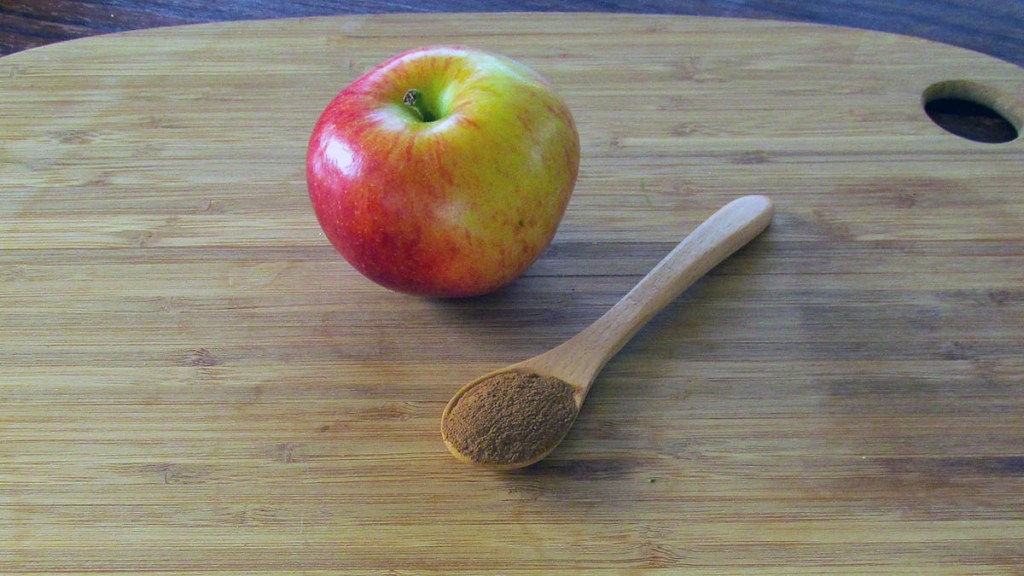
Apple chips are a cheap and easy snack. They make a great alternative to potato chips; they are sweet, crisp and slightly addictive. If you are looking for a way to get fruit into little people, they are a brilliant option.
Preheat your oven to 100 degrees C/ 220 degrees F.
Line two baking trays with baking paper or a silicone liner.
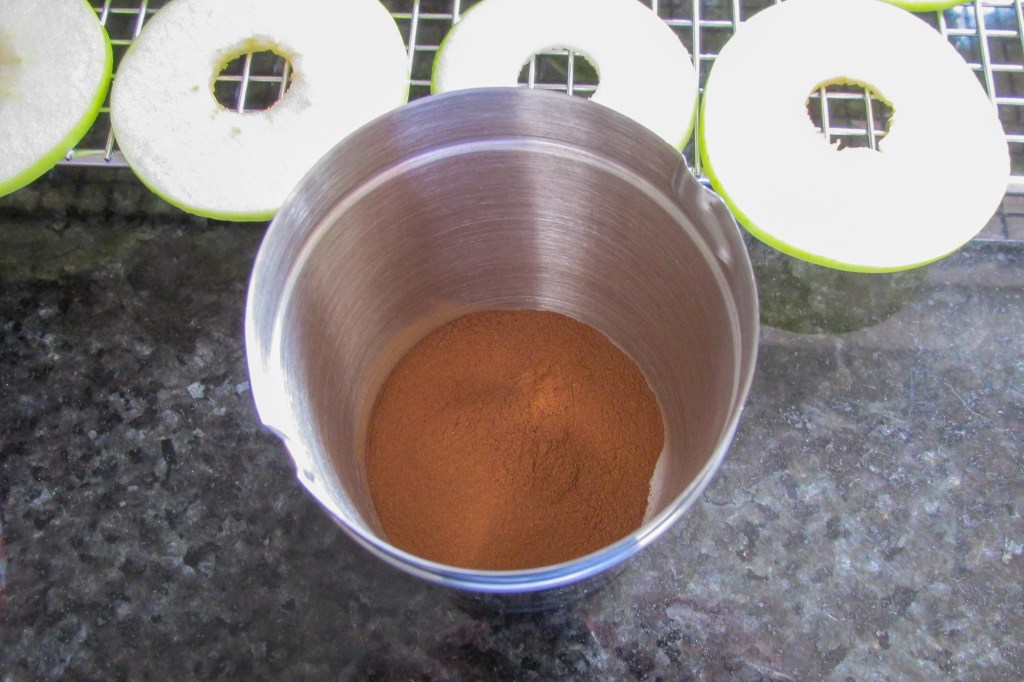
Cut the apples into thin slices, for uniform size slices you can use a mandolin.
Spread the apple slices on the baking trays, making sure you have no overlapping edges.
Sprinkle the ground cinnamon on top of the apples.
Place the baking trays in the oven.
Leave the chips in the oven for two hours; turn them over after the first hour.
Let the chips cool before eating.
Keep the chips in an airtight container in the fridge for up to a week
Nutrition
Per Serving: 40 calories; 0 g fat; 11 g carbohydrates; 0 g protein
Equipment
Knife
Chopping board
Mandolin
Baking tray
Baking paper or silicone liner
Nutritional disclaimer
Nutrition information is provided as an estimate based on the ingredients used and available in my area (New Zealand). The nutritional information is here to help you understand the recipe; I use MyFitnessPal to generate my estimates. For more accurate nutritional information, please use a nutritional calculator with the ingredients in your area.
One of the key things missing that I found important when removing ‘standard’ foods from my diet was knowing an alternative I could use. Many of the alternatives I discovered that were suitable for how I wanted to eat took time to discover. I considered each discovery a little triumph on my food journey. Knowing what is out there and suitable for you can be hard work. I’m all for making life easier, so here is a list of the alternative ingredients I have found and used over the years.
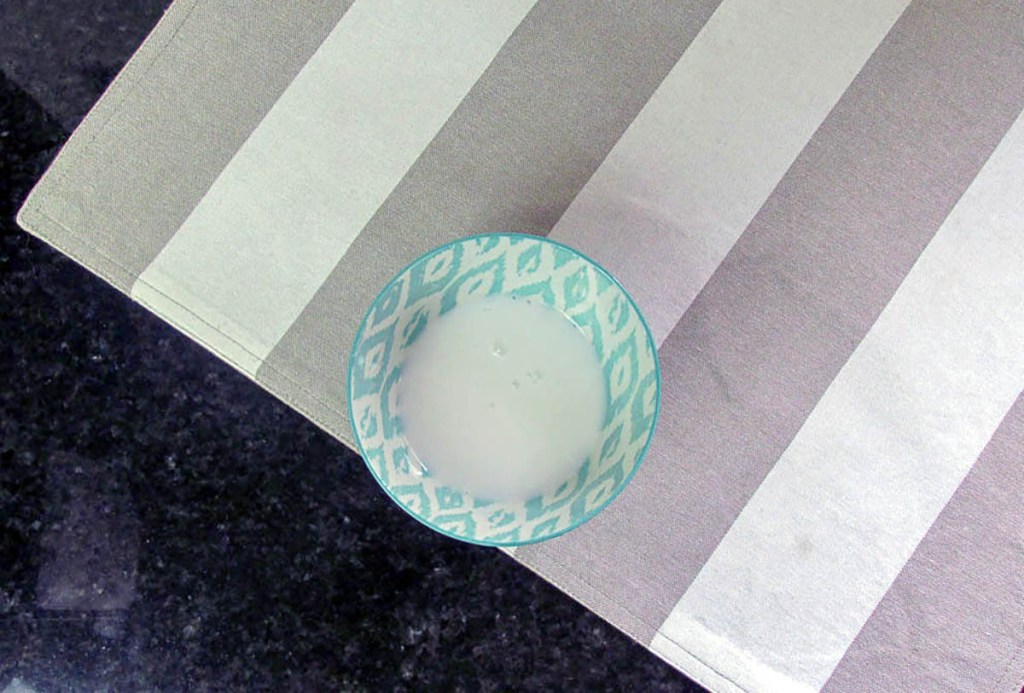
Removing milk – alternative coconut milk/ almond milk
Dairy is a big issue for some people. Removing milk can be challenging and take a while to get used to; having an alternative can make life much easier. Coconut and almond milk are nice alternatives available in most supermarkets and health food stores. Look for milk that doesn’t have added sugar, sweetener or preservatives; you can always make your own if you want to remove the risk of milk with added chemicals. There are other milk alternatives out there, but I highly recommend doing some interweb research on potential health impacts before you try them.
Coconut milk
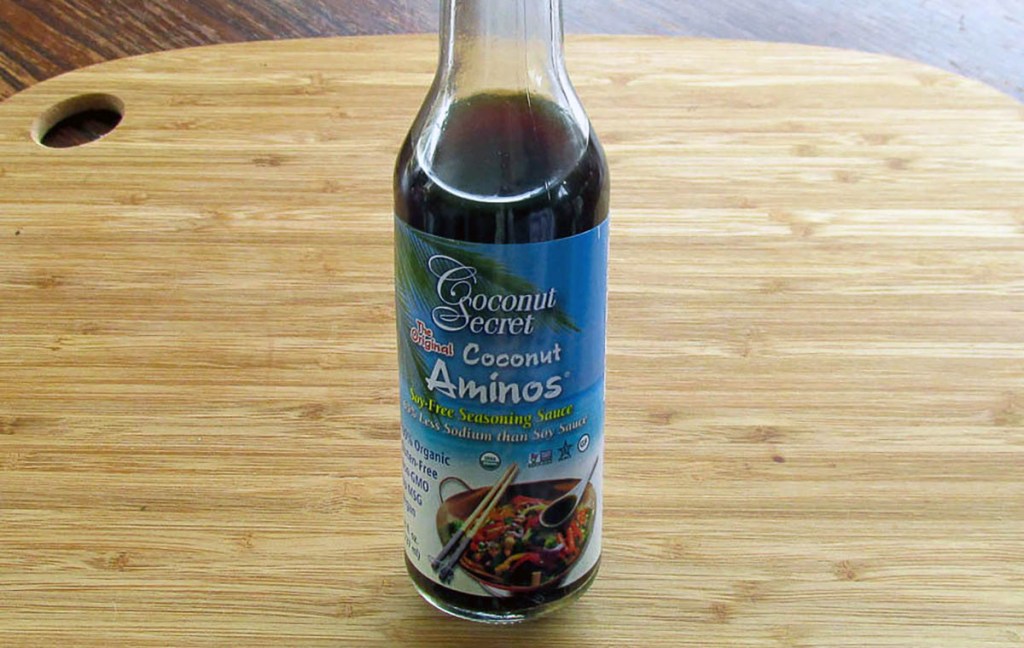
Removing soy sauce – alternative coconut aminos
Coconut aminos are an excellent replacement for soy sauce. Soy is one of the most controversial foods out there; it is considered either a superfood or a hormone-disrupting poison. Instead of working through many papers that argue the pros and cons of soy and running the risk of phytoestrogens, use coconut aminos where you would normally use soy sauce. It is a nice and simple solution without compromising on flavour. Interesting facts about coconut aminos;
This is the one that I keep in my pantry use, and you can buy it in most health food stores and in some supermarkets right next to the soy sauce.
Coconut aminos
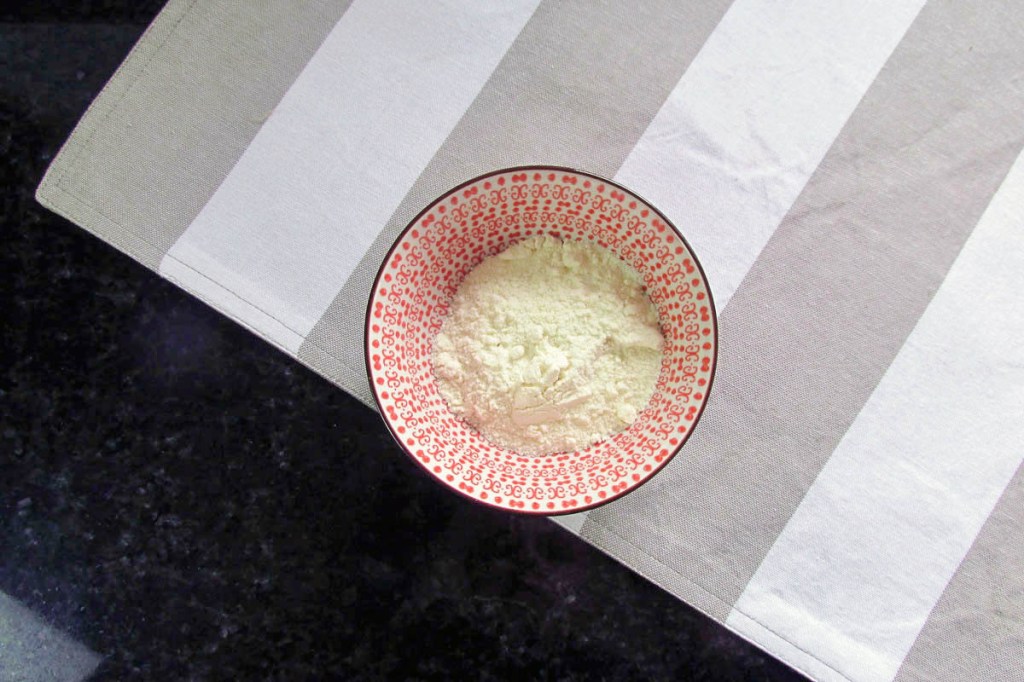
Removing flour – alternative coconut flour
Often, getting rid of wheat and grains from your diet is one of the hardest things for people to do (it was for me – oh, bread, how I loved thee). To help ease the transition, you can now access a range of grain-free flours. As I have a nut allergy, I was limited to coconut flour or gluten-free mixes, which can include extra chemicals. Coconut flour has been my primary flour as a replacement. It pays to remember that coconut flour is not the same as wheat-based flour; after much experimentation, I have found a simple formula that you can apply when using coconut flour.
Other alternatives to standard flours include almond flour, tapioca flour, and many other non-grain flours; a suitable alternative often depends on what you are trying to make. I recommend experimenting to find out which flours work best for you and the food you are making.
Coconut flour
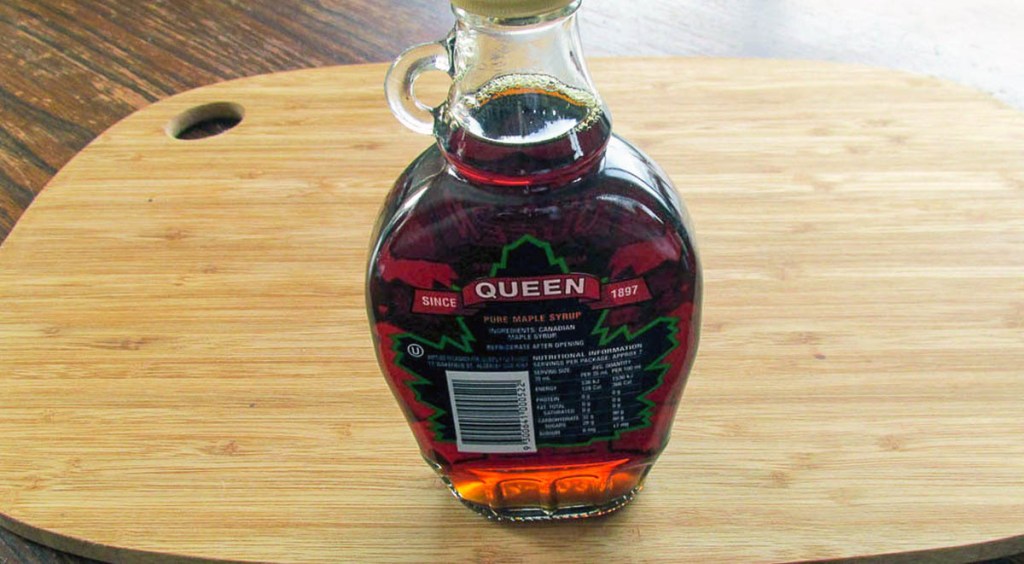
Removing sugar – alternative honey or maple syrup
Sugar is addictive and in everything nowadays (seriously, check out the label on pretty much anything in your fridge or pantry). Removing sugar can be hard, and once it’s gone from your diet, it does not mean the craving for something sweet will go away. Honey and Maple syrup are better options when you compare them gram for gram against sugar.
Both are sweet, but without that sickly sweetness you get with processed sugar, some honey is good for you (UMF honey and benefits). Other replacements include stevia and coconut sugar. The thing to keep in mind is that sugar-free doesn’t mean calorie-free; treats sweetened with sugar alternatives should be enjoyed in moderation.
Maple syrup
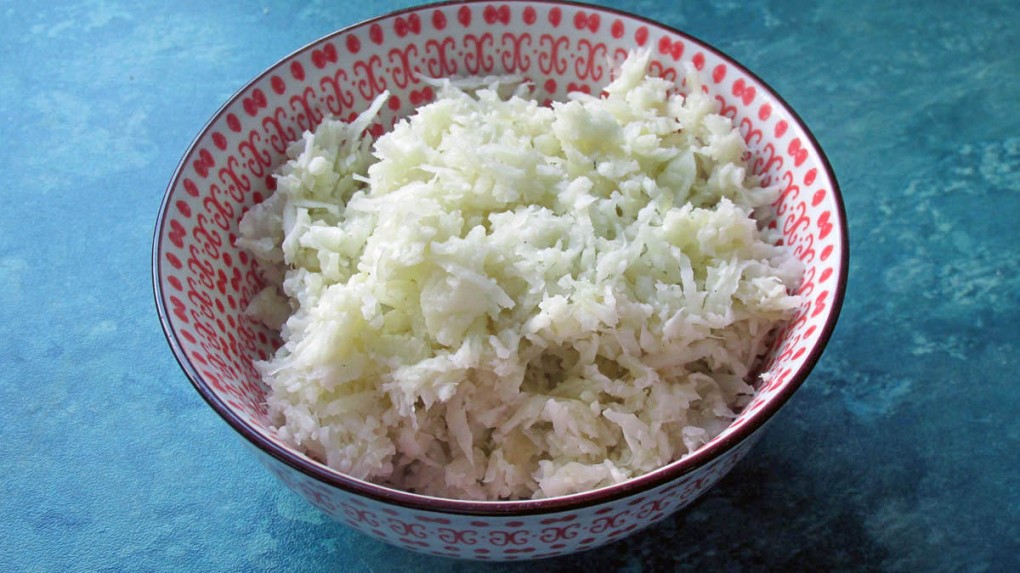
Removing rice and couscous – alternative cauliflower
Replacing rice is simple when you embrace cauliflower; it is much more versatile than you think. Grating or chopping your cauliflower gives you a rice grain texture that you can use in most of the same ways you would use rice. The bonus is that it is easy to cook and is lower-calorie than rice. It goes great with curry, as a side, fried rice, stuffing for peppers and even cold as a replacement for cous cous.
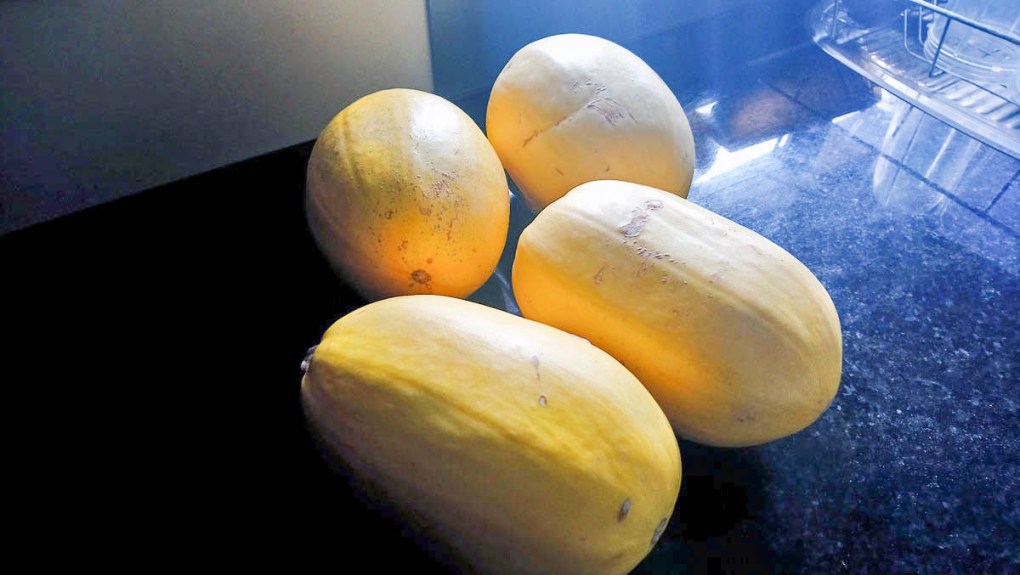
Slowly but surely, New Zealand supermarkets started to have limited supplies of spaghetti squash at the end of summer. There was a time (not too long ago) that if you want spaghetti squash, you need to grow it yourself (and I did). The squash gets its name from the spaghetti strands you get when cooked. It has a mild flavour and goes with sauces, meat, and eggs. The bonus is you get an extra vegetable portion with your meal.
Spaghetti squash
Removing pasta and noodles – alternative coodles
Replacing pasta may seem difficult, but it isn’t. Coodles (carrot and courgette noodles) are perfect for filling the gap left in your life by pasta and noodles. Just like cauliflower, coodles are versatile; cut them julienne and you have noodle or pasta strands; cut in strips, you have replacement lasagne sheets or something to put your stuffing in for ravioli or use a spiraliser, and you have little pasta shapes. They are quick to cook and are another sneaky vegetable hit for your meal. Coodles
Zoodles/Coodles
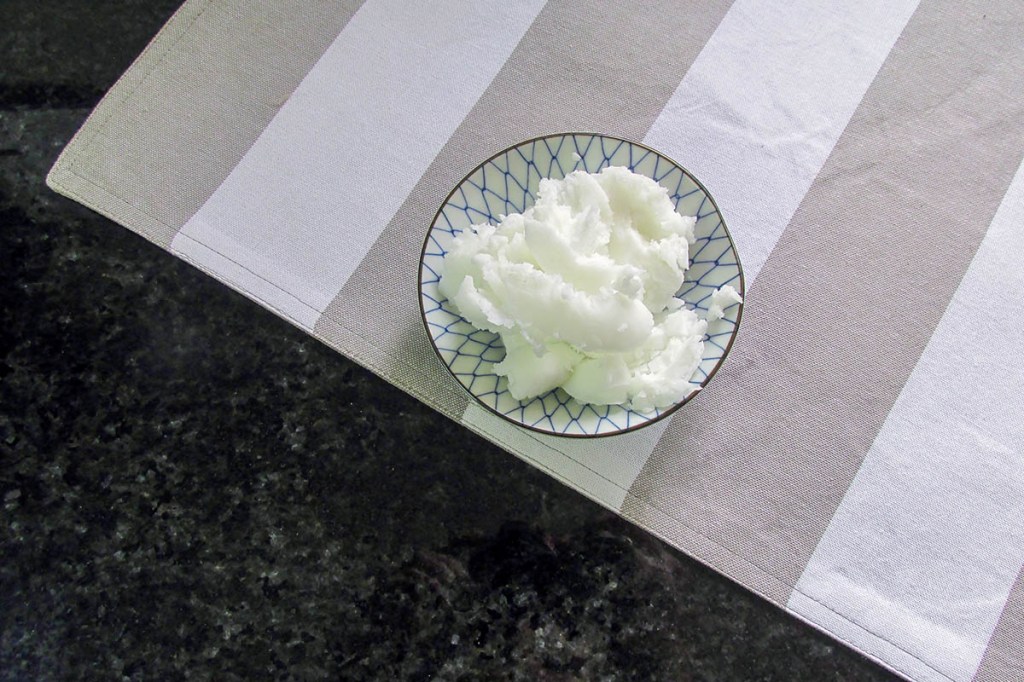
Removing vegetable oil – alternative coconut oil
There are so many oils out there to choose from it could make you dizzy. You can spend hours reading about the pros and cons of vegetable oil, soybean oil, sunflower oil, canola oil, and corn oil. I could go on, but I won’t. Coconut is, as far as I can tell, the best option. It gets a bad reputation because of the saturated fat it contains, but when you compare it to all the other oils out there, it comes out on top. A bonus is you can use it for your skin and hair, not just for cooking.
Coconut oil
Removing margarine – alternative ghee or butter
Replace your margarine now! It is highly processed and in no way good for you. Replace it easily with ghee or butter. Ghee is clarified butter and is considered by most to be Paleo-friendly, as it has a lot of the impurities in butter removed from it; if you have issues with dairy products, this is the best option. If you don’t have any issues with dairy products, use organic/grass-fed butter. I look for unsalted butter, which you can use for things like bulletproof coffee..
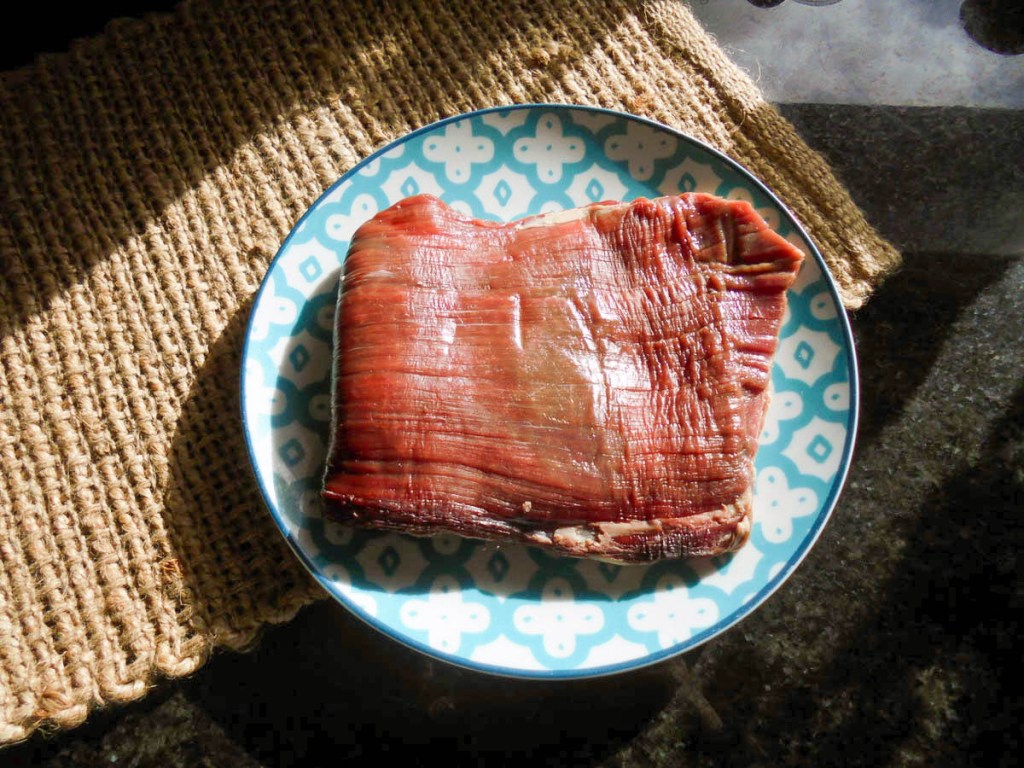
Removing standard/ lower quality meats – alternative organic, grass-fed and free-range meats
We are reasonably fortunate that here in New Zealand, we have some of the best meat products in the world. Unlike other countries, our meat is reared, as it should be, not fed grains like corn; they graze on grass all day long as animals are supposed to do. Mass-produced meat, generally speaking, is not fed on the right things and is usually of much lower quality. Organic, free-range, and grass-fed meats cost more, but it is worth it. In the long run, the meat you get is of better quality and tastes better, and often, you don’t need as much of the meat because there is less water and fat in the meat.
Grass-fed steak
Removing potatoes – alternative sweet potatoes
Potatoes comprise a large part of many people’s diets, especially when you look at the amount of French fries, potato chips, and mashed potatoes we eat. “Meat and two veg” is a common approach to a meal; more often than not, potatoes are one of the veg. Removing them from your diet can be challenging. Thankfully, a helpful tuber is here to help. The Sweet Potato/Kumar is a popular Kiwi option that can replace your normal nightshades. You can use them for chips, potato chips, mash, and hash browns; you can even eat them raw.
Northland sweet potato/kumara
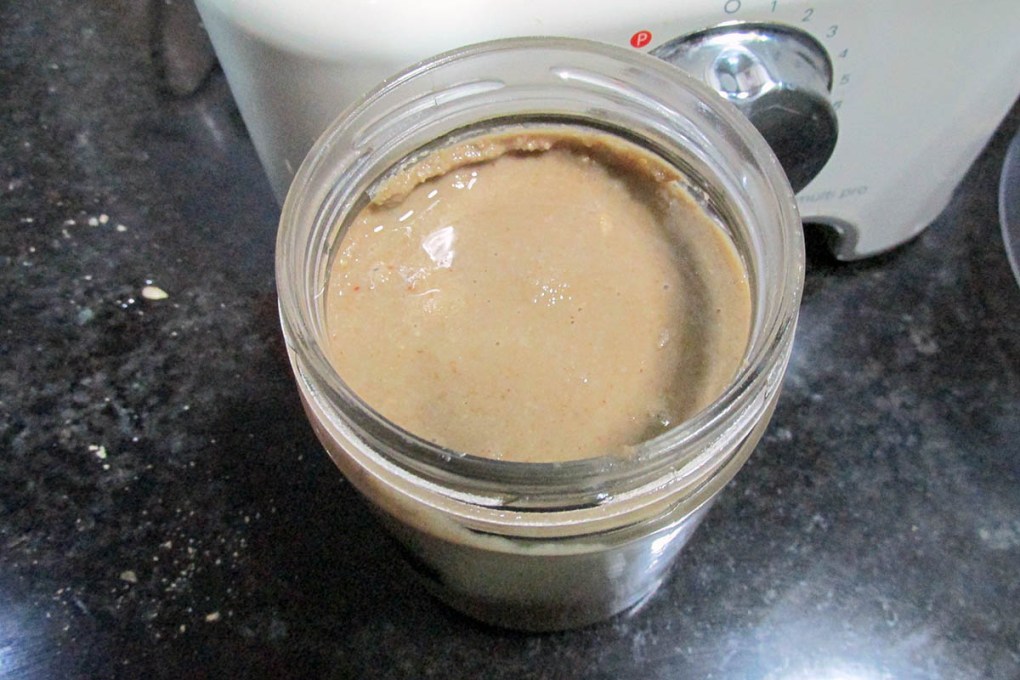
Removing peanut butter – alternative nut and seed butter
Let’s get this straight: peanuts are not nuts. They are legumes (think beans and lentils). You can make your own decision about legumes, but Peanut butter is not an option for me. More people have issues with sensitivities and allergies to things like legumes and nuts, so you may need to find an alternative. Thankfully, there are a few tasty alternatives out there. If you are good with eating nuts, you can replace your peanut butter with Almond or Cashew Butter; for those wanting a nut-free option, try Sunflower or Pumpkin Seed Butter. You can use these butters as one-to-one ratio replacements in recipes or just eat them out of the jar if that is how you like it. Sun Butterrecipe
Homemade sunflower seed butter
Removing store-bought mayo – alternative homemade mayo
You may not realise it, but store-bought mayo isn’t what you think it is; often, it’s made with ingredients you wouldn’t typically put in mayo. Store-bought mayo is increasingly made with soya bean oil and has sugar added. Making mayo is simple (seriously, even kids can do it); the beauty is that you know exactly what is going into your mayo. Here is a simple and foolproof recipe to try
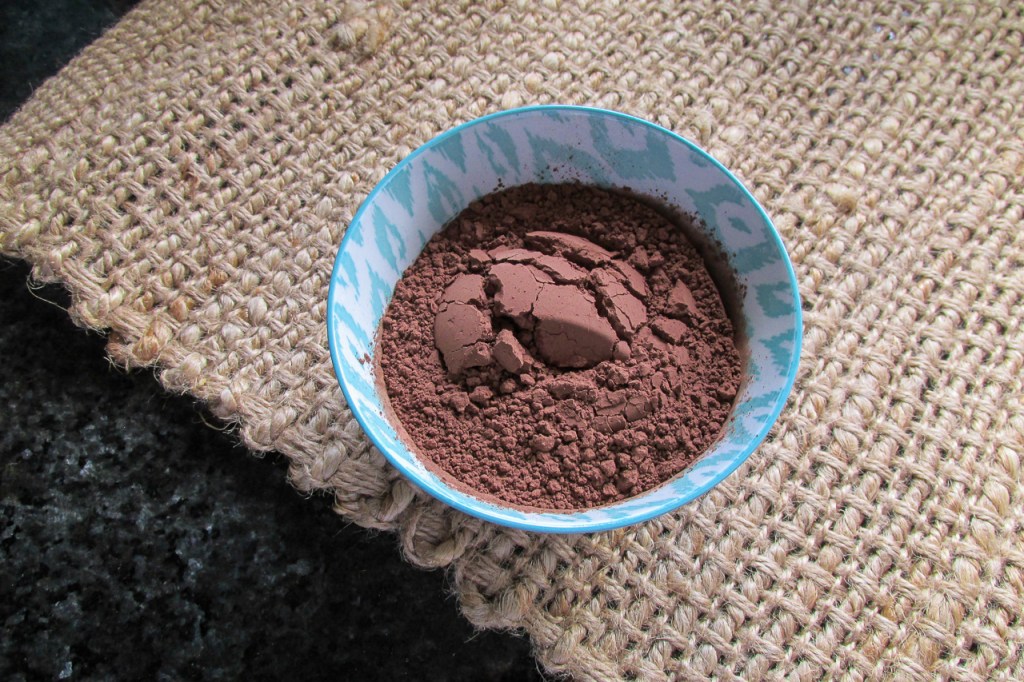
Please don’t hate me. I’m not saying never to have chocolate again. Next time you get a craving, take a look at the back of your chocolate bar before buying it. Milk chocolate is loaded with milk and sugar; most brands also contain extra ingredients like soy. The good news is that chocolate itself is good for you; it has antioxidants that will do you good. Raw cacao is a great replacement; it tastes good, and you can make your own chocolate from it. Making the change means you get all the chocolate goodness without all the added nastiness. See, that was not as bad as you thought.
Raw cacao powder
Removing cage eggs for organic free-range eggs
ree-range and organic eggs are better in many ways, not just for us but also for the chickens. Chickens are born to walk around, peck in the grass, eat bugs and plants, and not live in a dark barn without room to move around or, be locked in a cage or eat grains. The quality of organic and free-range eggs is so much better than caged eggs; moving over to free-range eggs is beneficial for you and the chickens; they do cost more, but they are worth the extra cash when you can taste the difference in quality.
Free range egg
Do you have alternatives?
If you have other alternatives that you have found helpful in your diet, let me know in the comments below.
Cards on the table I hate coming home from a busy day and knowing I have to walk into the kitchen at 7 pm, cook a full meal, and then clean up. Don’t get me wrong; I love cooking, and it gives me the joy to create a beautiful meal for my family. After a 10-hour day at work, an hour commute home, and a heavy workout, cooking is not much joy. I am usually borderline hangry at the end of a long day, and I want my food as fast as possible.
This is where having a slow cooker comes into its own; I know that I can walk in and find a meal that is cooked, hot and ready to serve. That means food is served as soon as we are willing to sit down, not 30 to 60 minutes later.
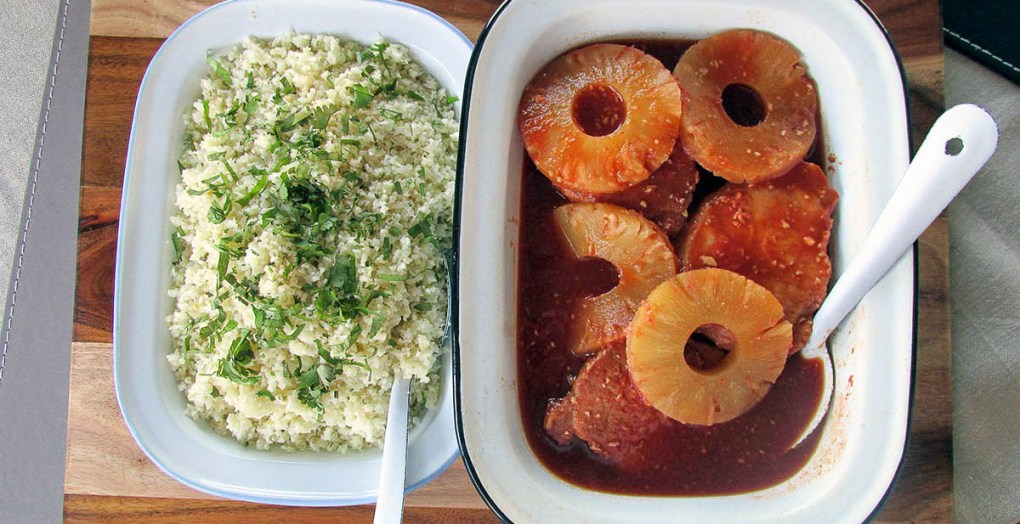
Ready for a comfort meal
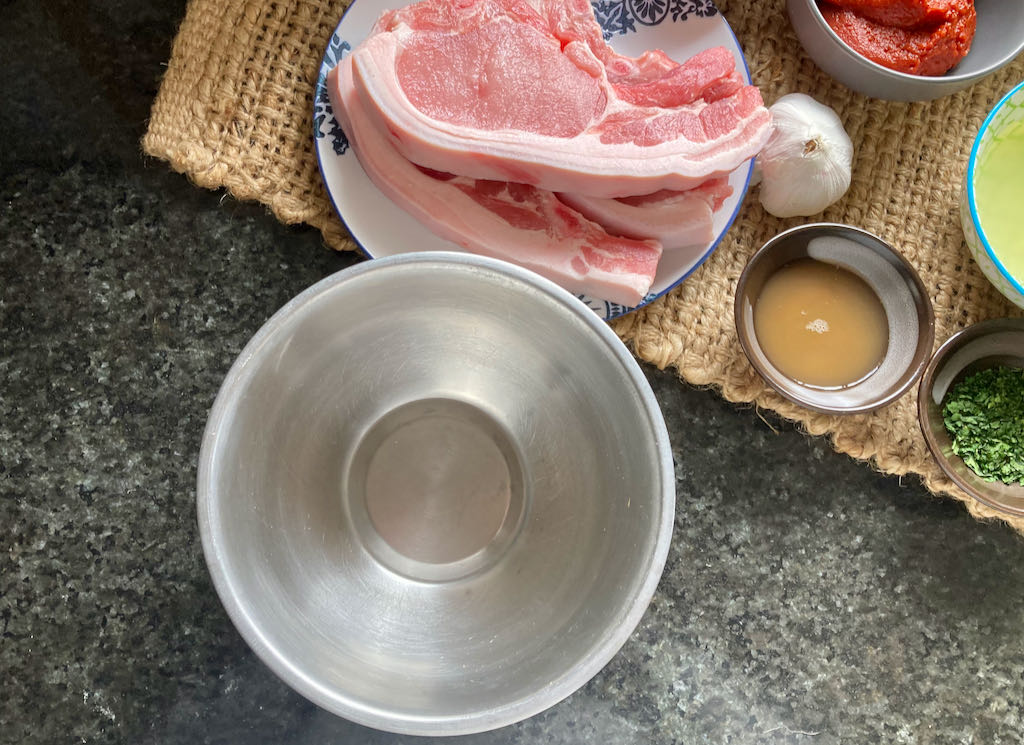
It has been a bit frantic at work of late, I knew that this week was going to be a rough one so I planned something comforting for dinner today to help wind down for the week. Before starting work today I put my pork chops and sauce in the slow cooker and set it up for a long slow cook. Don’t you love the delayed start function on slow cookers? Coming home to perfectly cooked chops ready to serve up was just what was needed.
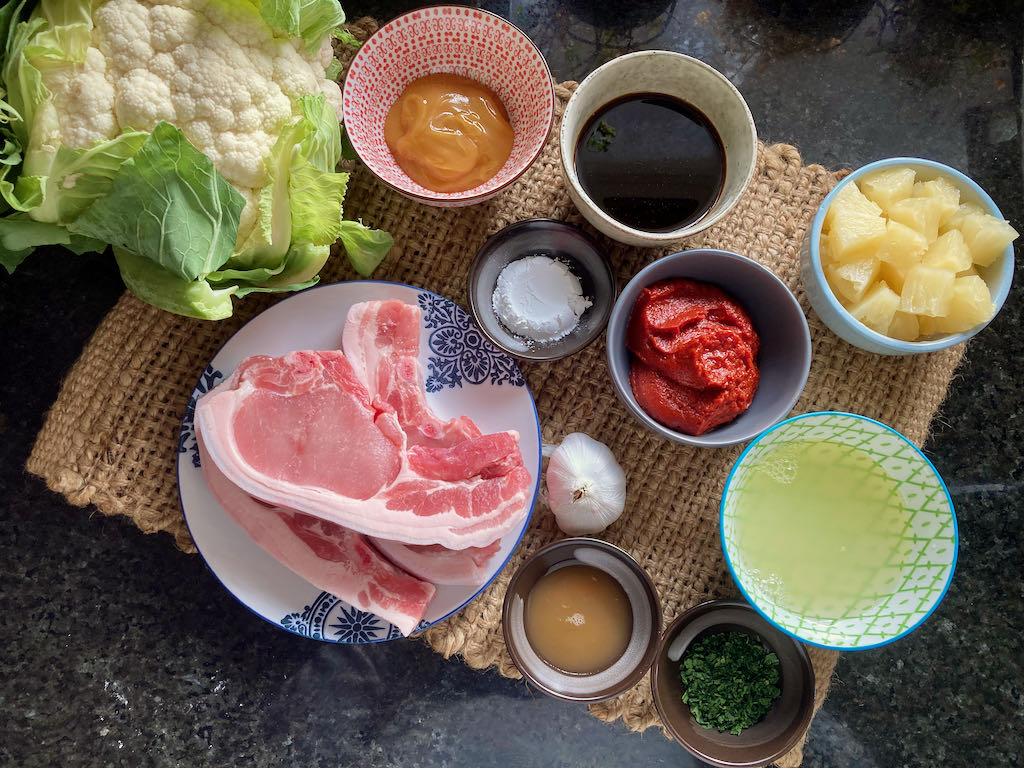
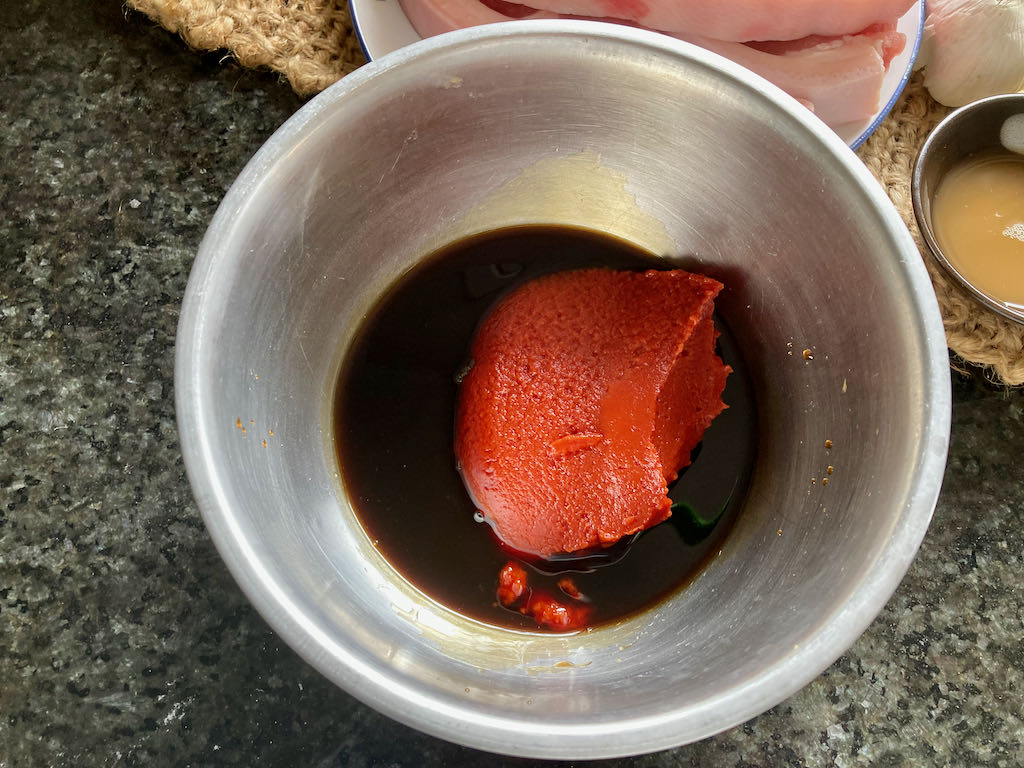
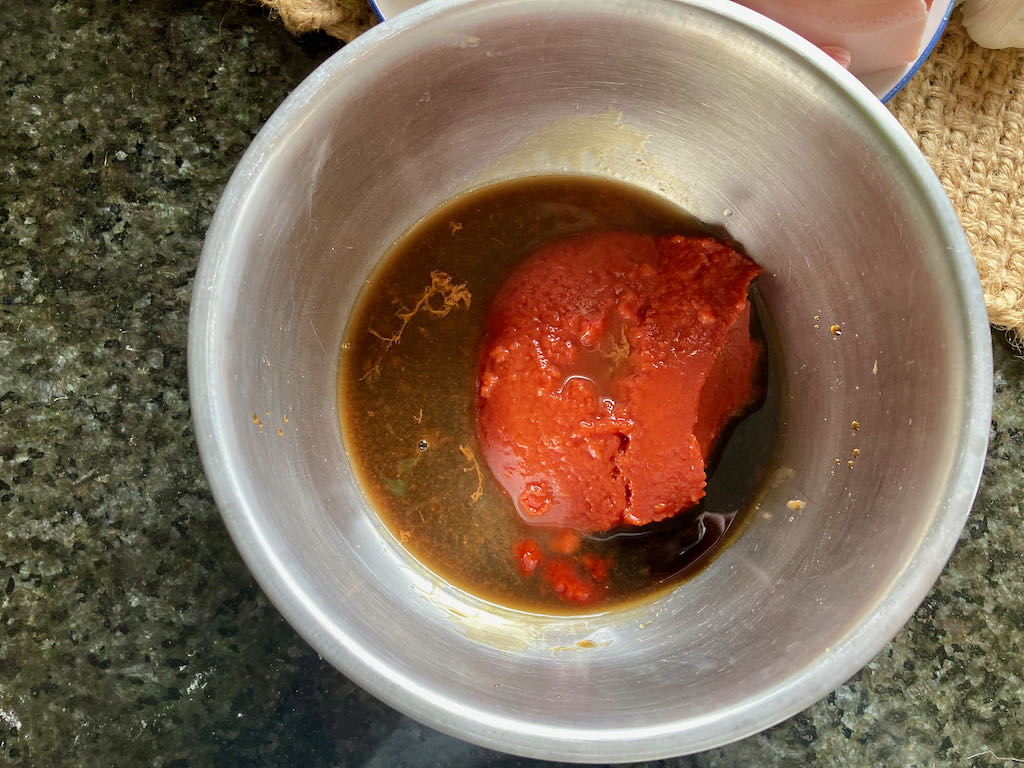
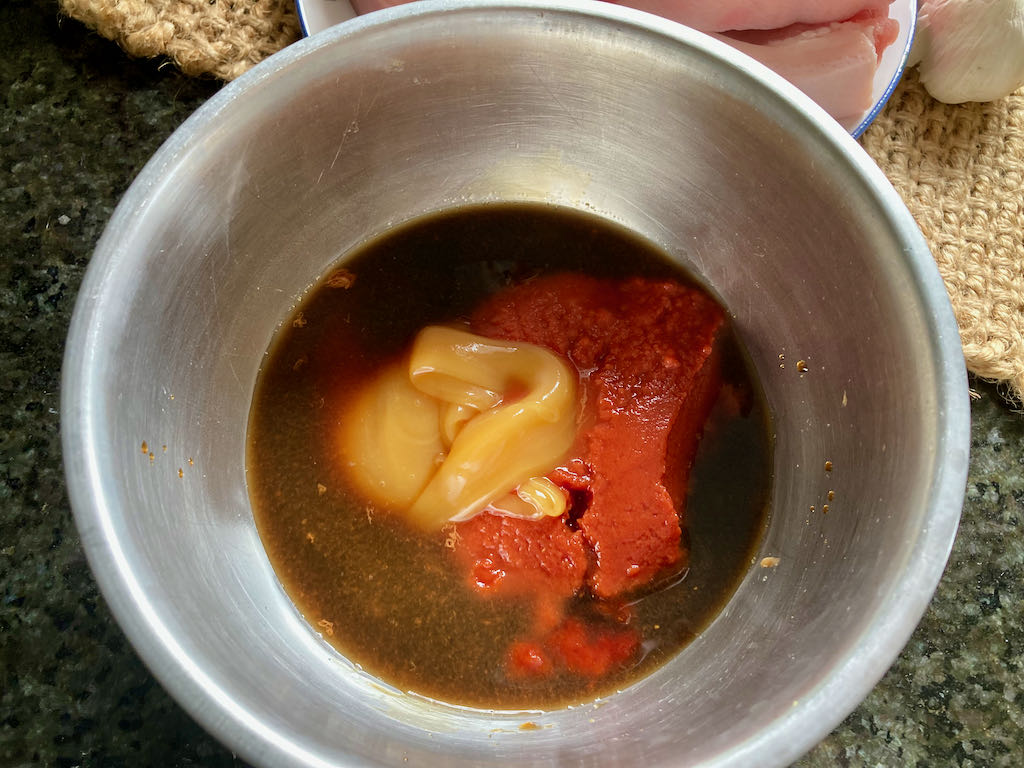
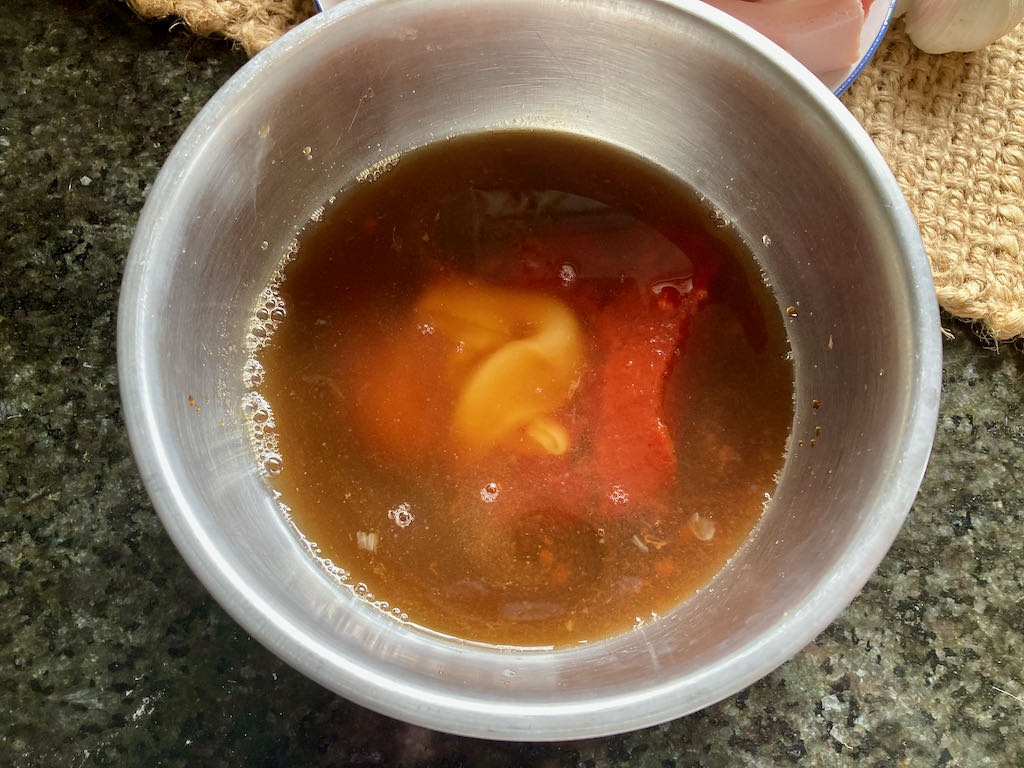
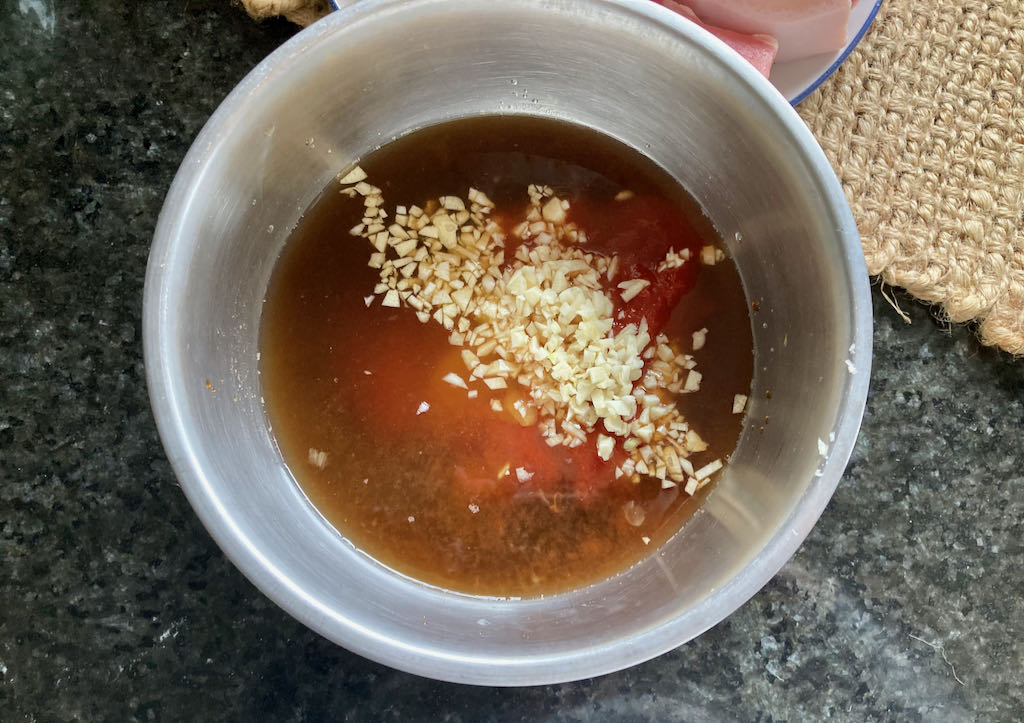
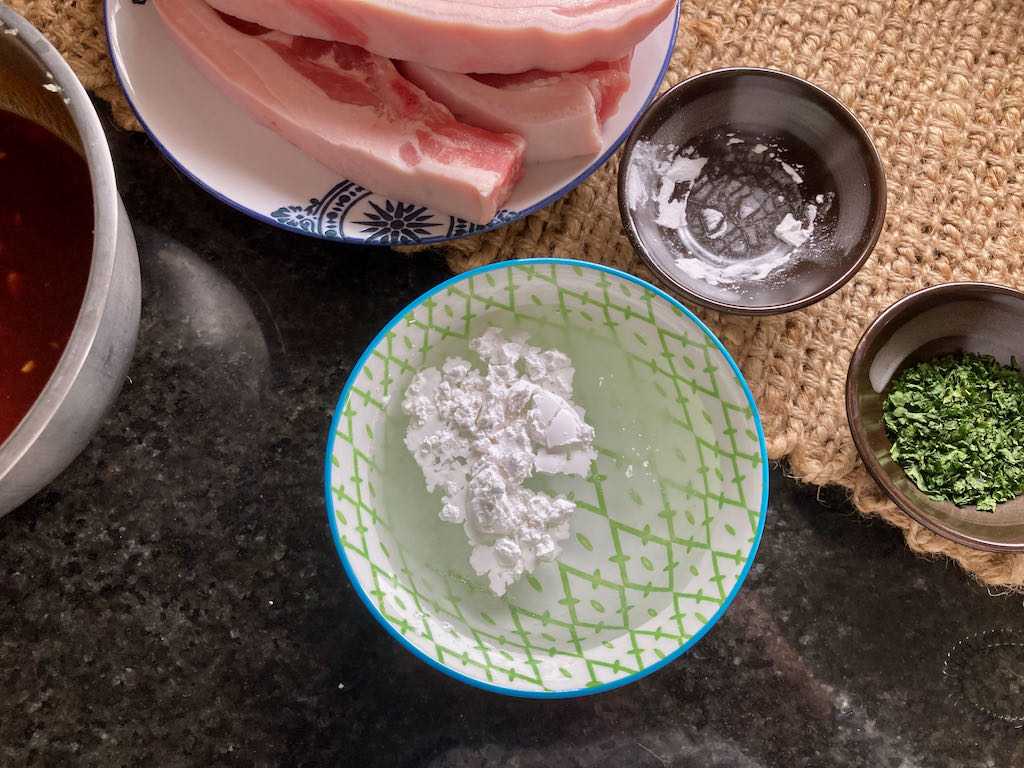
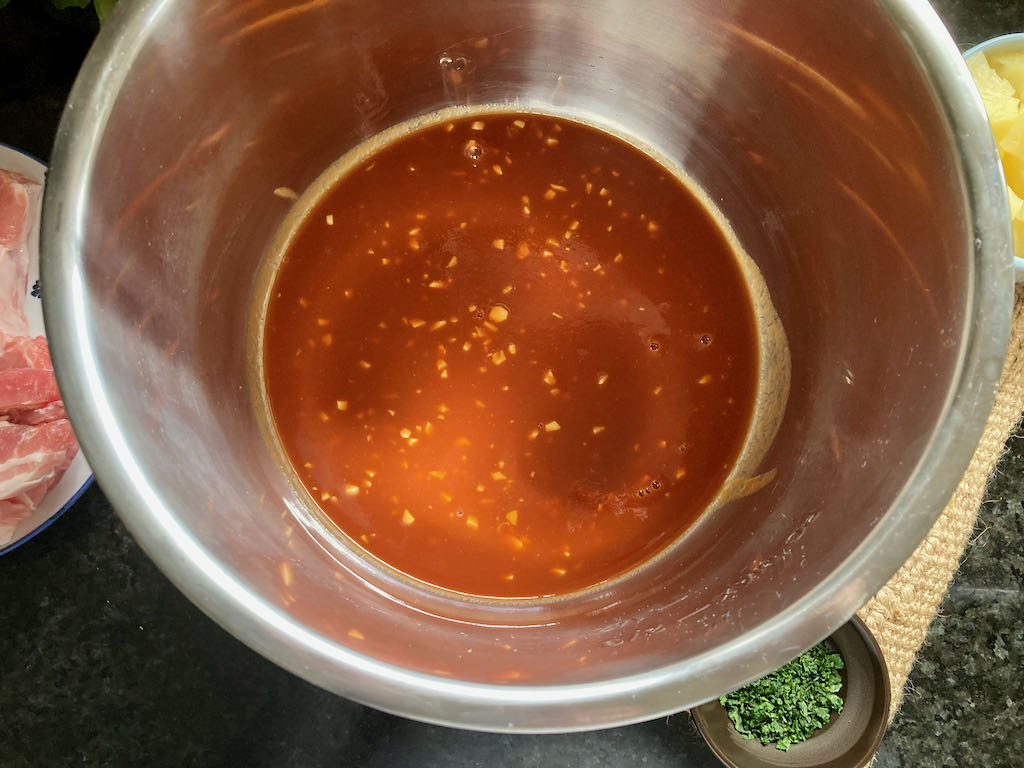
Whisk together the coconut aminos, honey, tomato puree, coconut vinegar, garlic, and pineapple juice.
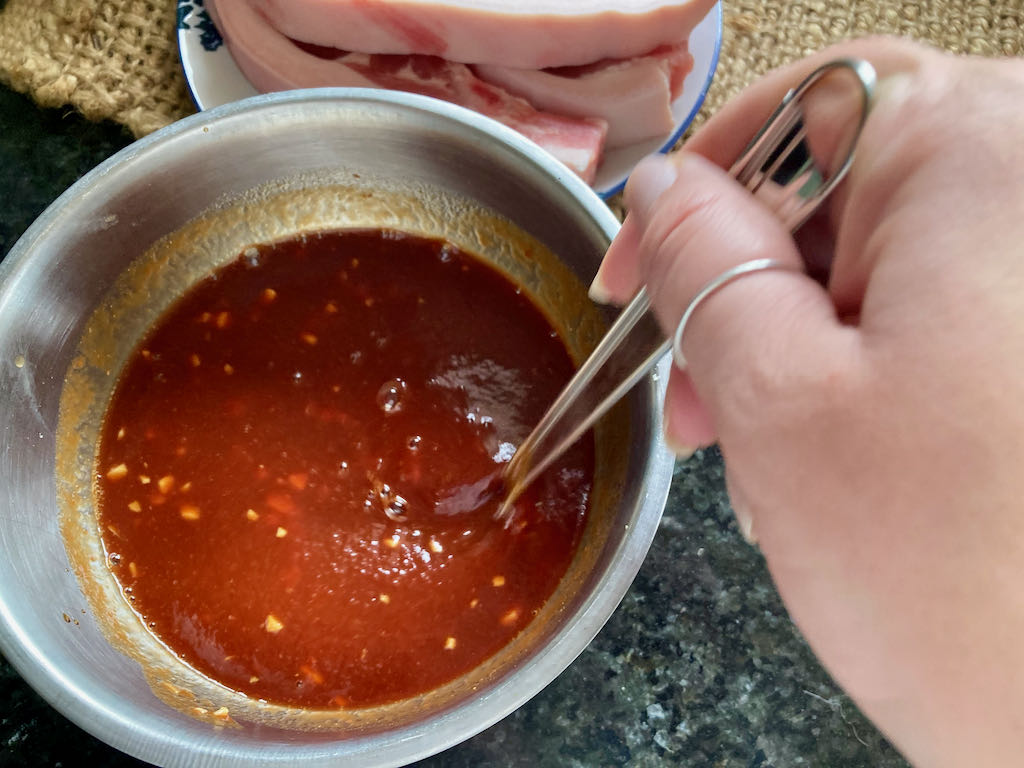
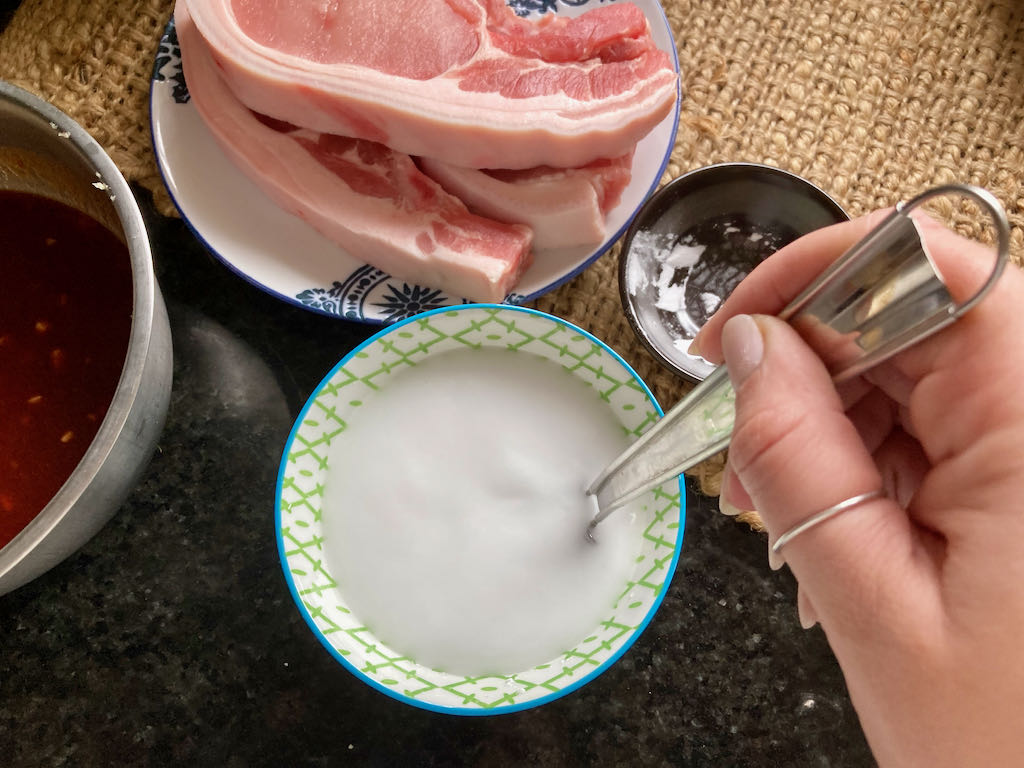
In a separate bowl mix together the tapioca flour and water, whisk well so that there are no lumps in the liquid.
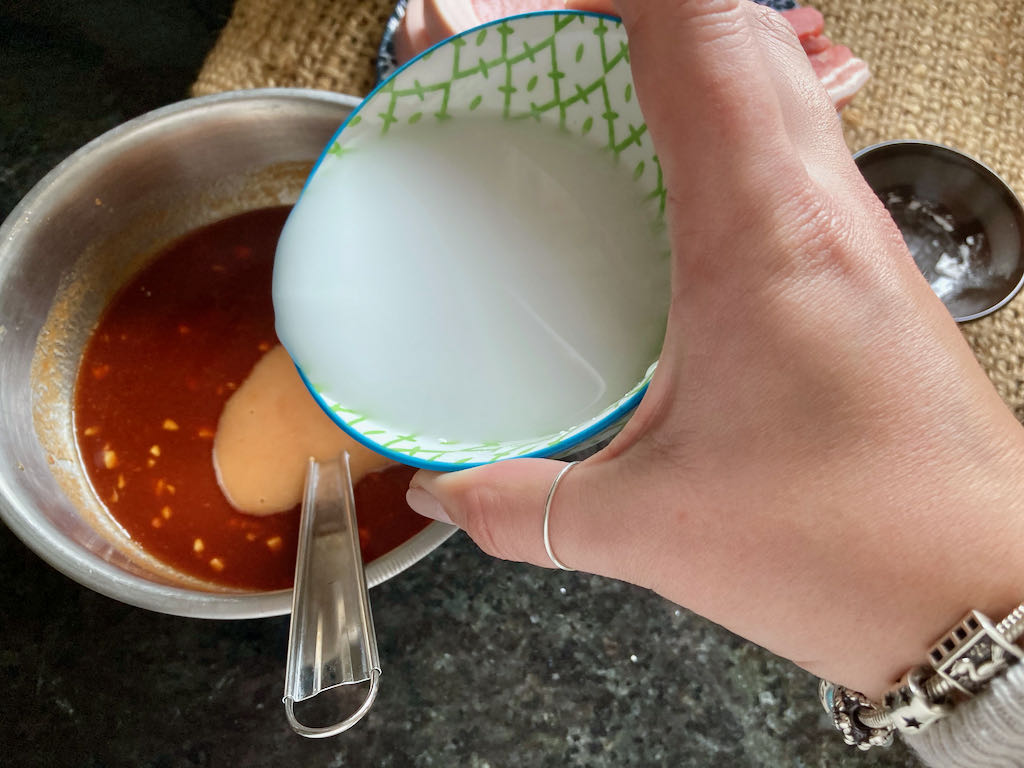
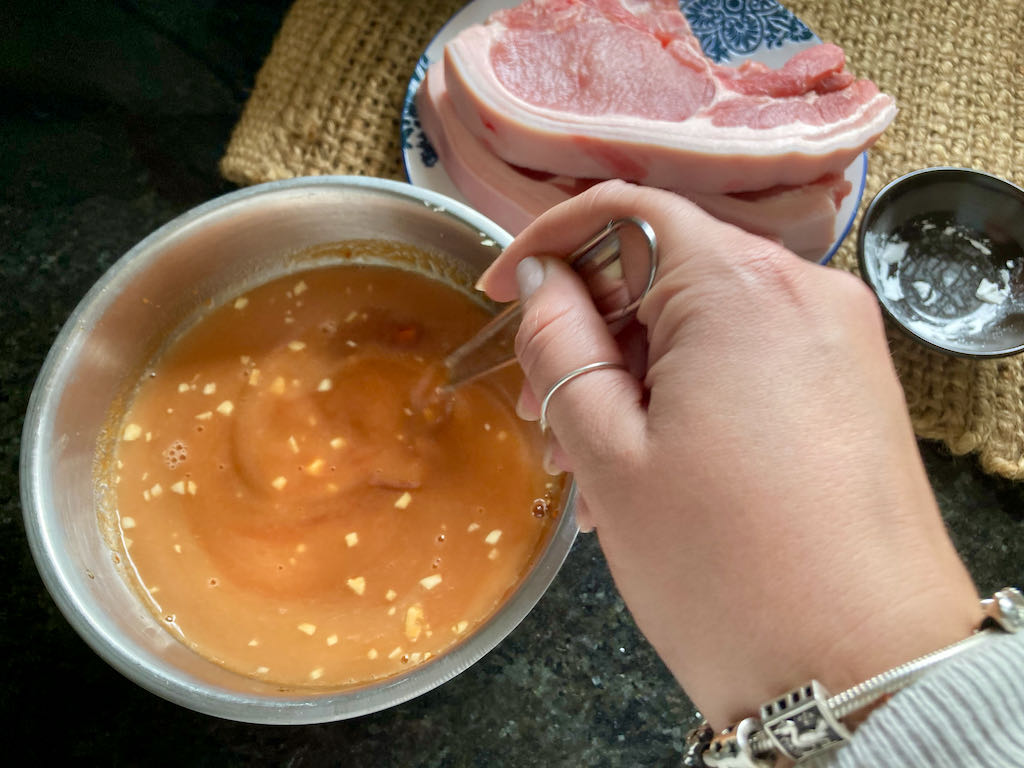
Add the flour mixture to the sauce and whisk well.
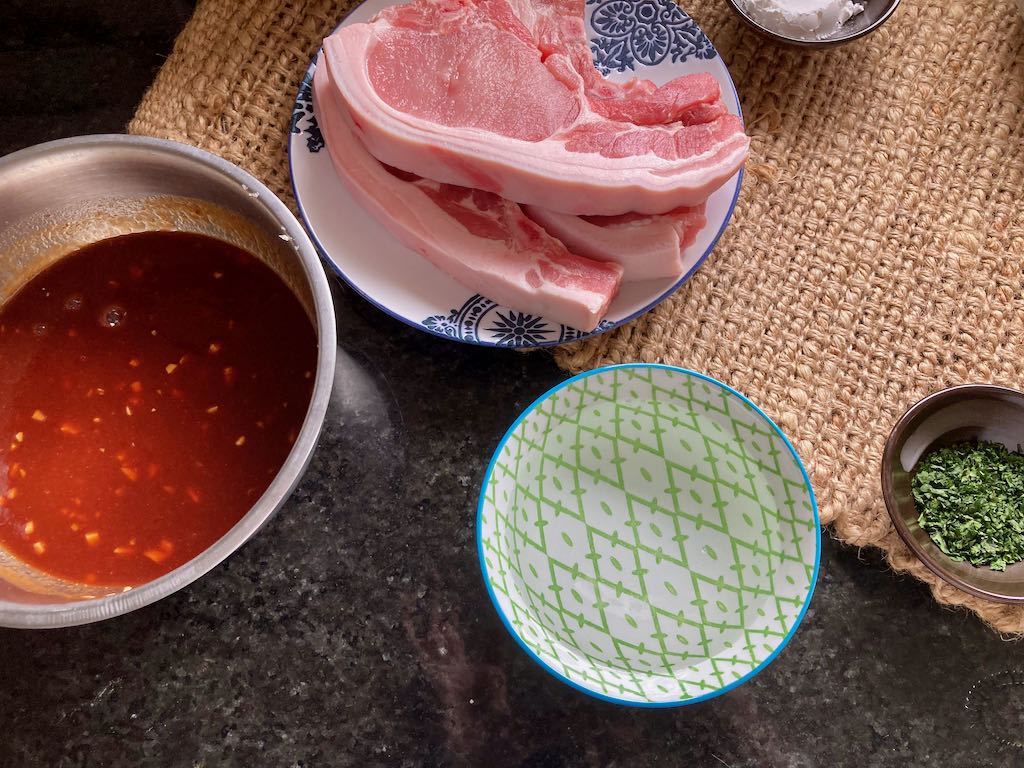
Pour half of the sauce into the bottom of your slow cooker.
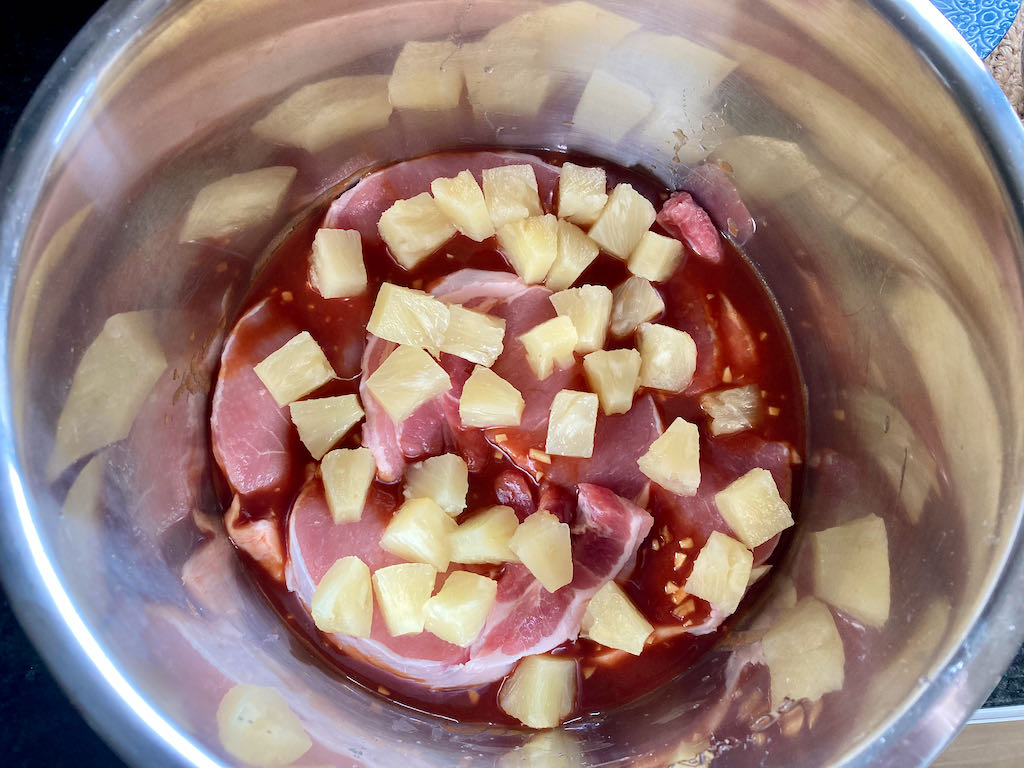
Place the pork chops into the sauce and place the pineapple slices on top of the chops.
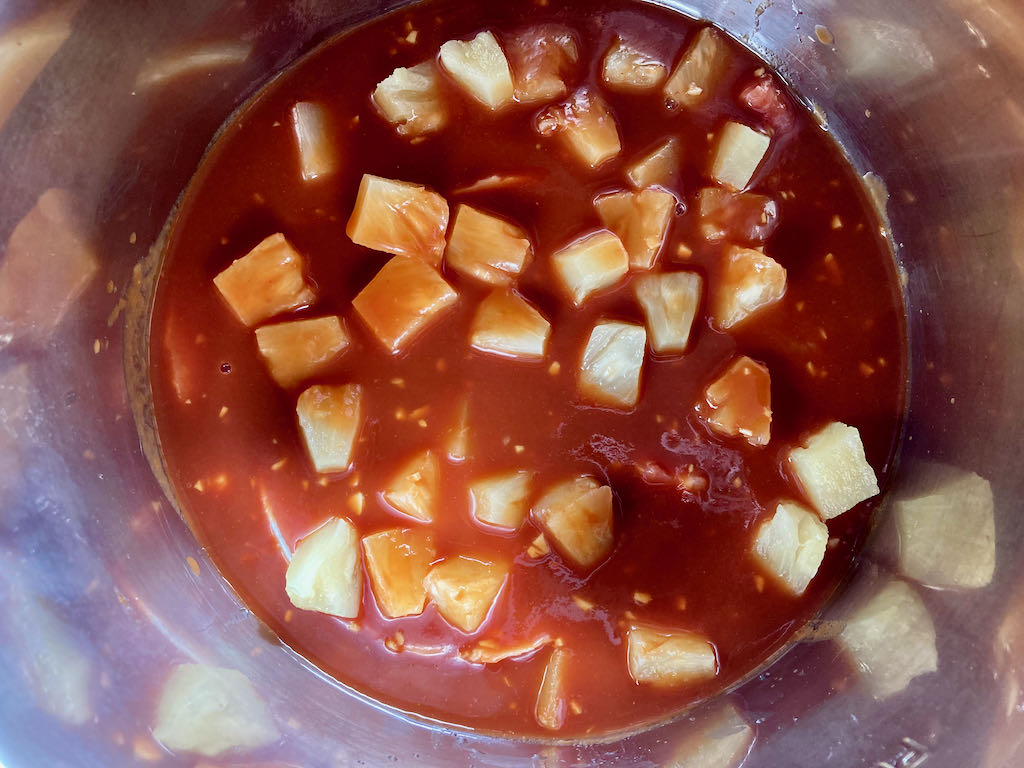
Pour the remaining sauce over the chops and pineapple slices.
Cook the chops for 3-4 hours on high or 6-8 hours on low setting.
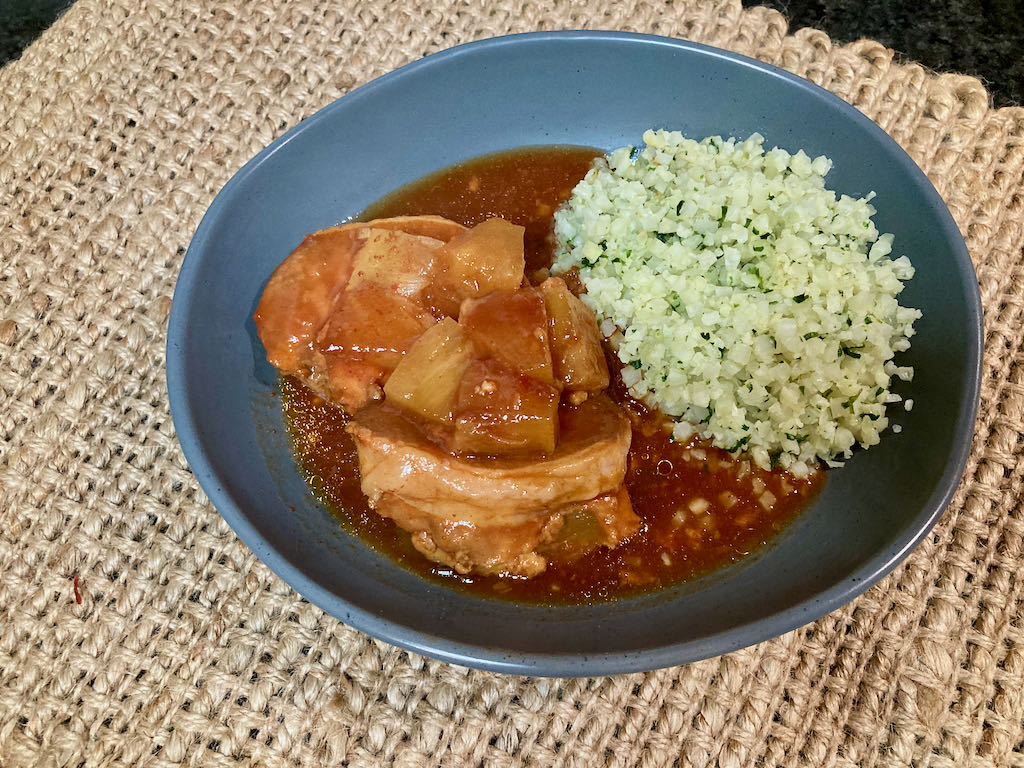
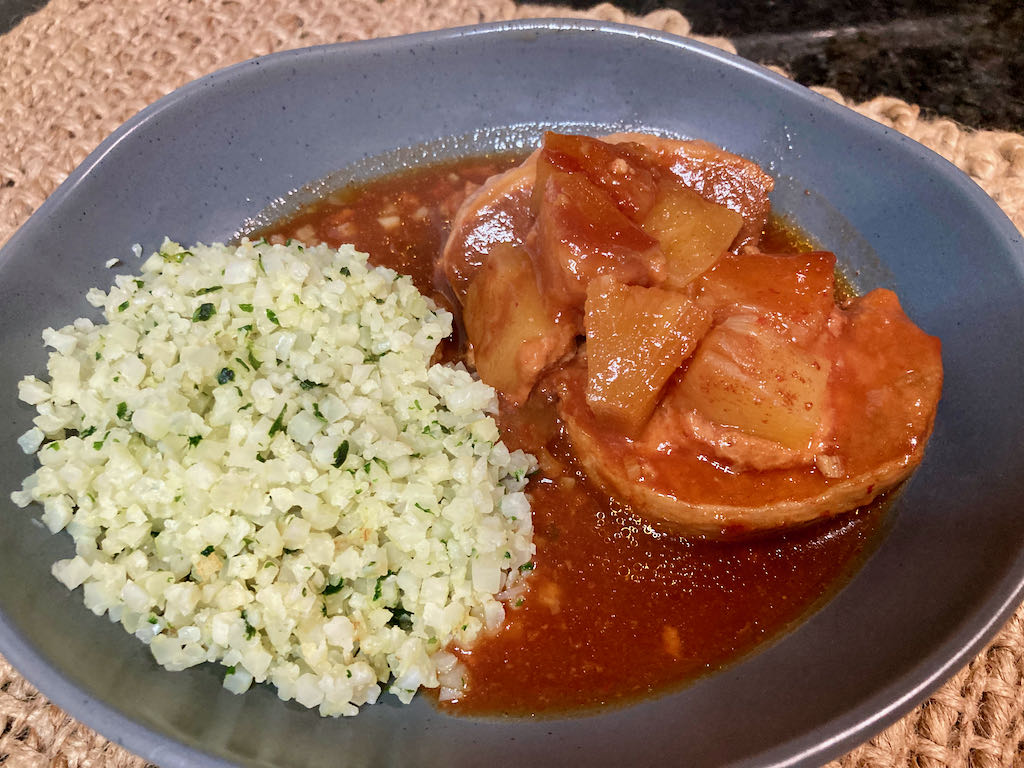
Serve hot over the cauliflower rice and garnish with the chopped coriander.
Nutrition
Per Serving:325 calories; 7 g fat; 31 g carbohydrates; 36 g protein
Equipment
Measuring spoons
Measuring cups
Whisk
Mixing bowl
Spoon
Nutritional disclaimer
Nutrition information is provided as an estimate based on the ingredients used and available in my area (New Zealand). The nutritional information is here to help you understand the recipe; I use MyFitnessPal to generate my estimates. For more accurate nutritional information, please use a nutritional calculator with the ingredients in your area.
I have been on a mission this year to make simple but tasty meals. The aim was to create recipes that can be prepared and cooked quickly on a busy weeknight.
We all struggle to make healthy and tasty meals while keeping on top of everything else in life.
This recipe is healthy, delicious and easy to make; you can cook on a single tray in the oven. The preparation takes no more than 20 minutes, that is all of the slicing, dicing and mixing.
Each meal is portioned to feed four adults.
Two for one
A recent trip to visit my mother in law (Hi Sue) presented me with a two for one opportunity. We have been eating lemons from the trees up North for a while now. The lemons are coming to an end now; I wanted to use them for something other than lemon curd. Sue loves salmon (as do most of us), so we wanted to give her a little treat why not use the last of the lemons with some salmon steaks?
More goodies
I could have done the boring thing and just sliced the lemon and baked them together, but I wanted to try something new.
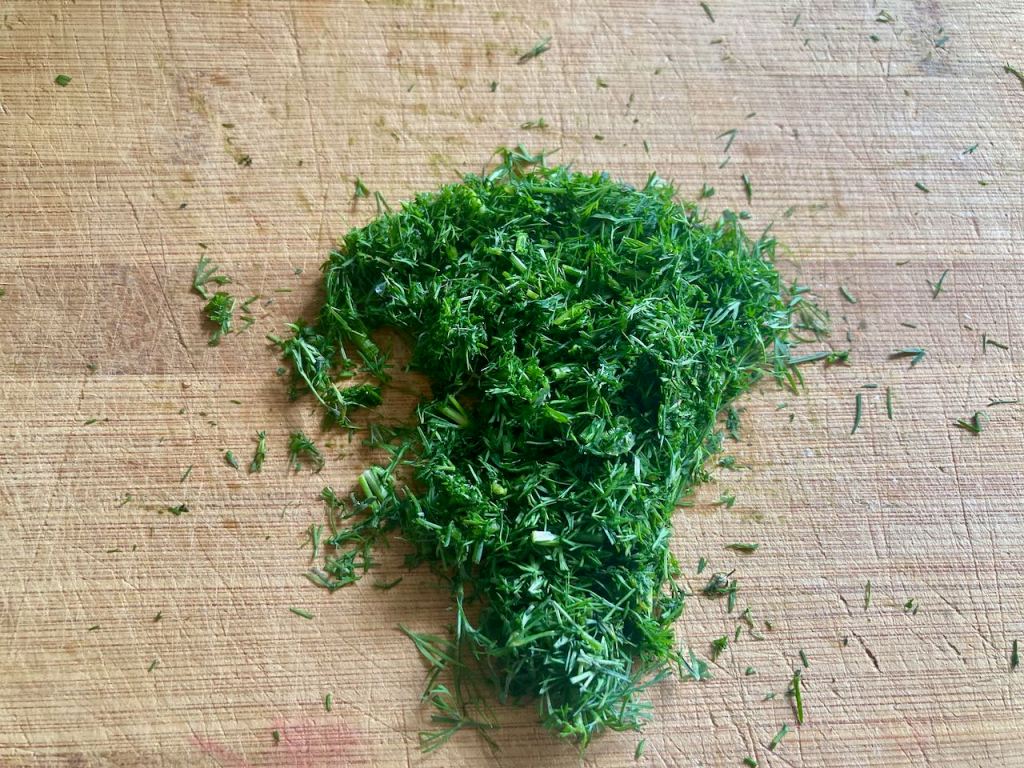
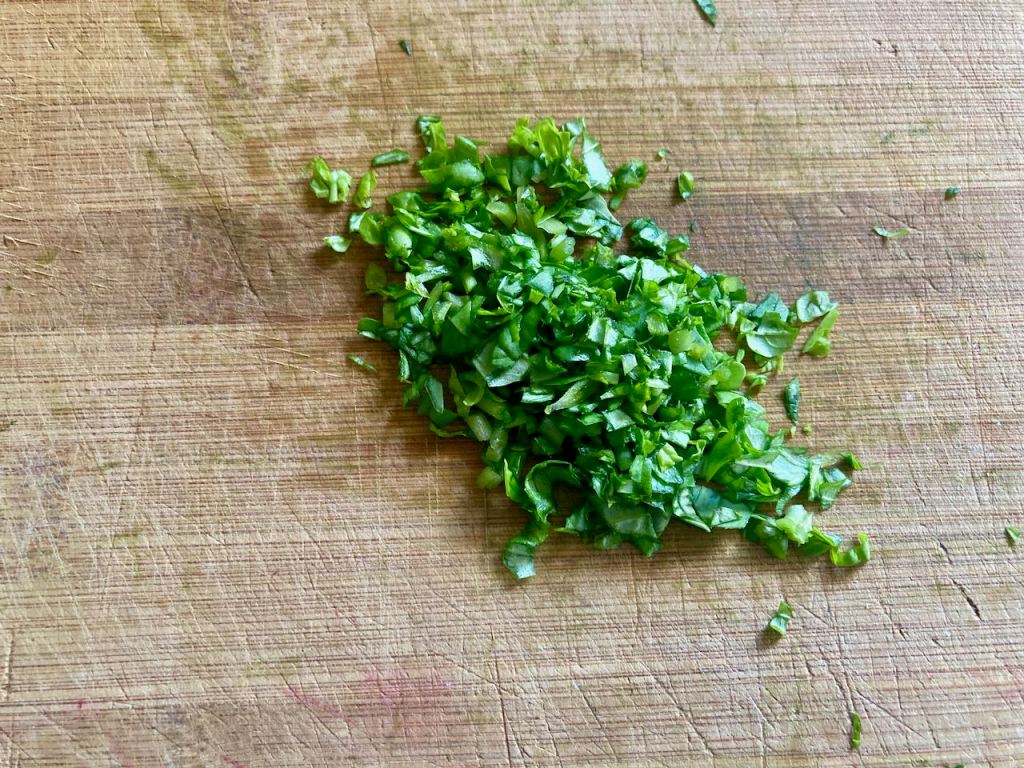
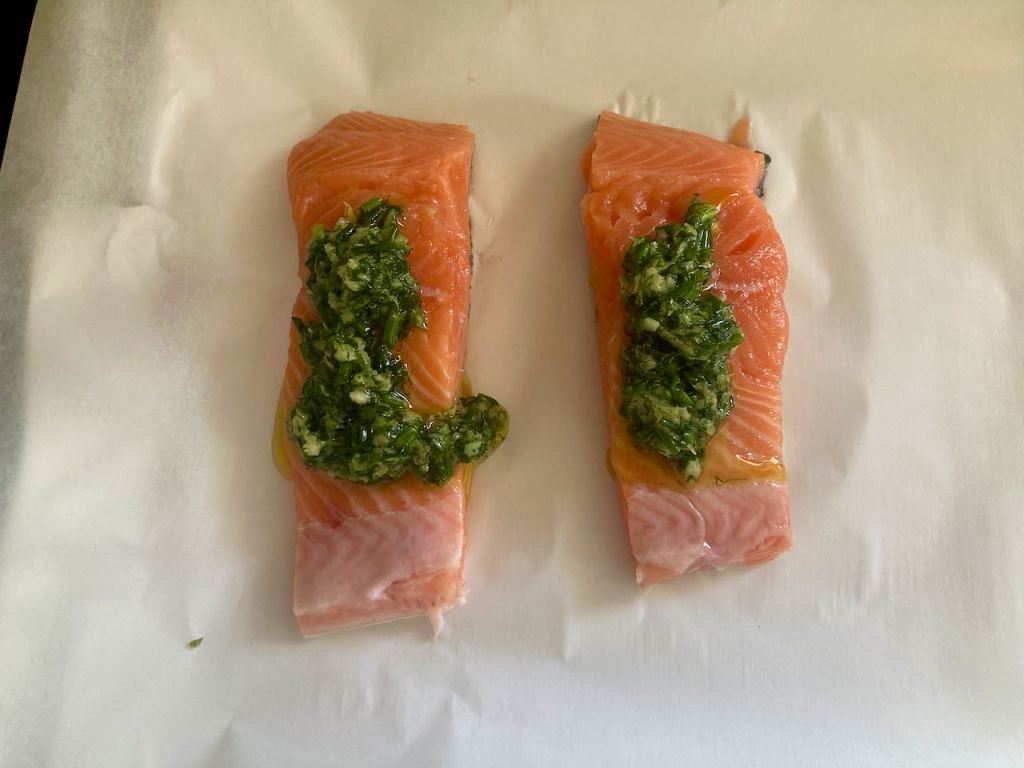
A quick rummage around the garden and pantry scored some fresh parsley and garlic. A quick smash together with some butter gave me a thick paste, a generous spread of the paste over each salmon steak, and the salmon was ready for the oven.
Lemon garlic herb crusted salmon recipe
Ingredients
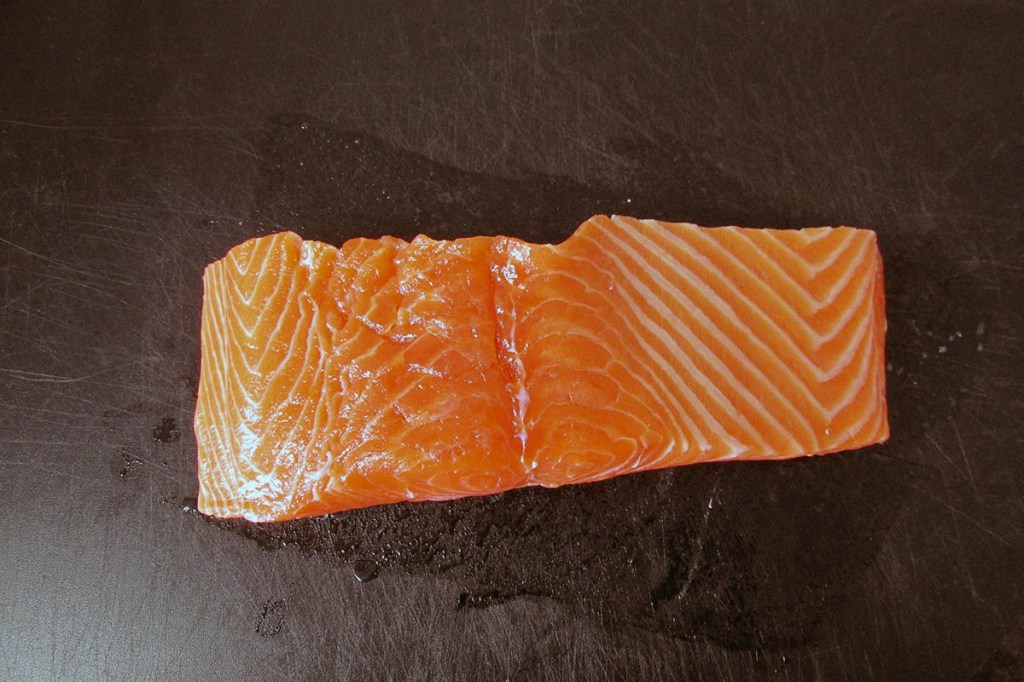
4 Salmon fillets
1 tbsp. dill
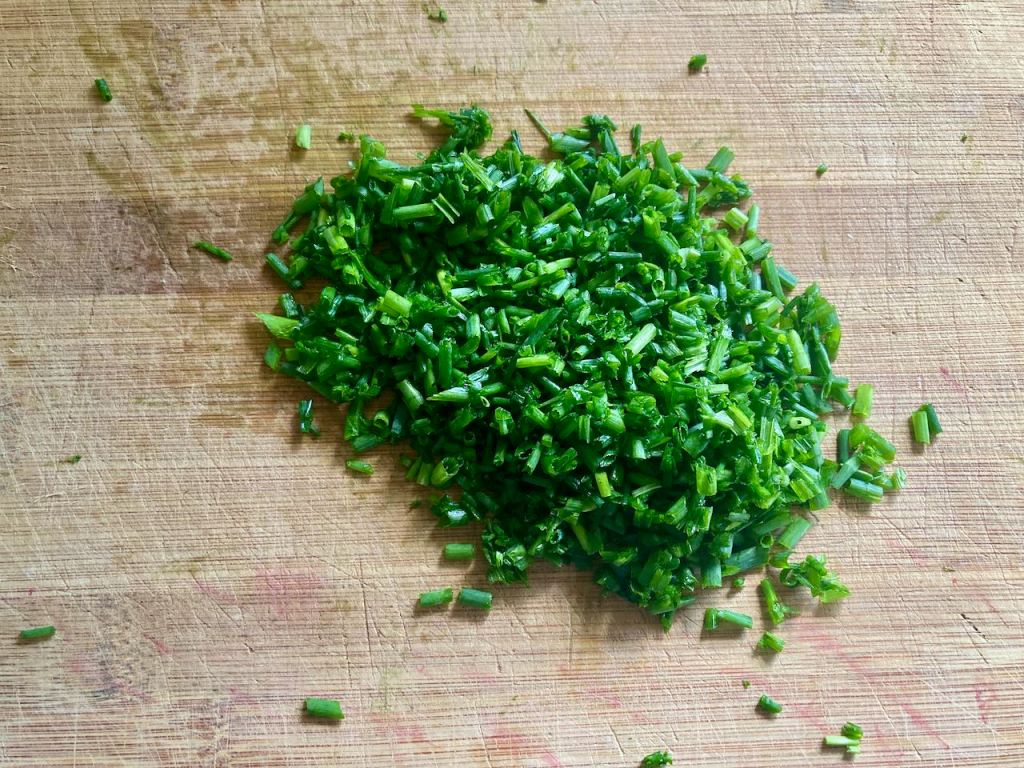
1 tbsp. chives
1 tbsp. basil
1 garlic clove
Zest of a lemon
Salt and pepper
85g Butter
Instructions
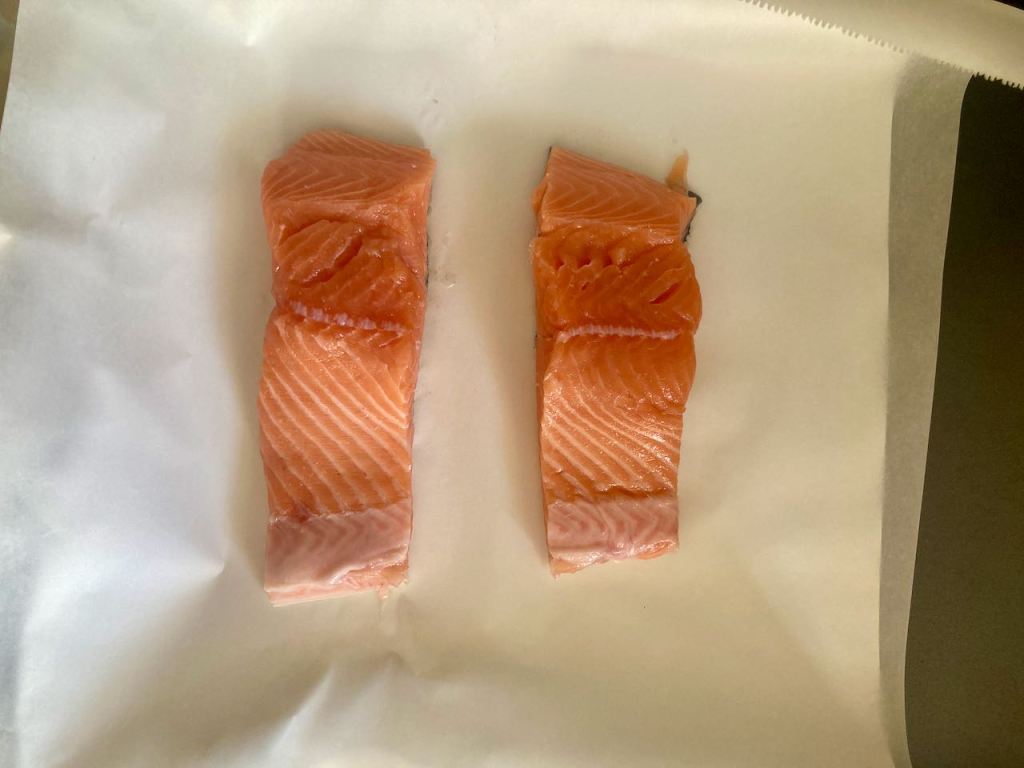
Line a baking tray with some baking paper or a silicone liner; and place the salmon fillets on the tray.
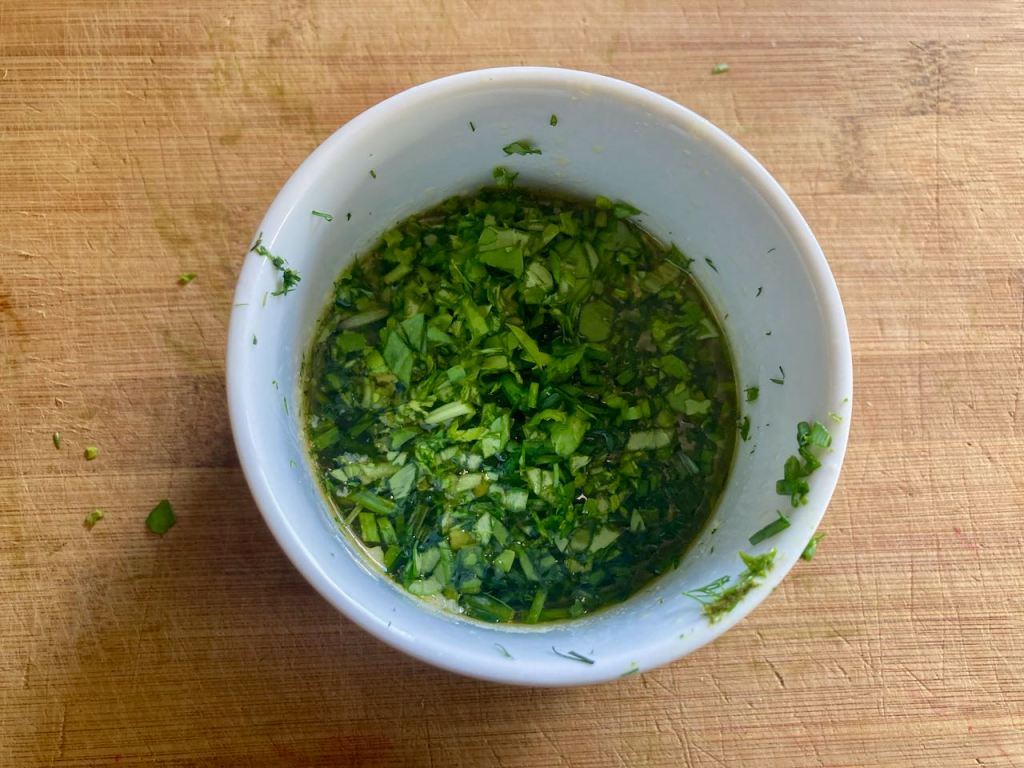
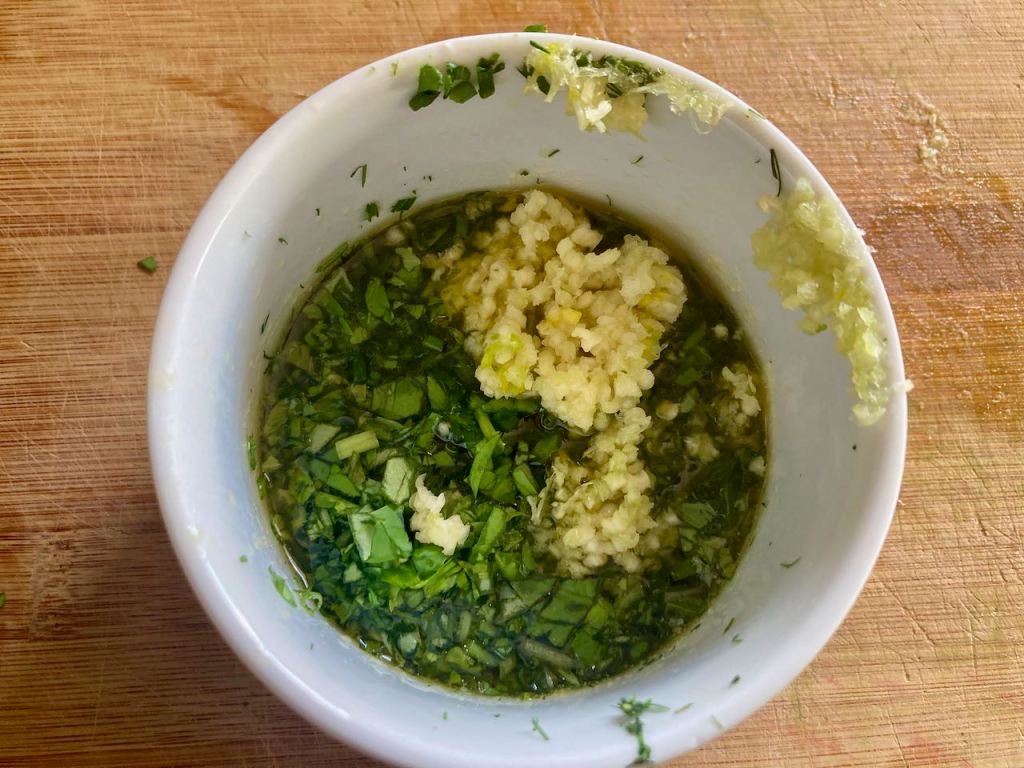
Take the remaining ingredients and place them in a small saucepan or the microwave safe bowl.
Gently heat the ingredients in the saucepan over a low heat, stir everything together as the butter melts.
Or melt the butter in the microwave and add the herbs, lemon and garlic to the butter.
When the herb butter is melted, mix it all together.
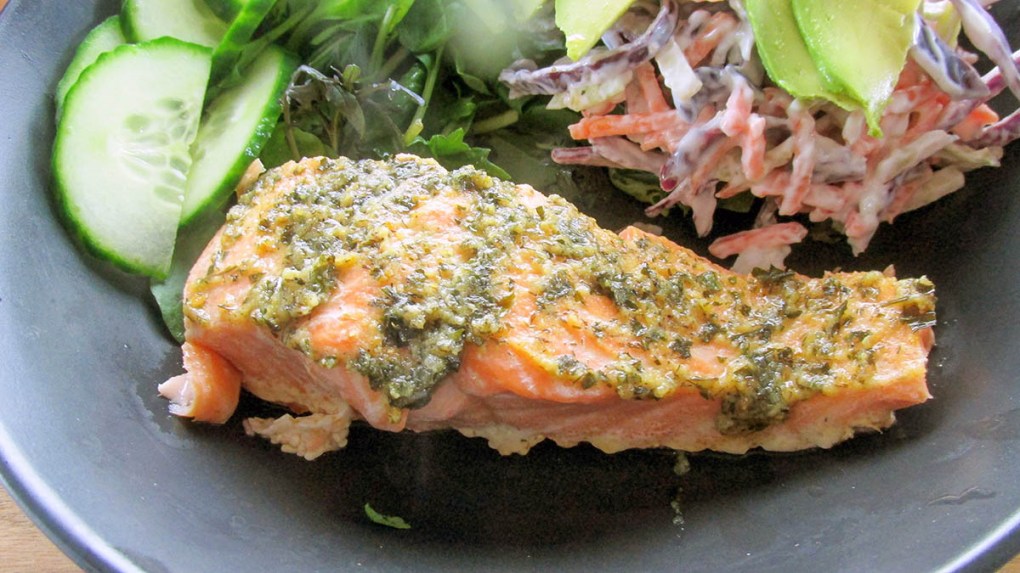
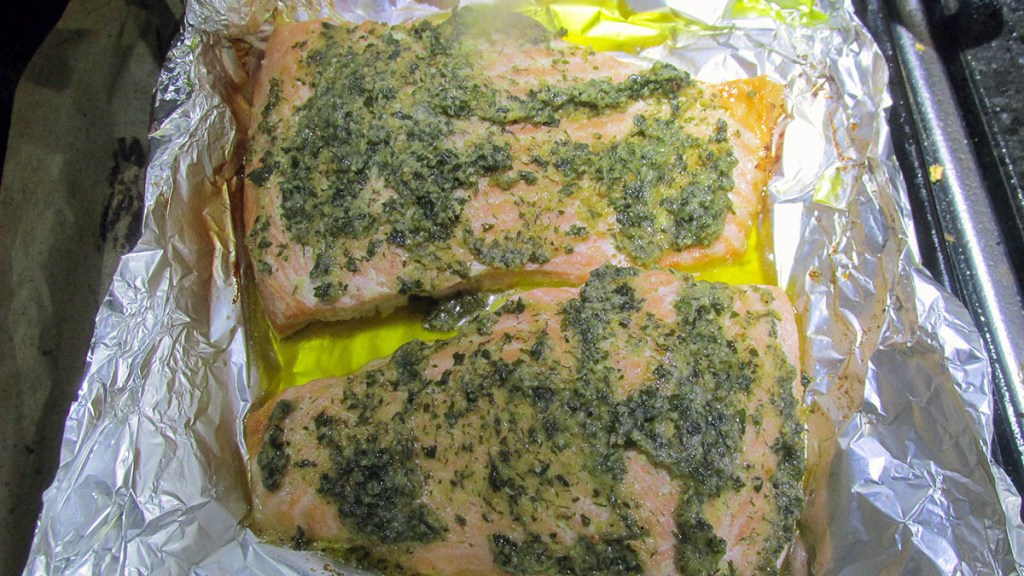
Spread the herb butter over the top of each fillet evenly.
Bake the salmon at 200 degrees C/ 400 degrees F for 10 to 20 minutes, this will depend on the size of the fillets.
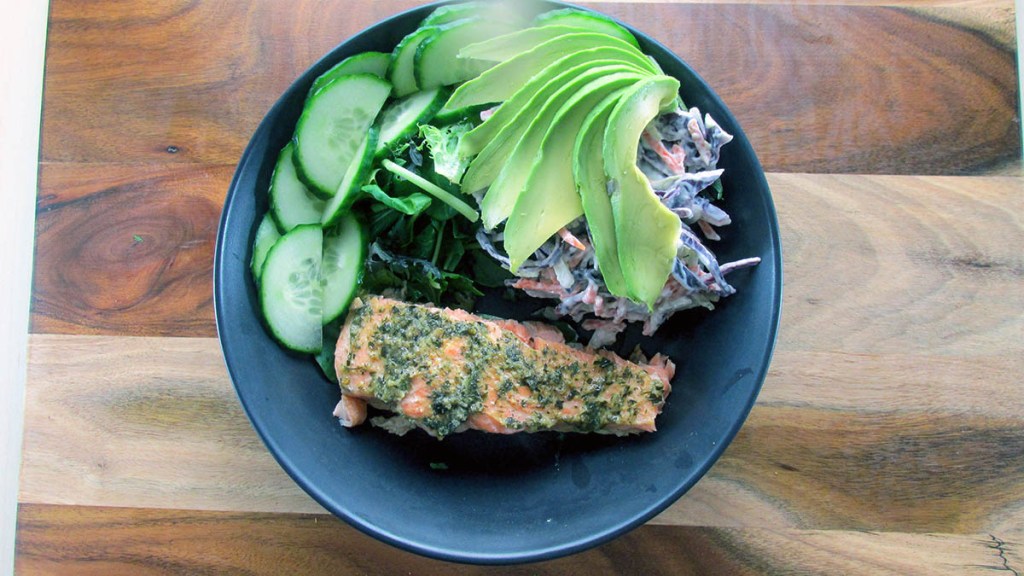
This simple meal doesn't take long to make and is a great way to make use of seasonal lemons
Credit: Cath @ easycleaneats
Ingredients
4 Salmon fillets
1 tbsp. dill
1 tbsp. chives
1 tbsp. basil
1 garlic clove
Zest of a lemon
Salt and pepper
85g Butter
Directions
Line a baking tray with some baking paper or a silicone liner. and place the salmon fillets on the tray.
Take the remaining ingredients and place them in a small saucepan or the microwave safe bowl.
Gently heat the ingredients in the saucepan over a low heat, stir everything together as the butter melts.
Or melt the butter in the microwave and add the herbs, lemon and garlic to the butter.
When the herb butter is melted, mix it all together.
Spread the herb butter over the top of each fillet evenly.
Bake the salmon at 200 degrees C/ 400 degrees F for 10 to 20 minutes, this will depend on the size of the fillets.
Serve with a fresh salad or greens.
Nutrition
Per Serving: 402 calories; 31 g fat; 4 g carbohydrates; 29 g protein
Equipment
Zester
Bowl
Fork
Knife
Chopping board
Baking tray
Baking paper or a silicone liner
Spoon
Measuring spoons
Nutritional disclaimer
Nutrition information is provided as an estimate based on the ingredients used and available in my area (New Zealand). The nutritional information is here to help you understand the recipe; I use MyFitnessPal to generate my estimates. For more accurate nutritional information, please use a nutritional calculator with the ingredients in your area.
Don’t worry, I did not have a brain fart or spell that wrong; I meant to put magel. What the hell is a magel? You may be asking yourself. The easy answer is it is a bagel made out of meat, hence m-agel.
Meat with everything
I know it is an out-there idea, but the magel works when you don’t have grains as part of your diet and really want something to spread cream cheese on for breakfast. I know that there is no real alternative or replacement for bread in life, but I think that replacing bread products with cauliflower, coconut or meat may be the future.
I have tried several ways to create a bagel without grains and have to be honest; it has never ended well. There have been a few times I feared for my teeth and even more times that my taste buds have flat out said no.
I can’t say that the magel is the best replacement for the traditional bagel, but it is probably my favourite so far. If that changes, I will keep you posted.
This meaty treat is a great and filling way to start your day. The high protein breakfast is perfect for a lazy.
Sunday morning when you want something other than pancakes.
I like to add some chipotle powder to mine to give them a little kick if you don’t like spice or have kids that don’t like it you can leave it out. I love to pair my magel with a generous helping of cream cheese and fried egg with a perfectly runny yolk.
Magel recipe
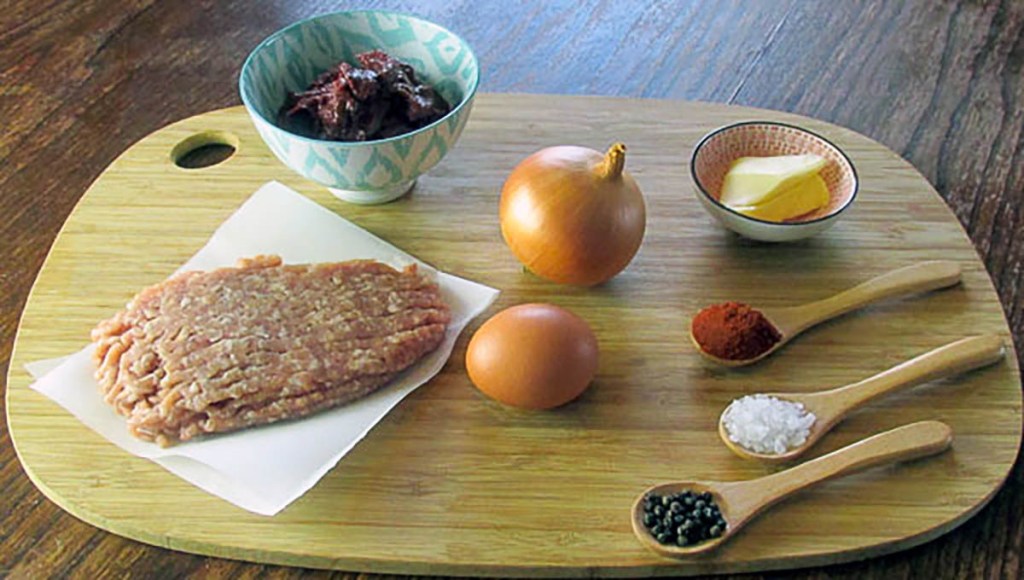
Ingredients
1/2 onion finely diced
1 tbsp. butter
500g minced pork
2eggs
2 tbsp. Tomato sauce
1 tsp. Paprika
1 tsp. Salt
1/2 tsp. Ground pepper
1 tsp. chipotle powder
Preheat the oven to 180 degrees c/ 350 degrees f.
Line a baking tray with baking paper or a silicone liner .
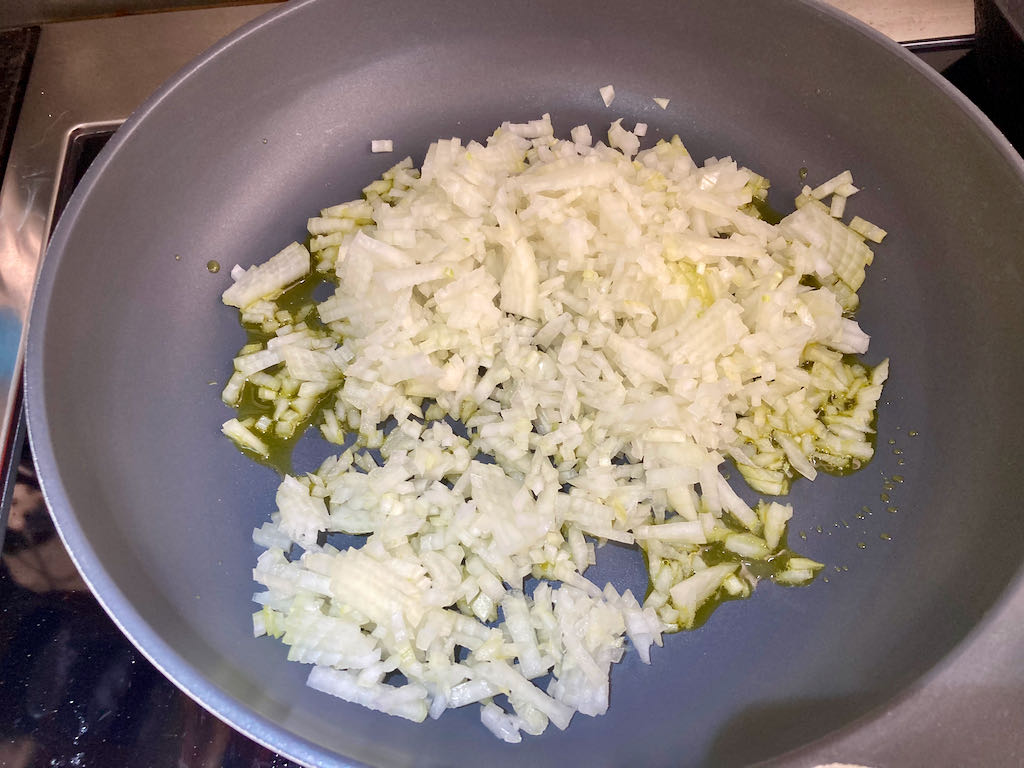
In a frying pan sauté the onions over medium heat with some butter until they become translucent.
Remove the onions from the pan and allow them to cool before adding them to the meat.
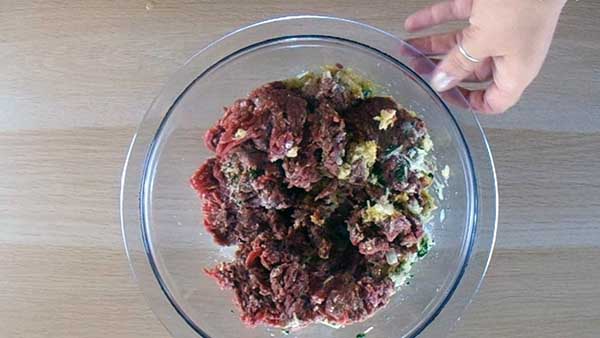
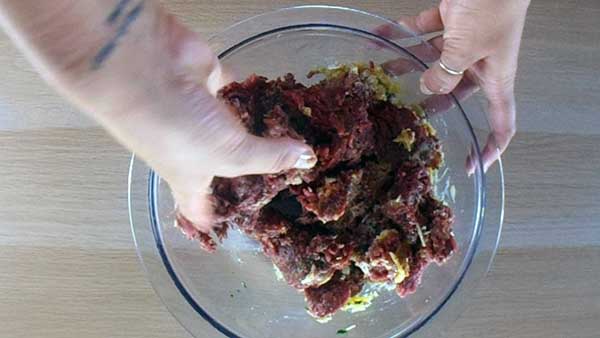
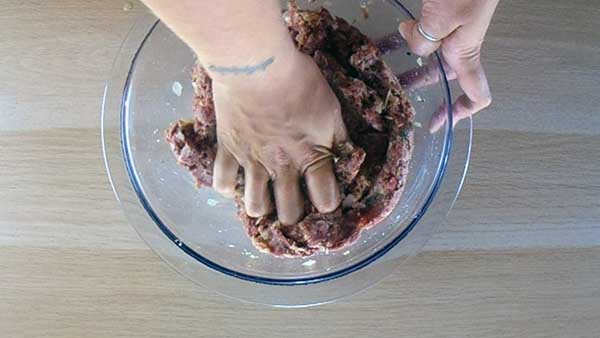
Mix together all the ingredients in a large bowl; make sure all the ingredients are evenly distributed.
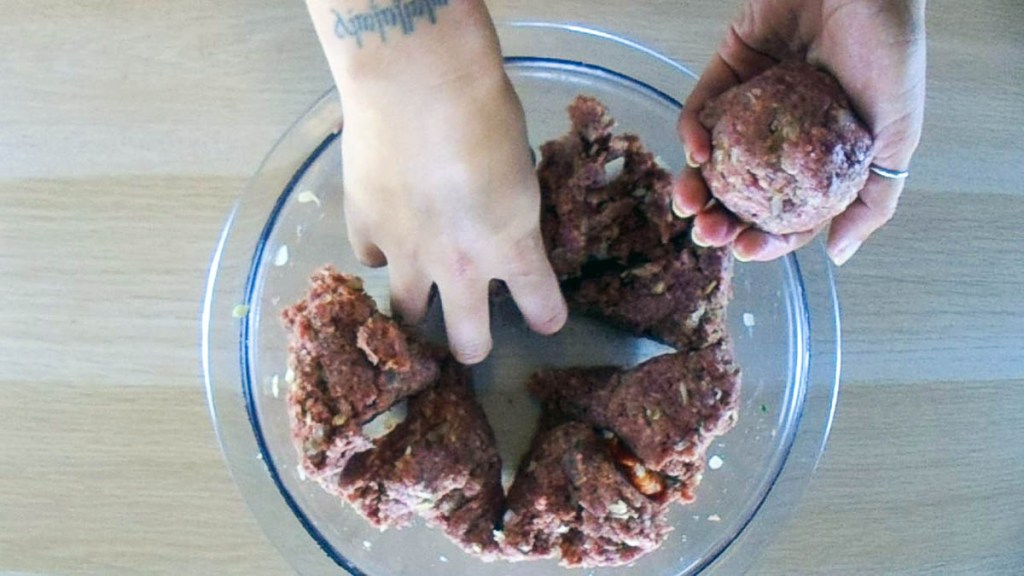
Divide the meat into 6 portions, roll into balls then flatten down on the baking dish then create a hole in the centre to form the magel.
Bake for 40 minutes or until the meat is fully cooked.
Allow the magels to cool slightly before slicing in half.
What the hell is a magel? you may be asking yourself. Easy answer it is a bagel made out of meat, hence m-agel.
Credit: Cath @ easycleaneats
Ingredients
1/2 onion finely diced
1 tbsp. butter
500g minced pork
2eggs
2 tbsp. Tomato sauce
1 tsp. Paprika
1 tsp. Salt
1/2 tsp. Ground pepper
1 tsp. chipotle powder
Directions
Preheat the oven to 180 degrees c/ 350 degrees f.
Line a baking tray with baking paper or a silicone liner .
In a frying pan sauté the onions over medium heat with some butter until they become translucent.
Remove the onions from the pan and allow them to cool before adding them to the meat.
Mix together all the ingredients in a large bowl; make sure all the ingredients are evenly distributed.
Divide the meat into 6 portions, roll into balls then flatten down on the baking dish then create a hole in the centre to form the magel.
Bake for 40 minutes or until the meat is fully cooked.
Allow the magels to cool slightly before slicing in half.Allow the magels to cool slightly before slicing in half.
Serve with cream cheese, fried eggs and bacon.
Nutrition
Per Serving: 150 calories; 7.6 g fat; 0.7 g carbohydrates; 19.7 g protein
Equipment
Baking tray
Baking paper or a silicone liner
Frying pan
Spatula
Mixing bowl
Measuring cup
Measuring spoons
Scales
Nutritional disclaimer
Nutrition information is provided as an estimate based on the ingredients used and available in my area (New Zealand). The nutritional information is here to help you understand the recipe; I use MyFitnessPal to generate my estimates. For more accurate nutritional information, please use a nutritional calculator with the ingredients in your area.
I have been on a mission to make simple and tasty meals. I aim to create recipes that can be prepared and cooked quickly on a busy weeknight. We all struggle to make healthy and delicious meals while keeping on top of everything else in life. So this recipe is designed to be healthy, delicious and easy to make. You can cook this meal on a single tray in the oven. The preparation takes no more than 20 minutes and is portioned to feed four adults.
Sweet and sour on one plate
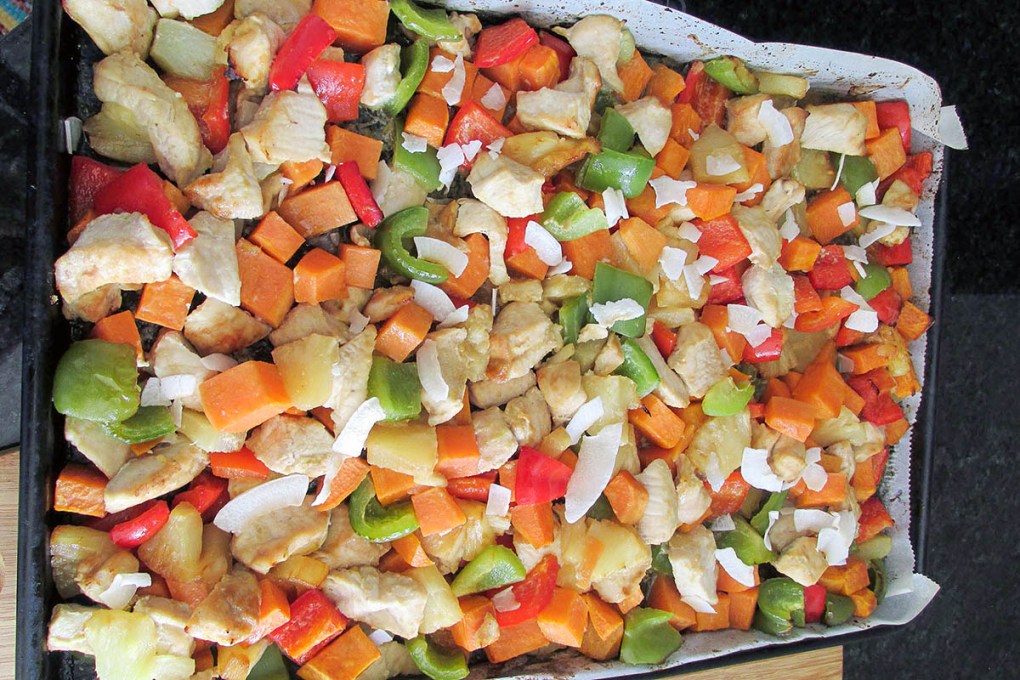
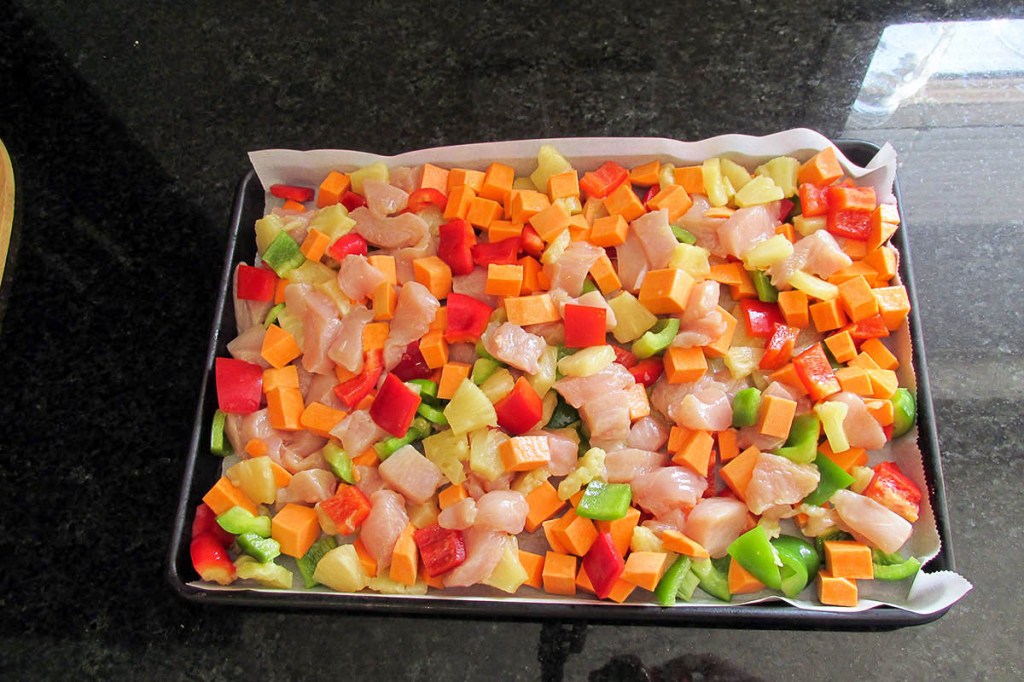
There is something irresistible about chicken and pineapple; they go so well together. Add in the sweetness of some peppers, and I am sold. I’ll be honest this one-tray meal was born from a pantry cleanout. I found a tin of pineapple that was soon to go out of date; in an effort to save on food waste, I thought of a way to make the most of the pineapple slices, other than eating them from the tin, of course.
One tray Hawaiian chicken recipe
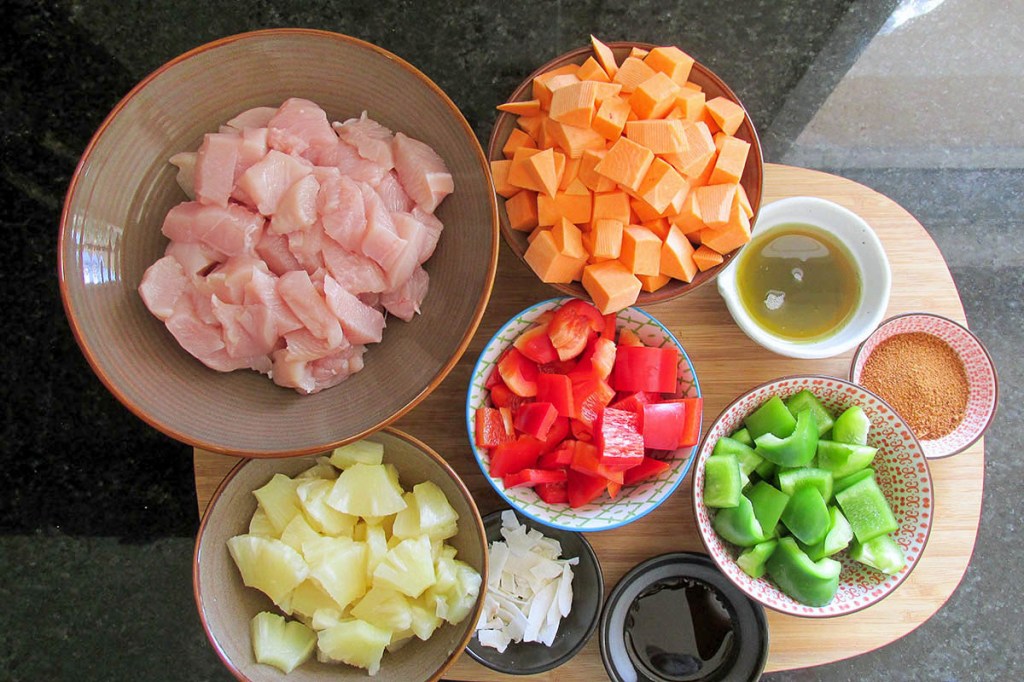
Ingredients
500g chicken breast, cubed
2 cups pineapple chunks
1 red pepper, cubed
1 green pepper, cubed
1 sweet potato, cubed
1 tbsp. Sesame seed oil
1 tbsp. Coconut oil
1 tbsp. Coconut sugar
1 tbsp. Coconut flakes
1 tbsp. Lime juice
Instructions
Preheat the oven to 200 degrees C/ 400 degrees F.
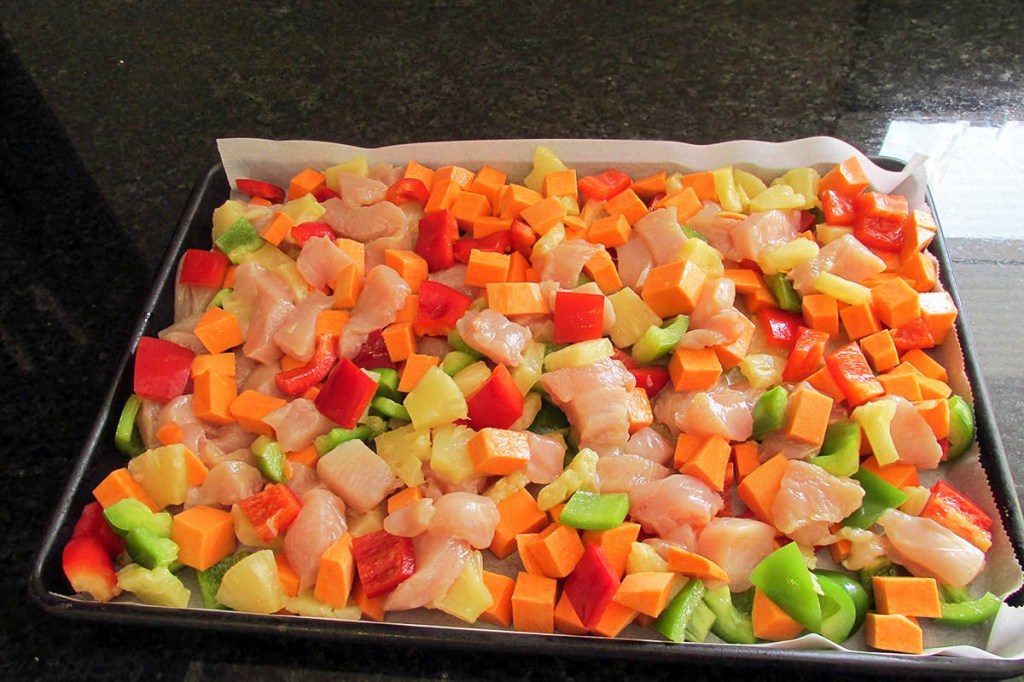
Line a baking tray with baking paper or a silicone liner.
Mix the chicken, peppers, sweet potatoes and pineapple in a bowl with the oils and sugar.
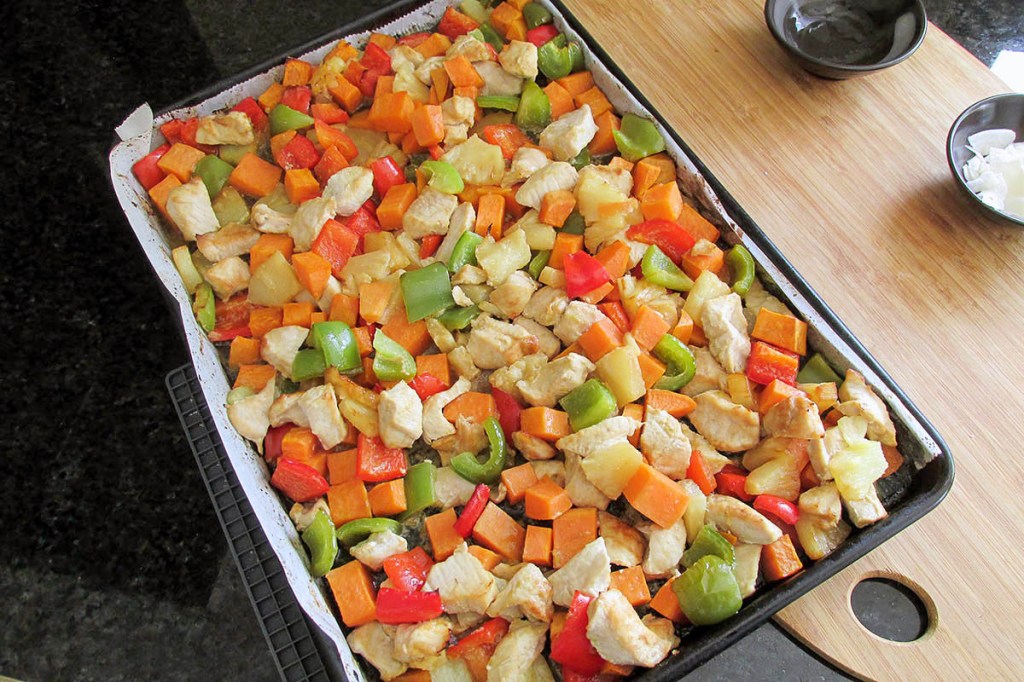
Spread out on the baking tray and bake for 15 minutes.
Turn the vegetables and chicken and bake for another 10 minutes.
Sprinkle the lime juice and coconut flakes over the tray before serving.
Line a baking tray with baking paper or a silicone liner.
Mix the chicken, peppers, sweet potatoes and pineapple in a bowl with the oils and sugar.
Spread out on the baking tray and bake for 15 minutes.
Turn the vegetables and chicken and bake for another 10 minutes.
Sprinkle the lime juice and coconut flakes over the tray before serving.
Nutrition
Per Serving: 322 calories; 13g fat; 26g carbohydrates; 26g protein
Equipment
Measuring cups
Measuring spoons
Kitchen scale
Mixing bowl
Baking sheet
Baking paper or silicone liner
Nutritional disclaimer
Nutrition information is provided as an estimate based on the ingredients used and available in my area (New Zealand). The nutritional information is here to help you understand the recipe; I use MyFitnessPal to generate my estimates. For more accurate nutritional information, please use a nutritional calculator with the ingredients in your area.
I have been on a mission to make simple and tasty meals. I aim to create recipes that can be prepared and cooked quickly on a busy weeknight. We all struggle to make healthy and delicious meals while keeping on top of everything else in life. So this recipe is designed to be healthy, delicious and easy to make. You can cook this meal on a single tray in the oven. The preparation takes no more than 20 minutes and is portioned to feed four adults.
Updating as we go
Early in 2021, I made the move to relocate and update my website; I’ve been making changes and improving all of the things as I go. This recipe is one of the many things I’ve tried to improve. This recipe is one of the first one-tray meals I came up with back in 2015. It has remained a regular meal that I crack out when we get some good quality sausages from Pokeno.
One tray of awesomeness
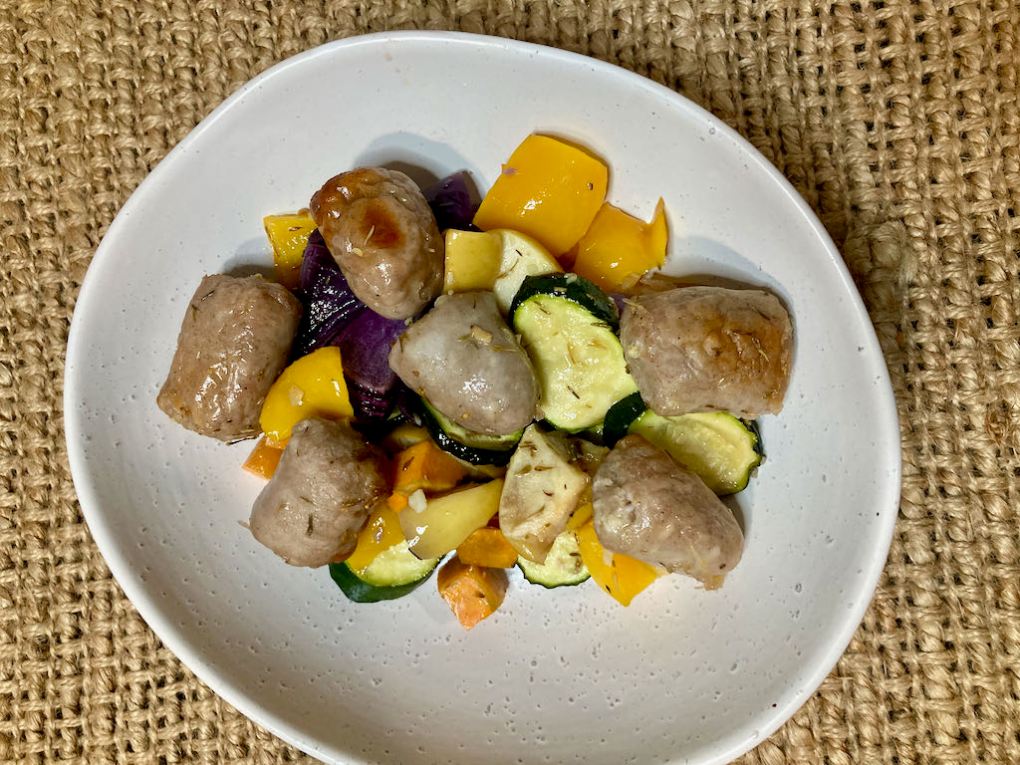
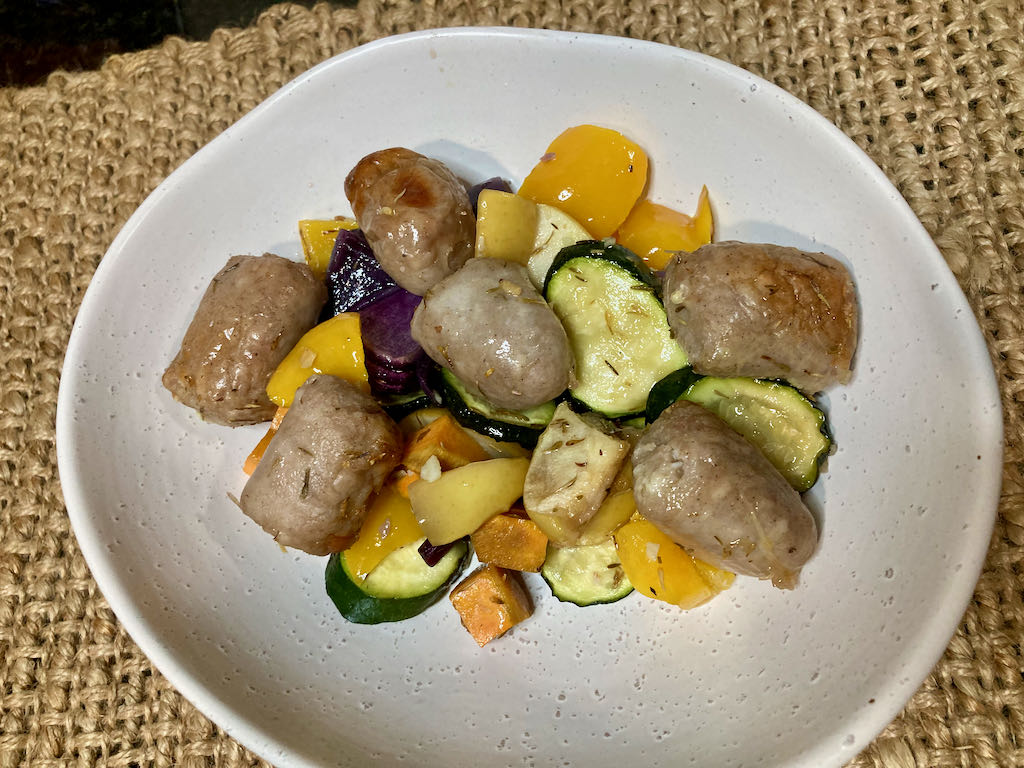
This recipe is one of the very first one-tray meals I made back when we started eating clean. I was big on throwing dinner in the slower cooker before heading off for a busy day at work, but it was always nice to have something a bit different on the weekends. The combination of tasty sausages and fresh vegetables always won on a Saturday afternoon after a day with the kids. We don’t spend our weekends running around playgrounds with the kids, but we still love a one-tray maple sausage roast.
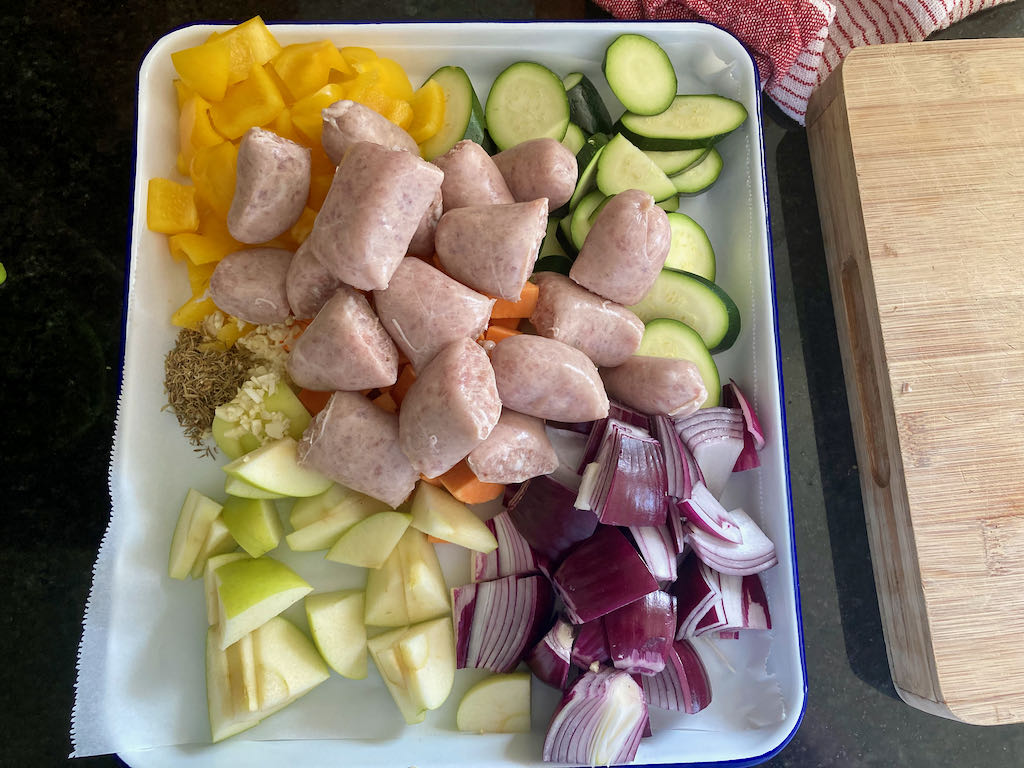
Maple sausage roast
Ingredients
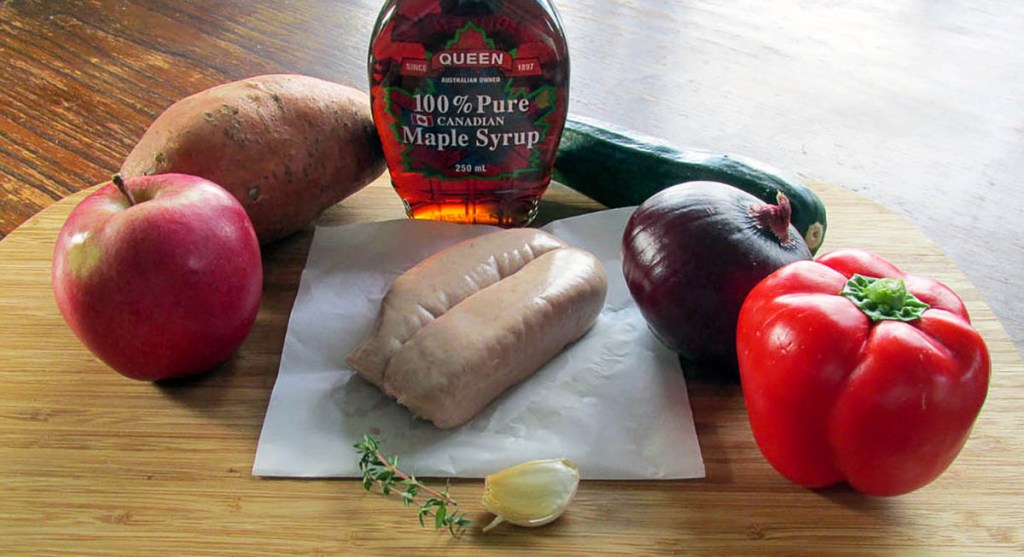
8 pork sausages cut into 3rds
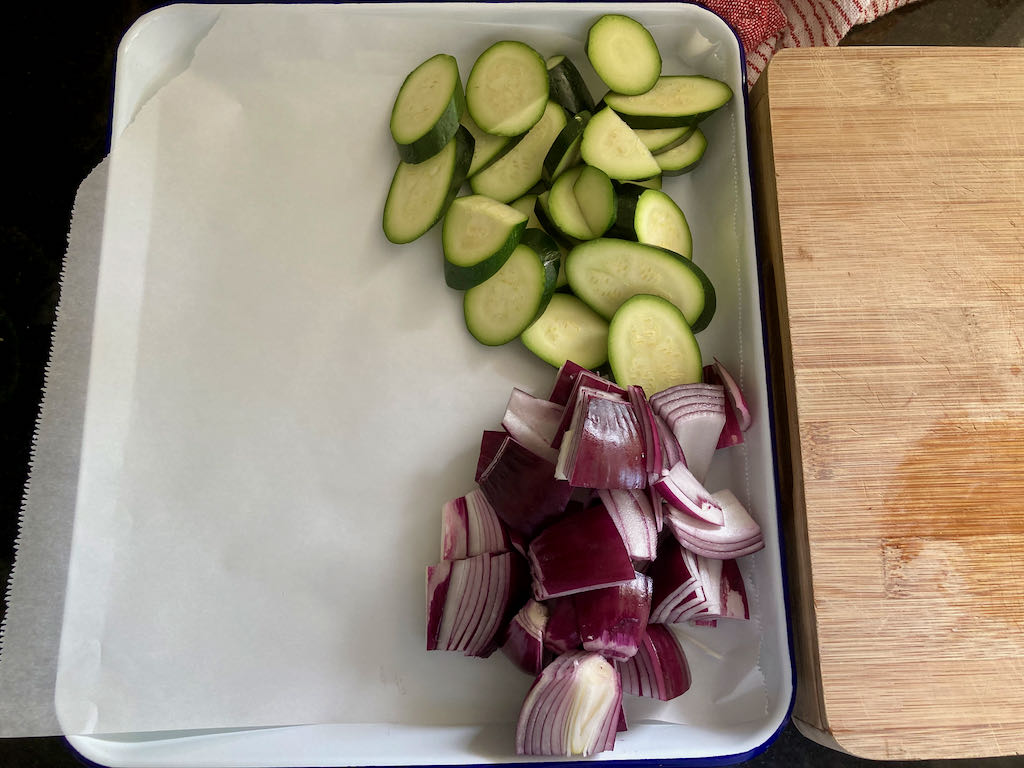
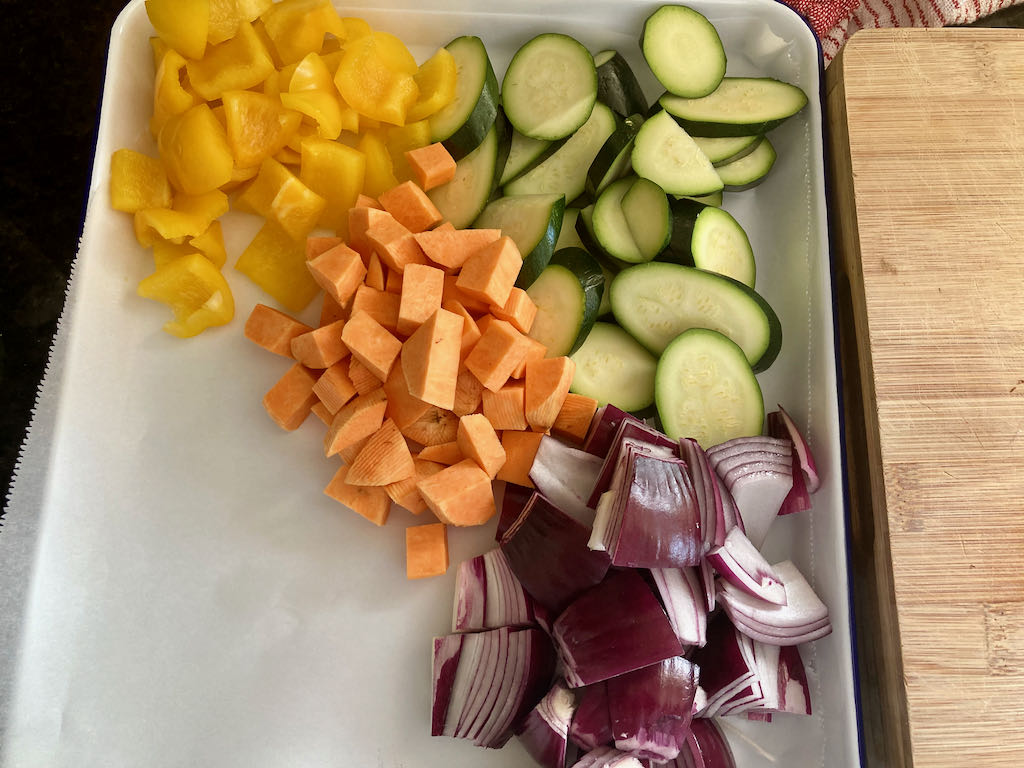
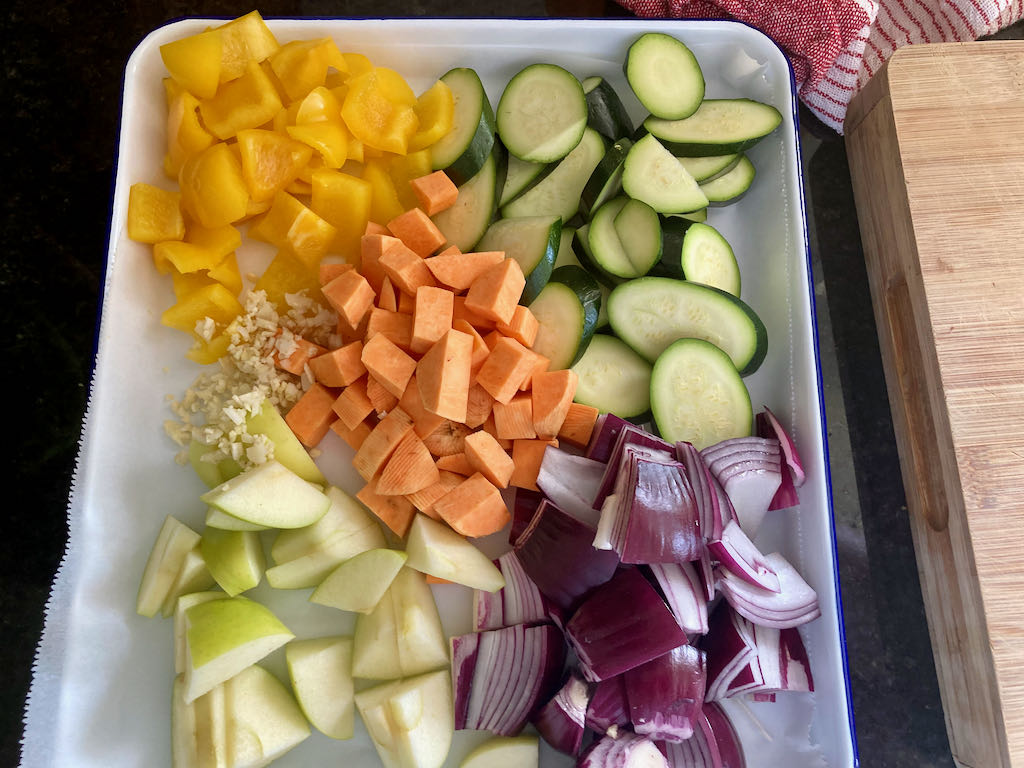
1 red onion cut into 8th
2 red apples cut into chunks
2 red peppers cut into chunks
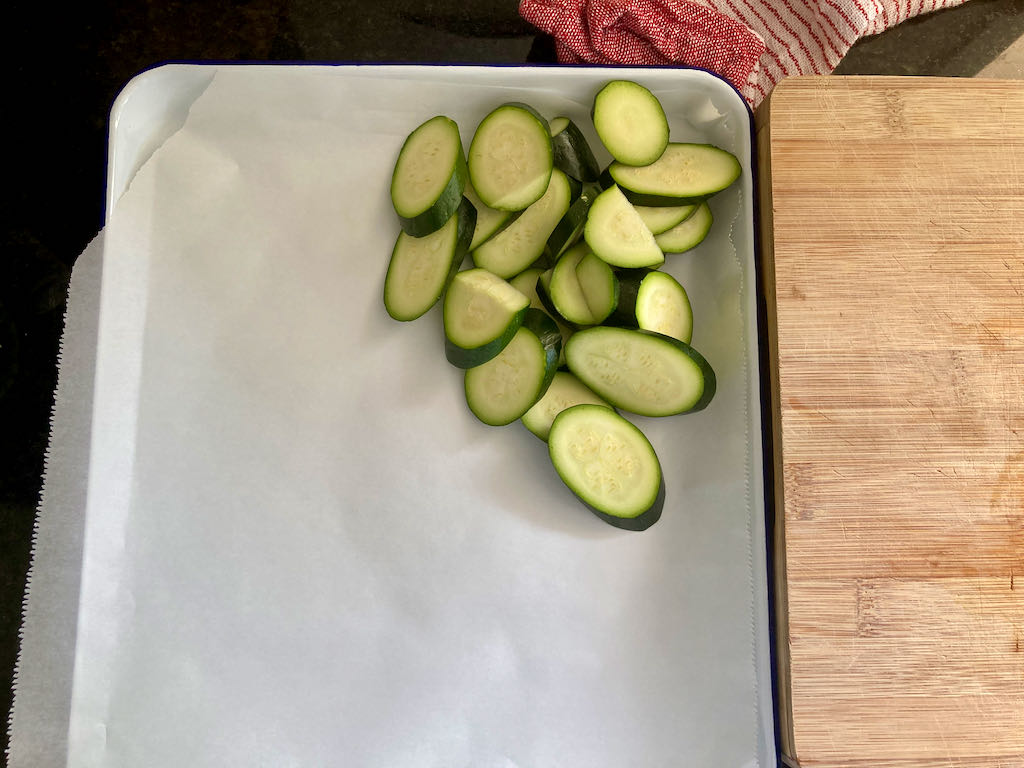
2 courgettes cut into chunks
2 sweet potatoes cut into chunks
2 garlic cloves minced
2 tbsp. thyme
1/4 cup maple syrup
Instructions
Preheat oven to 210 °C/ 410 °F.
Line a roasting tray with baking paper or a silicone liner.
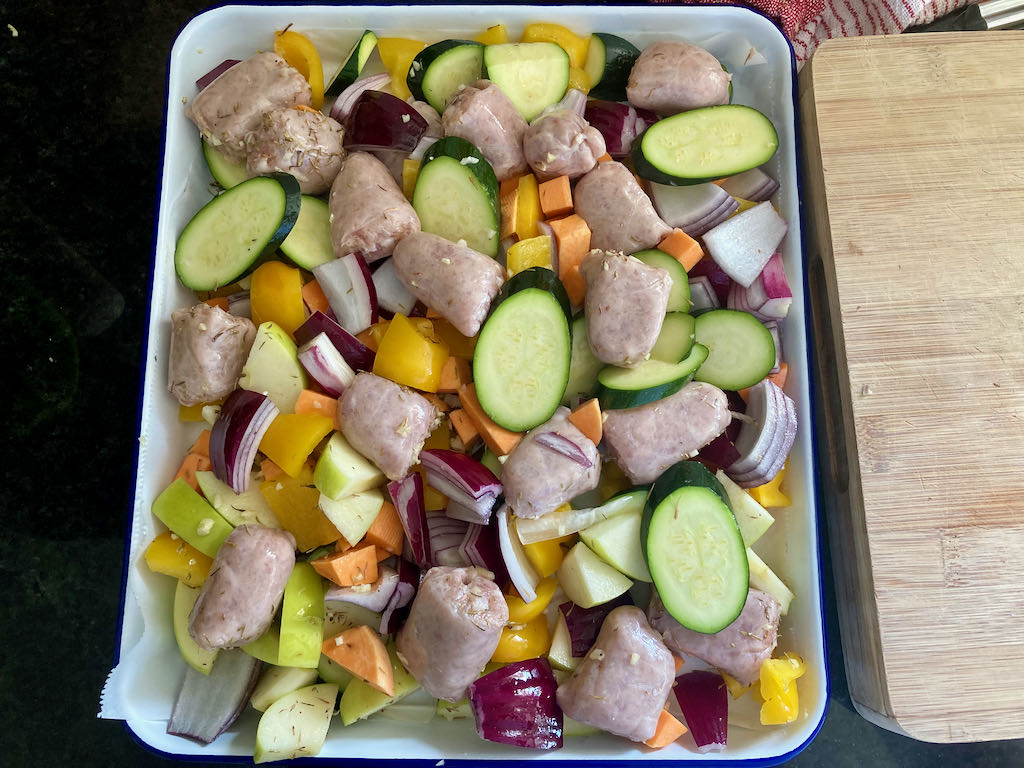
In the roasting tray, mix together all ingredients but keep the maple syrup to one side.
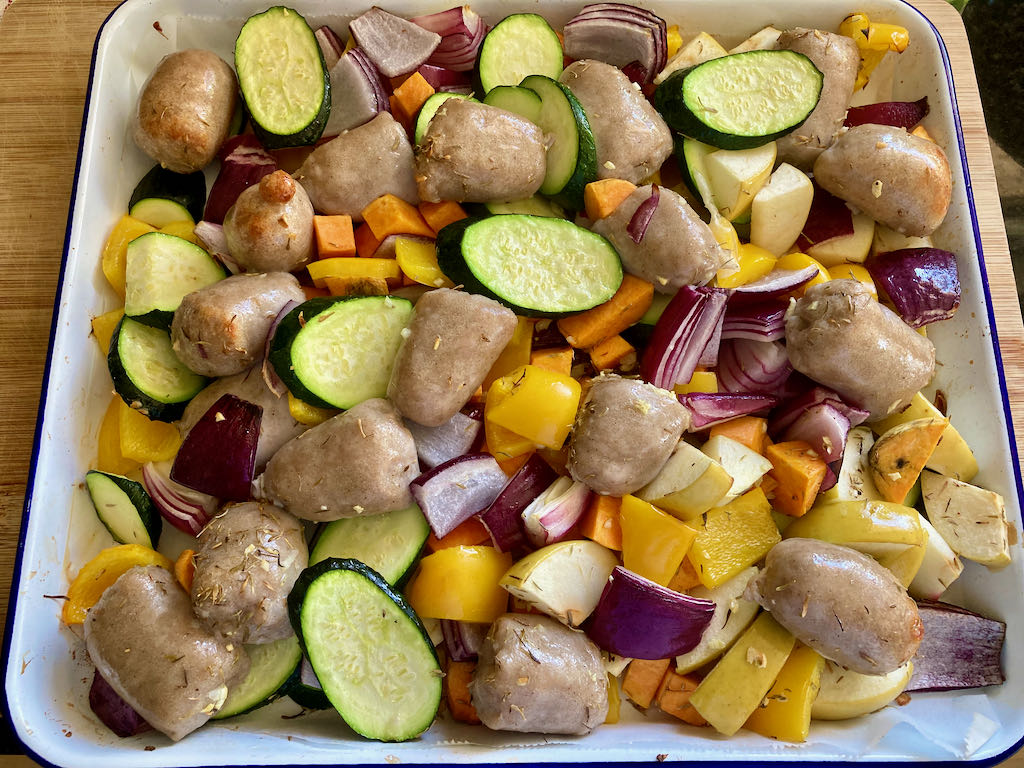
Bake for 20 minutes.
Remove the roasting tray from the oven.
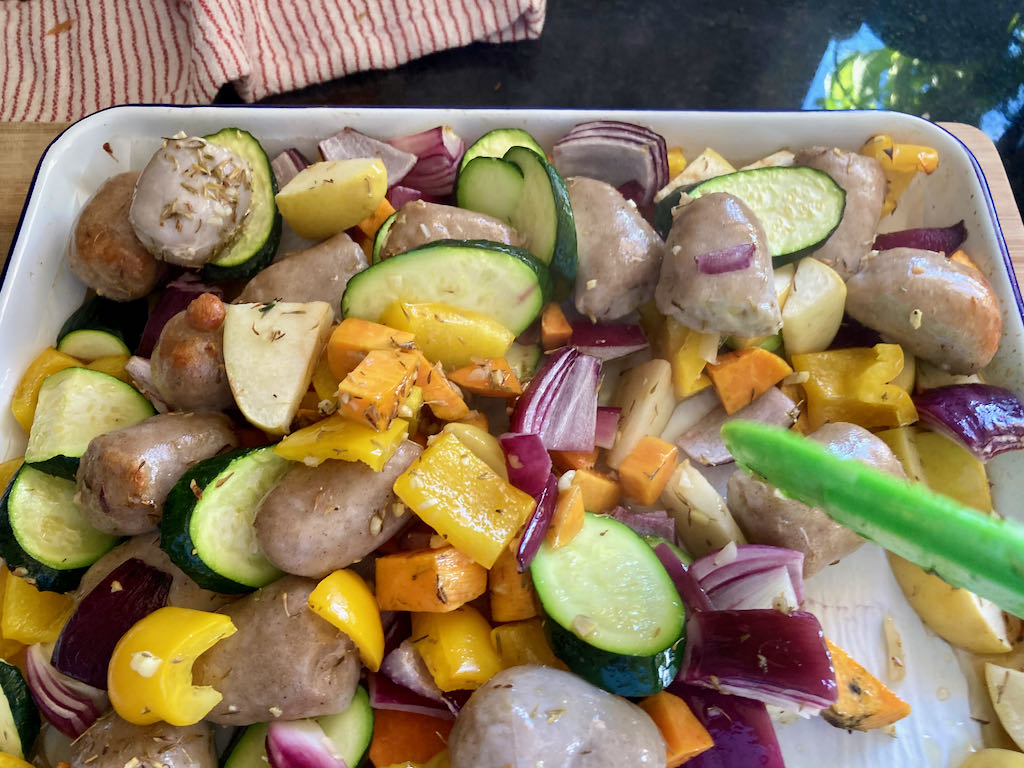
Stir everything up and pour the maple syrup on top of everything.
Bake for another 10 minutes.
If your sausages are thick, you may need to cook them longer.
Line a roasting tray with baking paper or a silicone liner.
In the roasting tray, mix together all ingredients but keep the maple syrup to one side.
Bake for 20 minutes.
Remove the roasting tray from the oven.
Stir everything up and pour the maple syrup on top of everything.
Bake for another 10 minutes.
If your sausages are thick, you may need to cook them longer.
Nutrition
Per Serving: 292 calories; 13g fat; 26g carbohydrates; 18g protein
Equipment
Chopping board
Knife
Baking tray
Baking paper or silicone liner
Measuring cups
Measuring spoons
Tongs
Spatula
Nutritional disclaimer
Nutrition information is provided as an estimate based on the ingredients used and available in my area (New Zealand). The nutritional information is here to help you understand the recipe; I use MyFitnessPal to generate my estimates. For more accurate nutritional information, please use a nutritional calculator with the ingredients in your area.
I’ve been revisiting recipes that have been some of my old-school recipes and family favourites that were our staples when we got started as clean eaters. I first posted this recipe in 2015; at that time, the kids were fussy, vegetables had to be hidden and disguised, and there was no potential for intense flavours or spice.
Times (thankfully) have changed, the kids have grown (like man-sized grown), and they now enjoy a wide range of foods. Things like vegetables are enjoyed, spice and chilli are consumed without complaint, and new ingredients are tried without tantrums.
As the kids have grown, my recipes have changed organically to meet their palates and preferences, I’ve updated this recipe because of that, but fear not; all I have done is make it a little bit better.
Converted to love pork
I never really liked pork. I always found it dry and bland or very chewy, so I stayed away from it. Now I know a little more about the different pork cuts and the differences between good quality meat and mass-produced meat. Good quality meats well-raised make all the difference.
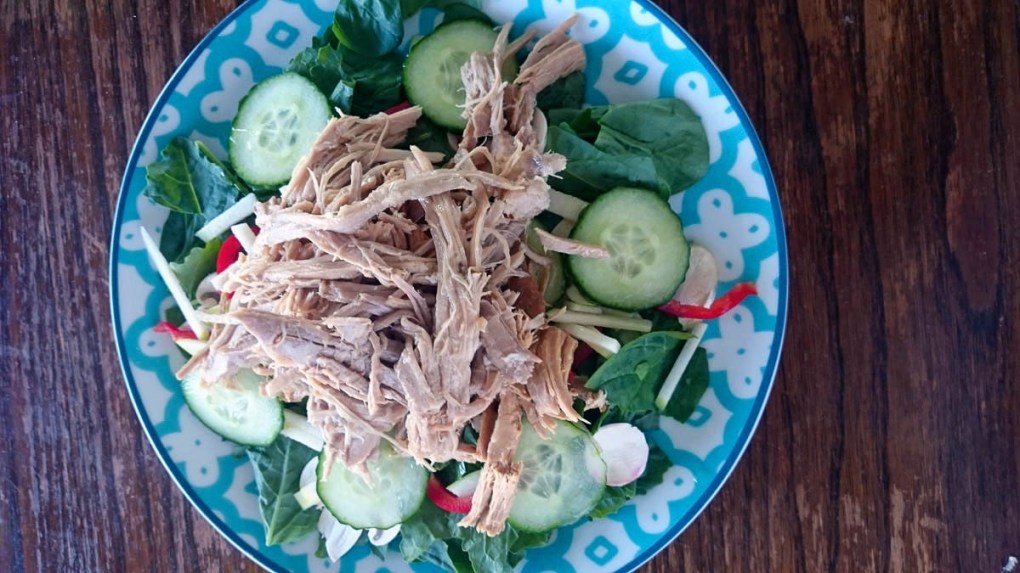
Pork shoulder
Pork shoulder is one of the meat cuts that I have come to love over the last few years. It is cheap to buy, easy to cook and can be used in many different ways. Pork shoulder is excellent; you cook it once and end up with about five meals. When buying pork shoulder, pick a joint that has the bone in, as it will have more flavour, and the best-tasting meat is right by the bones. This recipe is basic; it lets the natural flavour of the pork shine and makes it a perfect base for other meals.
Garlic pulled pork recipe
Ingredients
1-1.5kg pork shoulder
6 garlic cloves, mashed
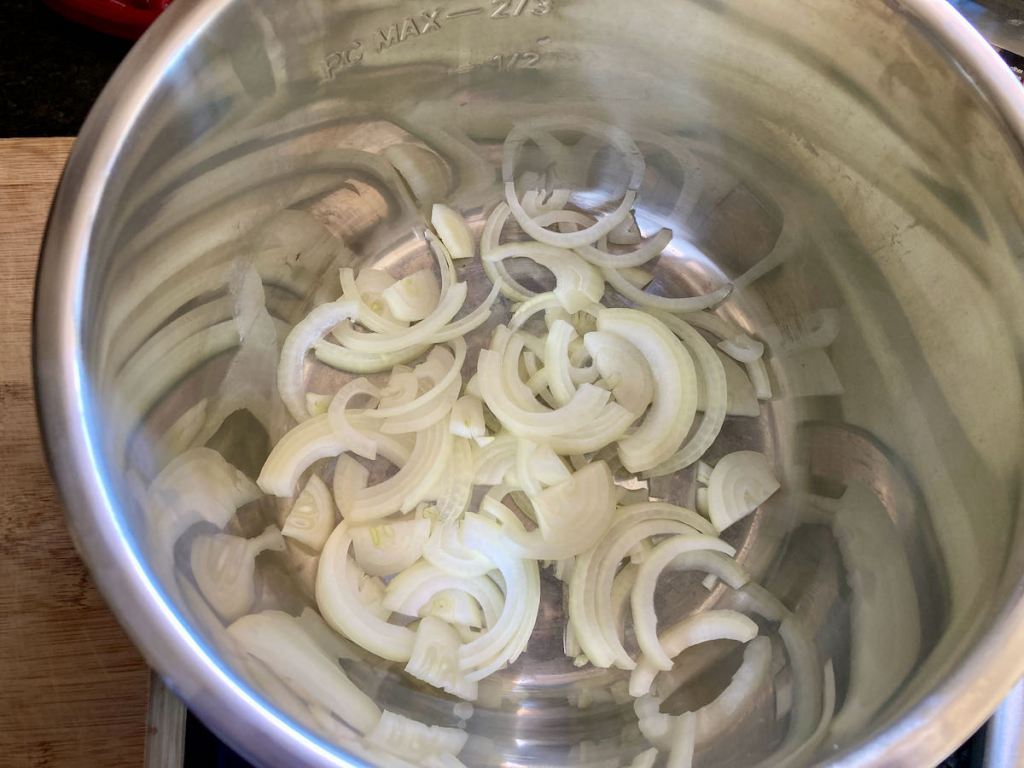
1 onion, sliced
1 tsp. onion powder
1 tsp. chilli powder
Salt and pepper to taste
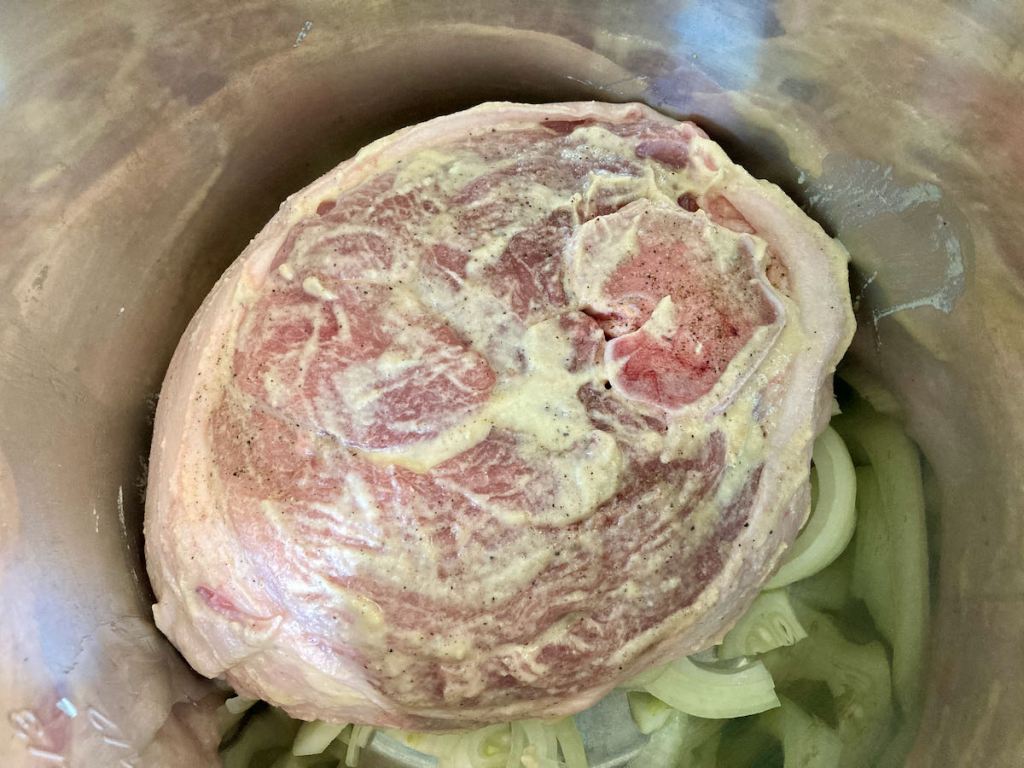
Place the onions in the bottom of your slow cooker, and build a little platform for the meat.
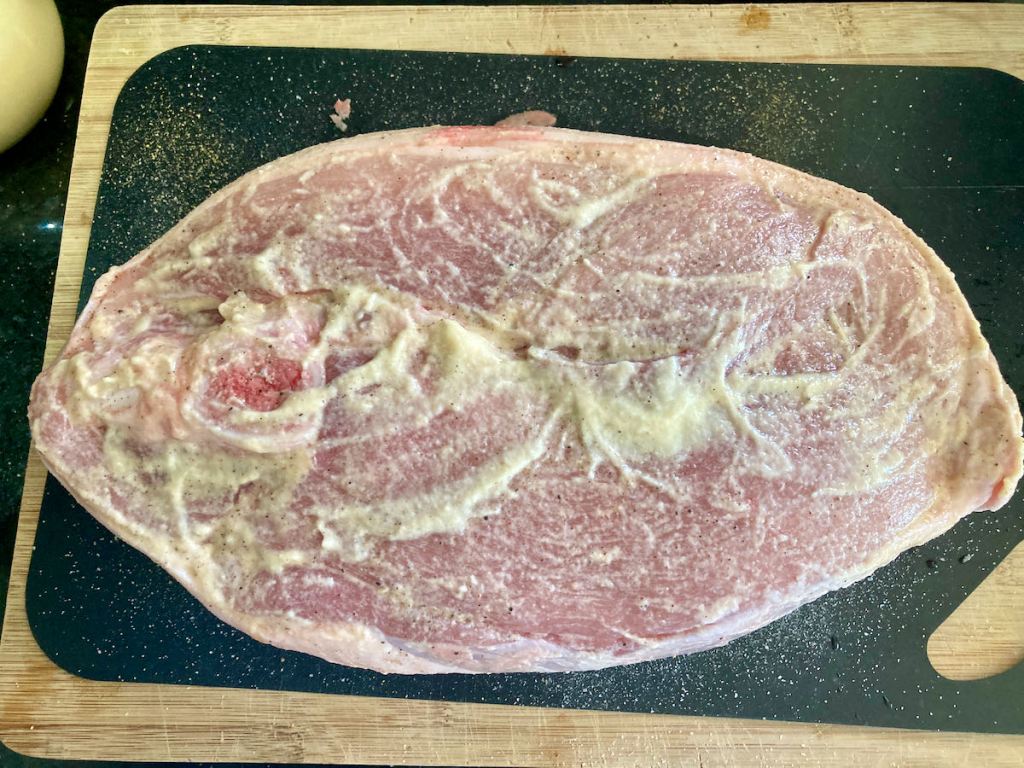
Place the pork shoulder on a chopping board.
Season the meat with salt and pepper, then sprinkle over the onion powder and chilli powder.
Spread the mashed garlic all over the meat, make sure to get it in all the little pockets around the shoulder.
Place the meat on the onions in the slow cooker.
Cook the meat on low for 8-10 hours. Once the pork is cooked, you can pull it apart using forks or claws!
Place the onions in the bottom of your slow cooker, build a little platform for the meat.
Place the pork shoulder on a chopping board.
Season the meat with salt and pepper then sprinkle over the onion powder and chilli powder.
Spread the mashed garlic all over the meat, make sure to get it in all the little pockets around the shoulder.
Place the meat on the onions in the slow cooker
Cook the meat on low for 8-10 hours.
Once the pork is cooked, you can pull it apart using forks or claws!
Nutrition
Per Serving: 236 calories; 13g fat; 1g carbohydrates; 30g protein
Equipment
Knife
Chopping board
Forks
Slow cooker
Nutritional disclaimer
Nutrition information is provided as an estimate based on the ingredients used and available in my area (New Zealand). The nutritional information is here to help you understand the recipe; I use MyFitnessPal to generate my estimates. For more accurate nutritional information, please use a nutritional calculator with the ingredients in your area.
Earlier in 2021, I moved to relocate and update my website; I’ve been making changes and improving all of the things as I go. This recipe is one of the many things I’ve tried to make better.
Something sweet but healthy
Sometimes we need something sweet to get us through the day. In the spirit of not eating crappy processed food, I like a simple recipe that is easy to whip up and reasonably healthy. This cake is easy to make, uses pantry items you should have already and will only take a short time to sit down and enjoy.
Banana blueberry cake
Ingredients
1/2 cup coconut flour, sifted
1/2 tsp. baking soda
1/2 tsp. salt
1/2 tsp. ground cinnamon
1/2 tsp. ground nutmeg
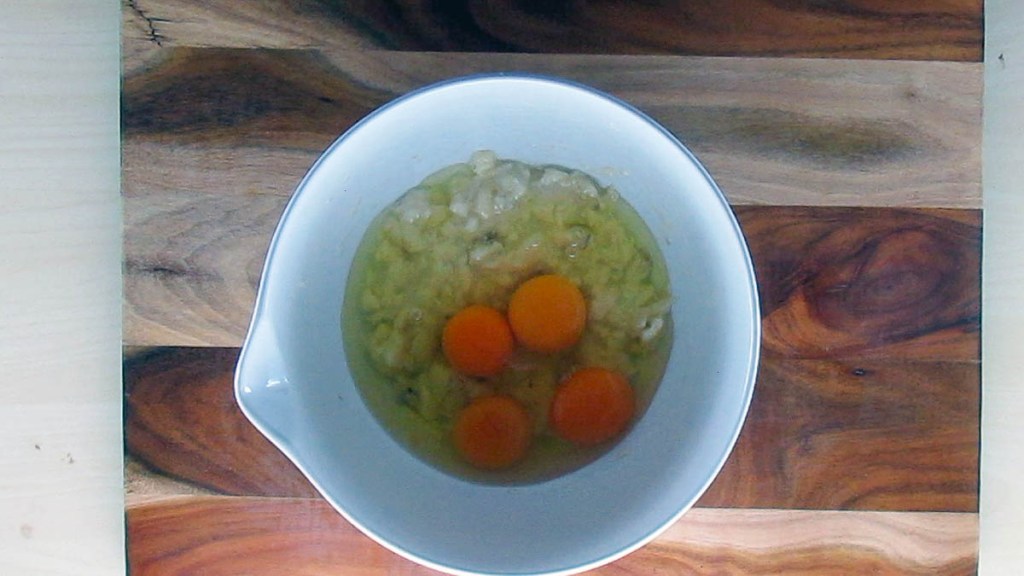
4 eggs
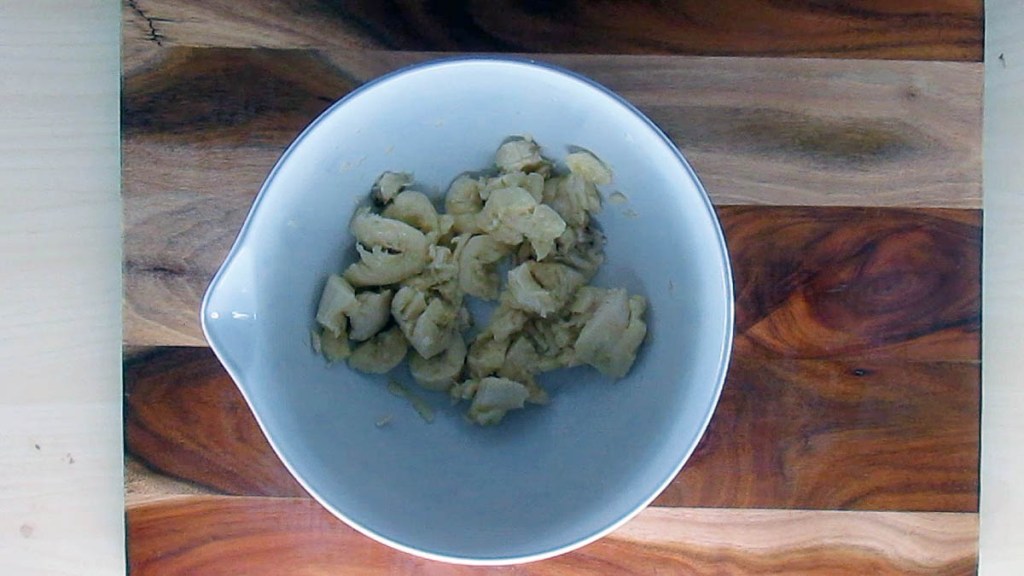
2 bananas, ripe
1/2 cup coconut oil, melted
3 tbsp. honey
1 cup blueberries
Instructions
Preheat the oven to 180 degrees C/ 350 degrees F.
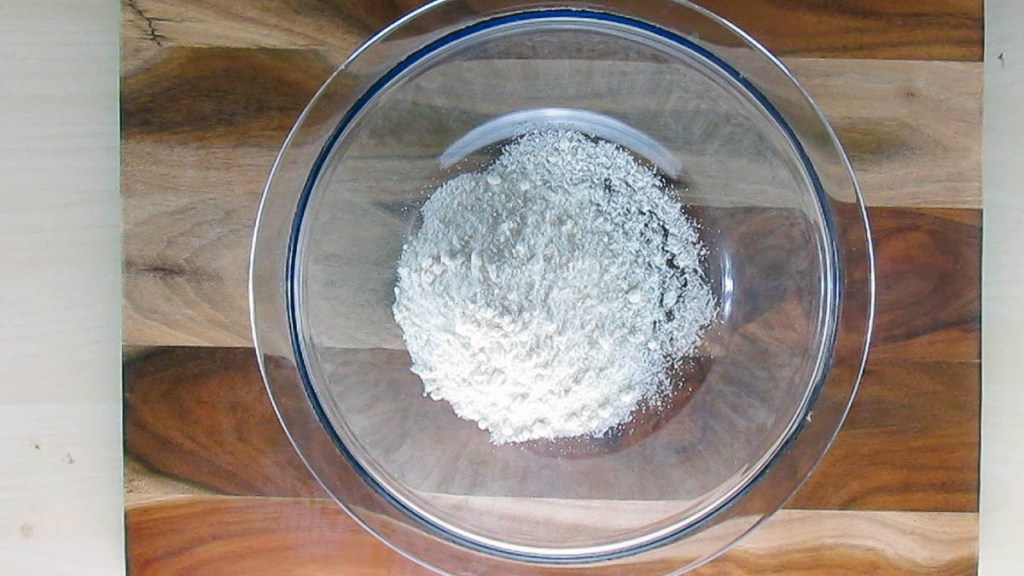
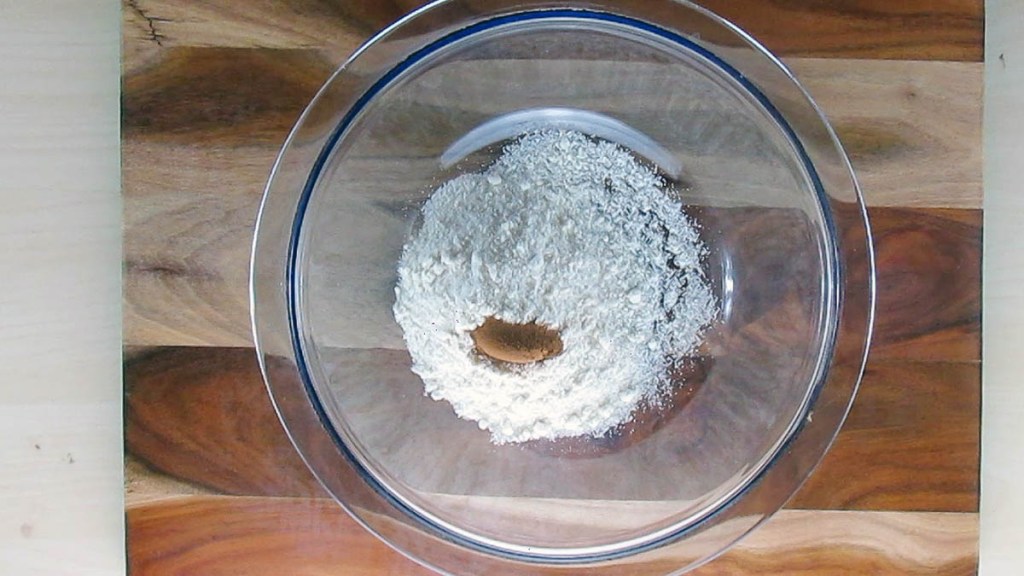
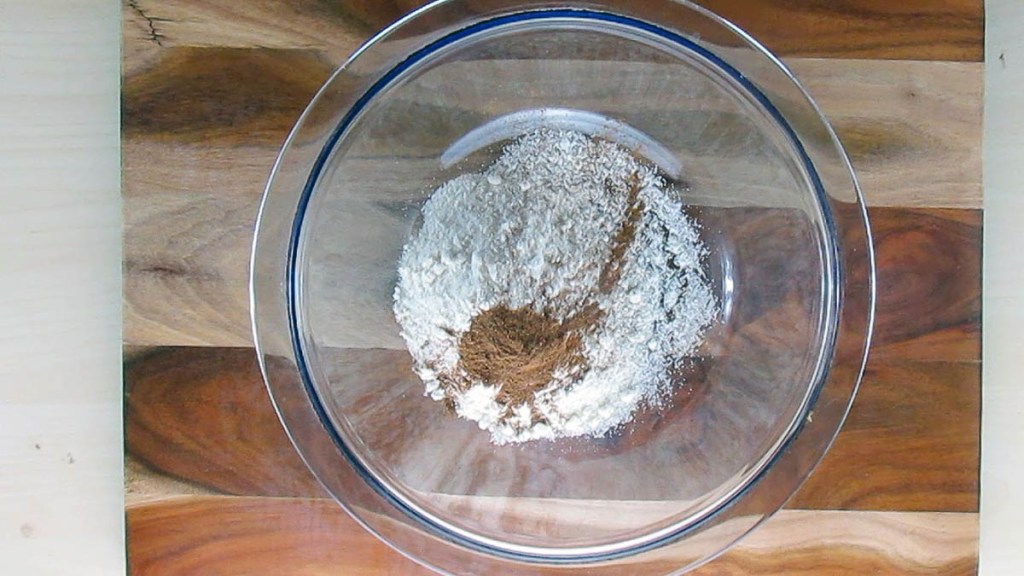
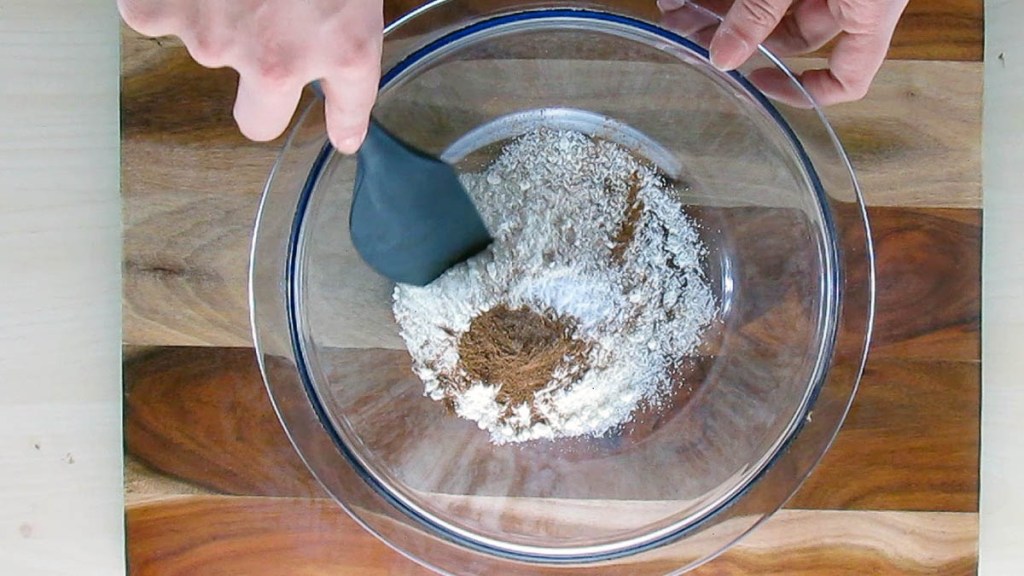
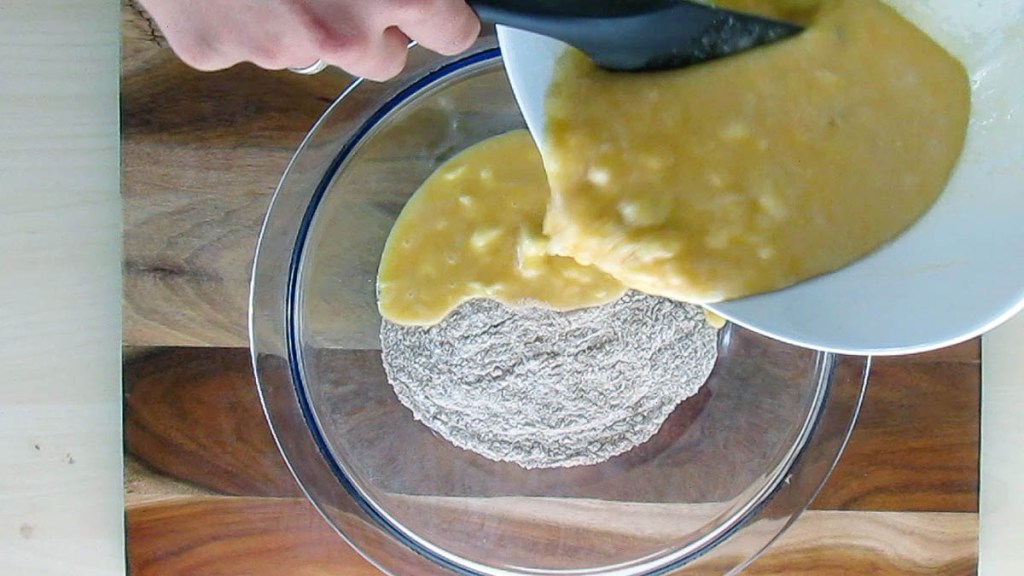
In a large bowl, mix together the coconut flour, baking soda, salt, ground cinnamon and nutmeg.
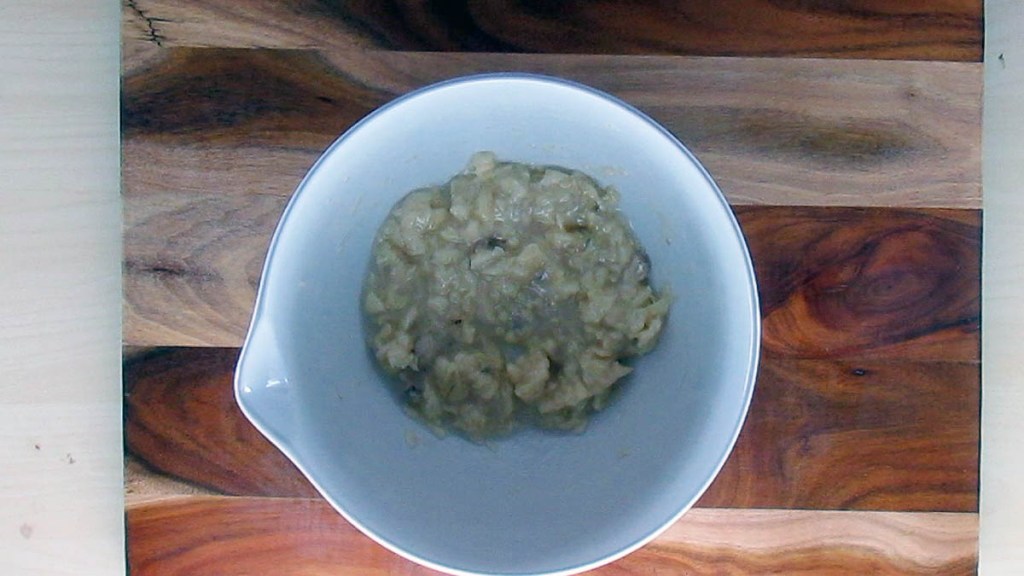
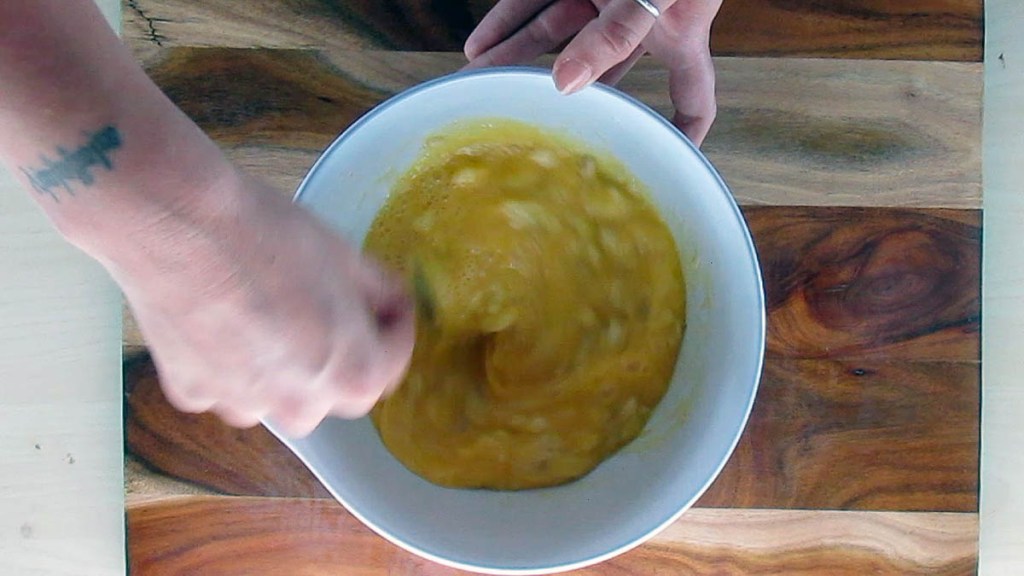
In another bowl, mix together the eggs, bananas, coconut oil and honey.
Add the wet ingredients to the dry ingredients and mix well.
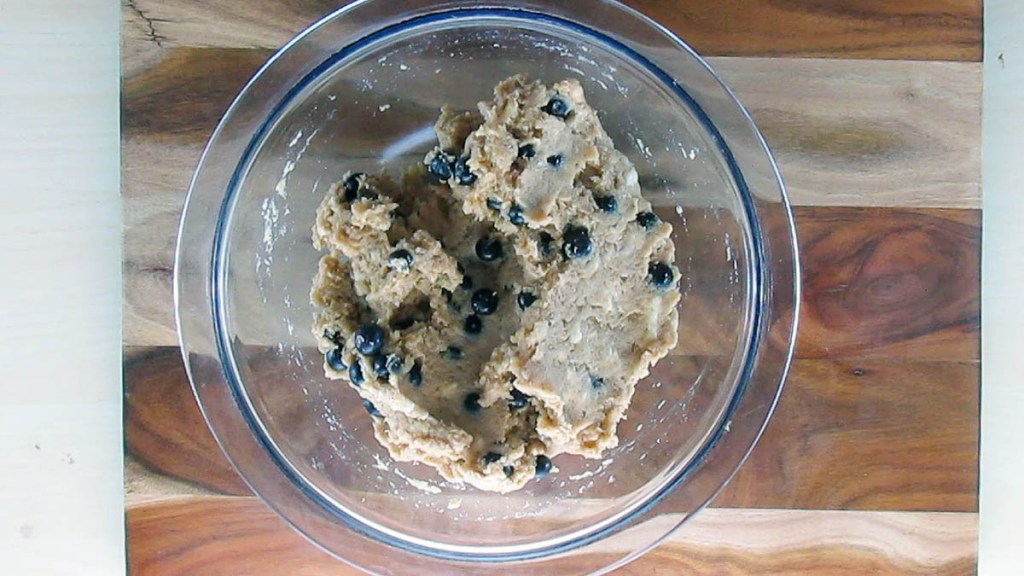
Fold in the blueberries.
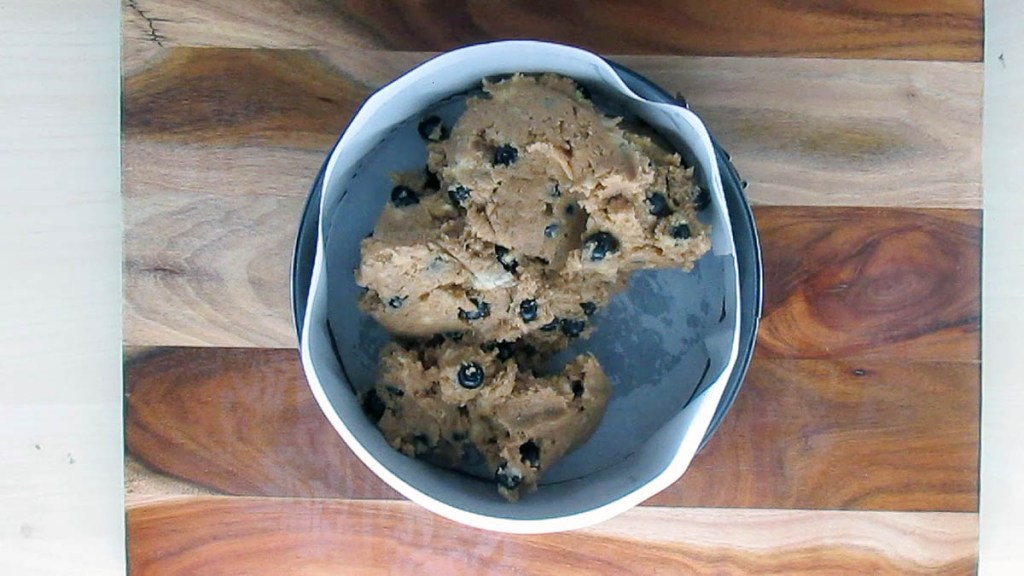
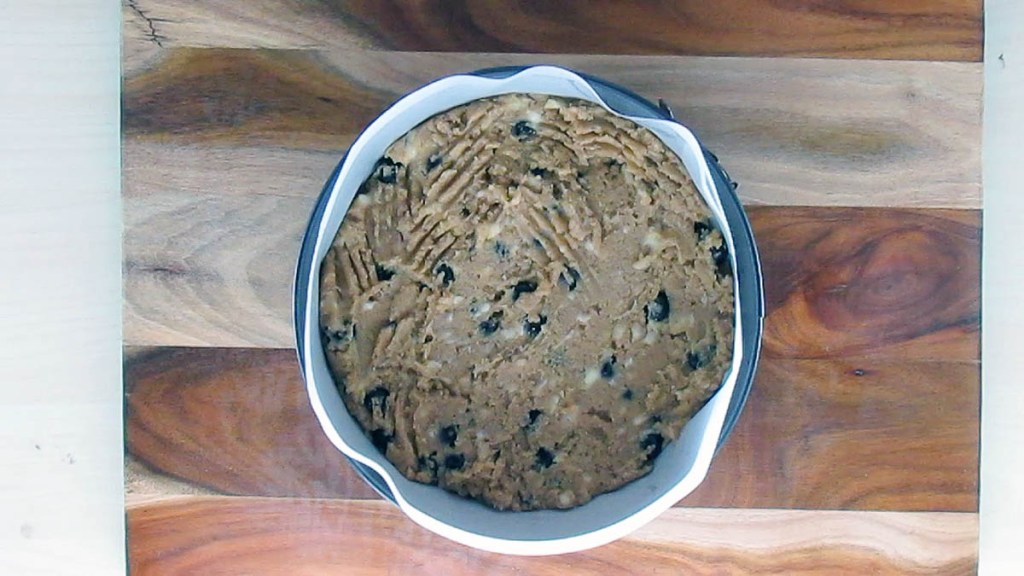
Take a spring-form cake pan and line it with baking paper or a silicone liner.
Pour the batter into the cake pan.
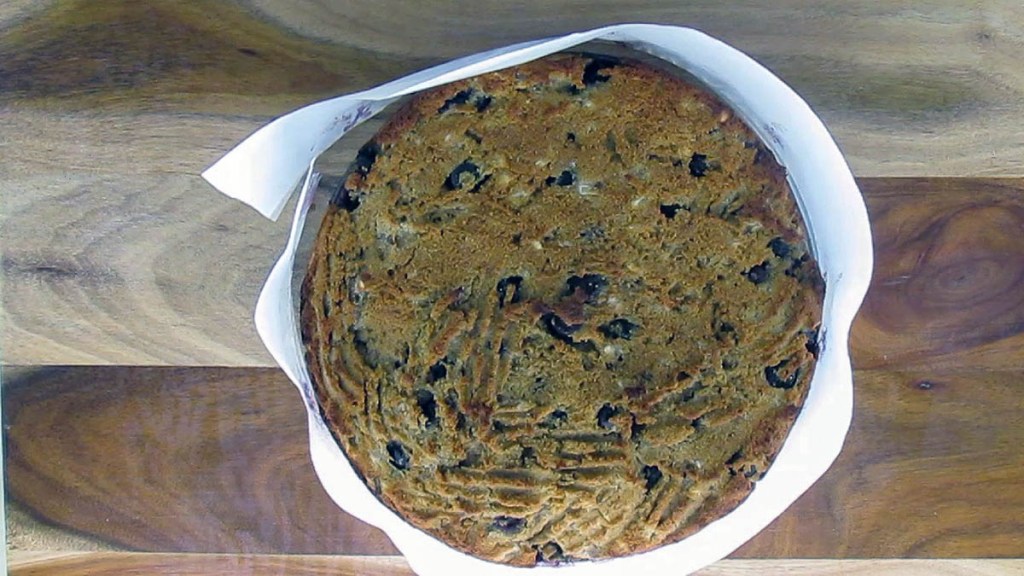
Bake the cake for 30 minutes or until the cake is cooked through.
Remove the cake and allow it to cool slightly before removing it from the cake pan.
Preheat the oven to 180 degrees C/ 350 degrees F.
In a large bowl, mix together the coconut flour, baking soda, salt, ground cinnamon and nutmeg.
In another bowl, mix together the eggs, bananas, coconut oil and honey.
Add the wet ingredients to the dry ingredients and mix well.
Fold in the blueberries.
Take a spring-form cake pan and line it with baking paper or a silicone liner.
Pour the batter into the cake pan.
Bake the cake for 30 minutes or until the cake is cooked through.
Remove the cake and allow it to cool slightly before removing it from the cake pan.
Nutrition
Per Serving: 166 calories; 12g fat; 14g carbohydrates; 3g protein
Equipment
Mixing bowl x2
Fork
Wooden spoon
Cake pan
Baking paper or a silicone liner
Measuring spoons
Measuring cups
Nutritional disclaimer
Nutrition information is provided as an estimate based on the ingredients used and available in my area (New Zealand). The nutritional information is here to help you understand the recipe; I use MyFitnessPal to generate my estimates. For more accurate nutritional information, please use a nutritional calculator with the ingredients in your area.
I am one of those unfortunate people that are allergic to not only peanuts but also tree nuts. When it comes to food options, not having nuts on the menu can be challenging at times and frustrating at others. There are so many foods I would love to try or eat regularly but will never get the chance, thanks to nuts. Not eating nuts doesn’t have to be the end of the world; there are always replacements and alternatives that mean you can have a nut-free option. This recipe is my attempt to create a nut-free version of a usually nut-packed recipe.
Make a big batch
These meatballs were one of our staples back in the day; I would make double batches of them and stuff them in the freezer ready for cooking when things got busy. These meatballs are jam-packed with flavour and go great with my satay-style sauce.
Thai-inspired pork and veggie meatballs recipe
Ingredients
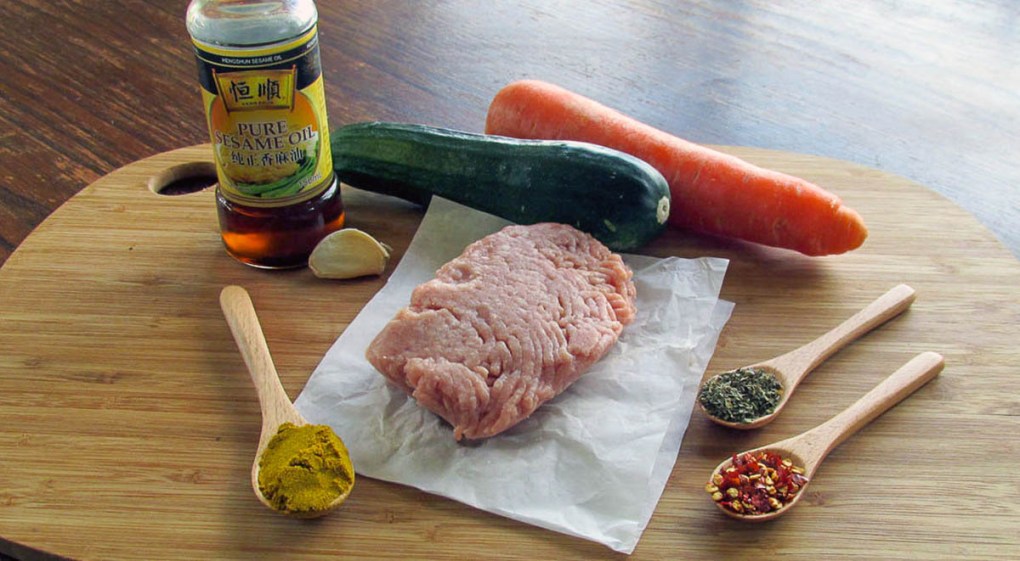
2 courgettes, grated
2 carrots, grated
450g pork mince
250g chicken mince
1 tbsp. ginger, grated
1 tsp. sesame oil
2 tbsp. fresh basil, minced
2 garlic cloves, minced
1 tbsp. curry powder
1/2 tsp. red chilli flakes
salt and pepper, to taste
Satay Style Sauce
Instructions
Preheat the oven to 175 degrees C/350 degrees F.
Grate the courgette and carrot; I use my food processor with a fine grating attachment.
Take a large bowl and place a large clean dishcloth in the bowl.
Add the carrot and courgette to the bowl.
Squeeze out the excess water from the carrot and courgette.
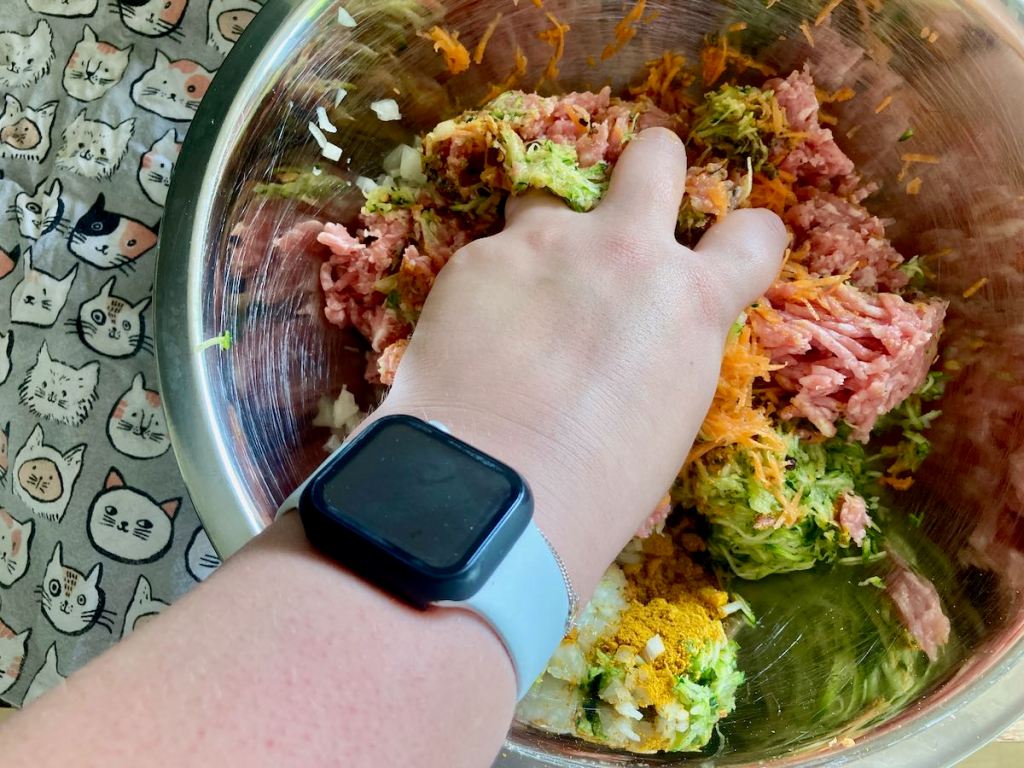
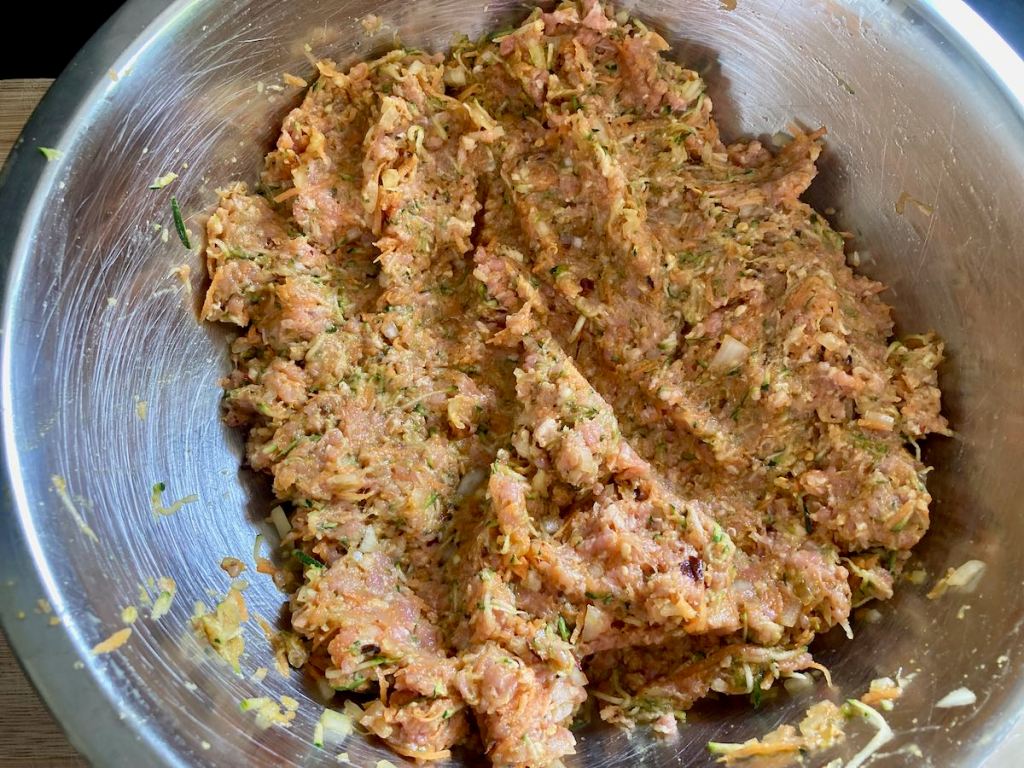
Add the carrot and courgette to a bowl along with the other ingredients.
Use your hands to mix the meat and vegetables together.
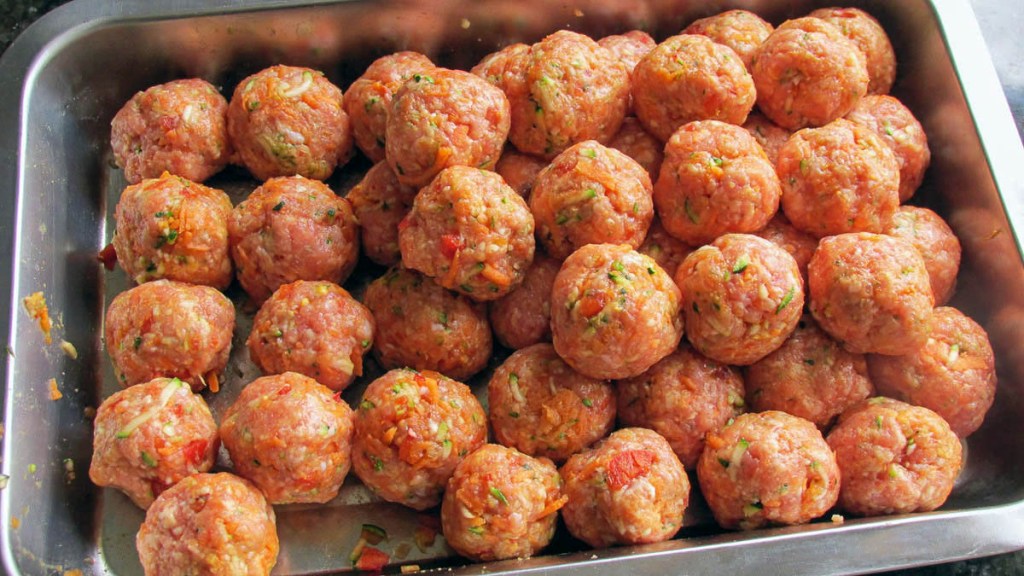
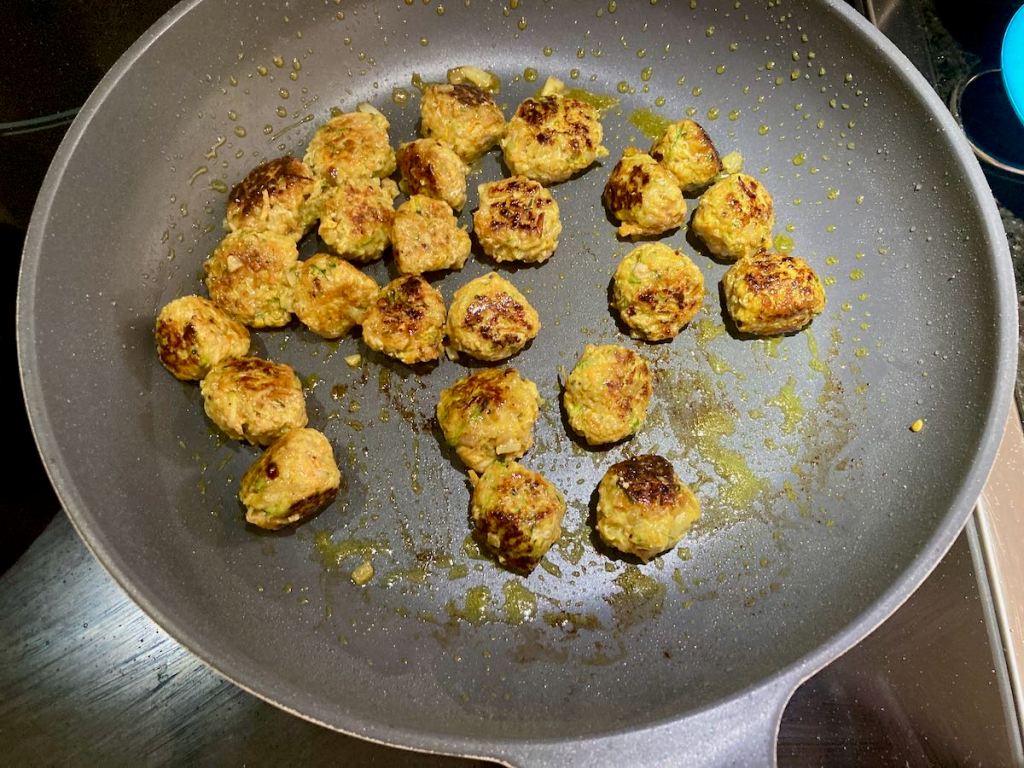
Use a soup spoon or ice cream scoop to portion the meat into meatballs.
Roll the meatballs and place them on a plate.
Depending on how large the meatballs are, you may have between 30 and 40 meatballs.
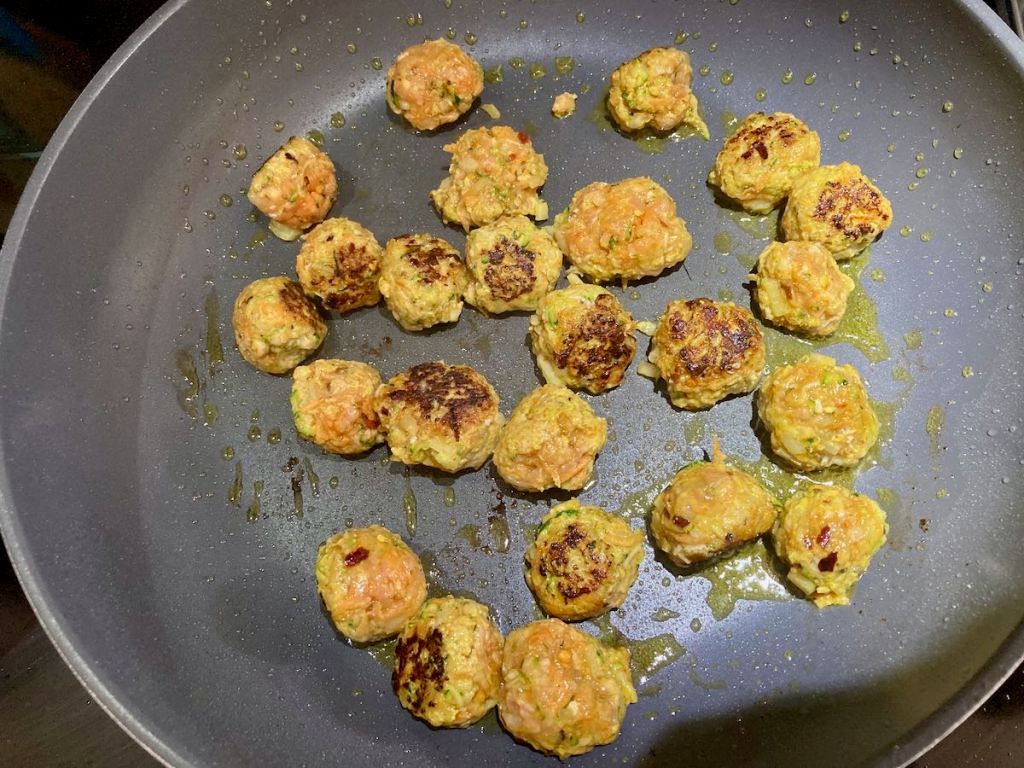
Take a large frying pan or cast iron skillet and heat some oil over medium heat.
Cook the meatballs in batches,
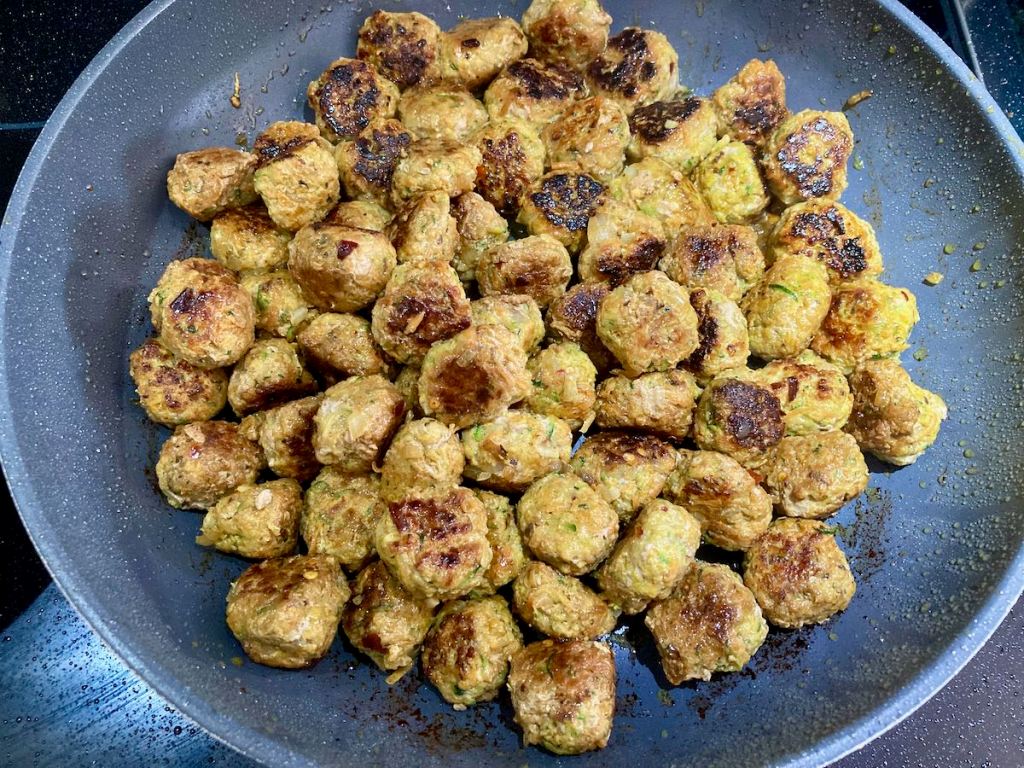
The meatballs should be browned on all sides before you take them out of the pan.
Once the meatballs have been cooked, warm up the satay-style sauce in the same pan and add the meatballs back into the pan.
Grate the courgette and carrot; I use my food processor with a fine grating attachment.
Take a large bowl and place a large clean dishcloth in the bowl.
Add the carrot and courgette to the bowl.
Squeeze out the excess water from the carrot and courgette.
Add the carrot and courgette to a bowl along with the other ingredients.
Use your hands to mix the meat and vegetables together.
Use a soup spoon or ice cream scoop to portion the meat into meatballs.
Roll the meatballs and place them on a plate.
Depending on how large the meatballs are, you may have between 30 and 40 meatballs.
Take a large frying pan or cast iron skillet and heat some oil over medium heat.
Cook the meatballs in batches,
The meatballs should be browned on all sides before you take them out of the pan.
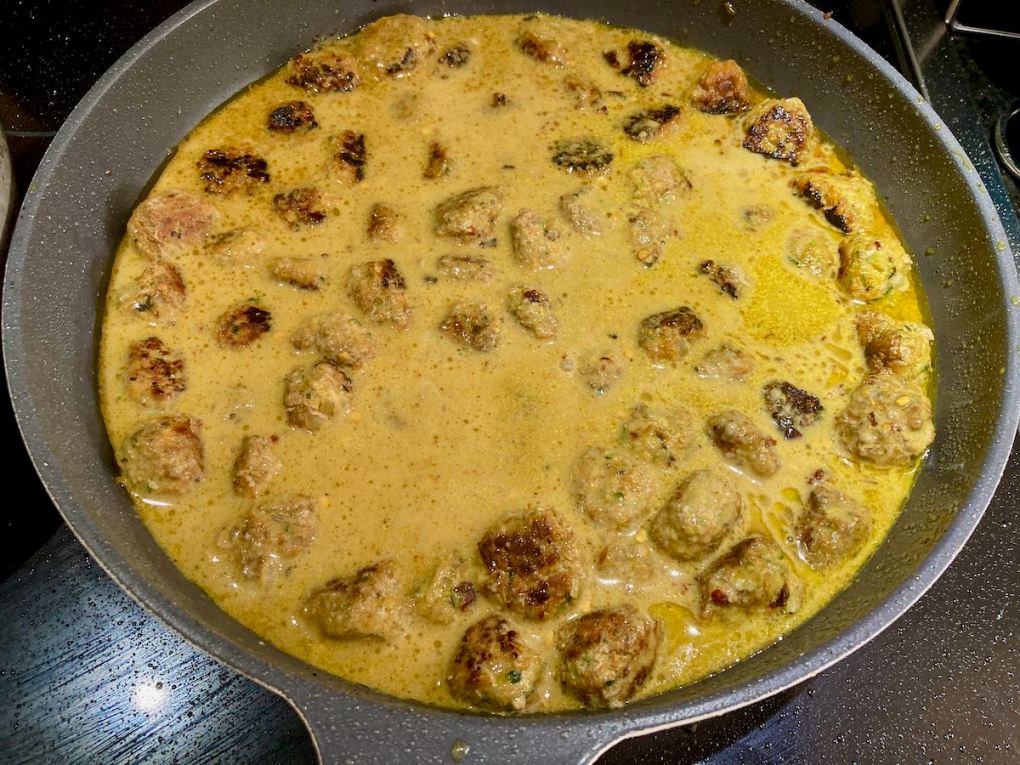
Once the meatballs have been cooked, warm up the satay-style sauce in the same pan and add the meatballs back into the pan.
Simmer the sauce with the meatballs for 15-20 minutes.
Serve the meatballs on a bed of noodles or cauliflower rice with satay-style sauce.
Nutrition
Per Serving:307 calories; 22.4g fat; 18.9g carbohydrates; 8.6g protein
Equipment
Food processor
Grater attachment
Kitchen towel
Mixing bowl x2
Ice cream scoop
Plate
Whisk
Frying pan or skillet
Tongs
Nutritional disclaimer
Nutrition information is provided as an estimate based on the ingredients used and available in my area (New Zealand). The nutritional information is here to help you understand the recipe; I use MyFitnessPal to generate my estimates. For more accurate nutritional information, please use a nutritional calculator with the ingredients in your area.