Small addiction
I think I have a problem. No, I am not talking about my addiction to buying workout clothing or Post-its. I am talking about my addiction to all of the Mexican food.
It could be the spicy and fresh flavour combinations, the colours, or the avocados. It is most likely all of the above.
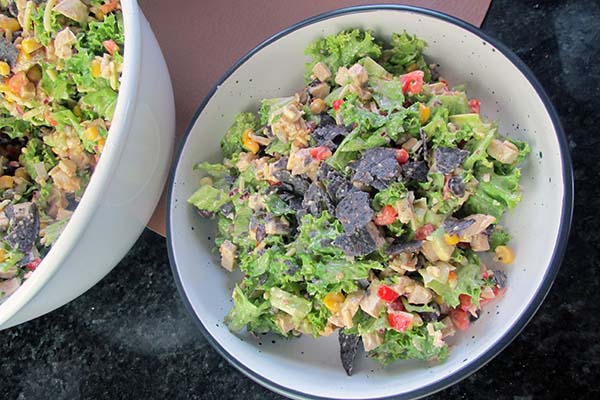
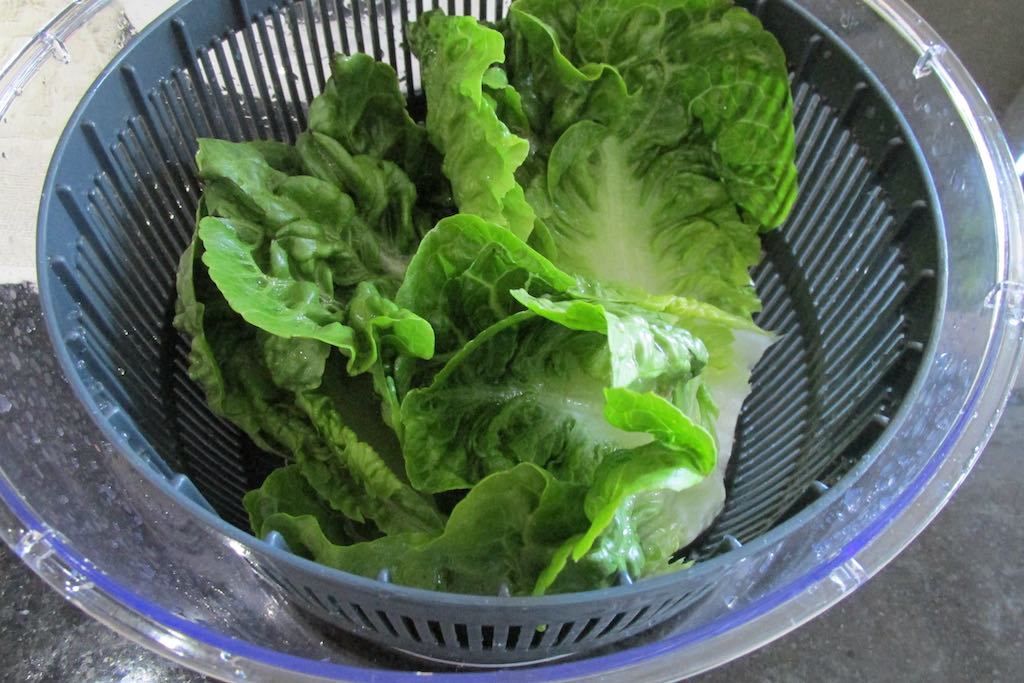
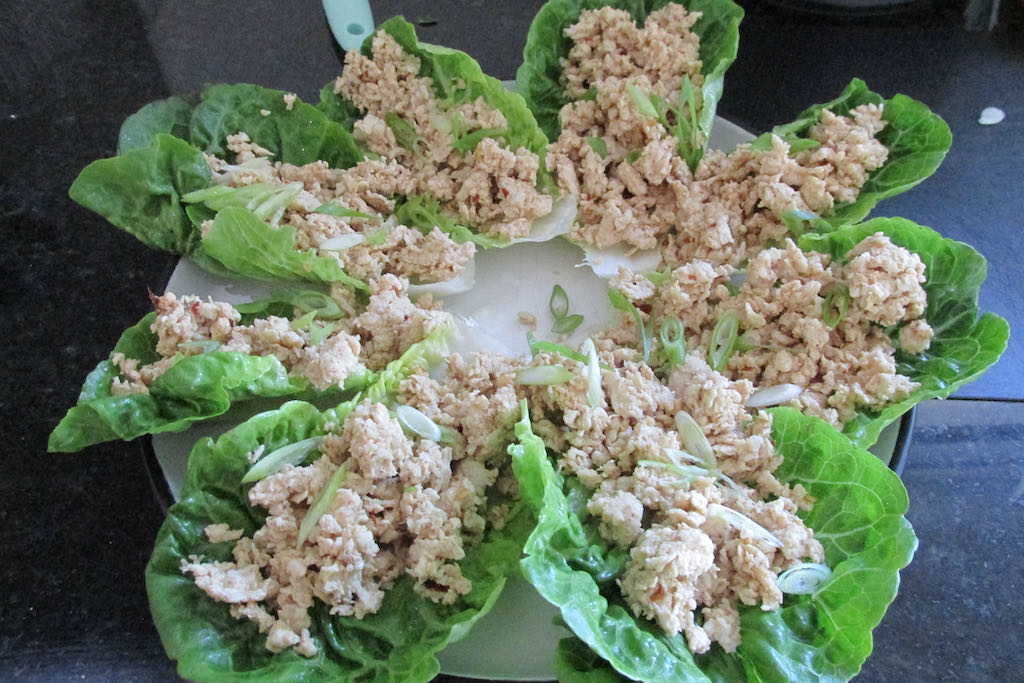
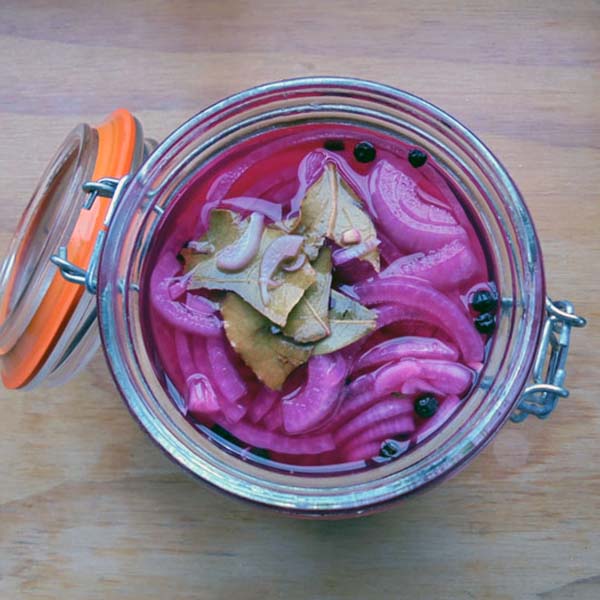
I adore topping my salads (enchiladas and tacos) with pink pickled onions. Full disclosure, I also love adding jalapeños to the top of all those things (and other things, too). I digress. Pink pickled onions are the best; the colour and crunch are amazing. They add a little sharp dimension to a meal.
As with everything, I search for a way to have the things I want without them being bad for me.
Traditionally, pickling requires a combination of vinegar, sugar, and water. I try to avoid sugar whenever possible, so I set about making a sugar-free pickle solution without compromising on flavour.
Bro science warning
I’m going to attempt to explain what the pickle solution does.
What is pickling? Pickling is the process of soaking foods in solutions to prevent spoilage.
There are two basic types of pickling.
Type one pickling uses an acidic solution that kills bacteria, often vinegar. Sugar and spices are often added to a vinegar solution to add more flavour. Some examples of type one pickling are pickled cucumbers and onions.
Type two uses salt or brine (saltwater) to encourage fermentation, which means that good bacteria grow and beat out the harmful bacteria that make food spoil. Some examples of type two pickling are sauerkraut and kimchi.
Bro science completed
So, the challenge was to find a replacement for the sugar usually added to a pickling solution without having a negative impact. I found a way to preserve the onions like a traditional pickle solution, but I replaced the sugar with something else.
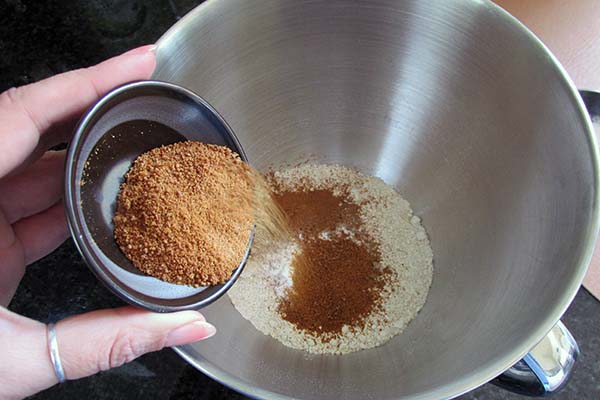
Test 1 coconut sugar
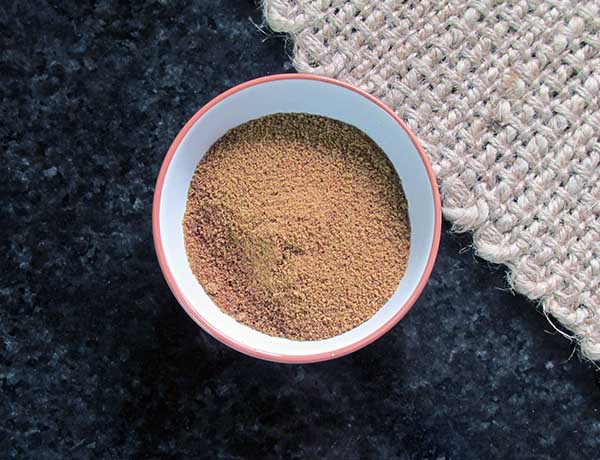
The first attempt used three tablespoons of coconut sugar as a replacement. I used apple cider vinegar, which has its own slight sweetness while still acting as a preservative.
The result was onions that were far too sweet for me, the mixture worked well, and the pickles were good to eat for four weeks, but I didn’t enjoy the flavour.
Test 2 maple syrup

For this test, I decided to use two tablespoons of maple syrup to see if it would give the right flavour. I stuck with the apple cider vinegar, as I do like the flavour.
The result, while this batch was much better than the coconut sugar version, I still didn’t really like it.
Test 3 honey
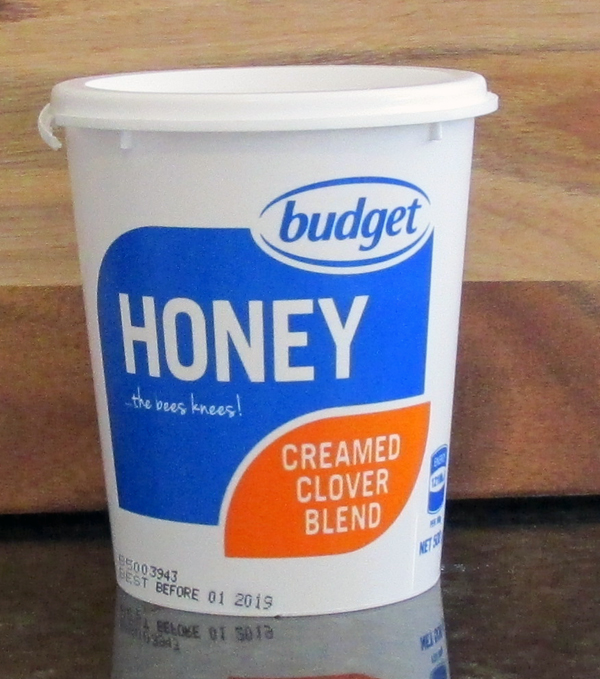
For this test, I used two tablespoons of honey to see if it would give the right flavour I was looking for.
The result is that we have a winner! The honey gave the onions the perfect amount of sweetness without changing the vinegar’s flavours. The bonus was that honey also gave me onions that were good to eat for about 6 weeks.
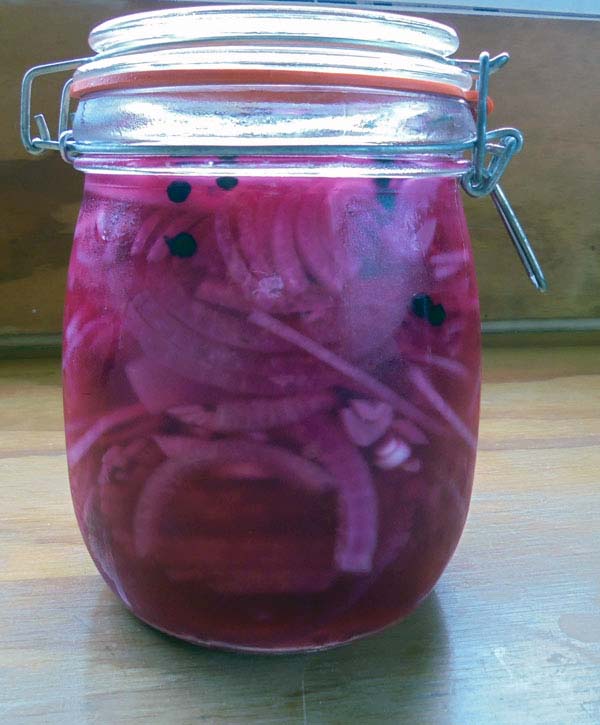
Quick pickle pink onions

Ingredients
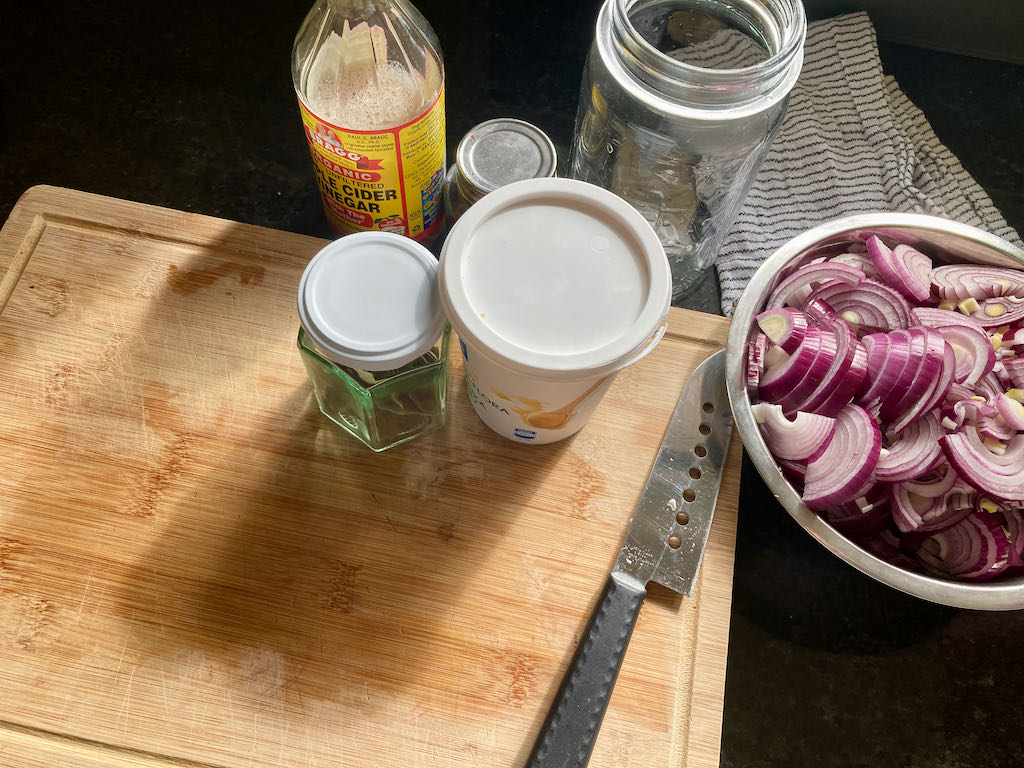
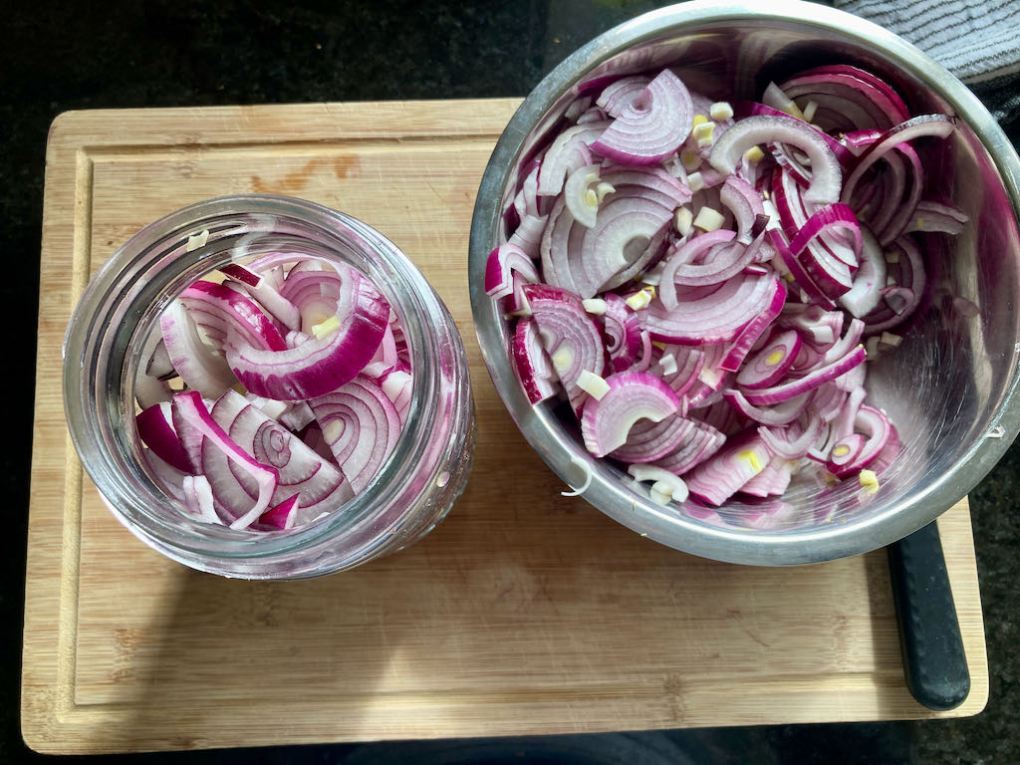
- 1 red onion, thinly sliced
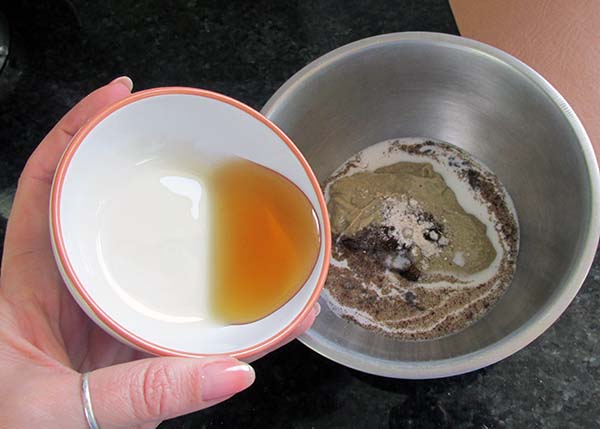
- 3/4 cup apple cider vinegar
- 1 tsp. Salt
- 2 tbsp. Honey
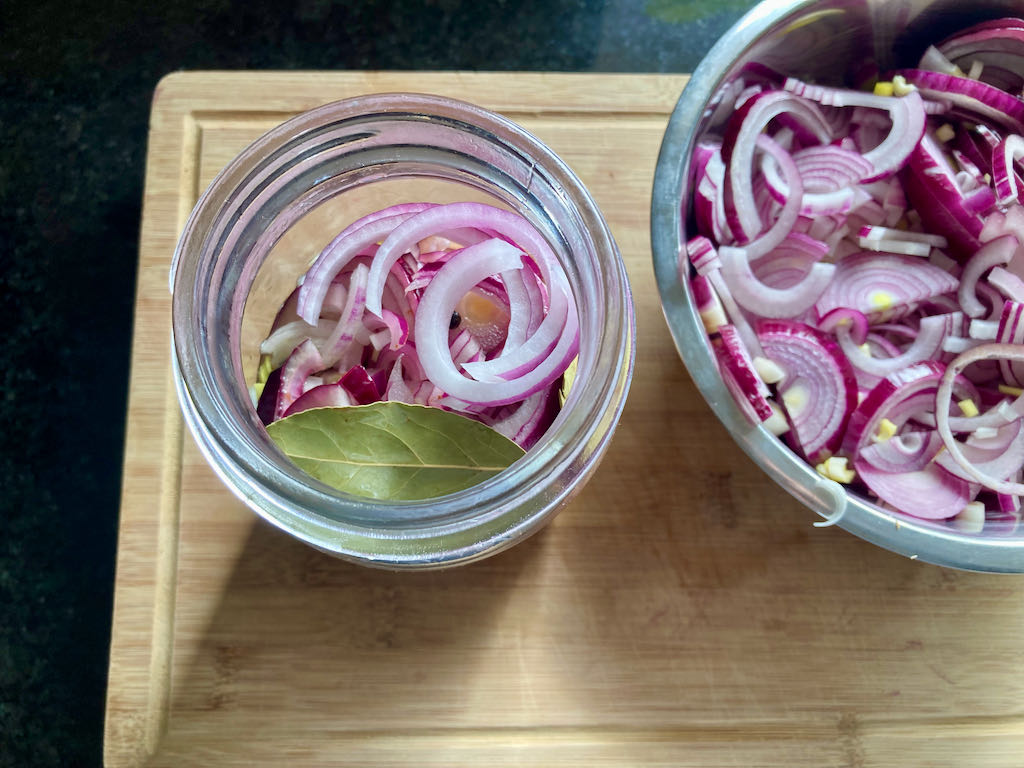
- 1 bay leaf
- 6 peppercorns
Instructions
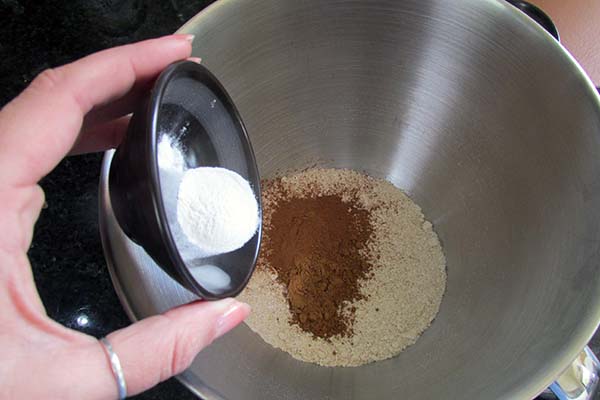
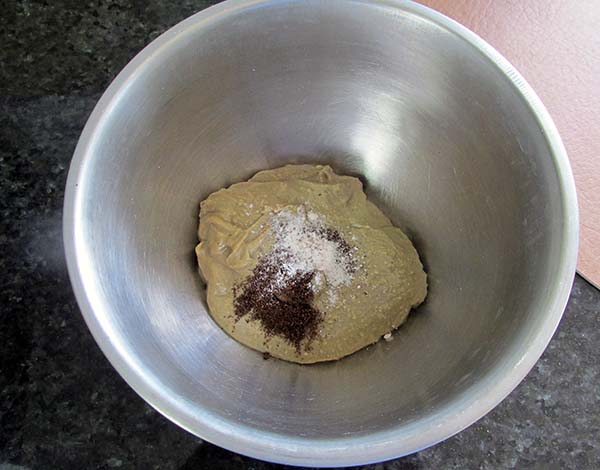
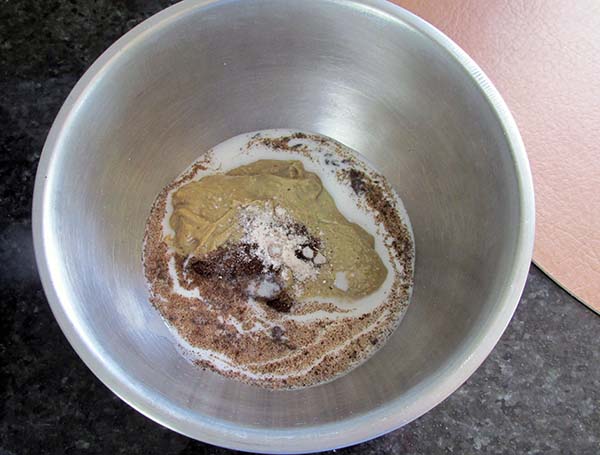
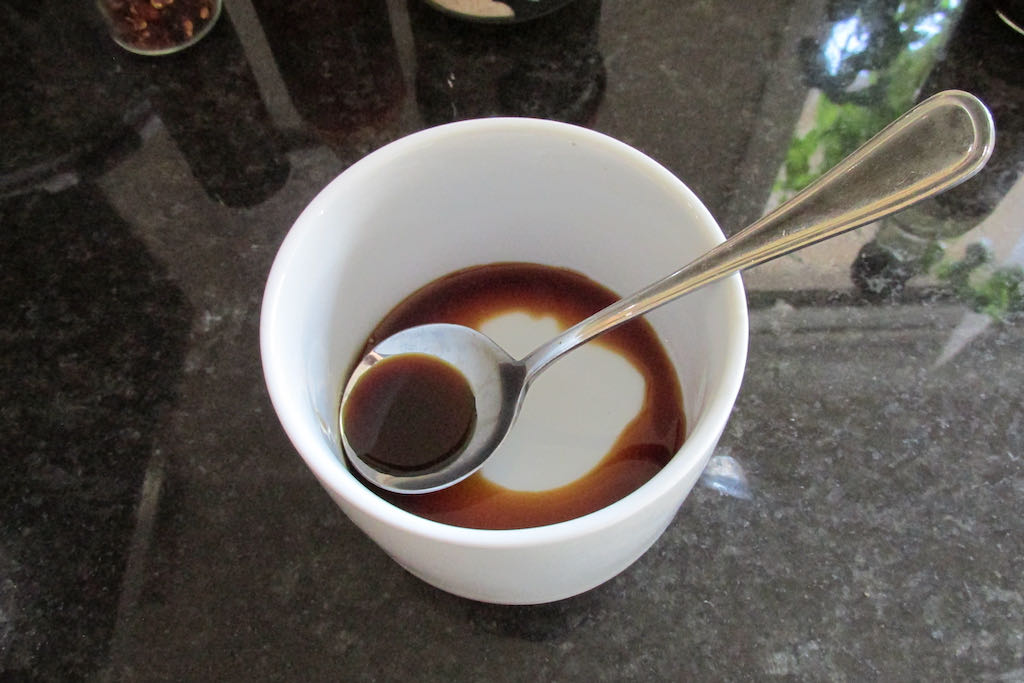
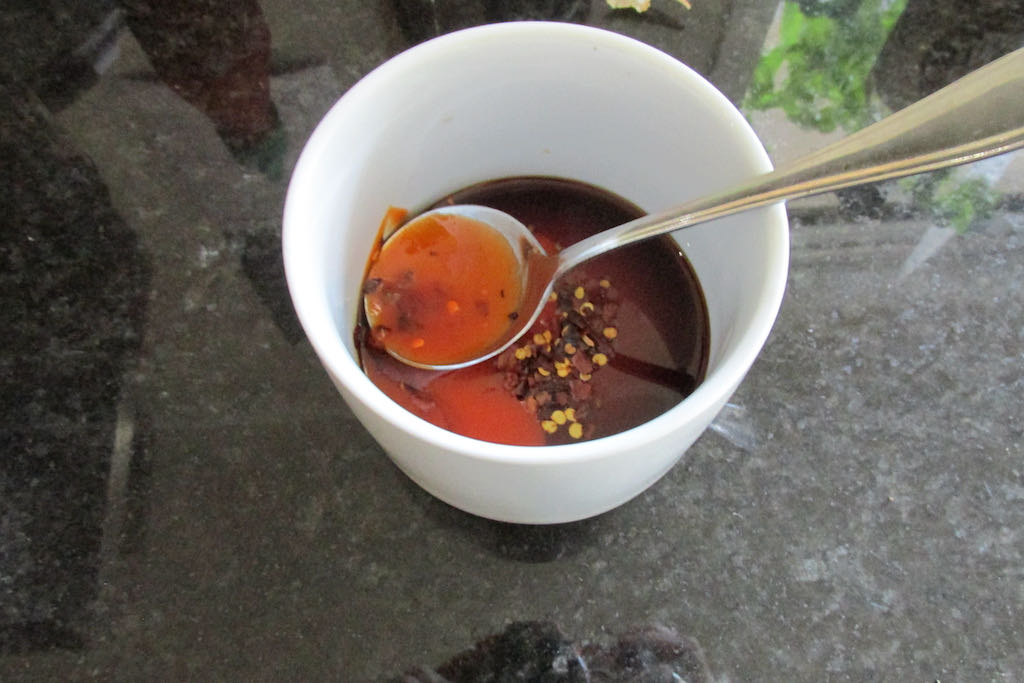
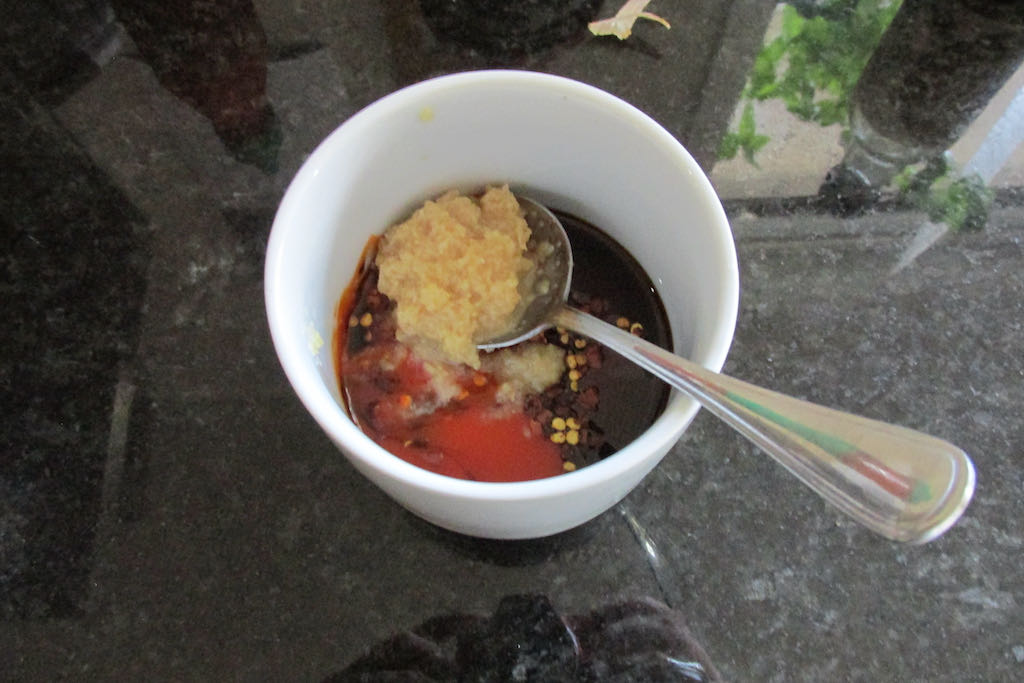
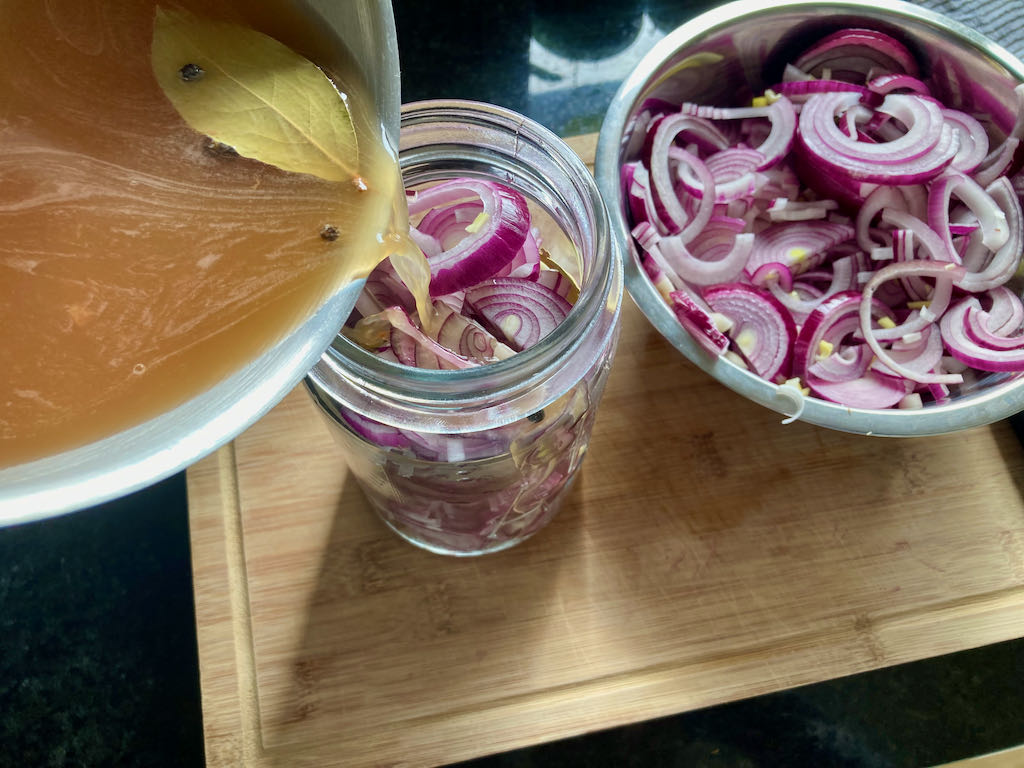
In a pan, combine the vinegar, salt, honey, bay leaf and peppercorns over a medium heat.

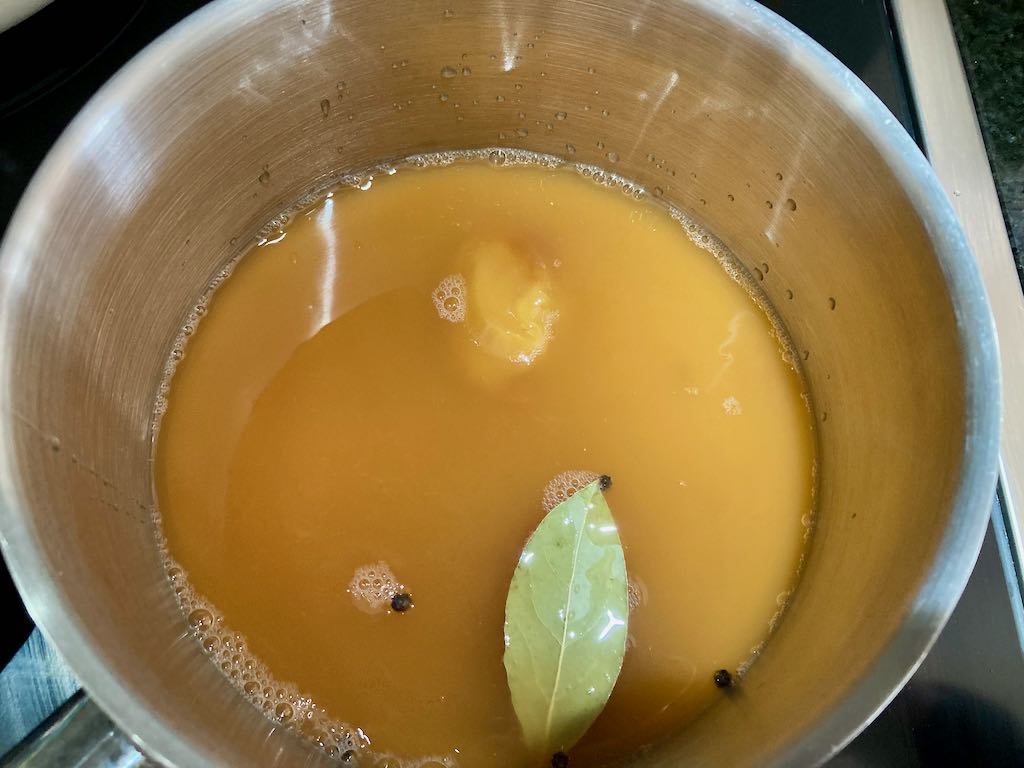
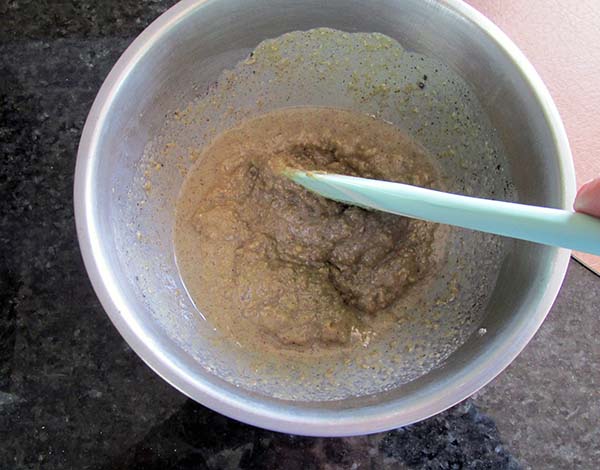
Remove the pan from the heat when the honey and salt have dissolved.

Add the sliced onions to the jar.
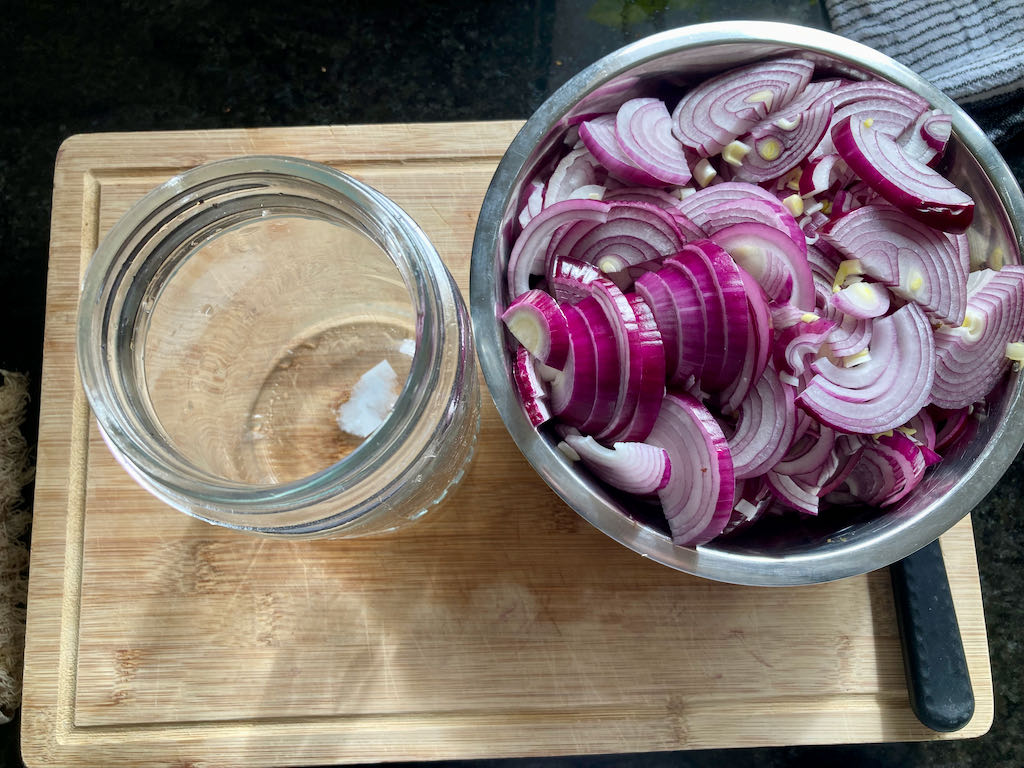
Pour the mix into a sterilised jar.
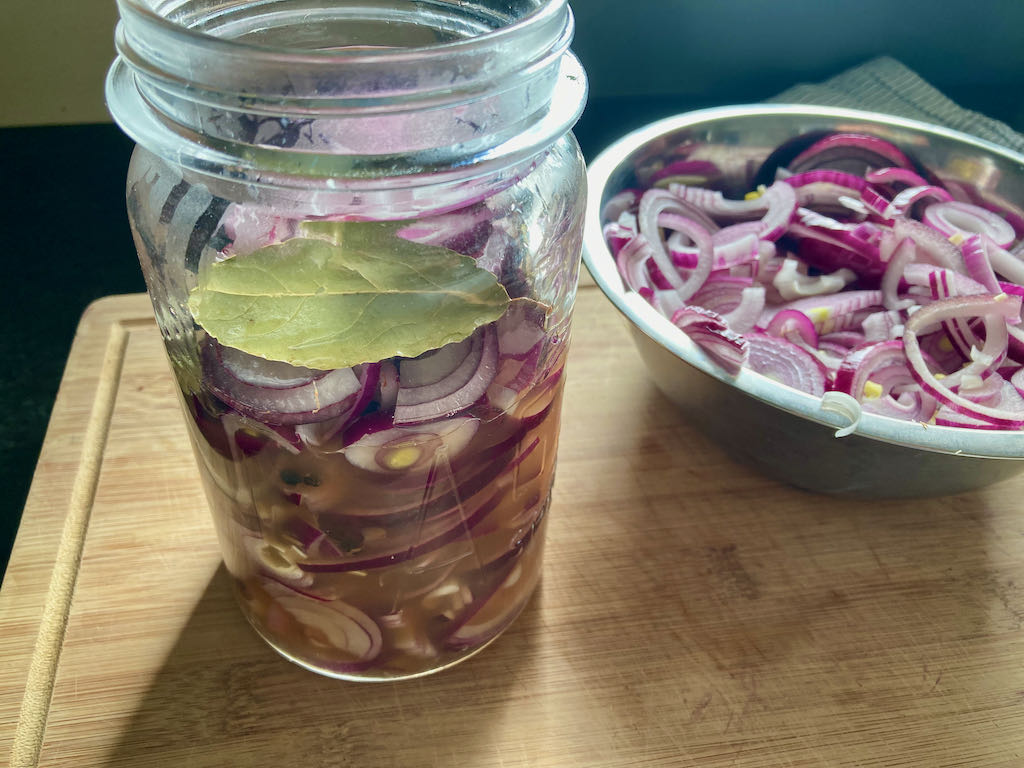
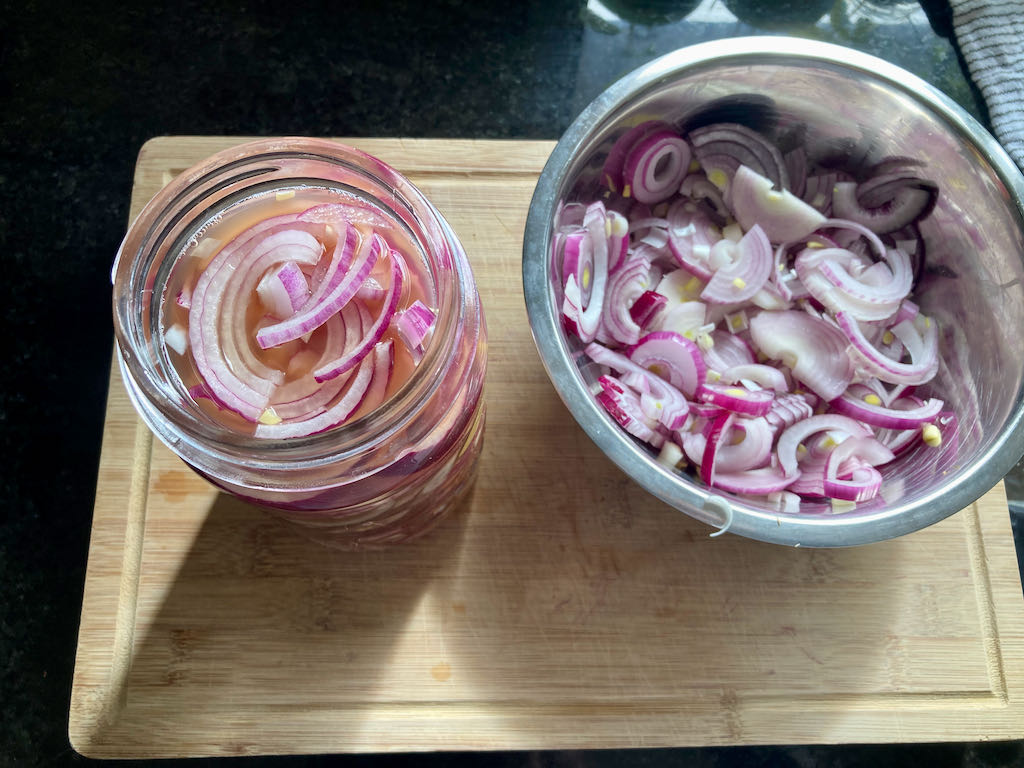
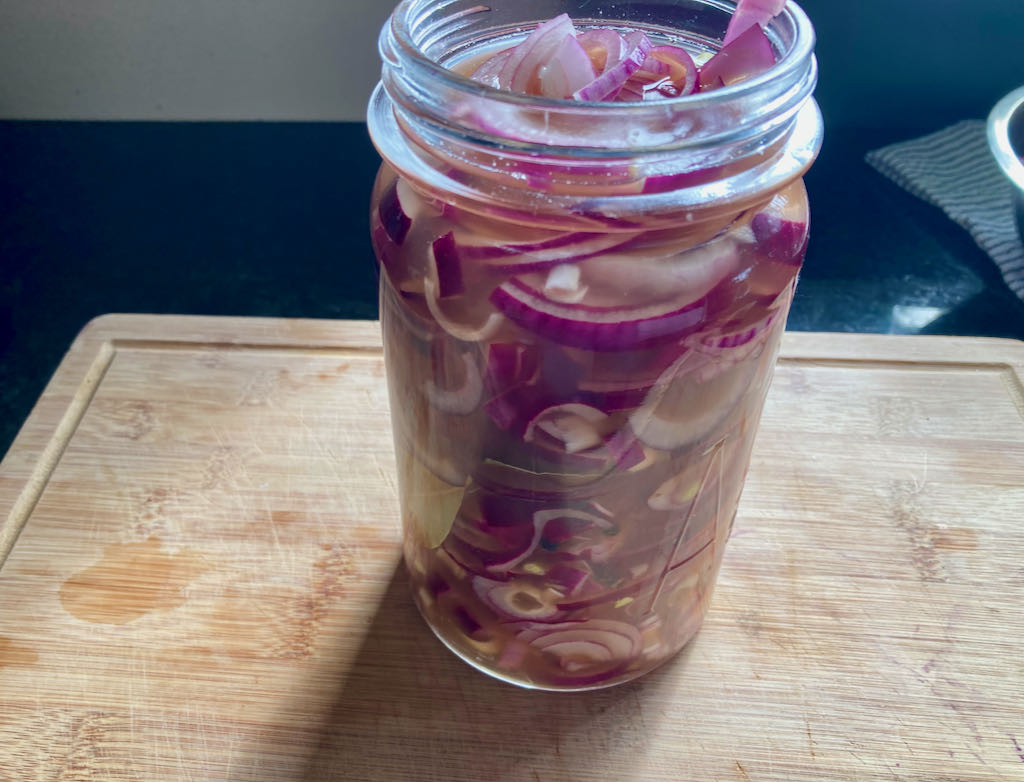
Seal the jar and put it in the fridge for at least one hour before using.

The onions will keep in the fridge for four weeks.


Quick pickle pink onions
I topping my salads (enchiladas and tacos) with pink pickled onions. Pink pickled onions are the best, the colour and crunch are amazing. They add a little sharp dimension to a meal. As with all things, I search for a way to have the things I want without them being bad for me.
Credit: Cath @ easycleaneats
Ingredients
- 1 red onion, thinly sliced
- 3/4 cup apple cider vinegar
- 1 tsp. Salt
- 2 tbsp. Honey
- 1 bay leaf
- 6 peppercorns
Directions
- In a pan combine the vinegar, salt, honey bay leaf and peppercorns over a medium heat.
- When the honey and salt has dissolved remove the pan from the heat.
- Pour the mix into a sterilised jar.
- Add the sliced onions to the jar.
- Seal the jar and put in the fridge for at least one hour before using.
- The onions will keep in the fridge for four weeks.
Nutrition
Per Serving: 21 calories; 0 g fat; 6 g carbohydrates; 0 g protein.Equipment
- Saucepan
- Wooden spoon
- Measuring cup
- Measuring spoons
- Mason jar/ preserve jar
Nutritional disclaimer
Nutrition information is provided as an estimate based on the ingredients used and available in my area (New Zealand). The nutritional information is here to help you understand the recipe; I use MyFitnessPal to generate my estimates. For more accurate nutritional information, please use a nutritional calculator with the ingredients in your area.