For a long time, tuna was a staple of a weekend lunch menu; tuna cheese melts were all I could make to satisfy hungry children. While I was happy to provide a high-protein lunch to the kids, I quickly got over eating leftover tuna or munching on tuna melts each week.
Mixing things up
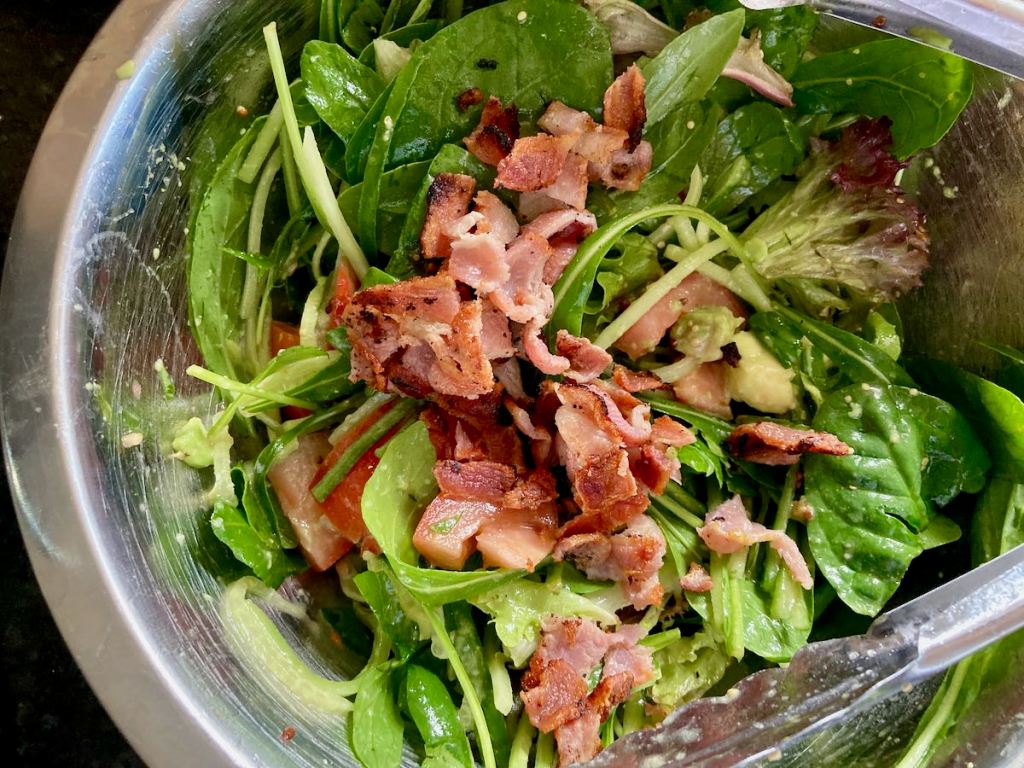
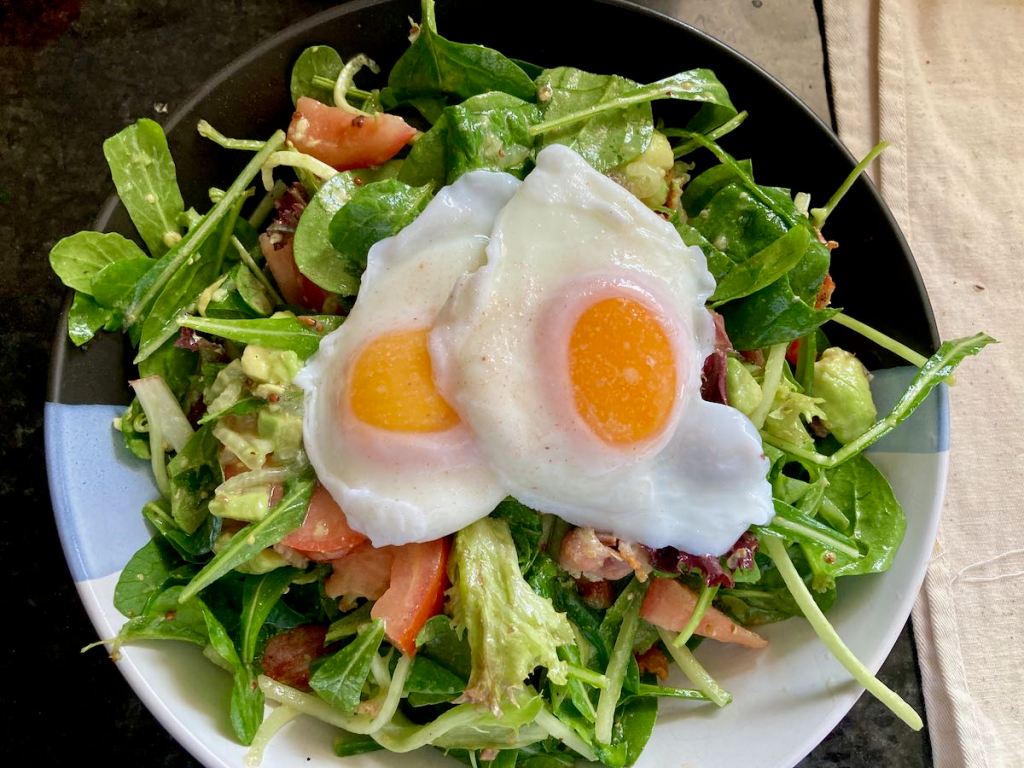
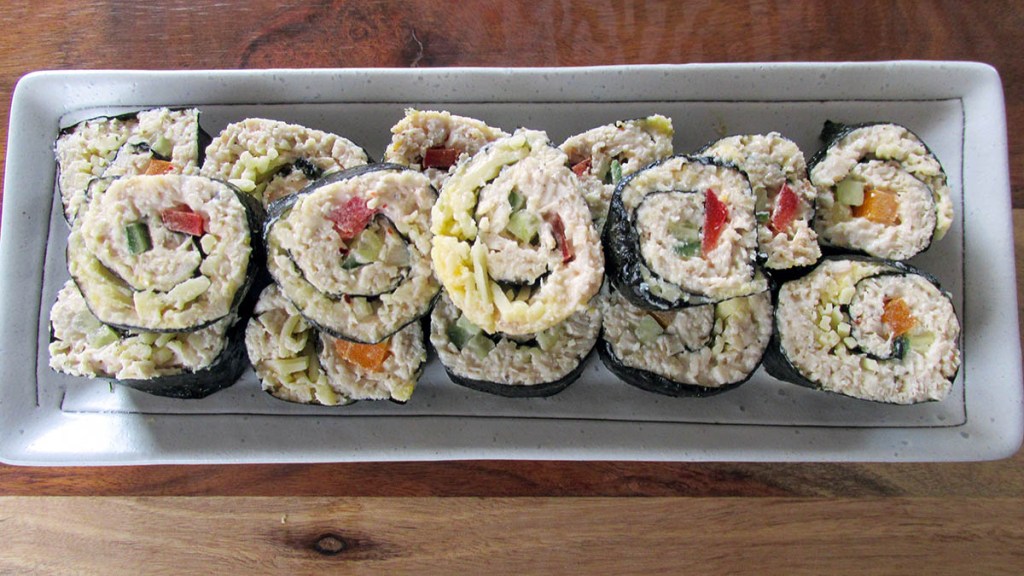
In an effort to make tuna more interesting and easier to eat (every weekend), I came up with these tasty wraps. Anyone who knows me knows I love salad, so what could be better than mixing tuna and salad? Introducing fresh vegetables adds much-needed texture and new flavours to some boring tuna, while the avocado dressing is a great replacement for mayo. A simple solution to a repetitive problem. Now I get to choose when to eat tuna (and it isn’t every weekend), these tuna wraps are always my go-to option.
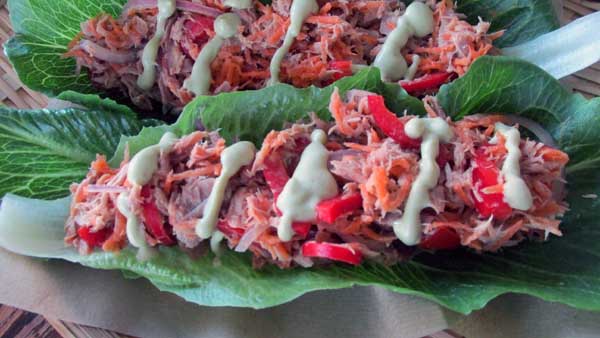
These lettuce wraps are the best way to eat tuna if you ask me.
Tuna lettuce wrap recipe

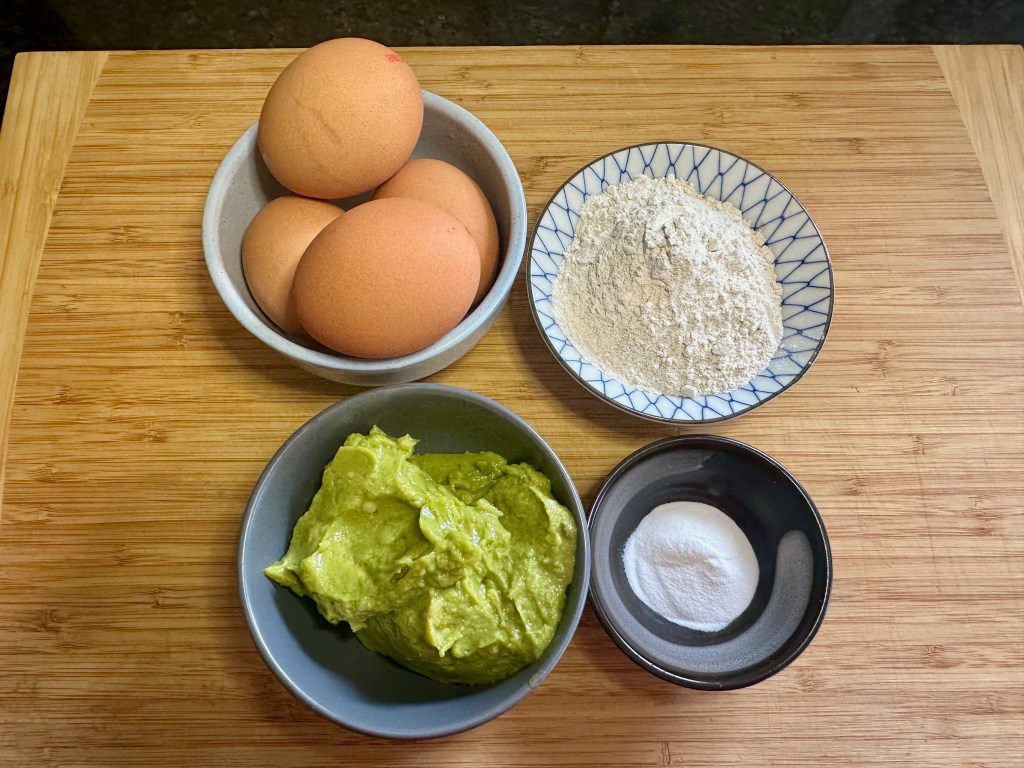
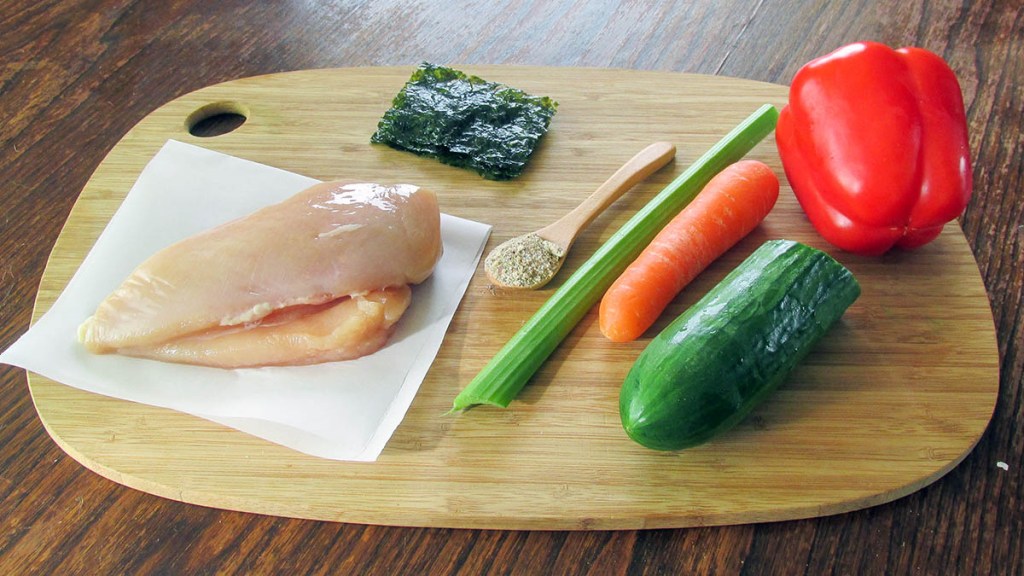
Ingredients
- 4 lettuce leaves
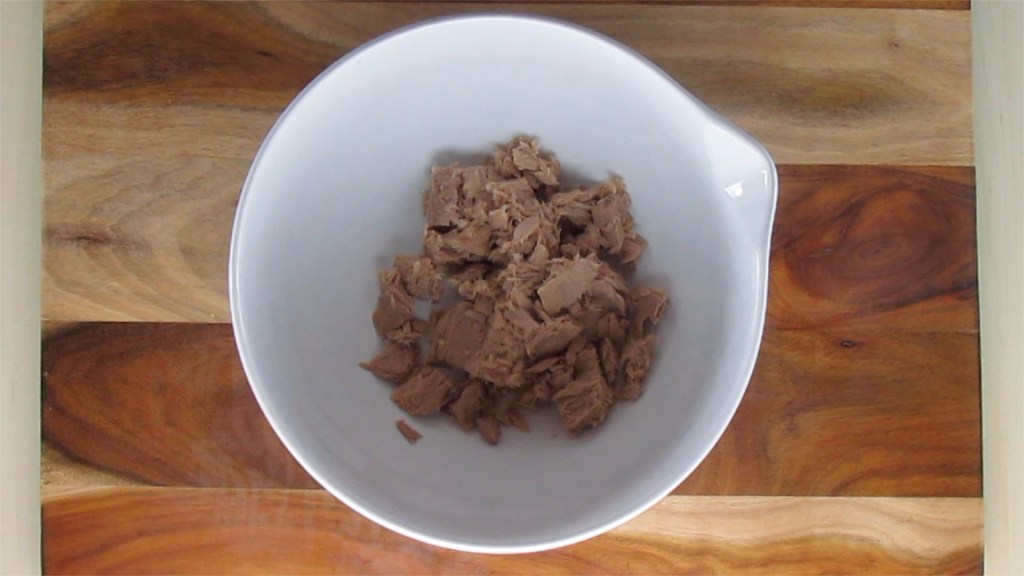
- 120g tinned tuna, drained
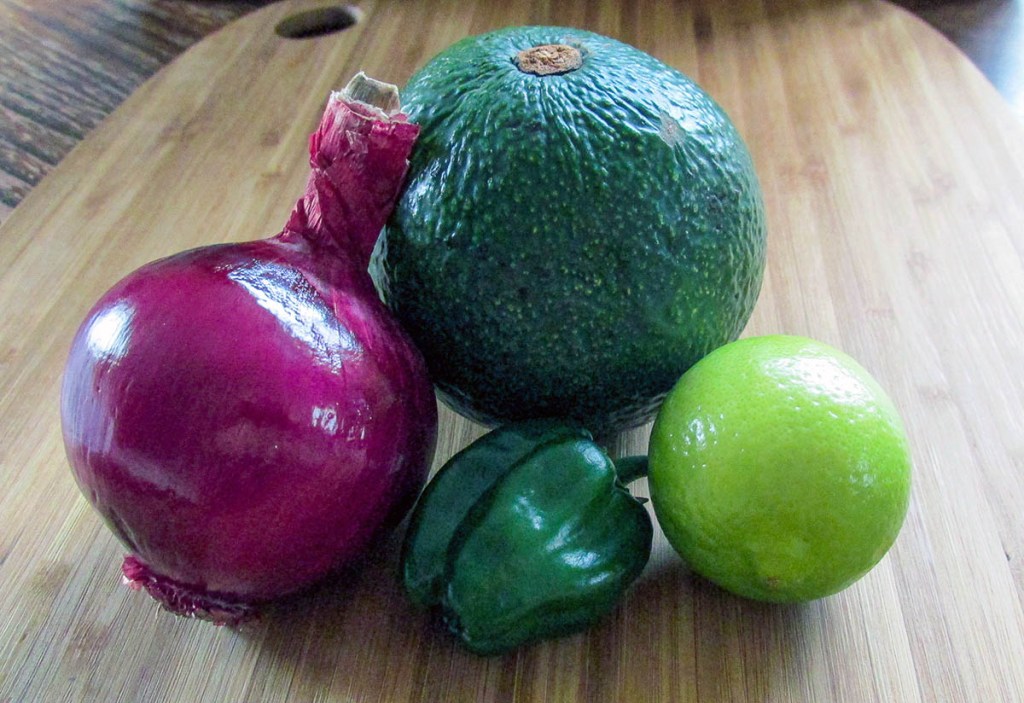
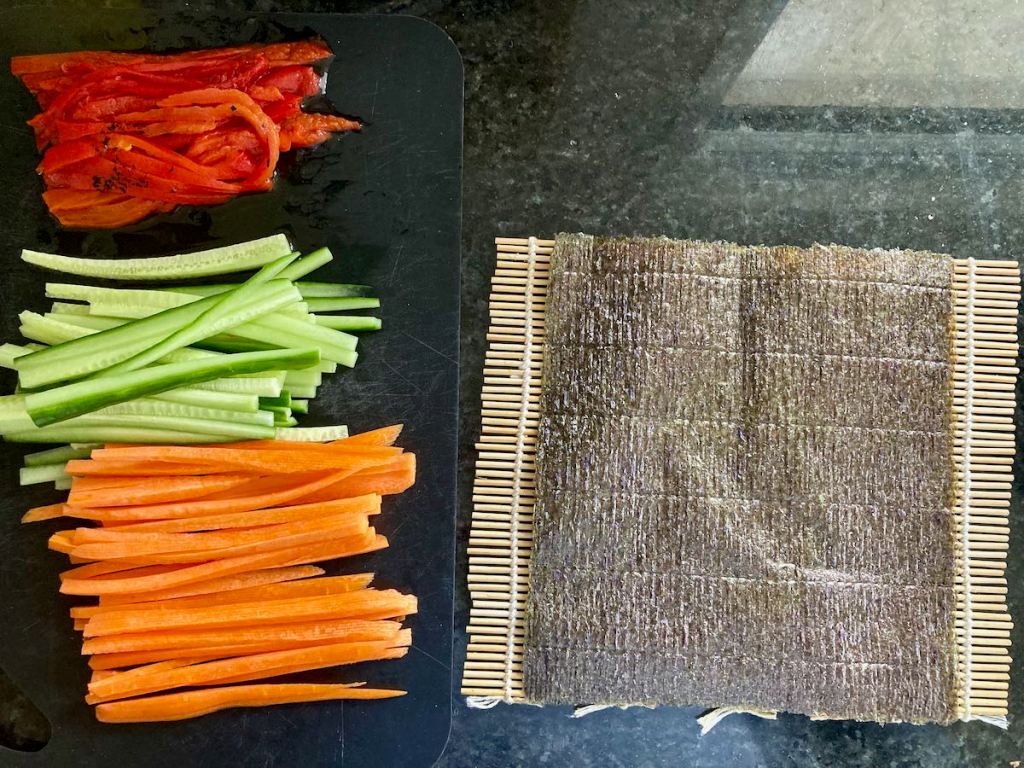
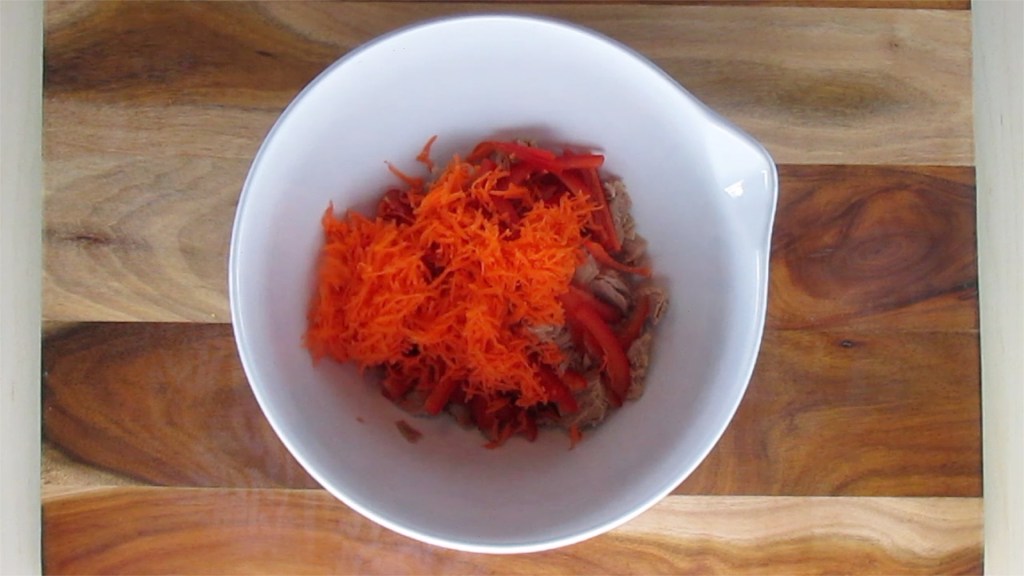
- 1 red pepper, thinly sliced
- 1/4 cup cherry tomatoes, quartered
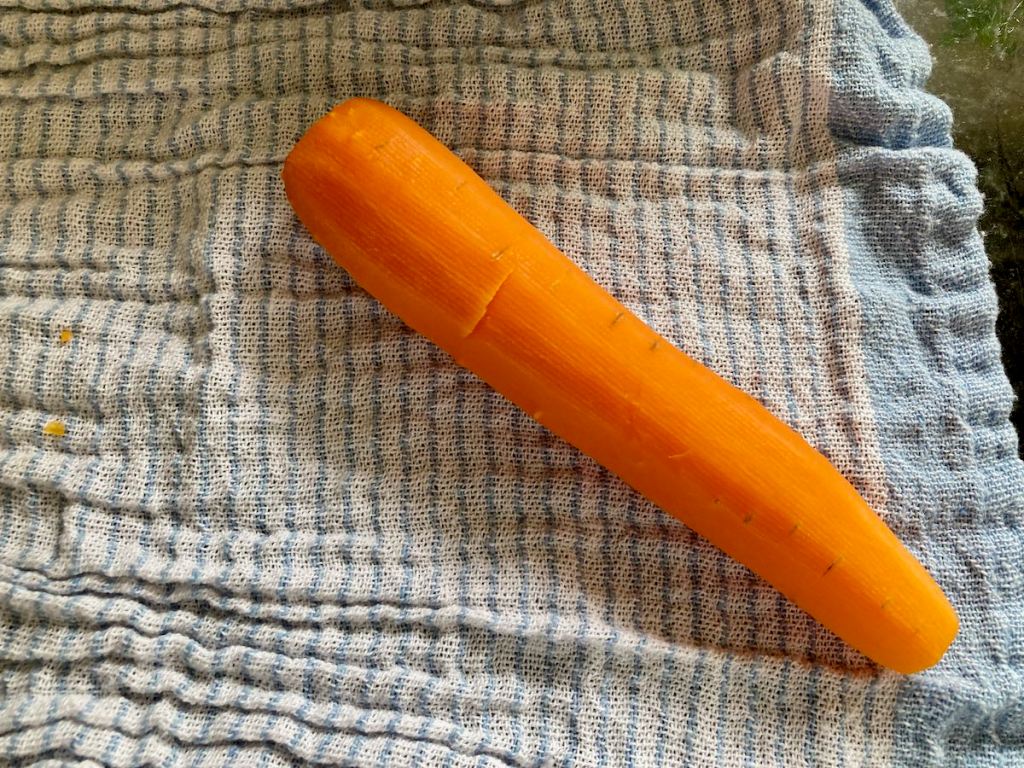
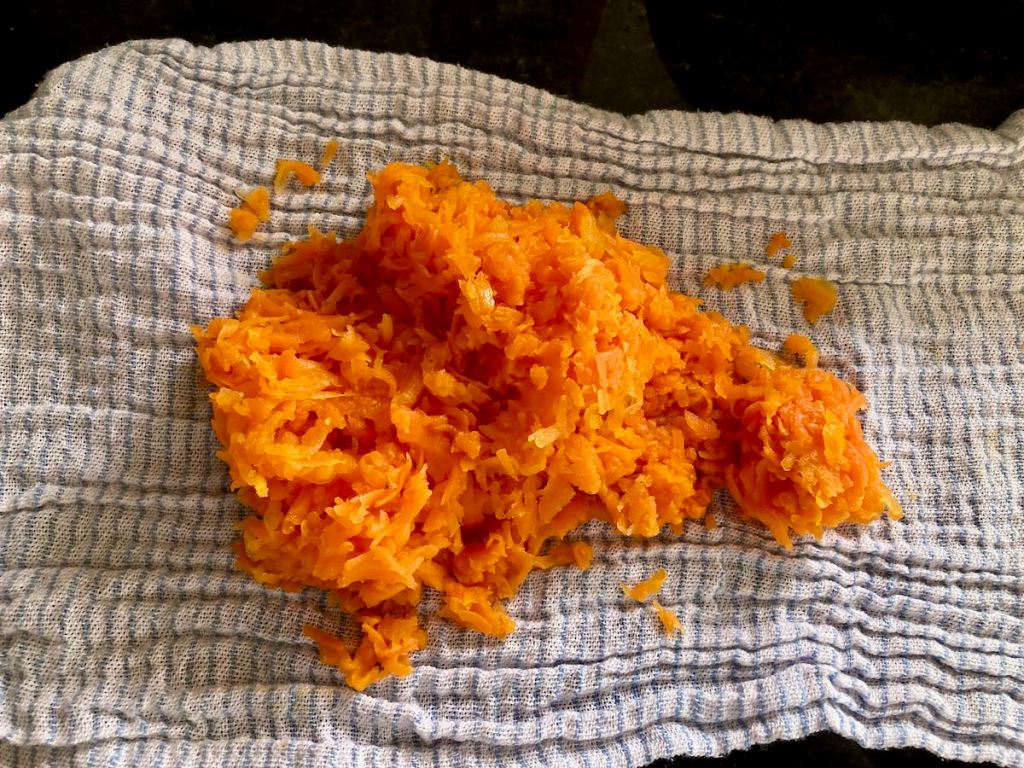
- 1/4 cup carrot, grated
- 1/2 red onion thinly sliced
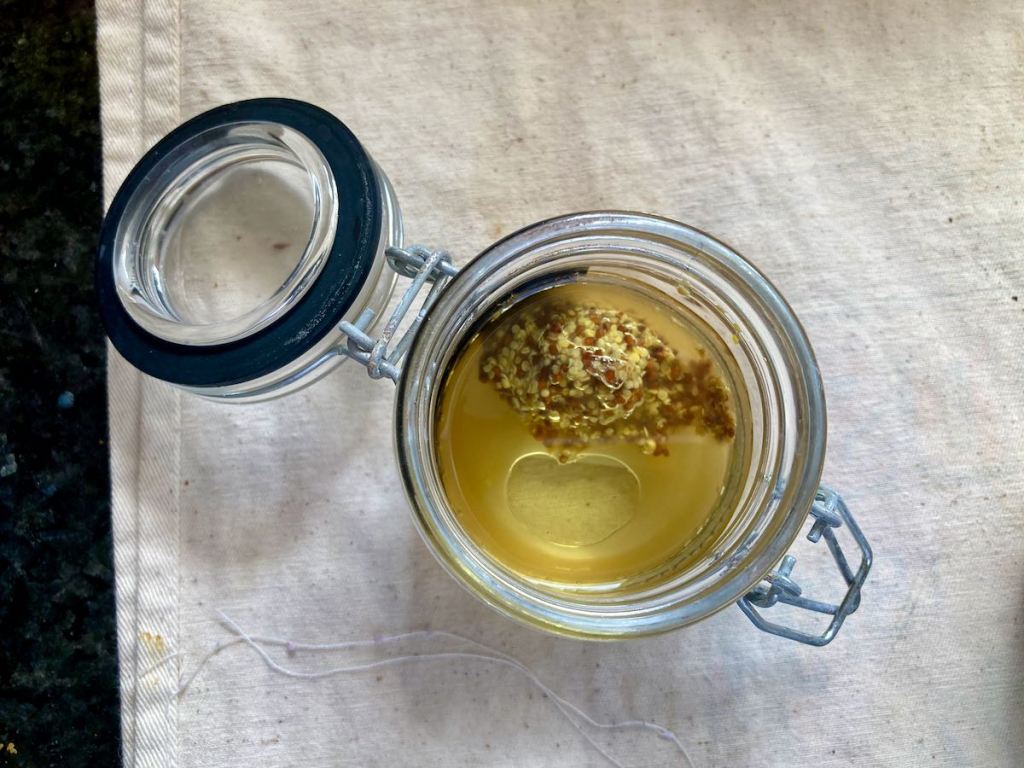
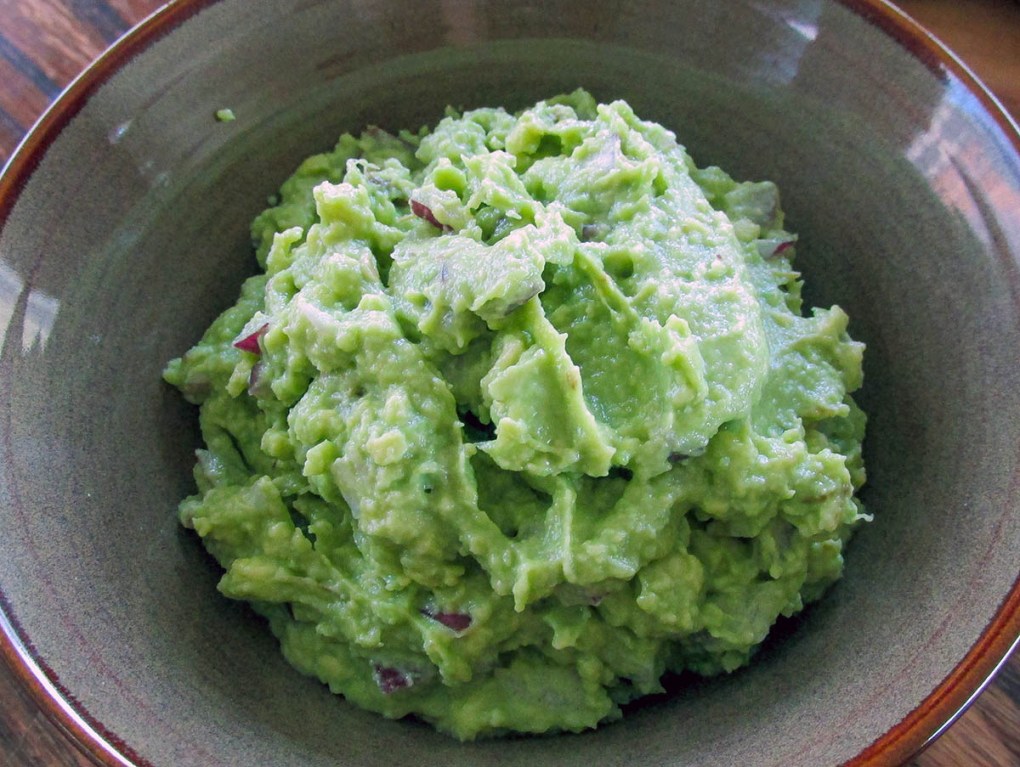
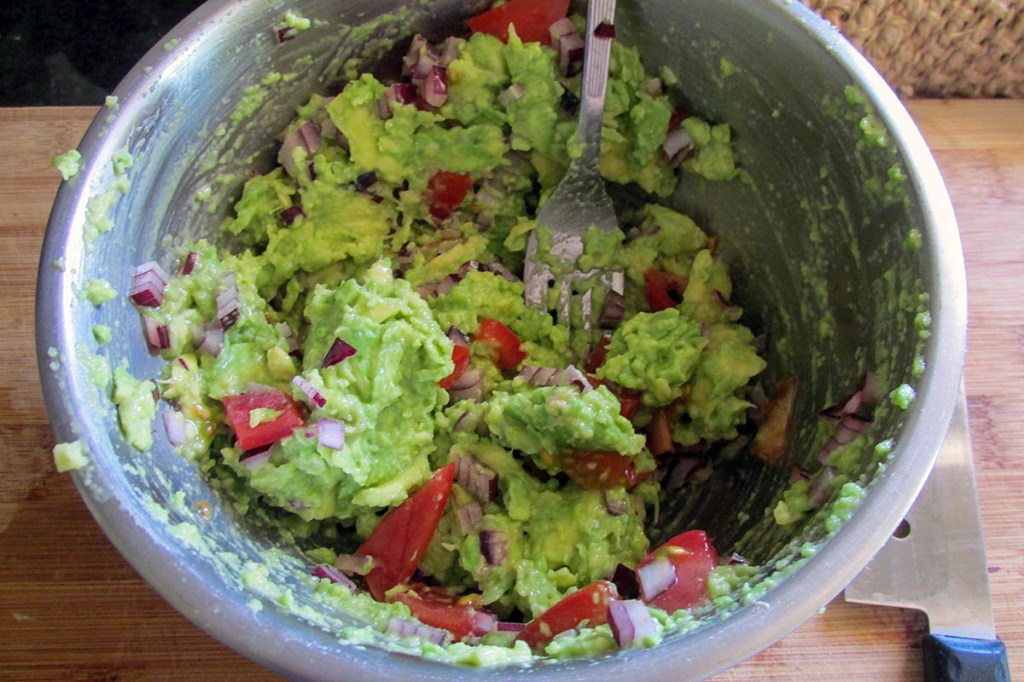
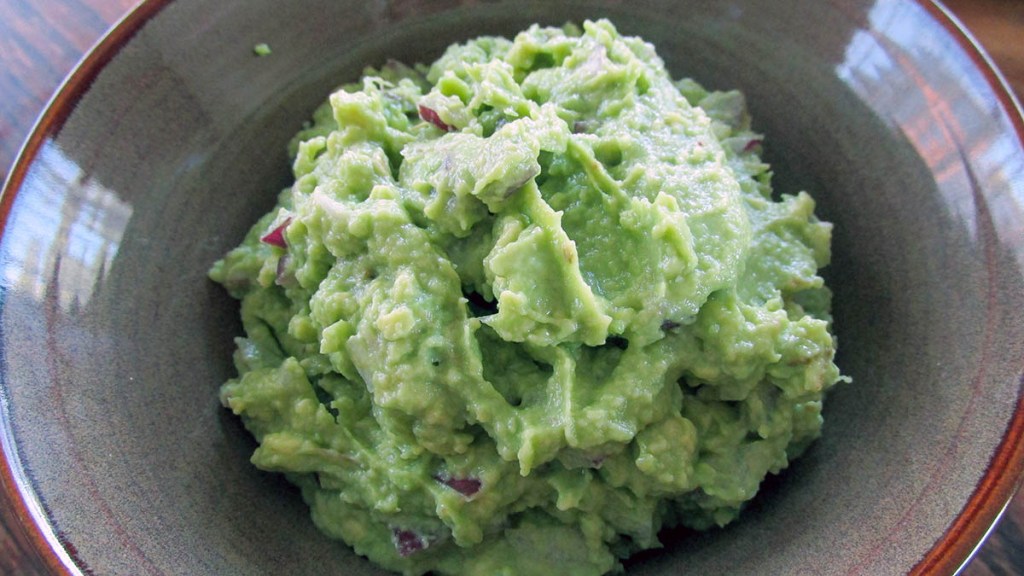
- 2 tbsp. Avocado Dressing
Instructions
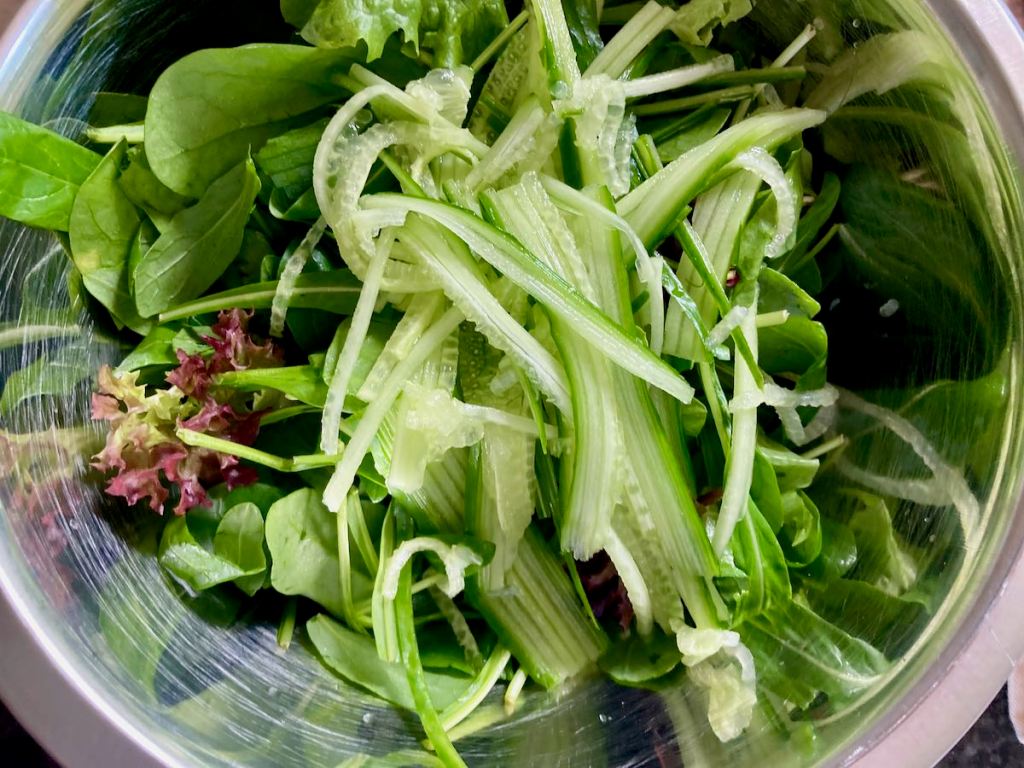
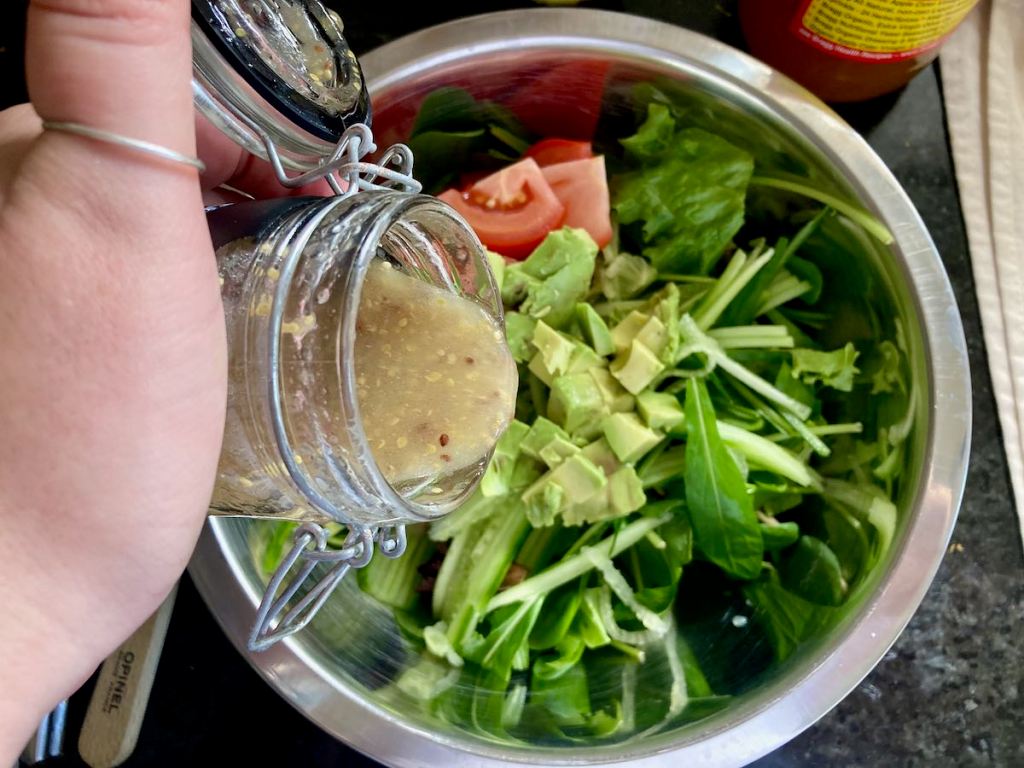
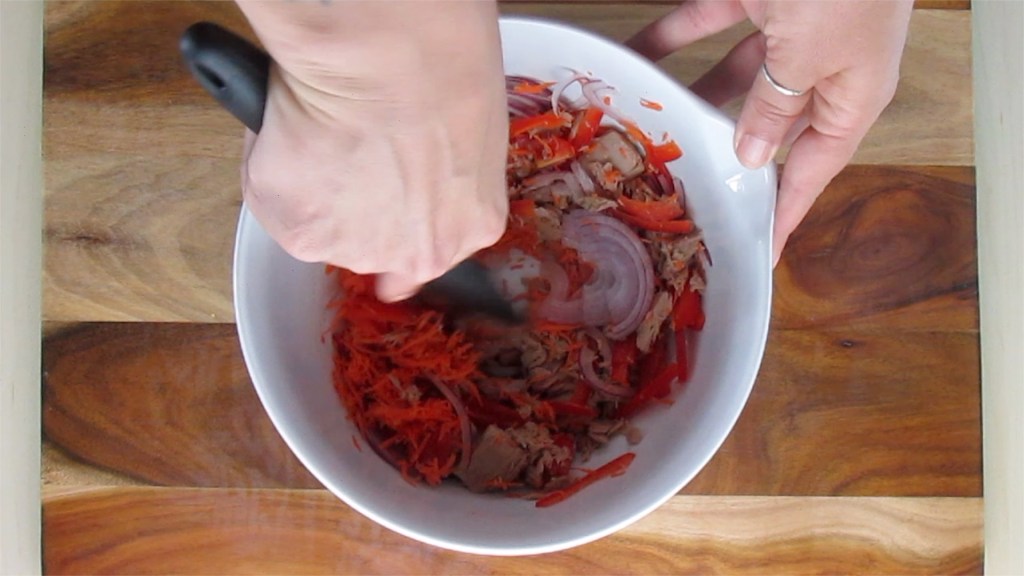
Take a large mixing bowl.

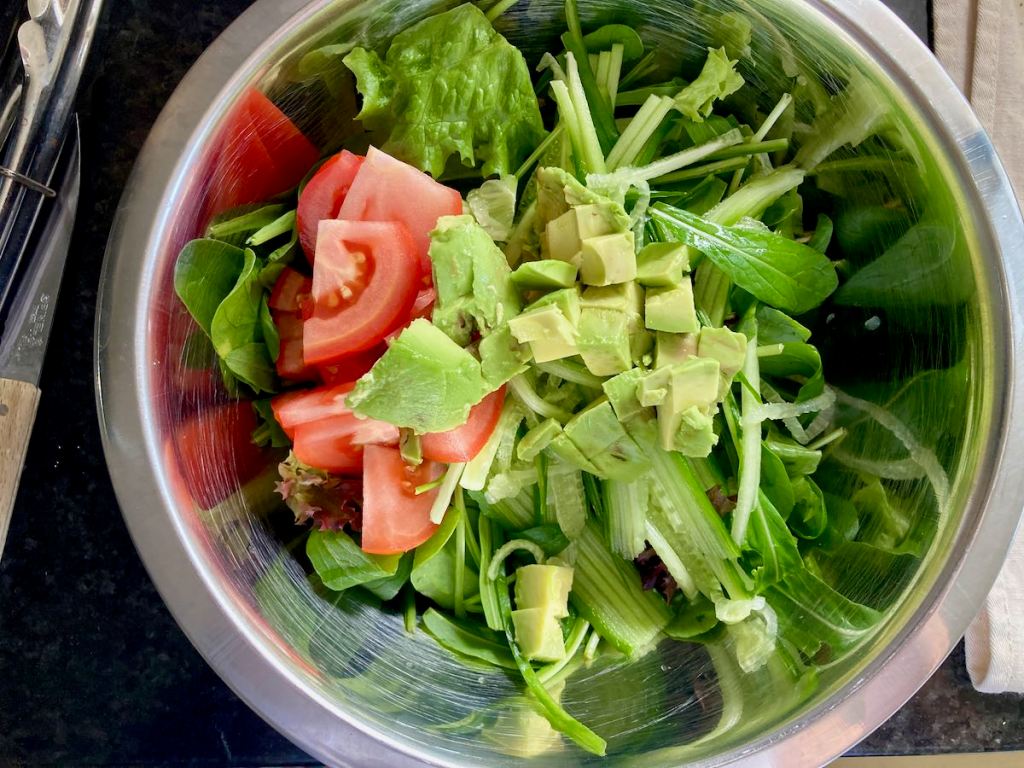
Mix the tuna, peppers, carrots, tomatoes, and red onion in the bowl.


Place lettuce leaves on a plate.
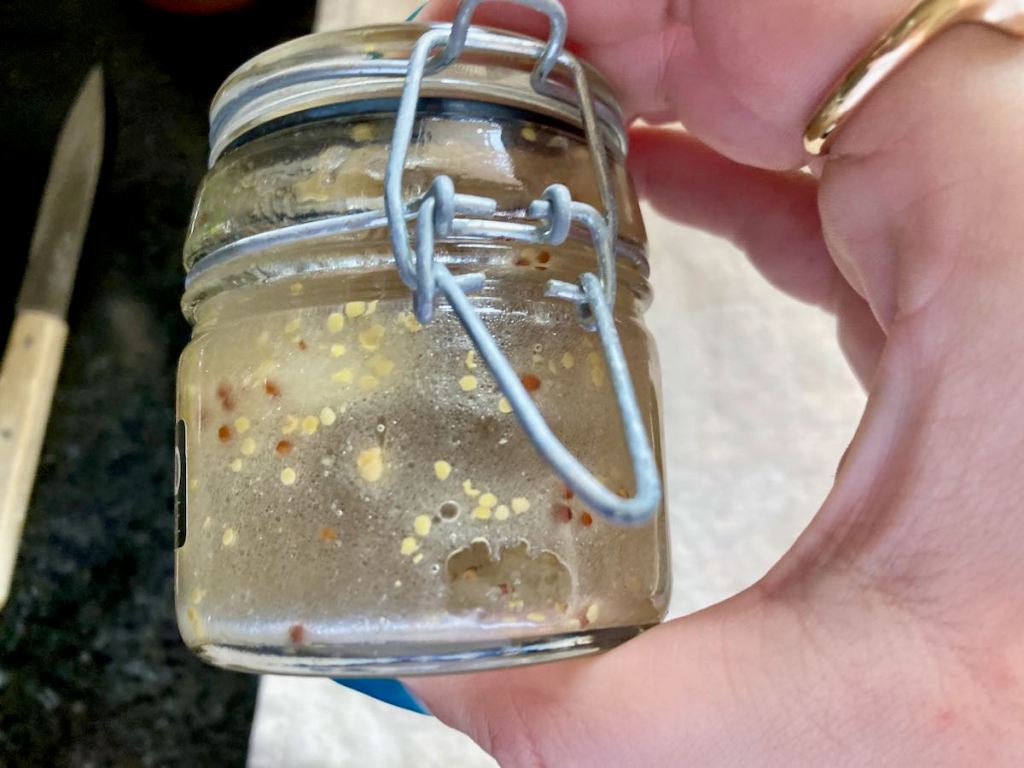
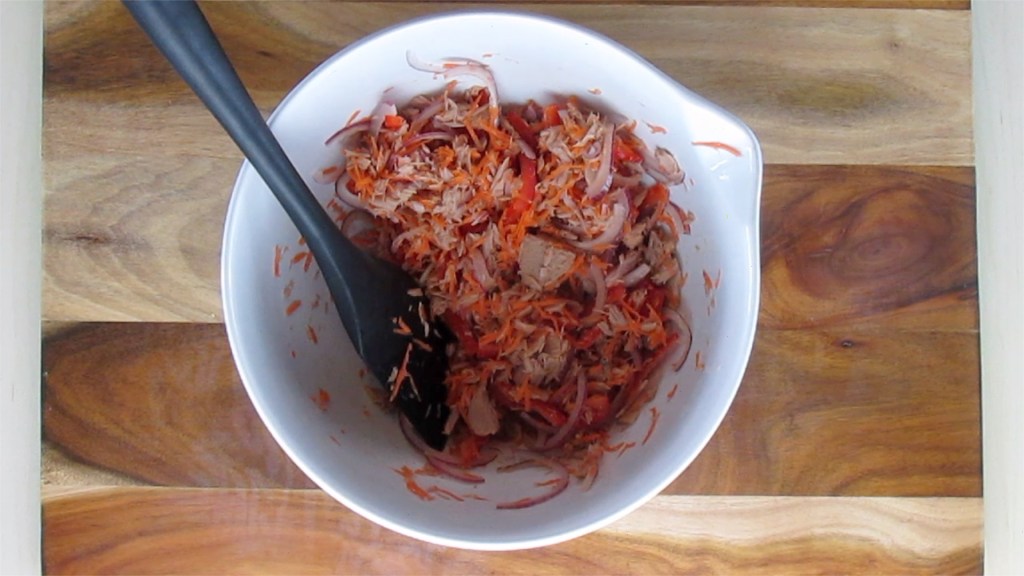
Add the avocado dressing.


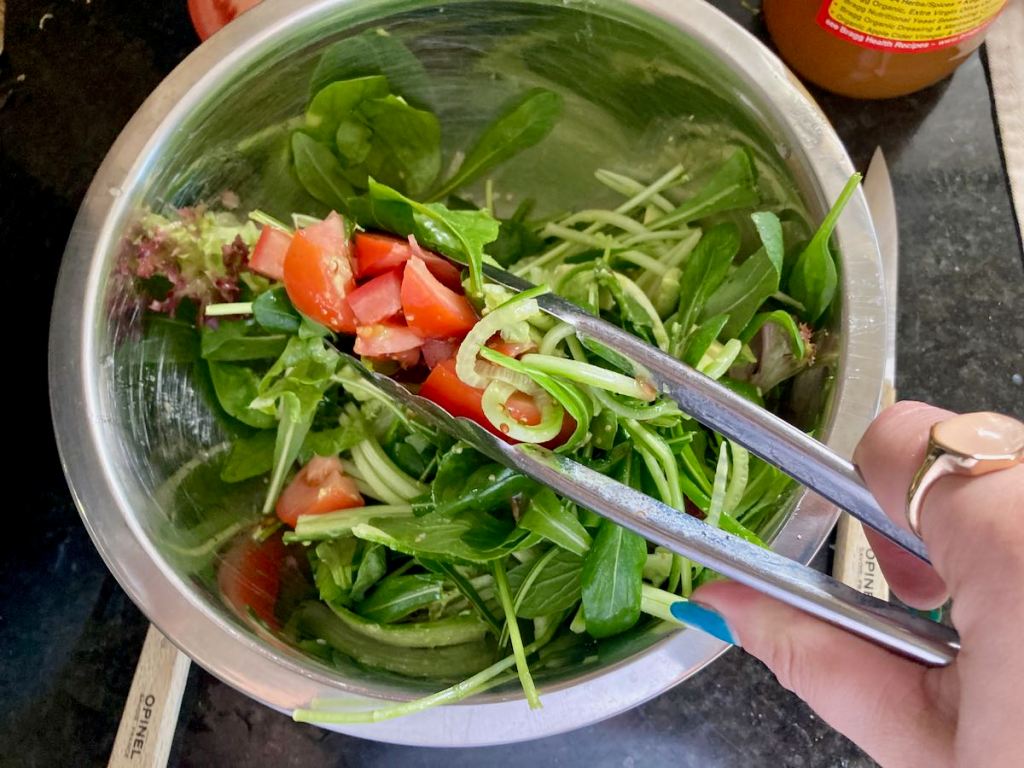
Mix well.
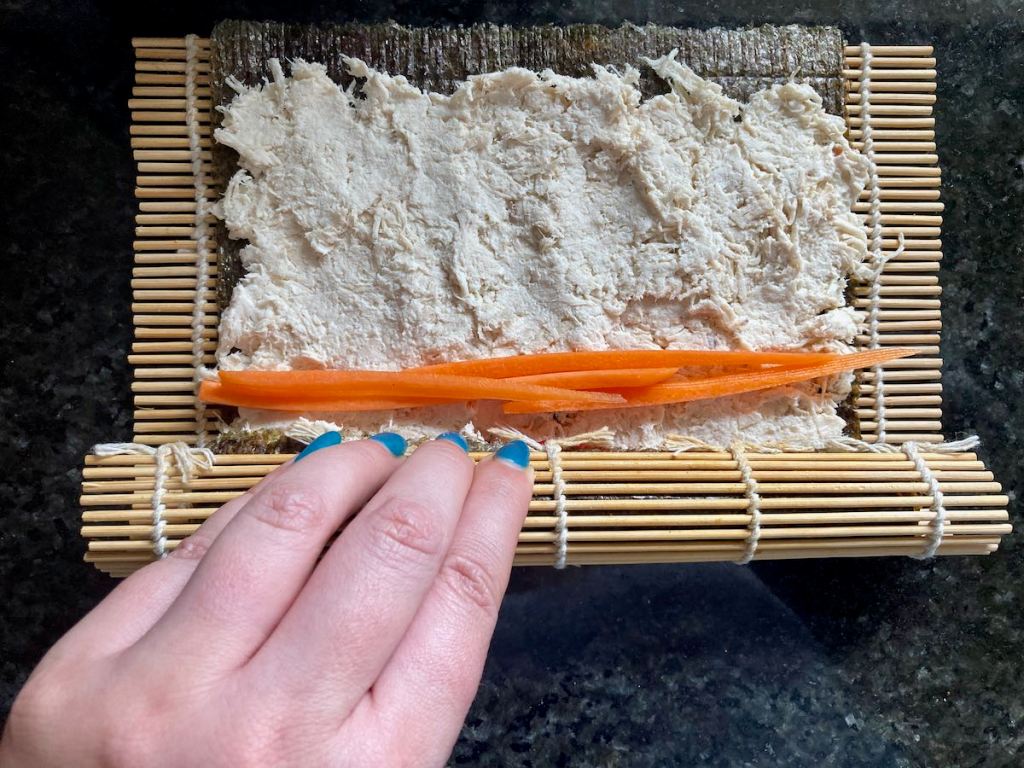
Divide the mixture between the lettuce leaves.


You can drizzle each wrap with a bit more avocado dressing before serving.

Serve and enjoy!

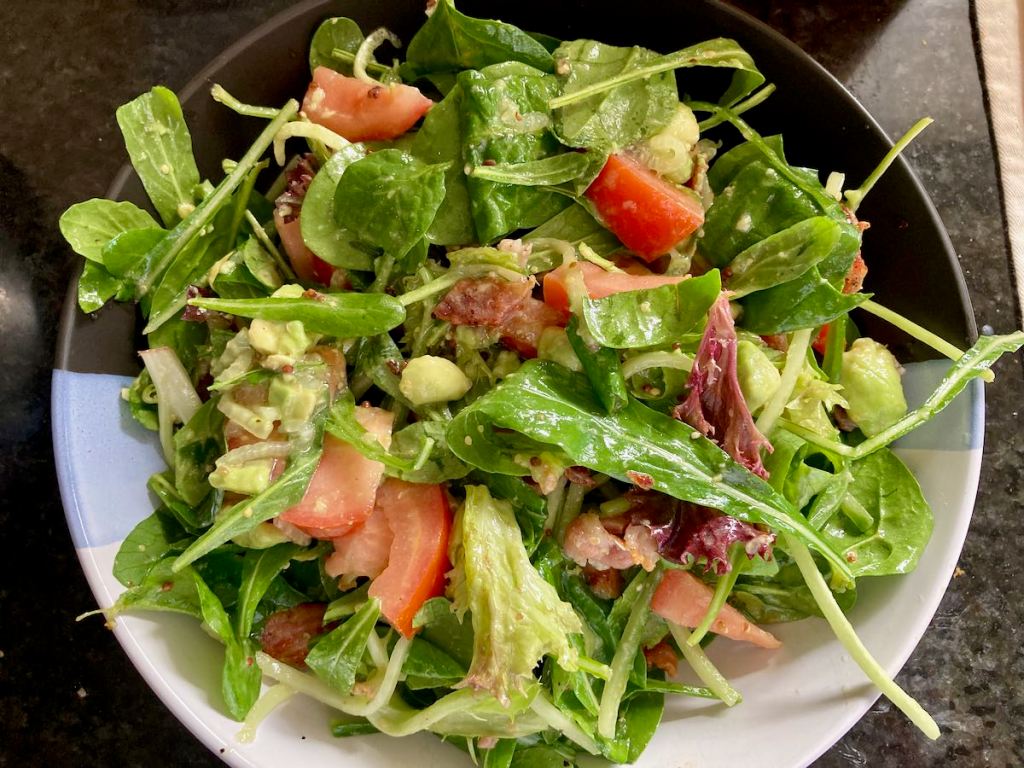
Tuna Lettuce Wrap
“These
Credit: Cath @ easycleaneats
Ingredients
- 4 lettuce leaves
- 120g tinned tuna, drained
- 1 red pepper, thinly sliced
- 1/4 cup cherry tomatoes, quartered
- 1/4 cup carrot, grated
- 1/2 red onion, thinly sliced
- 2 tbsp. Avocado Dressing
Directions
- Take a large mixing bowl.
- Mix the tuna, peppers, carrots, tomatoes, and red onion in the bowl.
- Add the avocado dressing.
- Mix well.
- Place lettuce leaves on a plate.
- Divide the mixture between the lettuce leaves.
- You can drizzle each wrap with a bit more avocado dressing before serving.
Nutrition
Per Serving: 111 calories; 2 g fat; 9 g carbohydrates; 17 g proteinEquipment
- Grater
- Knife
- Chopping board
- Fork
- Spoon
- Mixing bowl
- Measuring cups
- Measuring spoons
Nutritional disclaimer
Nutrition information is provided as an estimate based on the ingredients used and available in my area (New Zealand). The nutritional information is here to help you understand the recipe; I use MyFitnessPal to generate my estimates. For more accurate nutritional information, please use a nutritional calculator with the ingredients in your area.