Revisiting family favourites
I’ve been revisiting recipes that have been some of my old school recipes and family favourites that were our staples when we got started as clean eaters. I first posted this recipe in 2018; at that time, the kids were fussy, vegetables had to be hidden and disguised, and there was no potential for intense flavours or spice.
Times (thankfully) have changed, the kids have grown (like man-sized grown), and they now enjoy a wide range of foods. Things like vegetables are enjoyed, spice and chilli are consumed without complaint, and new ingredients are tried without tantrums.
As the kids have grown, they have started to enjoy recipes that they previously turned their noses up at; this is one of those recipes.
Post-workout meal
Chipotle + Chicken + Sweet Potato = awesome
After a hard workout, I usually want to eat everything I can get my hands on. When I know I have this post-workout meal, I know I will be very happy and full. It is a perfect meal if you are looking to refuel at the end of the day. Back in the day, I would use less chipotle so that the kids wouldn’t complain about the chicken being too spicy. If you have kids that don’t like spice you can reduce the amount of chipotle or add some sour cream to the top of your potato.
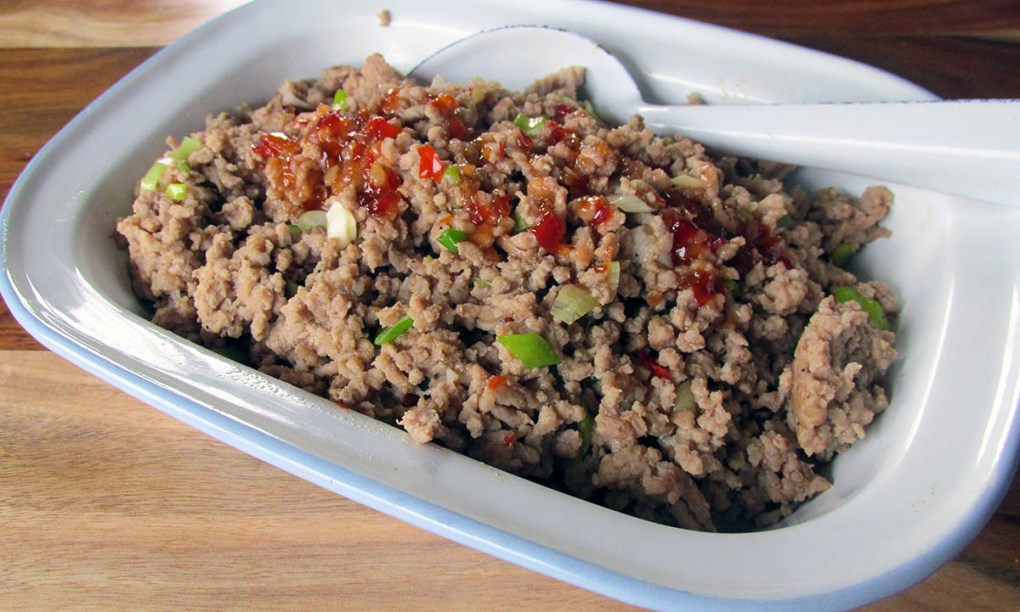
Chipotle chicken sweet potatoes recipe
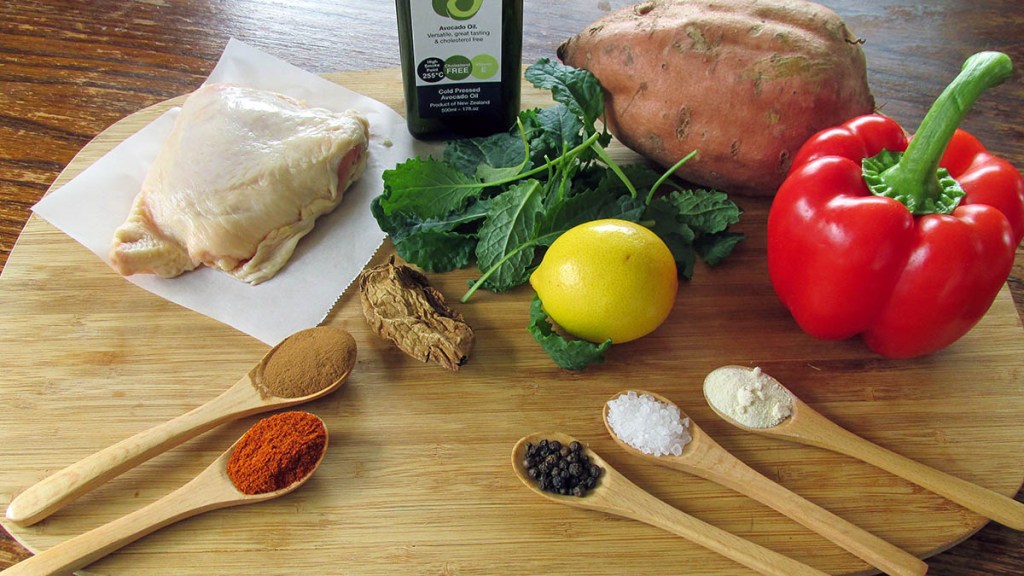
Ingredients
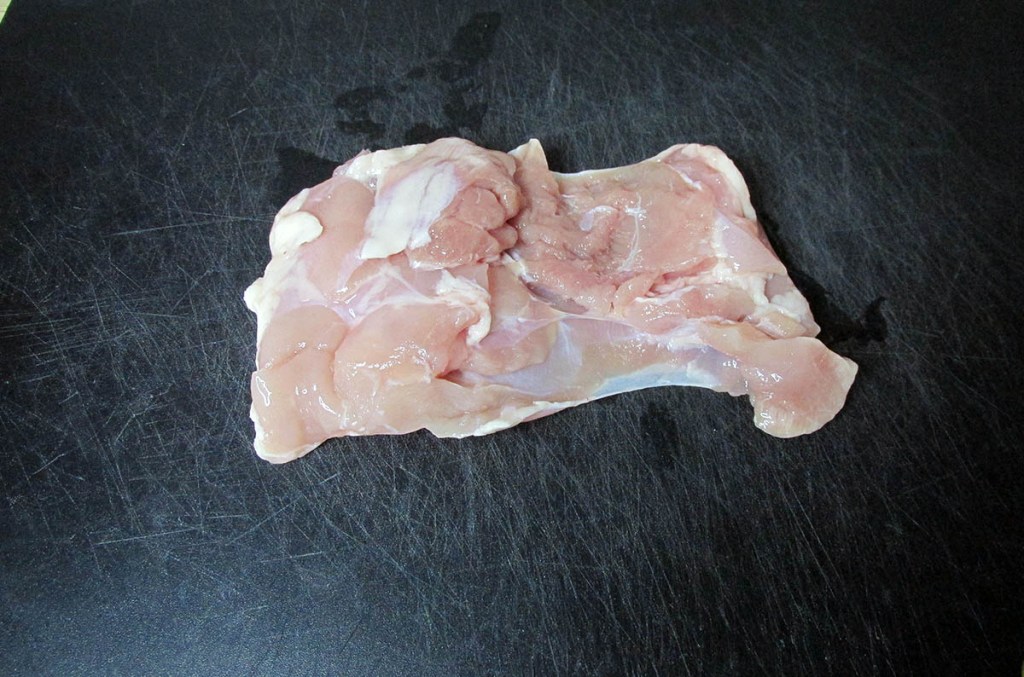
- 2 chicken thighs,
- 2 tbsp. avocado oil
- 1 tbsp. paprika
- 1 tsp. ground chipotle pepper
- 2 tsp. ground cinnamon
- 1 tbsp. garlic powder
- 1 tsp. salt
- 1 tsp. black pepper
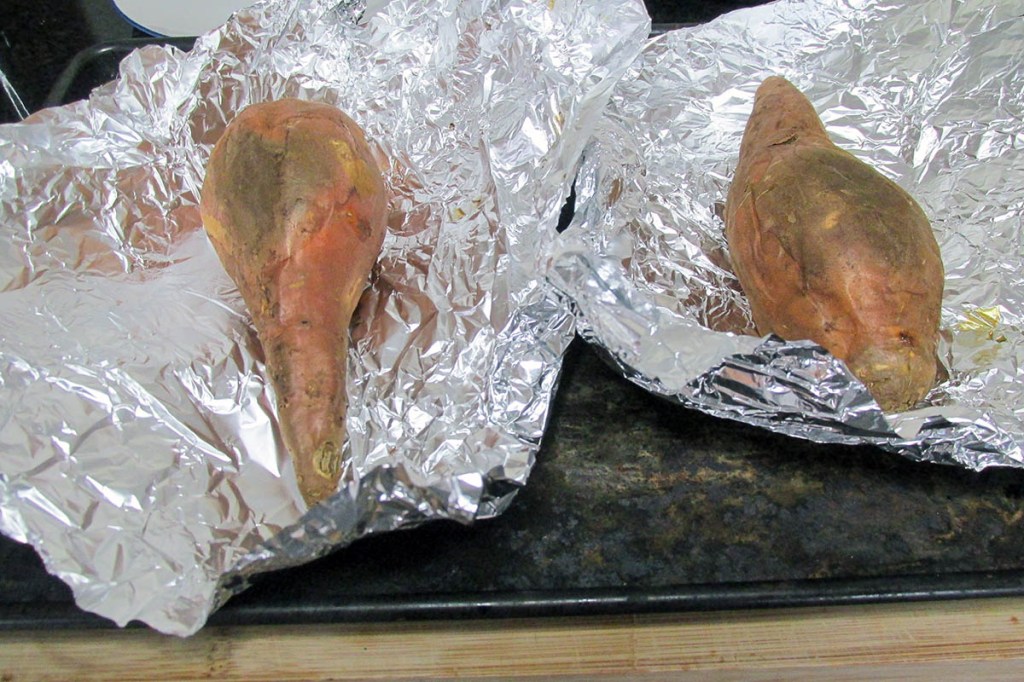
- 2 sweet potatoes, baked
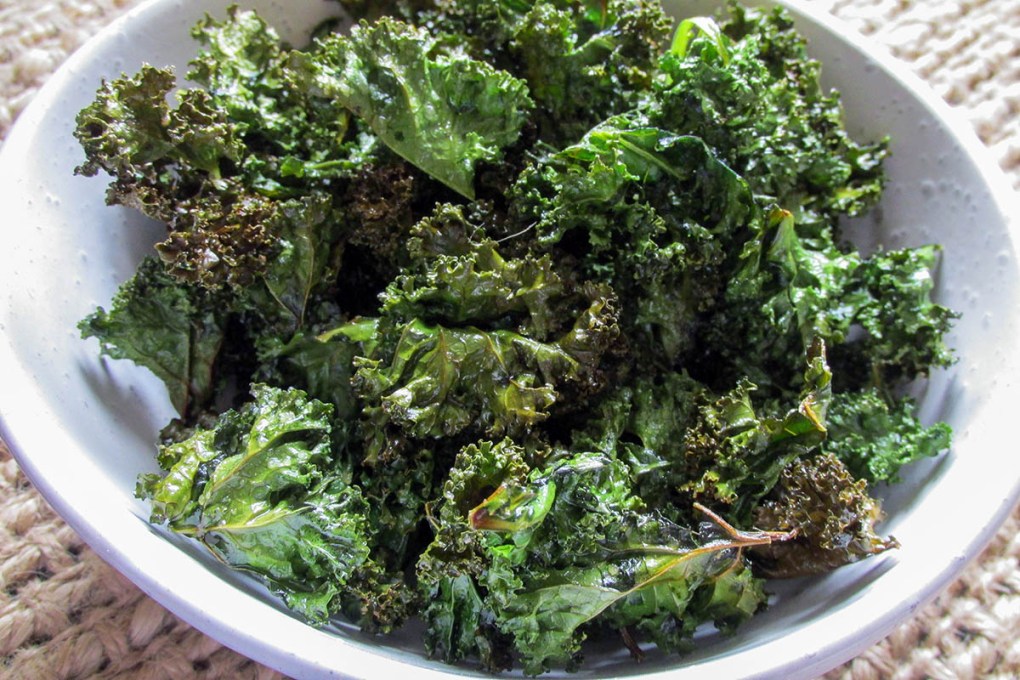
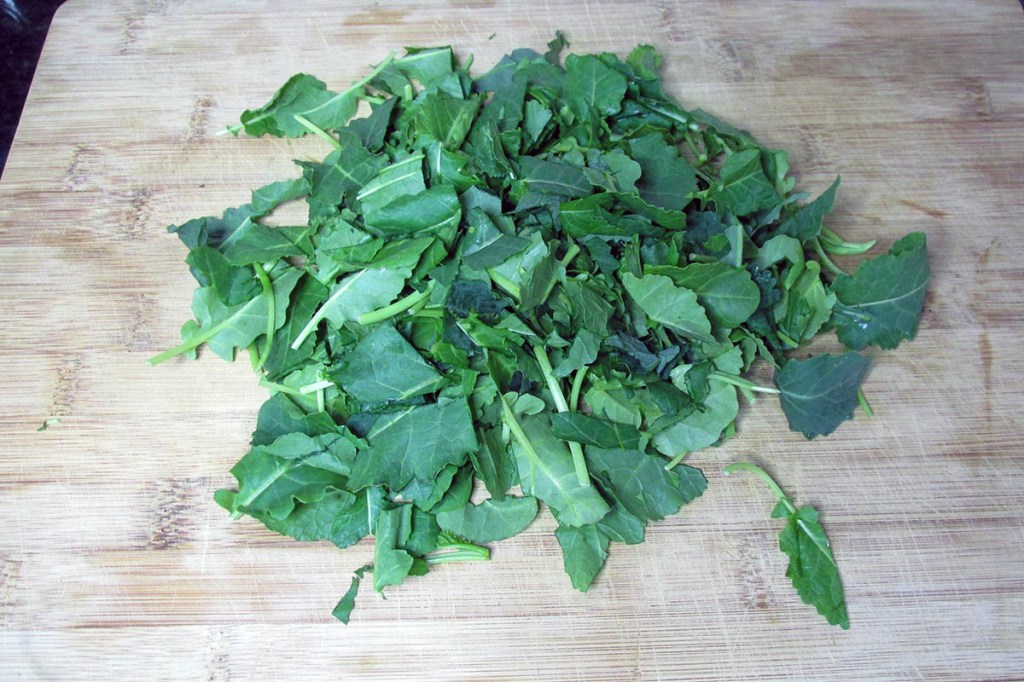
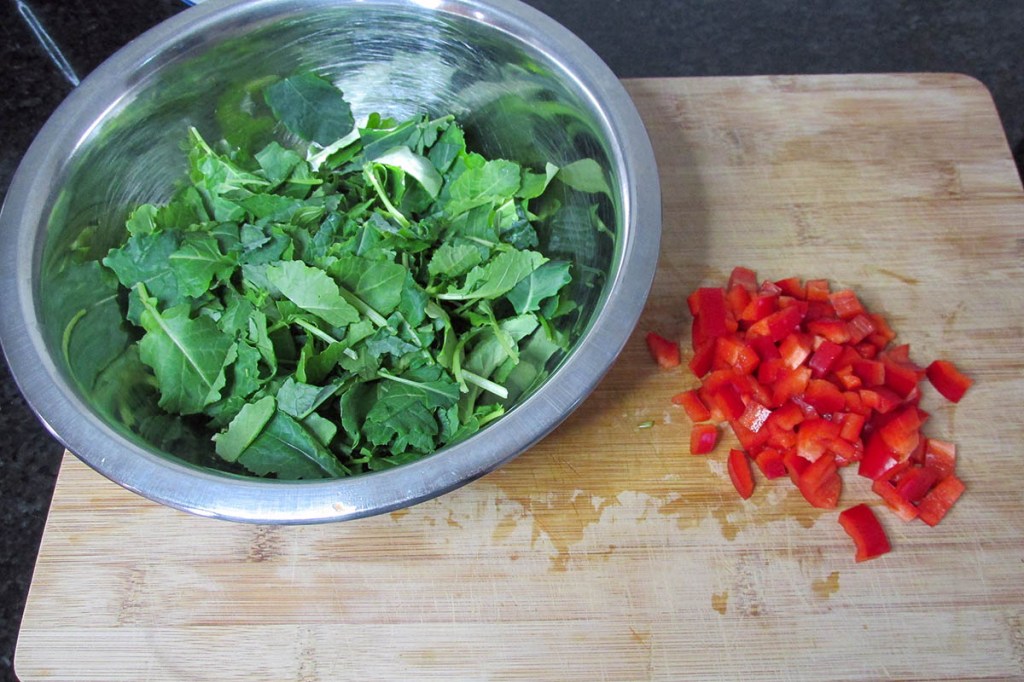
- 1 cup kale, chopped
- 1/2 pepper, chopped
- 1 tbsp. extra virgin olive oil
- squeeze of fresh lemon juice
- Salt and pepper to taste


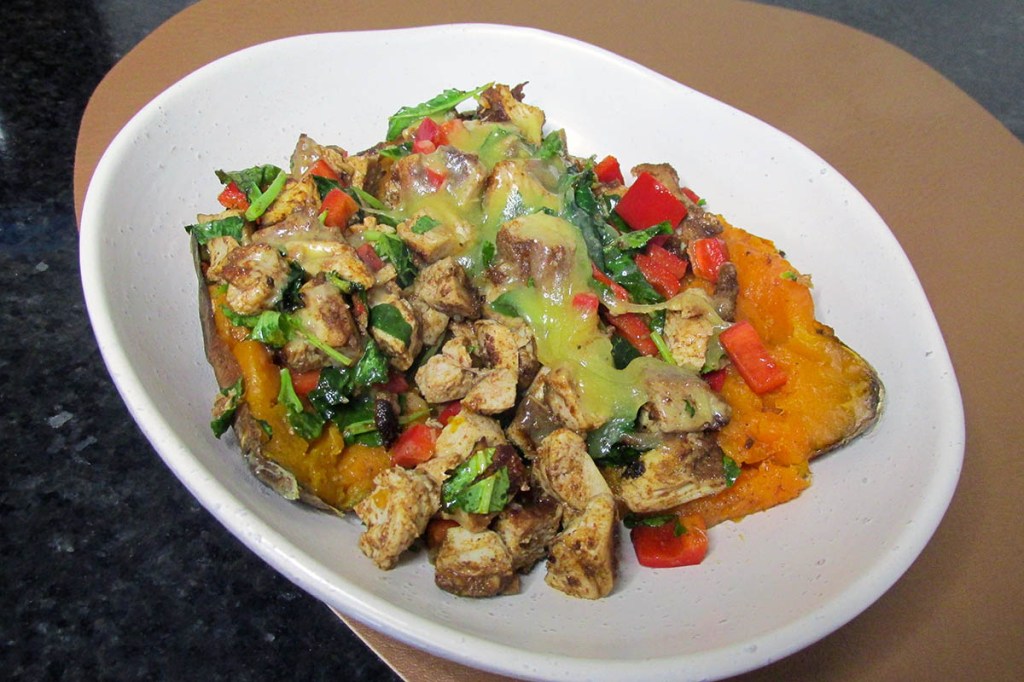
Chipotle chicken sweet potatoes
Protein packed baked potatoes with a spicy twist.
Credit: Cath @ easycleaneats
Ingredients
- 2 chicken thighs,
- 2 tbsp. avocado oil
- 1 tbsp. paprika
- 1 tsp. ground chipotle pepper
- 2 tsp. ground cinnamon
- 1 tbsp. garlic powder
- 1 tsp. salt
- 1 tsp. black pepper
- 2 sweet potatoes, baked
- 1 cup kale, chopped
- 1/2 pepper, chopped
- squeeze of fresh lemon juice
- Salt and pepper to taste
Directions
- Preheat your grill to medium-high heat.
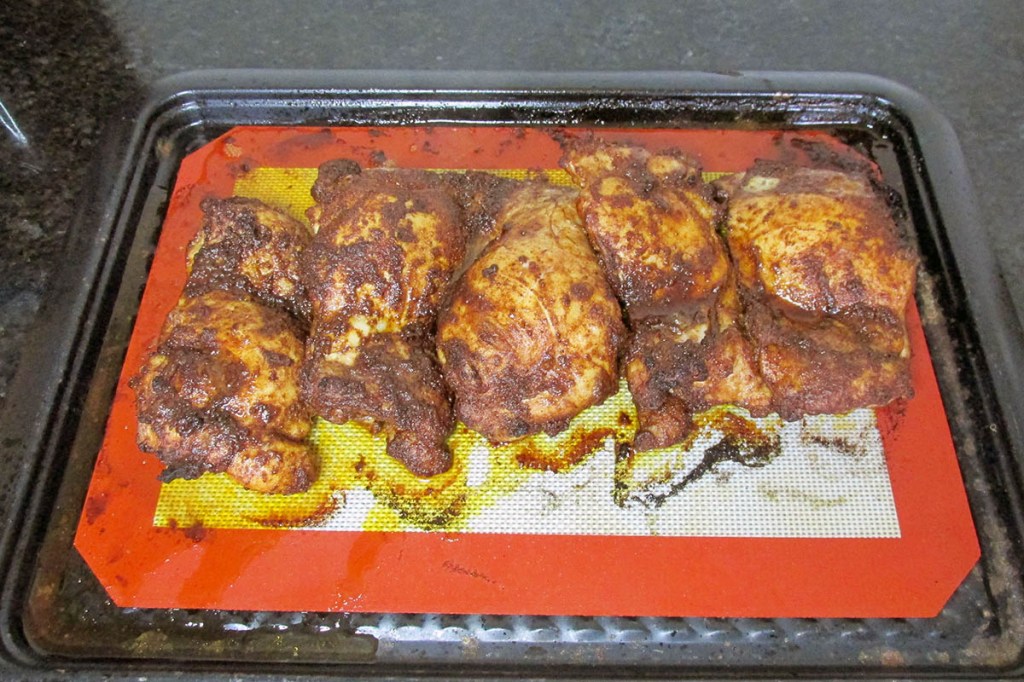
- Line a baking tray with baking paper or a silicone liner.
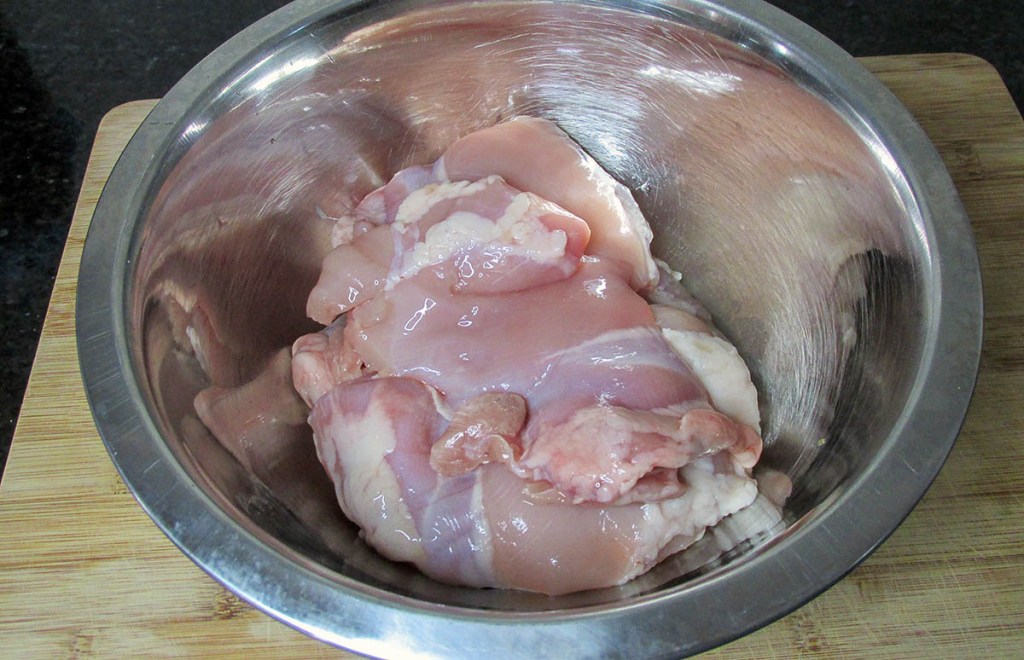
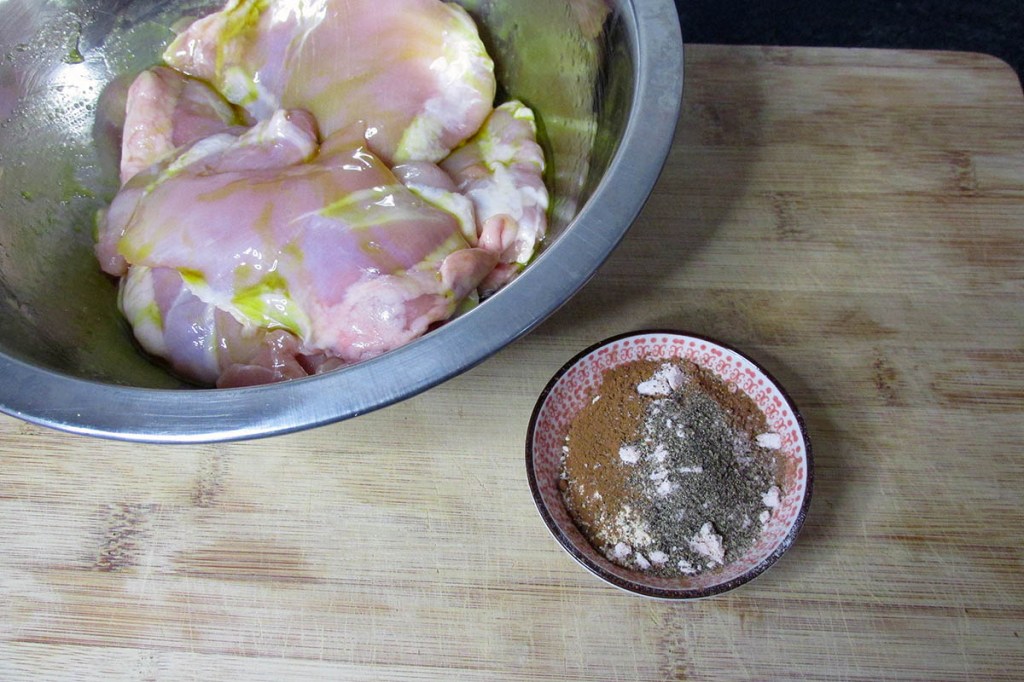
- Place the chicken thighs into a bowl, pour the avocado oil over the chicken.
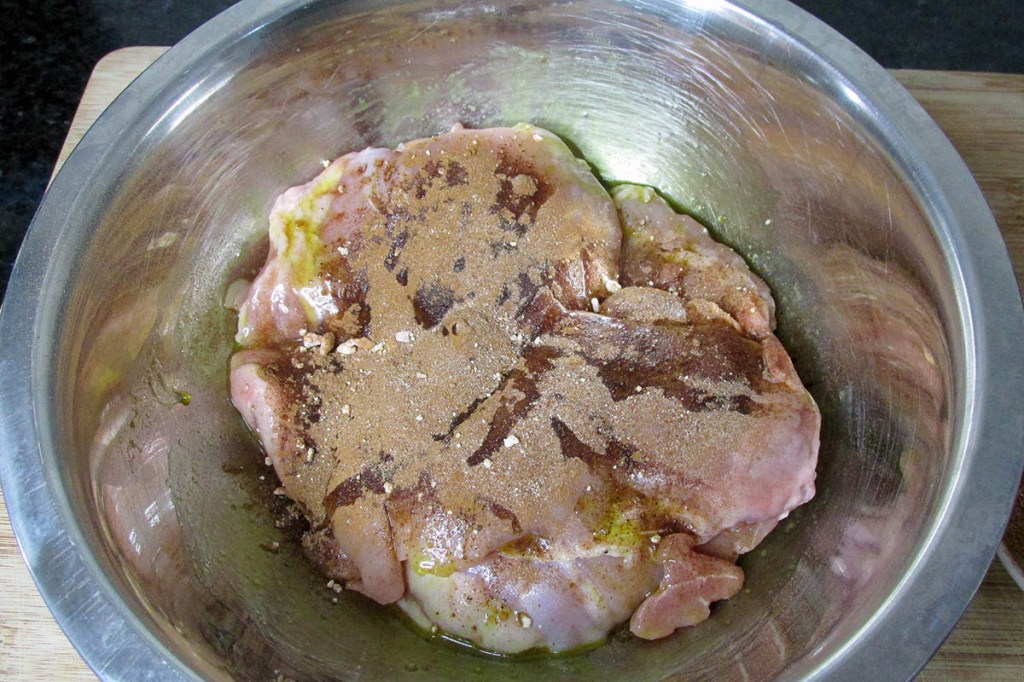
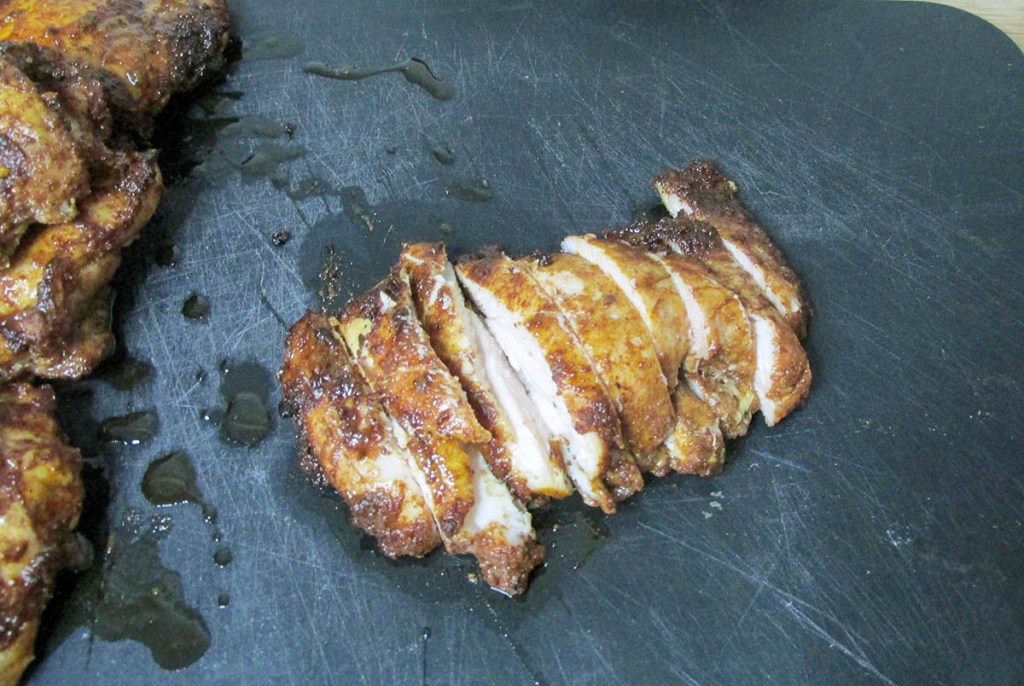
- Sprinkle the chicken thighs with the paprika, chipotle, ground cinnamon, garlic powder, salt, and pepper.
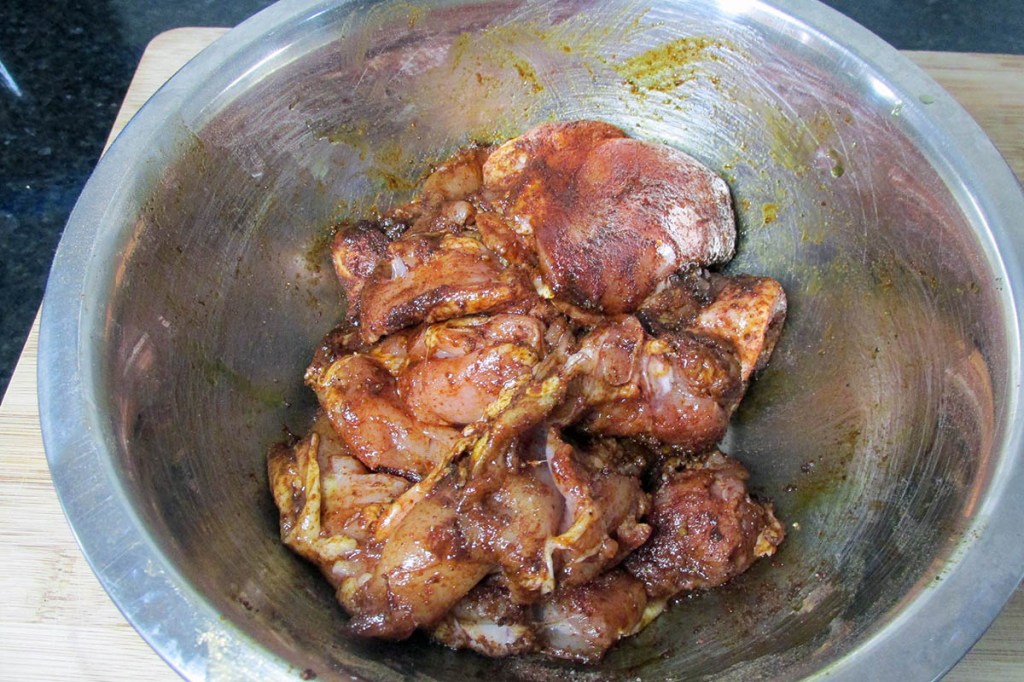
- Use your hands to mix all of the chicken and seasonings together.
- Make sure the chicken is thoroughly coated.
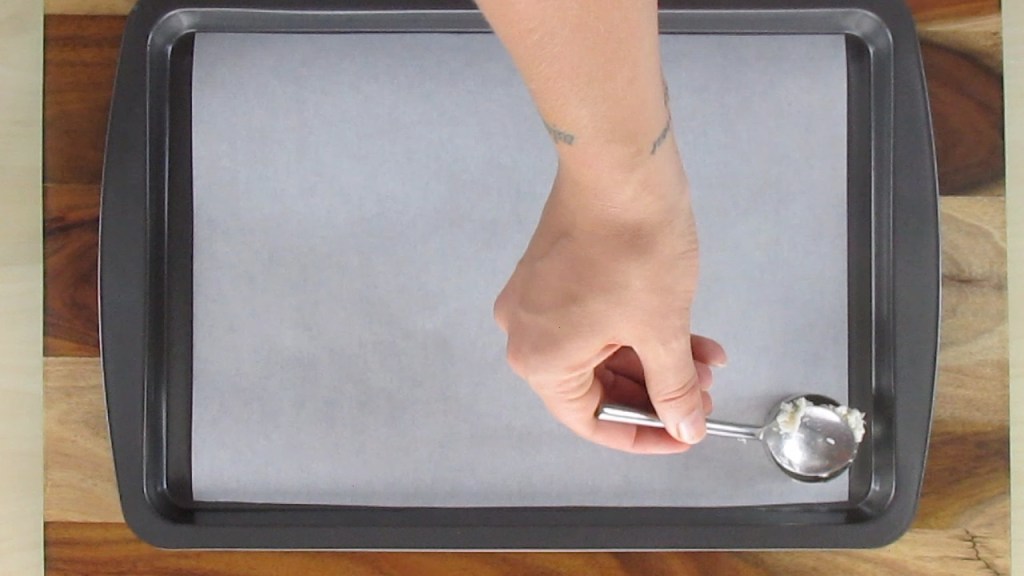
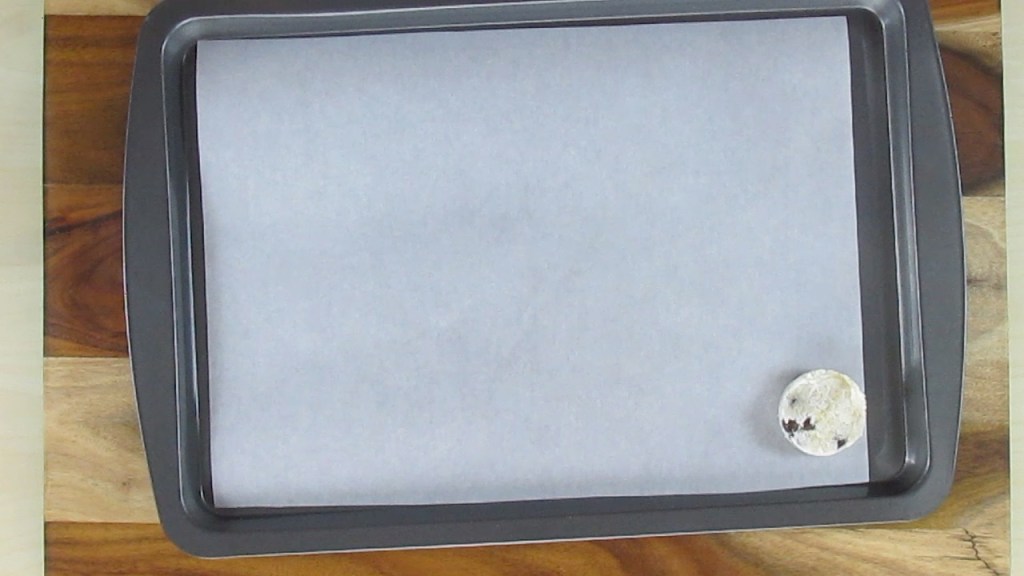
- Place the chicken on the lined baking tray.
- Grill the chicken for about 4 minutes on each side.
- When the chicken is cooked through remove it from the grill and set it to one side to cool.
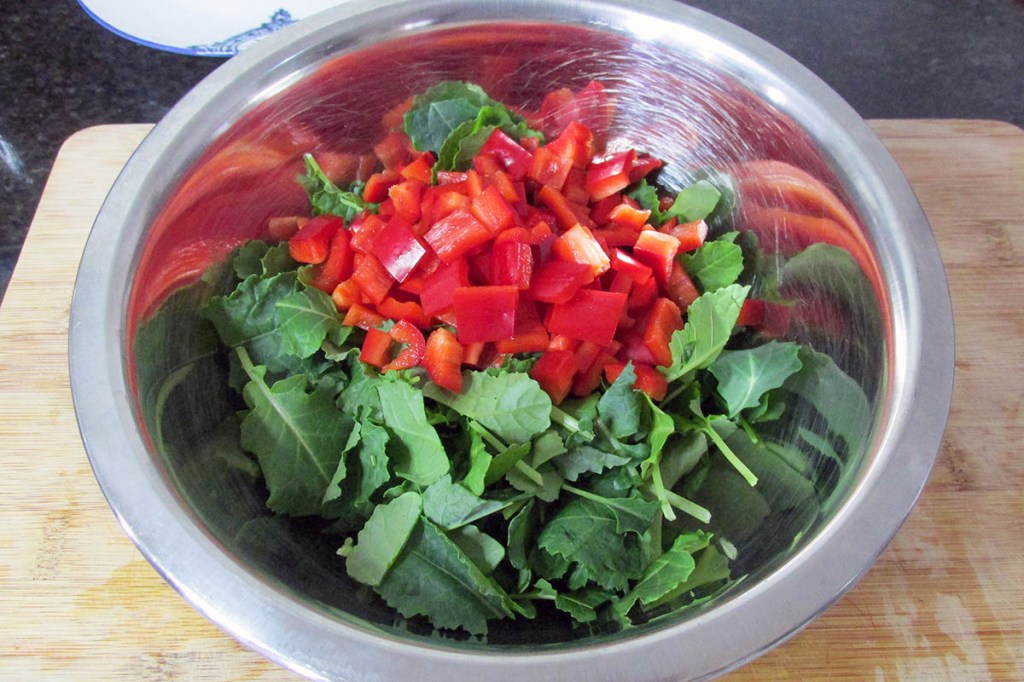
- In a bowl mix the kale, pepper, lemon juice, olive oil and seasoning together.
- Chop the cooled chicken thighs, add the chicken to the kale mixture.
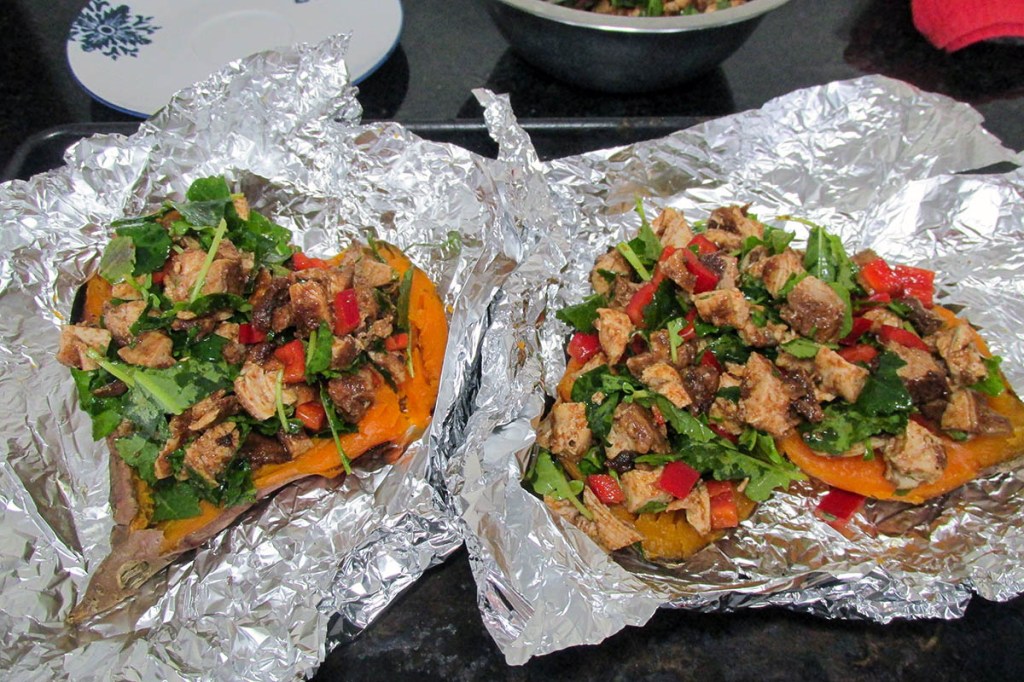
- Split the baked sweet potatoes lengthwise and use a fork to mash the flesh slightly.
- Add the chicken and kale mixture to the inside of the baked sweet potatoes.
- You can sprinkle with some cheese and grill it to melt the cheese, or sprinkle on some spiced pumpkin seeds before you serve.
Nutrition
Per Serving: 486 calories; 32.4 g fat; 25.3 g carbohydrates; 21 g proteinEquipment
- Knife
- Chopping board
- Measuring spoons
- Measuring cups
- Baking tray
- Baking paper or a silicone liner
- Mixing bowl x2
- Fork
Nutritional disclaimer
Nutrition information is provided as an estimate based on the ingredients used and available in my area (New Zealand). The nutritional information is here to help you understand the recipe; I use MyFitnessPal to generate my estimates. For more accurate nutritional information, please use a nutritional calculator with the ingredients in your area.