Revisiting family favourites
I’ve been revisiting recipes that have been some of my old school recipes and family favourites that were our staples when we got started as clean eaters. I first posted this recipe in 2018; at that time, the kids were fussy, vegetables had to be hidden and disguised, and there was no potential for intense flavours or spice.
Times (thankfully) have changed, the kids have grown (like man-sized grown), and they now enjoy a wide range of foods. Things like vegetables are enjoyed, spice and chilli are consumed without complaint, and new ingredients are tried without tantrums.
As the kids have grown, they have started to enjoy recipes that they previously turned their noses up at; this is one of those recipes.
Impasta
Pasta is amazing, it tastes great, but it does come with some unpleasant side effects thanks to the carb overload. If you love ravioli but don’t like all the wheat and carbs that come along with it, you can give this a go. This impasta courgette ravioli takes a little time to make, but it is more than worth the effort.
Freezer meal
Hands up if you are busy. Who is way too tired to get in the kitchen to cook at the end of the day? Definitely not me.
My days are filled with meetings, to-do lists, emails and telling people what to do; by the time I finish work, the last thing I want to do is get stuck into cooking a meal and then cleaning up afterwards. I want to work out and spend some time with Jaime. That is why freezer meals are my favourite solutions to the challenge of a busy life. A few hours on the weekend, and you find yourself with a stack of options for dinner that can be thawed and cooked for a healthy, delicious meal for the family.
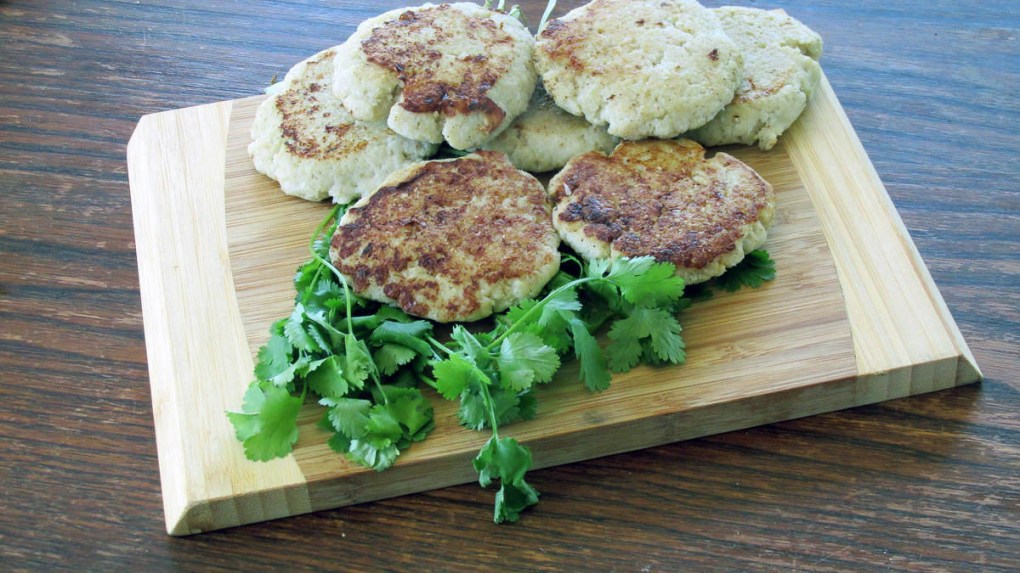
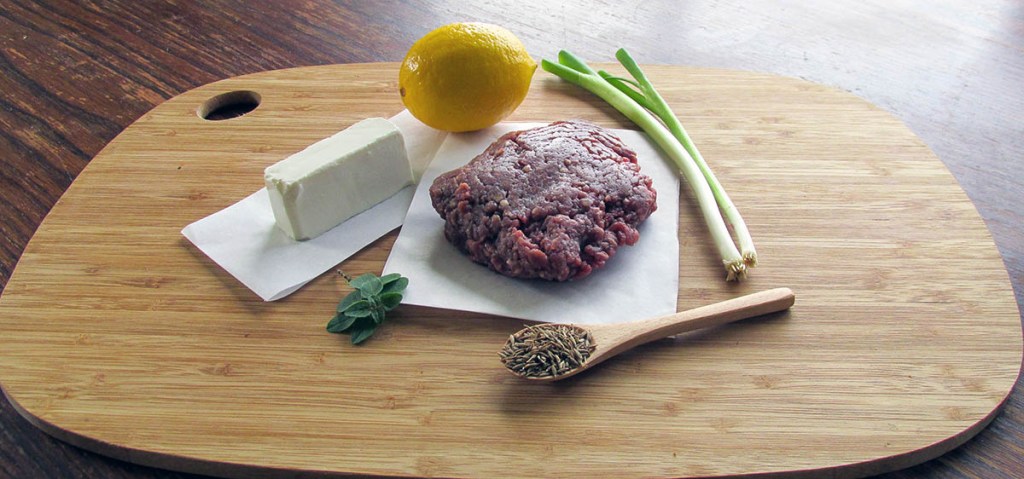
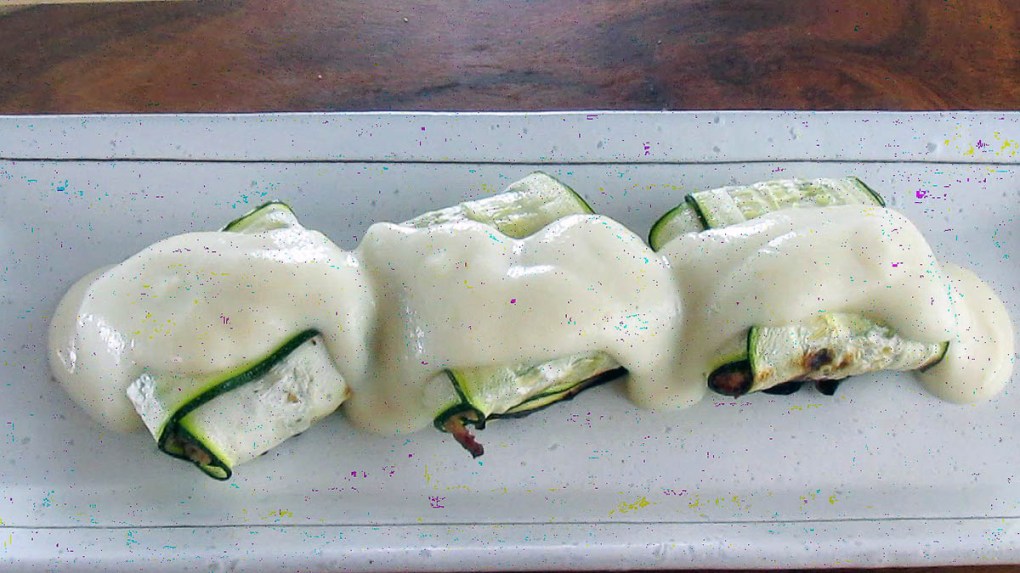
Courgette ravioli recipe

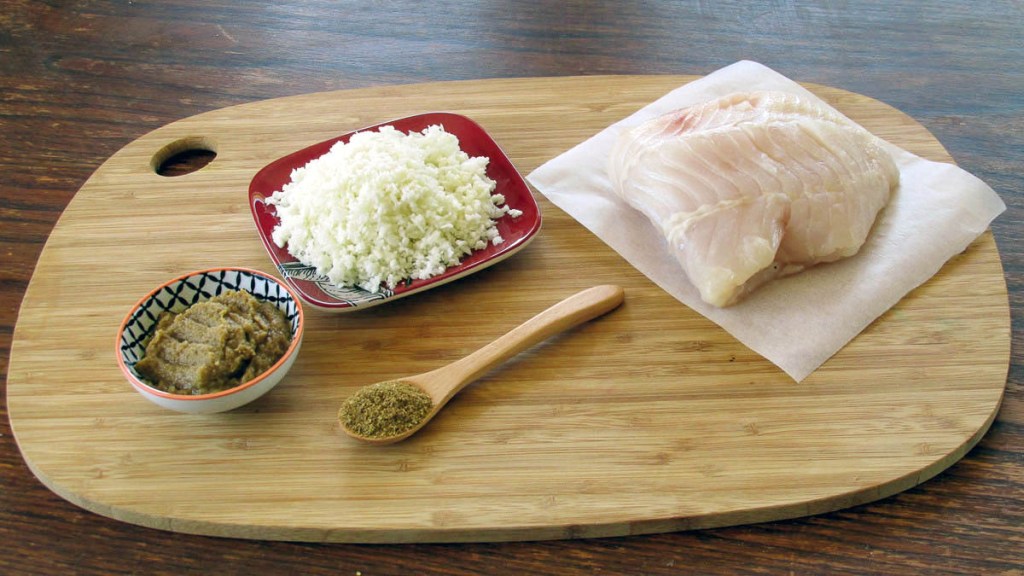
Ingredients
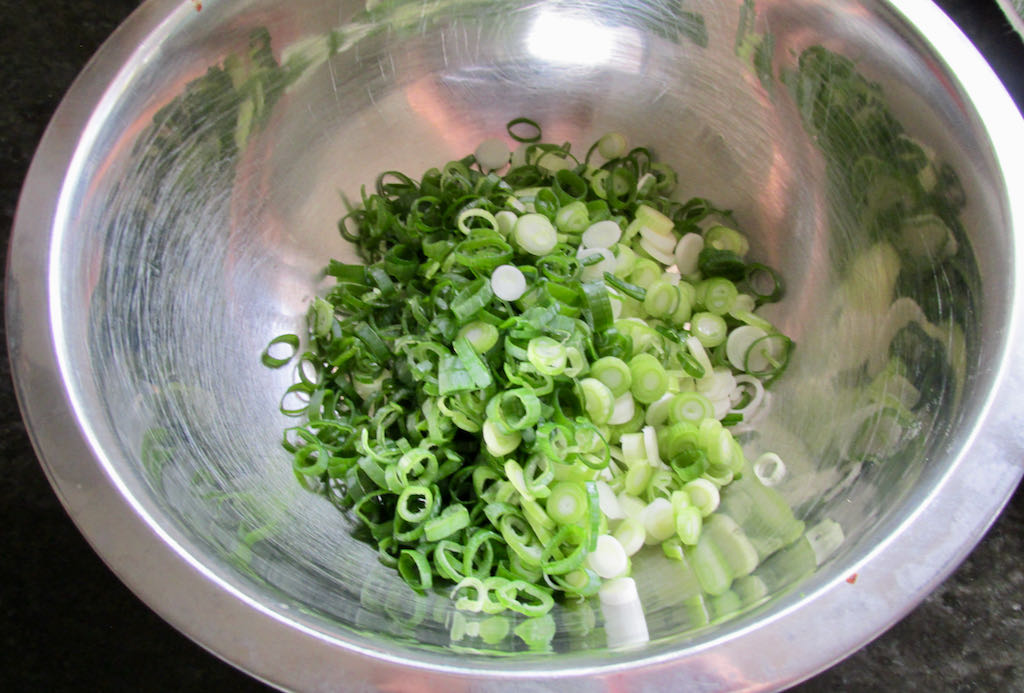
- 4 courgette
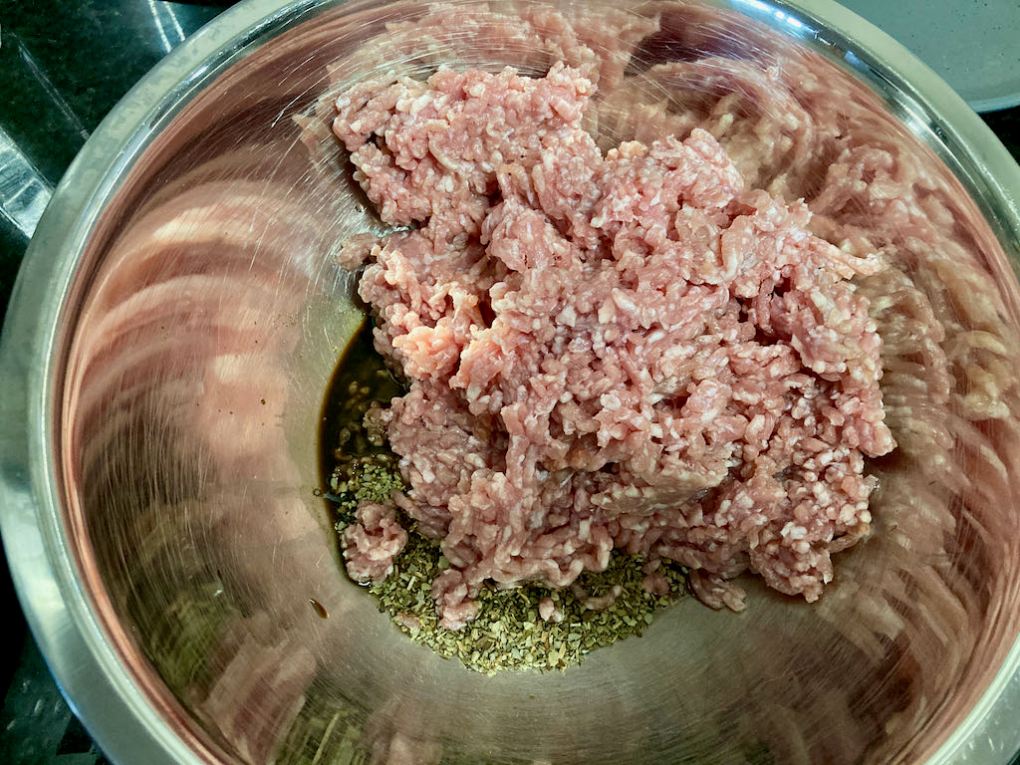
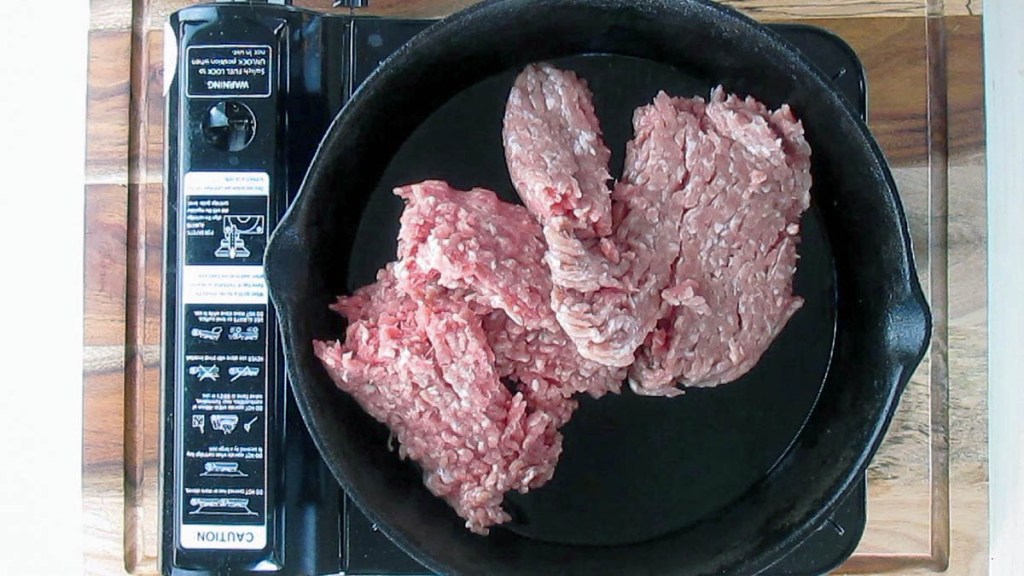
- 300g chicken mince
- 2 tbsp. olive oil
- 3 shallots, diced
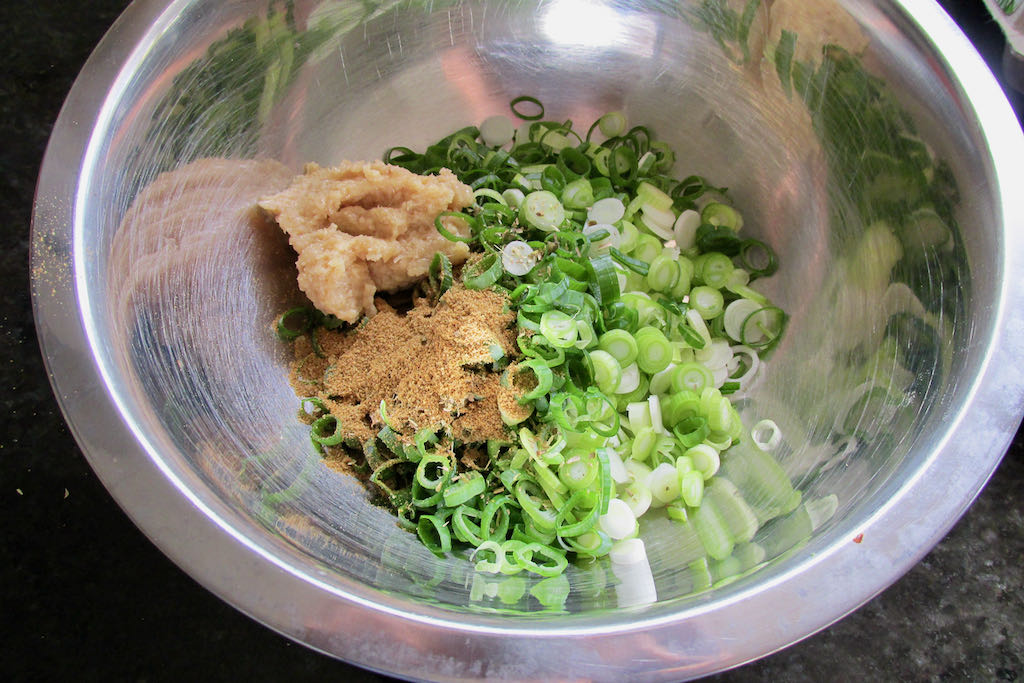
- 3 garlic cloves, minced
- 200g mushrooms diced
- 6 slices of prosciutto
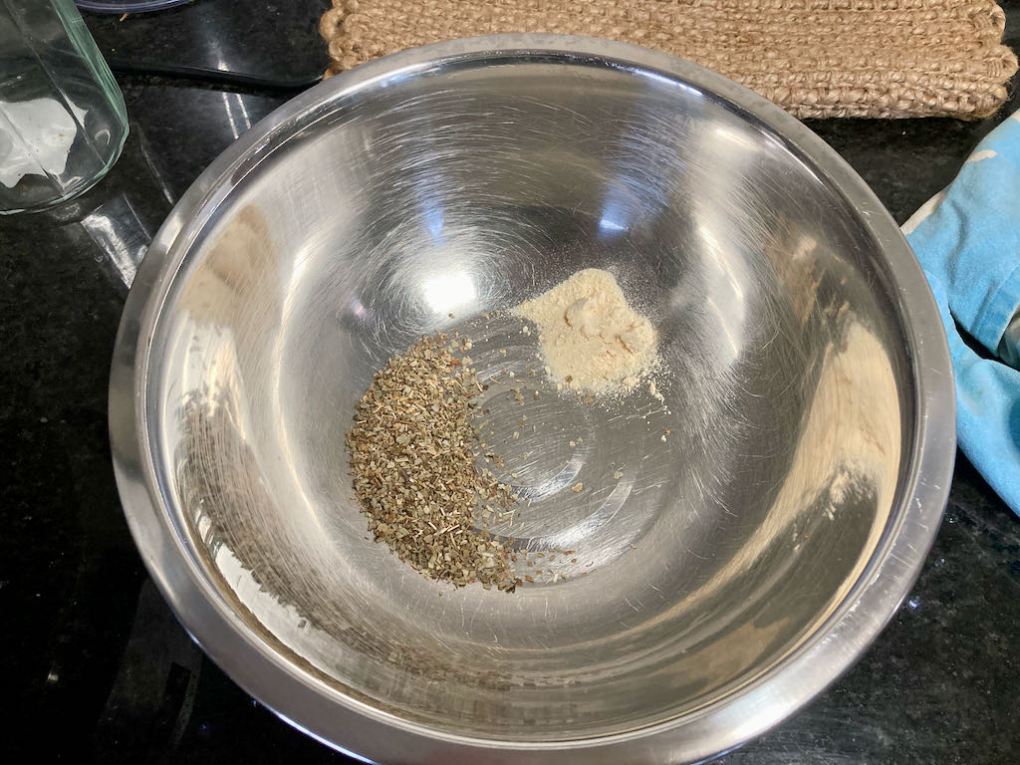
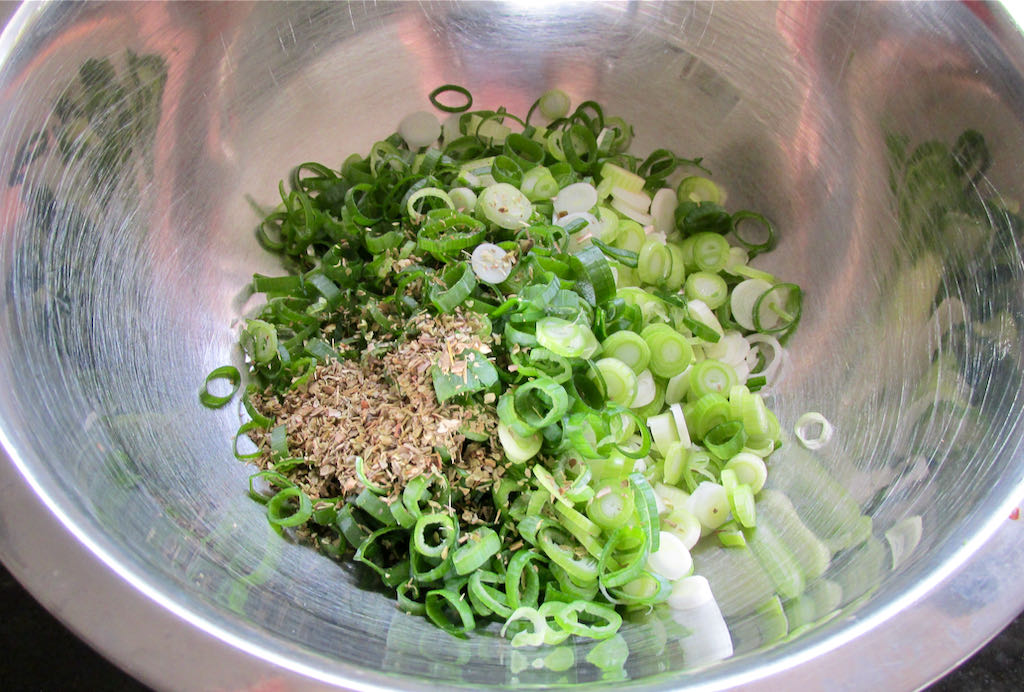
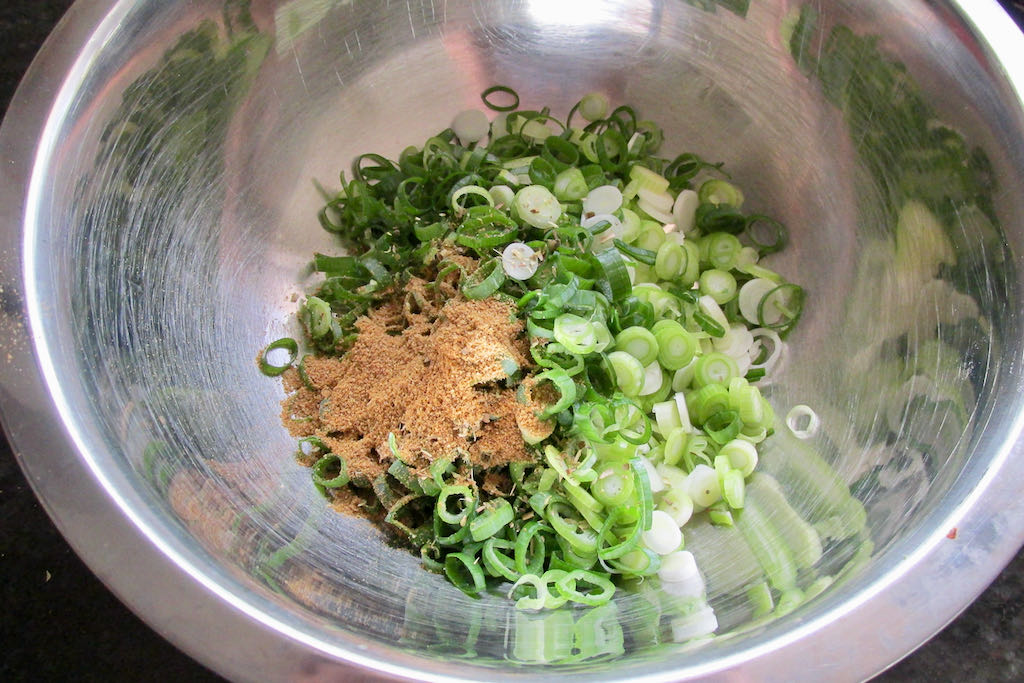
- 1 tsp. garlic powder
- 1/2 tsp. chicken seasoning


Courgette ravioli

If you love ravioli but don't like all the wheat and carbs that come along with it, you can give this a go. This impasta courgette ravioli takes a little time to make but it is more than worth the effort.
Credit: Cath @ easycleaneats
Ingredients
- 4 courgette
- 300g chicken mince
- 2 tbsp. olive oil
- 3 shallots, diced
- 3 garlic cloves, minced
- 200g mushrooms diced
- 6 slices of prosciutto
- 1 tsp. garlic powder
- 1/2 tsp. chicken seasoning
Directions
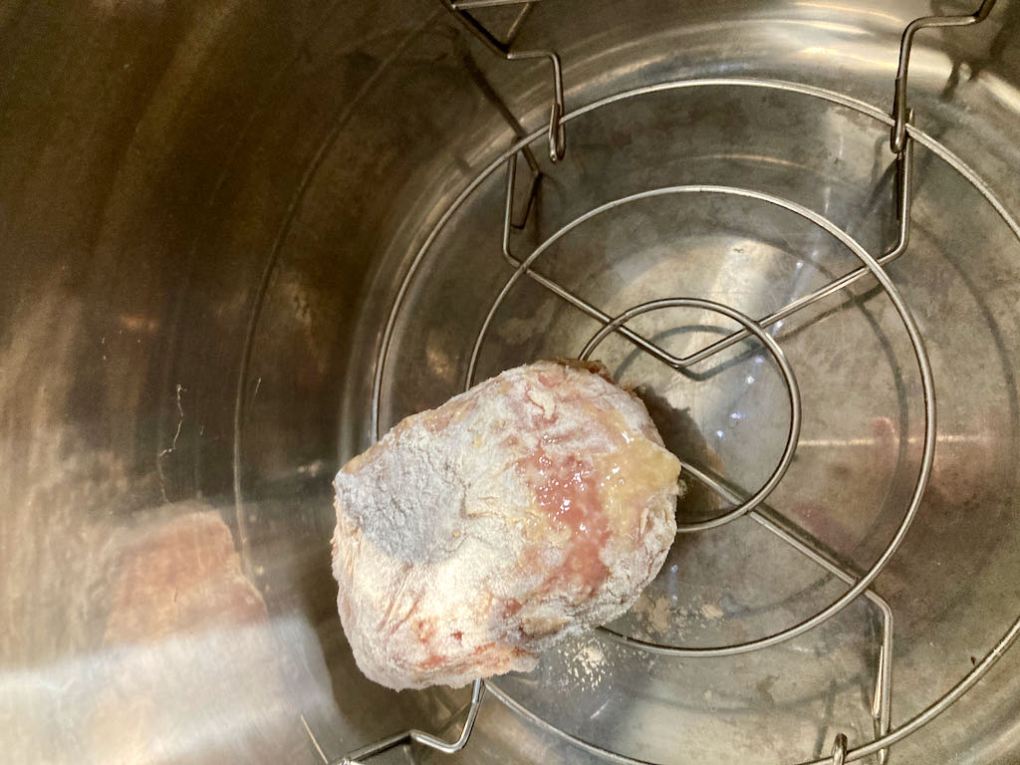
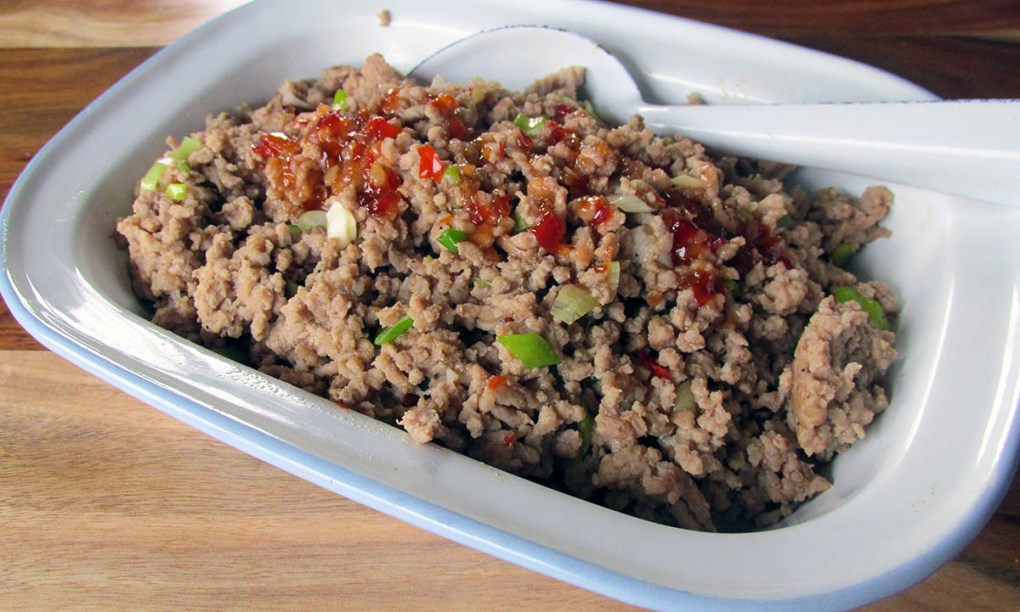
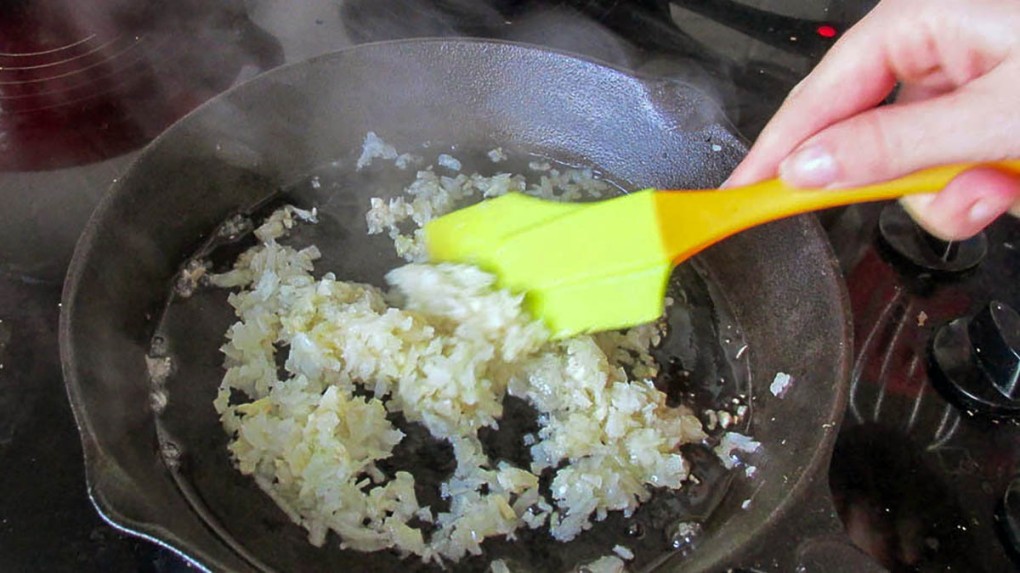
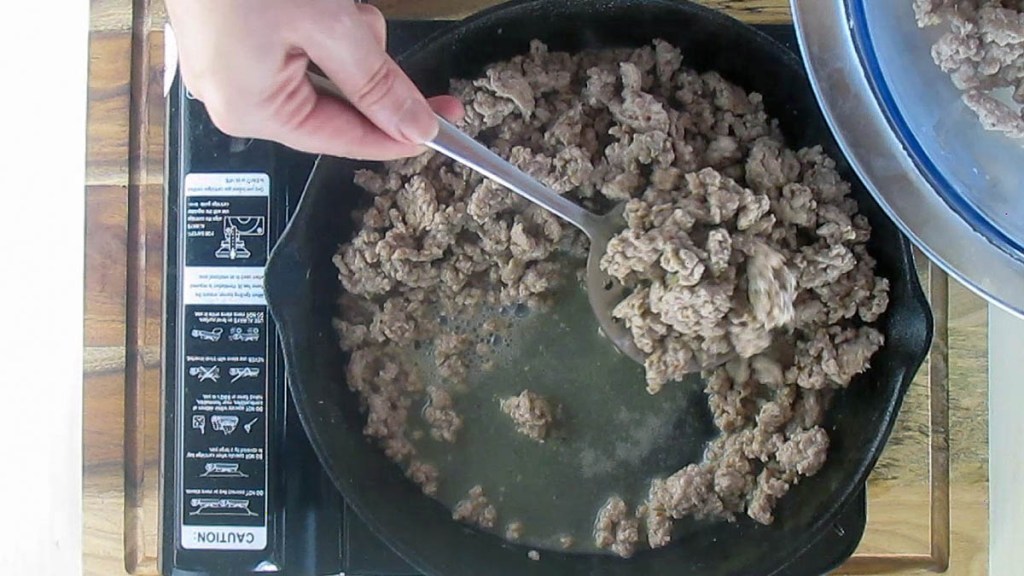
- In a large frying pan fry off the chicken mince, garlic powder and chicken seasoning in the olive oil over a medium heat.
- When the chicken is cooked, remove it from the pan.
- Put the chicken in a bowl then set it aside.
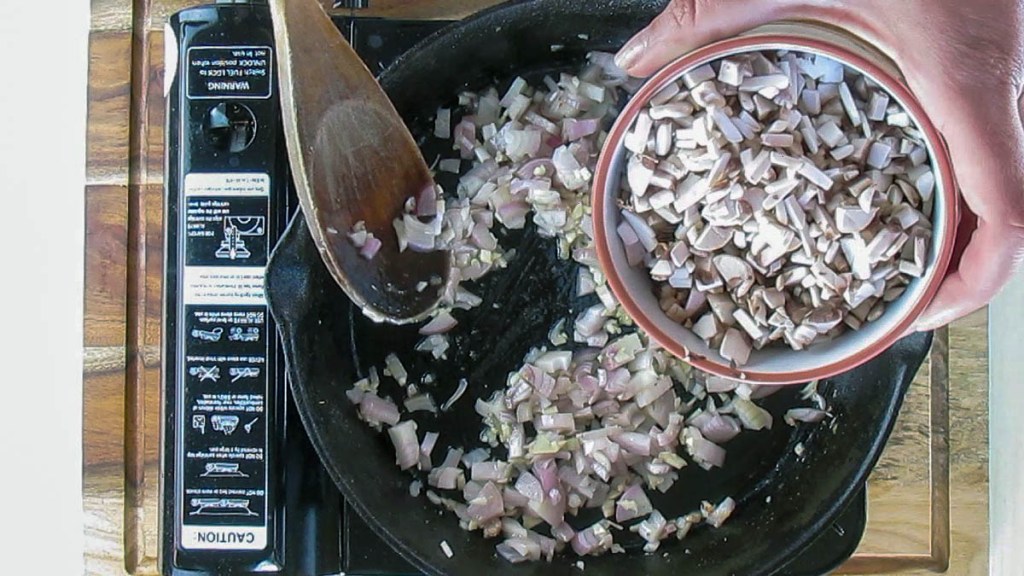
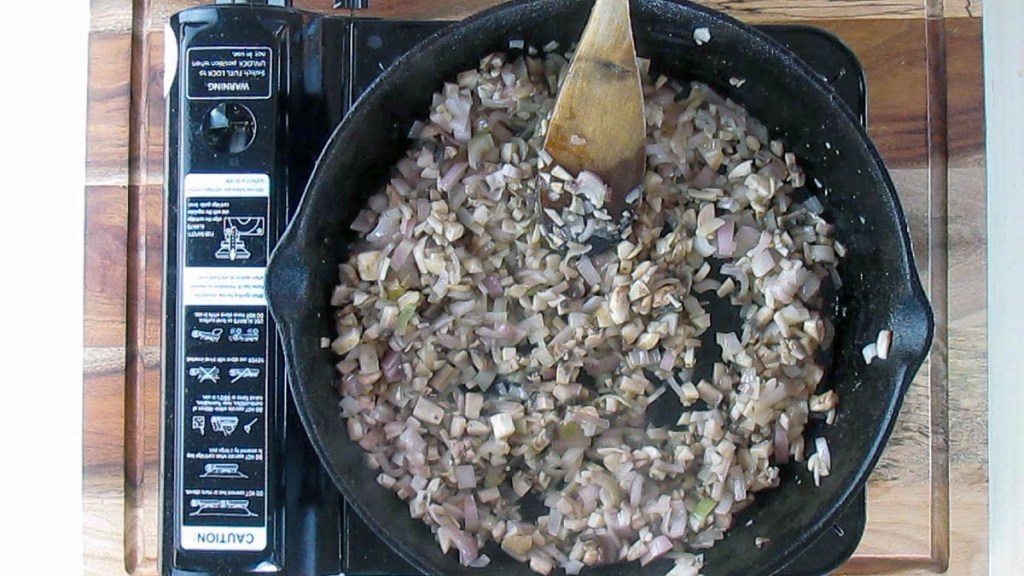
- Sauté the shallots and garlic cloves over a medium heat until the shallots soften.
- Add the mushrooms.
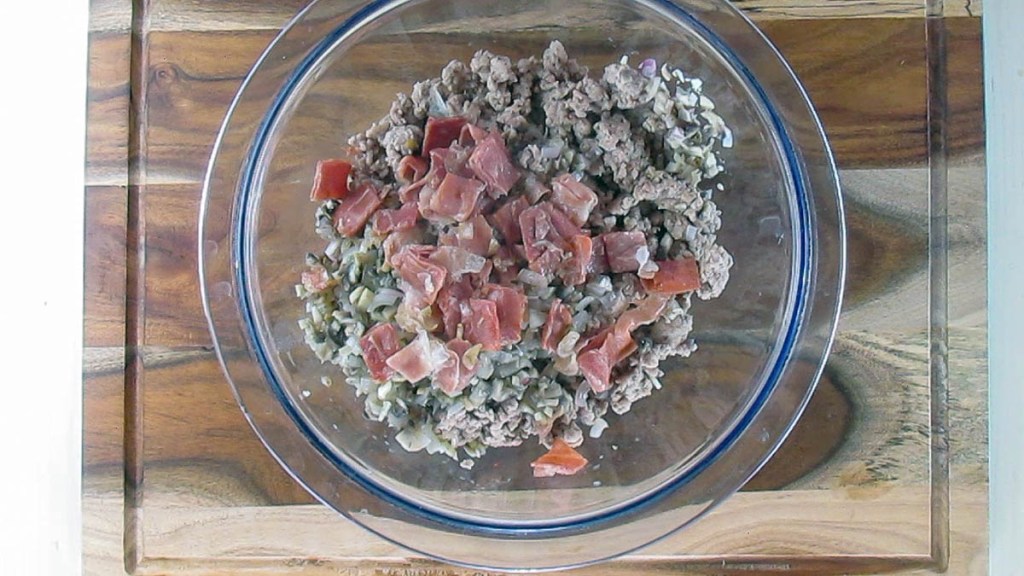
- When the shallots are cooked, add them to the bowl with the chicken.
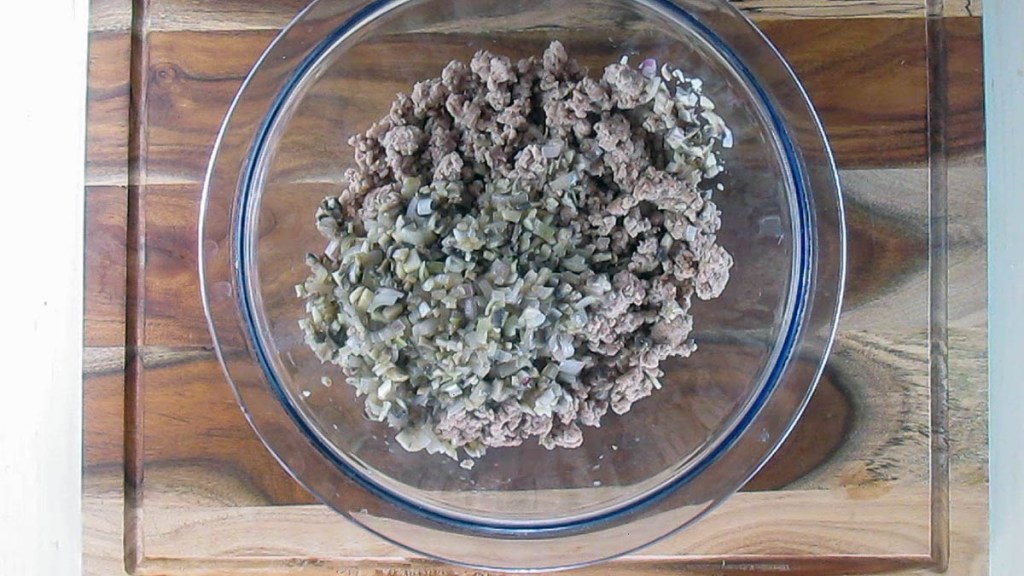
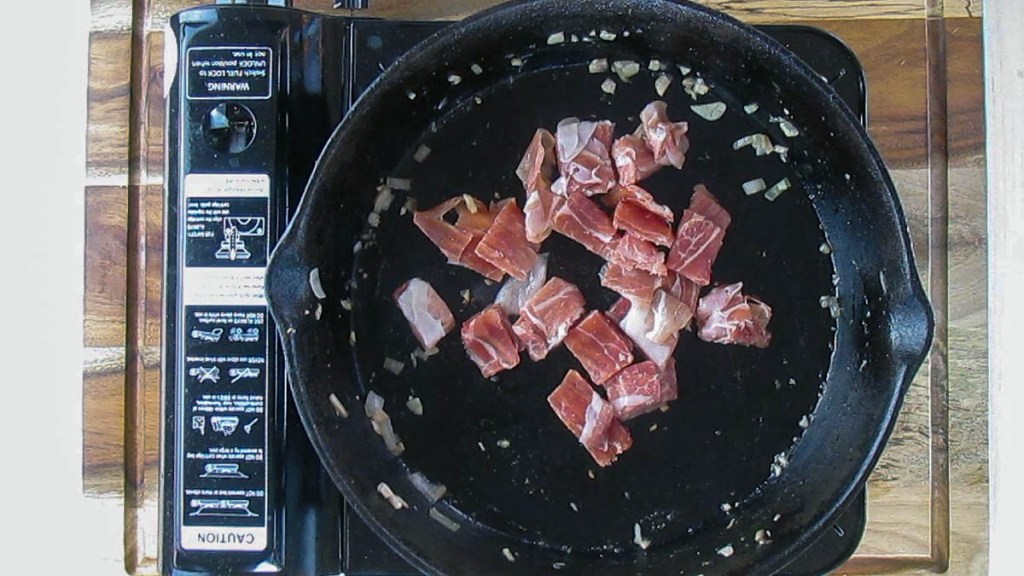
- Cut the prosciutto slices into cubes.
- Fry off the prosciutto until it becomes crispy, when it is cooked add it to the chicken.
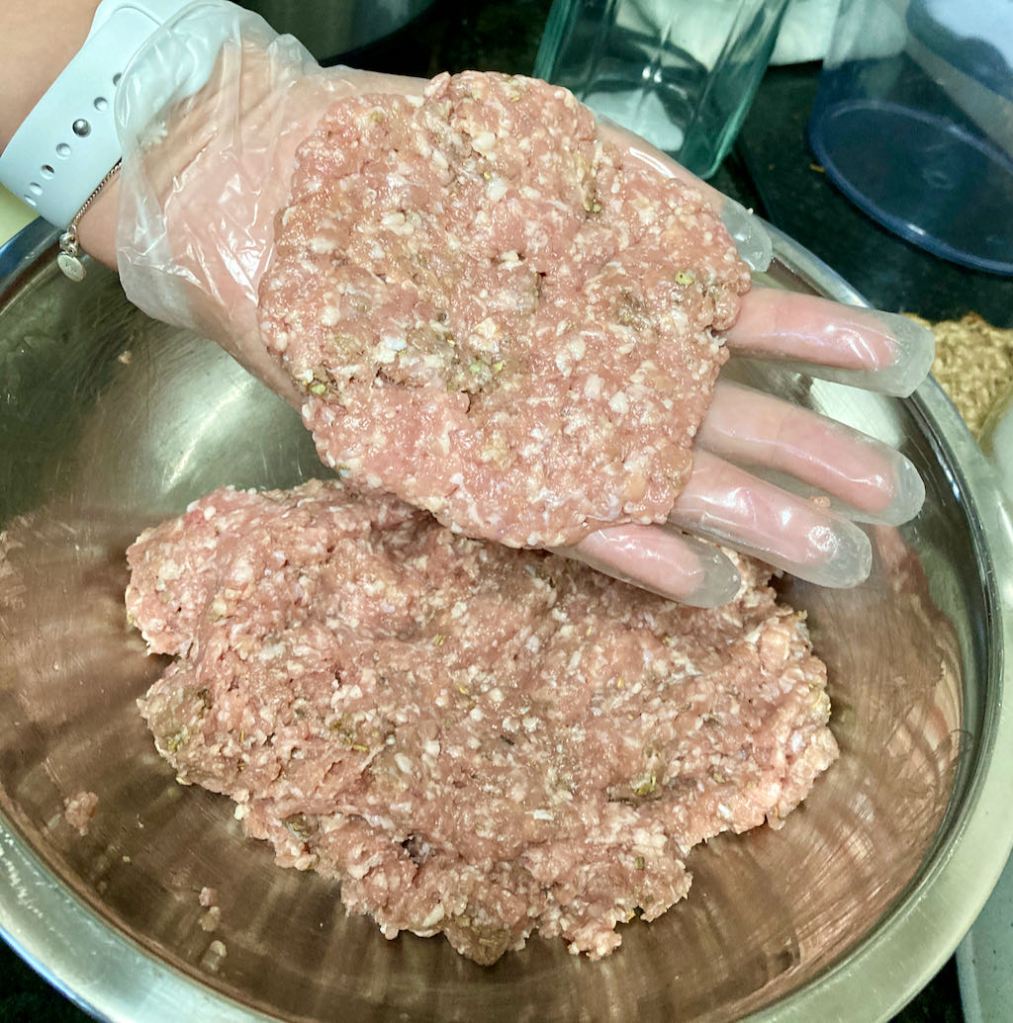
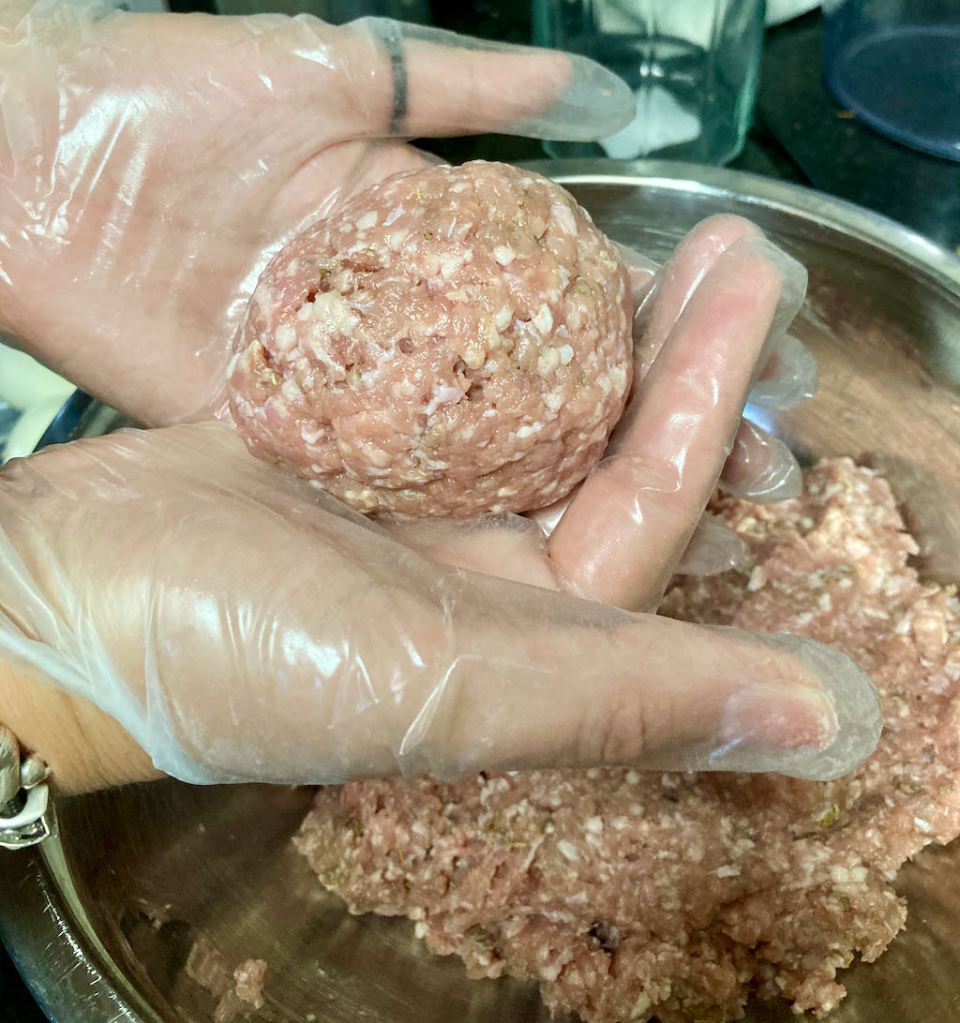
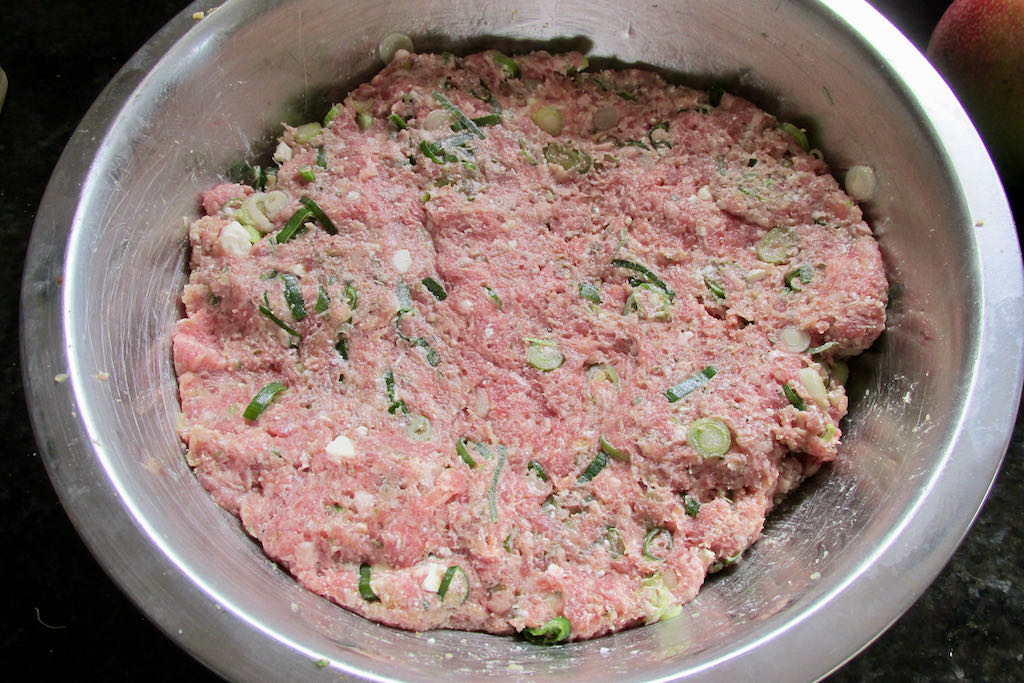
- Mix the chicken, shallots, garlic and prosciutto together in the bowl.
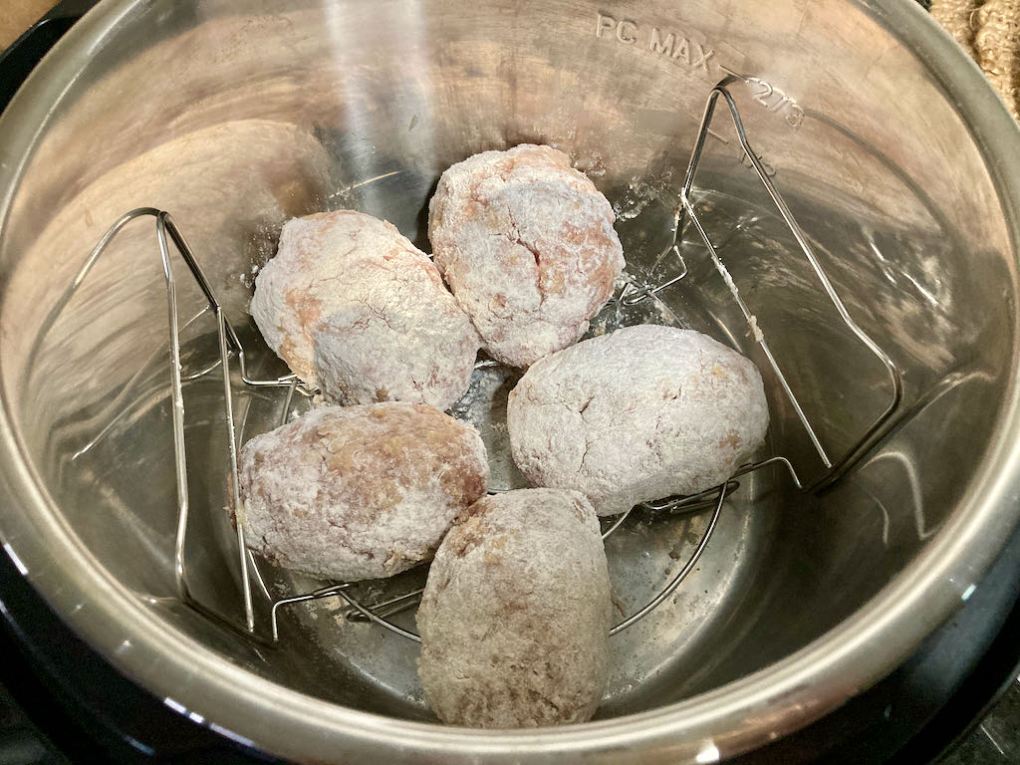
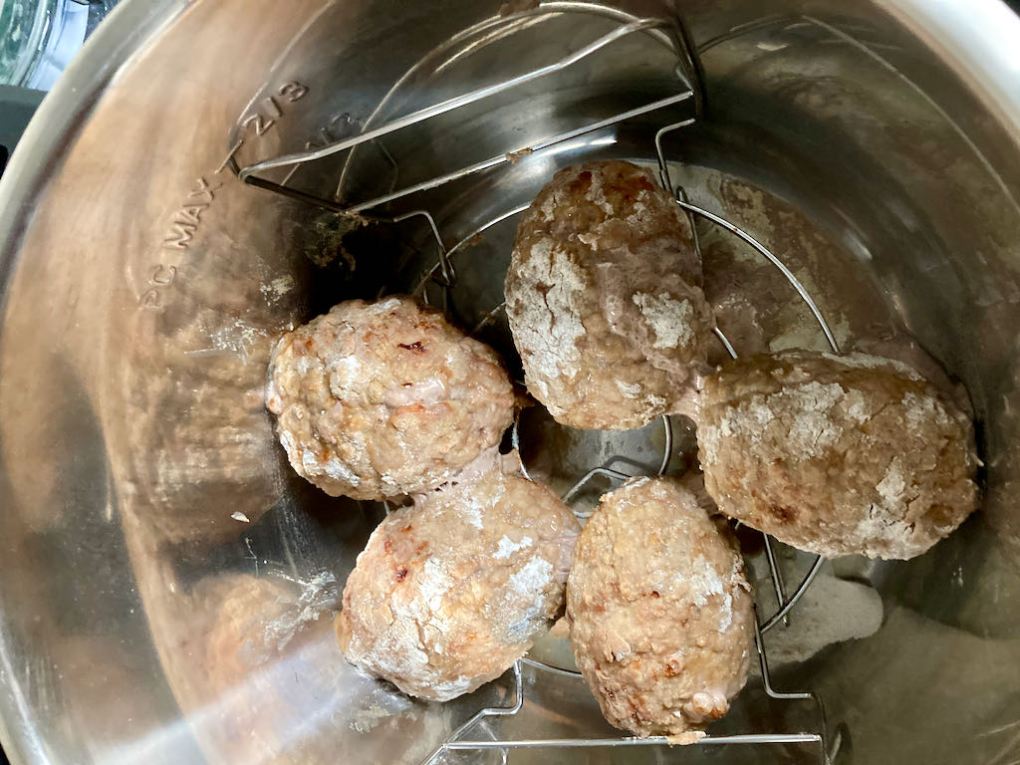
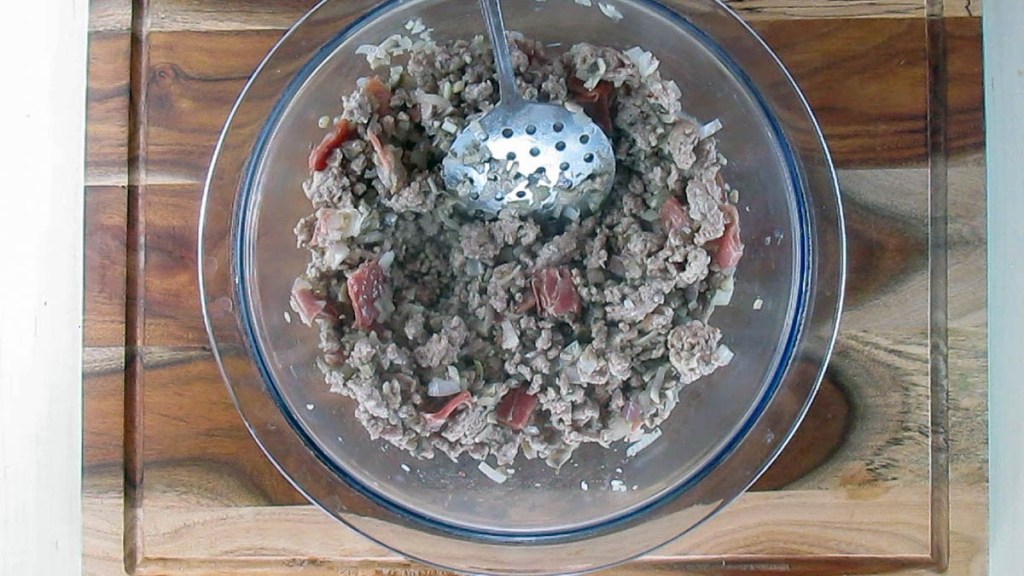
- Split the mixture in half.
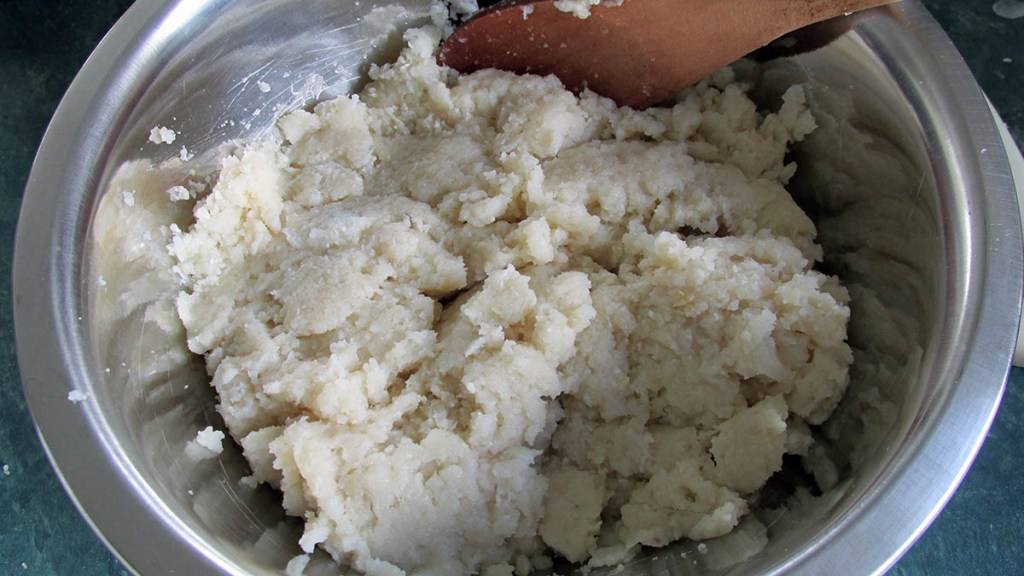
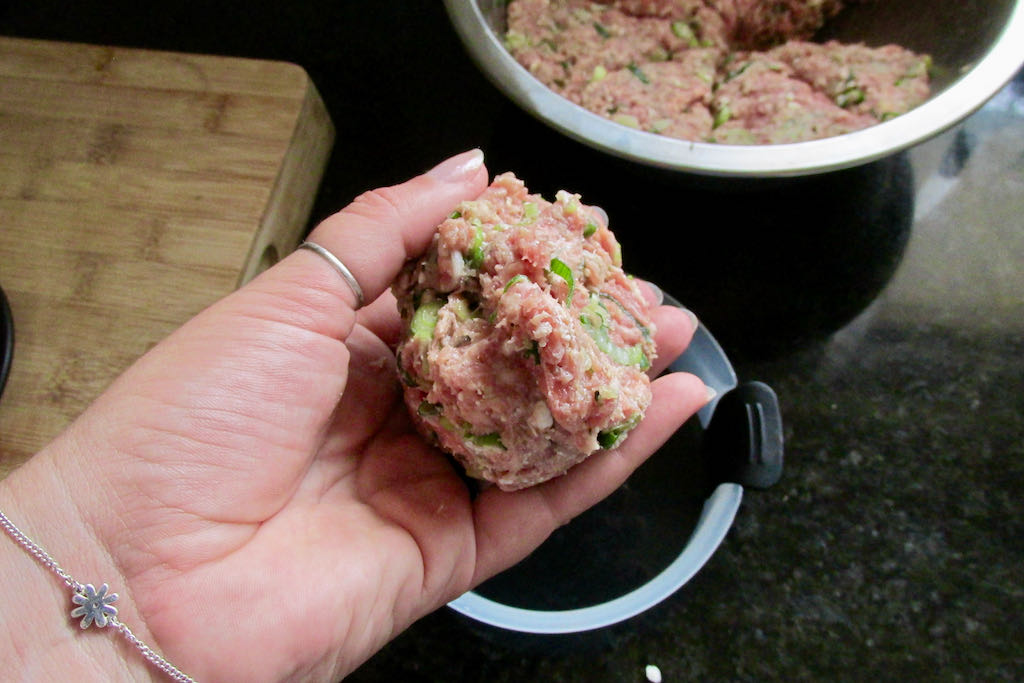
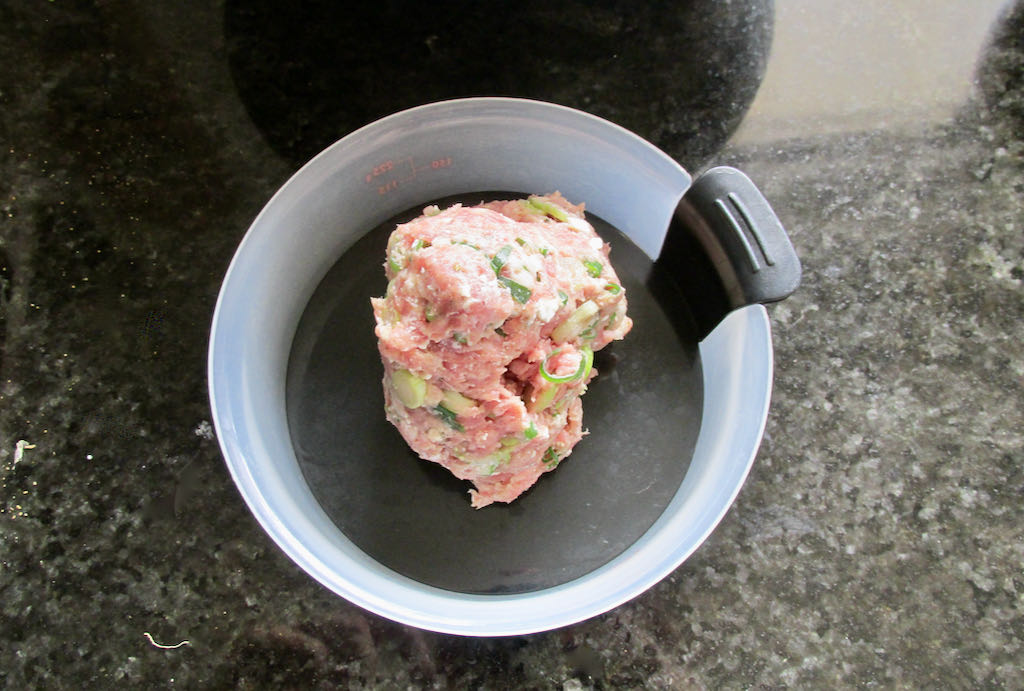
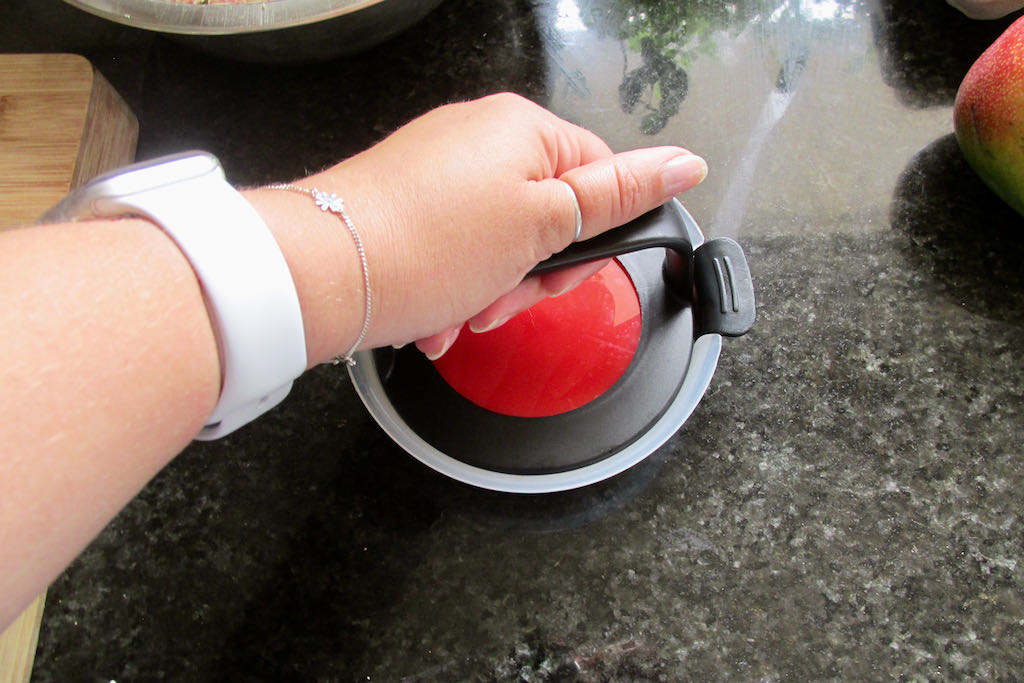
- Blend half of the mixture in a food processor, you want it to have a paste consistency.
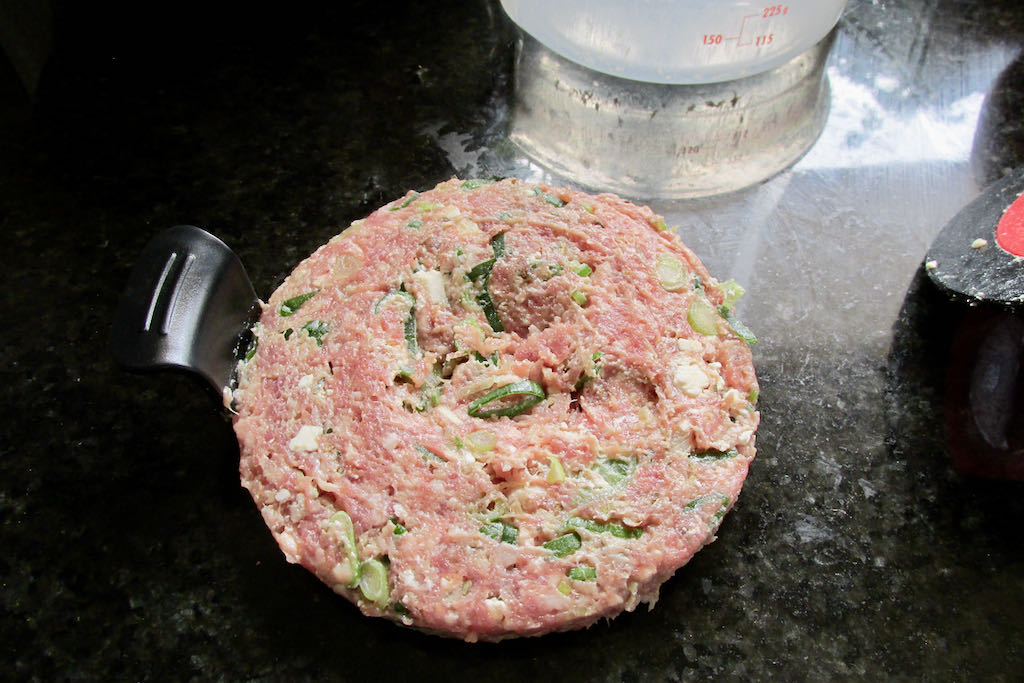
- Add the paste mixture back to the rest of the chicken mixture and mix it everything together.
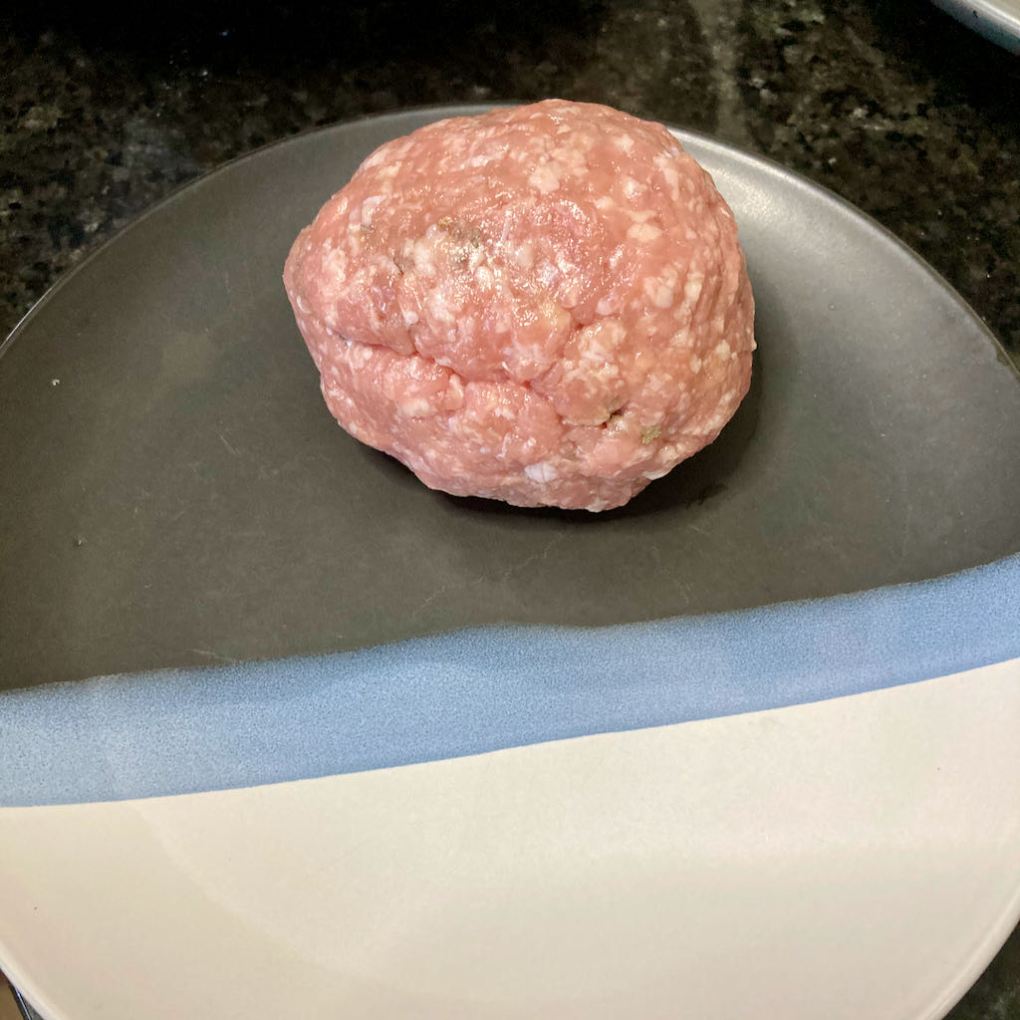
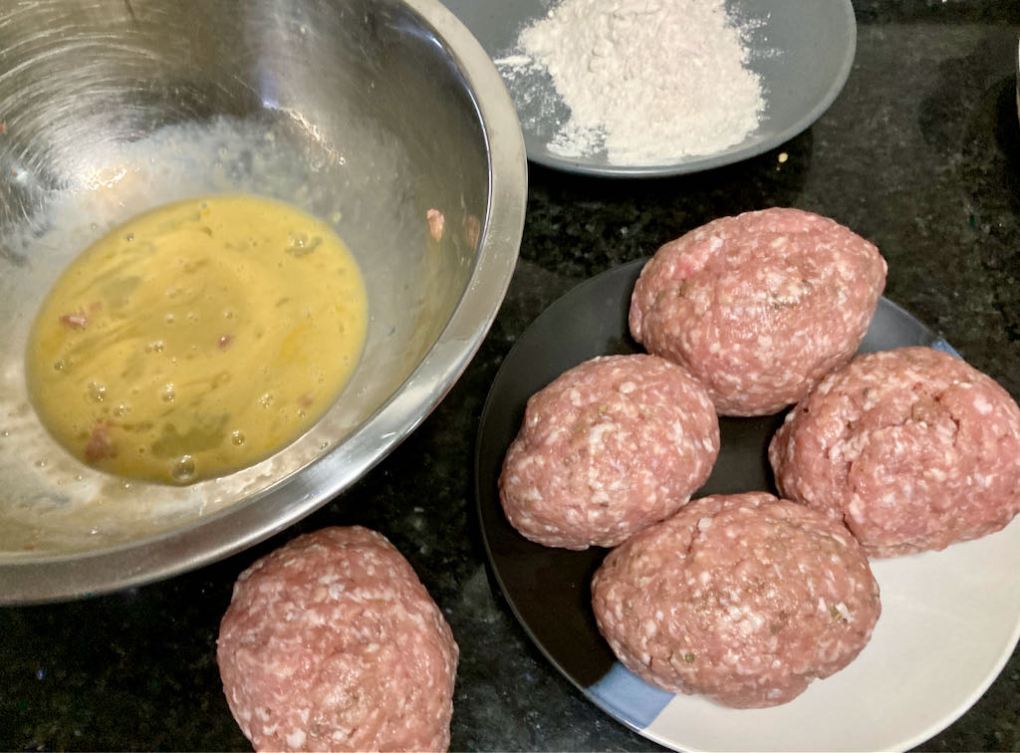
- It should be a very sticky mixture.
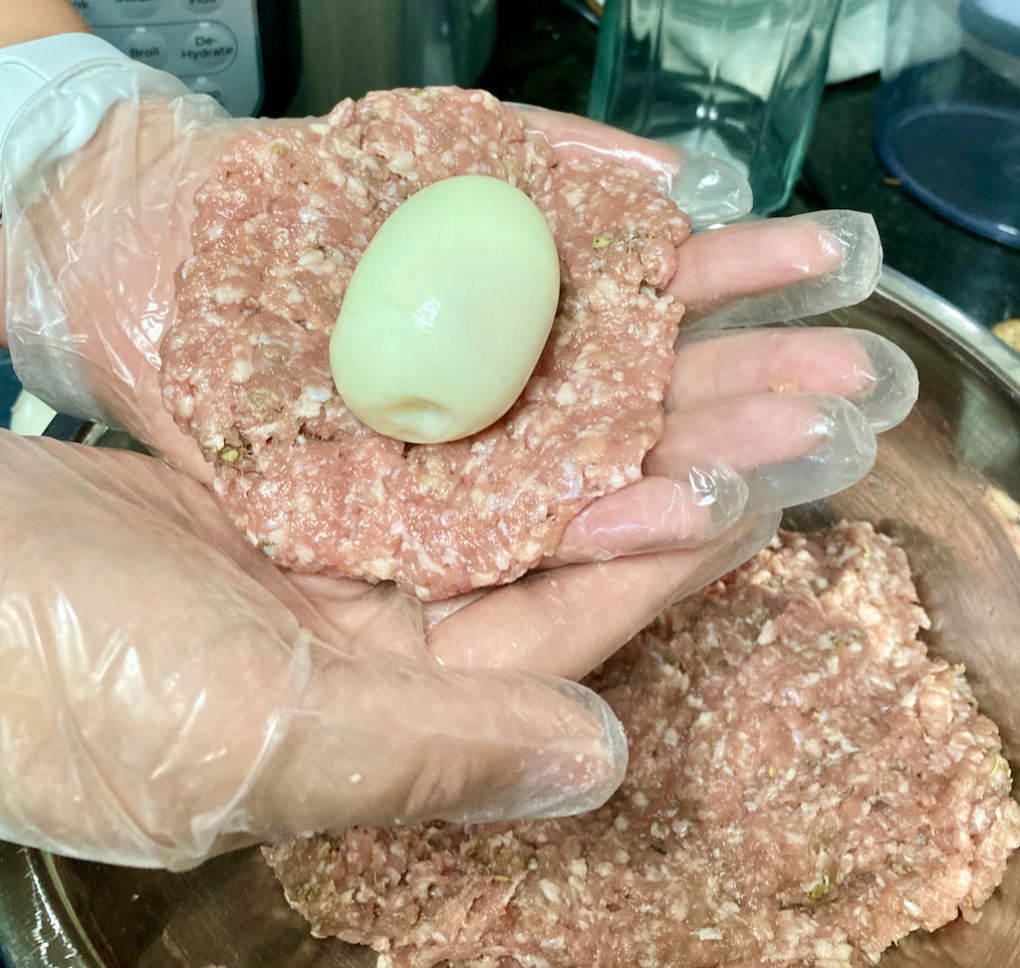
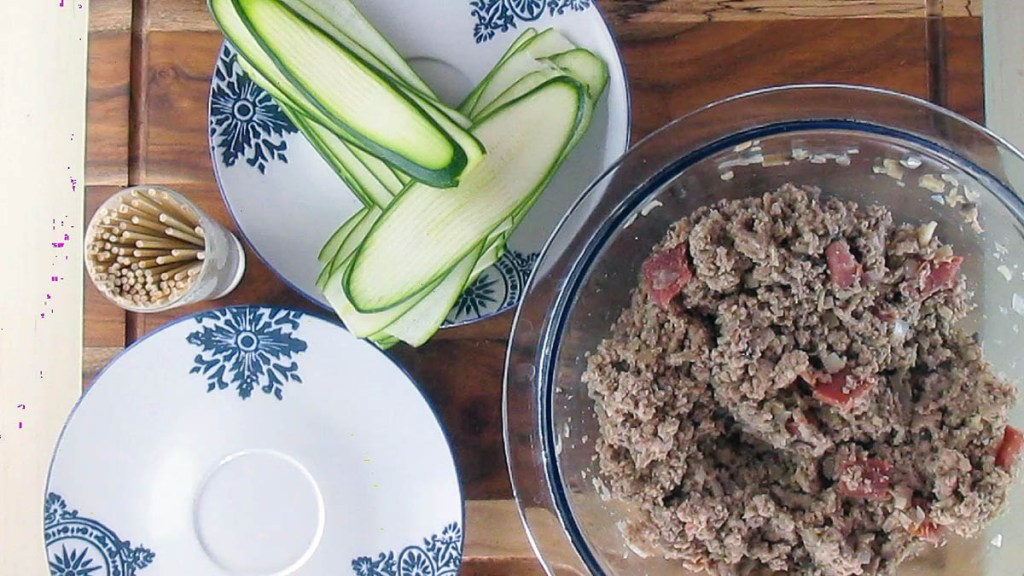
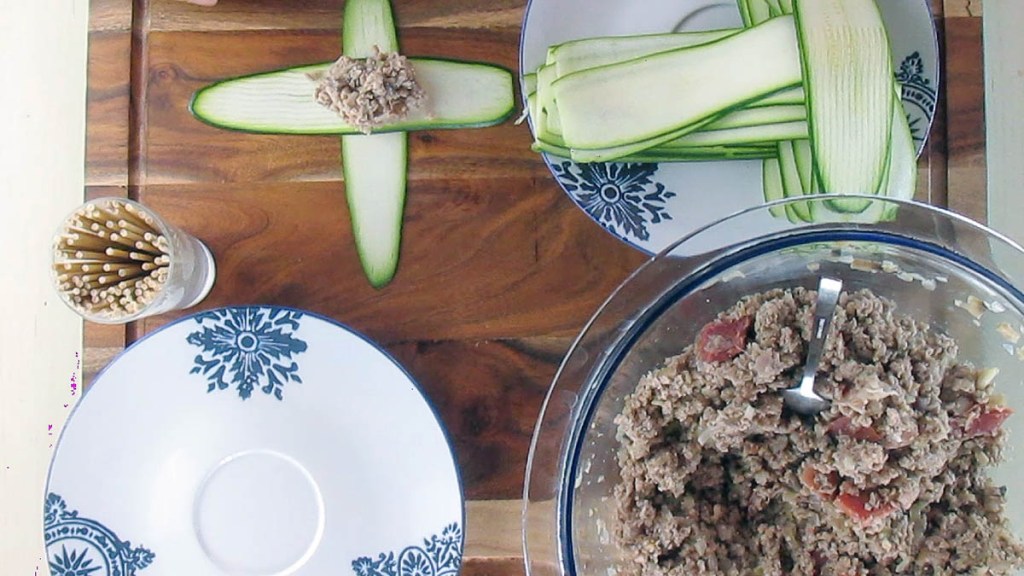
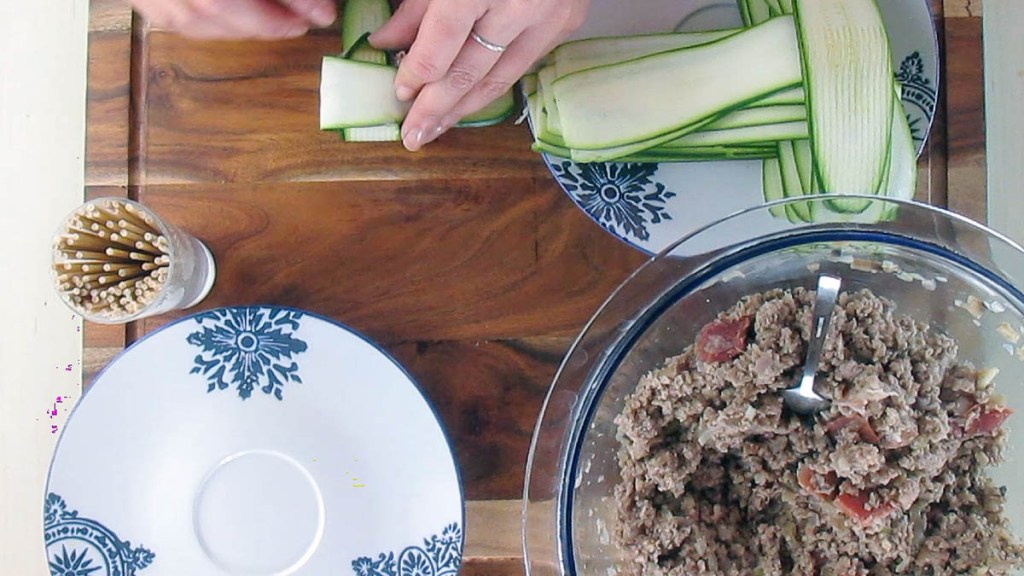
- Use a mandolin to slice the courgettes into long ribbons.
- Lay down two courgette ribbons in the shape of a cross.
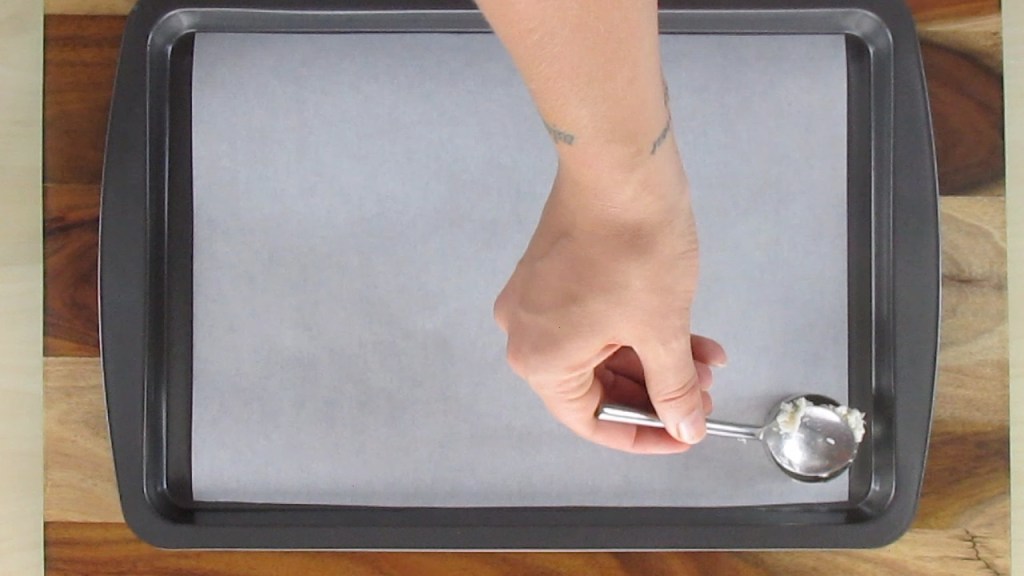
- Spoon the filling into the centre of the courgettes.
- The amount of filling will depend on how large the courgette ribbons are.
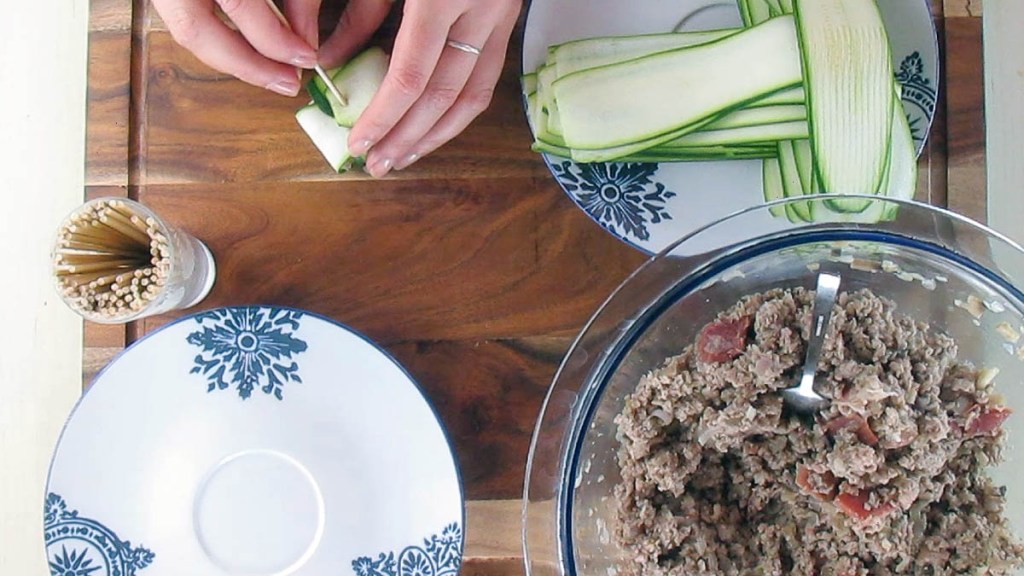
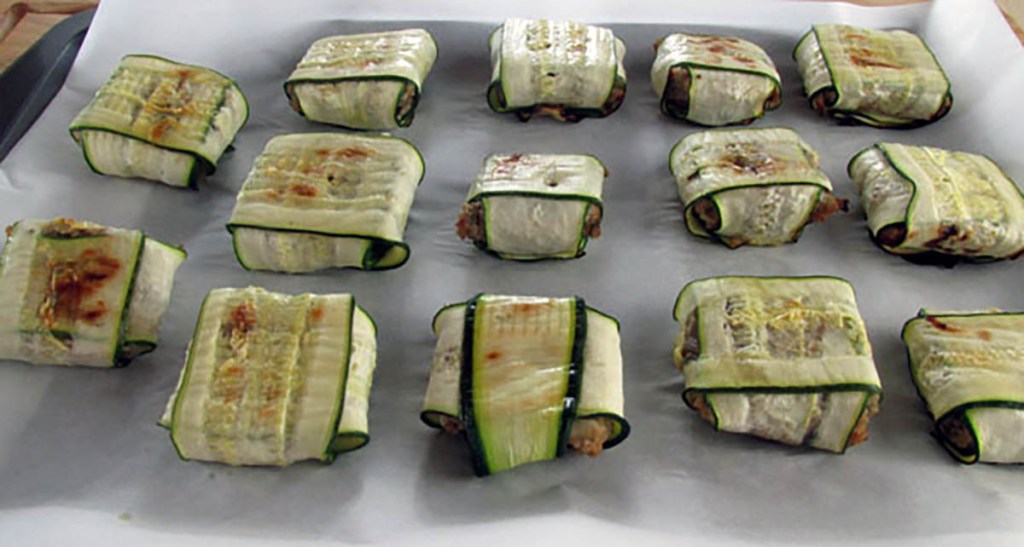
- Fold the ends of the courgette up to cover the filling; you will need to use a toothpick to secure the ends of the courgette and keep the ravioli closed.
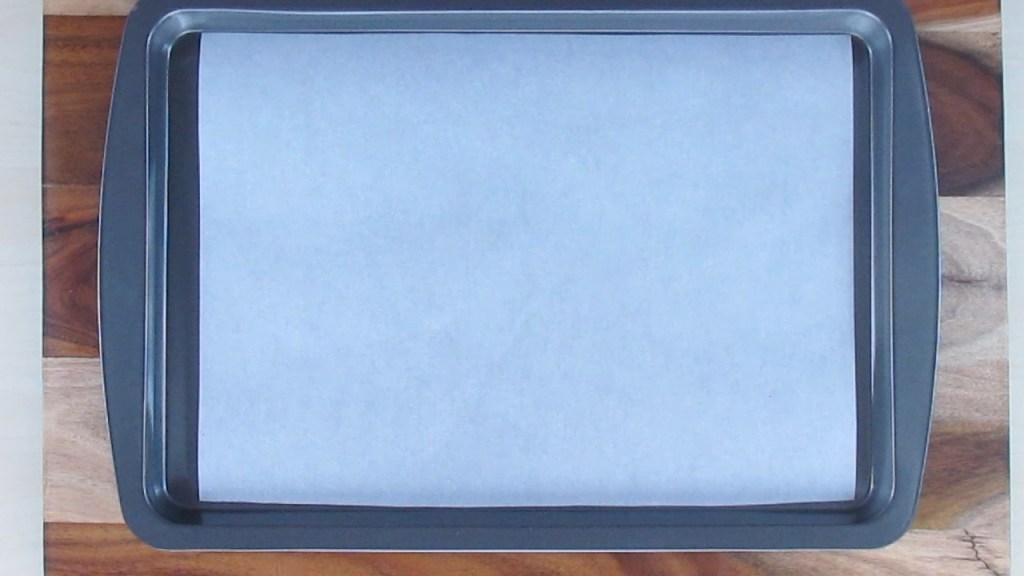
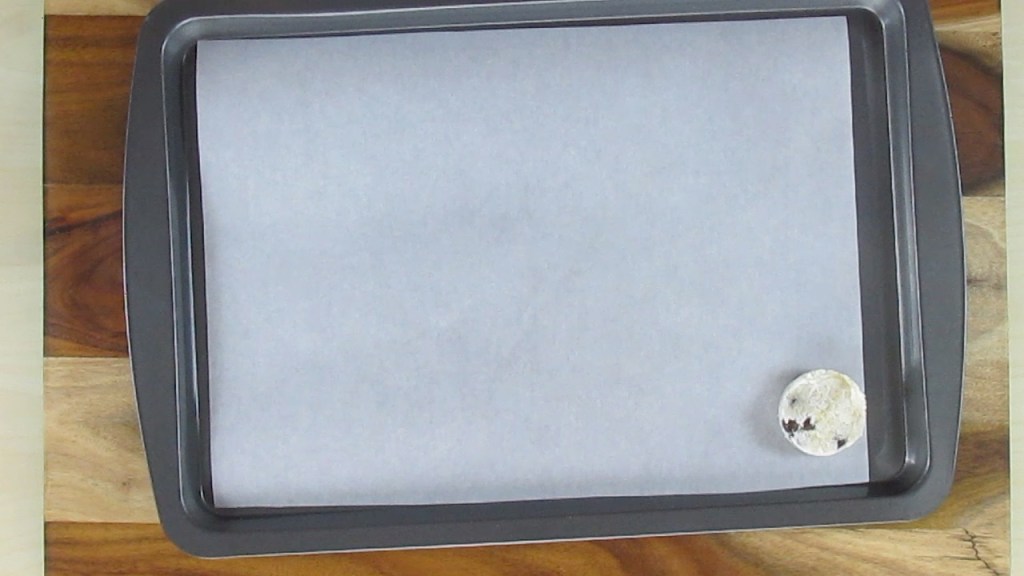
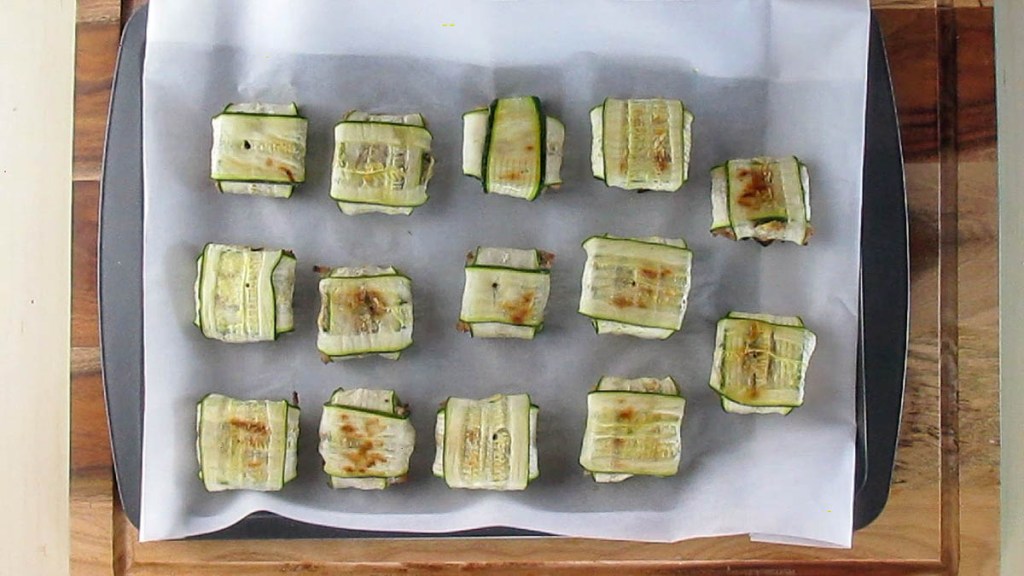
- Place the ravioli on a baking tray lined with baking paper or a silicone liner.
- Bake the ravioli for 20-25 minutes at 200 degrees C/ 400 degrees F.
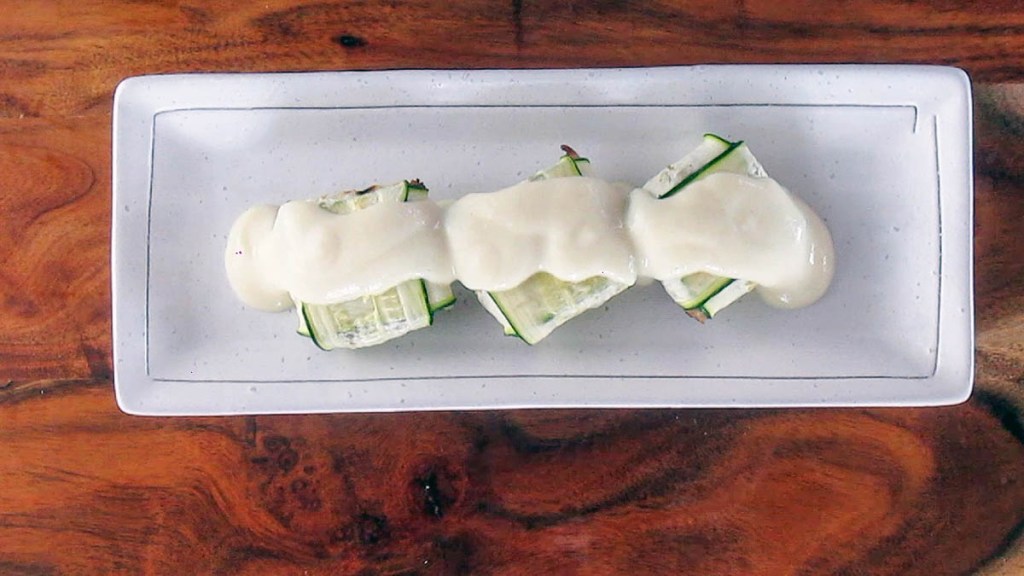
- Serve with cauliflower sauce.
Nutrition
Per Serving: 193 calories; 12 g fat; 6 g carbohydrates; 14 g proteinEquipment
- Frying pan
- Wooden spoon
- Knife
- Chopping board
- Scales
- Measuring spoons
- Mandolin or vegetable peeler
- Mixing bowl
- Food processor
- Spoon
- Baking tray
- Baking paper or a silicone liner
Nutritional disclaimer
Nutrition information is provided as an estimate based on the ingredients used and available in my area (New Zealand). The nutritional information is here to help you understand the recipe; I use MyFitnessPal to generate my estimates. For more accurate nutritional information, please use a nutritional calculator with the ingredients in your area.