Are you ok with tacos?
Possibly the most stupid question I can ask. The answer is always the same: YES!!!! While the traditional build-your-taco approach to dinner never disappoints, sometimes a little more structural integrity is needed to ensure dinner doesn’t distract from those blink-and-you-will-miss-it sporting moments. I had a friend over to watch some UFC recently and needed an easy-to-eat dinner that would allow for uninterrupted viewing of some great fights. This is how I solved the problem.
What could be better
Everyone loves cupcakes, and everyone loves tacos. What could be better than combining the two? It isn’t as crazy as it sounds, I promise. These little cupcakes are perfectly portioned, with a crispy case and tasty fillings, and they have the bonus of not having to worry about losing half the filling while you are trying to eat them.
Gluten-free wraps
I like to use the traditional corn tortilla wraps for my tacos, but this recipe works well with wheat-based wraps and even egg wraps. Egg wraps don’t get crispy, but they do taste amazing. The corn tortillas are less flexible, so you have to be careful when placing them in the cupcake pan. I find slightly warming the wraps before use makes them easier to shape.
These taco cupcakes are an excellent option for dinner parties, shared lunch at work or just because you want something a little different on the weekend.
Taco cupcakes recipe

Ingredients
- 500g minced beef
- 1 onion, finely diced
- 2 tbsp. taco seasoning
- 12 large corn tortilla discs
- 12 small corn tortilla discs
- 400g can refried beans
- 2 cups cheese, grated
- Sour cream
- Fresh coriander, chopped
Instructions
Preheat the oven to 160 degrees C/ 375 degrees F.
In a large, heavy-bottomed frying pan, fry the onion until translucent.
When the onion has cooked for a few minutes, add the beef to the pan and cook until browned.
Add the taco seasoning to the meat just before it is completely cooked.
Remove the pan from the heat and set it aside.
Take a medium-sized 12-cup muffin pan. In each cup, place one large tortilla disc and press it into shape to create a cup.

In the centre of each tortilla cup, add one teaspoon of refried beans.
On top of the beans, add a small tortilla disc.
On top of the small disc, add two tablespoons of the cooked beef.
Sprinkle each cup with cheese.

Bake for 15 minutes or until the cheese is golden brown.

Remove the cupcakes from the oven and top them with a teaspoon of sour cream and chopped fresh coriander.

Serve while they are hot.
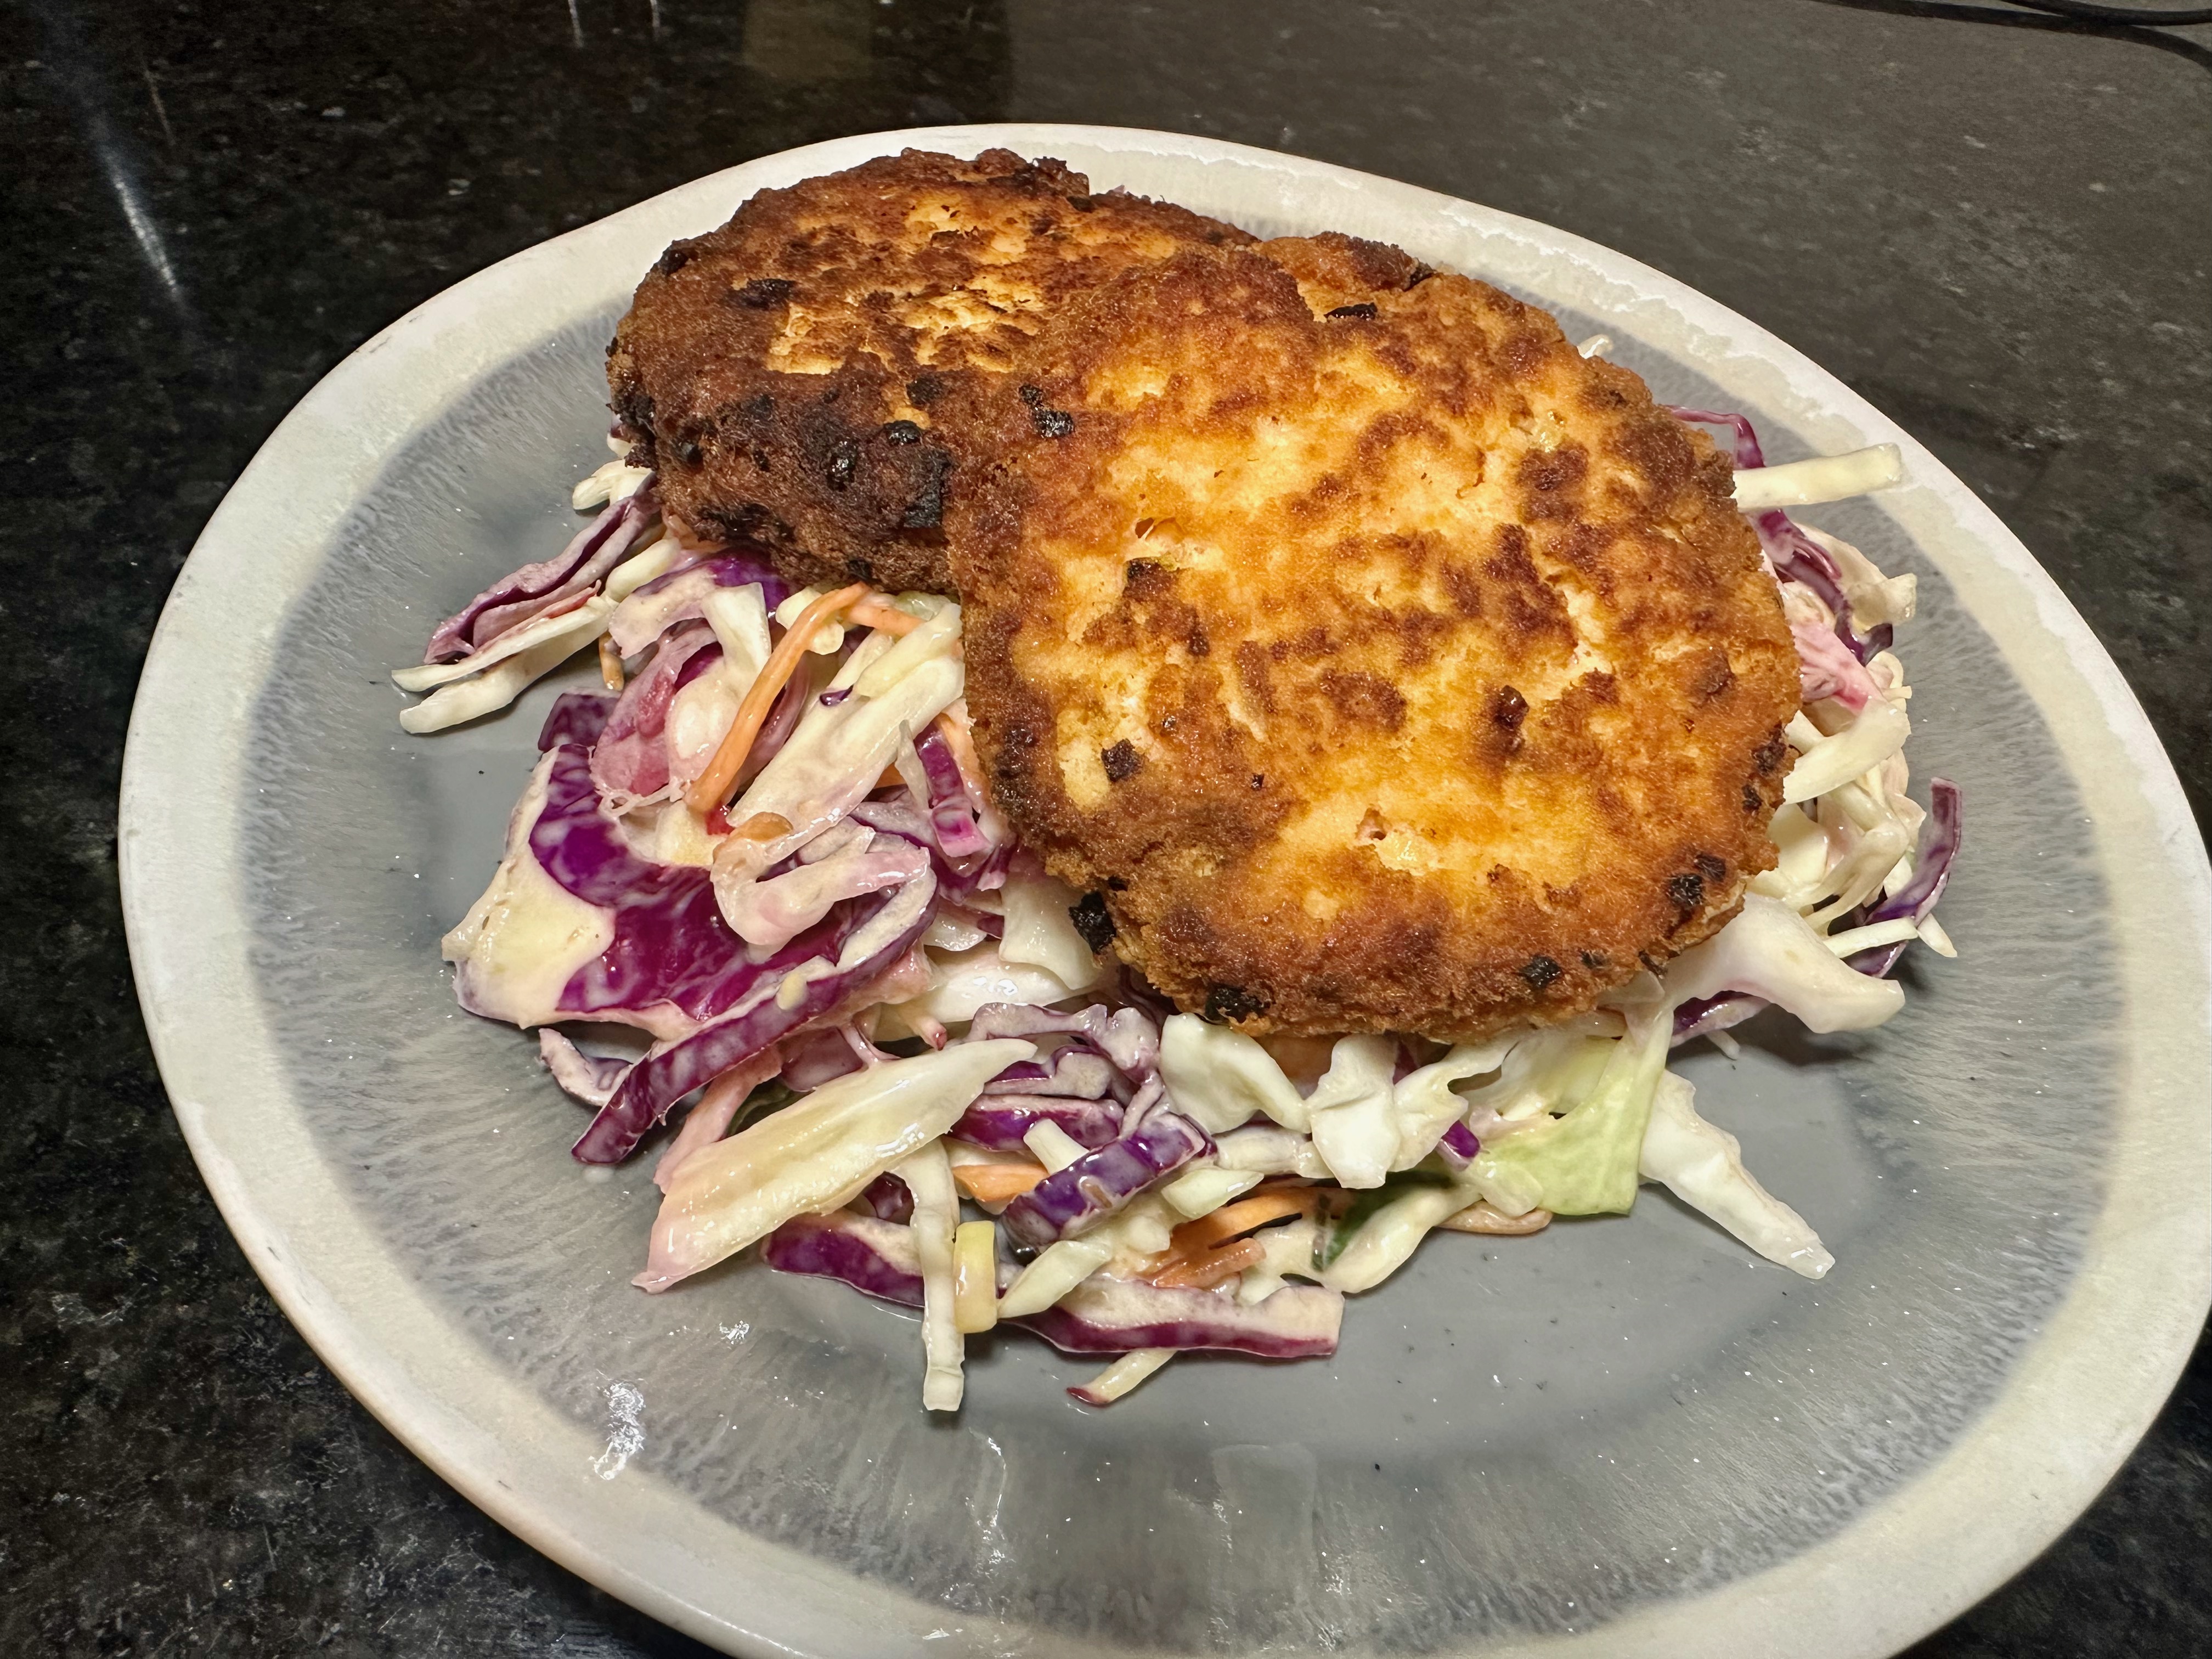
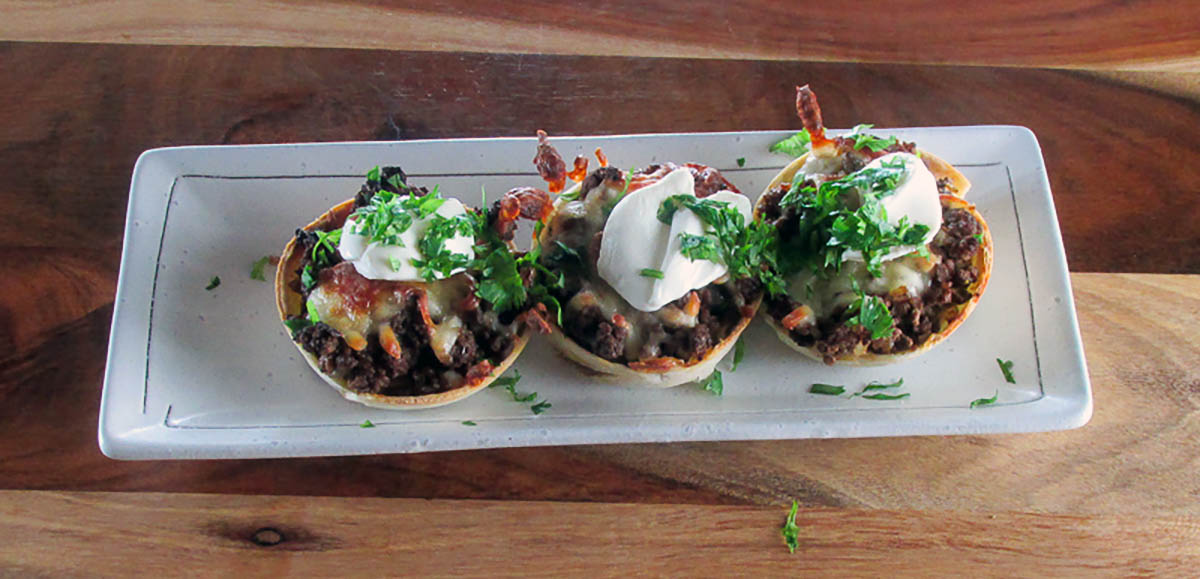
Taco cupcakes

These little cupcakes are perfectly portioned, have a little crispy case and tasty fillings,
Credit: Cath @ easycleaneats
Ingredients
- 500g minced beef
- 1 onion, finely diced
- 2 tbsp. taco seasoning
- 12 large corn tortilla discs
- 12 small corn tortilla discs
- 400g can refried beans
- 2 cups cheese, grated
- Sour cream
- Fresh coriander, chopped.
Directions
- Preheat the oven to 160 degrees C/ 375 degrees F.
- In a large, heavy-bottomed frying pan, fry the onion until translucent.
- When the onion has cooked for a few minutes, add the beef to the pan and cook until browned.
- Add the taco seasoning to the meat just before it is completely cooked.
- Remove the pan from the heat and set it aside.
- Take a medium-sized 12-cup muffin pan. In each cup, place one large tortilla disc and press it into shape to create a cup.
- In the centre of each tortilla cup, add one teaspoon of refried beans.
- On top of the beans, add a small tortilla disc.
- On top of the small disc, add two tablespoons of the cooked beef.
- Sprinkle each cup with cheese.
- Bake for 15 minutes or until the cheese is golden brown.
- Remove the cupcakes from the oven and top them with a teaspoon of sour cream and chopped fresh coriander.
- Serve while they are hot.
Nutrition
Per Serving: 276 calories; 10 g fat; 25 g carbohydrates; 20 g proteinEquipment
- Scales
- Measuring cups
- Measuring spoons
- Frying pan
- Wooden spoon
- Knife
- Chopping board
- Large round cookie cutter
- Medium round cookie cutter
- Muffin pan/ cupcake pan
- Teaspoon
Nutritional disclaimer
Nutrition information is provided as an estimate based on the ingredients used and available in my area (New Zealand). The nutritional information is here to help you understand the recipe; I use MyFitnessPal to generate my estimates. For more accurate nutritional information, please use a nutritional calculator with the ingredients in your area.