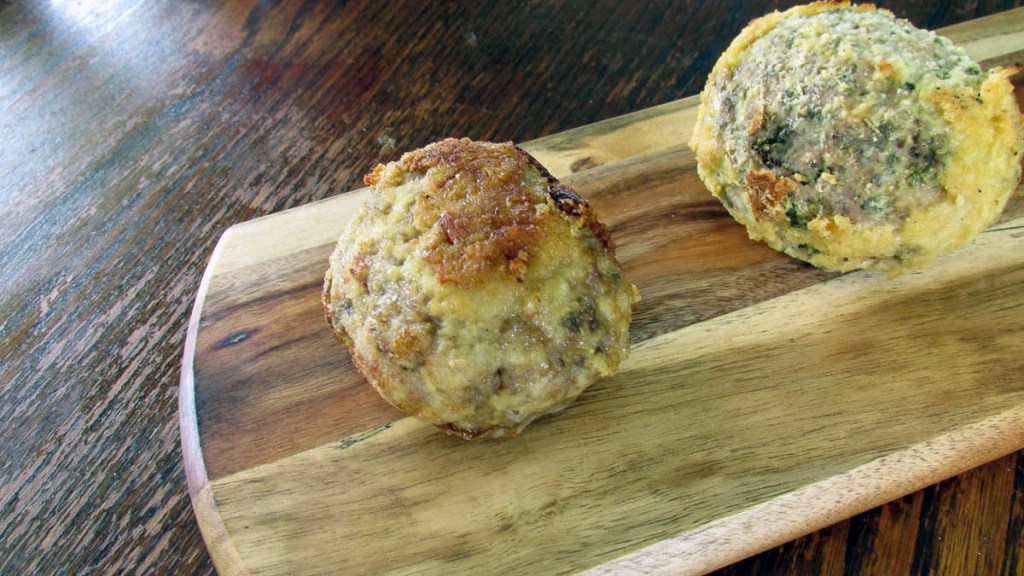
It may surprise you to learn that Scotch eggs aren’t Scottish at all; they are actually English. The traditional Scotch egg is made with sausage meat, coated in breadcrumb and deep-fried until they are crisp on the outside. While I don’t have anything against a deep-fried meal, I was never a fan of the sausage meat that was probably mostly sawdust and the eggs with that horrible sulphur ring; no, thank you.
A new take
I decided to try something a bit different and develop a clean eating take on the traditional recipe. As ever when coming up with clean eating, there are challenges to developing a recipe that tastes great and isn’t awful for you.
Challenges to overcome
The first challenge was getting the perfect boiled egg; the trick is cooking the eggs enough to cook the egg white without overcooking the yolk. For Scotch eggs, go for a slightly runny yolk; this will give you a perfect yolk when the egg is baked. The next challenge is getting the meat to pack a flavour punch. I love having access to good quality pork; thankfully, it isn’t hard to get free-range pork here in Auckland. I find that free-range pork has far more flavour than high intensity farmed meat; it is always best for taste. The right blend of garlic, sage and Worcestershire sauce gives the meat a real step up in flavour. Finally, getting a nice crispy coating that isn’t deep-fried, I find that coconut flour and egg coating is a great alternative to breadcrumbs, and you don’t have to deep-fry it to make it crispy.
Instant pot
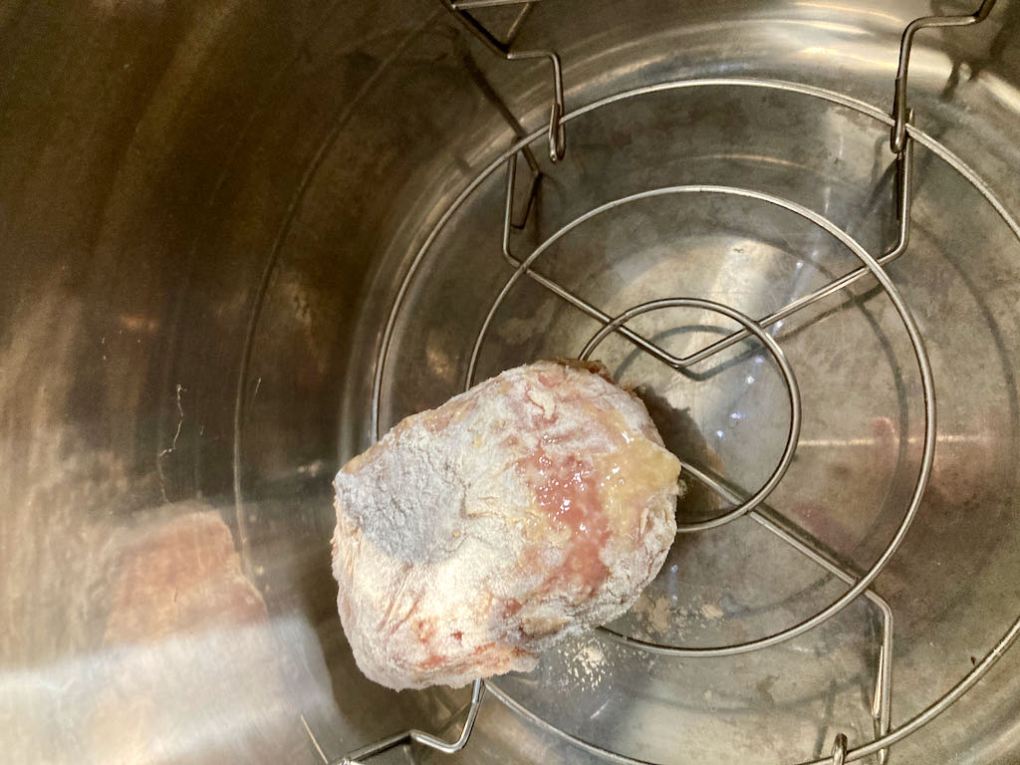
I recently purchased an Instant Pot duo crisp which is a slow cooker, pressure cooker and air fryer, plus more all in one. The last time I made up some Scotch eggs, I decided to bake them in the Instant Pot rather than putting them in the oven. I love the versatility of the Instant Pot, and it is quickly becoming my favourite kitchen appliance.
Scotch egg recipe
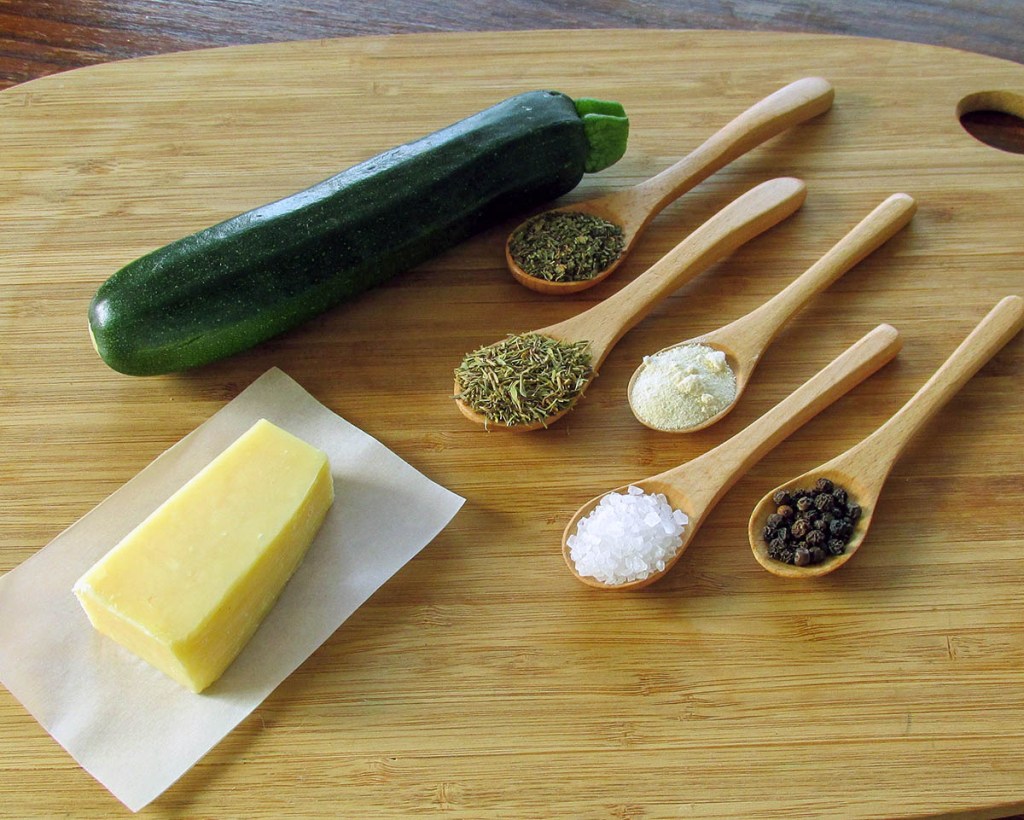
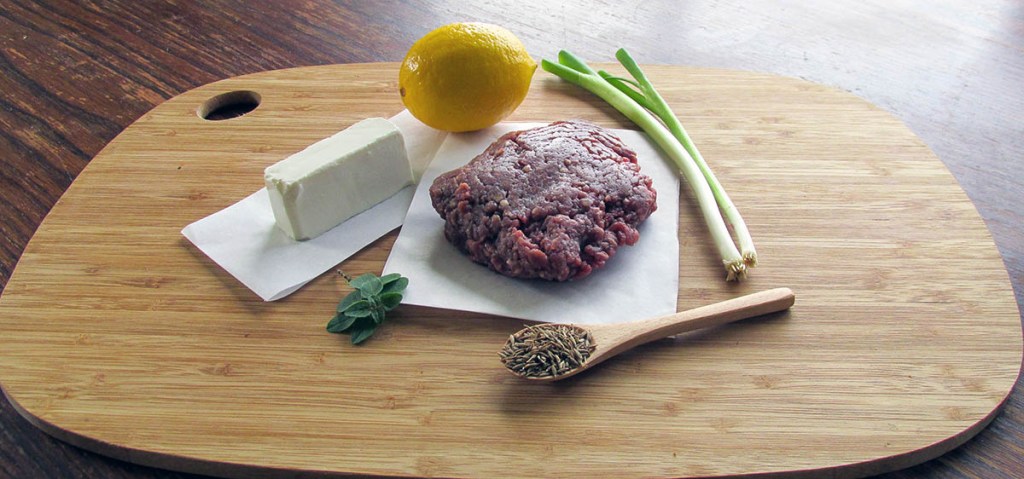
Ingredients

- 4 eggs hard boiled and peeled
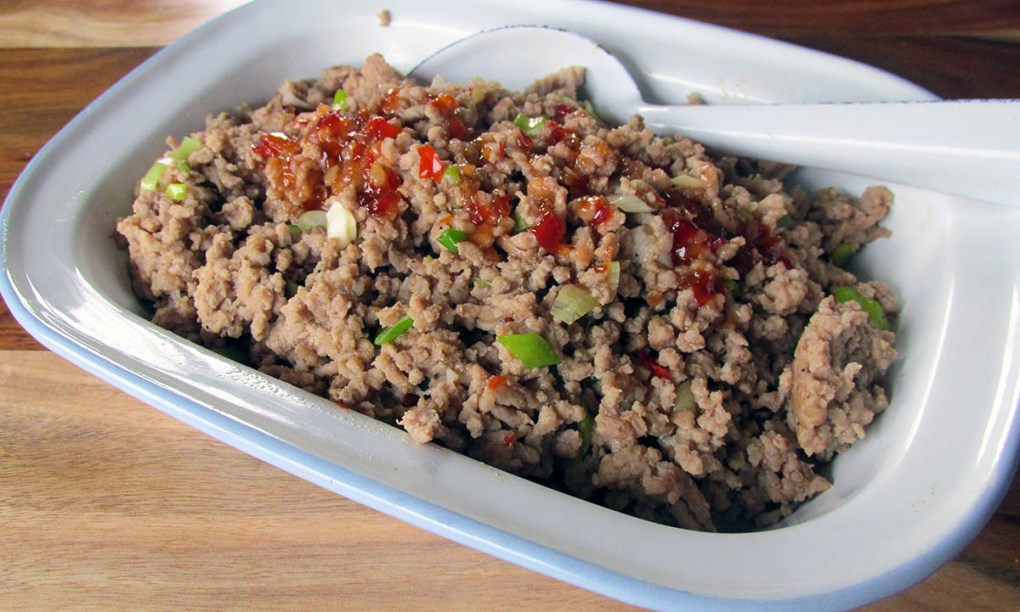
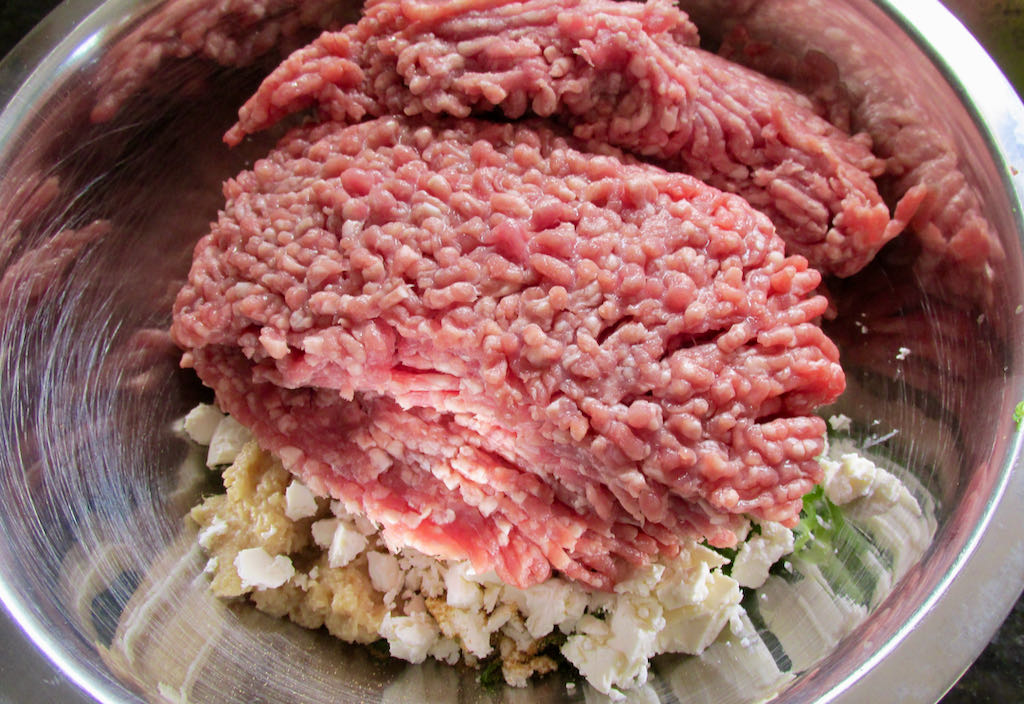
- 500g minced pork
- 1 tsp. garlic powder
- 1 tbsp. dried sage
- 1 tsp. Worcestershire sauce
- salt and pepper
- 1 cup coconut flour
- 2 eggs, beaten


Scotch eggs
This grain free version of Scotch eggs is perfect for protein packed snacking or a trying something different for lunch.
Credit: Cath @ easycleaneats
Ingredients
- 4 eggs hard boiled and peeled
- 500g minced pork
- 1 tsp. garlic powder
- 1 tbsp. dried sage
- 1 tsp. Worcestershire sauce
- salt and pepper
- 1 cup coconut flour
- 2 eggs, beaten
Directions
- Make four perfect boiled eggs.
- Peel the four eggs and set them to one side.
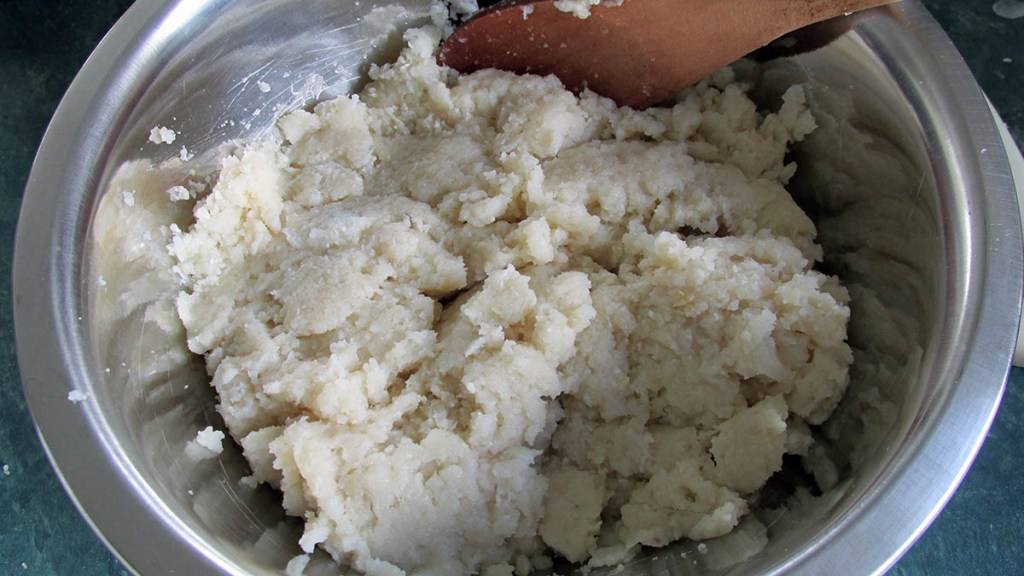
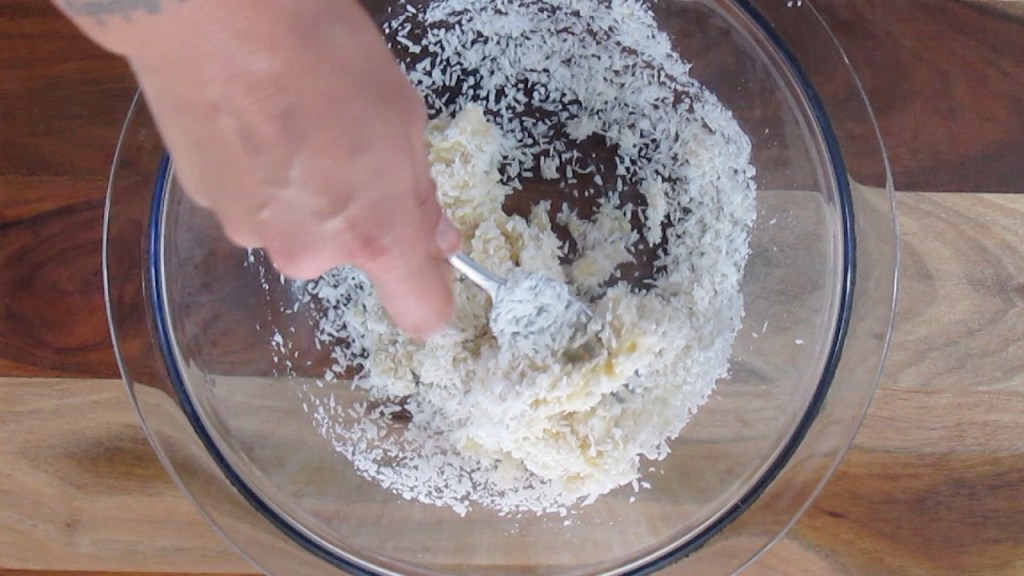
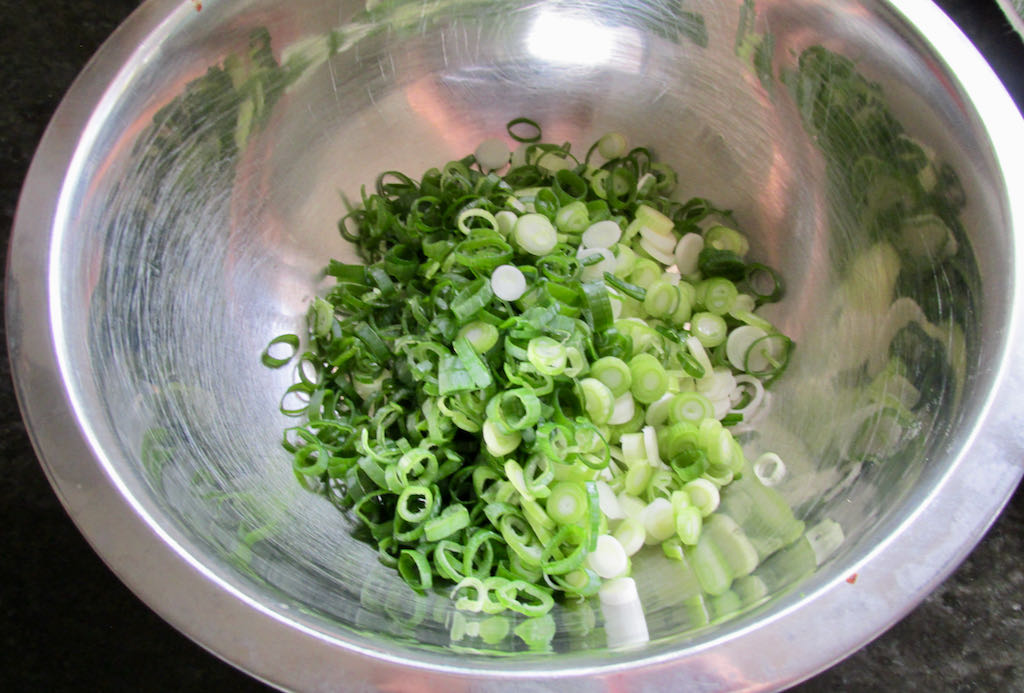
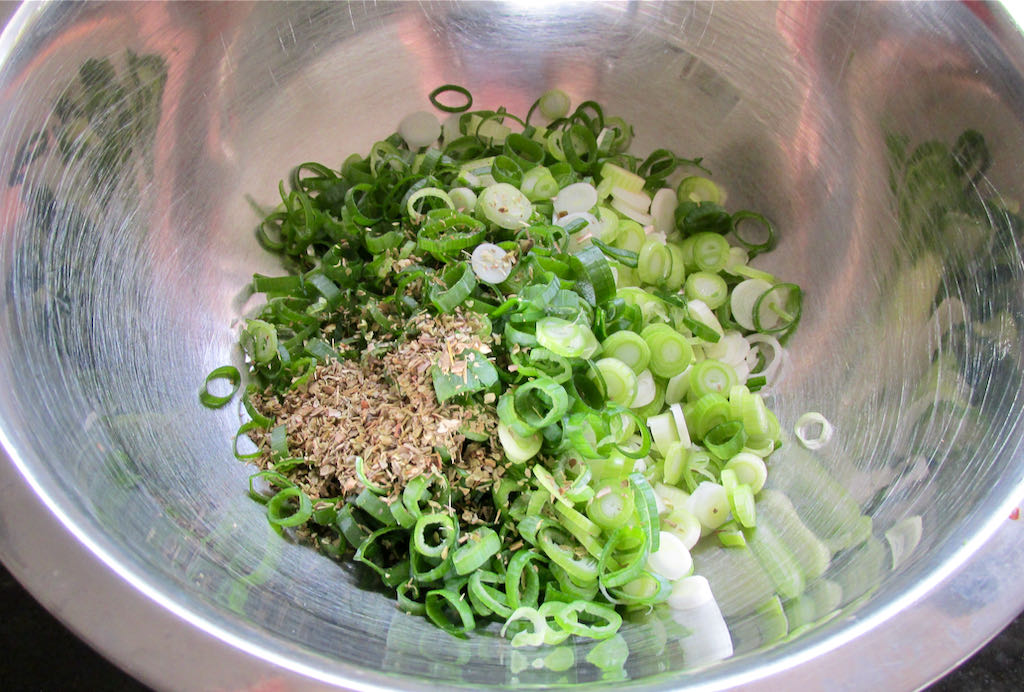
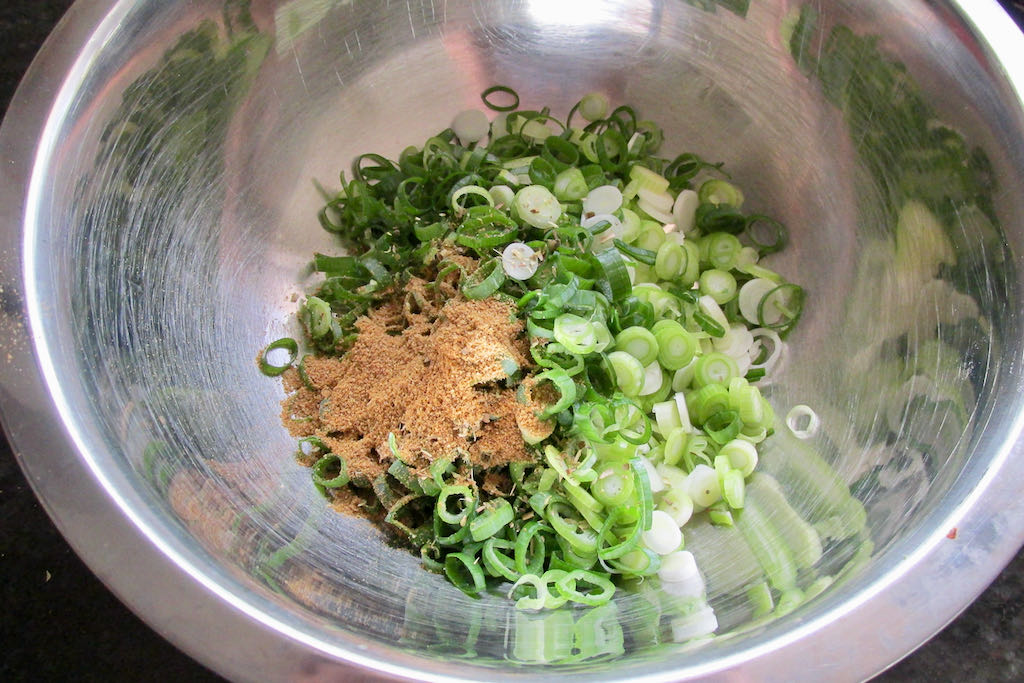
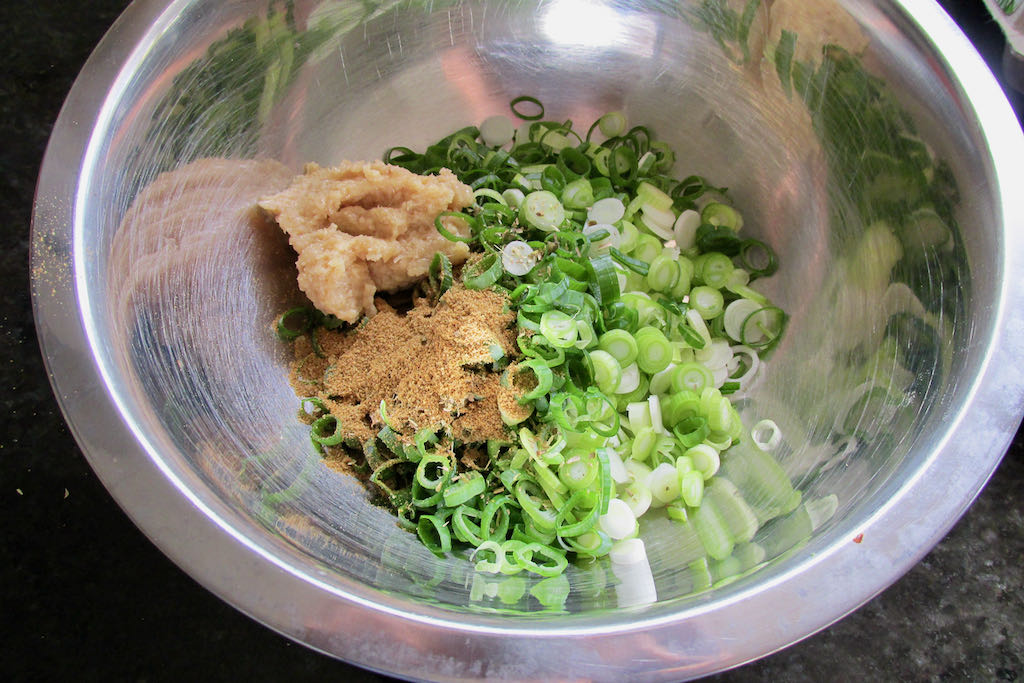
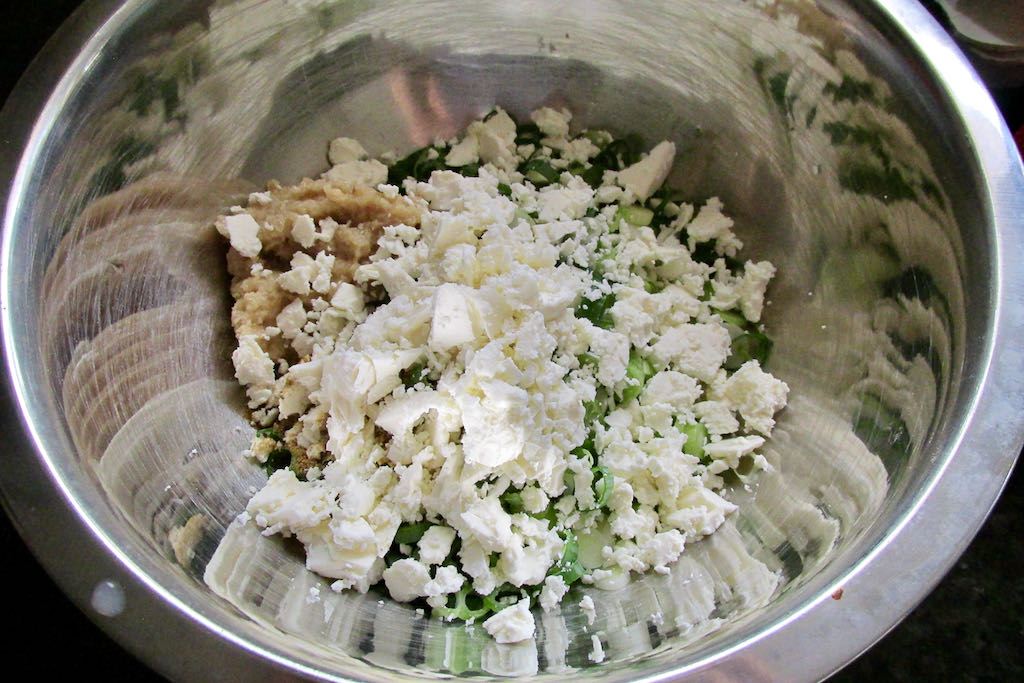
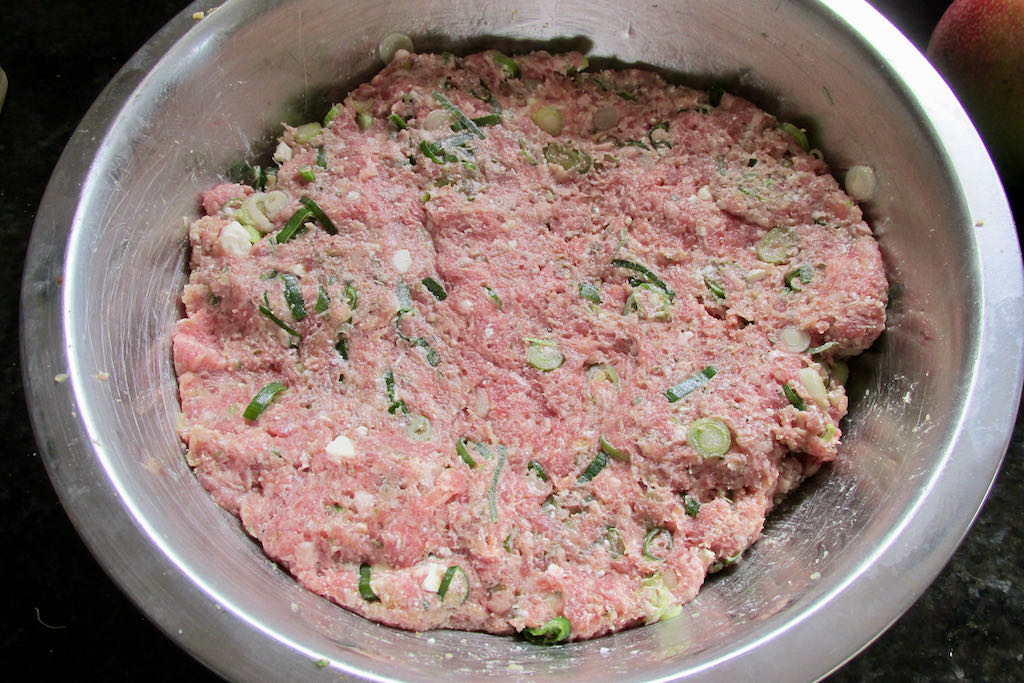
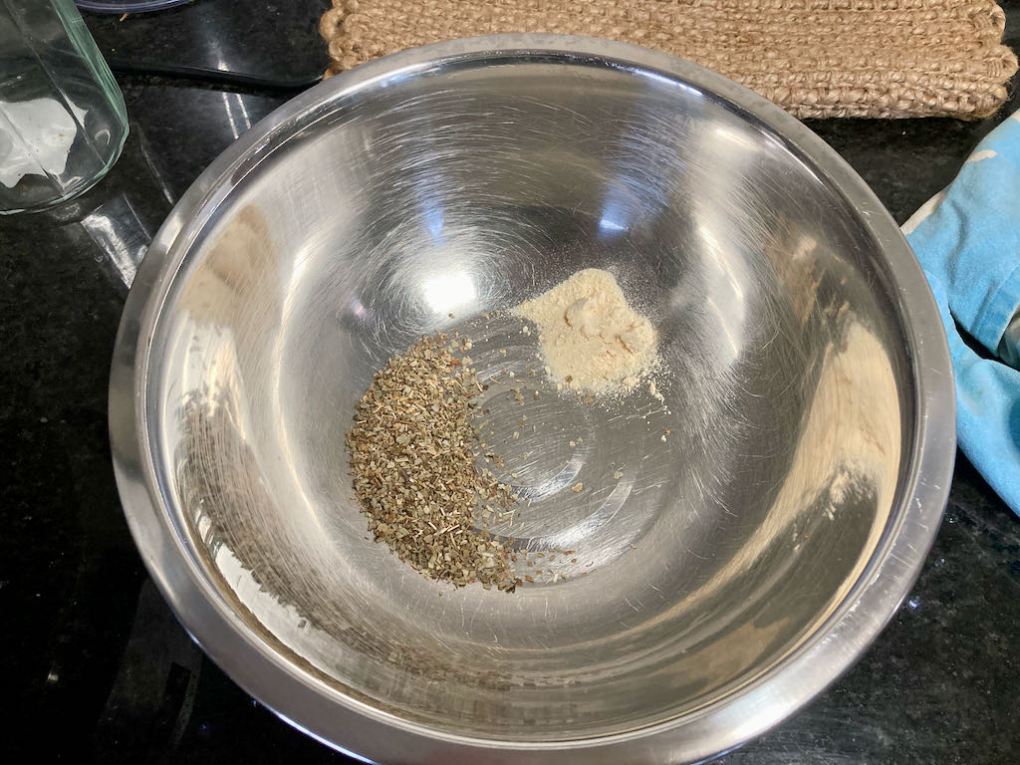
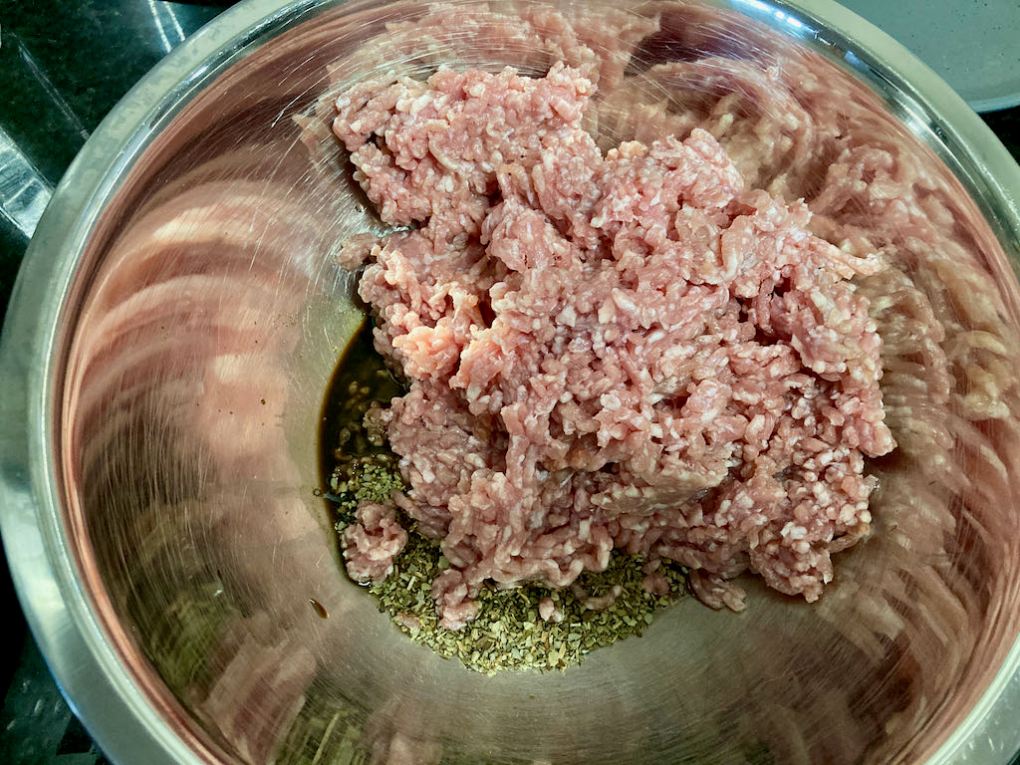
- In a bowl mix the pork mince, garlic powder, sage and Worcestershire sauce.
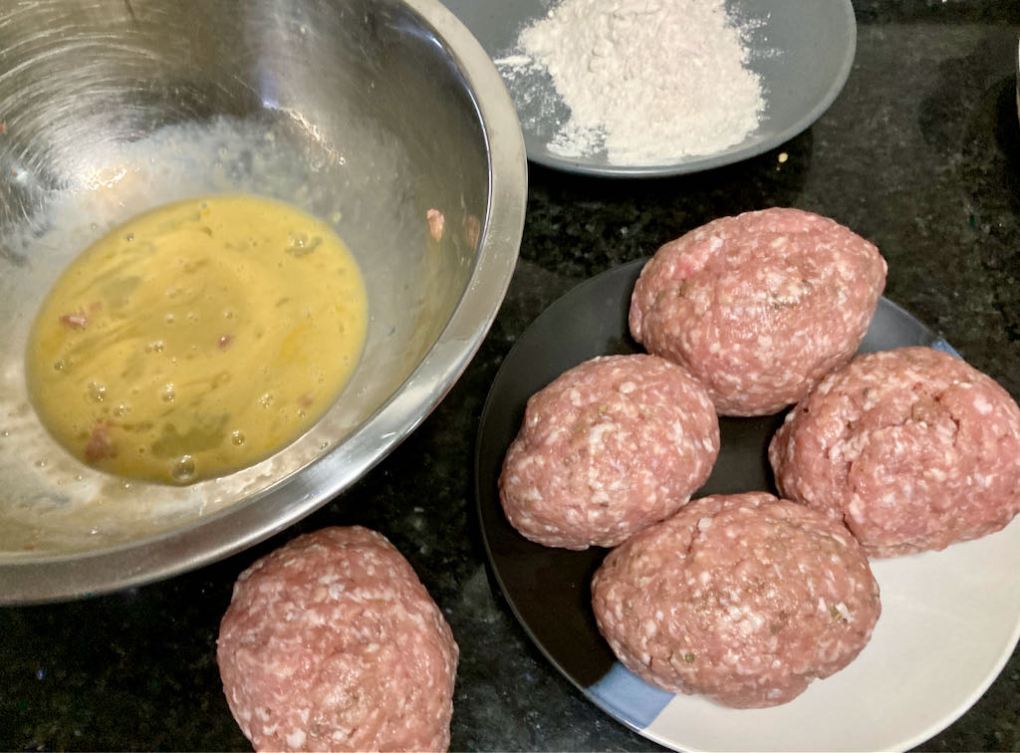
- In another bowl beat the two remaining eggs.
- Place the flour on a plate and season it with some salt and pepper then mix.
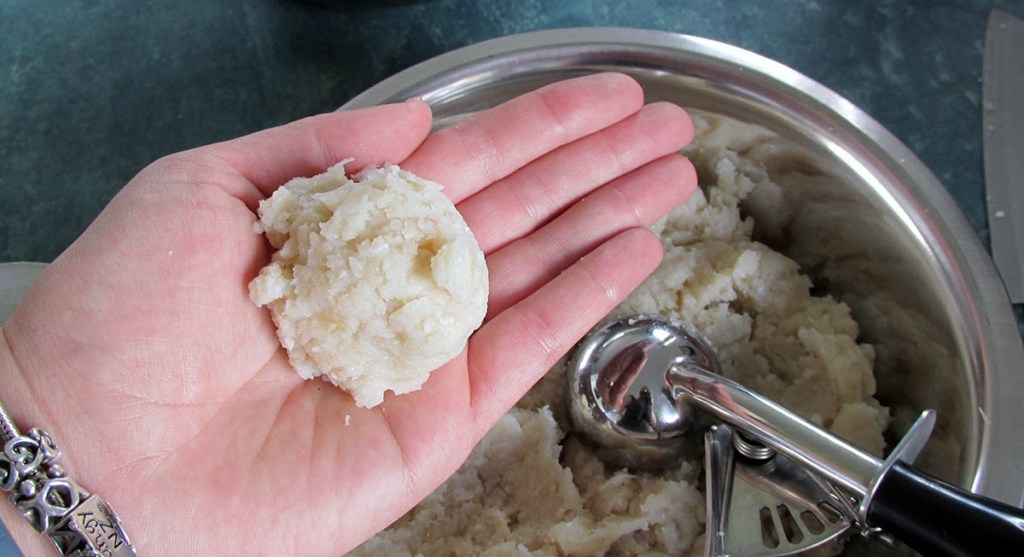
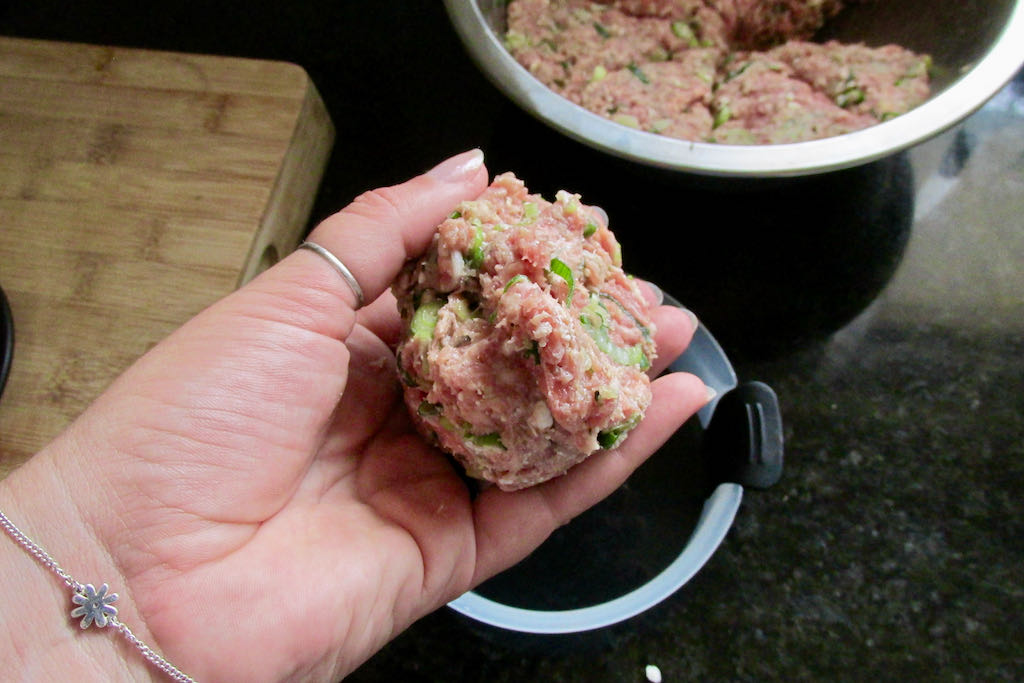
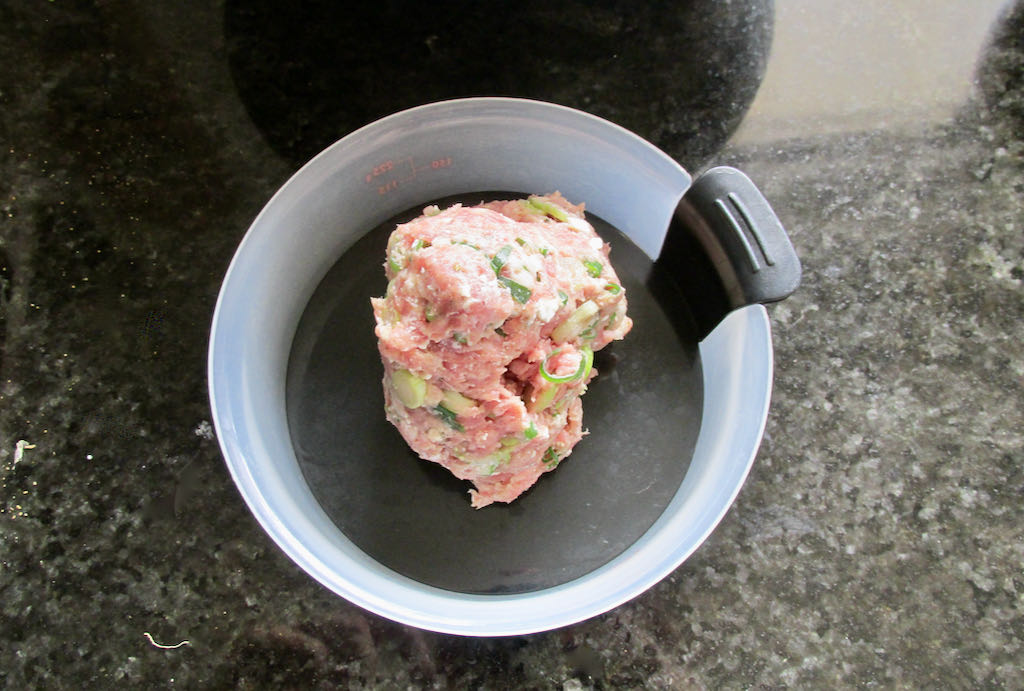
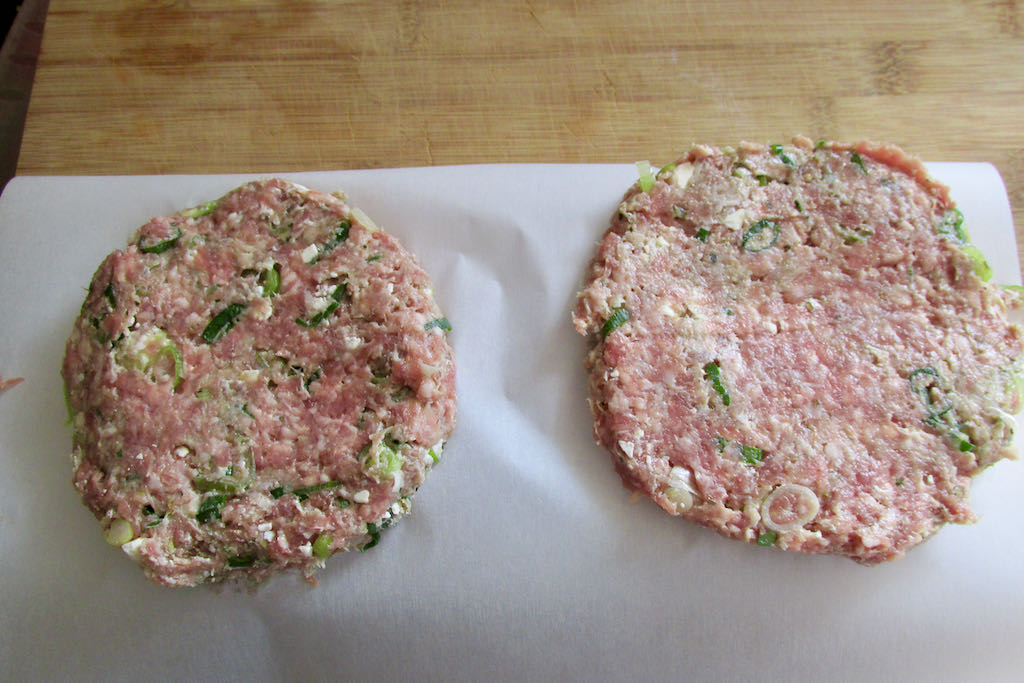
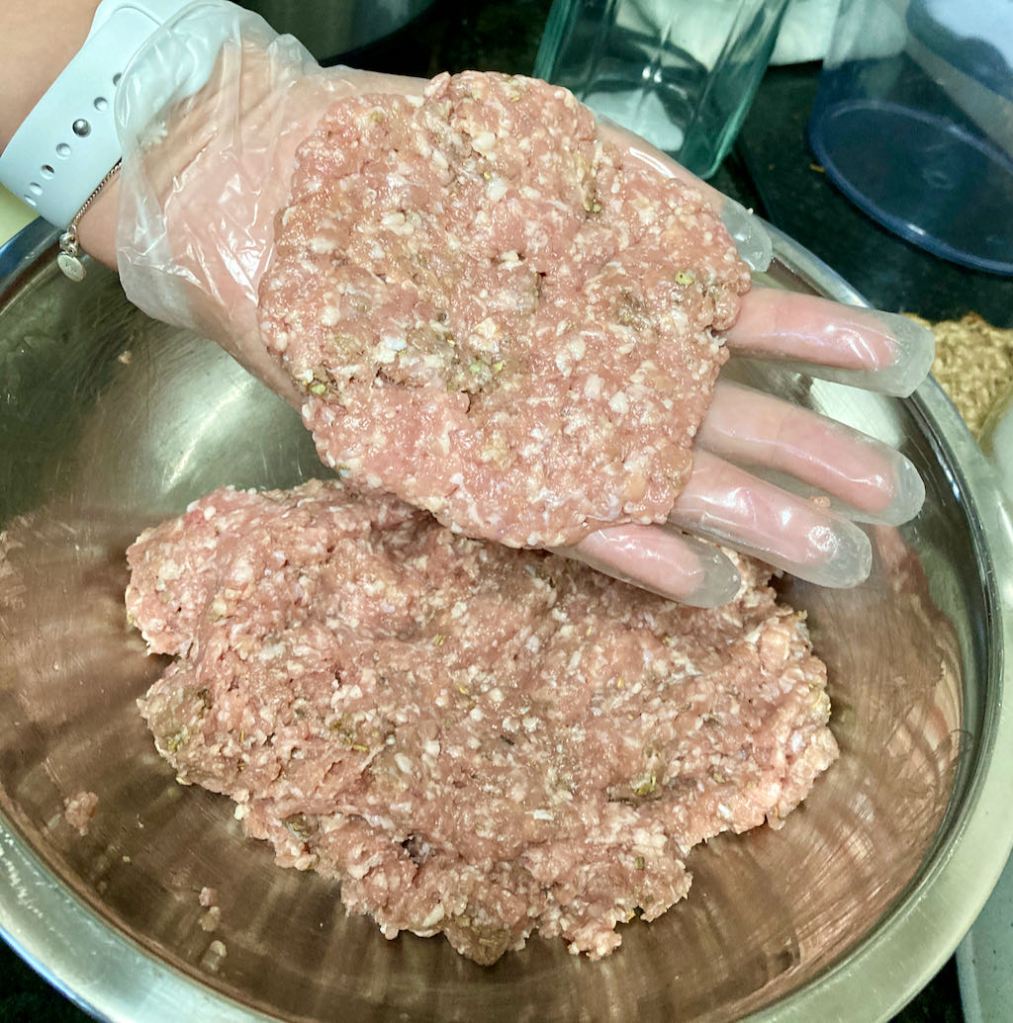
- Take the meat and divide it into four portions.
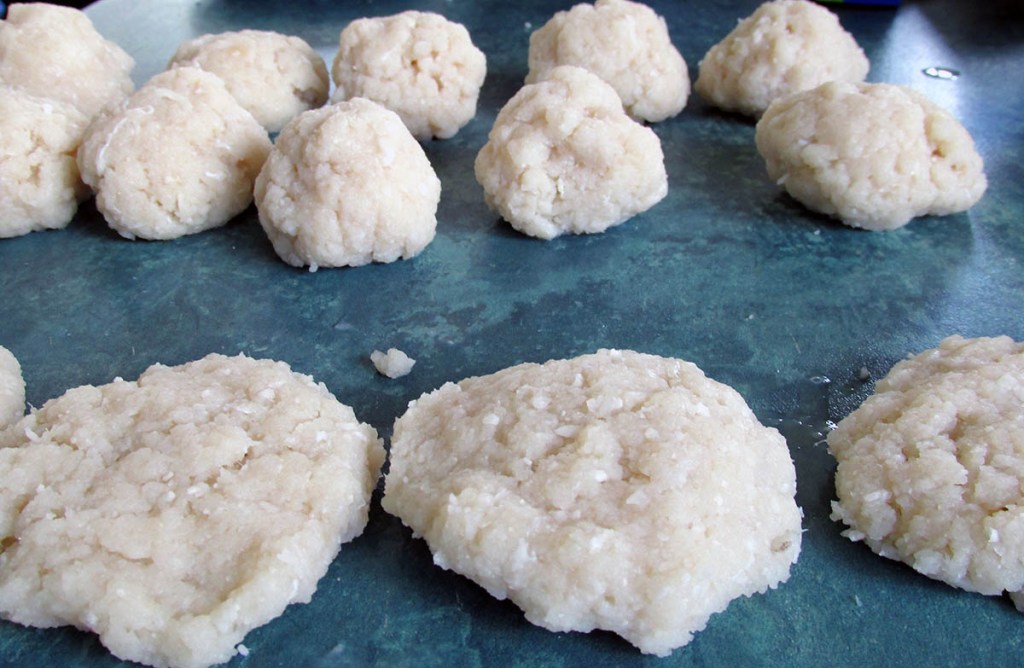
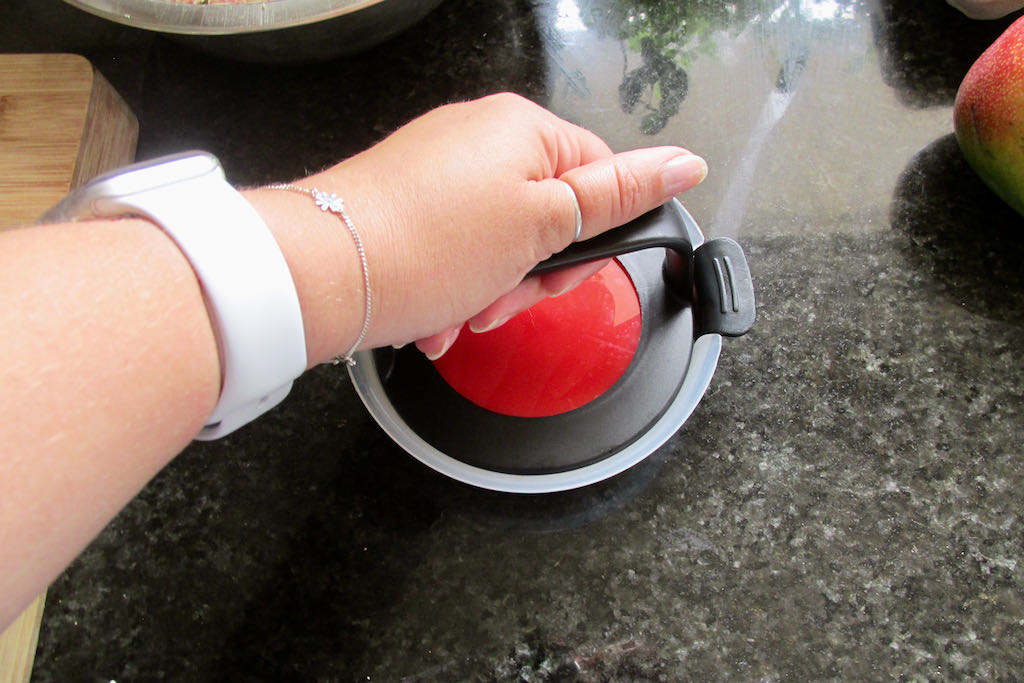
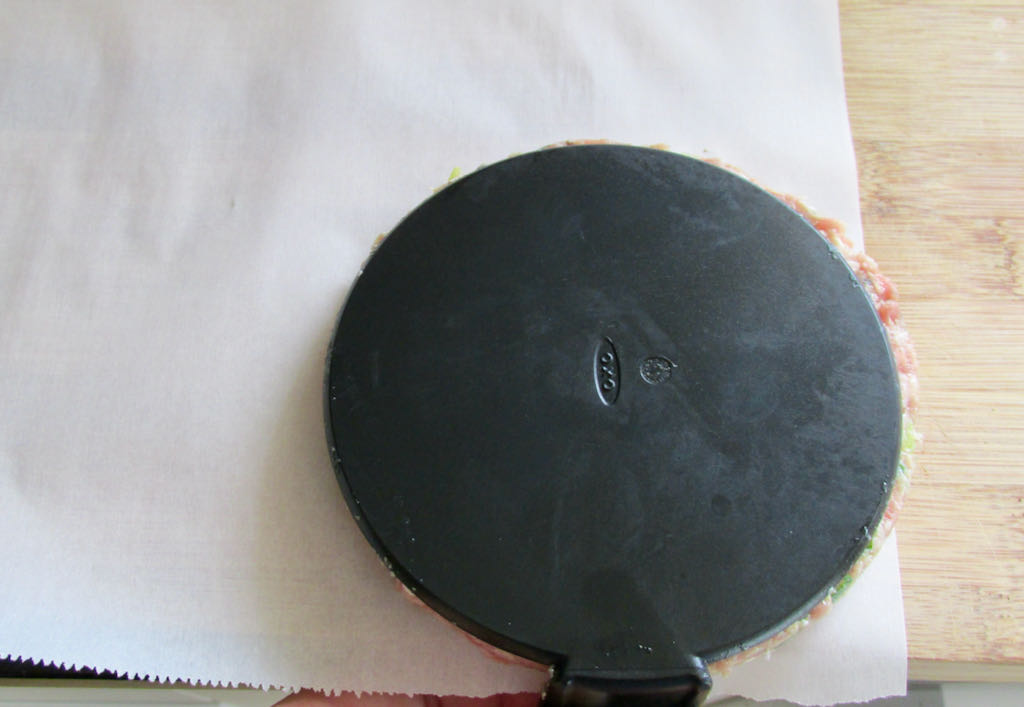
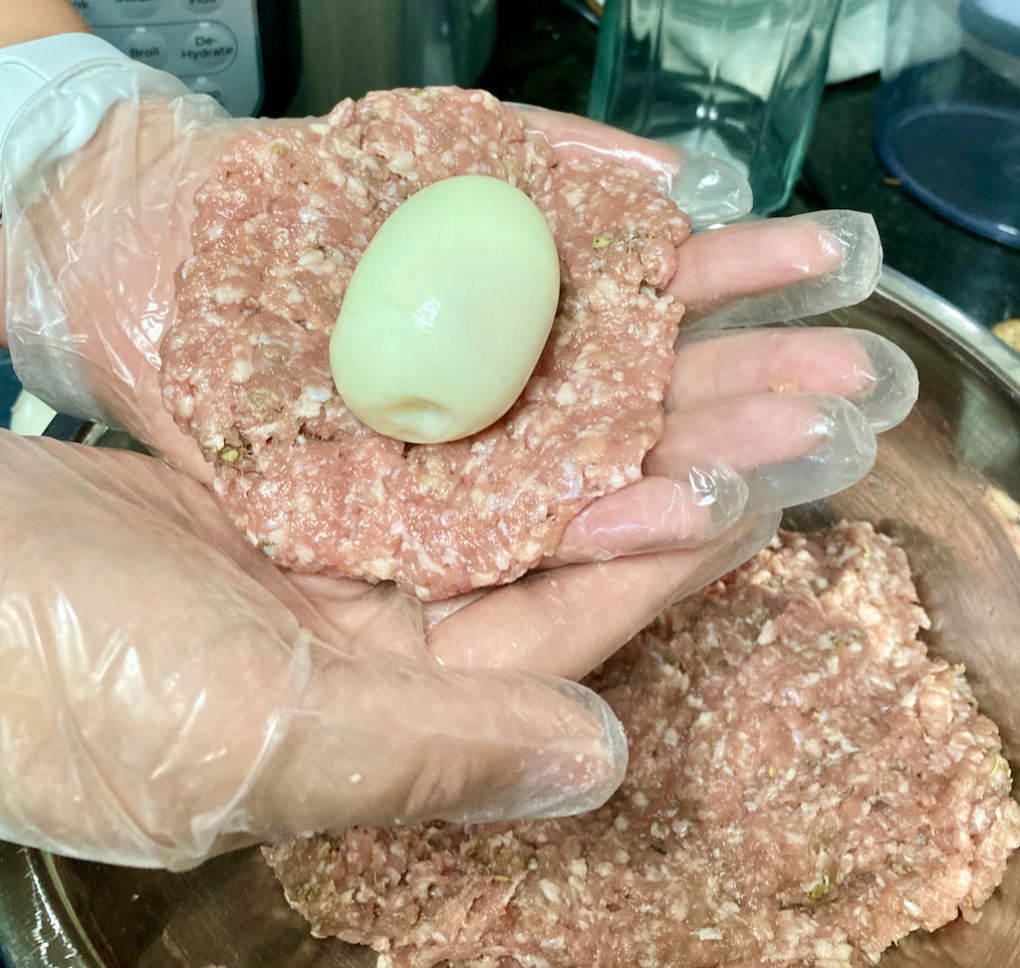
- Take a portion of meat and flatten it in between your hands to make a meat patty.
- Place a boiled egg in the middle of the meat.
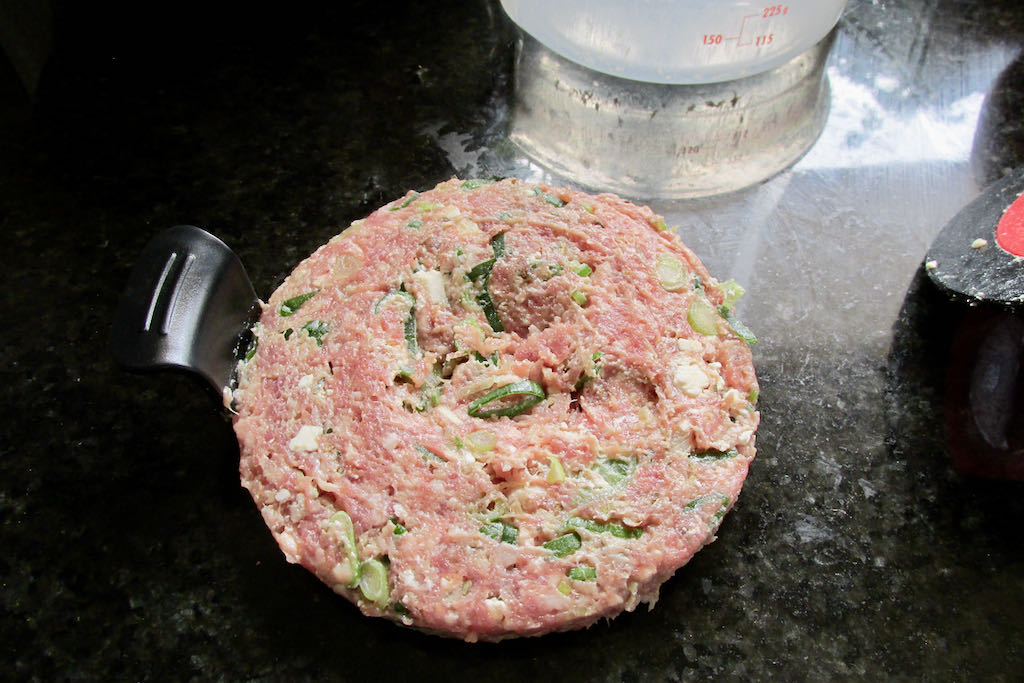
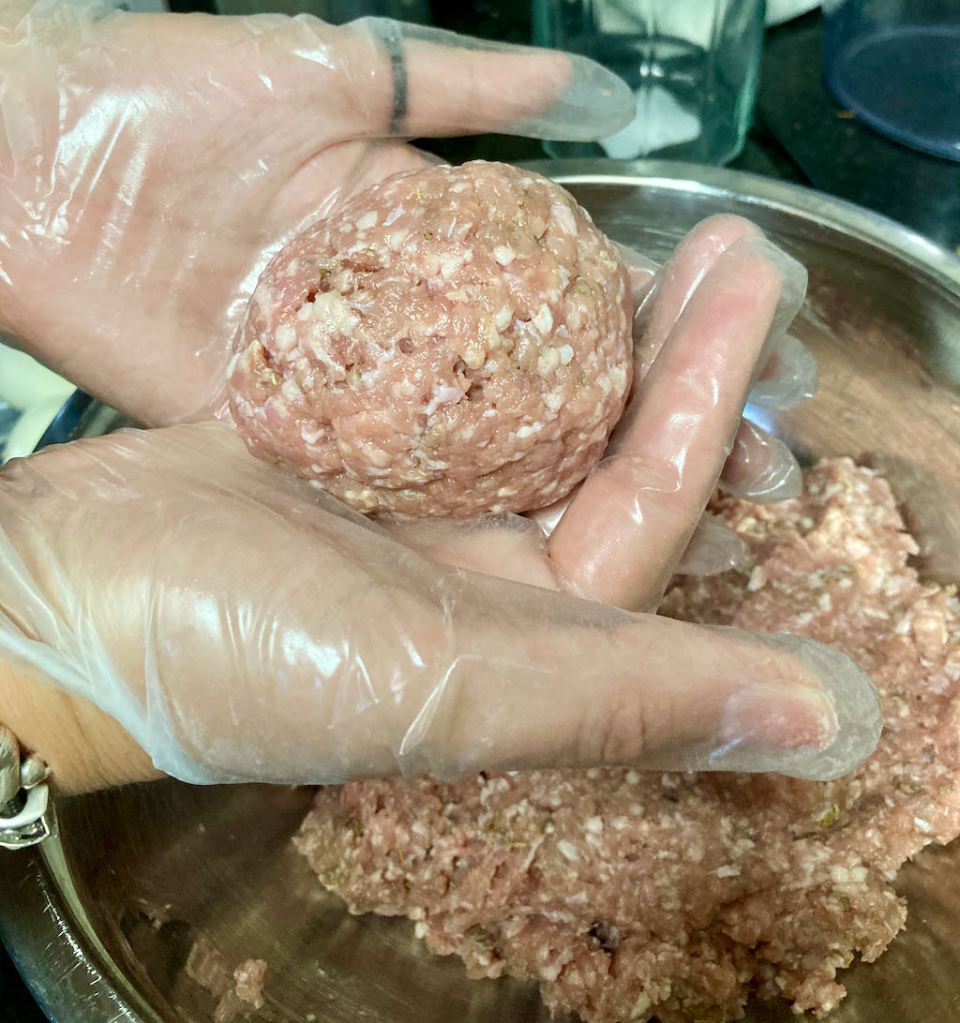
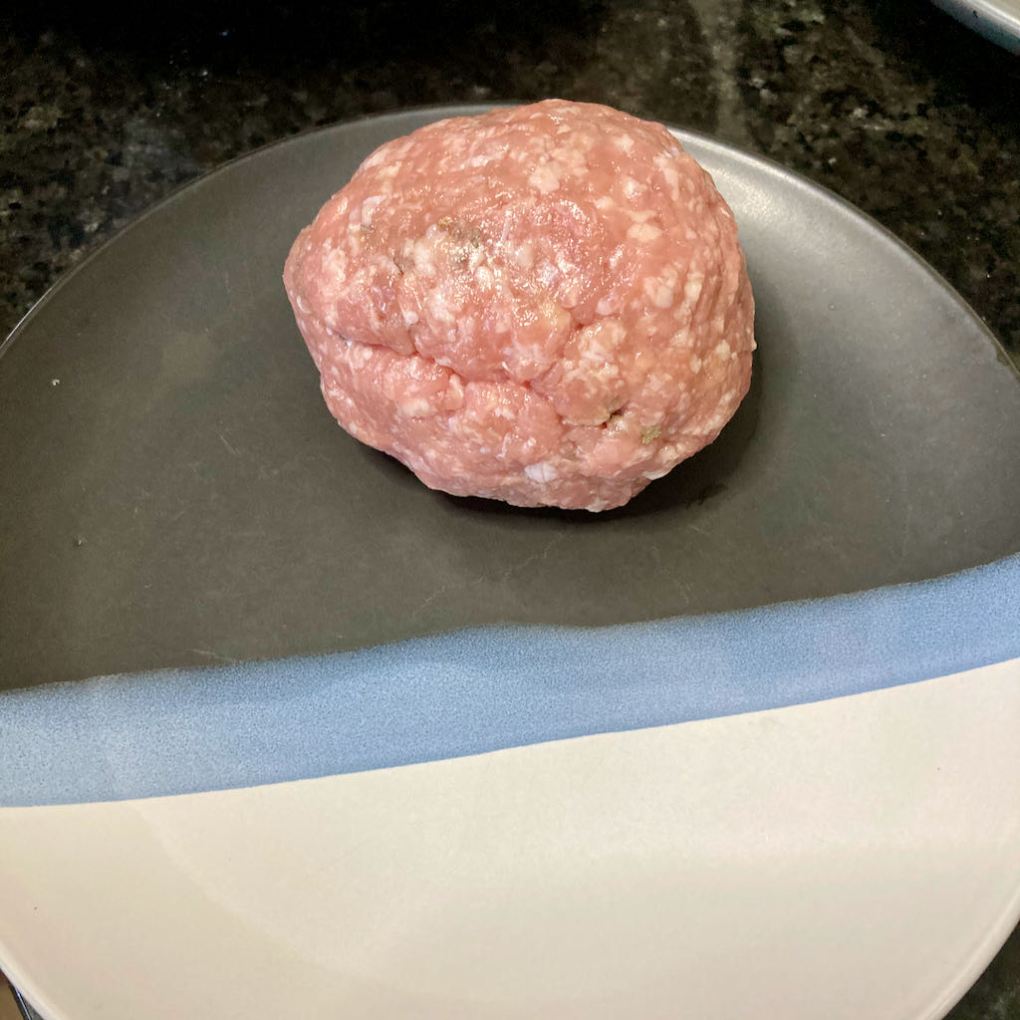
- Form the meat around the egg.
- Make sure the egg is completely covered.by the meat.
- Repeat with the remaining eggs.
- When the eggs are done start to dip and coat them.
- Dip the meat covered egg in the beaten eggs.
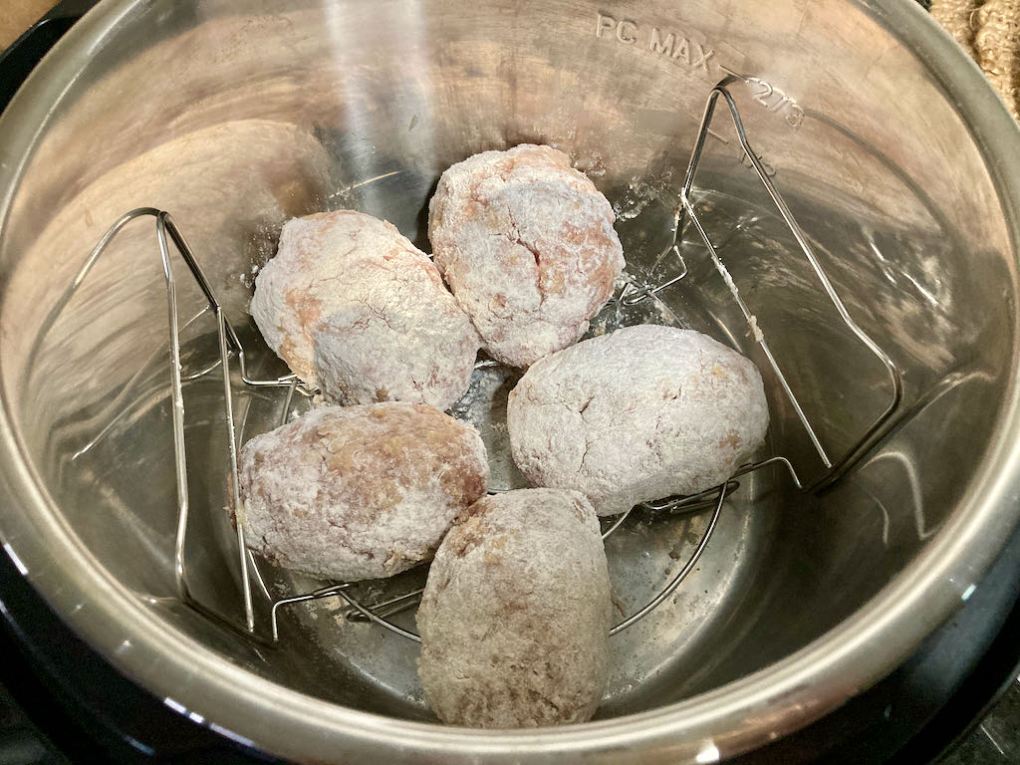
- Then roll the egg in the coconut flour, be sure the egg is completely coated.
- Repeat with the remaining meat and eggs.
- If you are going to oven bake your Scotch eggs I recommend frying them off first.
- Heat a frying pan and a little olive oil, over a medium heat.
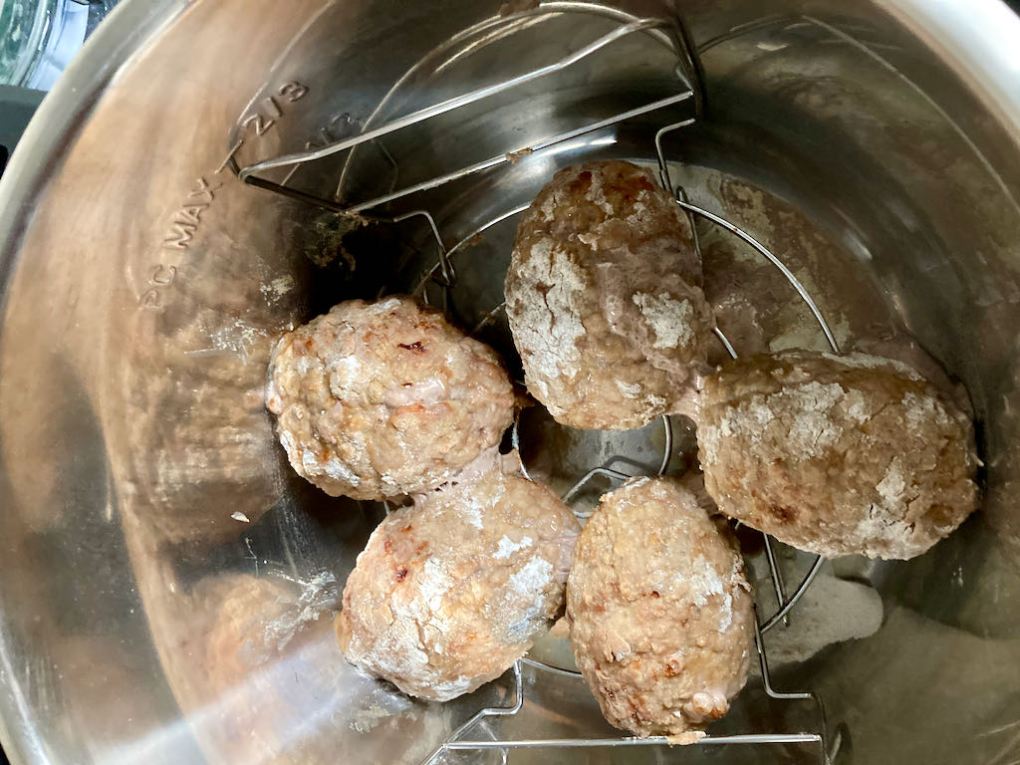
- Fry off the meat until it is browned all over.
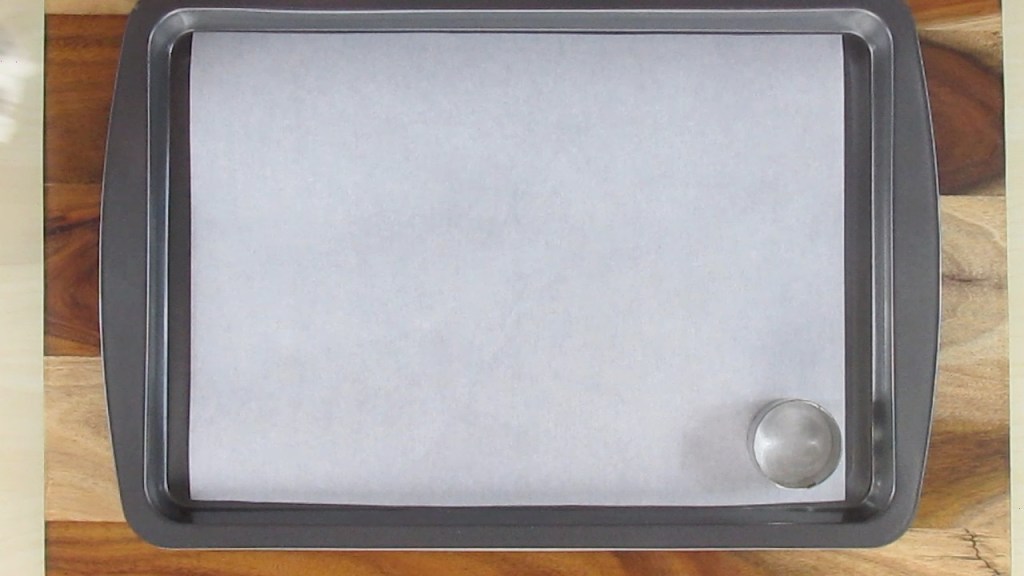
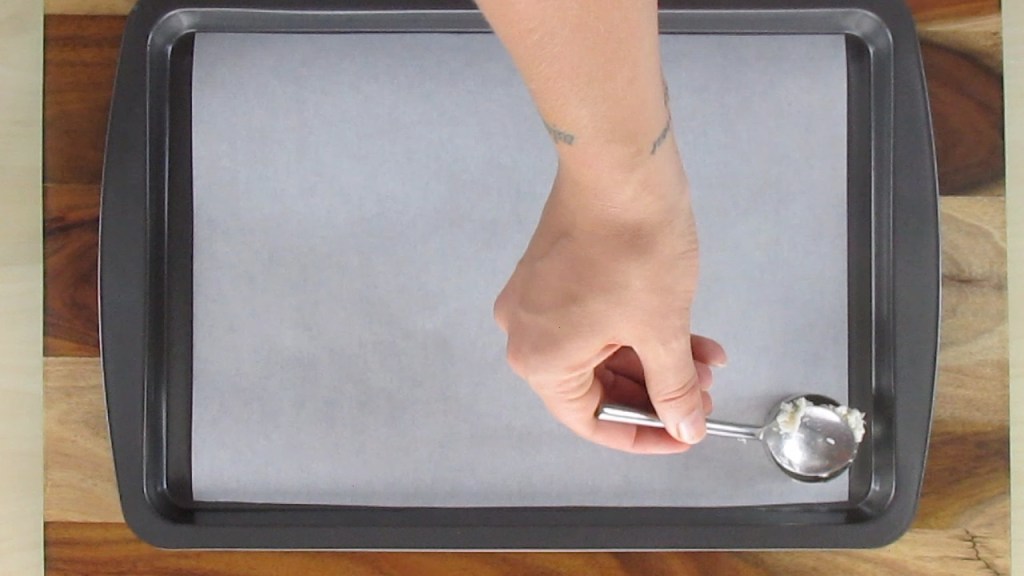
- Transfer the eggs to a baking tray lined with baking paper or a silicone liner.
- Bake in a preheated oven at 175 degrees C/ 350 degrees F for 15-20 minutes.
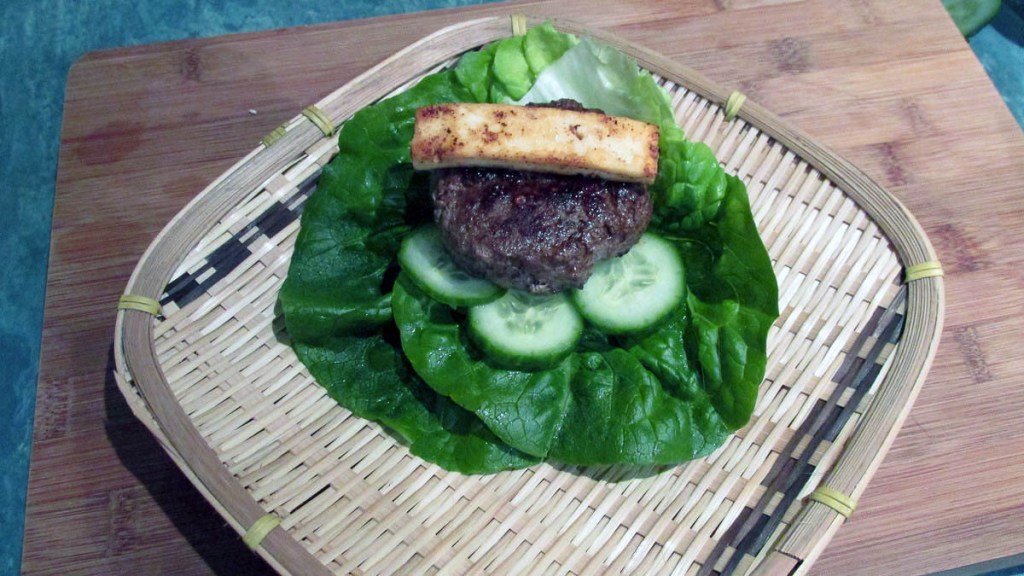
- Serve warm or cold.
Nutrition
Per Serving: 371 calories; 14.6 g fat; 18 g carbohydrates; 38.9 g proteinEquipment
- Saucepan
- Slotted spoon
- Mixing bowl x2
- Plate
- Frying pan
- Tongs
- Baking tray
- Baking paper or silicone liner
Nutritional disclaimer
Nutrition information is provided as an estimate based on the ingredients used and available in my area (New Zealand). The nutritional information is here to help you understand the recipe; I use MyFitnessPal to generate my estimates. For more accurate nutritional information, please use a nutritional calculator with the ingredients in your area.