Nut-free option
I am one of those unfortunate people that is allergic to not only peanuts but also tree nuts. When it comes to food options, not having nuts on the menu can be challenging at times, and frustrated at others. There are so many foods I would love to try or eat regularly but won’t get the chance thanks to nuts. Not eating nuts doesn’t have to be the end of the world; there are always replacements and alternatives that mean you can have a nut-free option. This recipe is my attempt to create a nut-free version of a usually nut packed recipe.

My version of peanut butter
I often feel a little cheated when it comes to nuts; because of them there is a huge amount of foods I don’t get to eat, and nut butters are on the list. As nut allergies are common alternatives are available but not always well known. Sun butter is a nice alternative as sunflower seeds have a slightly nutty taste and are packed with nice fats. The downside is that it can be hard to find and much more expensive than the nut versions.
Make your own
If you are like us and you try to avoid mass-produced processed foods, the best option is to make your own. When you make your own, you get to control which ingredients you use and how much or how sweet you want it to be. Once you have a go at making your own and you realise how easy it is you will never go back to store-bought again. After a little trial and error, I came up with this recipe. This sun butter is simple to make, easy to store and can be used in lots of different ways.
Sun butter recipe
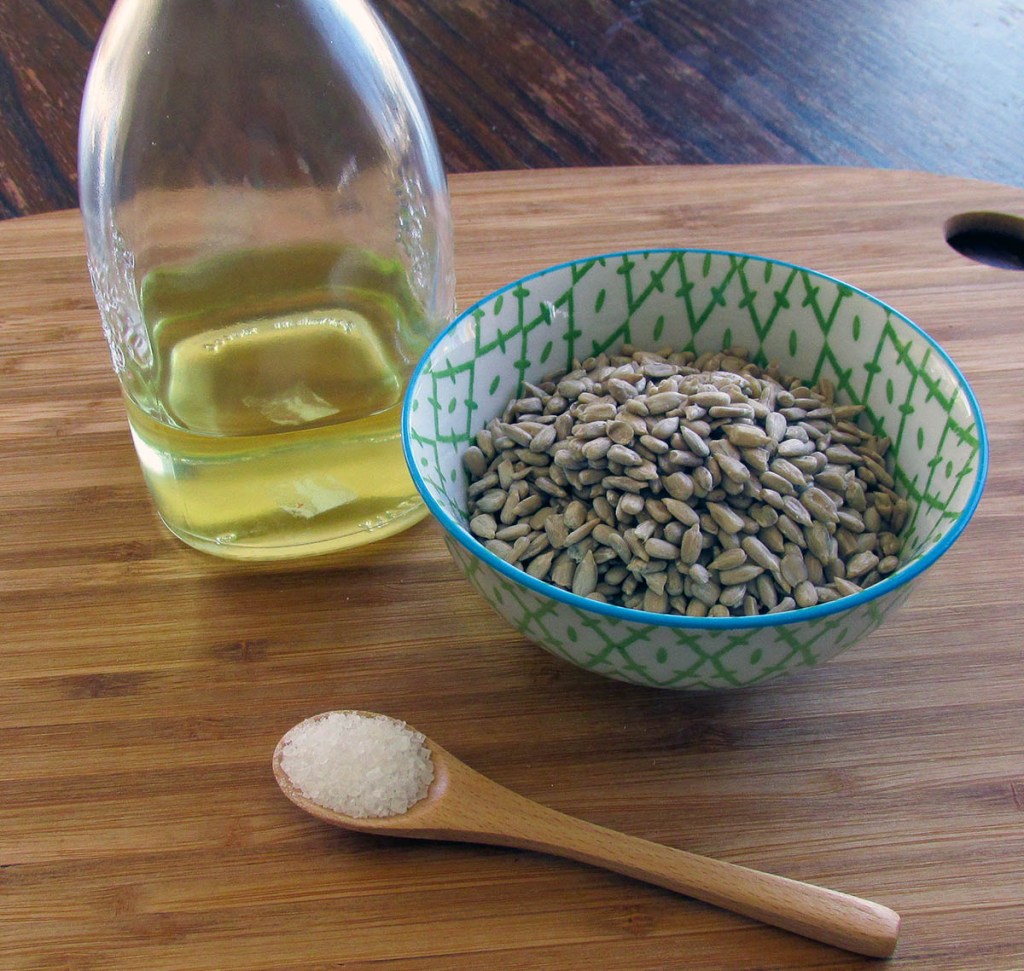
Ingredients
- 1 cup sunflower seeds
- 2 tbsp. oil
- 1 tsp. salt

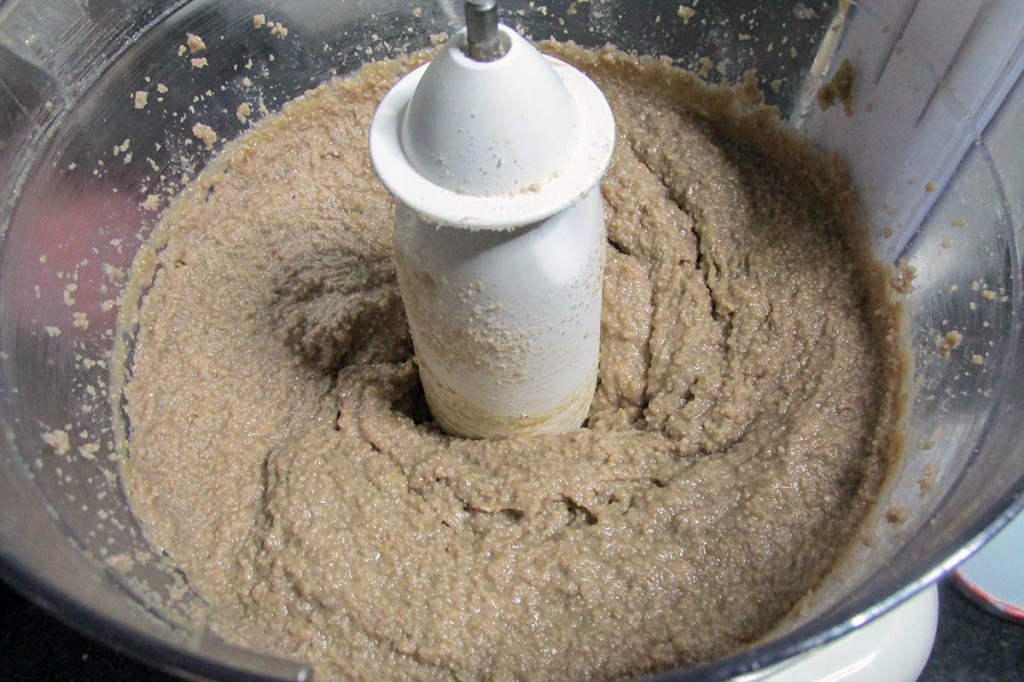

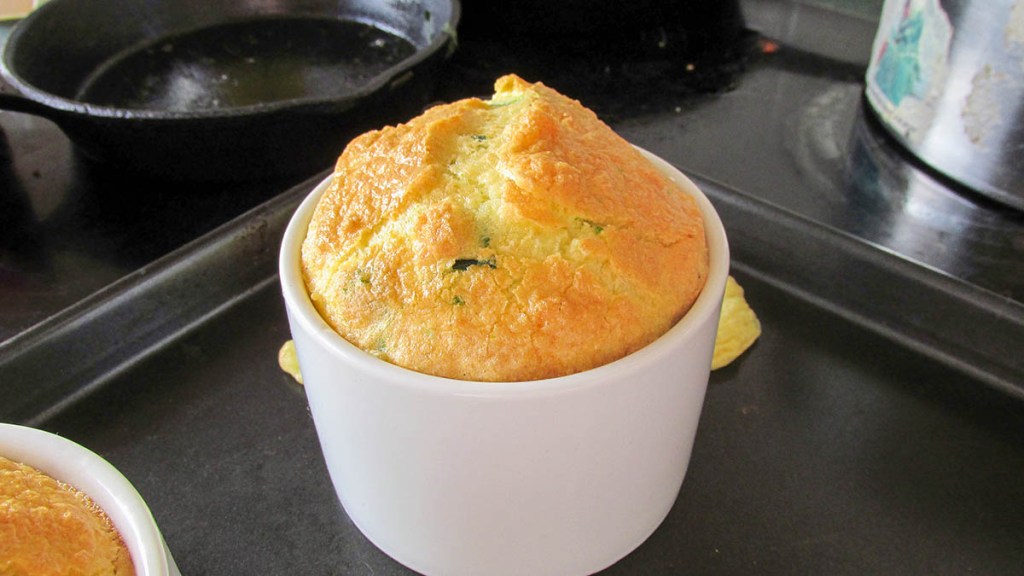
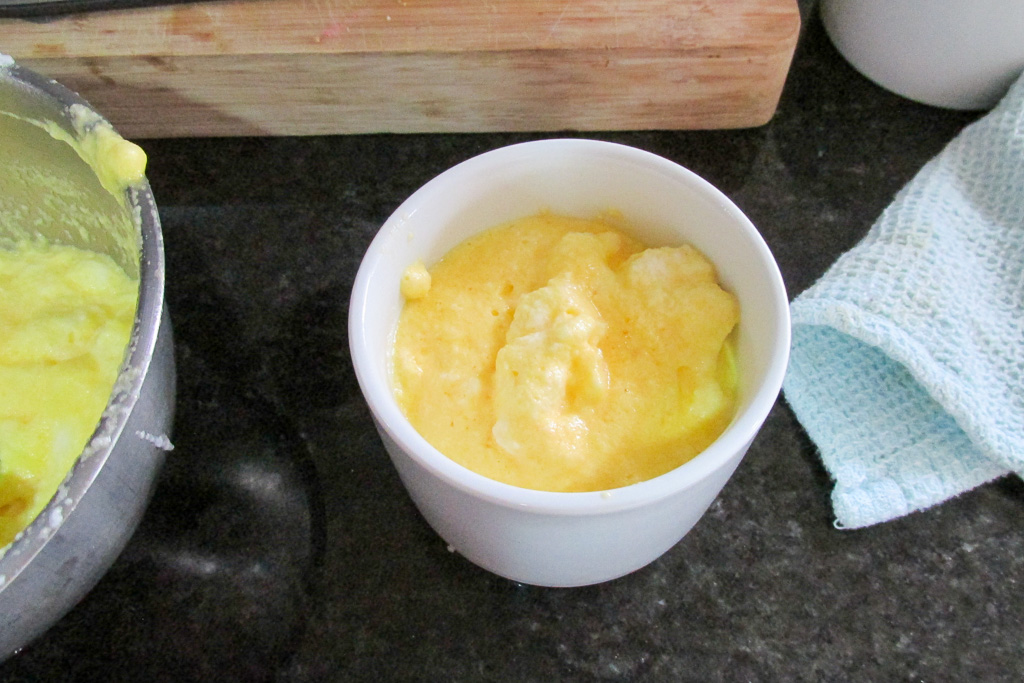
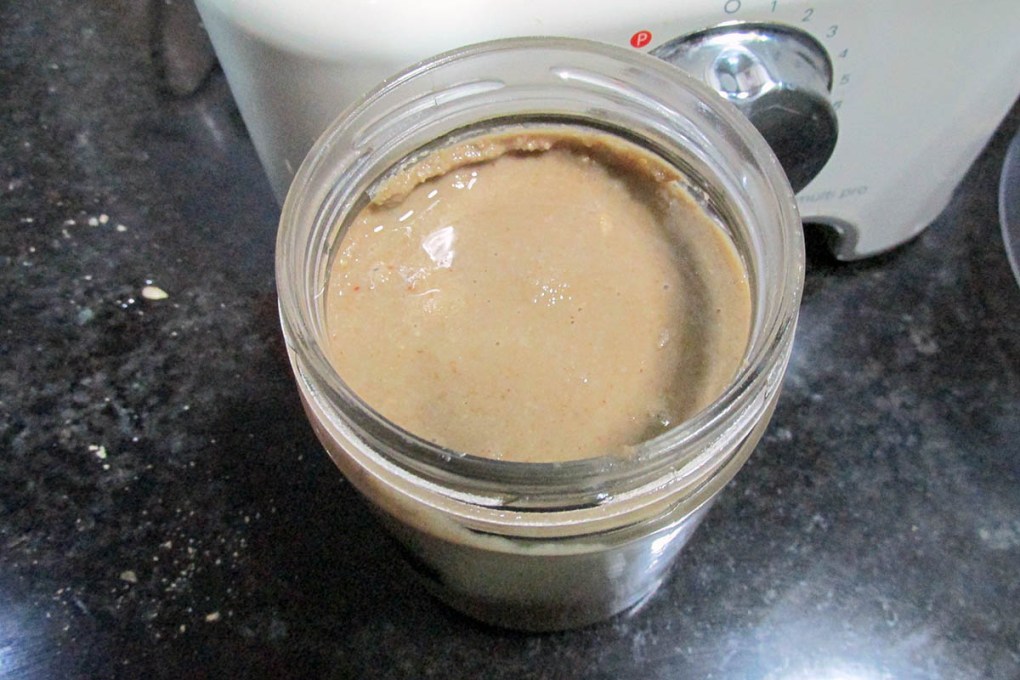
Sun butter
This homemade sunflower seed butter is my perfect alternative to peanut butter
Credit: Cath @ easycleaneats
Ingredients
- 1 cup sunflower seeds
- 2 tbsp. oil
- 1 tsp. salt
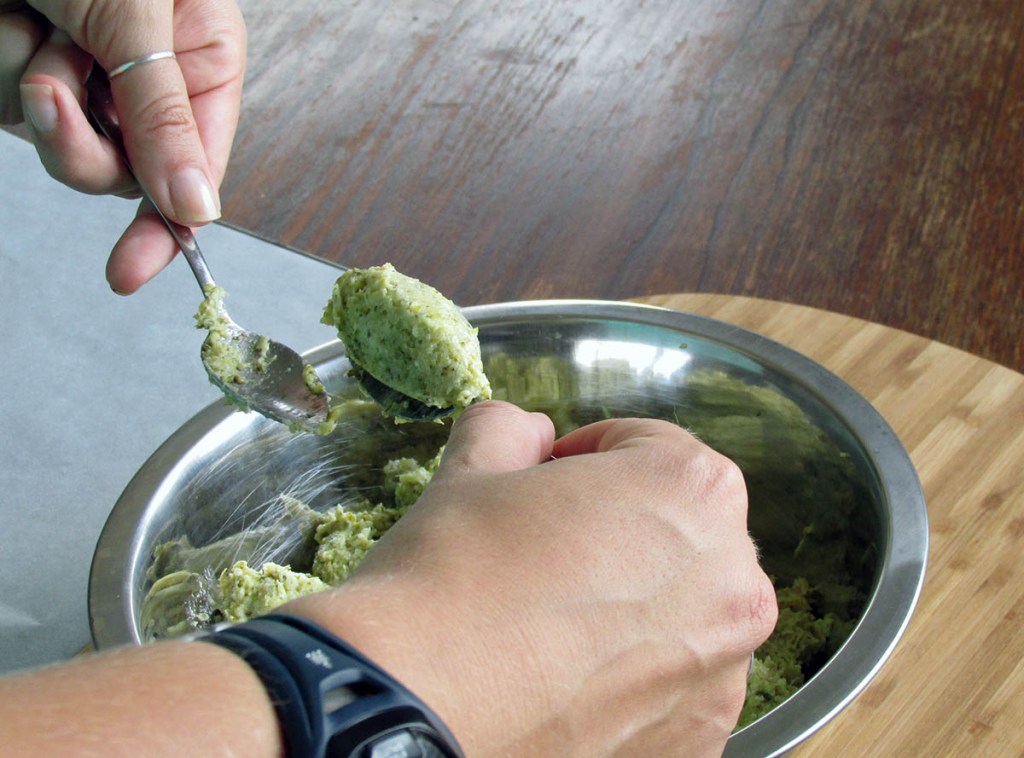
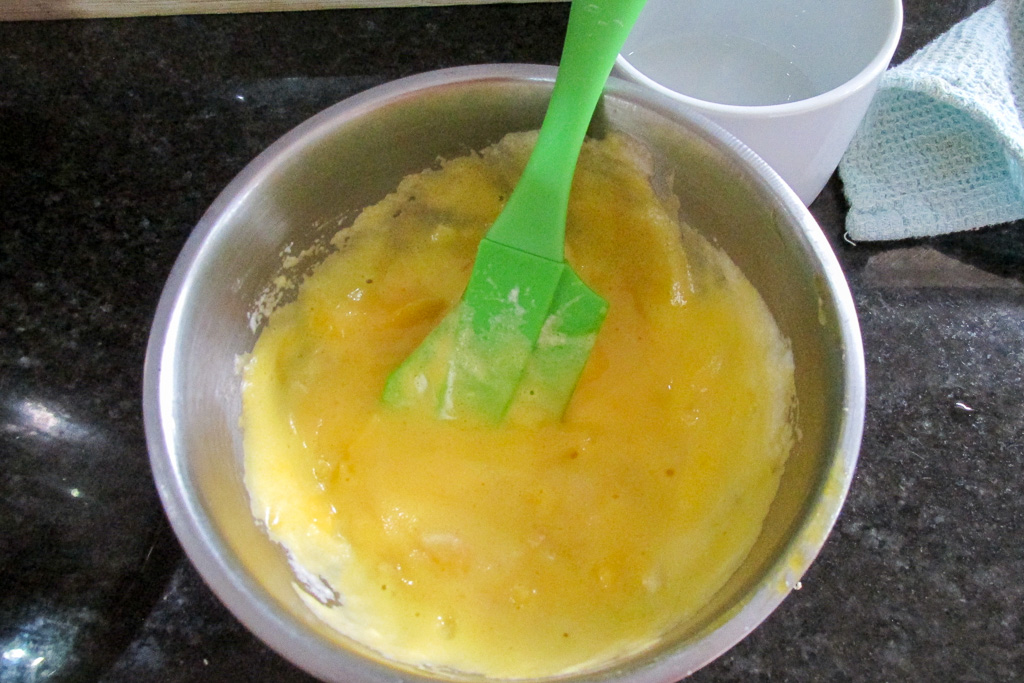
Directions
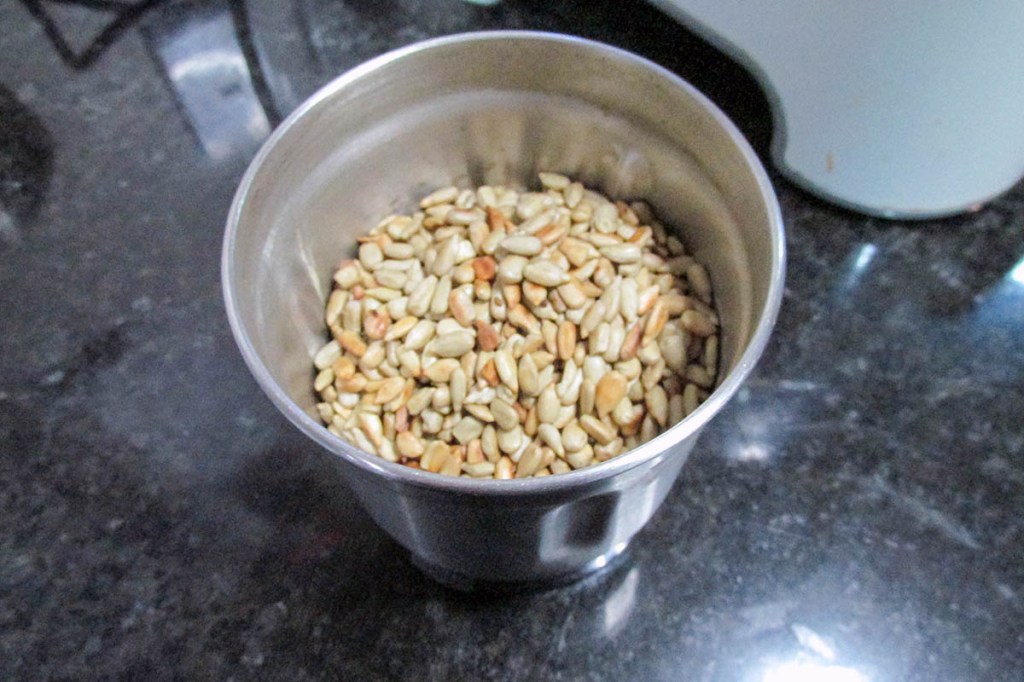
- . Lightly toast the sunflower seeds over a medium heat for about 5 minutes.
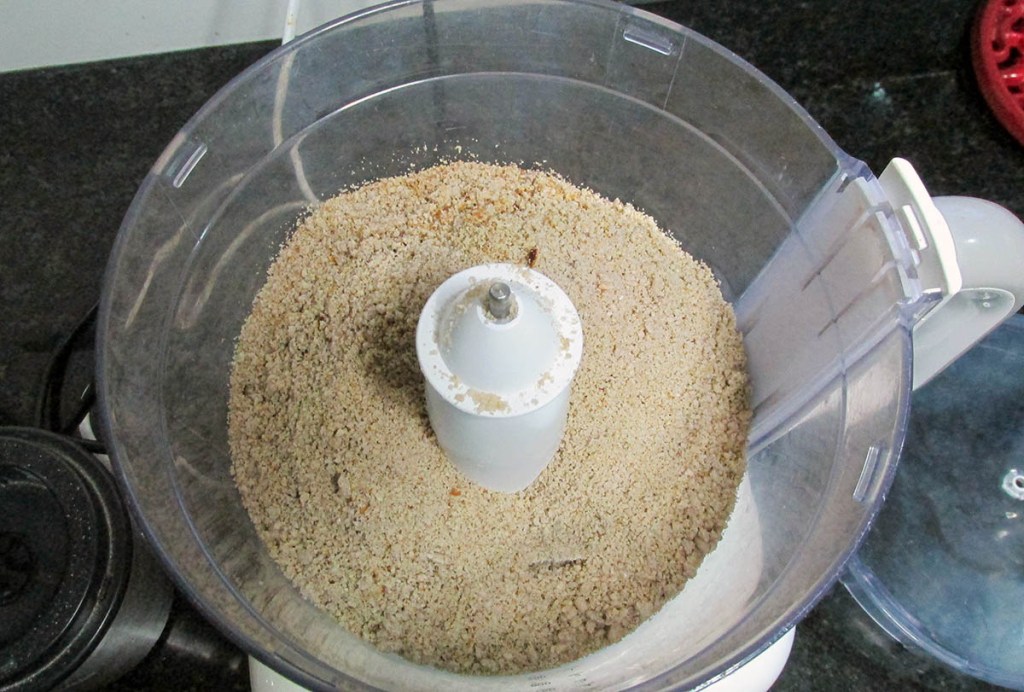
- Remove seeds from the heat and place them in a food processor or spice mill some with salt.
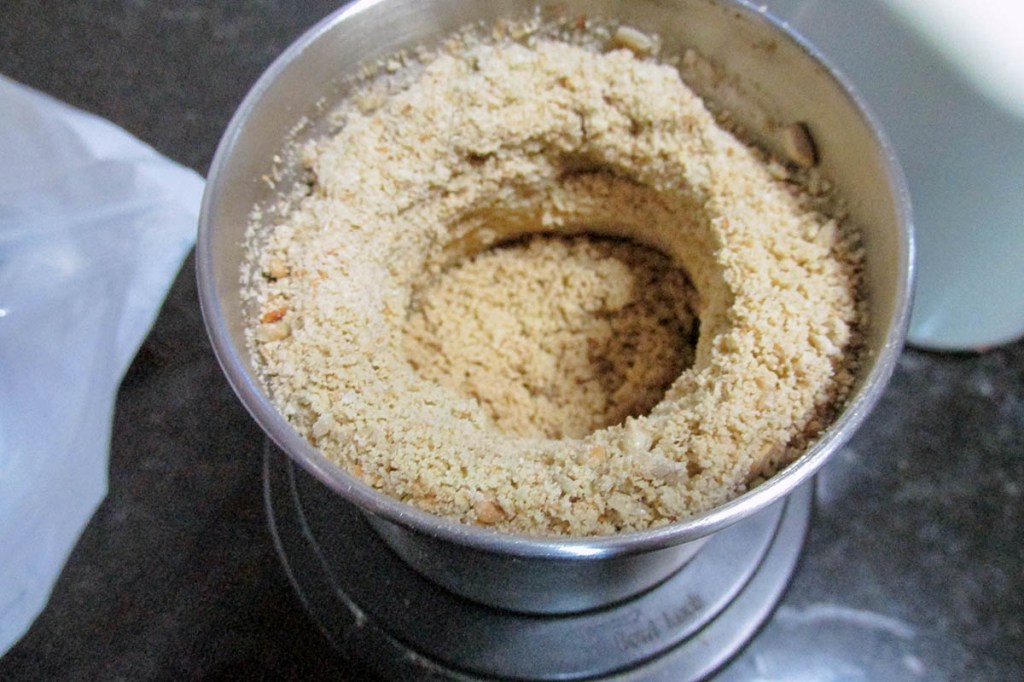
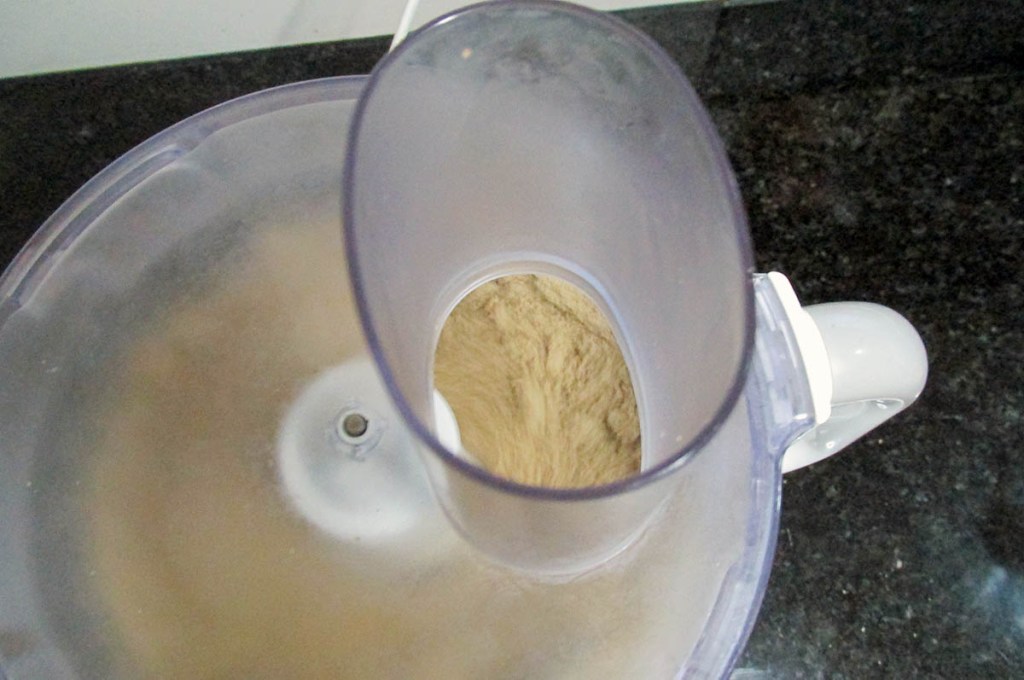
- Process the seeds until they become a little powdery, this takes about a minute.
- If you have used a spice mill move the seed powder to a food processor.
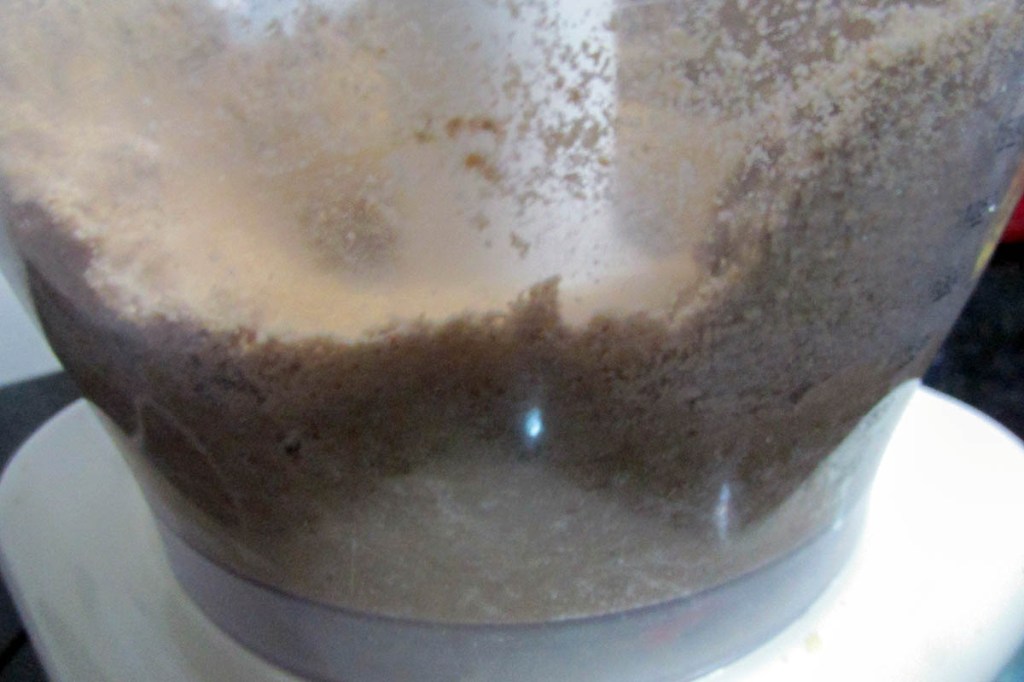
- Continue to blend the seeds, scraping the sides of the processor down when needed.
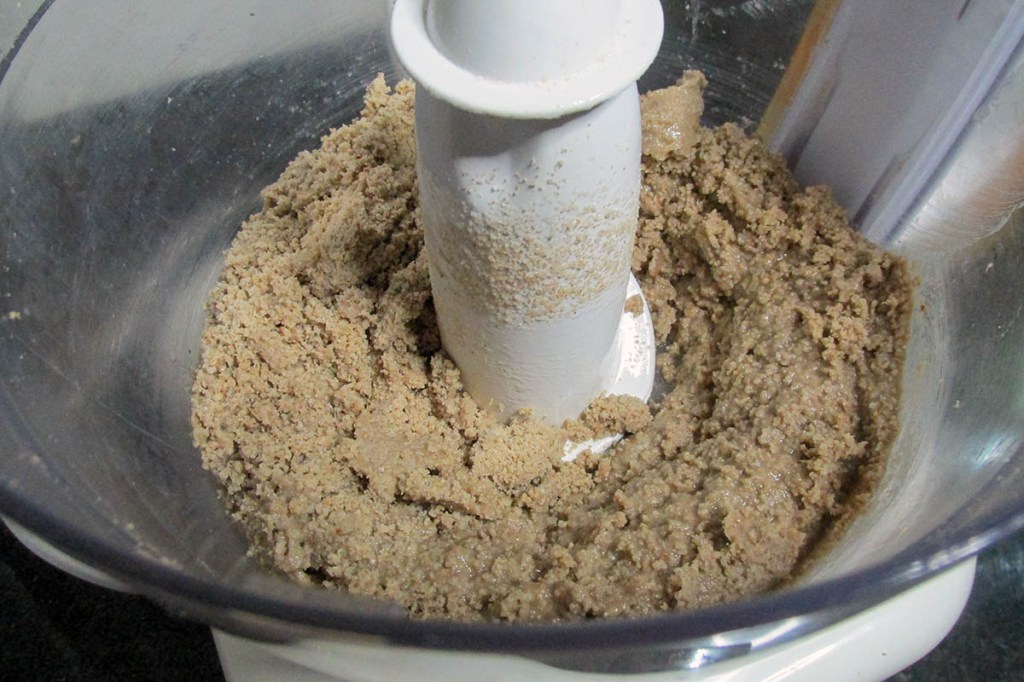
- Add the oil part way through processing and continue blending.
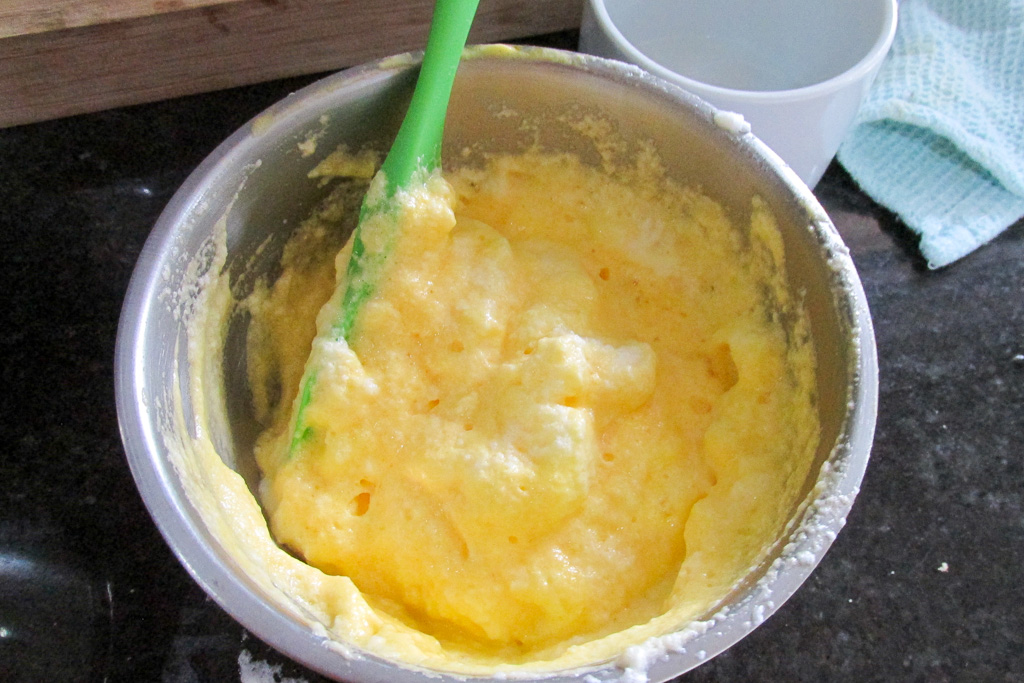
- It takes about 15 minutes to get to a buttery consistency.
- Depending on if you want chunky or smooth you may need to add more oil or blend a little longer
Nutrition
Per Serving: 50 calories; 4 g fat; 2.5 g carbohydrates; 2 g proteinEquipment
- Frying pan
- Spatula
- Food processor
- Jar
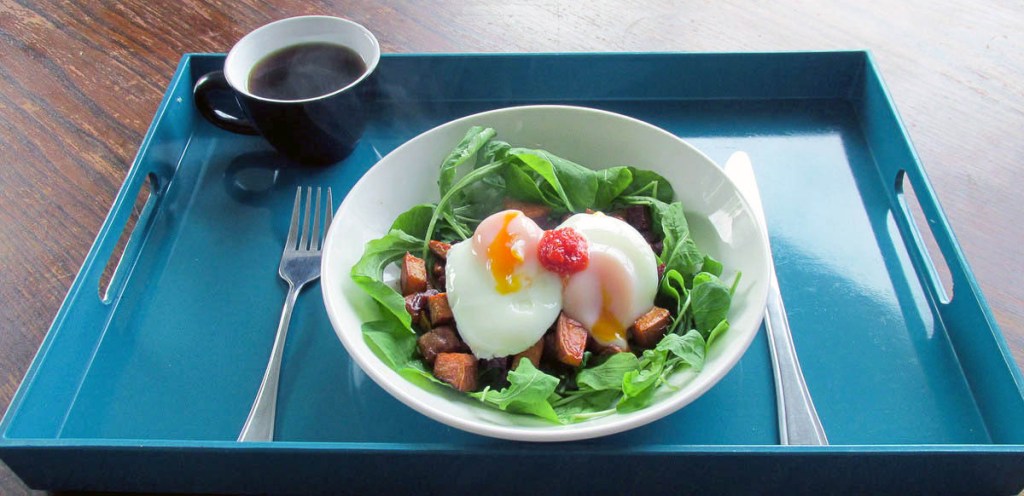
Try this with
Nutritional disclaimer
Nutrition information is provided as an estimate based on the ingredients used and available in my area (New Zealand). The nutritional information is here to help you understand the recipe; I use MyFitnessPal to generate my estimates. For more accurate nutritional information, please use a nutritional calculator with the ingredients in your area.