New freezer favourite
In the last half of 2019, we had a hectic time, the only night on the workweek we had a home with no classes or chores to do. The mass amount of activity and varied nutritional needs meant I needed to get creative to keep everyone happy. I made a few staples to have in the freezer that could be taken out in the morning or thawed in the afternoon to prepare for a quick and healthy meal. These burgers have been one of the firm favourites for weeknight dinners after Brazilian Jiu-Jitsu, and they are also a firm favourite on the weekends. The kids like to have them as a burger with a bun, I love them with a lettuce bun or chopped up in a burger salad.
A moment of pride
When I was working on the recipe for these burgers, it was a weekend, and I was playing around to try to make the raw mixture smell right. As I was there playing in the kitchen getting ready to fry up the first burger when the youngest member of the clan arrived home from a birthday party. He arrived home clutching a bag from MacDonald’s with the chicken nuggets and chips he got from the party but couldn’t eat. As is the way he stood in the kitchen nattering to us about the movie he saw, what he did, what his friends said and what he said. When Liam took a breath, I managed to ask if he wanted any dinner with us. He said he wasn’t hungry when he was. He would eat the nuggets and chips when he was. Not long after I was building lettuce bun burgers for Jaime and myself when Jaime pops into the kitchen asking if I could make another burger for Liam. Apparently, he liked the smell of the burgers; they smelled a lot better than his chicken nuggets. The bag from MacDonald’s was put to one side while he demolished a homemade chicken burger. I was so proud.
Sadly the chicken nuggets were eaten for lunch the next day along with the chips, but I still hold on to the fact that when offered, he picked my burger over MacDonald’s.
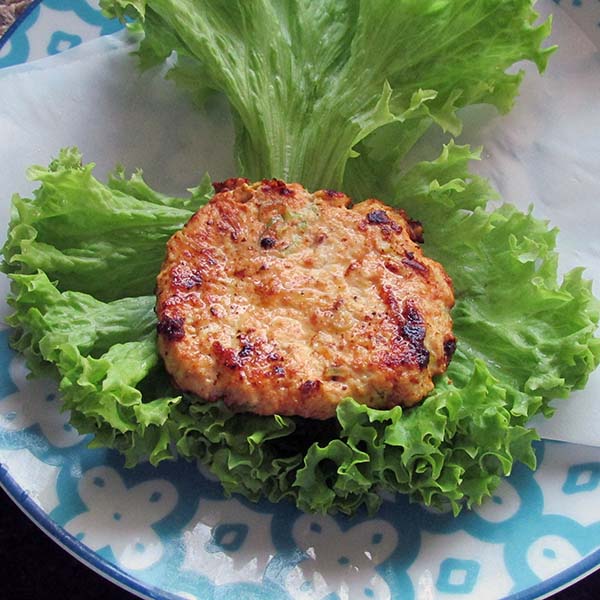
Lemon chicken burgers

Ingredients
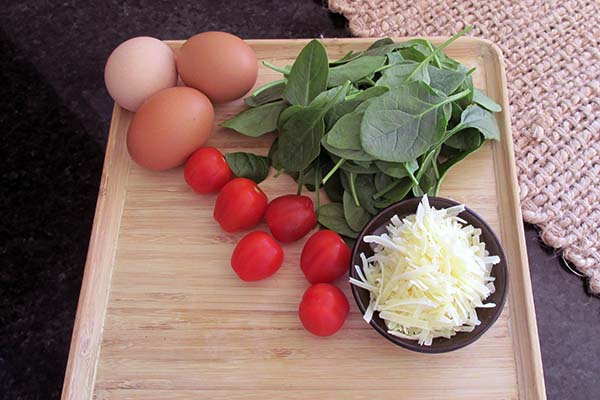
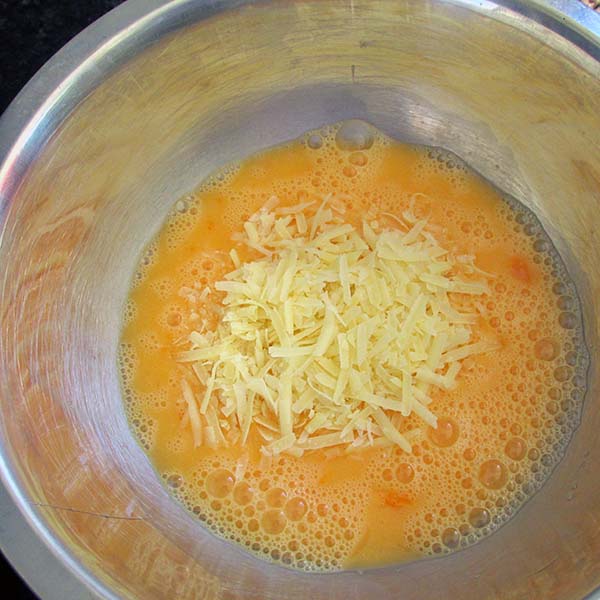
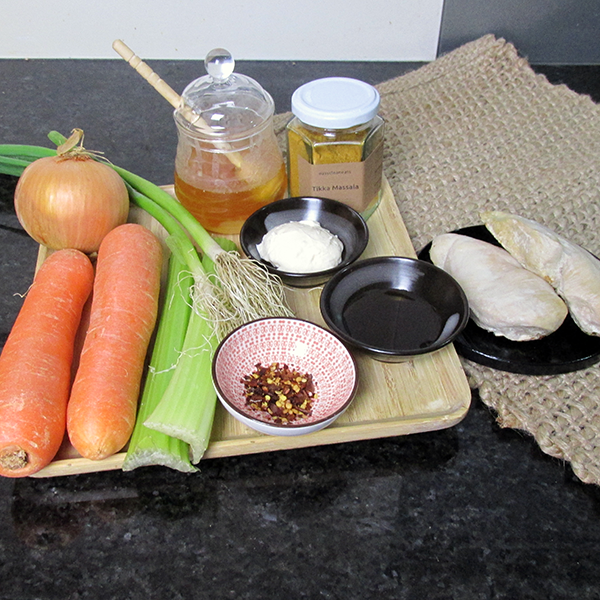
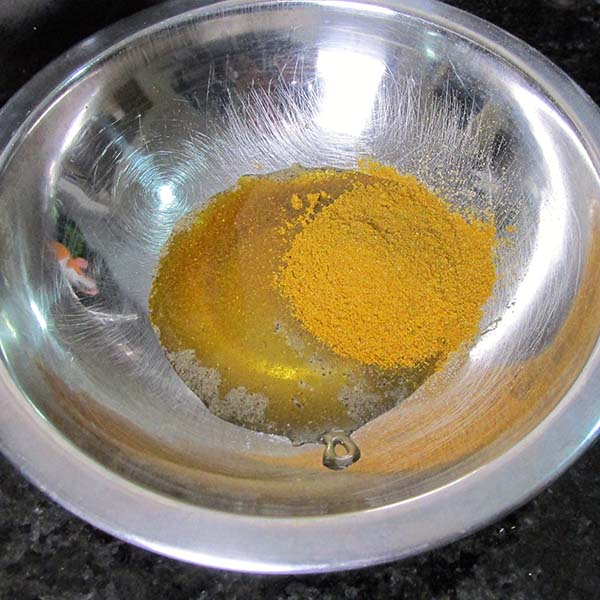
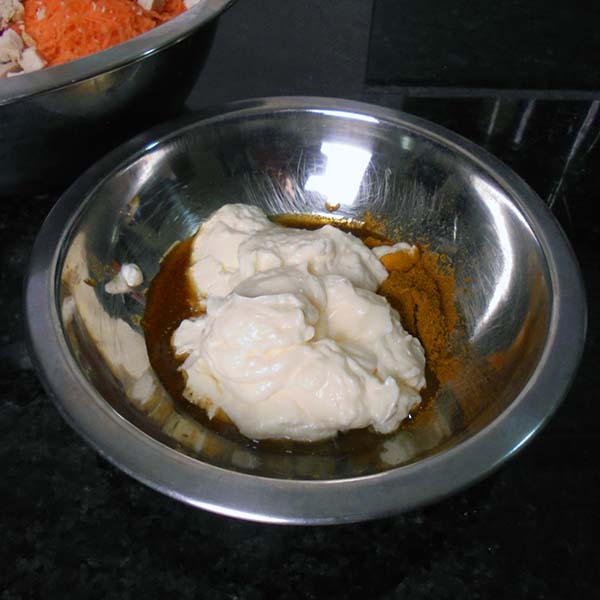
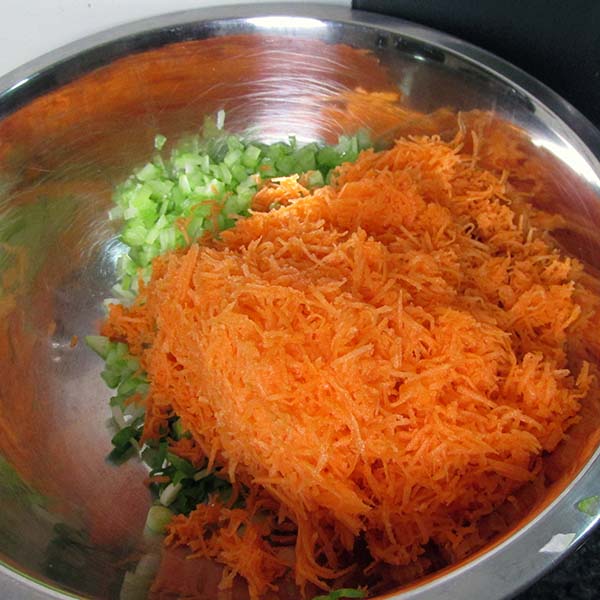
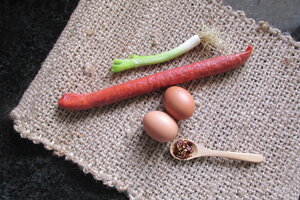
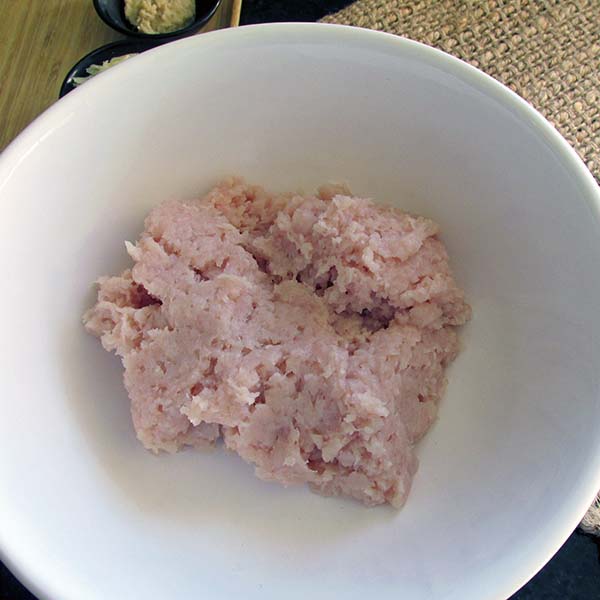
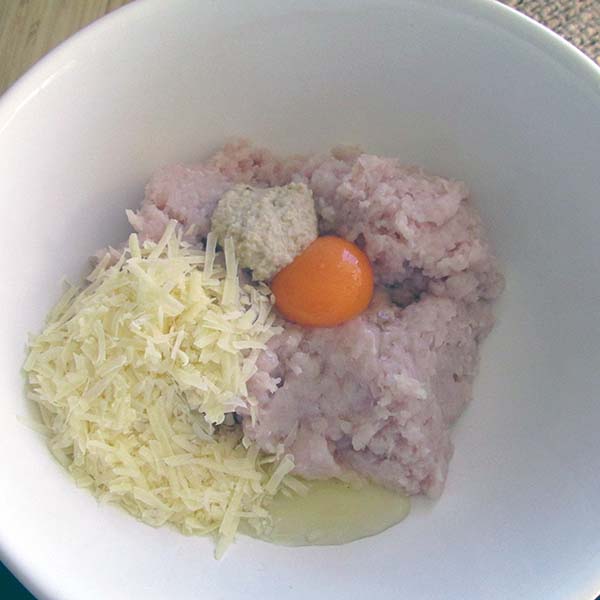
- 500g chicken mince
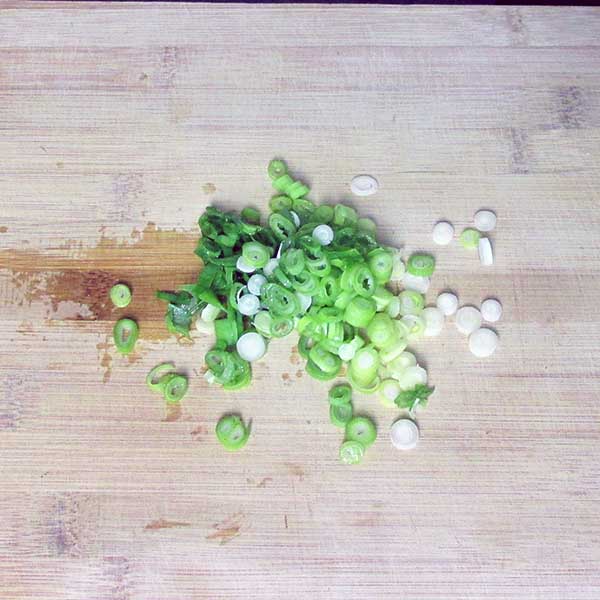
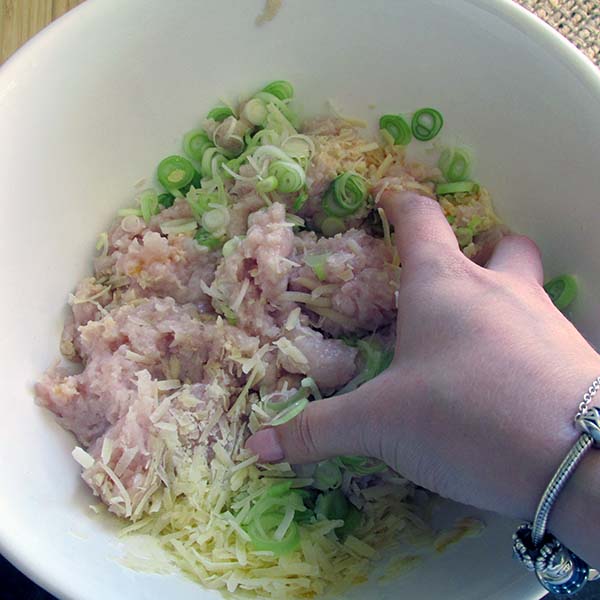
- 2 spring onions, finely chopped
- 1 garlic clove, minced
- 1/2 lemon, juiced and zested
- 1/2 cup parmesan cheese, grated
- 1 egg
- 1 tbsp. olive oil
- Salt and pepper


Lemon chicken burgers
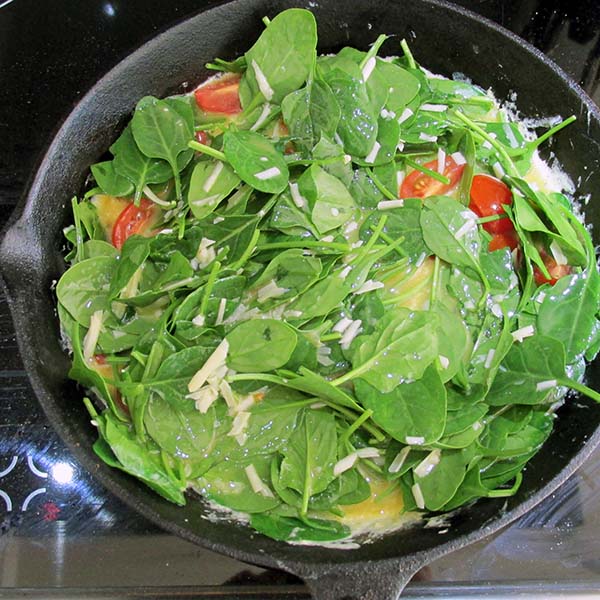
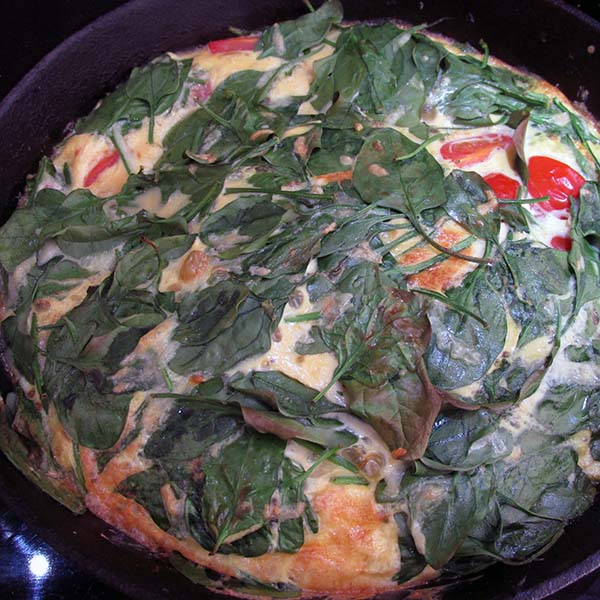
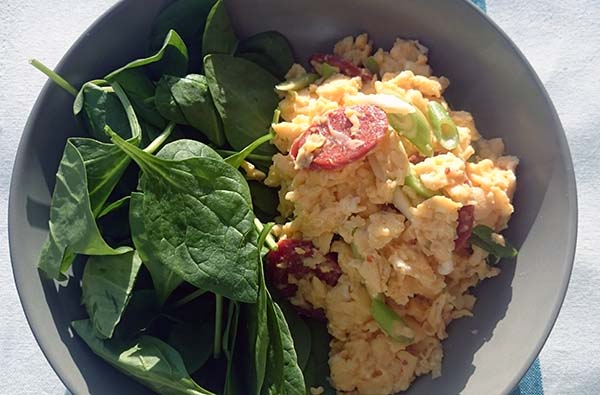
Not long ago if I had suggested we have a salad for dinner, that suggestion would have been met with grumbles, groans and complaints. Thankfully that is no longer the case. The first time I made this salad for dinner, I did get the grumbles and groans, then the kids tried some.
Credit: Cath @ easycleaneats
Ingredients
- 500g chicken mince
- 2 spring onions, finely chopped
- 1 garlic clove, minced
- 1/2 lemon, juiced and zested
- 1/2 cup parmesan cheese, grated
- 1 egg
- 1 tbsp. olive oil
- Salt and pepper
Directions
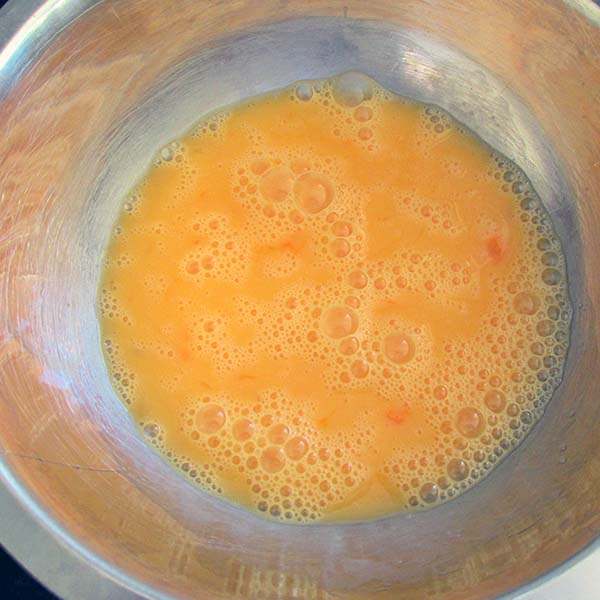
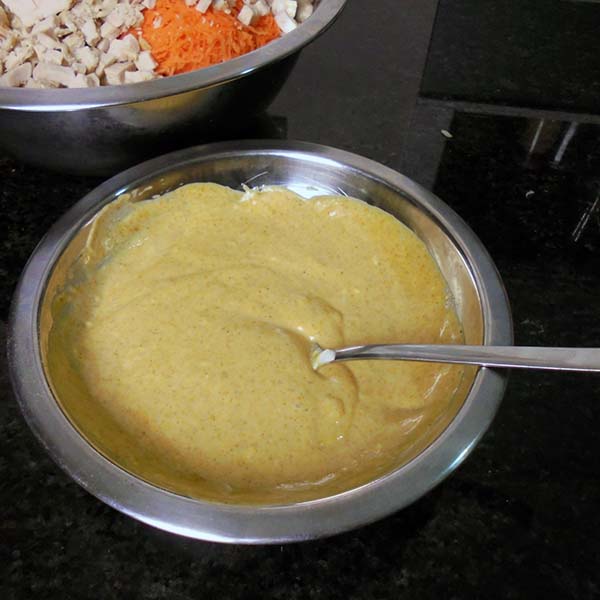
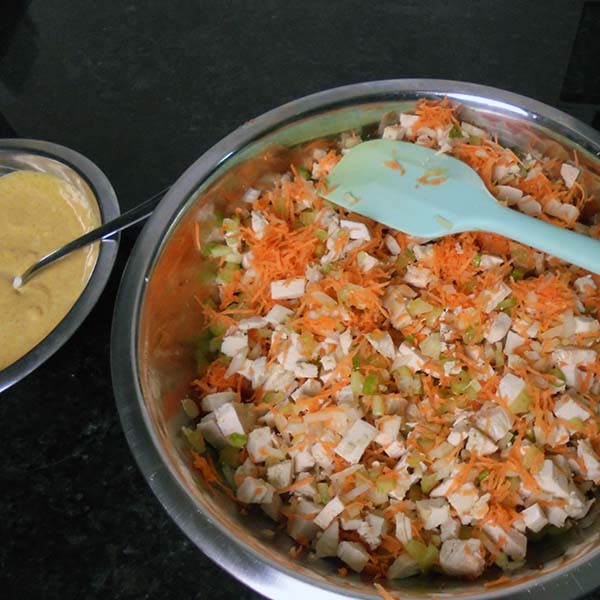
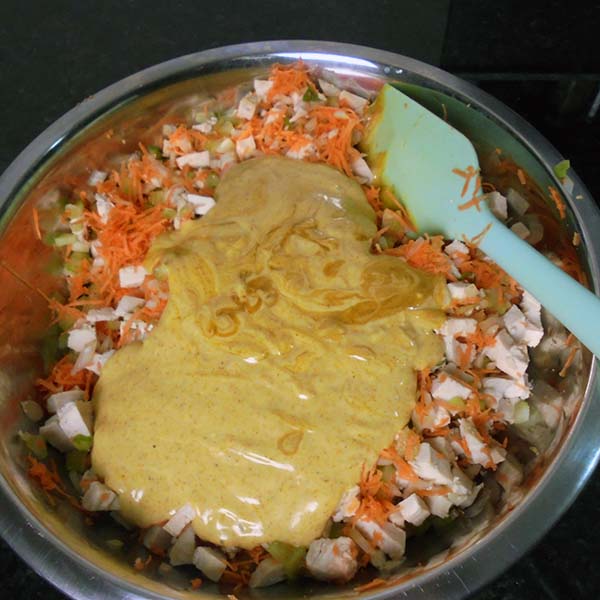
- In a large bowl mix together all the ingredients.
- Use your hands to get an even mix.
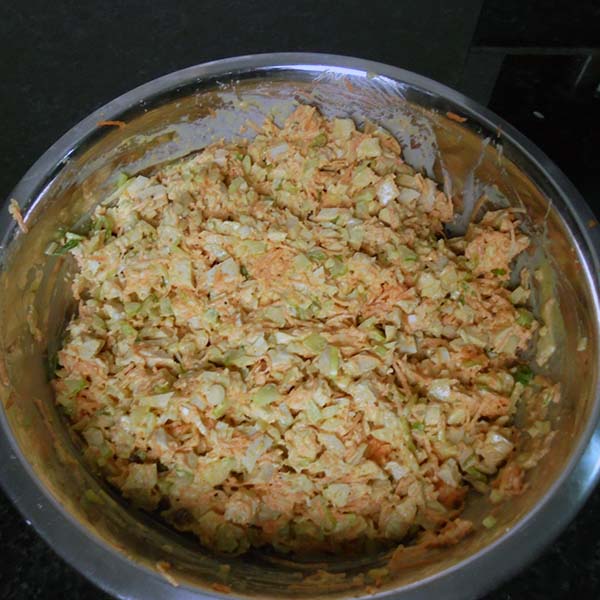
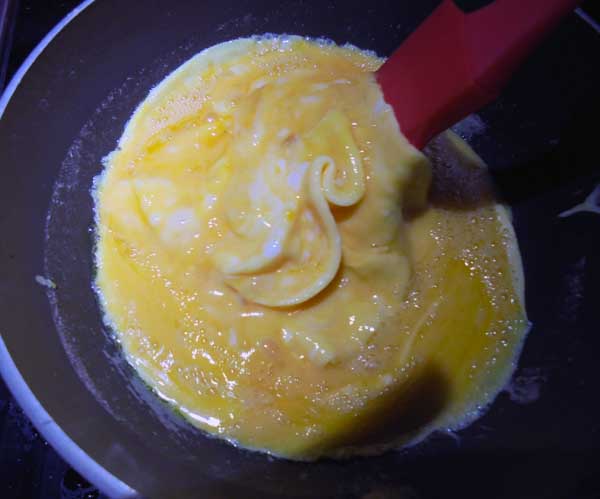
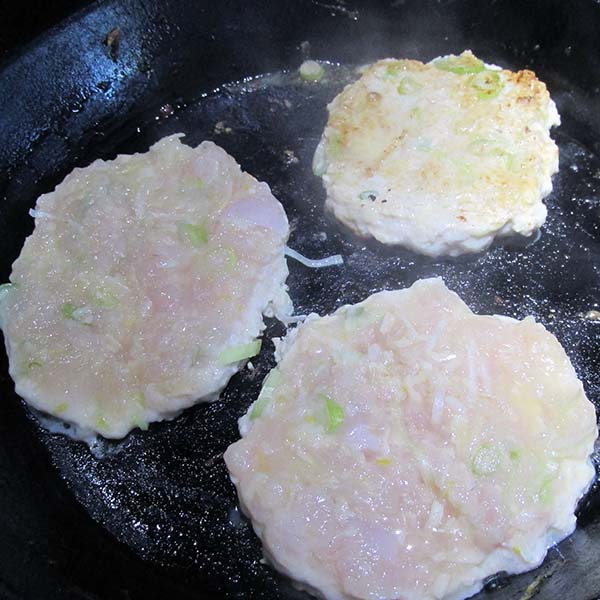
- Divide the mix into six portions and shape into burgers try the burgers over medium heat for 6 minutes on each side.
Nutrition
Per Serving: 189 calories; 11 g fat; 2 g carbohydrates; 14 g protein.Equipment
- Chopping board
- Knife
- Zester
- Fork
- Frying pan
- Spatula
- Mixing bowl
- Measuring cups
- Measuring spoons
- Scales
Nutritional disclaimer
Nutrition information is provided as an estimate based on the ingredients used and available in my area (New Zealand). The nutritional information is here to help you understand the recipe; I use MyFitnessPal to generate my estimates. For more accurate nutritional information, please use a nutritional calculator with the ingredients in your area.