Buy local
I am a big fan of The Collective dairy products; their Straight Up Yoghurt is one of my favourites. It is probiotic and completely free of added chemicals and additives.
I like yoghurt as a dessert when I want a treat, and this cookie dough yogurt is one of my favourite easy-to-make, tasty treats.
Sweet treat
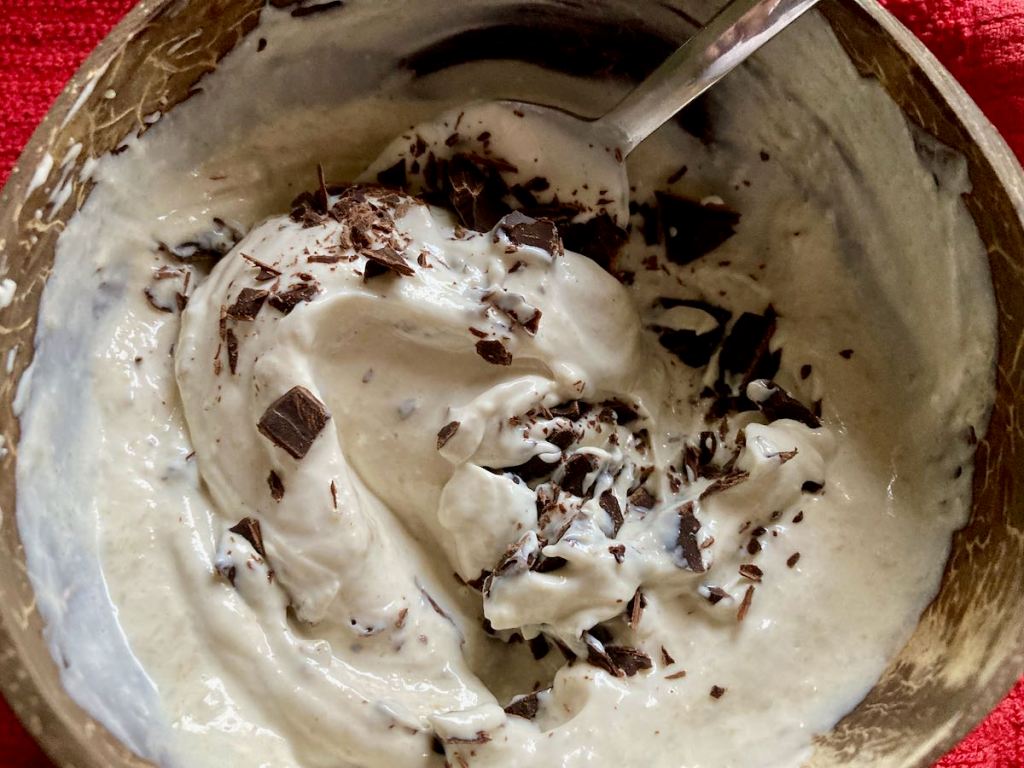
There are times when we all want something sweet without eating a sugar-filled craps snack or something swimming in chemicals. When I find myself craving something sweet, I head to the fridge and make myself a bowl of cookie dough yoghurt. The combination of sun butter, yoghurt and chocolate chips is easy to put together and has just enough sweetness to satisfy my cravings and fill me up.
Flexible treat
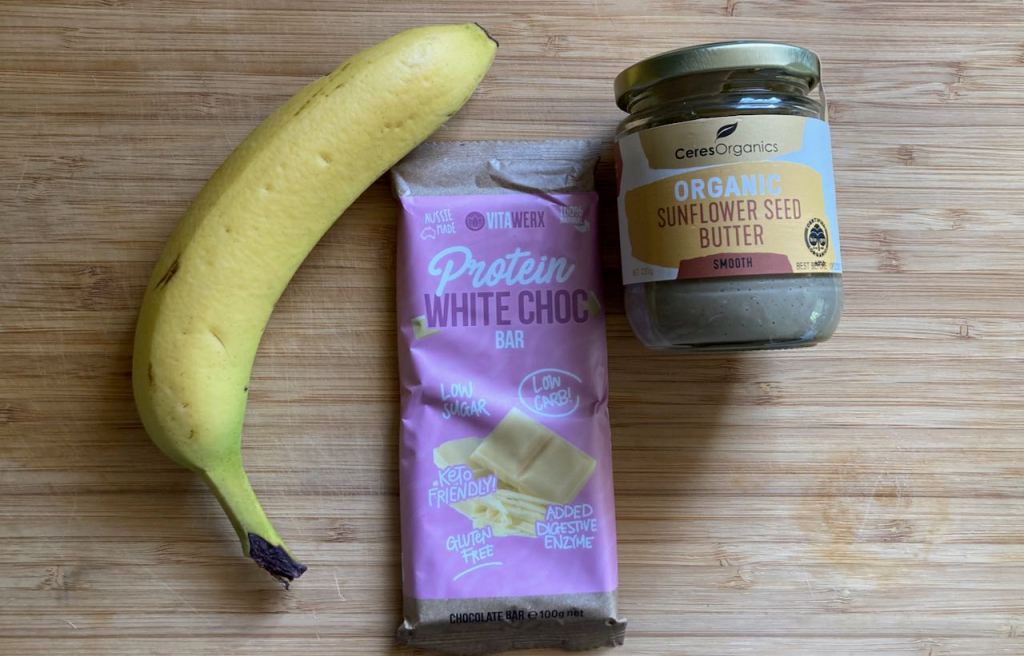
This treat is highly flexible; it can be adapted to suit your dietary requirements. If you don’t like to eat dairy products, this recipe can be made using coconut yoghurt without too much change to the flavours. If you are fortunate enough to be able to eat nuts, you can easily swap out the sun butter for almond, cashew or peanut butter. I use my homemade chocolate chips because they are low in sugar and high in fat. If you don’t want to make your own chocolate chips, you can use any chocolate chips you like.
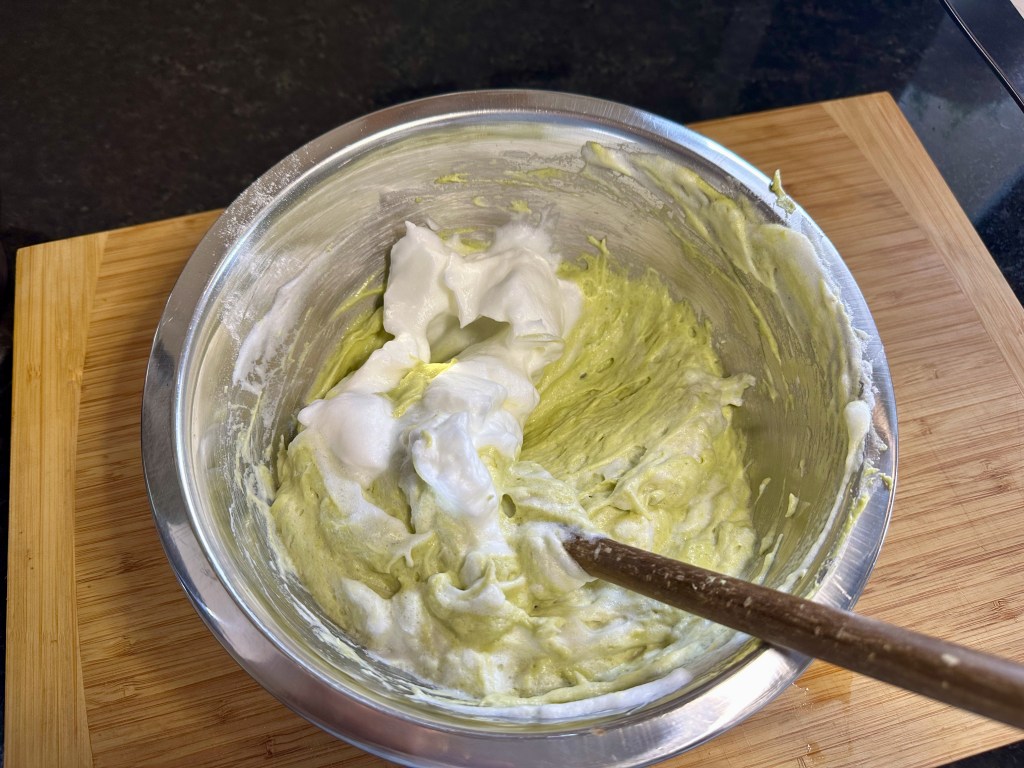
Cookie dough yoghurt recipe
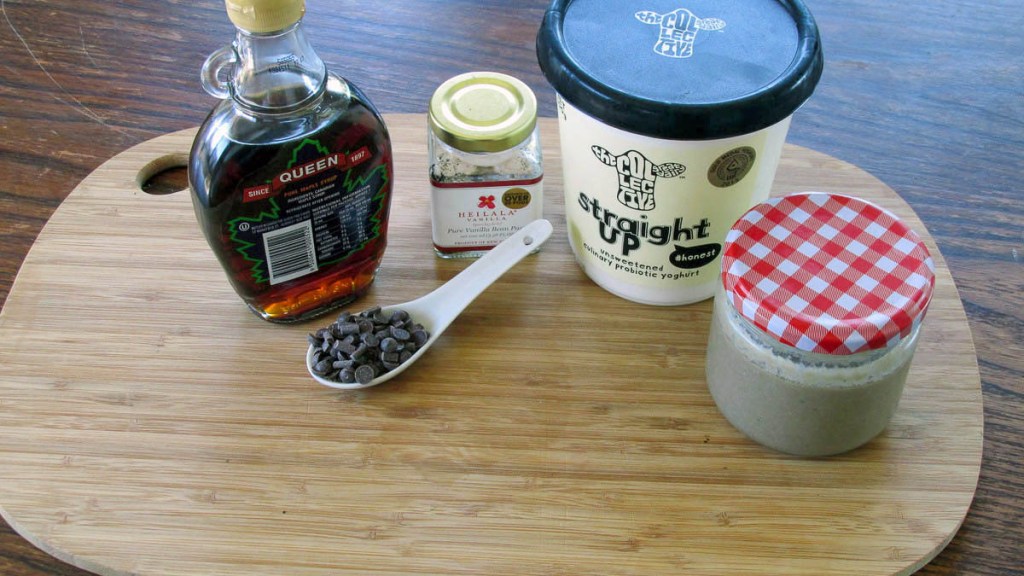
Ingredients
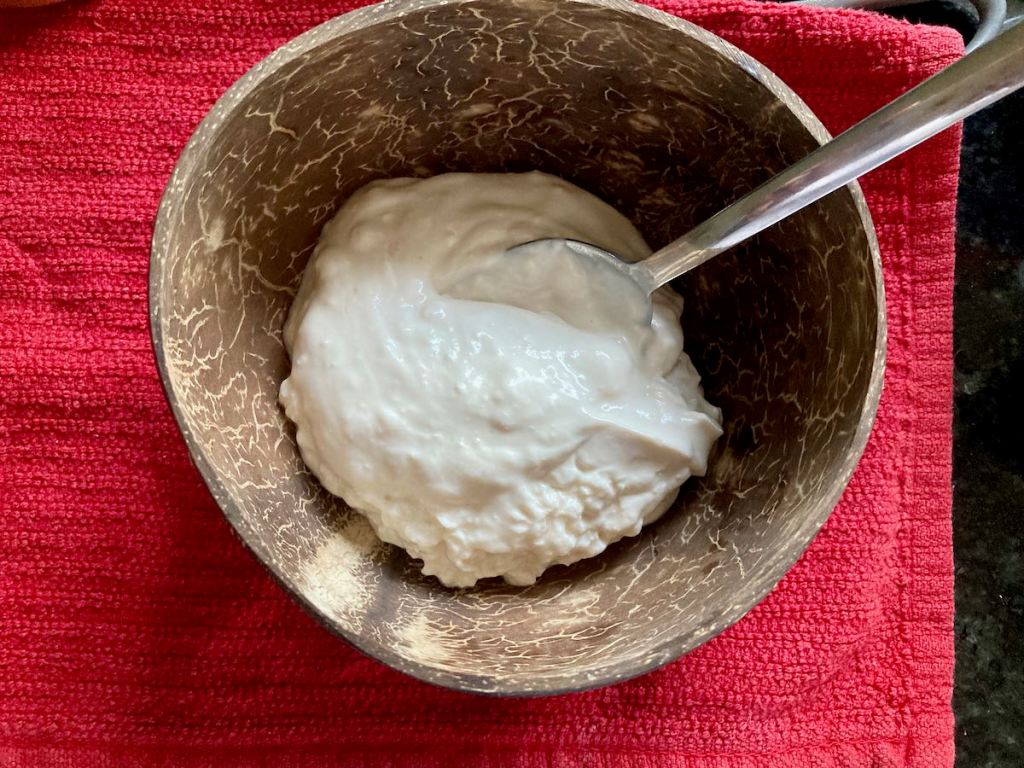
- 250g plain yoghurt
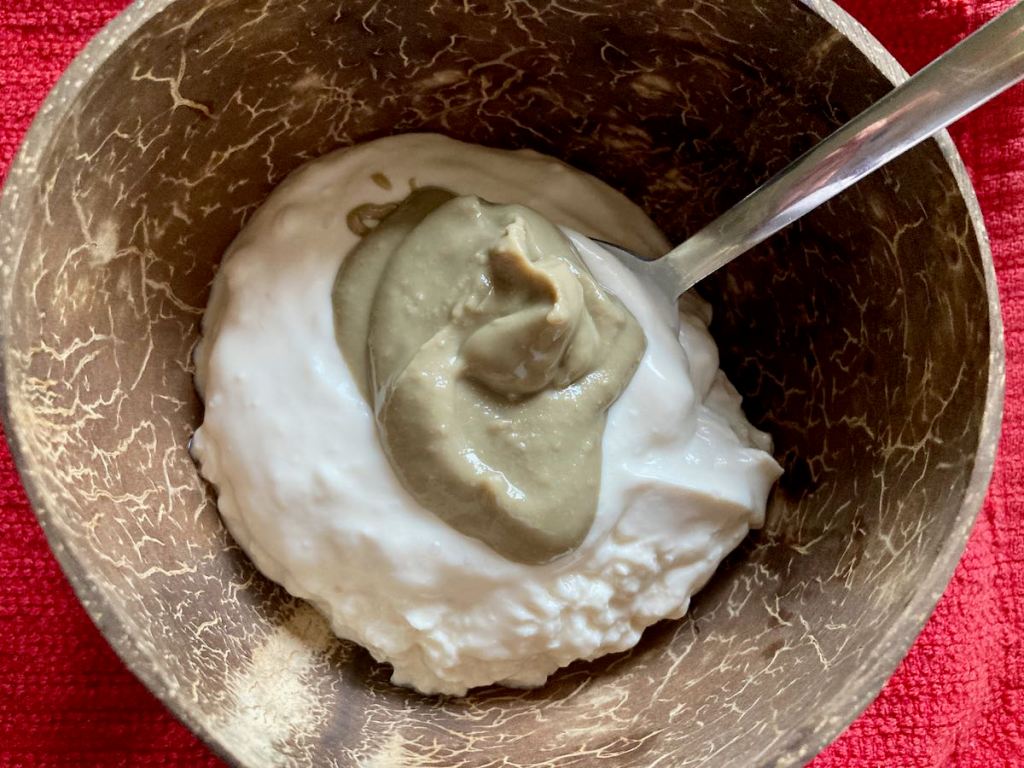
- 1 tbsp. seed or nut butter
- 1 tsp. maple syrup
- 1/4 tsp. vanilla paste
- 1 tbsp. 70% cocoa chocolate chips
Instructions
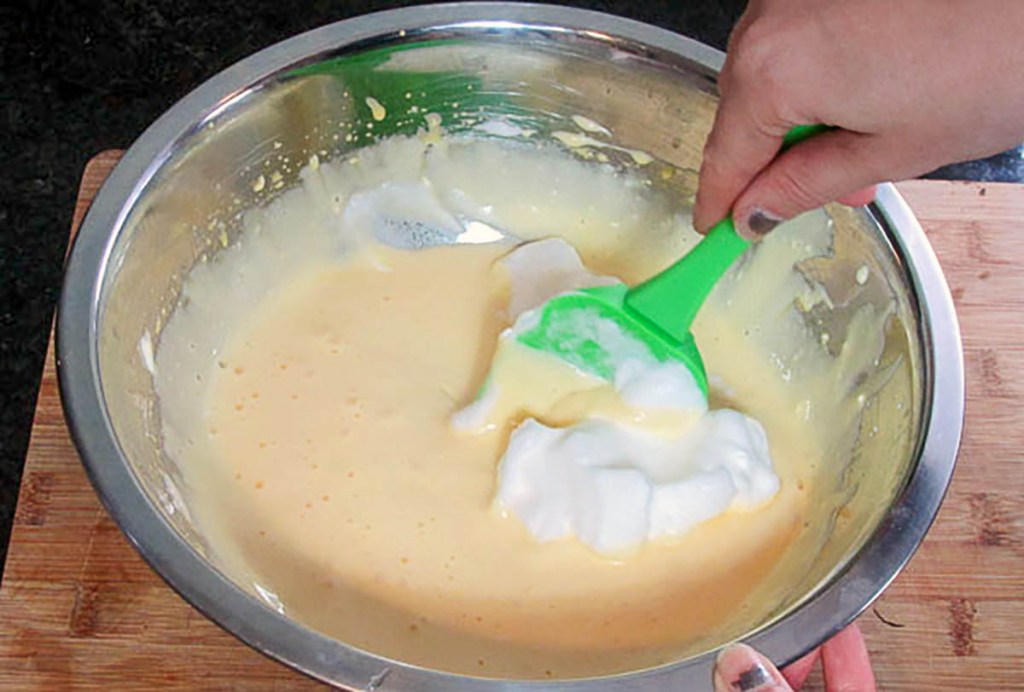
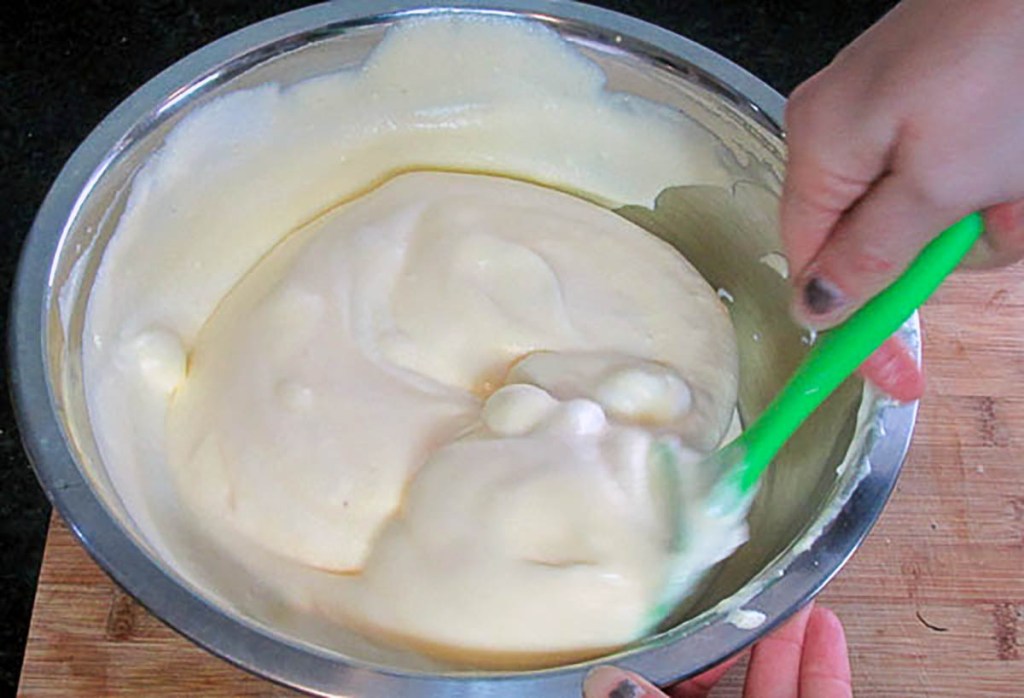
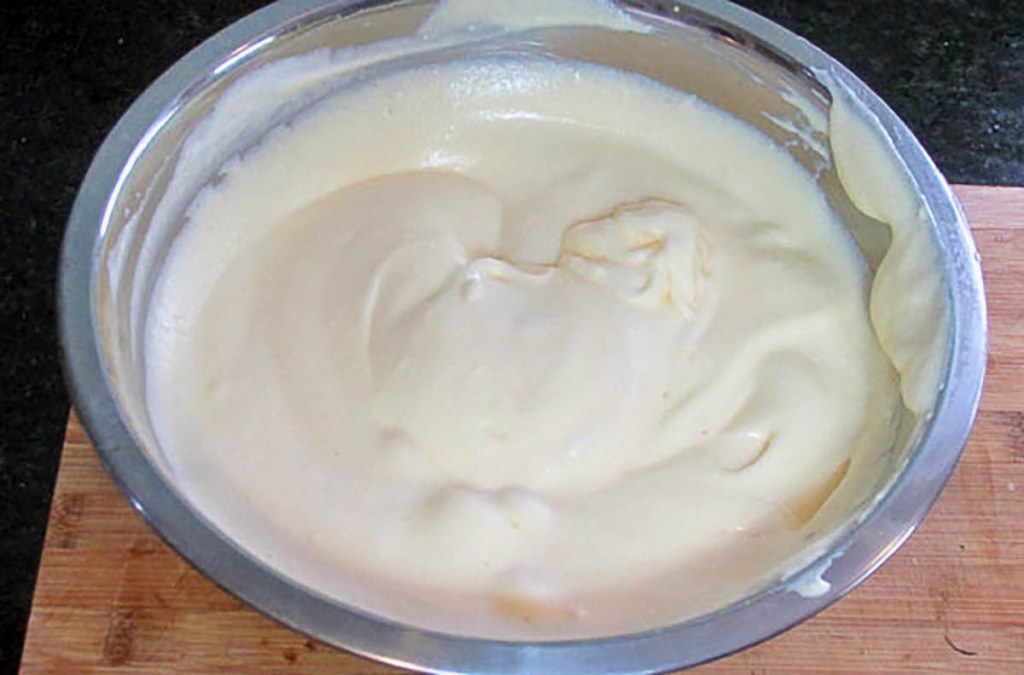
Put all of the ingredients except the chocolate chips into a large bowl, mix well until thoroughly combined and smooth.

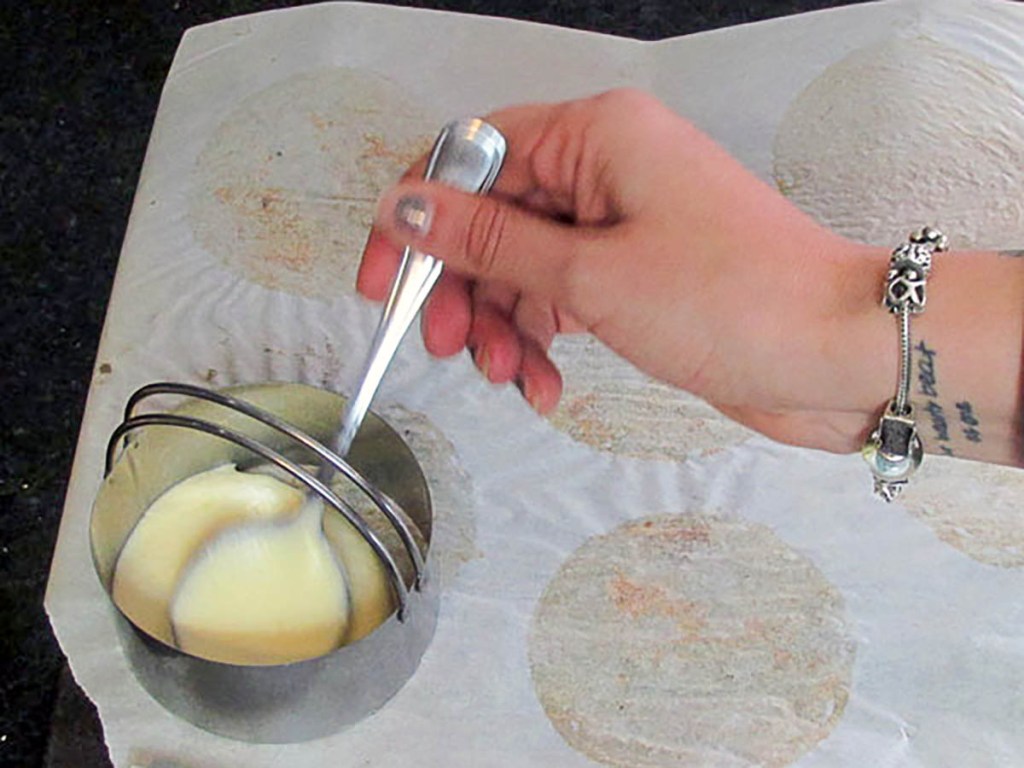
Sprinkle the chocolate chips on top and serve
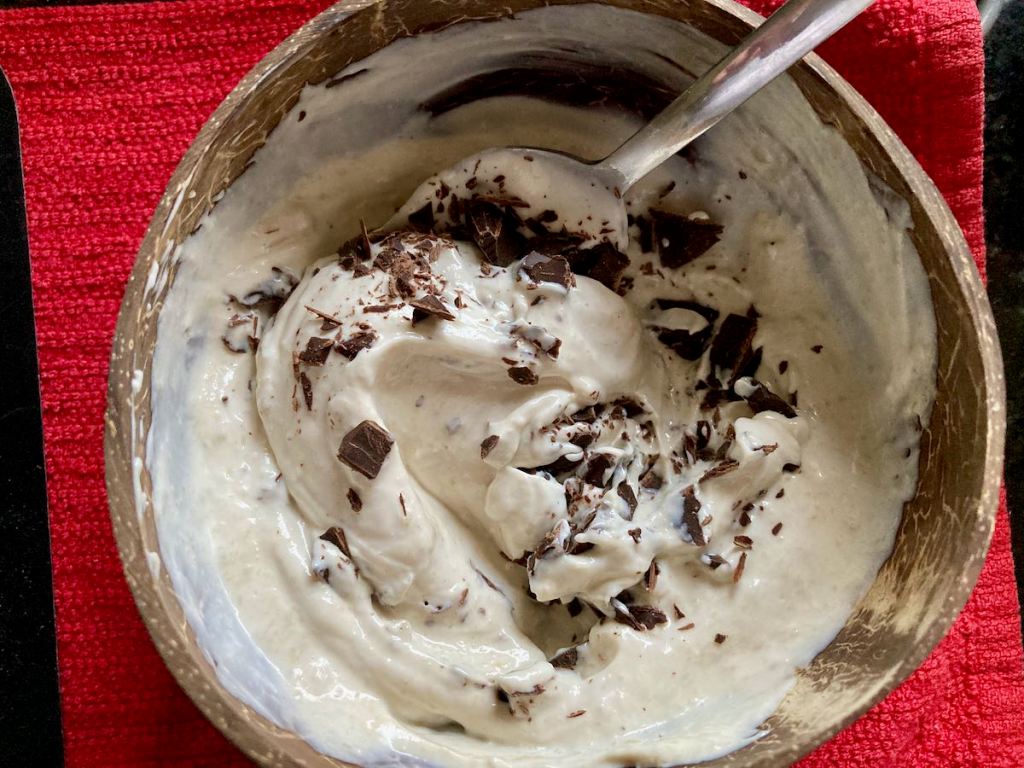
Cookie dough yoghurt
Credit: Cath @ easycleaneats
Ingredients
- 250g plain yoghurt
- 1 tbsp. seed or nut butter
- 1 tsp. maple syrup
- 1/4 tsp. vanilla paste
- 1 tbsp. 70% cocoa chocolate chips
Directions
- Put all of the ingredients except the chocolate chips into a large bowl, mix well until completely combined and smooth.
- Sprinkle the chocolate chips on top and serve
Nutrition
Per Serving:143 calories; 6.1 g fat; 13.6 g carbohydrates; 8.5 g proteinEquipment
- Spoon
- Bowl
Nutritional disclaimer
Nutrition information is provided as an estimate based on the ingredients used and available in my area (New Zealand). The nutritional information is here to help you understand the recipe; I use MyFitnessPal to generate my estimates. For more accurate nutritional information, please use a nutritional calculator with the ingredients in your area.