What a week
It has been a busy week. With the world going insane we had to cancel our holiday plans and opt for a staycation in Auckland. Basically, that meant we hadn’t done any food shopping so our meal options were somewhat limited. I had no intention of going near a supermarket and dealing with the insane humans buying toilet paper. A quick raid of the fridge, I discovered some sour cream that was on its way out, so I wanted to come up with a way to use it up. Some pre-cooked chicken out of the freezer and we were in business.

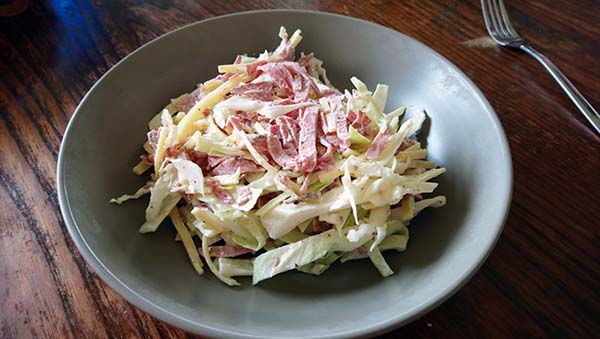
Salad with dressing
Over the last year, there has been a shift in how the family feel about salads. I now have a list of five salads that everyone is on board with eating. The common feature of the salads that everyone likes is a creaming dressing or sauce. With creamy dressings seem to be the ones that are most loved around here so this salad is a winner. The simple combination of mayo, sour cream and lemon juice give the rest of the salad a nice coating without overpowering the other favours.
Chicken cranberry salad recipe
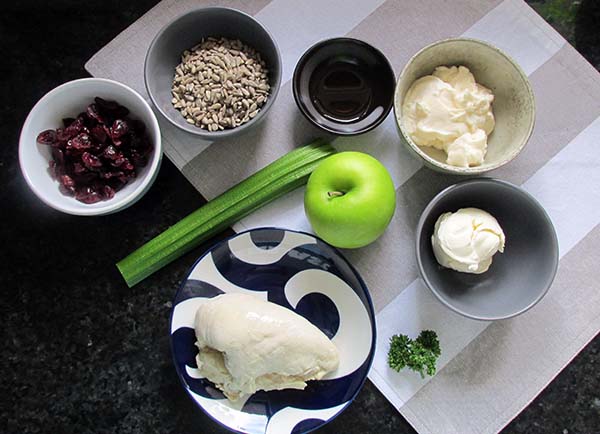
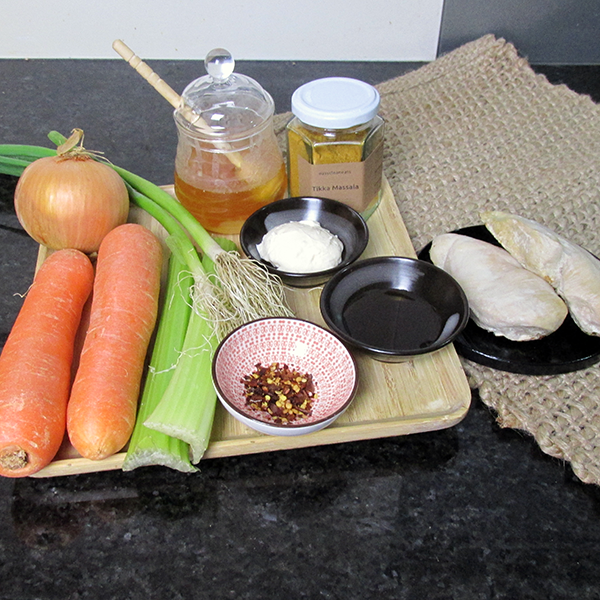
Ingredients
- 1/2 cup easy mayo
- 1/4 cup sour cream
- 1 tsp. lemon juice
- 1 tbsp. parsley
- 3 cups chicken, cooked and chopped
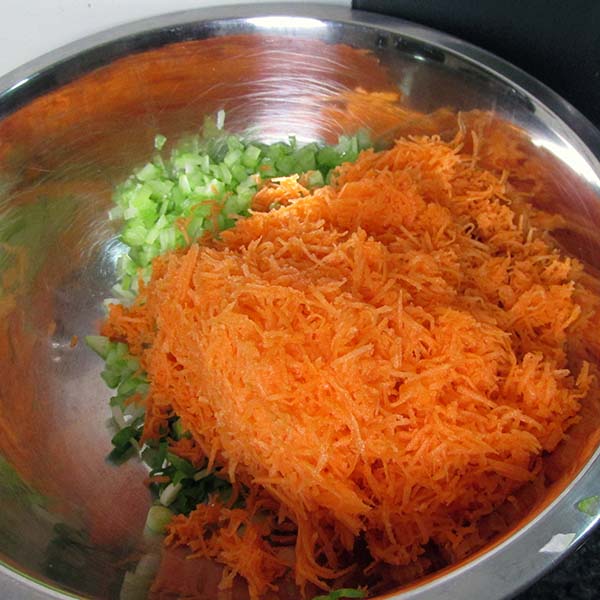
- 1/4 cup celery, finely chopped
- 1/4 cup apple, finely chopped
- 1/3 cup dried cranberries
- 1/3 cup sunflower seeds, toasted
- Salt and pepper to taste


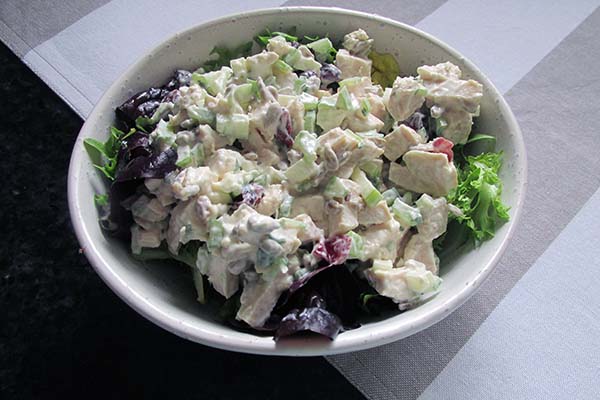
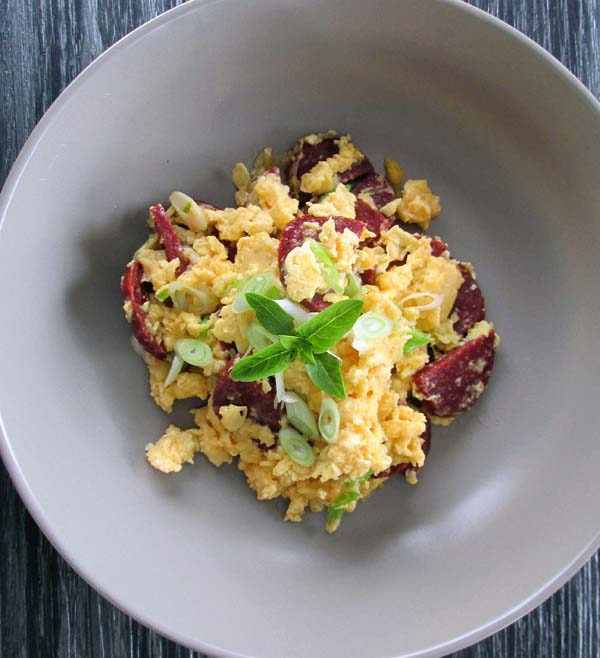
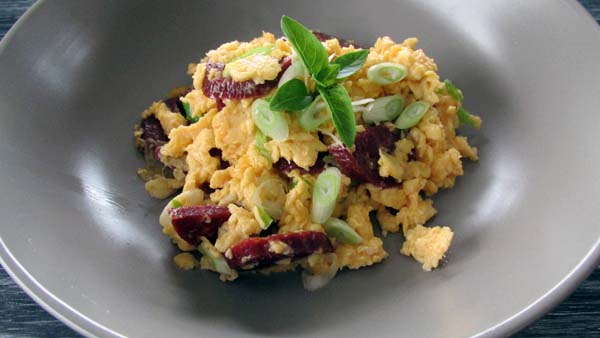
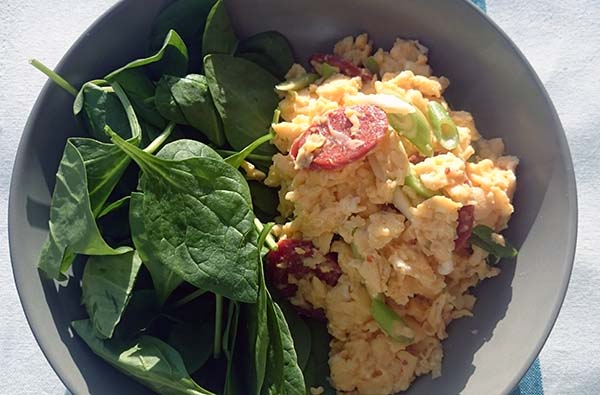
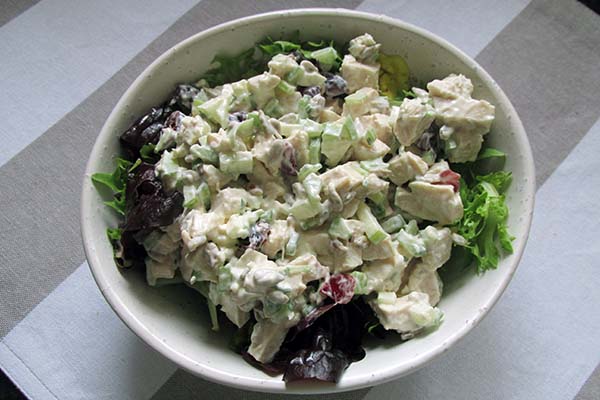
Chicken cranberry salad
It has been a busy week and still far too warm to be spending hours in the kitchen making meals. I had some sour cream in the fridge that was on its way out so I wanted to come up with a way to use it up.'
Credit: Cath @ easycleaneats
Ingredients
- 1/2 cup easy mayo
- 1/4 cup sour cream
- 1 tsp. lemon juice
- 1 tbsp. parsley
- 3 cups chicken, cooked and chopped
- 1/4 cup celery, finely chopped
- 1/4 cup apple, finely chopped
- 1/3 cup dried cranberries
- 1/3 cup sunflower seeds, toasted
- Salt and pepper to taste
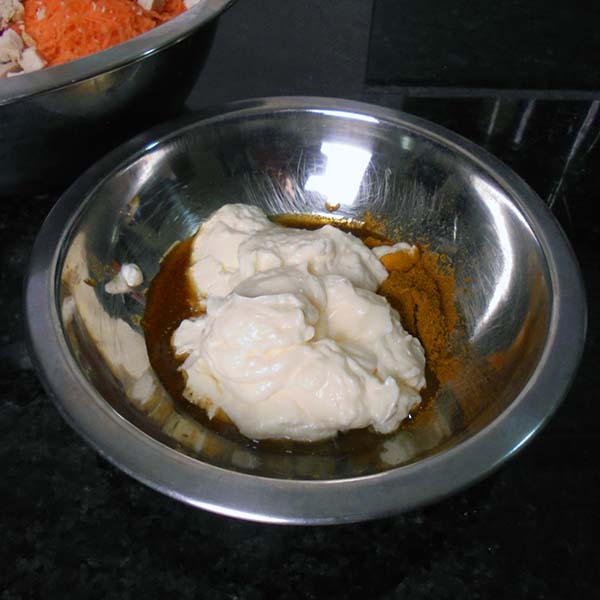
Directions
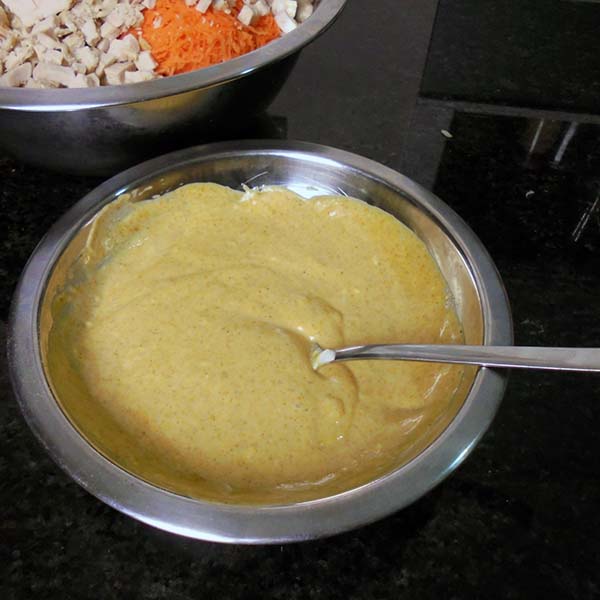
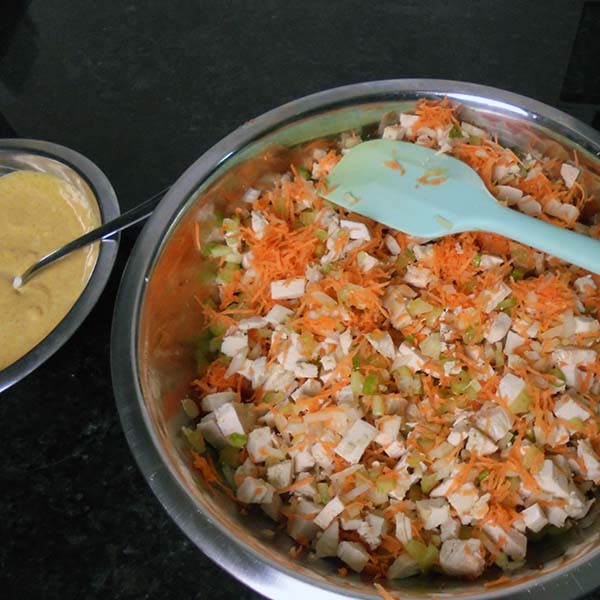
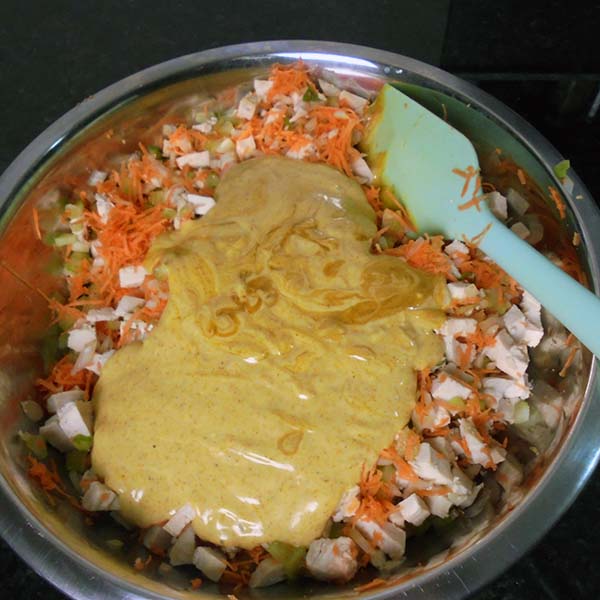
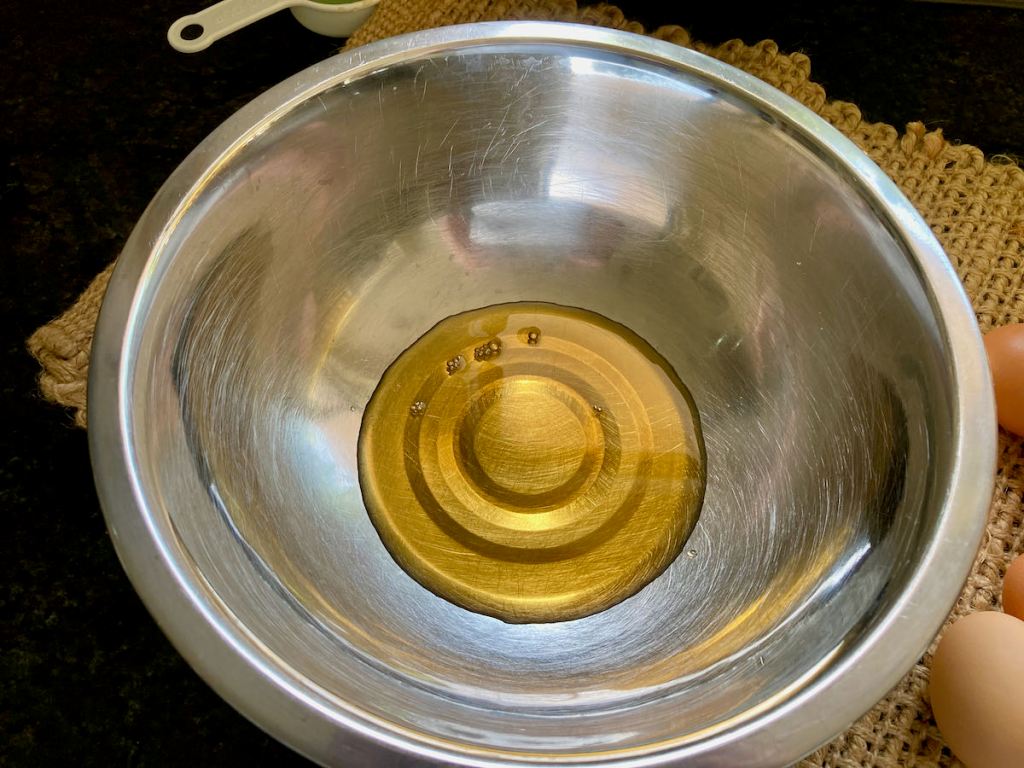
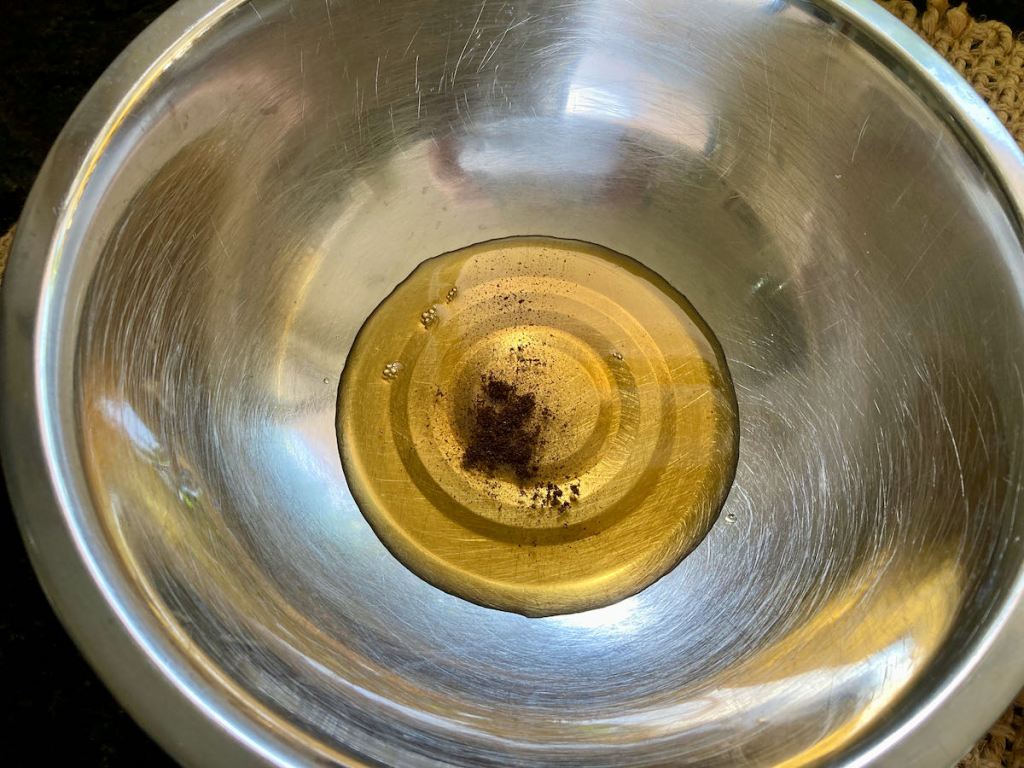
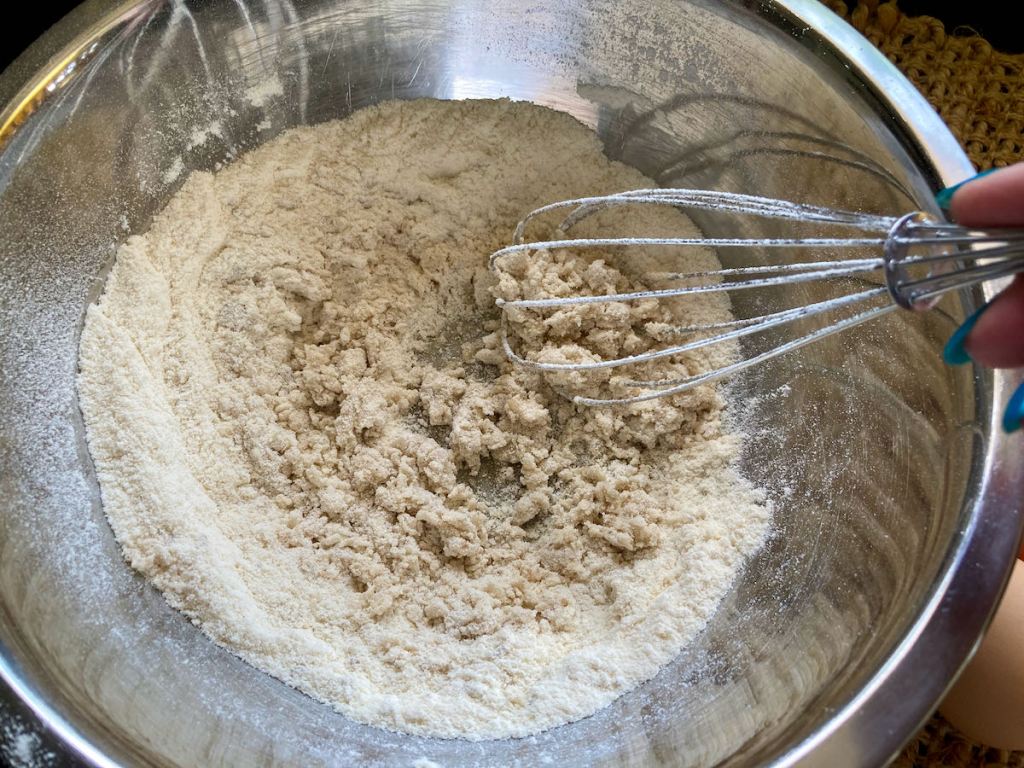
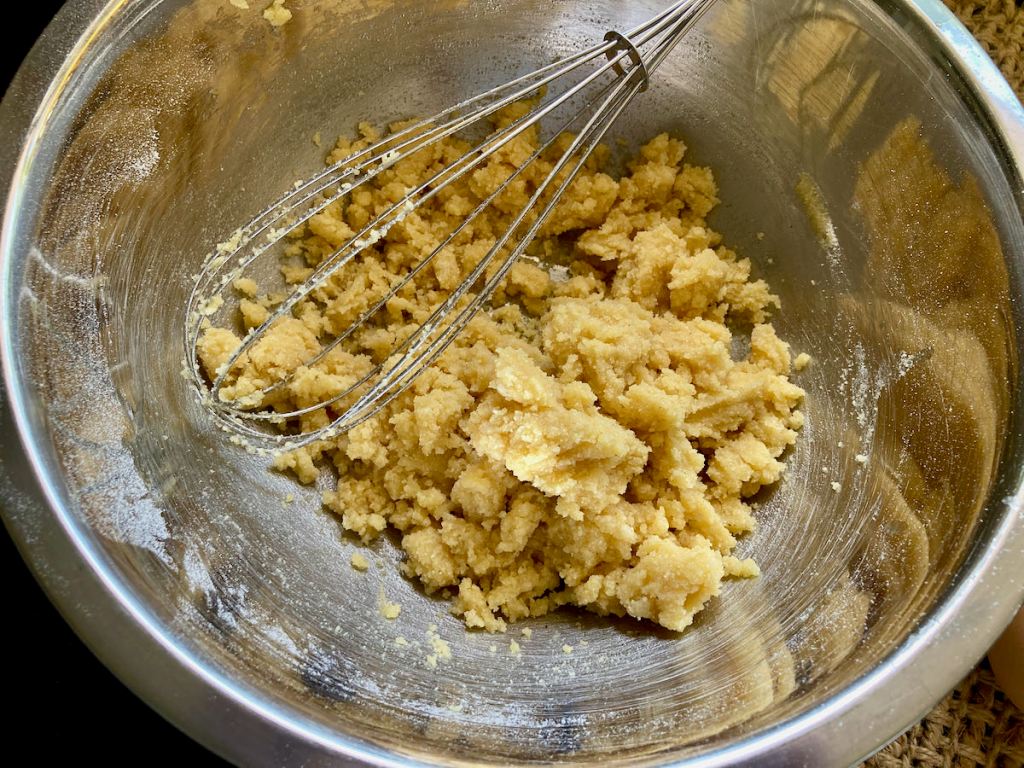
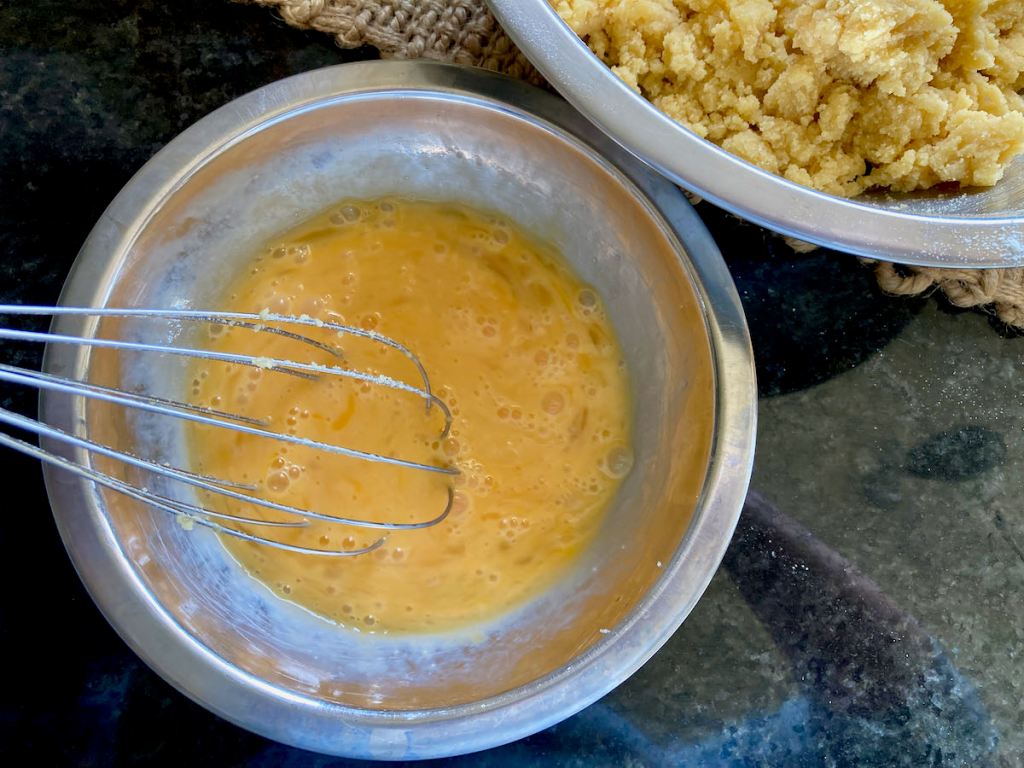
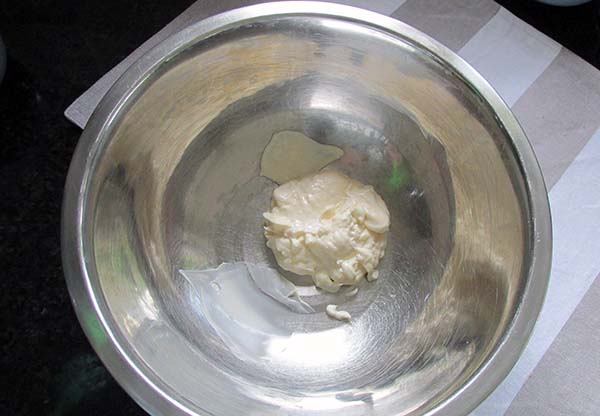
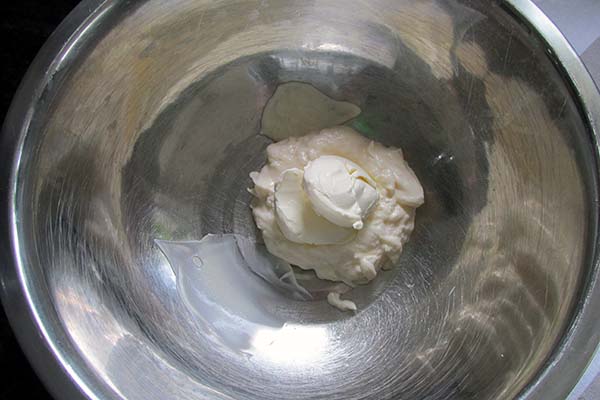
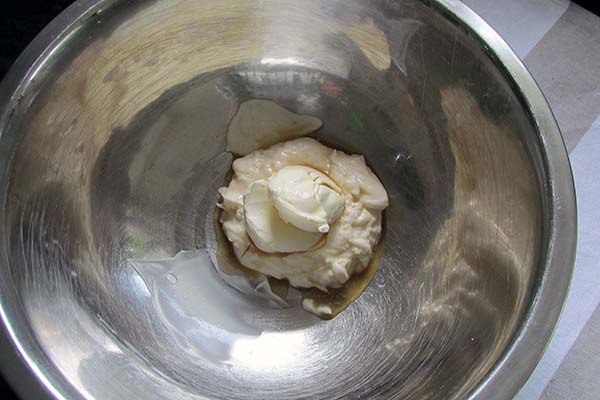
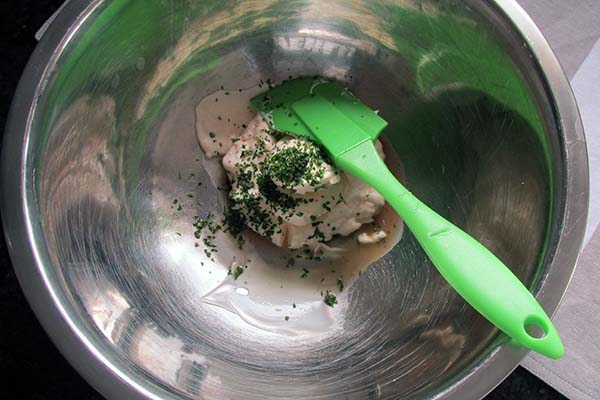
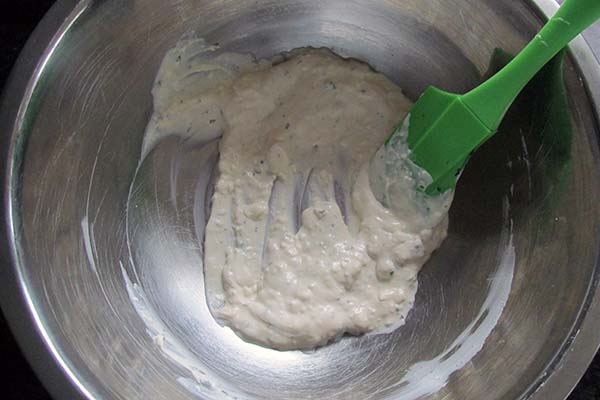
- In a large bowl, whisk the mayo, sour cream, lemon juice and parsley.
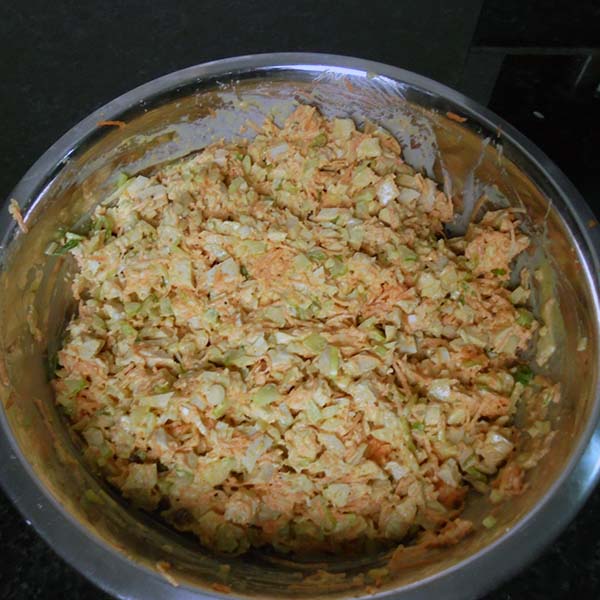
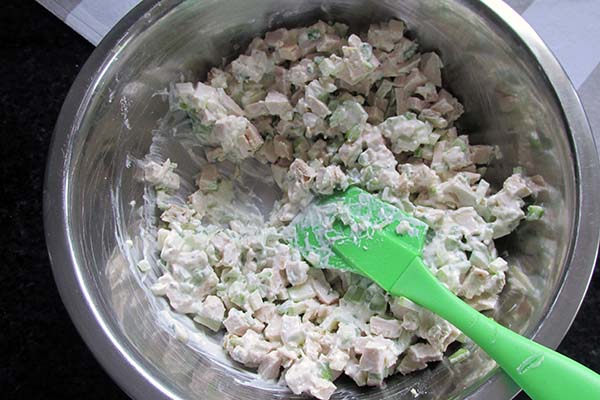
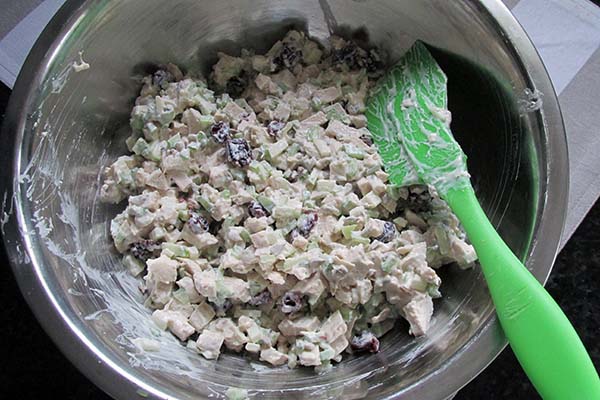
- Add remaining ingredients and stir until combined.
- Add salt and pepper to taste.
- Serve chilled on a bed of lettuce.
Nutrition
Per Serving: 299 calories; 24 g fat; 10 g carbohydrates; 19 g protein.Equipment
- Large mixing bowl
- Whisk
- Spatula
- Measuring cups
- Measuring spoons
Nutritional disclaimer
Nutrition information is provided as an estimate based on the ingredients used and available in my area (New Zealand). The nutritional information is here to help you understand the recipe; I use MyFitnessPal to generate my estimates. For more accurate nutritional information, please use a nutritional calculator with the ingredients in your area.