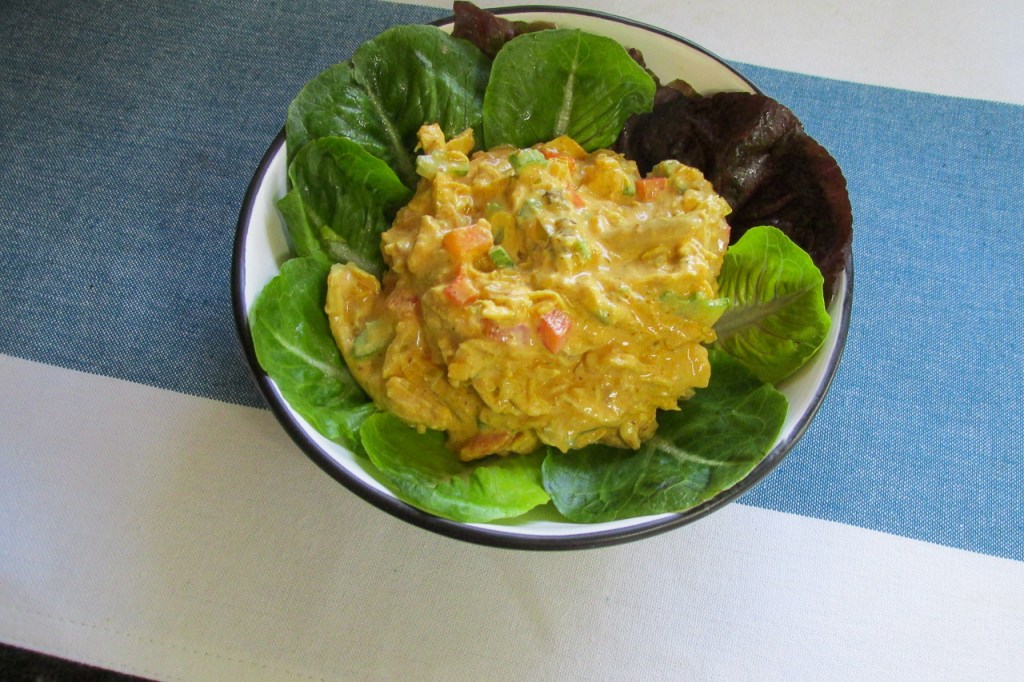
Master the basics
Eating clean gets a lot easier once you have mastered a few essential recipes. This recipe is basic- not like basic unicorn basic, but more like beard and flannel basic. Back to the point (which isn’t Unstable unicorns), having basic skills and recipes in your arsenal means you will never be left with only UberEats as your weeknight options. Once you master this recipe, the possibilities are endless.
Make the most of leftovers
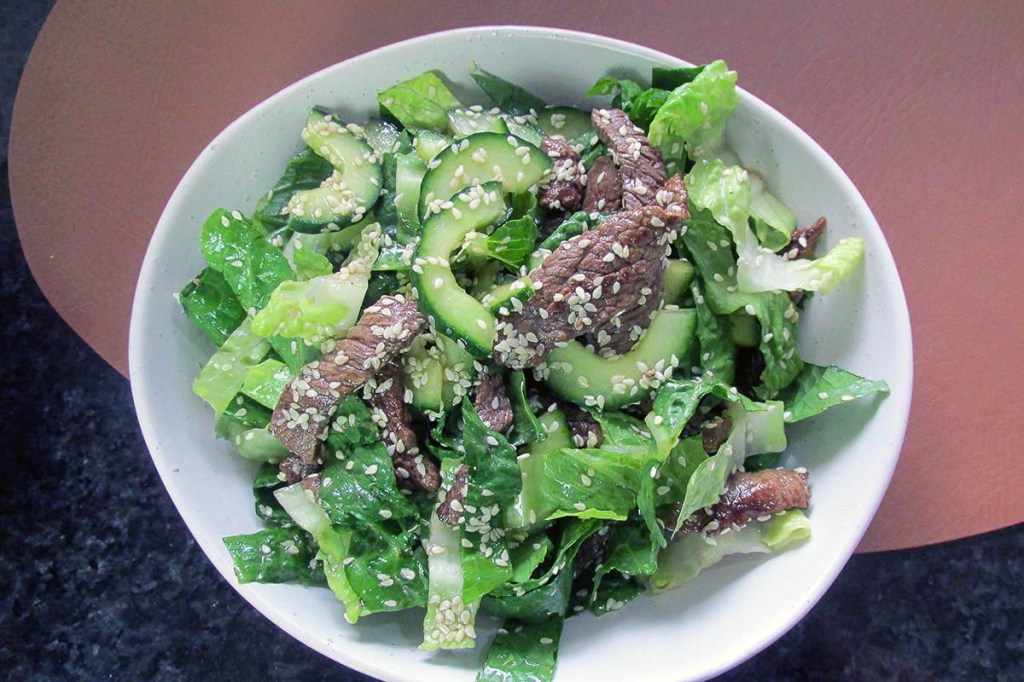
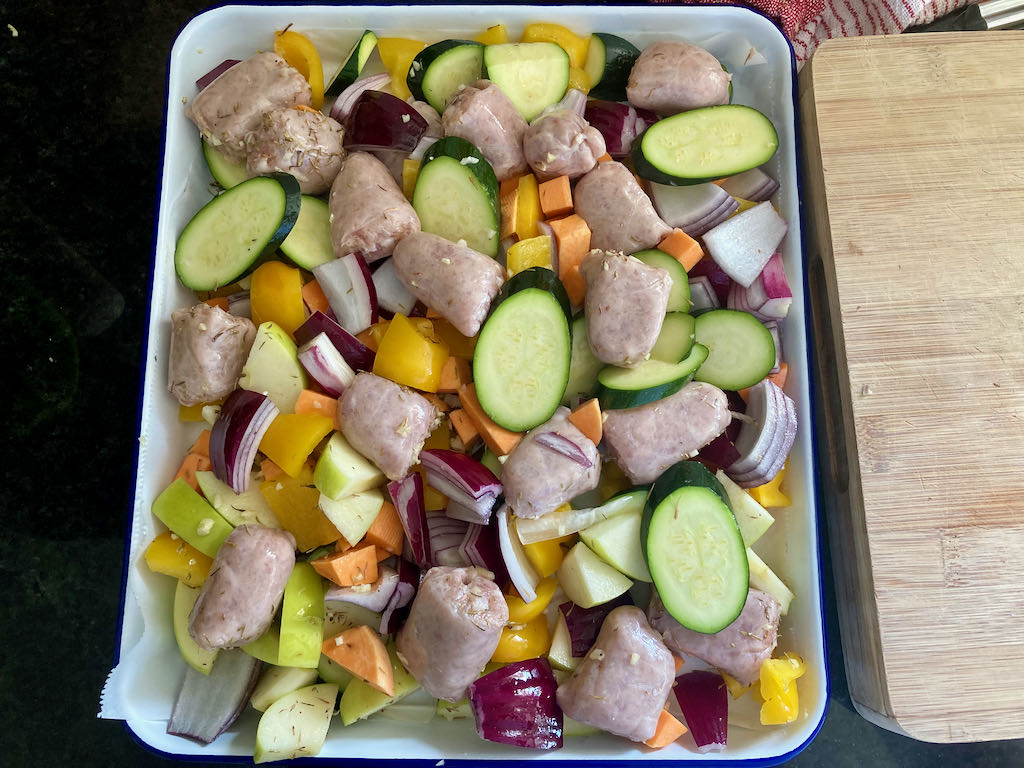
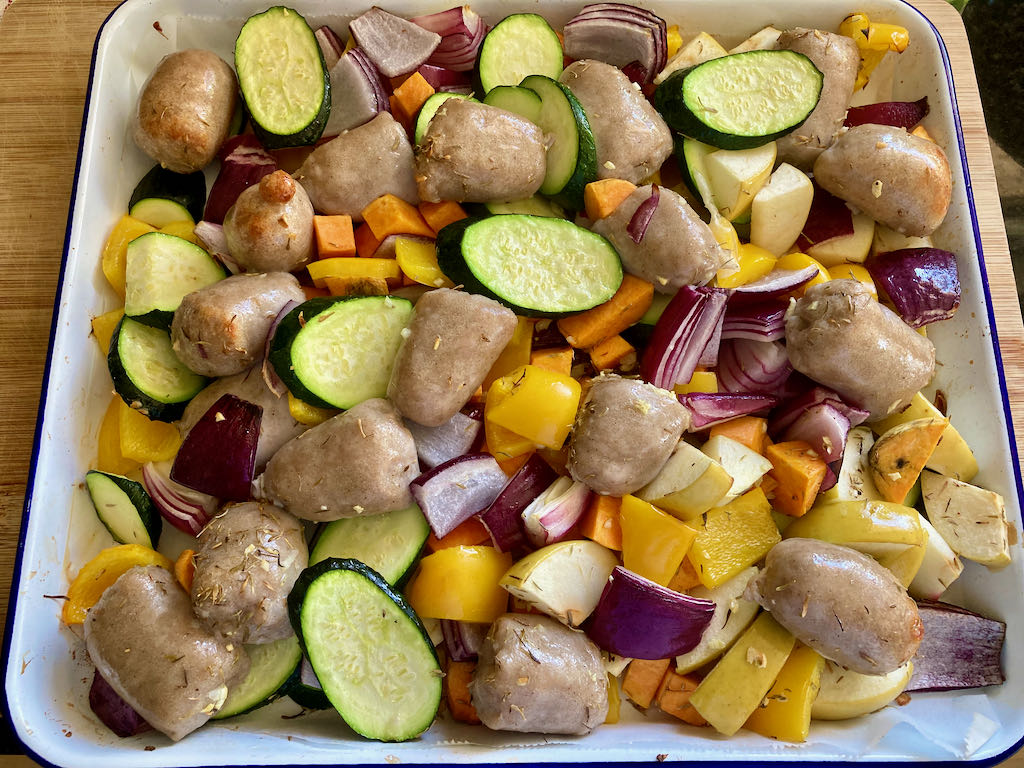
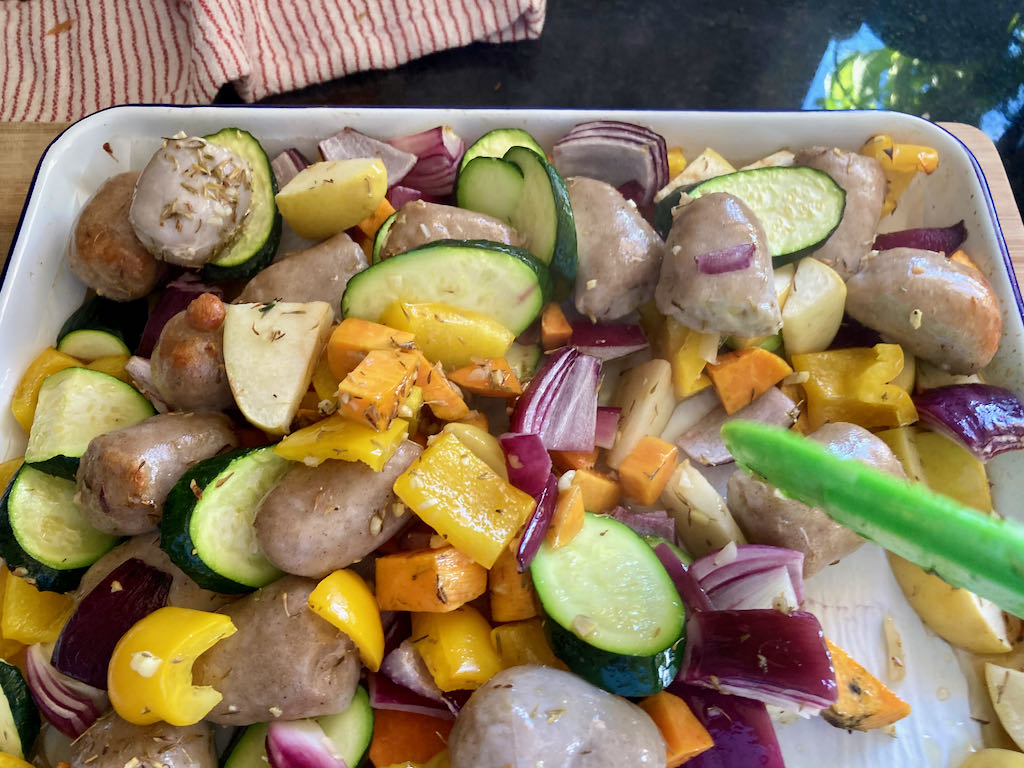
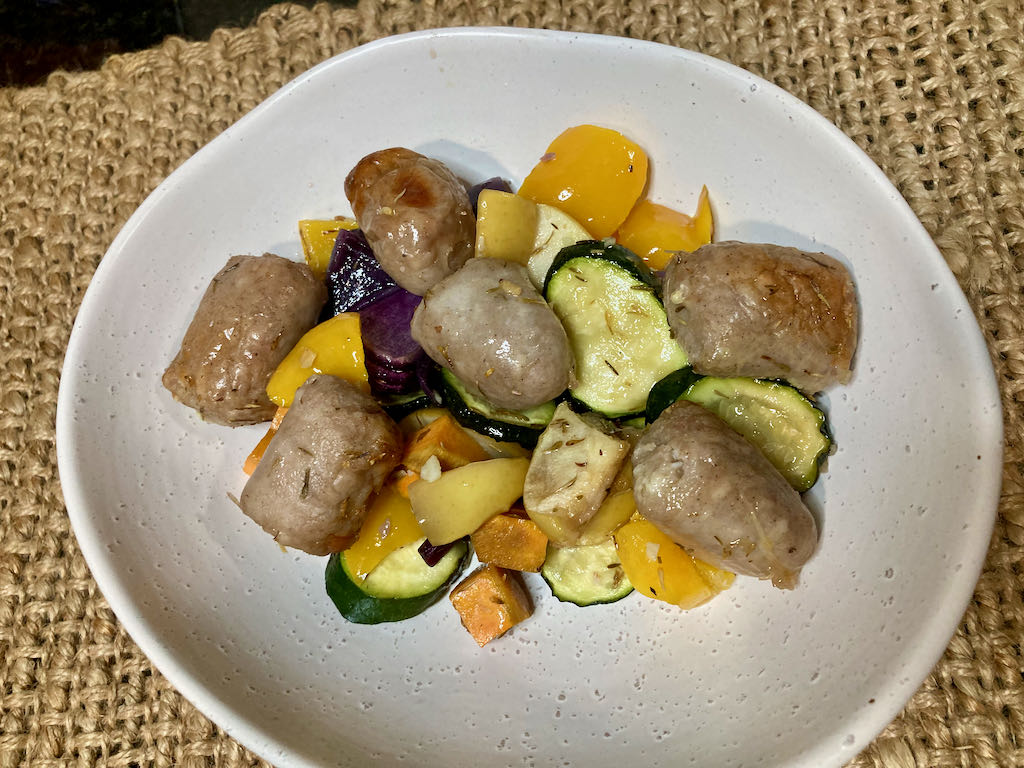
This is a great way to use up leftovers (if you ever have any) or a quick and easy dinner that will fill up the family. You can add pretty much anything you want, and it will still taste awesome.
Fried rice recipe
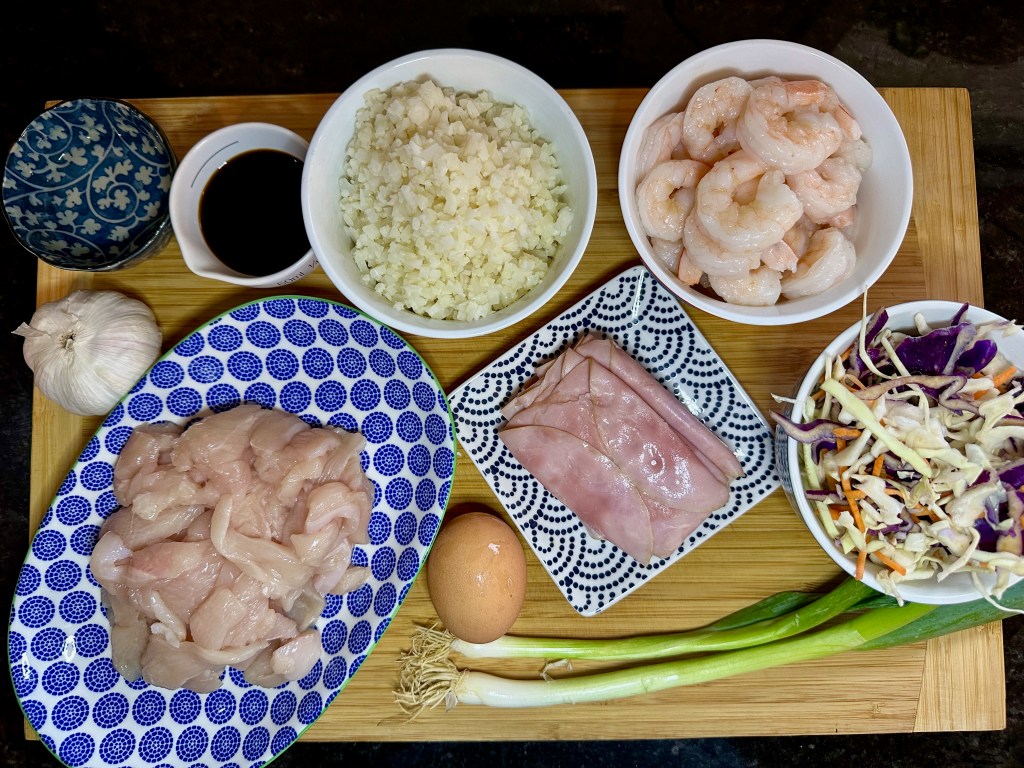
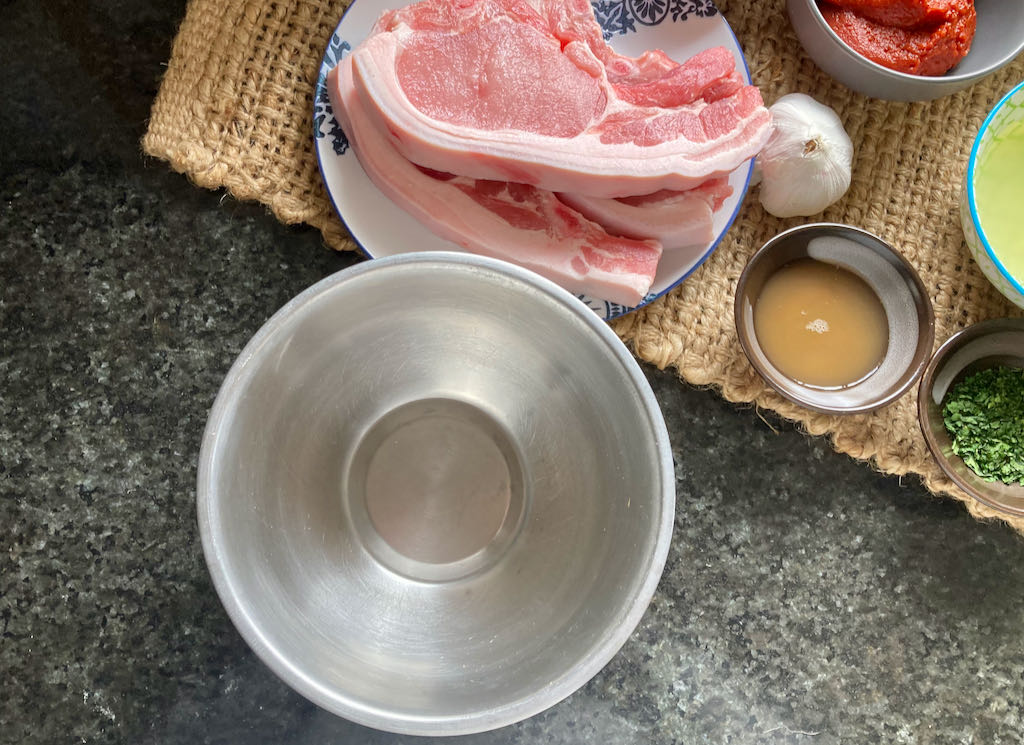
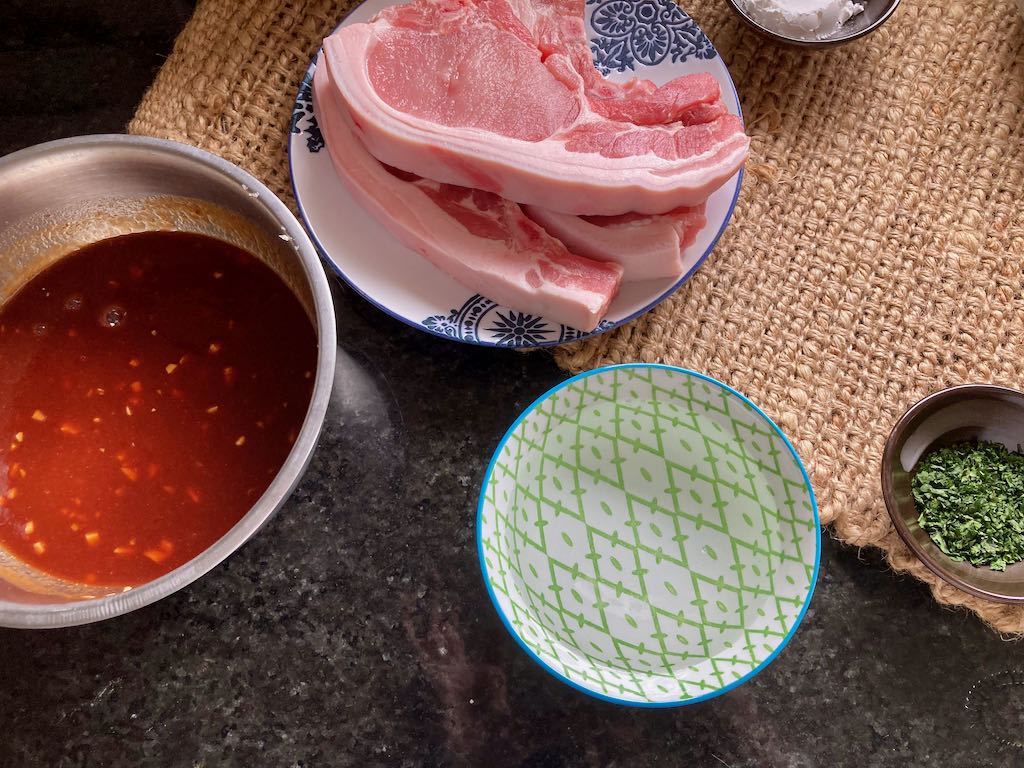
Ingredients
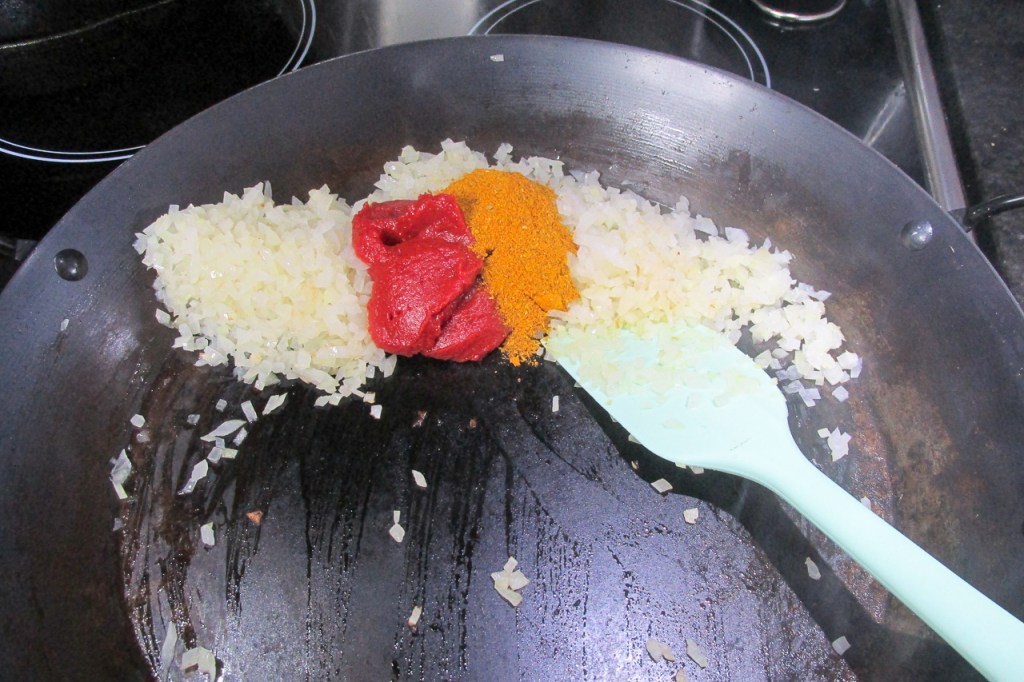
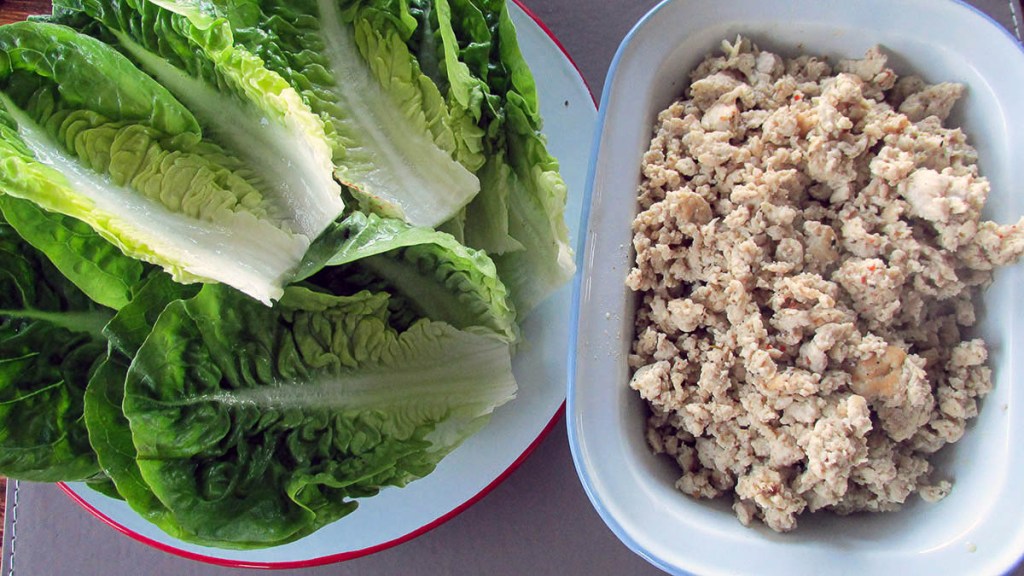
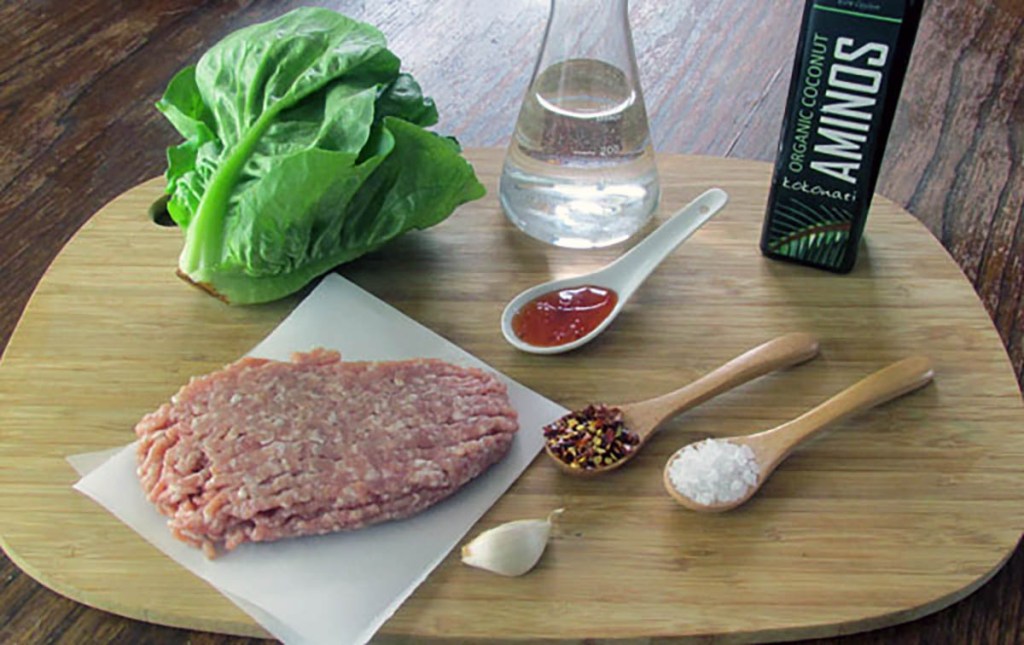
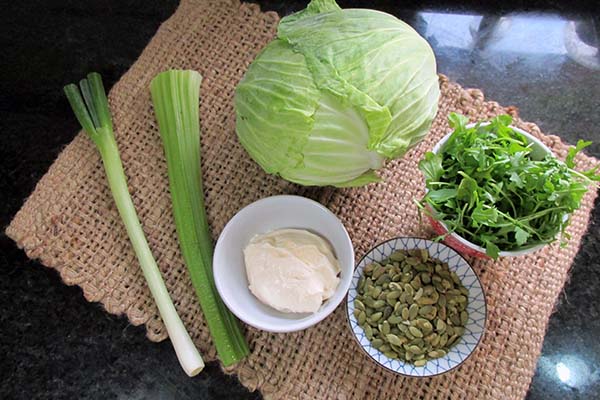
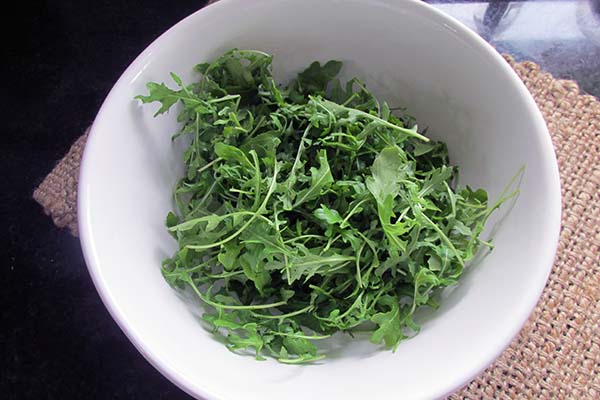
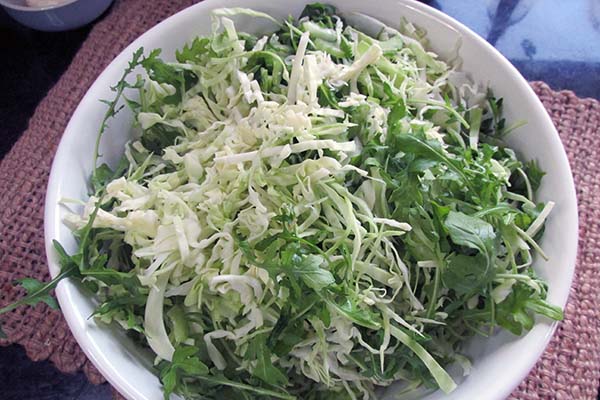
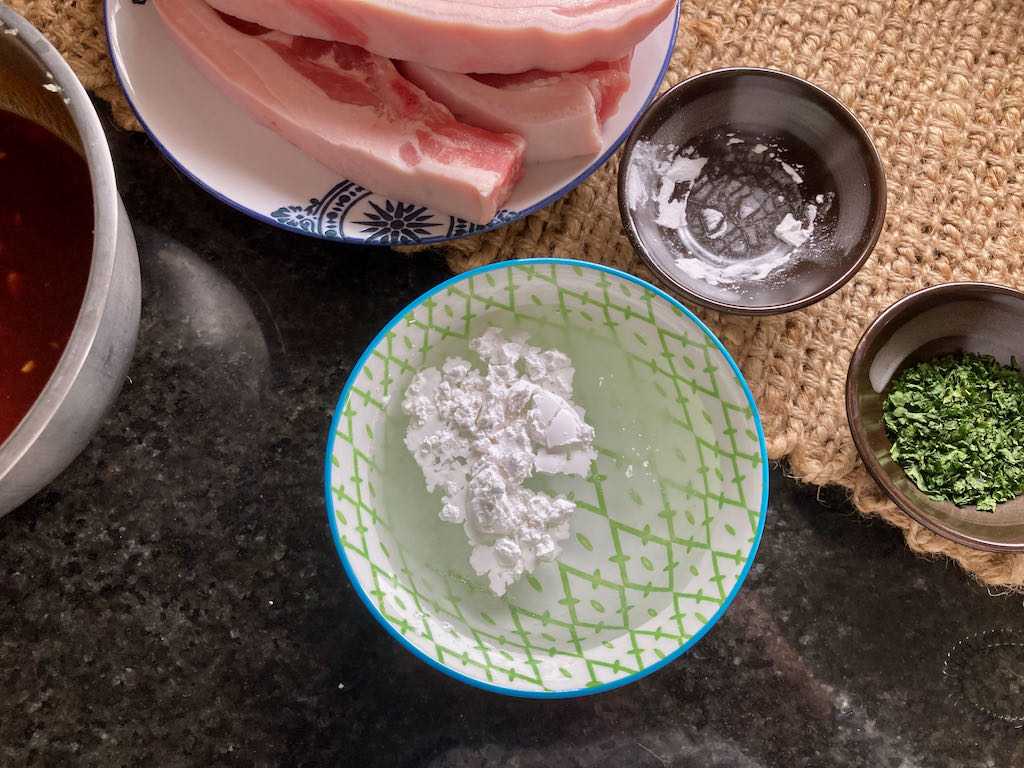
- 1 head cauliflower, finely grated
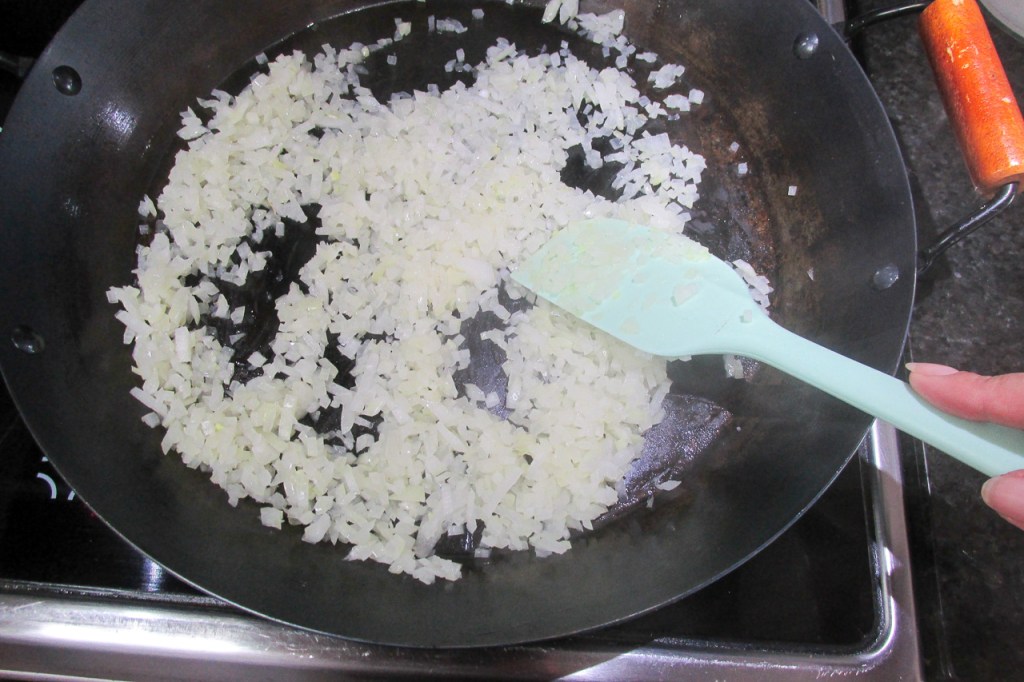
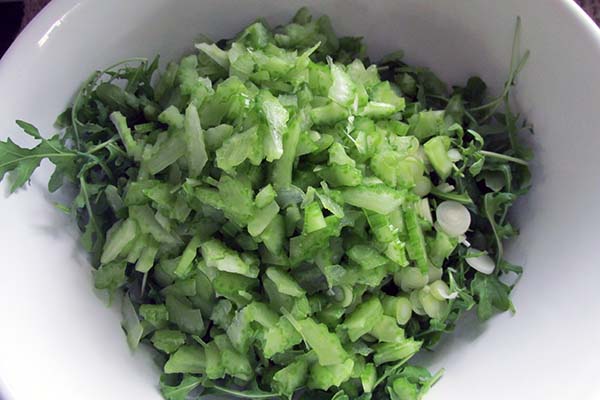
- 1/2 onion, minced
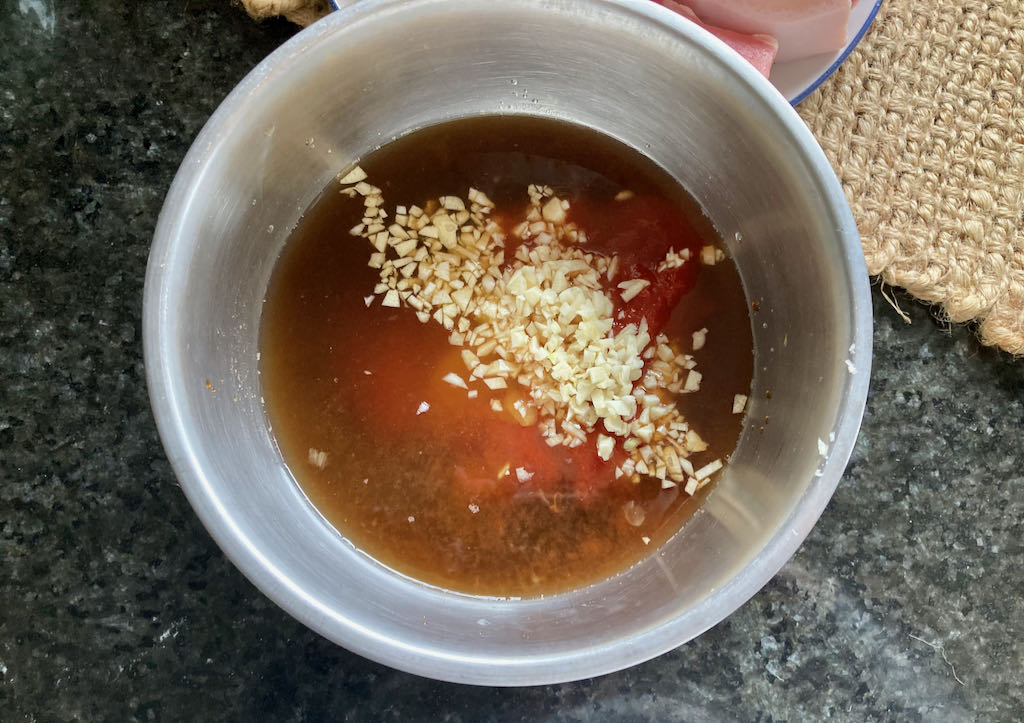
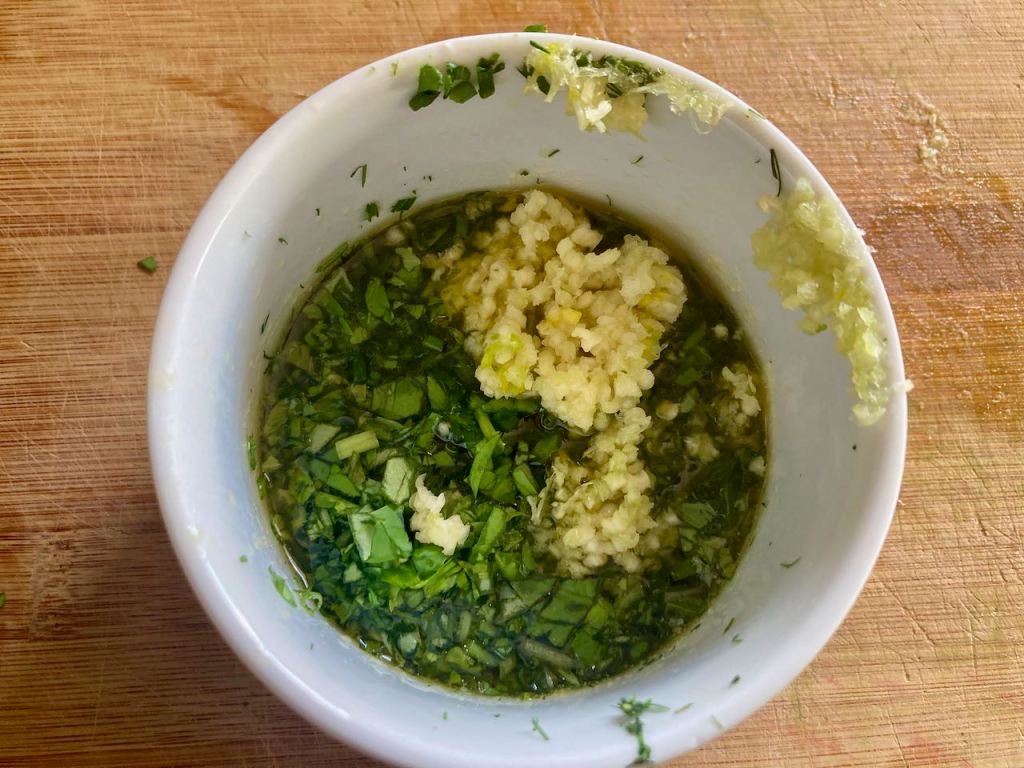
- 2 garlic cloves, finely minced
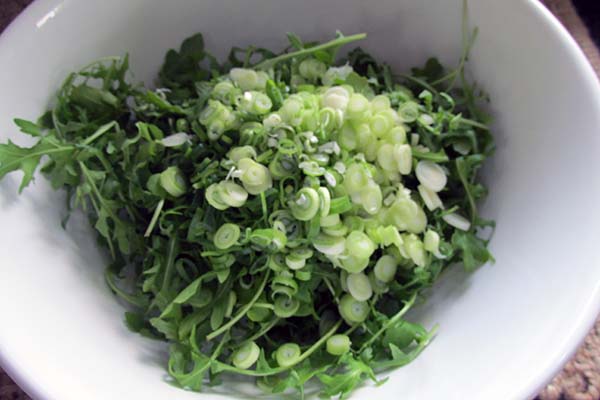
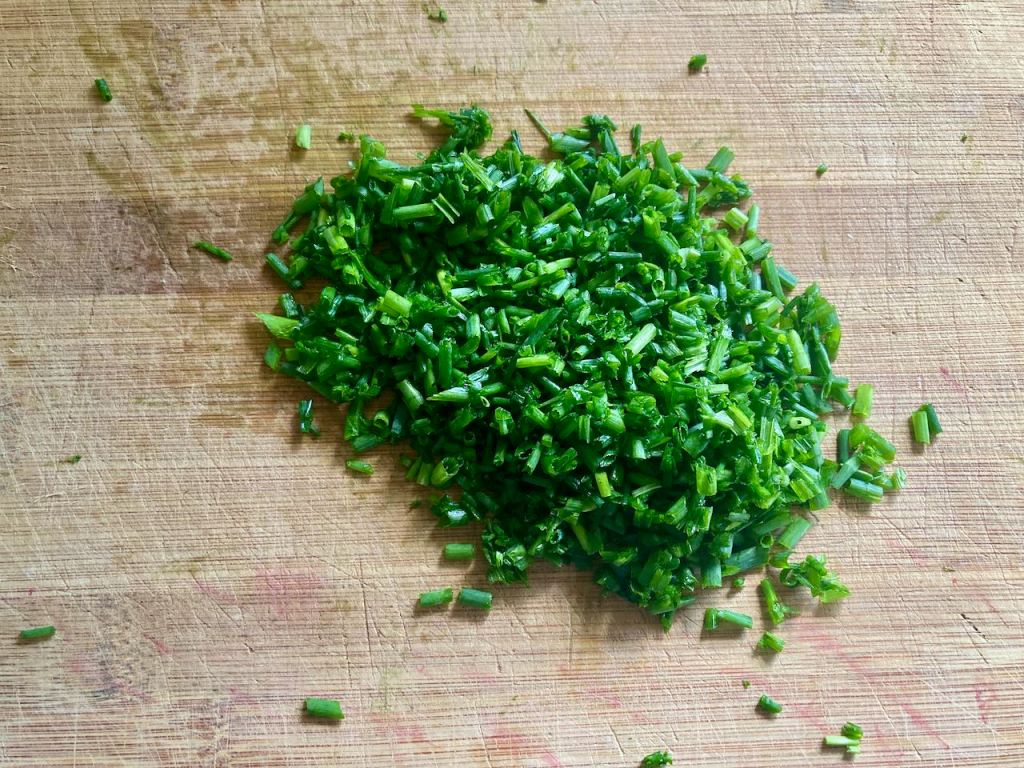
- 2 spring onions
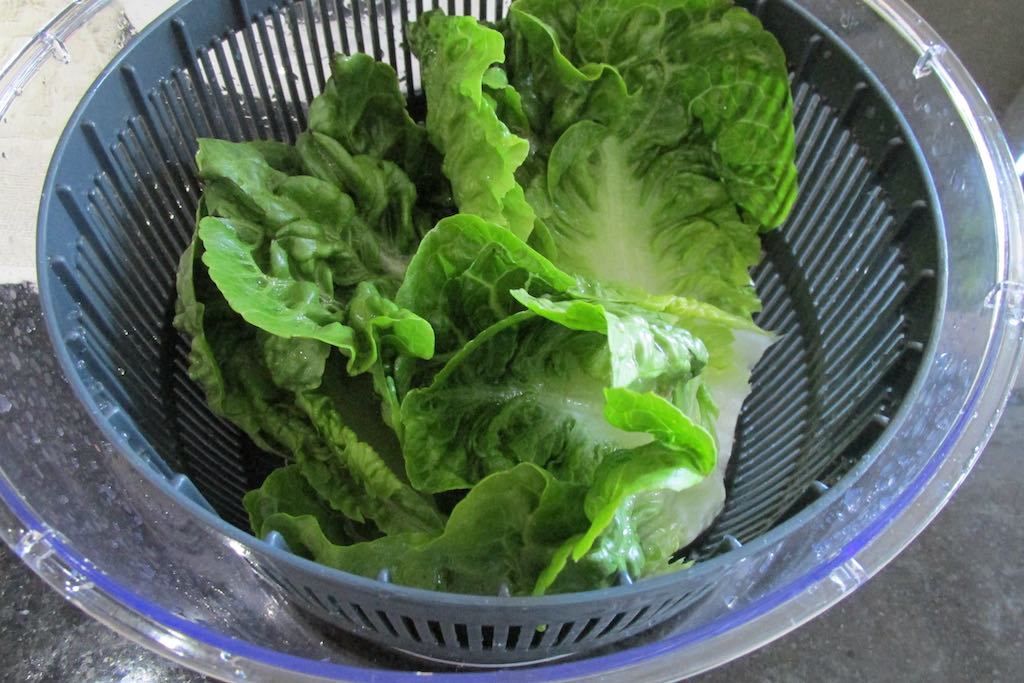
- 1 cup vegetables
- 2 eggs
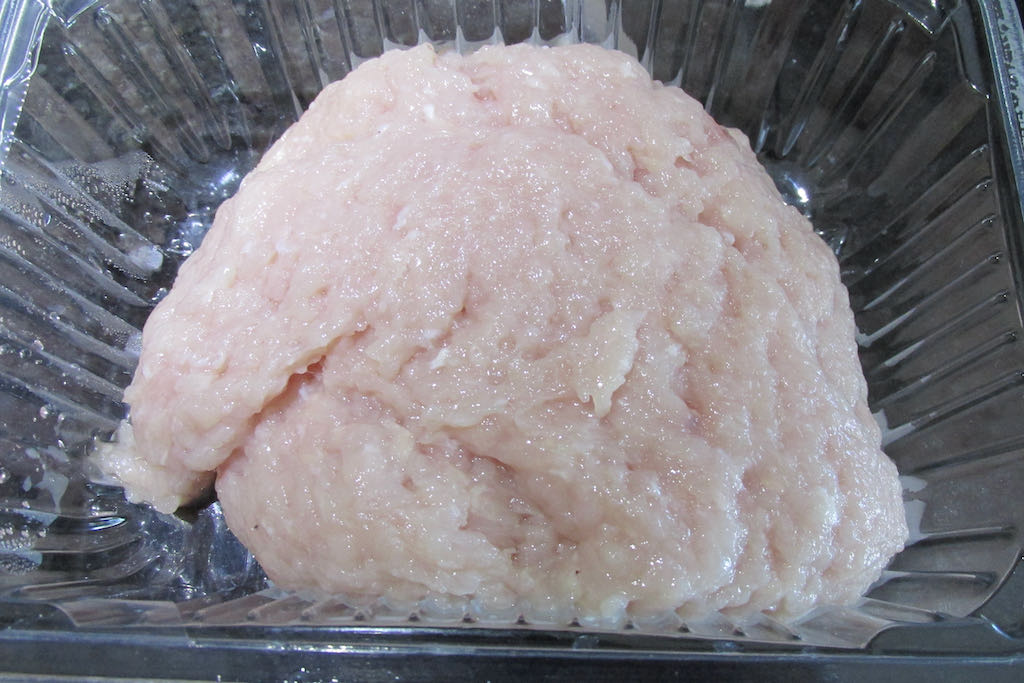
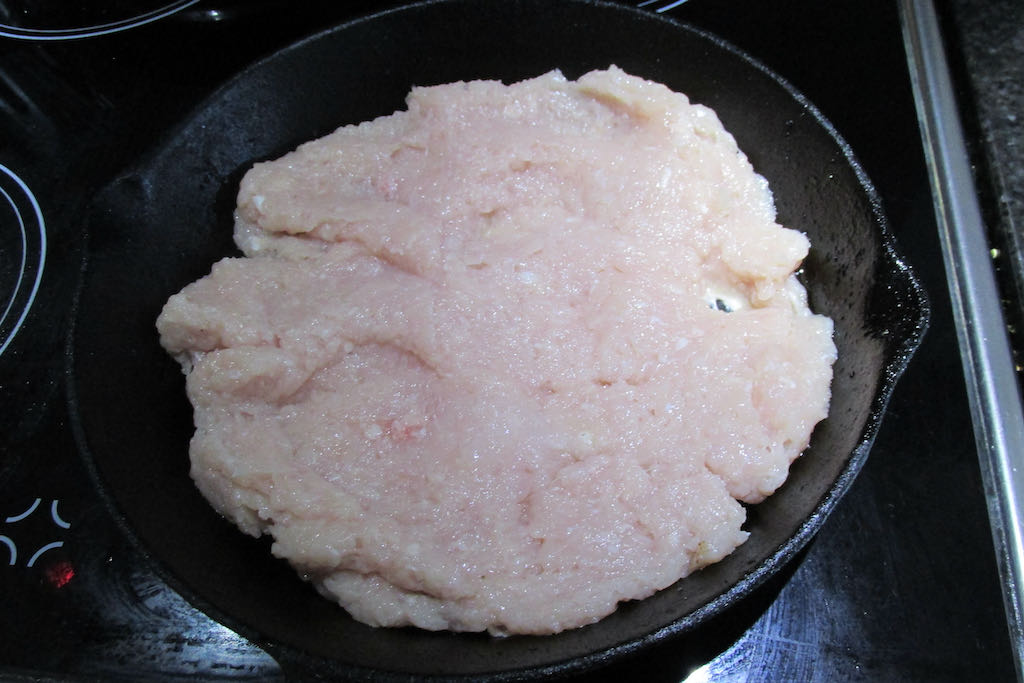
- 1 chicken breast
- 1 cup prawns
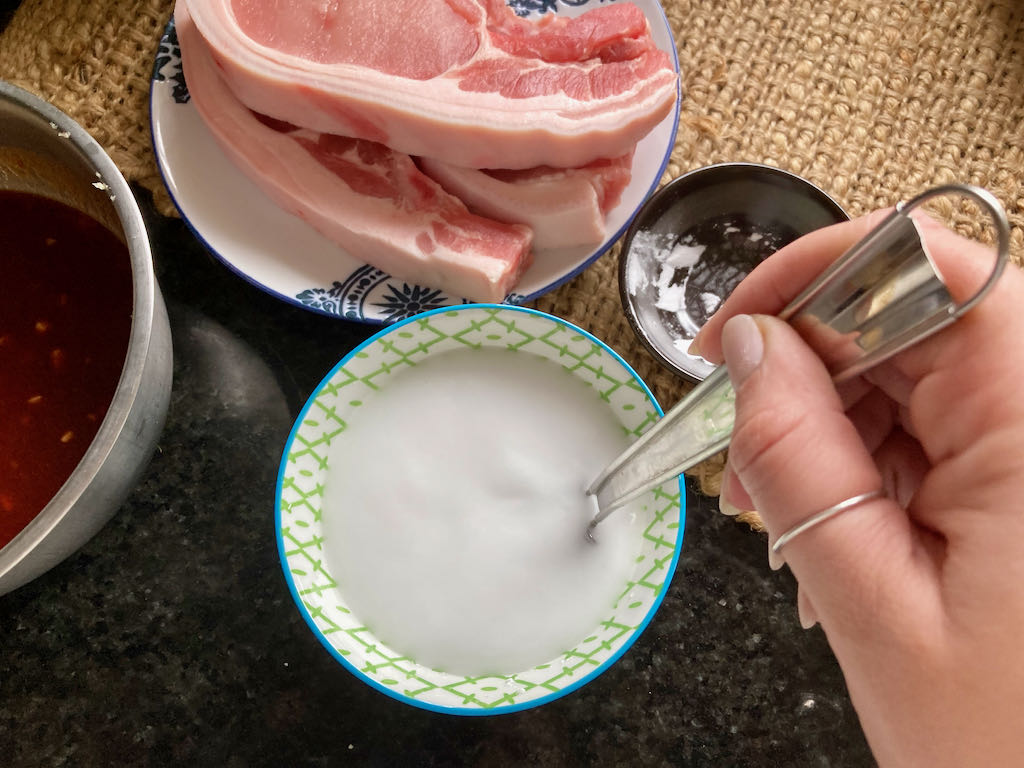
- Handful of ham
- 1 tbsp. coconut oil
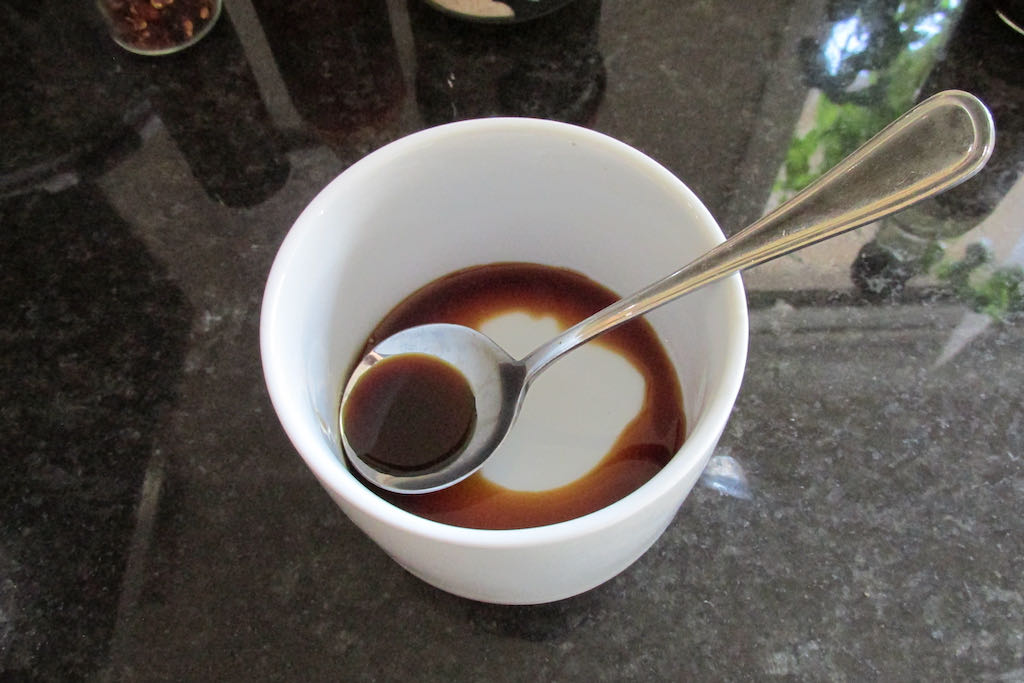
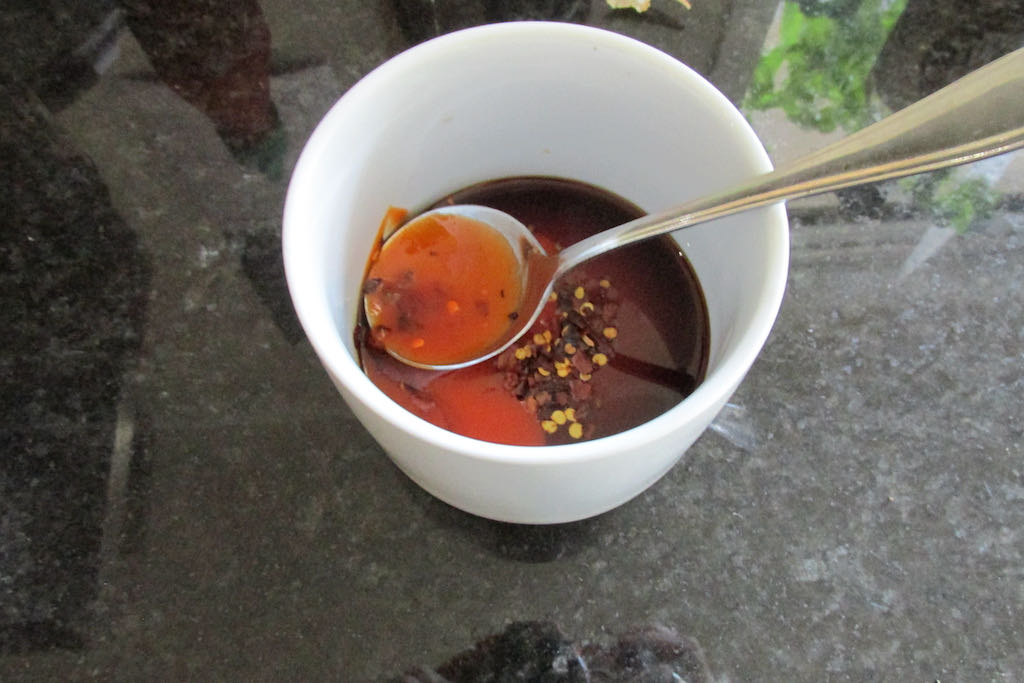
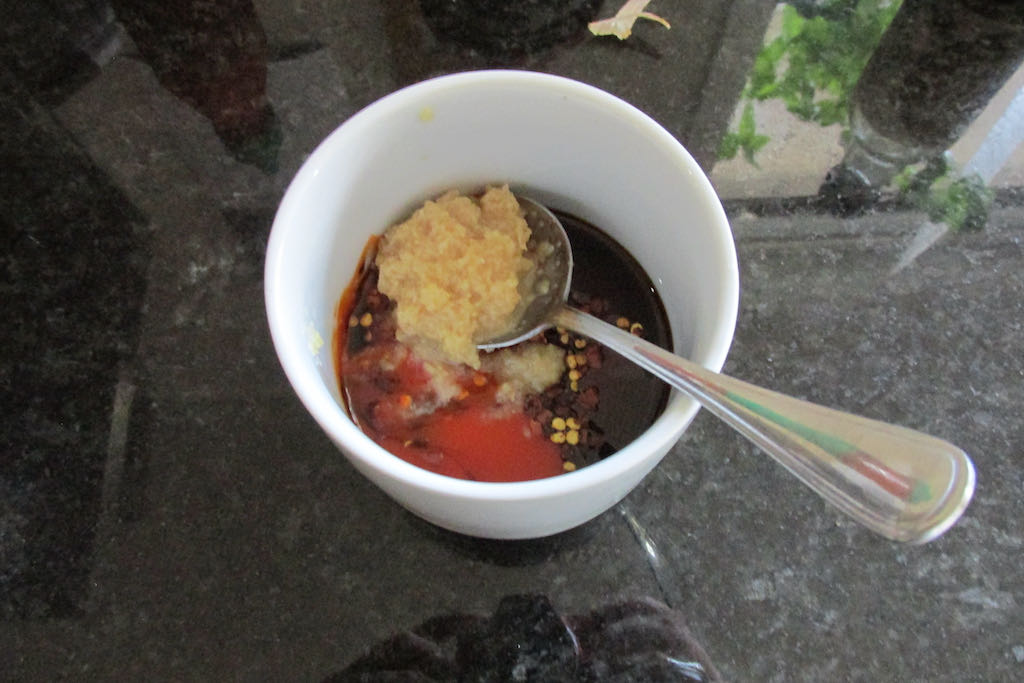
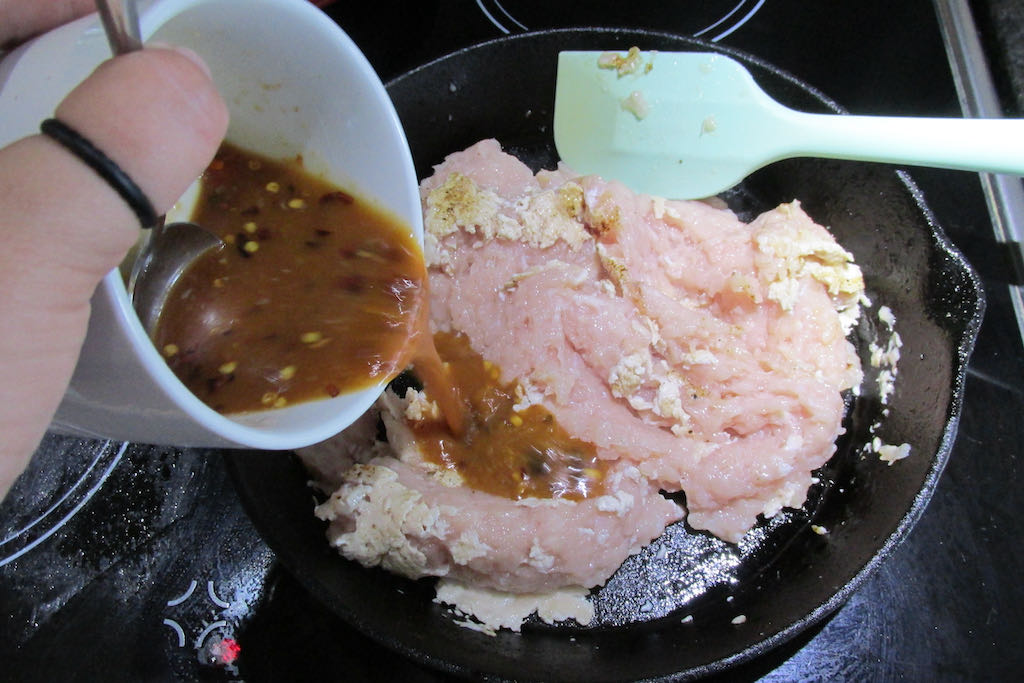
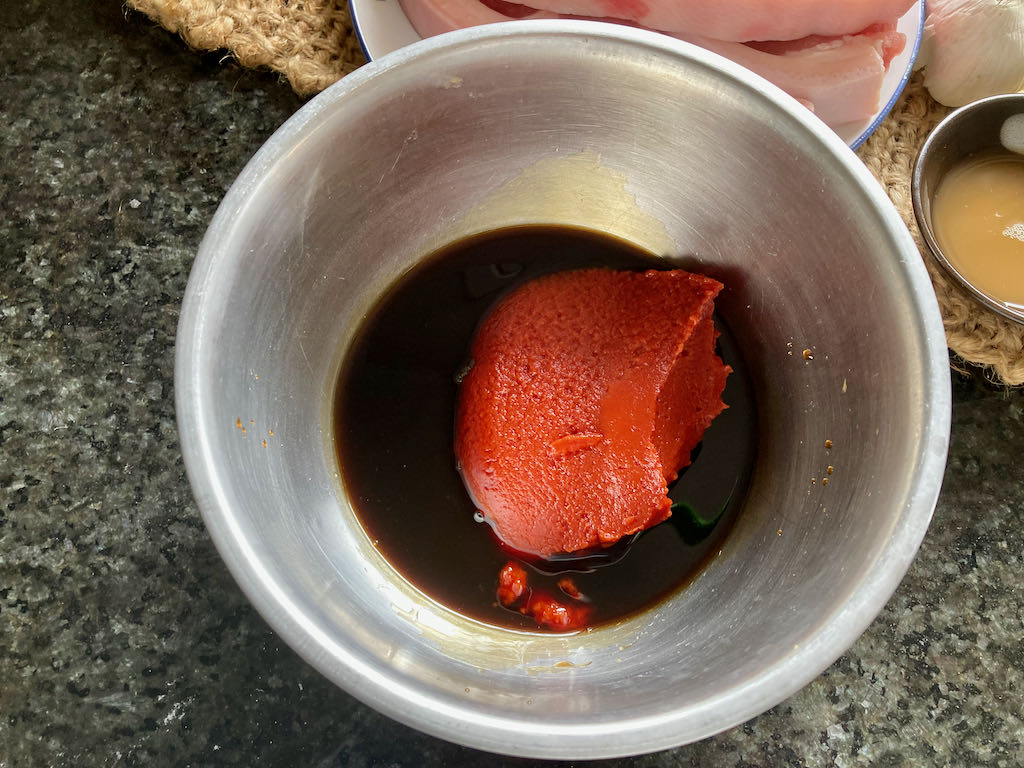
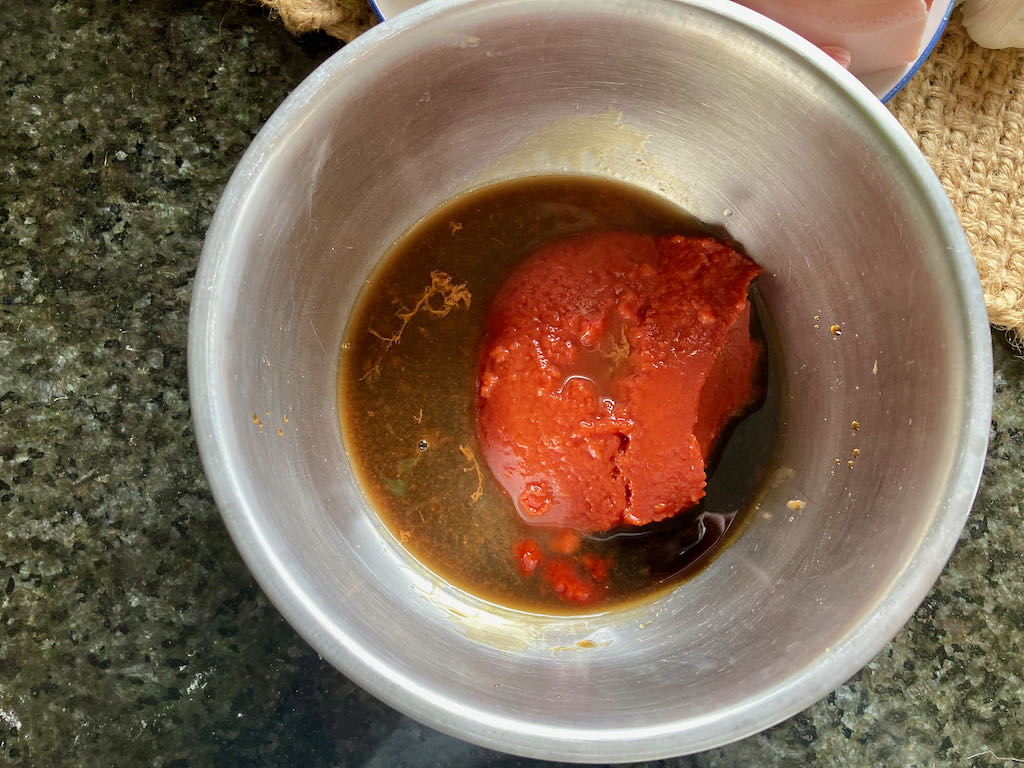
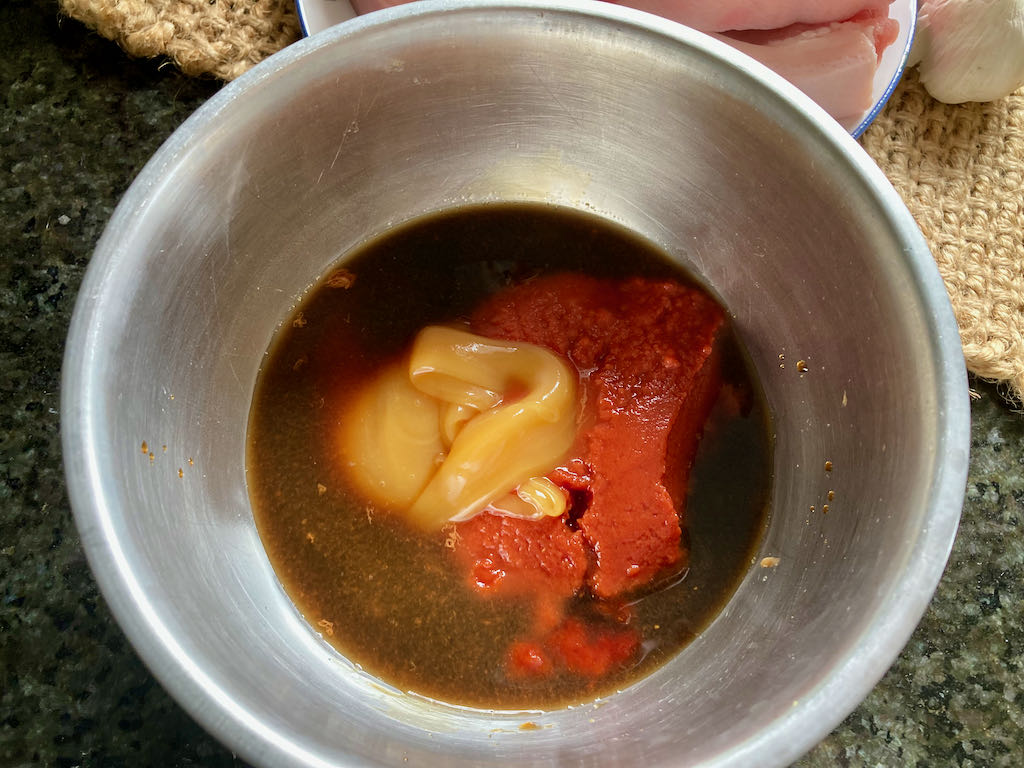
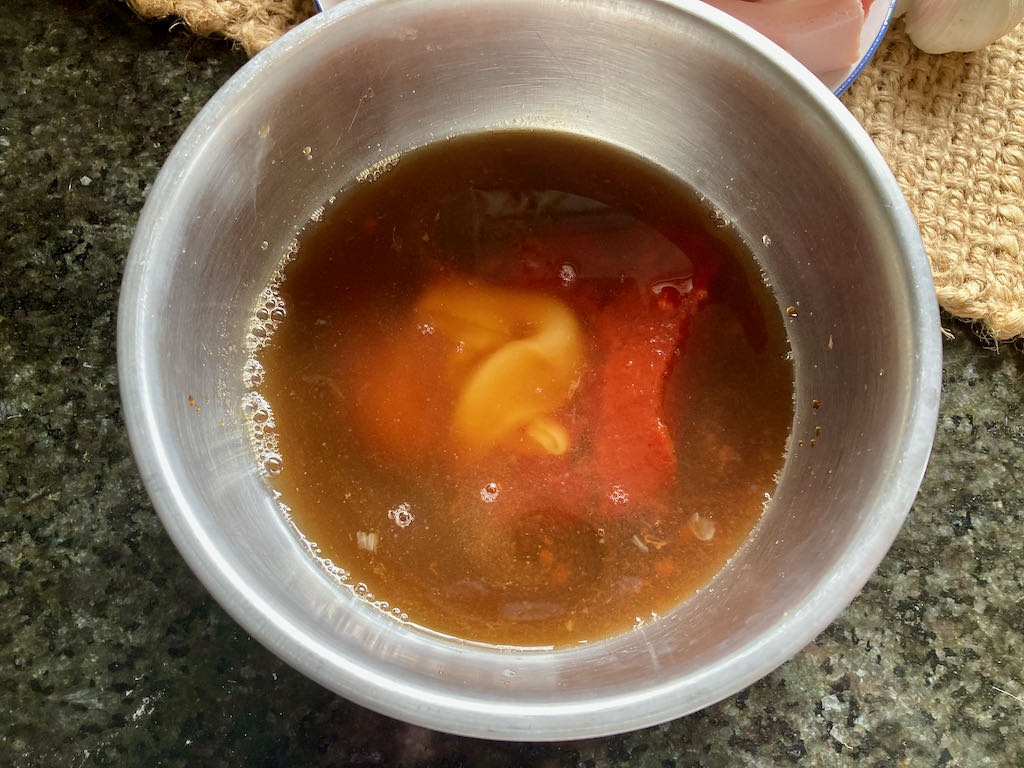
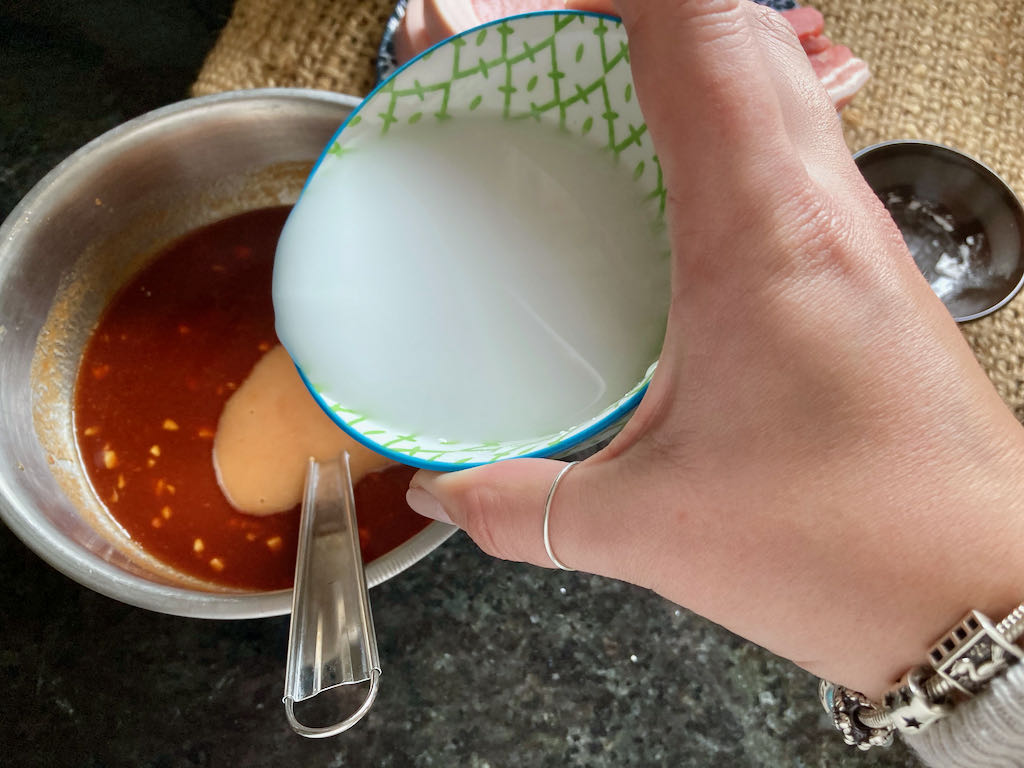
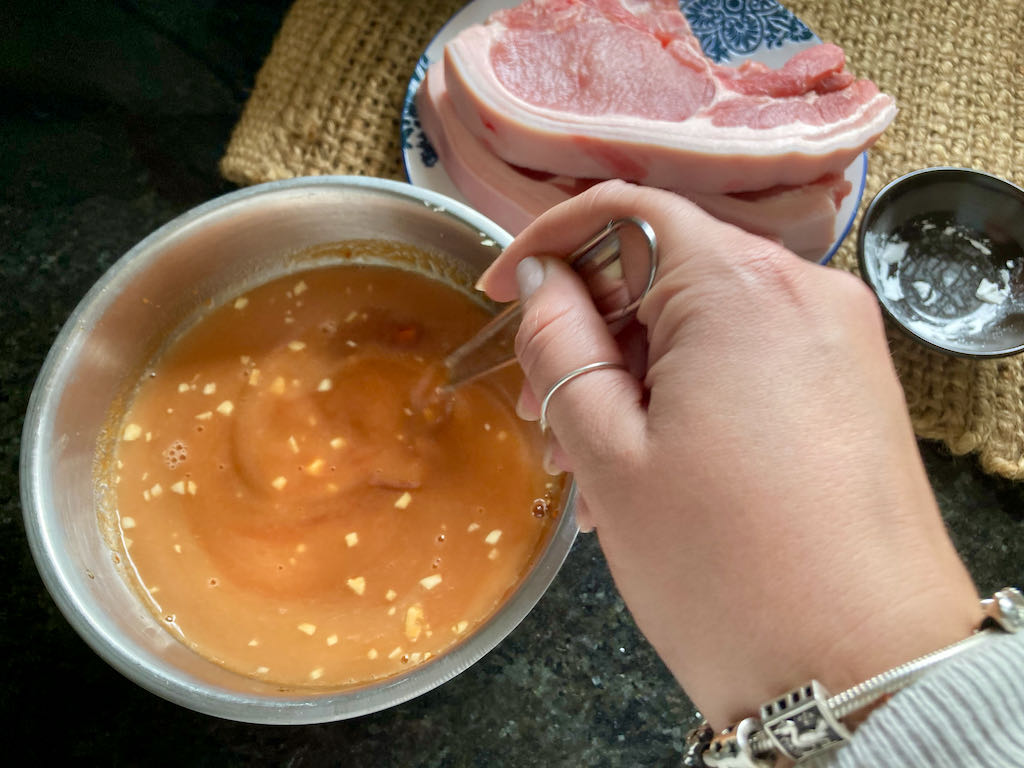
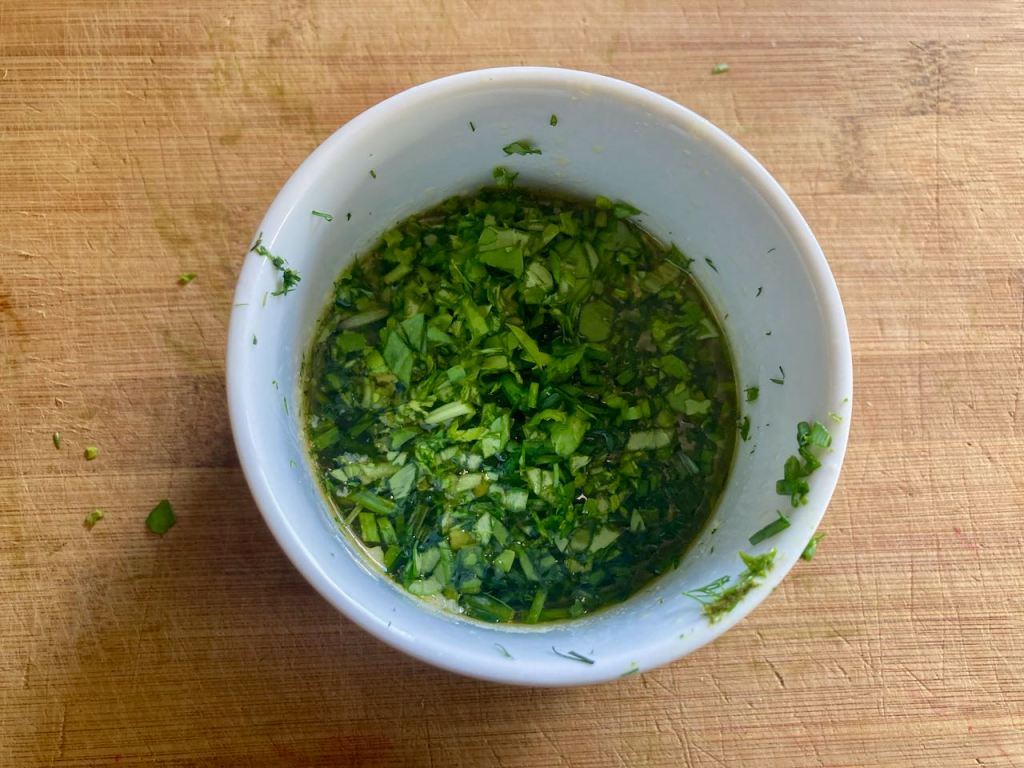
- 1/4 cup coconut aminos
Instructions

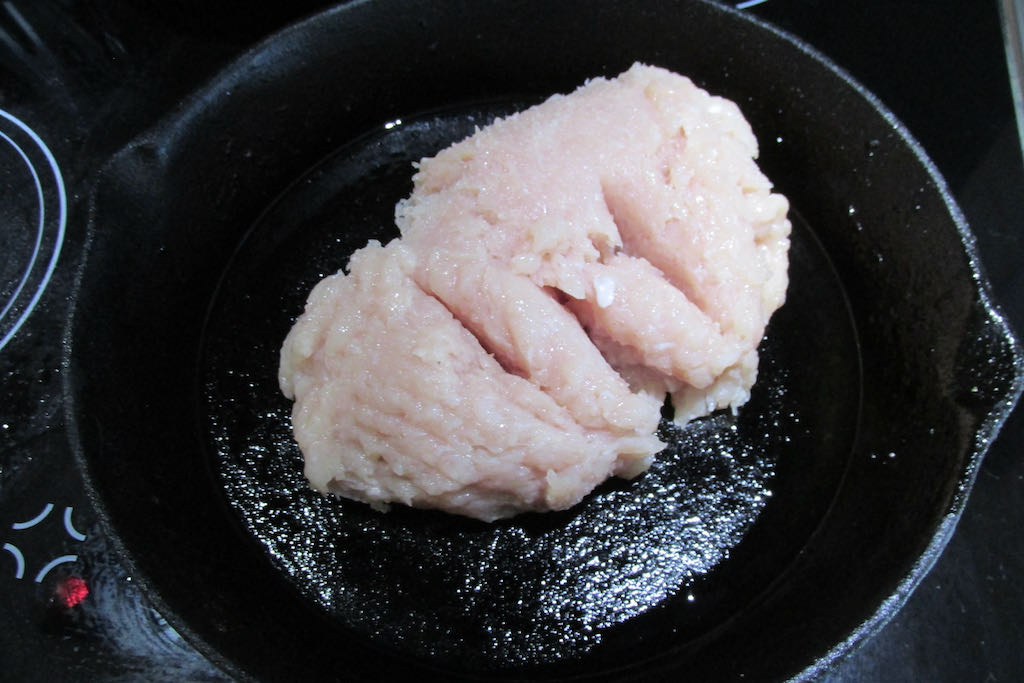
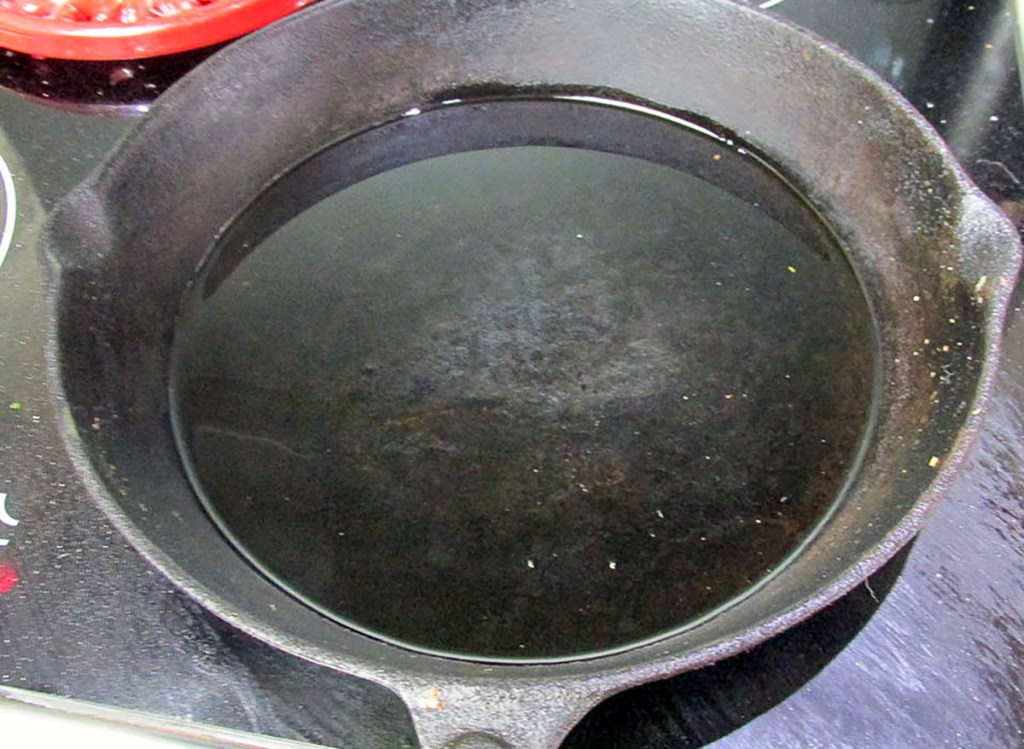
In a large frying pan, heat coconut oil over a medium heat

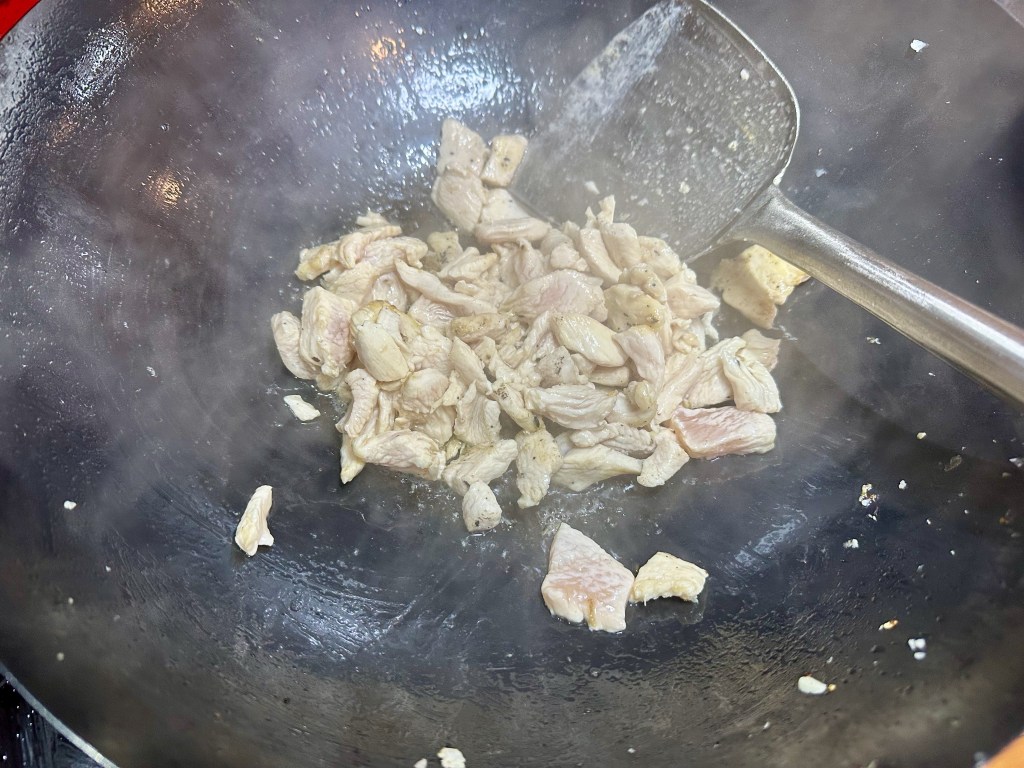
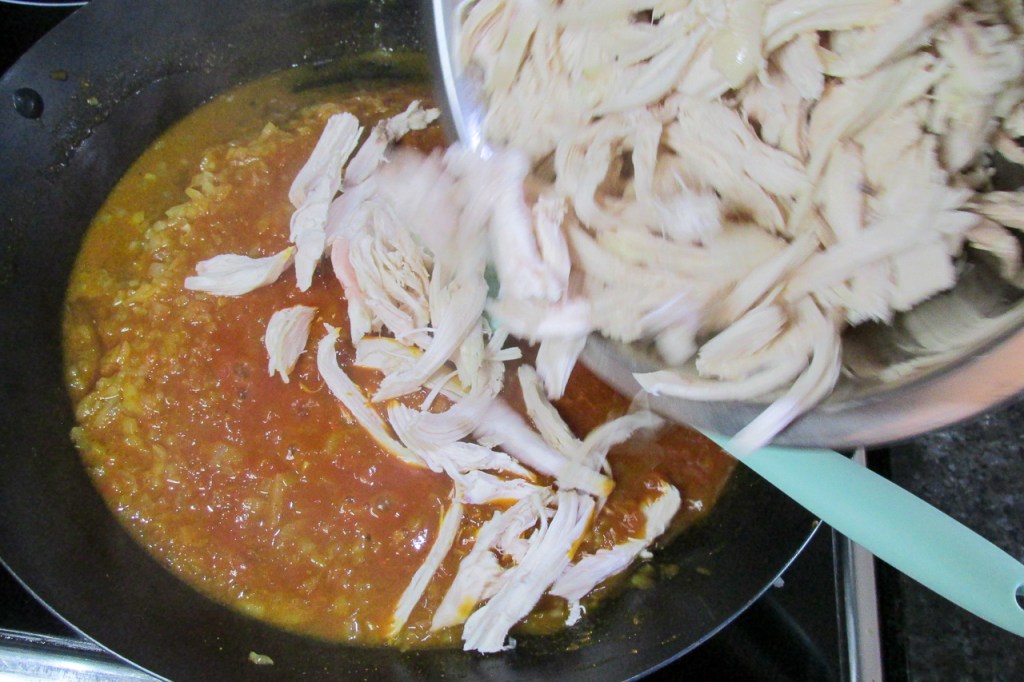
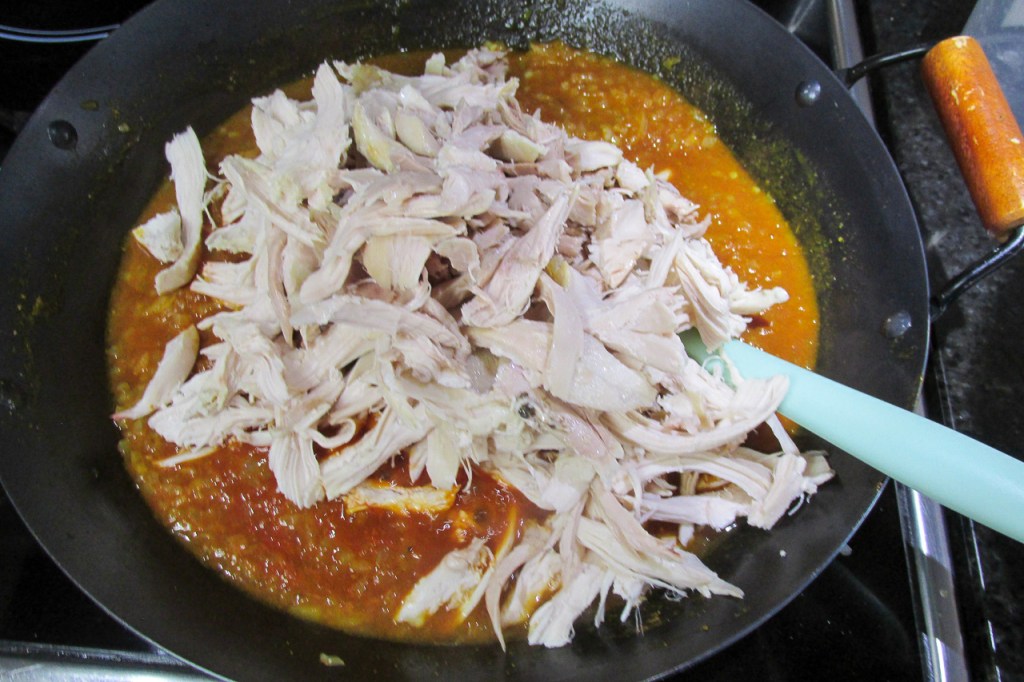
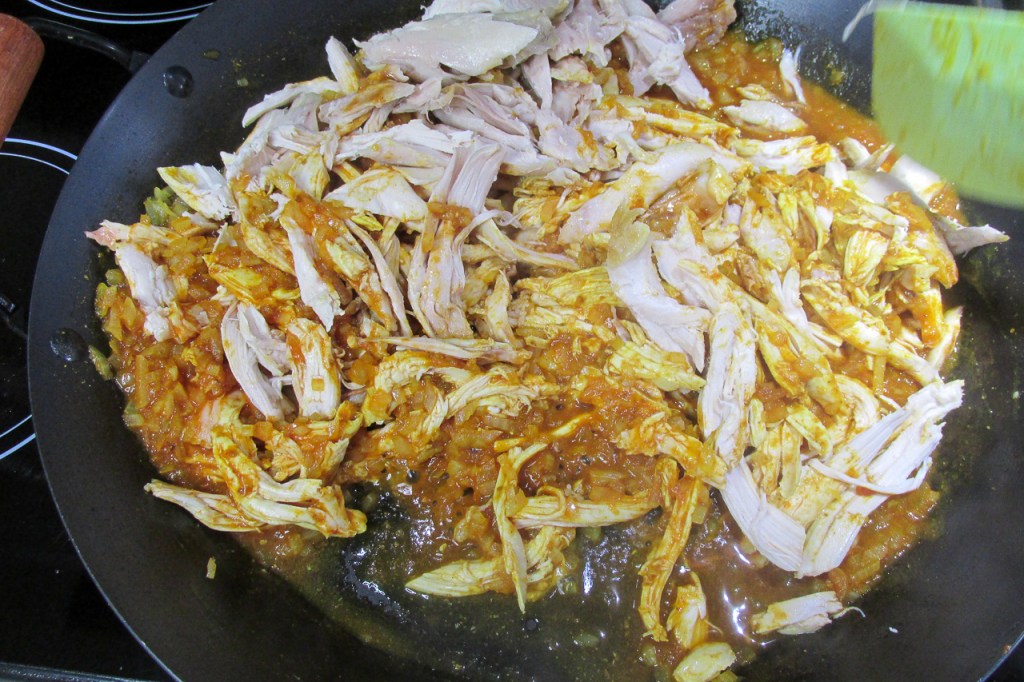
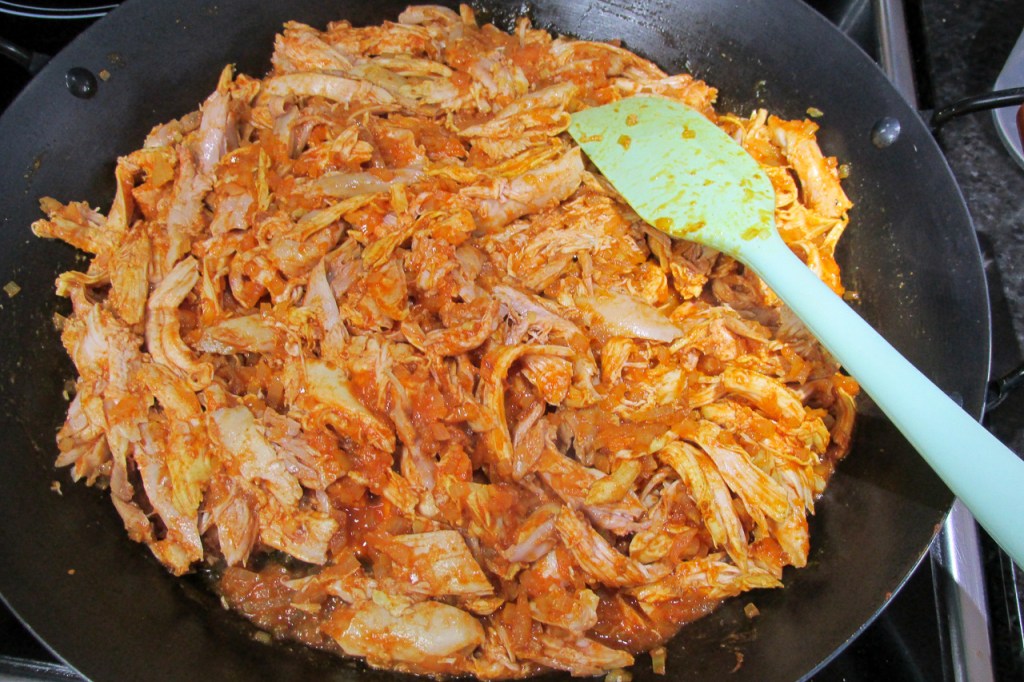
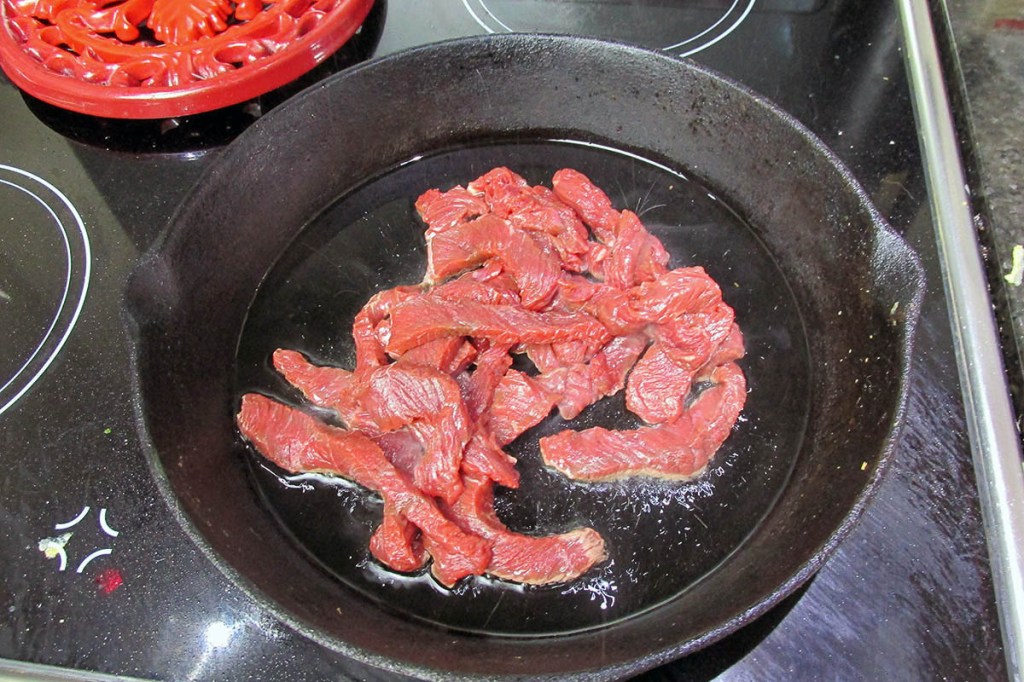
Add the chicken and cook for about 3 – 5 minutes until it is cooked most of the way.
Keep the meat moving around the pan.

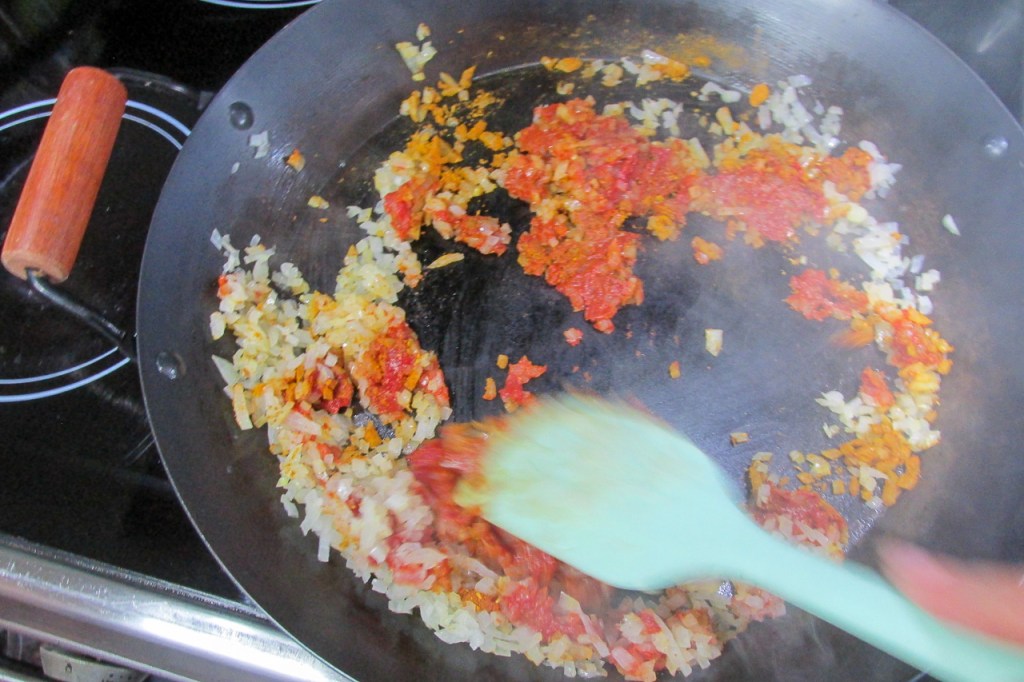
Add the garlic and cook for 1 minute.
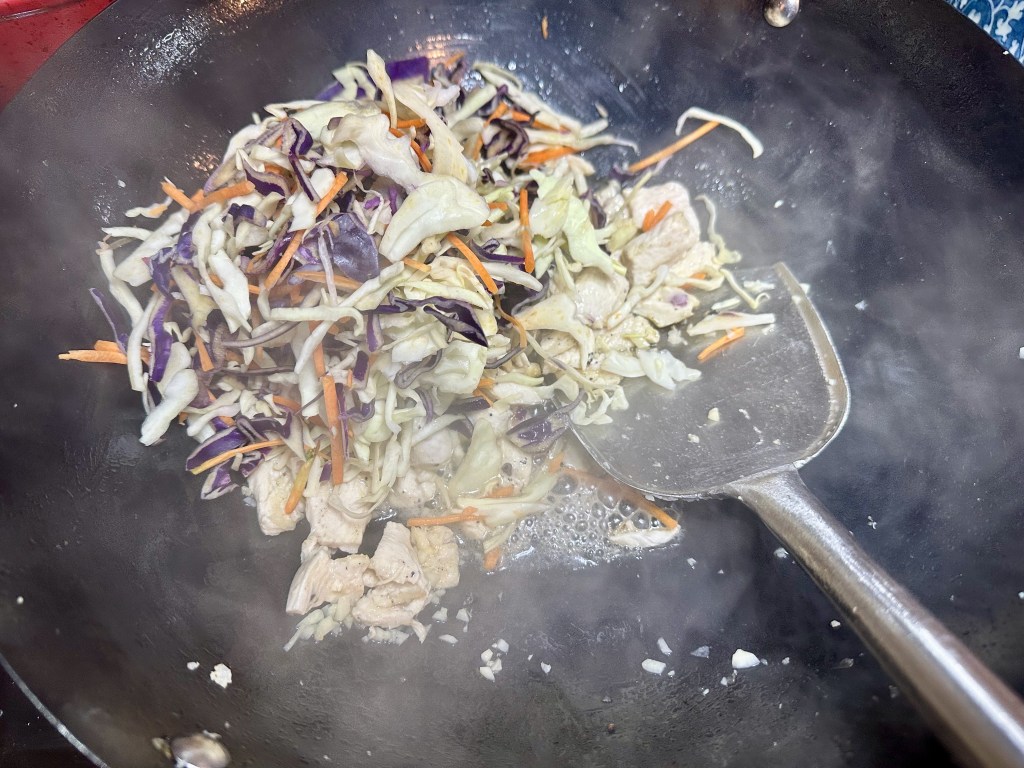
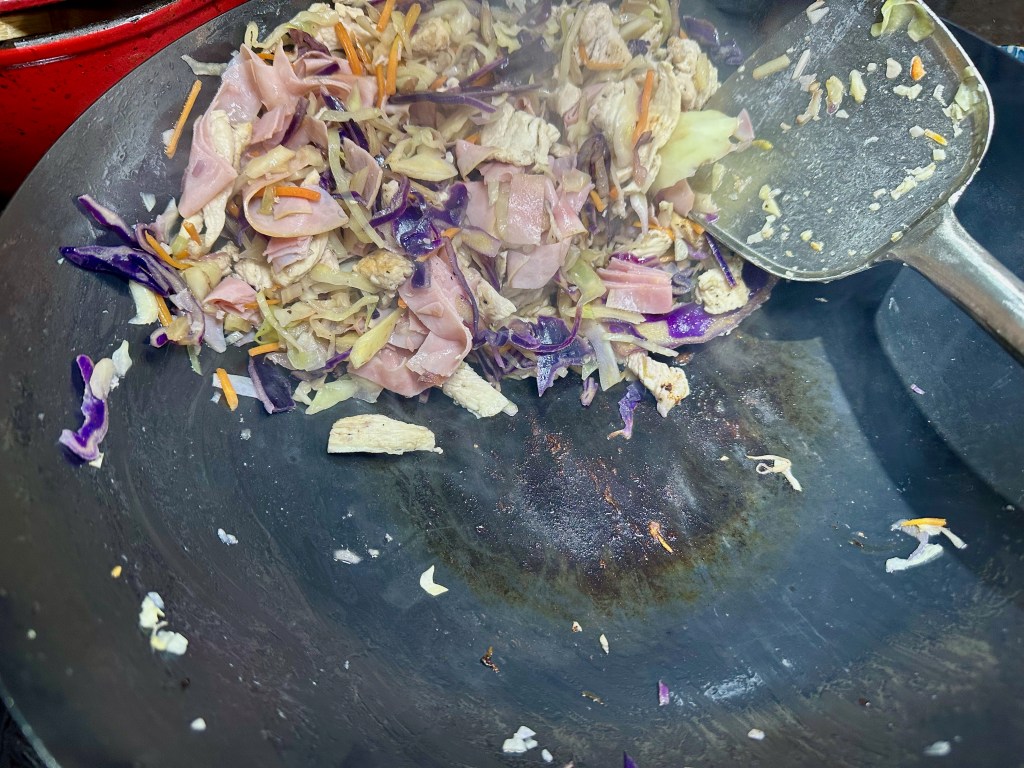
Add the vegetables and keep everything moving.
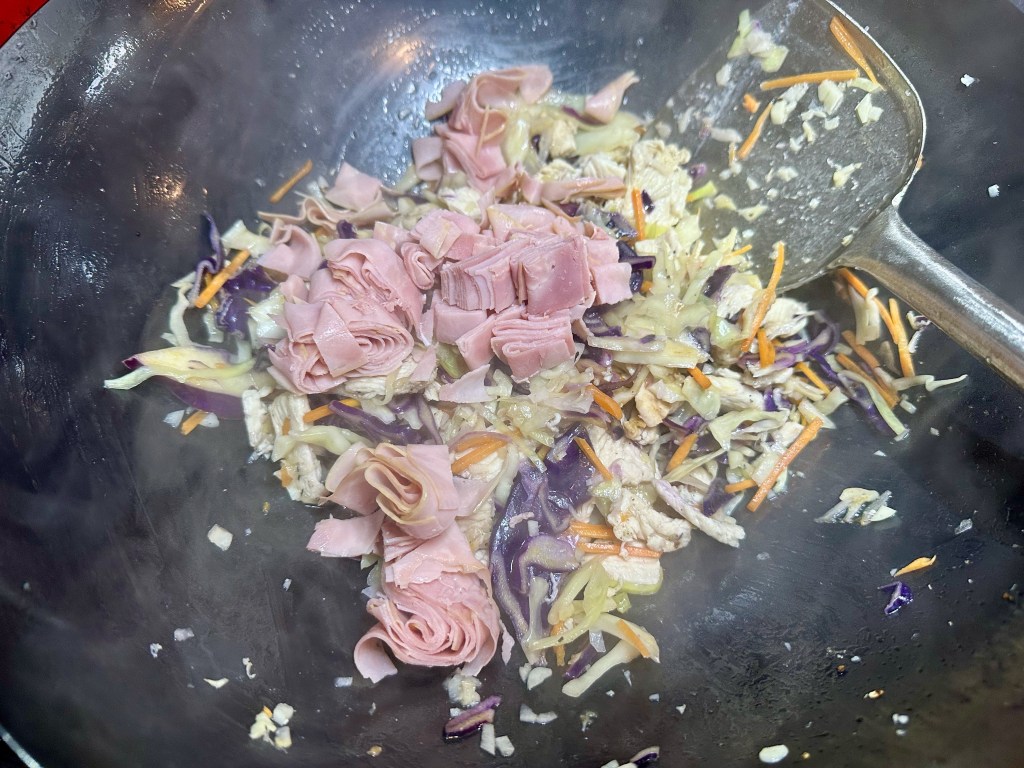
Add the ham and make sure it is well mixed in.
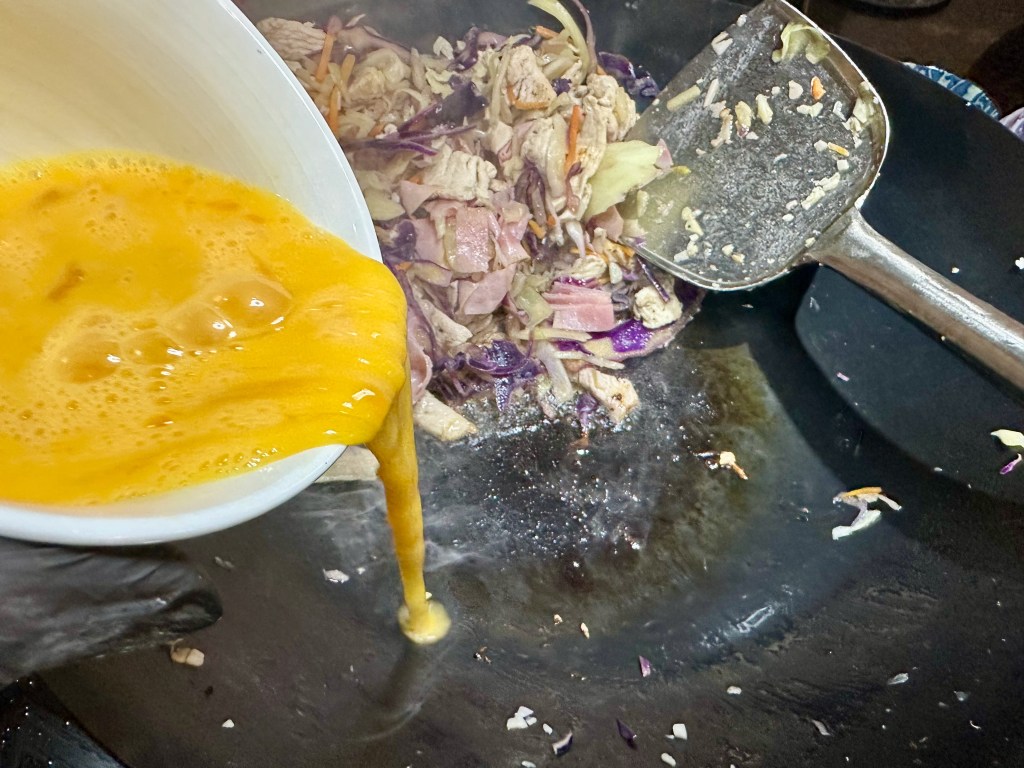
Push the meat and vegetables to the side of the wok and pour the egg into the space you have made.
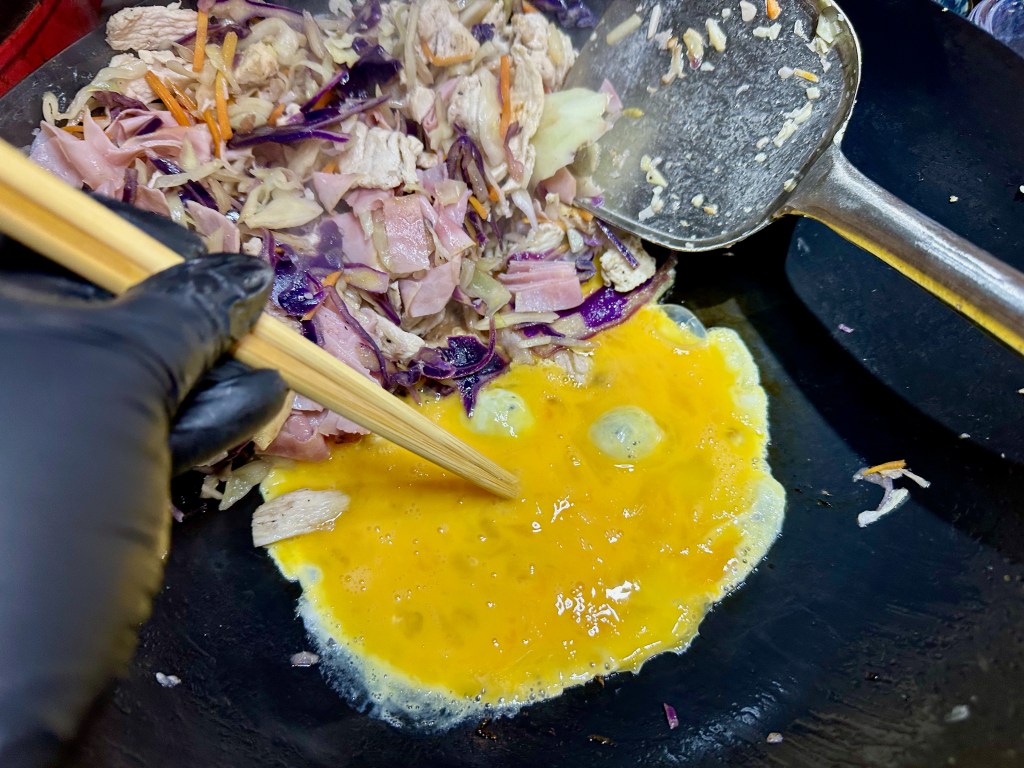
Use chopsticks or a spatula to keep the egg moving and cooking.

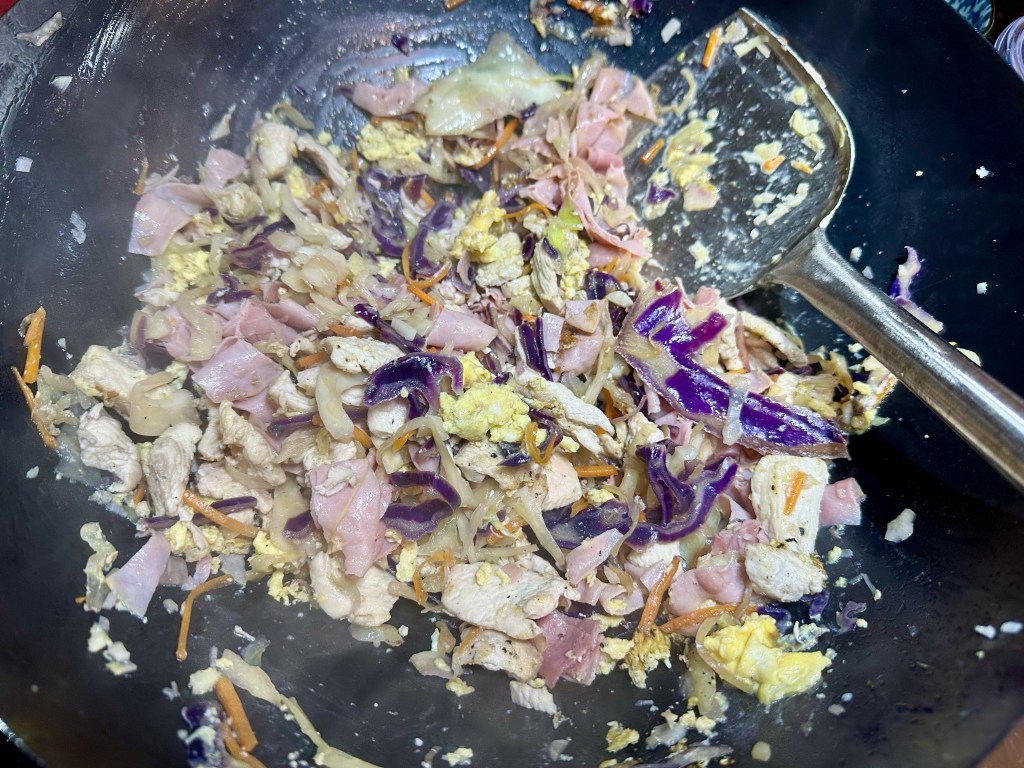
Mix the egg into the veggies and meat.
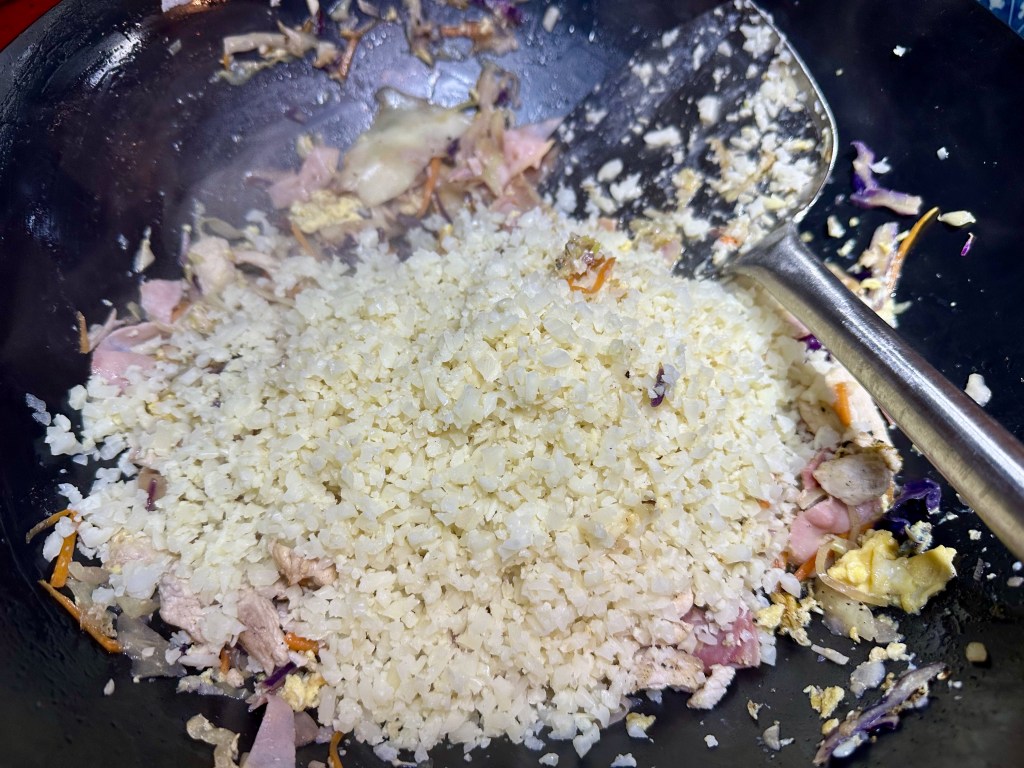

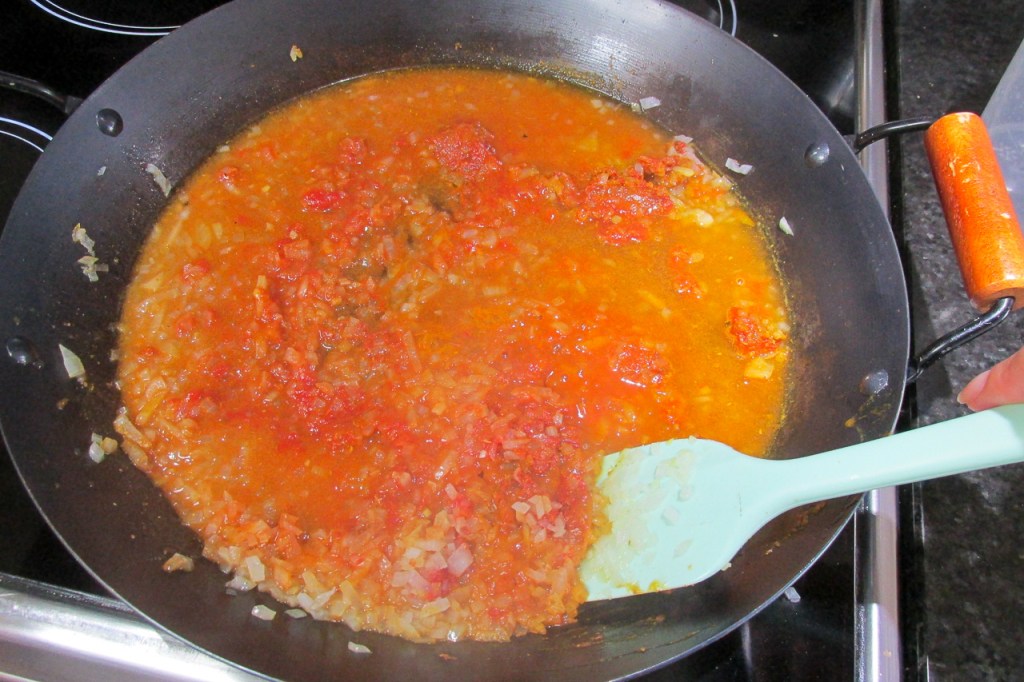
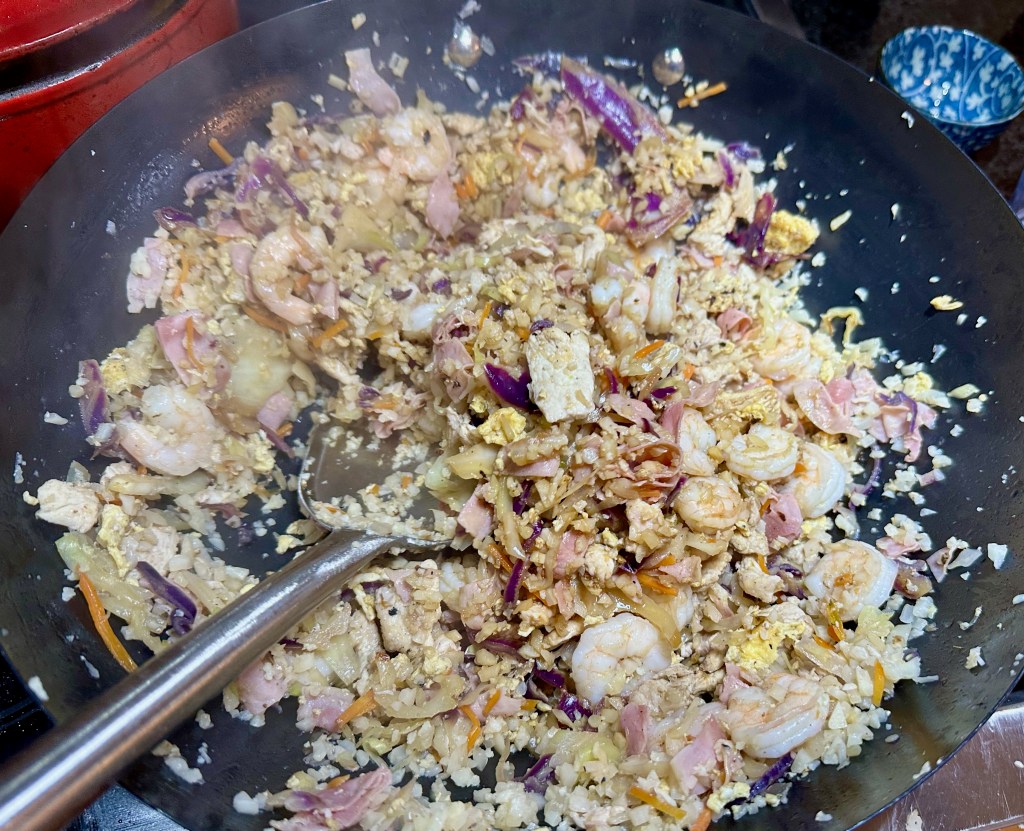
Add the cauliflower rice and the prawns to the wok and mix well.
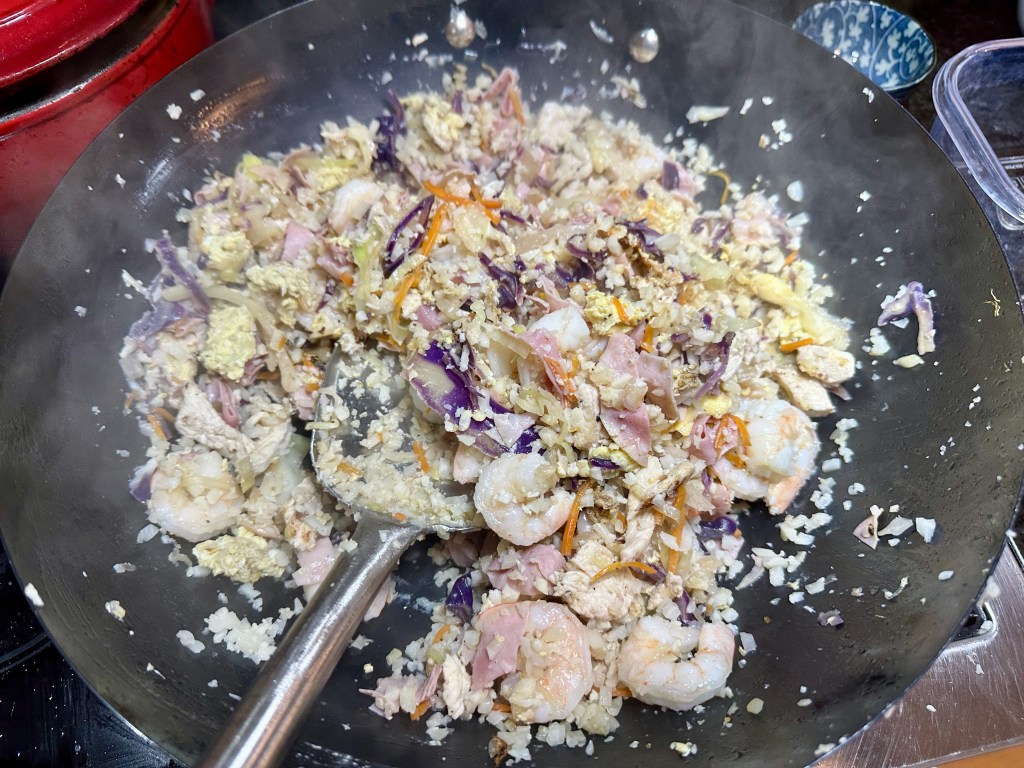
Keep everything moving in the wok and cook for 3 minutes.
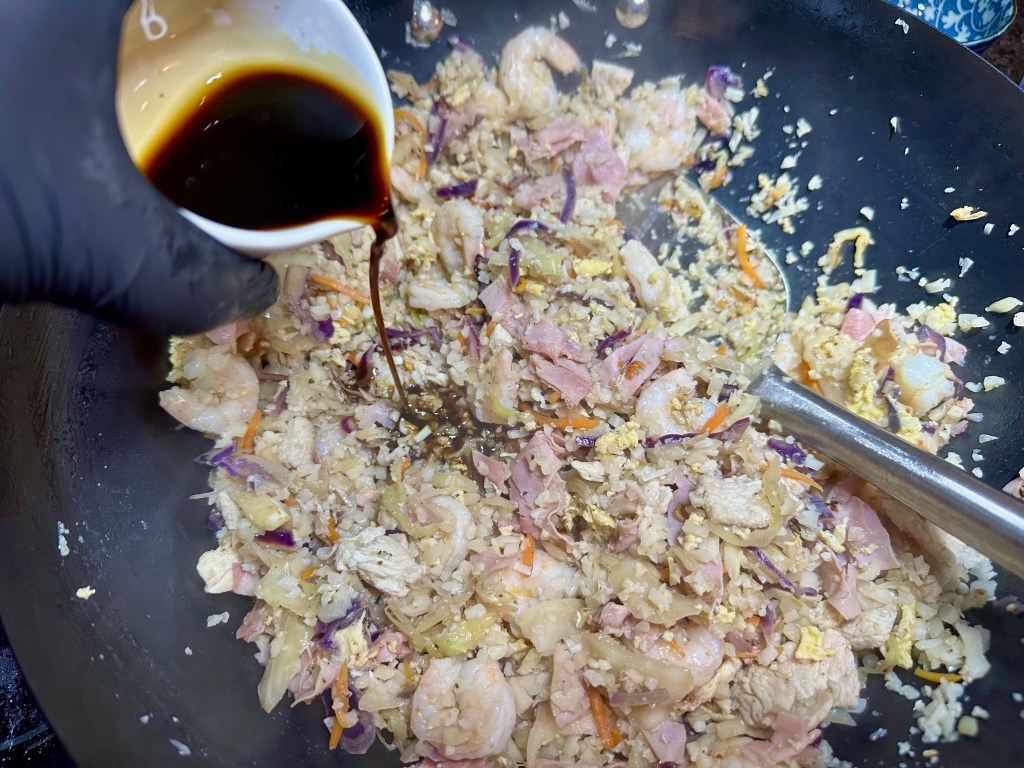
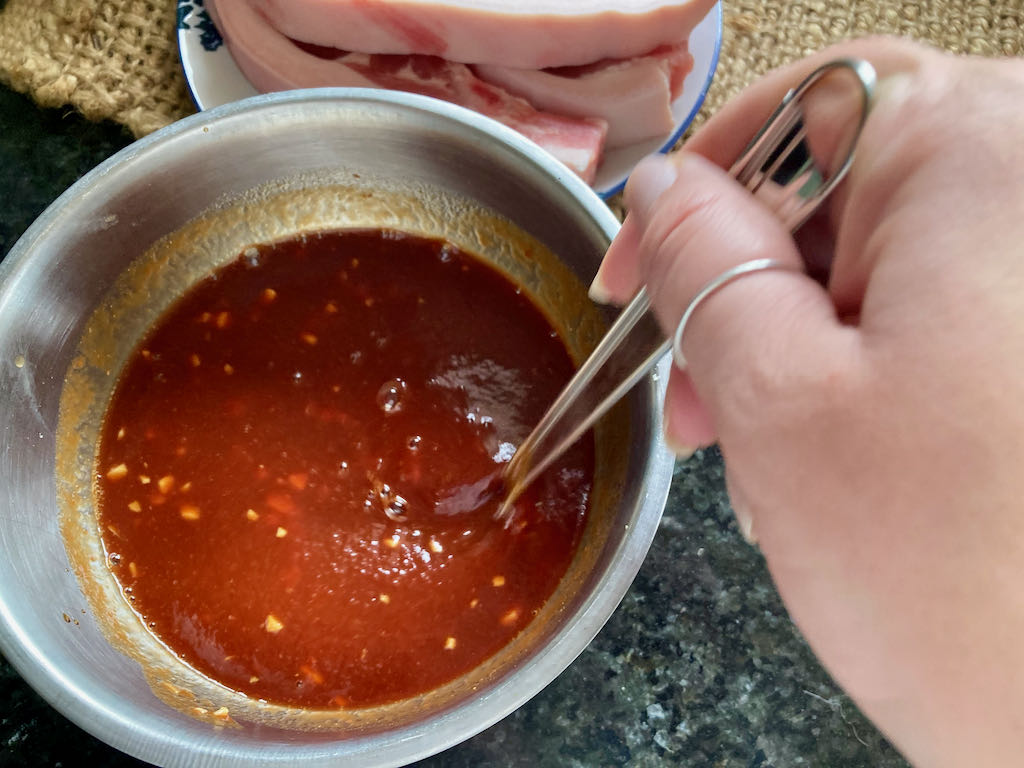
Add the coconut aminos to the wok and mix well to ensure everything gets covered.
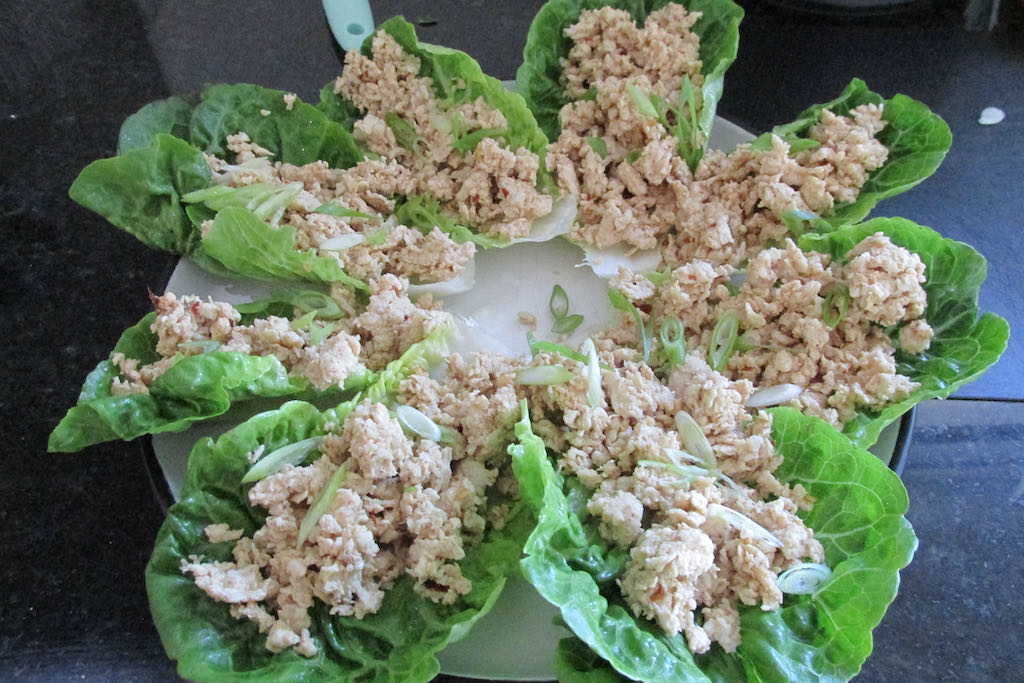
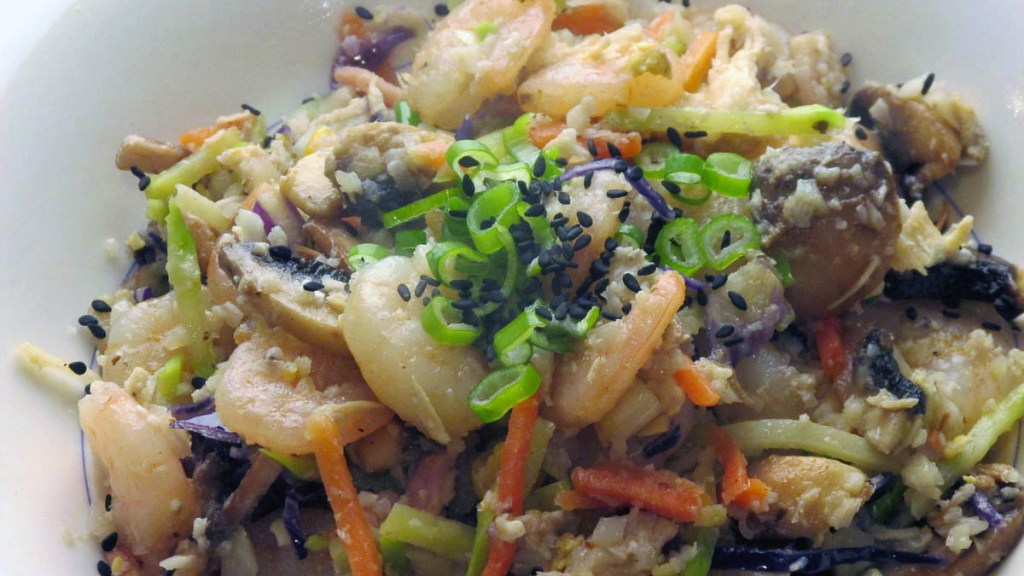
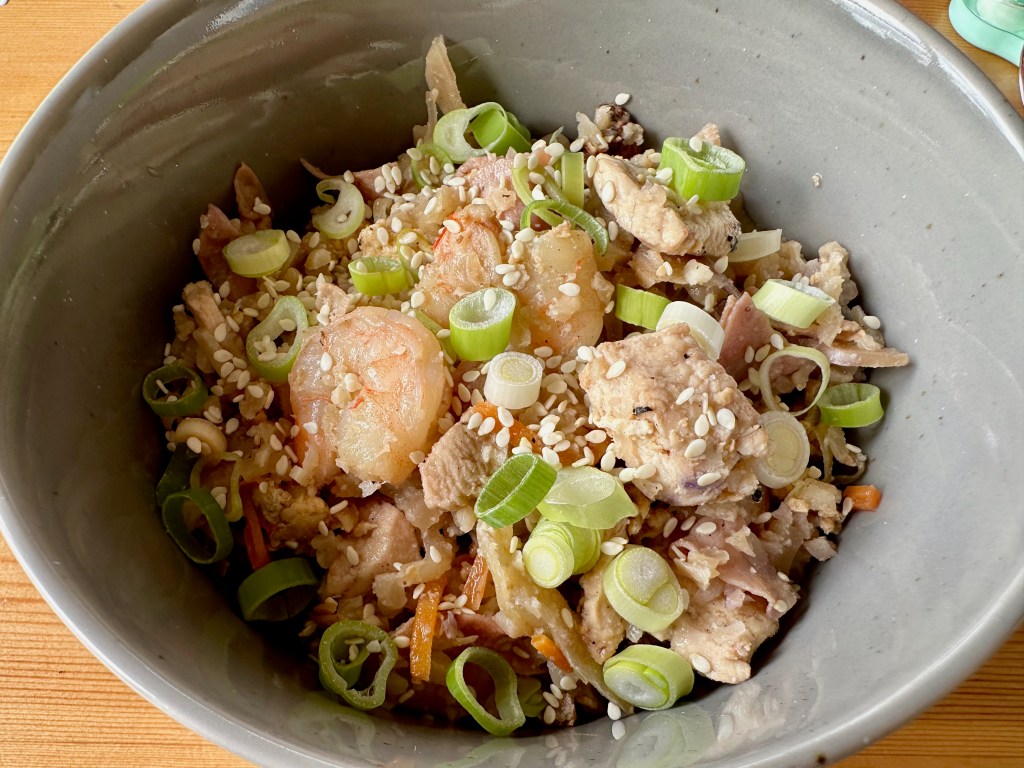
Serve with a topping of sliced spring onions and some sesame seeds.
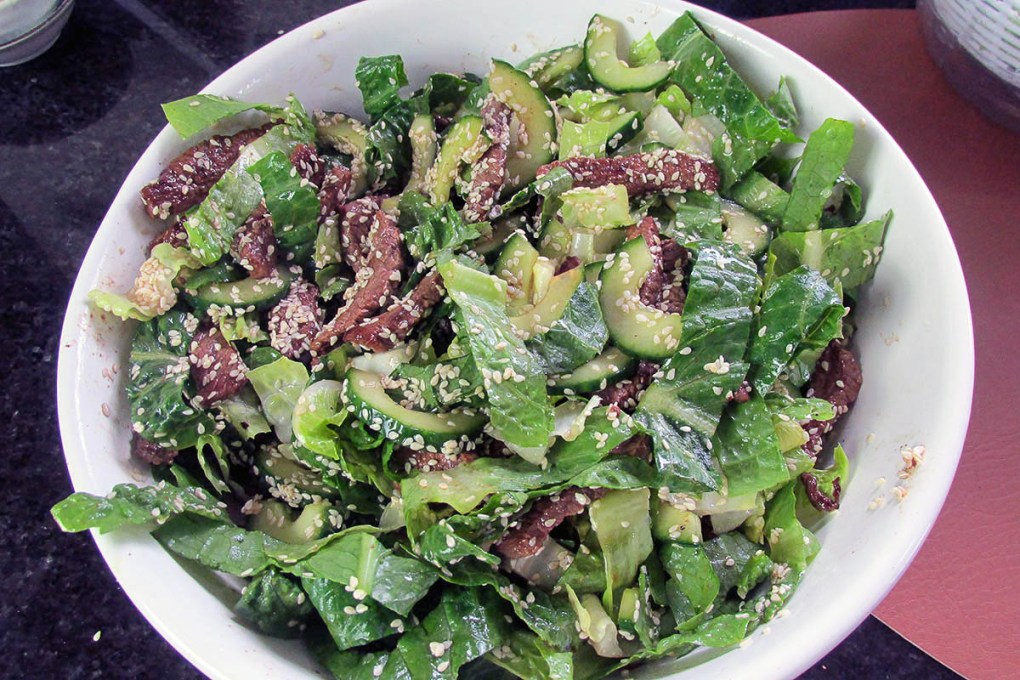
Fried non-rice

Your healthy alternative to fried rice. Made with cauliflower rice for a low carb option for this take away favourite.
Credit: Cath @ easycleaneats
Ingredients
- 1 head cauliflower, finely grated
- 1/2 onion, minced
- 2 garlic cloves, finely minced
- 2 spring onions, sliced
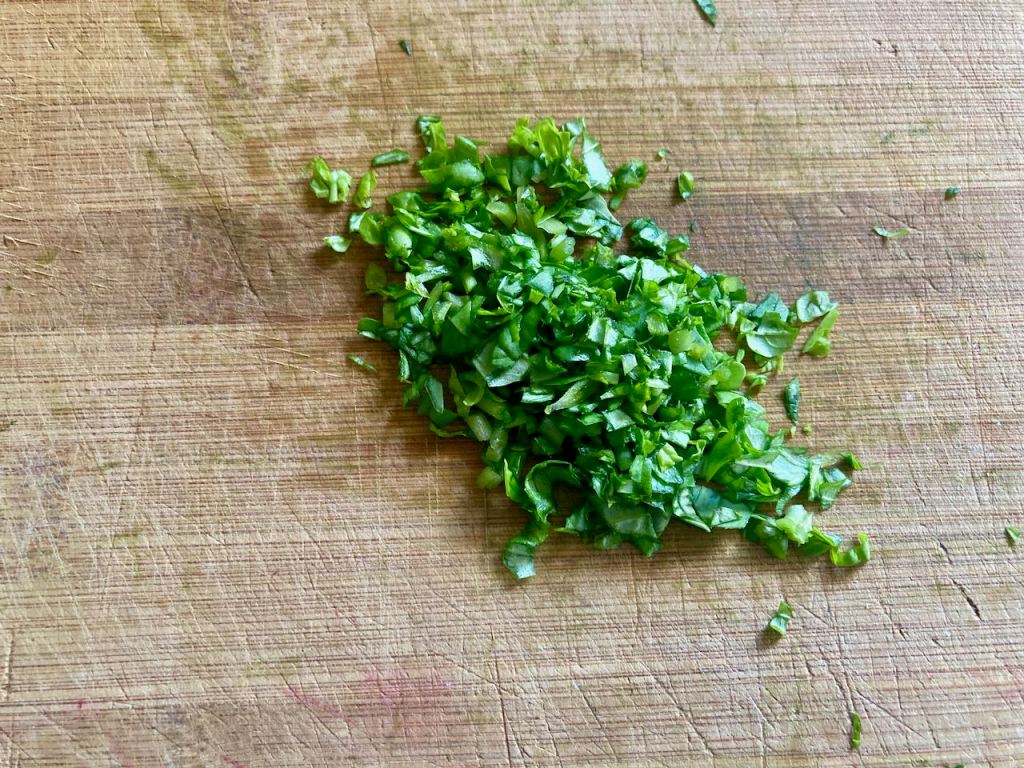
- 1 cup vegetables
- 2 eggs
- 1 chicken breast
- 1 cup prawns, cooked
- Handful of ham
- 1 tbsp. coconut oil
- 1/4 cup coconut aminos
Directions
- In a large frying pan heat coconut oil over a medium heat
- Add the chicken and cook for about 3 – 5 minutes until it is cooked most of the way.
- Keep the meat moving around the pan.
- Add the garlic and cook for 1 minute.
- Add the vegetables and keep everything moving.
- Add the ham and make sure it is well mixed in.
- Push the meat and vegetables to the side of the wok and pour the egg into the space you have made.
- Use chopsticks or a spatula to keep the egg moving and cooking.
- Mix the egg into the veggies and meat.
- Add the cauliflower rice and the prawns to the wok and mix well.
- Keep everything moving in the wok and cook for 3 minutes.
- Add the coconut aminos to the wok and mix well to ensure everything gets covered.
- Serve with a topping of sliced spring onions and some sesame seeds.
Nutrition
Per Serving: 231 calories; 7 g fat; 12 g carbohydrates; 26 g proteinEquipment
- Measuring cup
- Grater
- Chopping board
- Knife
- Frying pan
- Spatula
- Small bowl
- Whisk
Nutritional disclaimer
Nutrition information is provided as an estimate based on the ingredients used and available in my area (New Zealand). The nutritional information is here to help you understand the recipe; I use MyFitnessPal to generate my estimates. For more accurate nutritional information, please use a nutritional calculator with the ingredients in your area.