Years ago, mayo was a high-use item; I think at one point we were using 500g a week. The problem was that the mayo we used contained a considerable amount of sugar, which is not ideal. The solution is to make your own without the sugar.
Make your own
If you are like me and you try to avoid mass-produced processed foods, the best option is to make your own. When you make your own, you control which ingredients you use and how much or how sweet you want it to be. Once you’ve tried making your own and seen how easy it is, you will never go back to store-bought again.
Making it for ourselves

I came across a mayo recipe in a book and decided to give it a go, we all liked it but it’s me so I couldn’t help experimenting and seeing what if would be like using different kinds of mustard.
The winner for me was whole-grain Dijon. It added a nice flavour and a little texture that I liked. What I appreciate most is knowing exactly what went into it. It takes just a few minutes to make, and the taste is fantastic. Once you try it, you’ll likely never go back to store-bought mayo.
Easy mayo
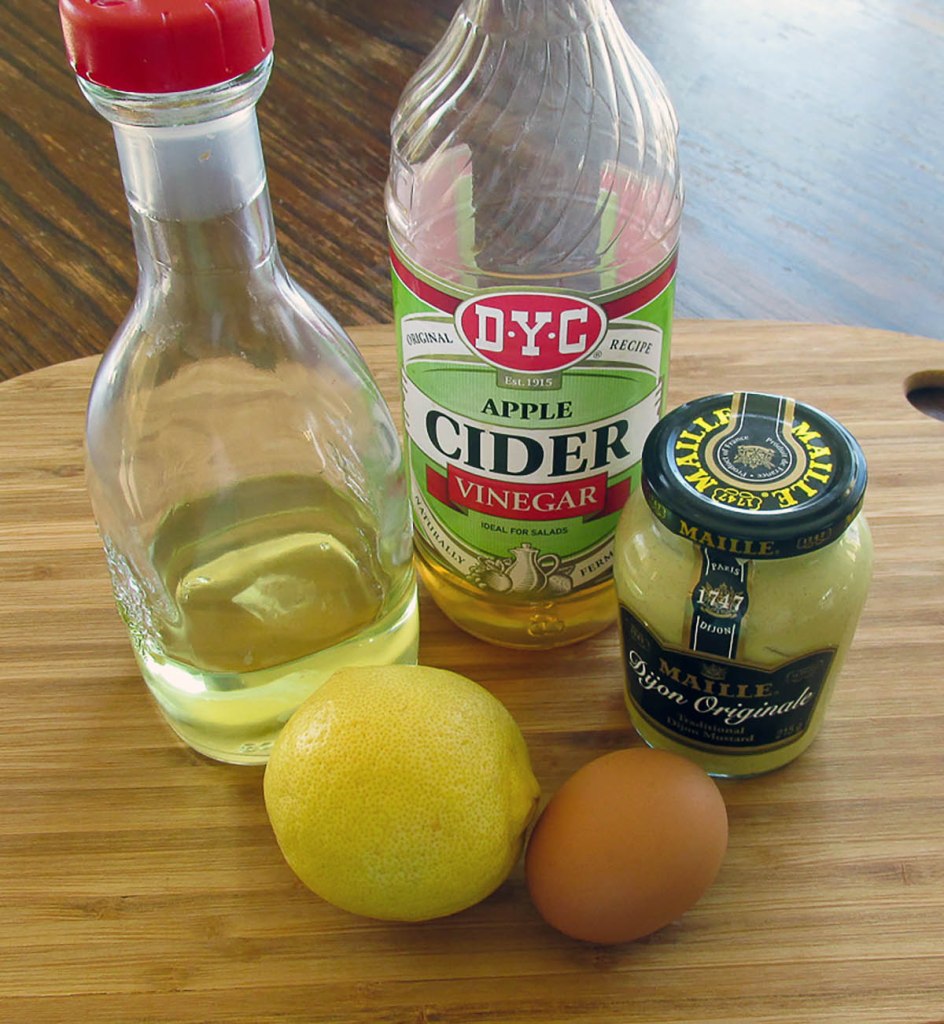
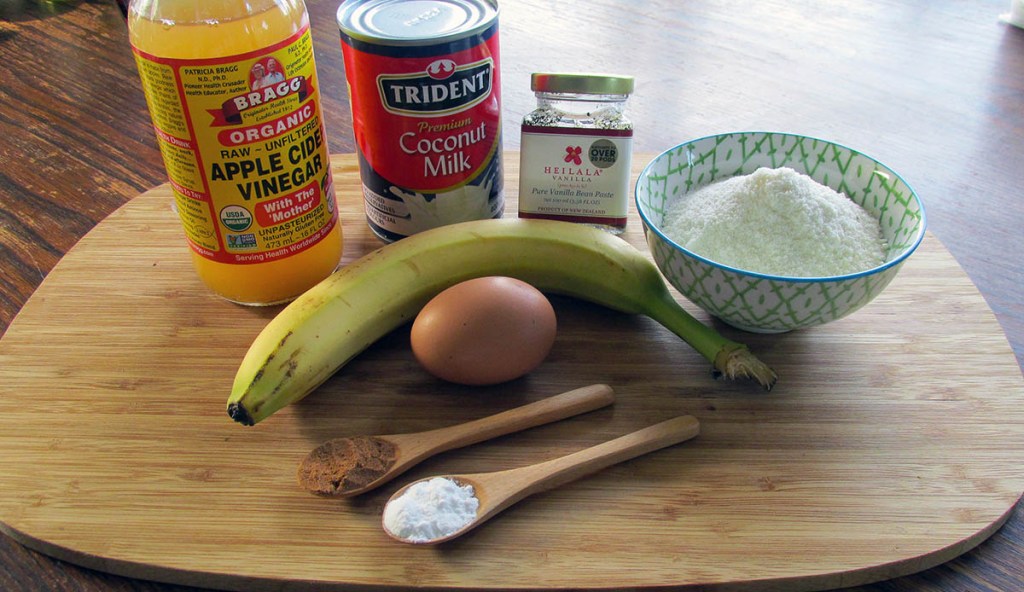
Ingredients
- 1 egg
- 2 tbsp. lemon juice
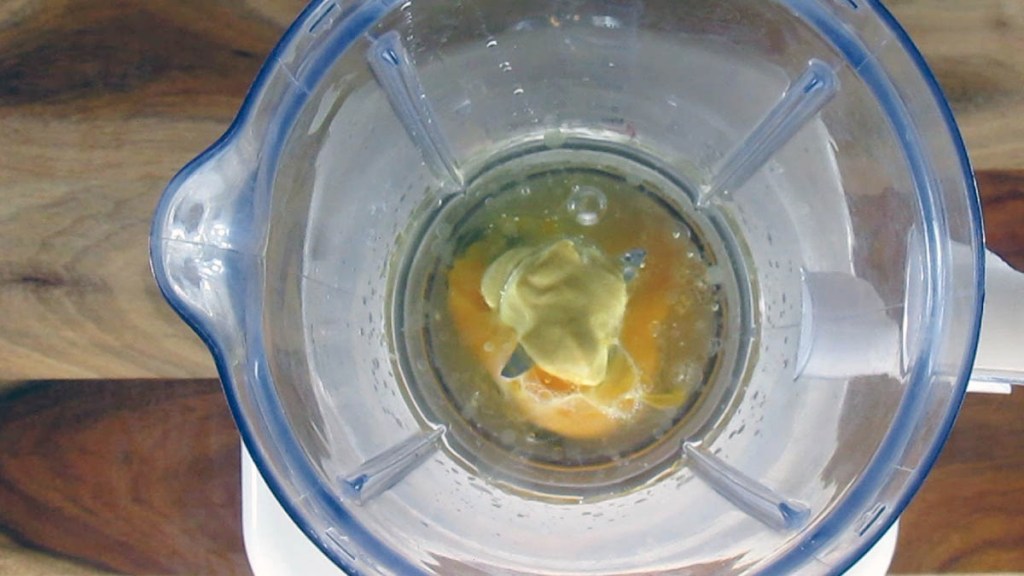
- 1/2 tsp. Dijon mustard
- 1/2 tsp. apple cider vinegar
- 1 1/4 cup extra light olive oil
Instructions
Put one cup of oil into something that makes it easy to pour.
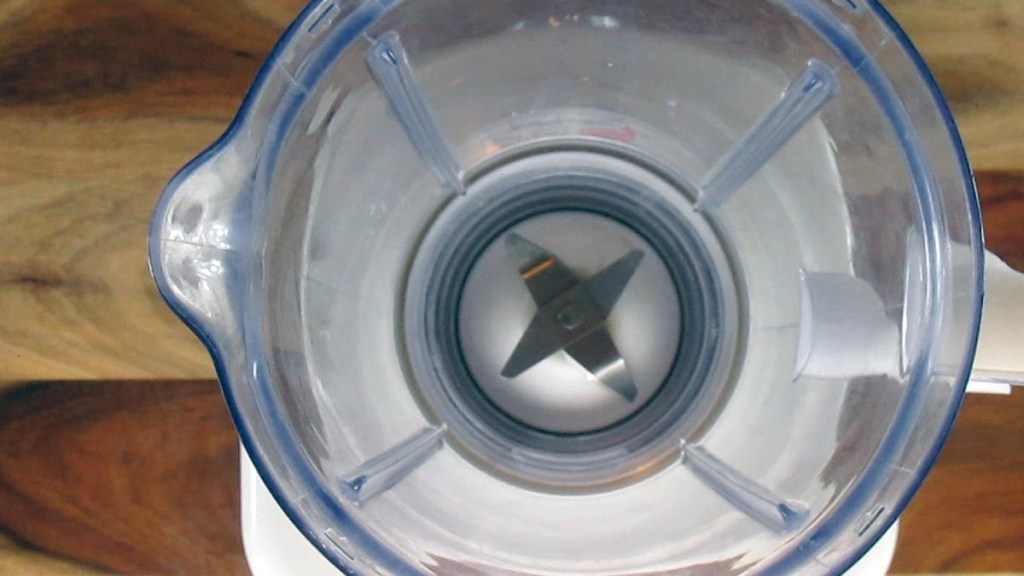
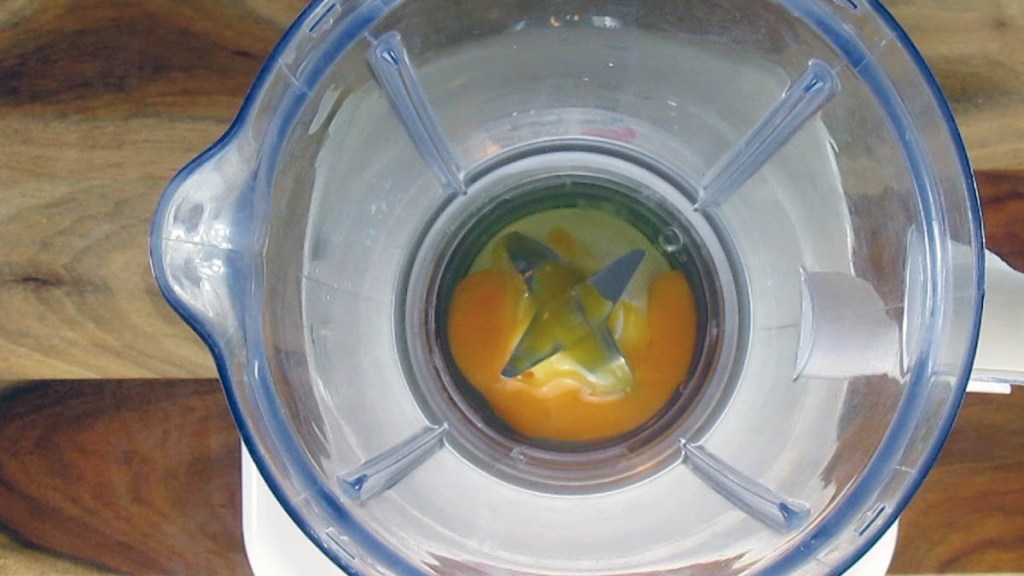
Put everything else into the blender or food processor.

Let them come to room temperature together, 30 minutes.
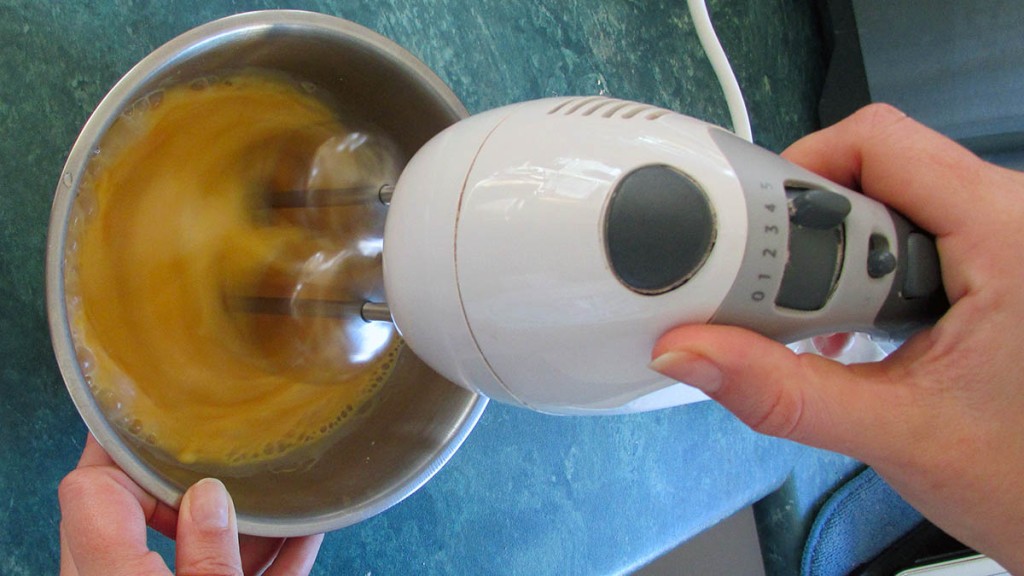
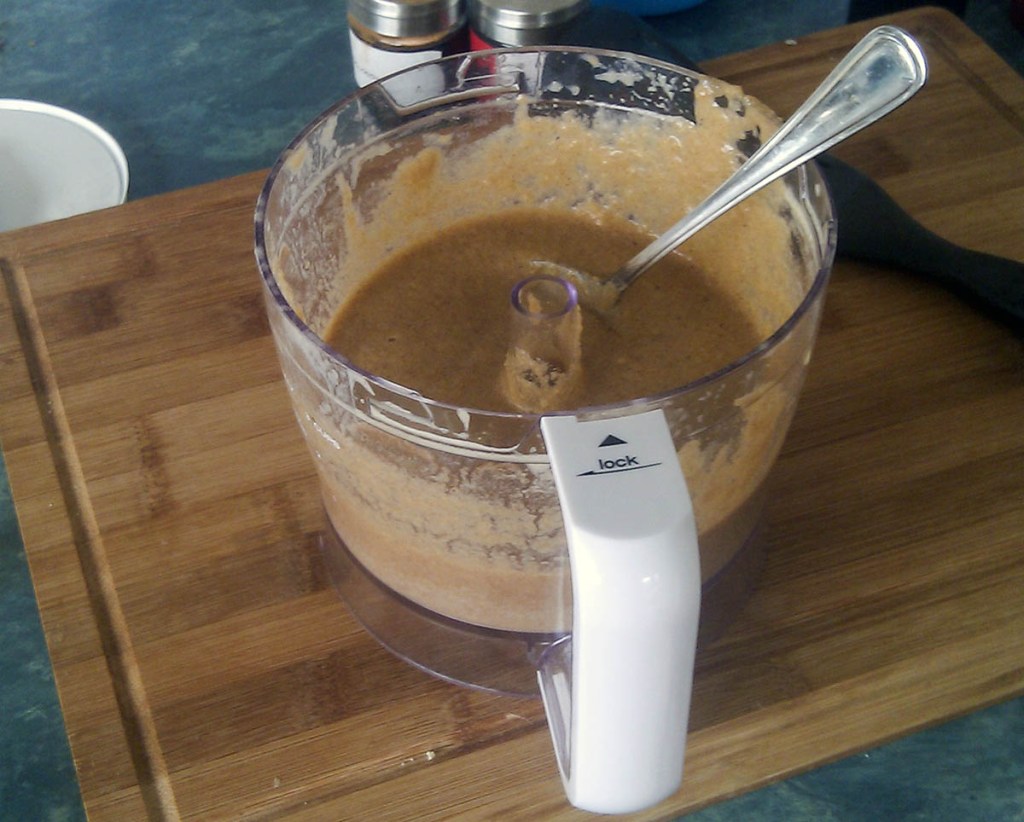
Mix everything together thoroughly so it is well blended.
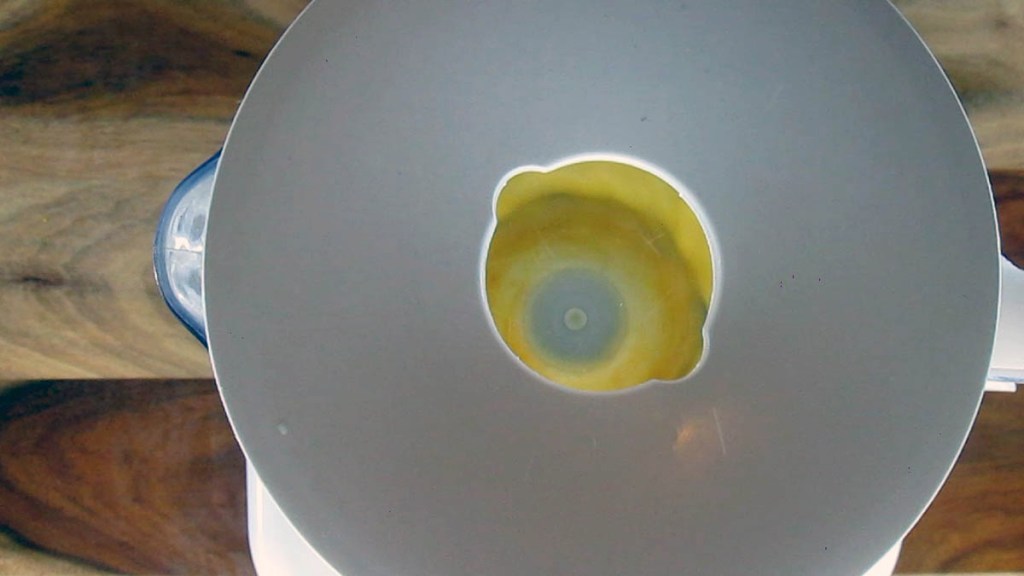
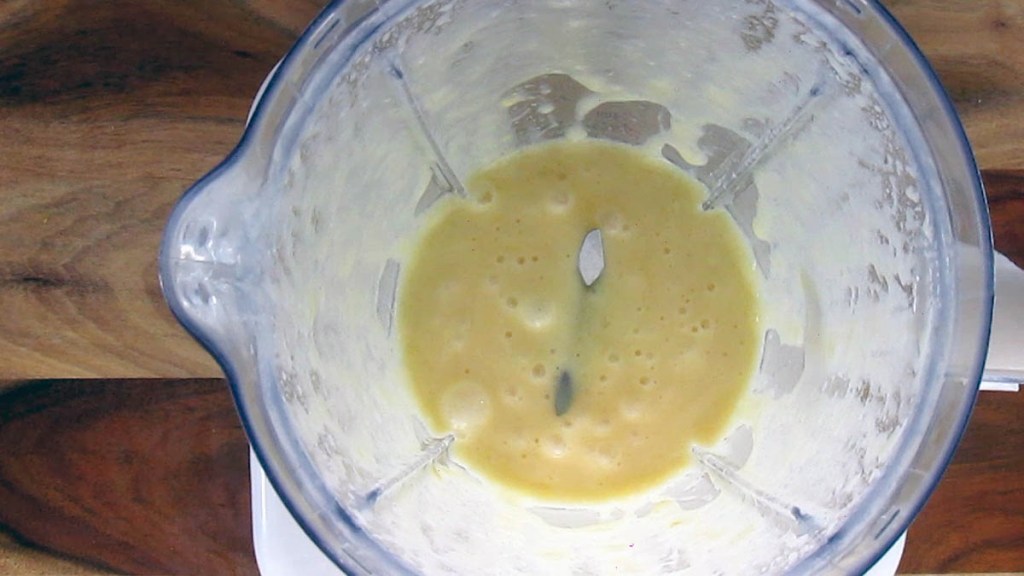
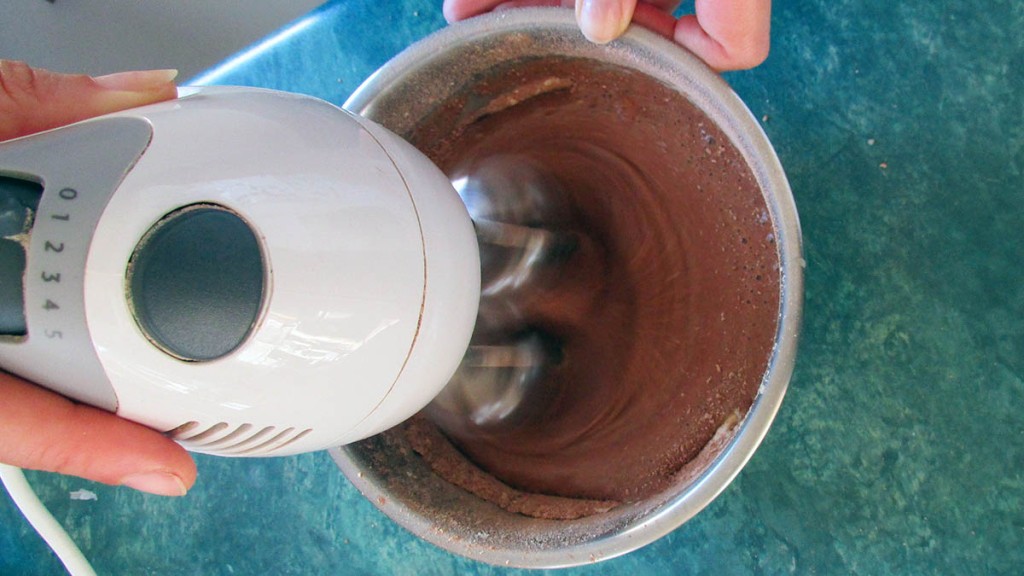
Now, for the most challenging part, incorporating the remaining 1 cup of oil into the mixture.
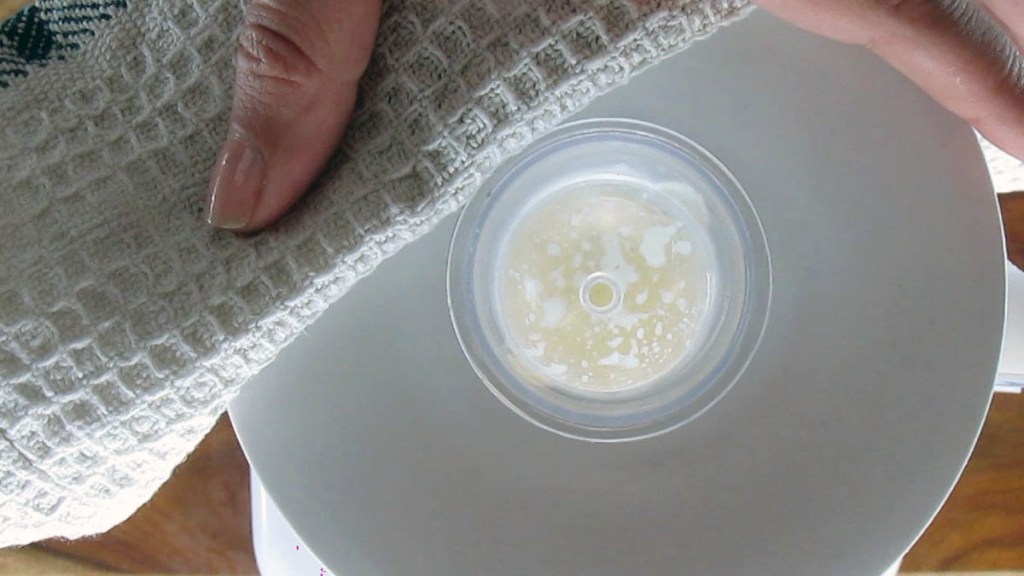

This is the hardest part because it needs to be done slowly, I mean, the slightest drizzle you can manage.
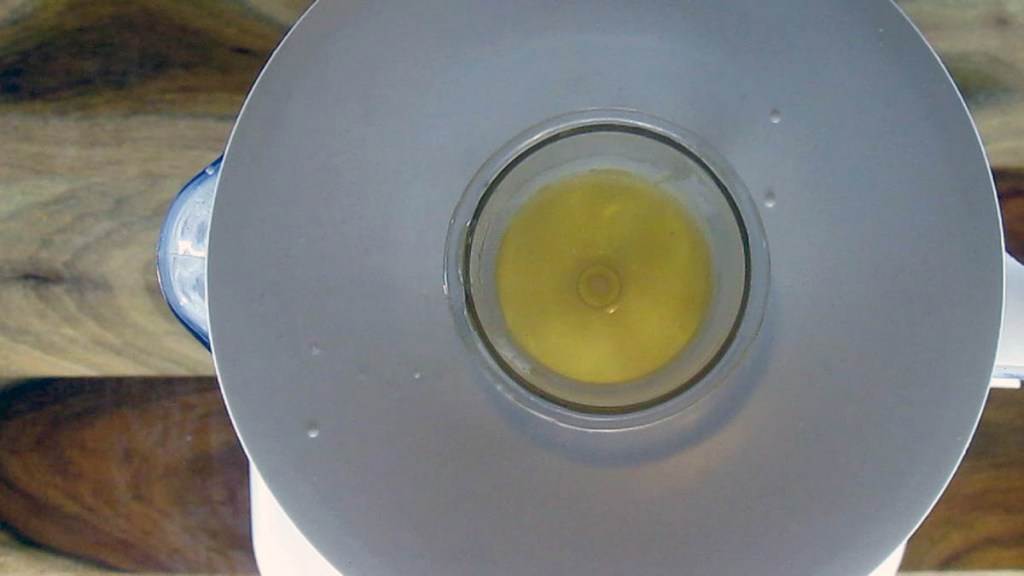
Adding the oil should take 3 minutes; if you do it quicker, it may not work.
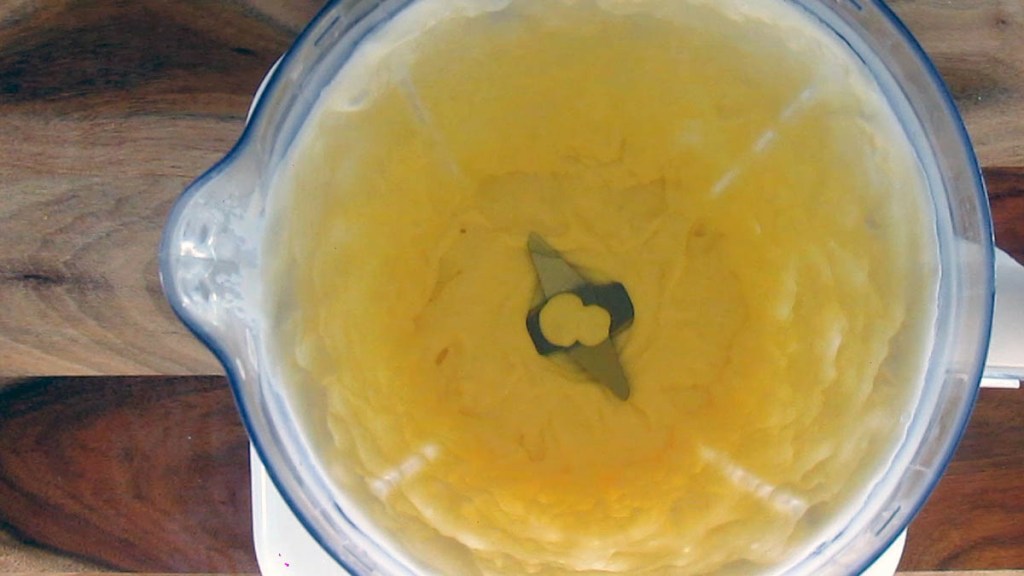
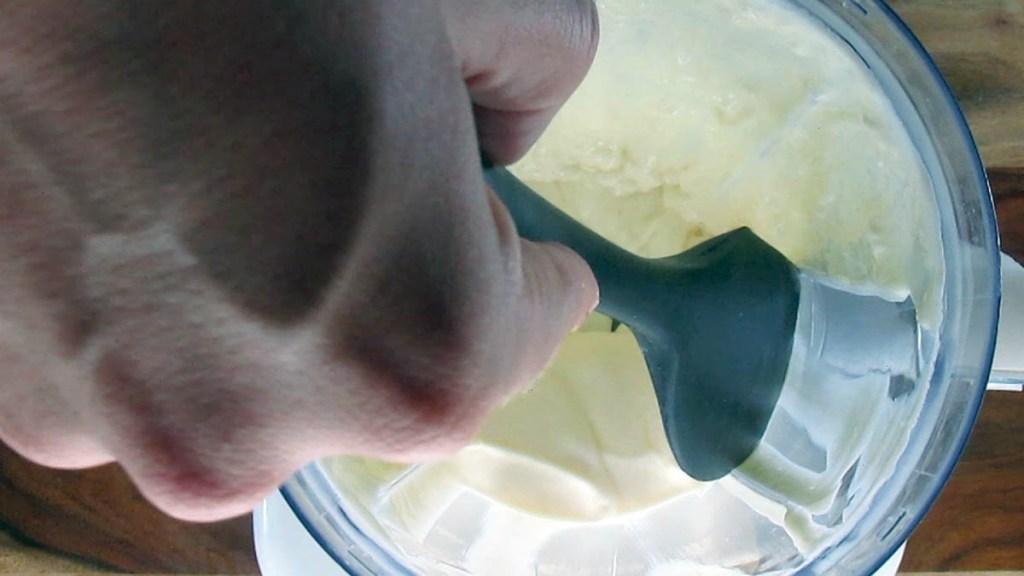
The sound of your blender or processor will change as you get closer to your mayo being ready.
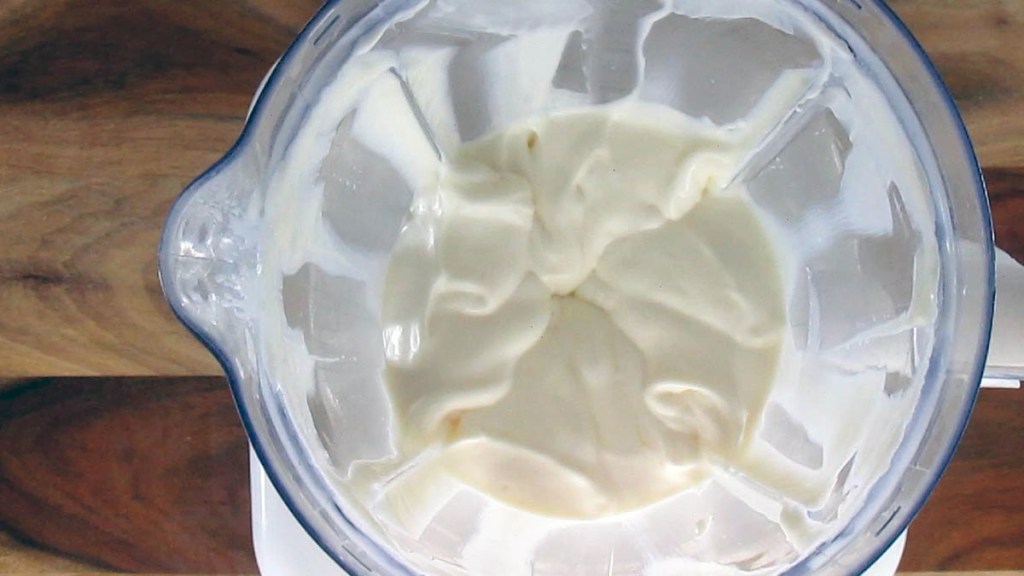
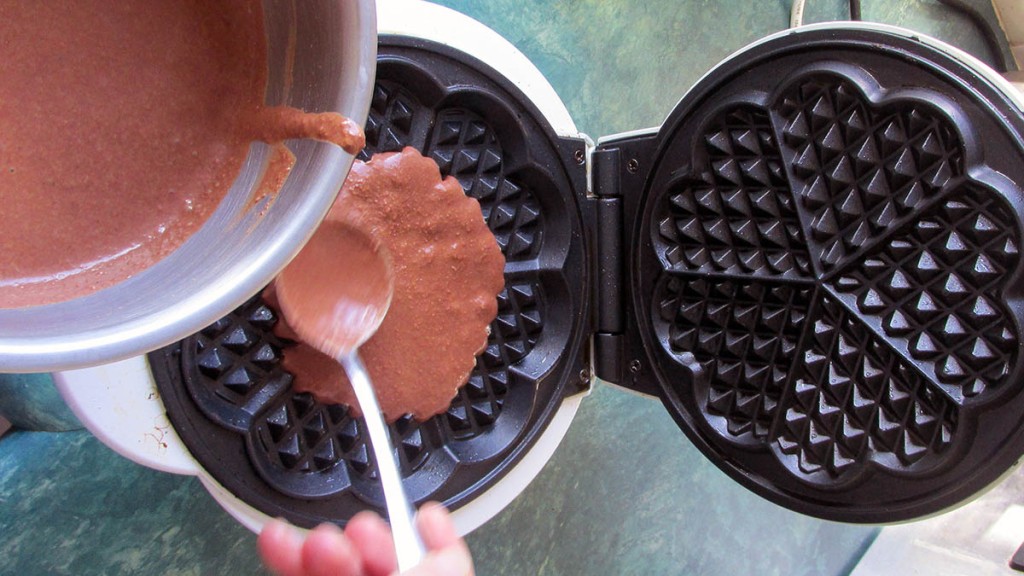
You will end up with a silky, shiny mayo ready to be put in a jar and kept in the fridge.

Easy mayo
Easy to make, this mayo uses the whole egg and has no extra sugar or nasties.
Credit: Cath @ easycleaneats
Ingredients
- 1 egg
- 2 tbsp. lemon juice
- 1/2 tsp. Dijon mustard
- 1/2 tsp. apple cider vinegar
- 1 1/4 cup extra light olive oil
Directions
- Put one cup of oil into something that makes it easy to pour.
- Put everything else into the blender or food processor.
- Let them come to room temperature together, 30 minutes.
- Give everything a blend together so it is well mixed.
- Now for the hardest part, incorporating the remaining 1/4 cup oil into the mixture.
- This is the hardest part because it needs to be done slowly, the smallest drizzle you can manage.
- Adding the oil should take 3 minutes; if you do it quicker if may not work.
- The sound of your blender or processor make will change as the closer you get to your mayo being done.
- You will end up with a silky, shiny mayo ready to be put in a jar and kept in the fridge.
Nutrition
Per Serving: 83 calories; 9.2 g fat; 0.4 g carbohydrates; 0.2 g proteinEquipment
- Measuring cups
- Measuring spoons
- Measuring jug
- Spatula
- Blender
Nutritional disclaimer
Nutrition information is provided as an estimate based on the ingredients used and available in my area (New Zealand). The nutritional information is here to help you understand the recipe; I use MyFitnessPal to generate my estimates. For more accurate nutritional information, please use a nutritional calculator with the ingredients in your area.