If you are like me and you try to avoid mass-produced processed foods, the best option is to make your own. When you make your own, you control which ingredients you use and how much or how sweet you want it to be. Once you have a go at making your own and realise how easy it is, you will never go back to store-bought again.
Soy-free sauce
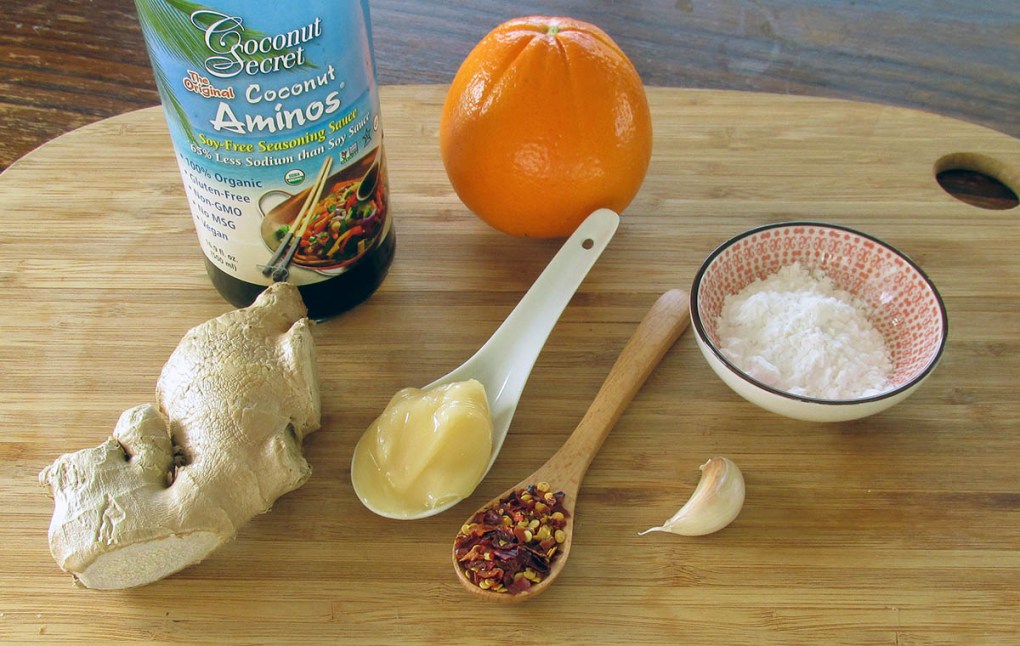
Soy and I don’t get along very well, actually, soy and my joints don’t get along very well. I try my best to stay away from soy, which can be difficult at times, especially when soy is the primary ingredient of what you want to eat. This soy-free alternative to Teriyaki sauce is my go-to for stir-fry and marinades. It is easy to make and uses coconut aminos, which are a great soy sauce alternative. If you have children who aren’t fans of spice, you can leave out the chilli flakes.
Teriyaki Sauce
Ingredients
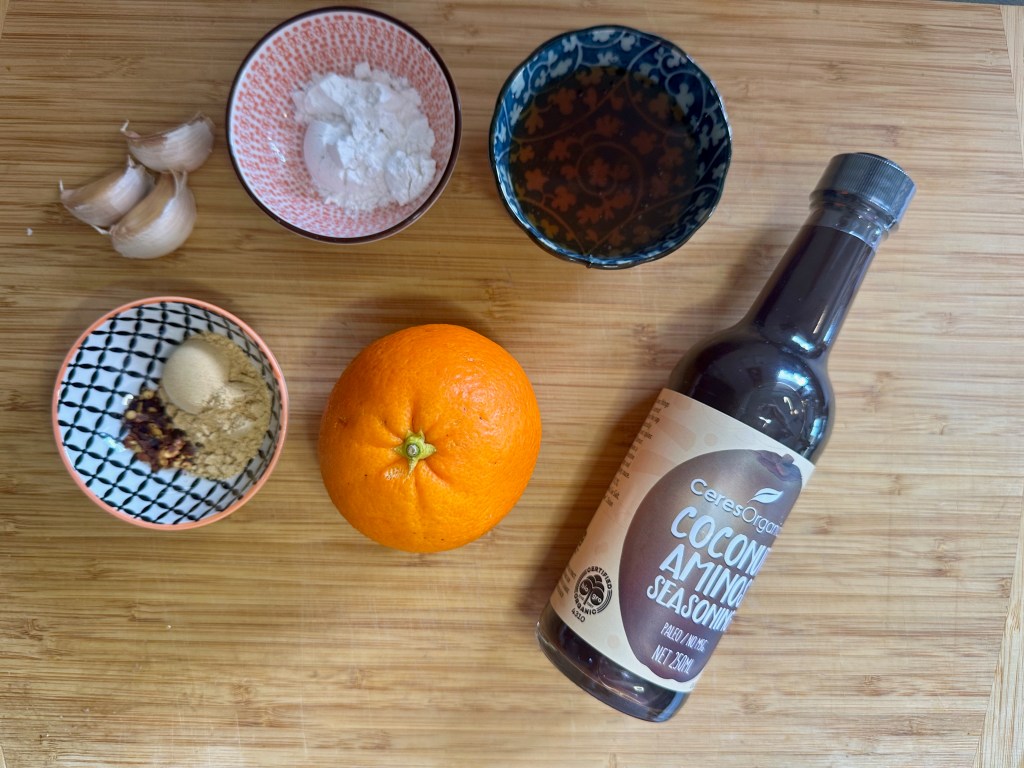
½ cup coconut aminos
¼ cup fresh orange juice
3 tbsp. honey
2 tbsp. freshly grated ginger
3 garlic cloves, minced
pinch chilli flakes
2 tsp. tapioca flour (optional- this is for thickening)
2 tbsp. water
Instructions
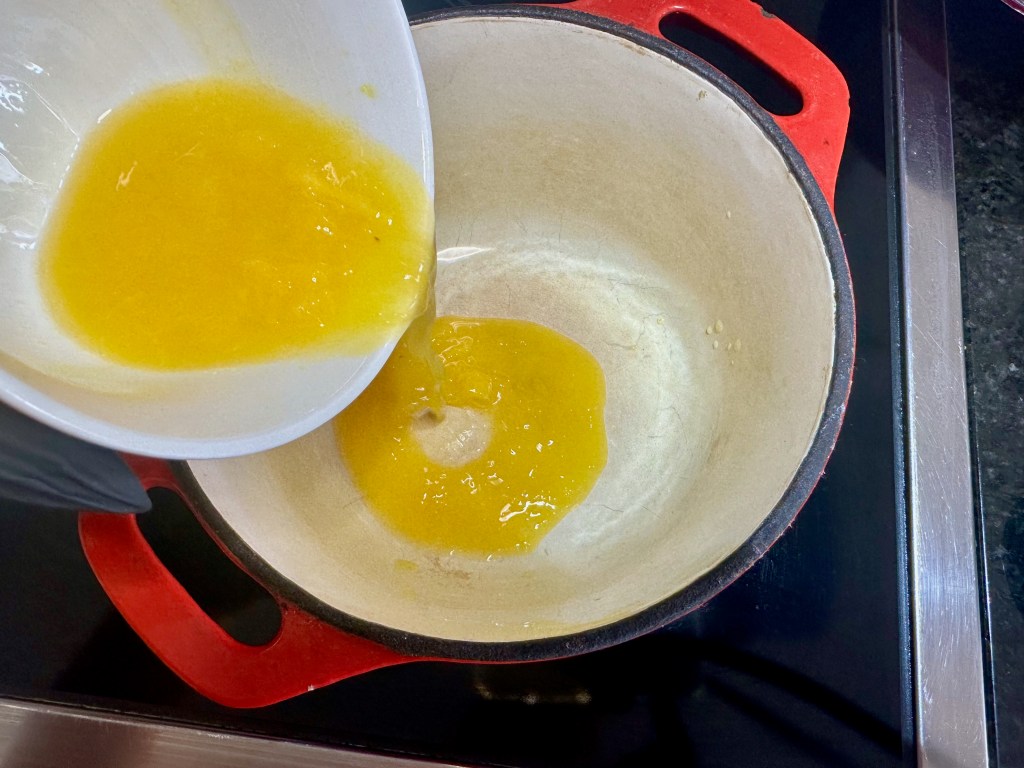
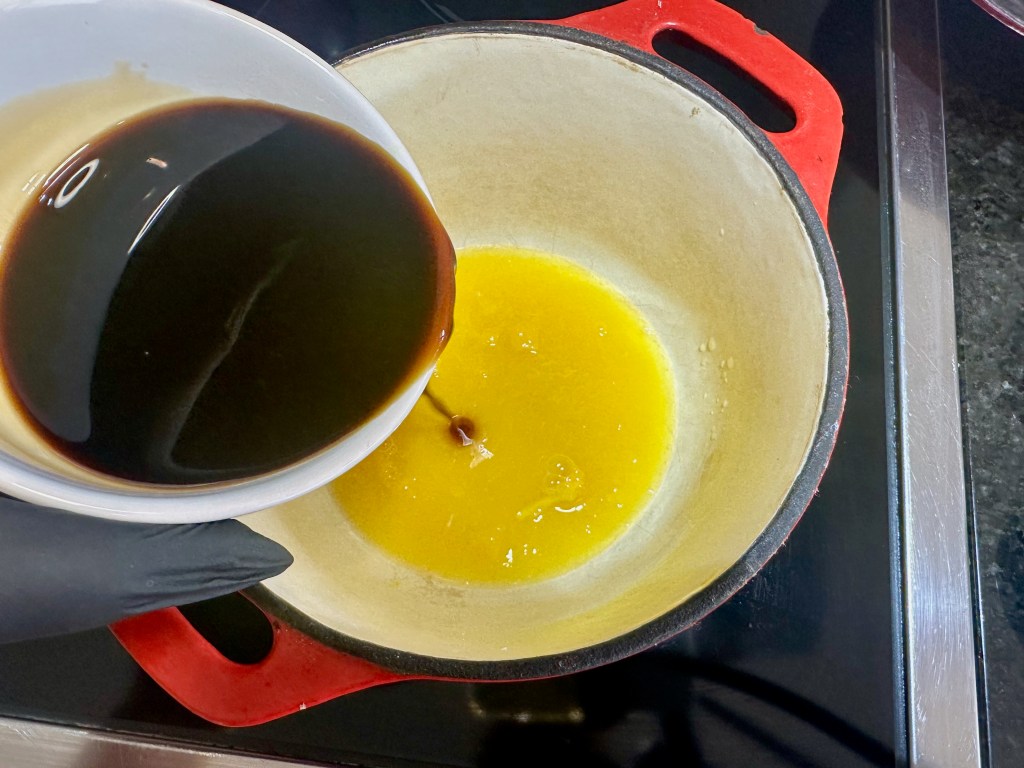
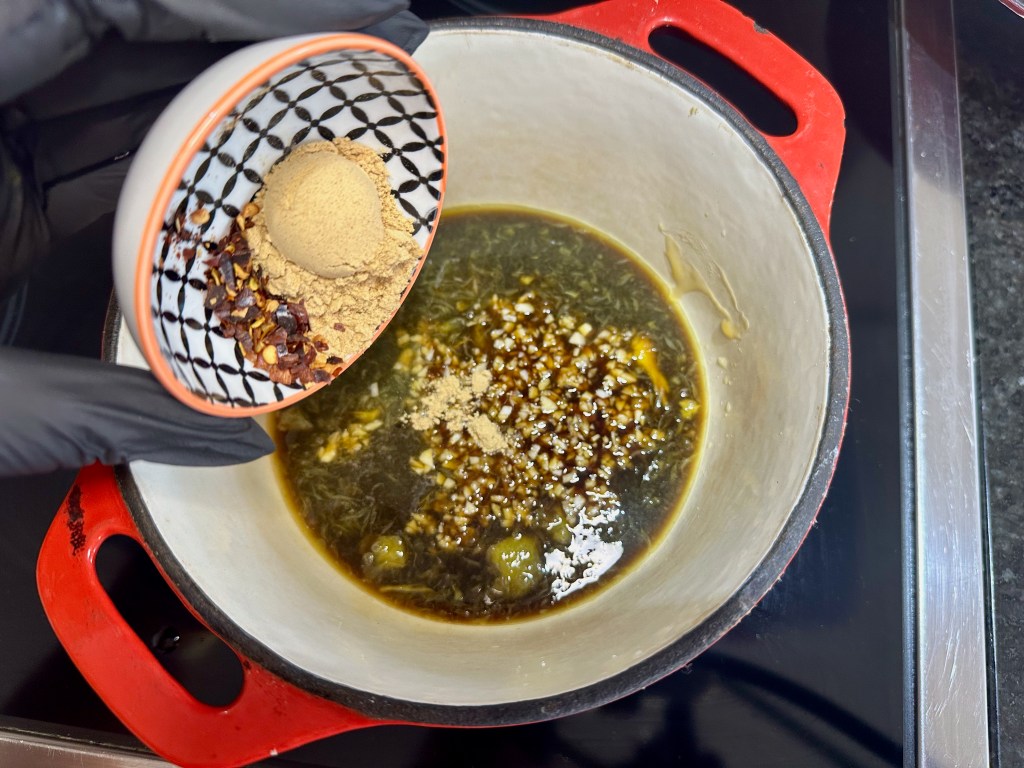
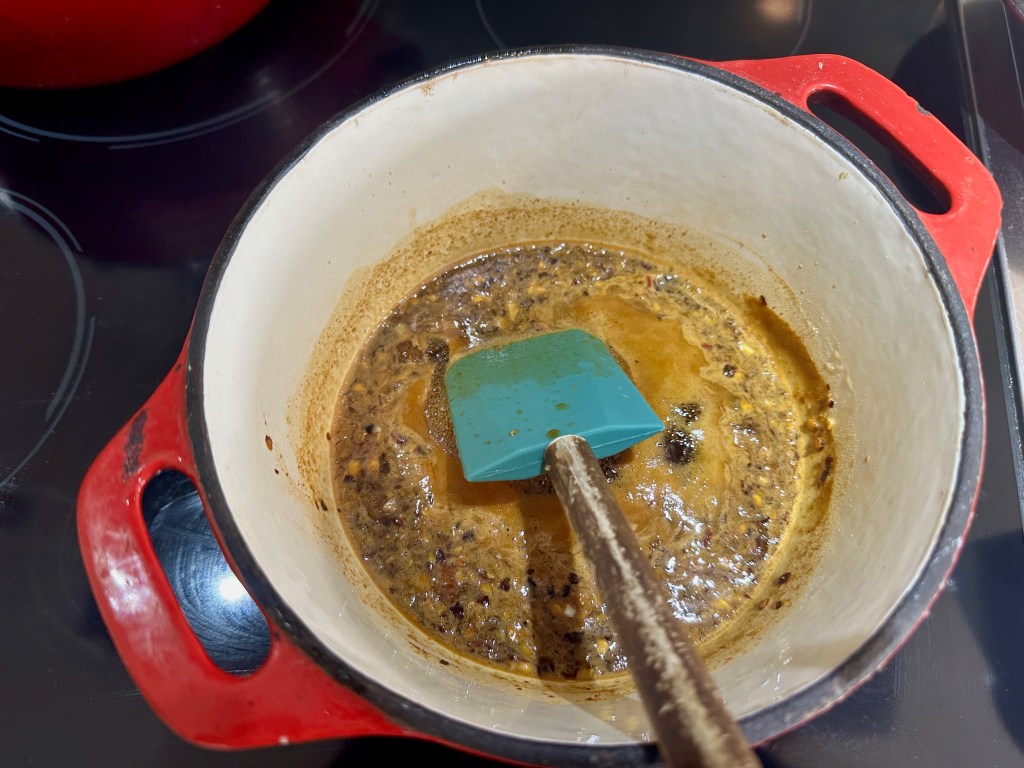
In a small saucepan over a medium heat mix together the coconut aminos, orange juice, honey, ginger, garlic and chilli flakes.
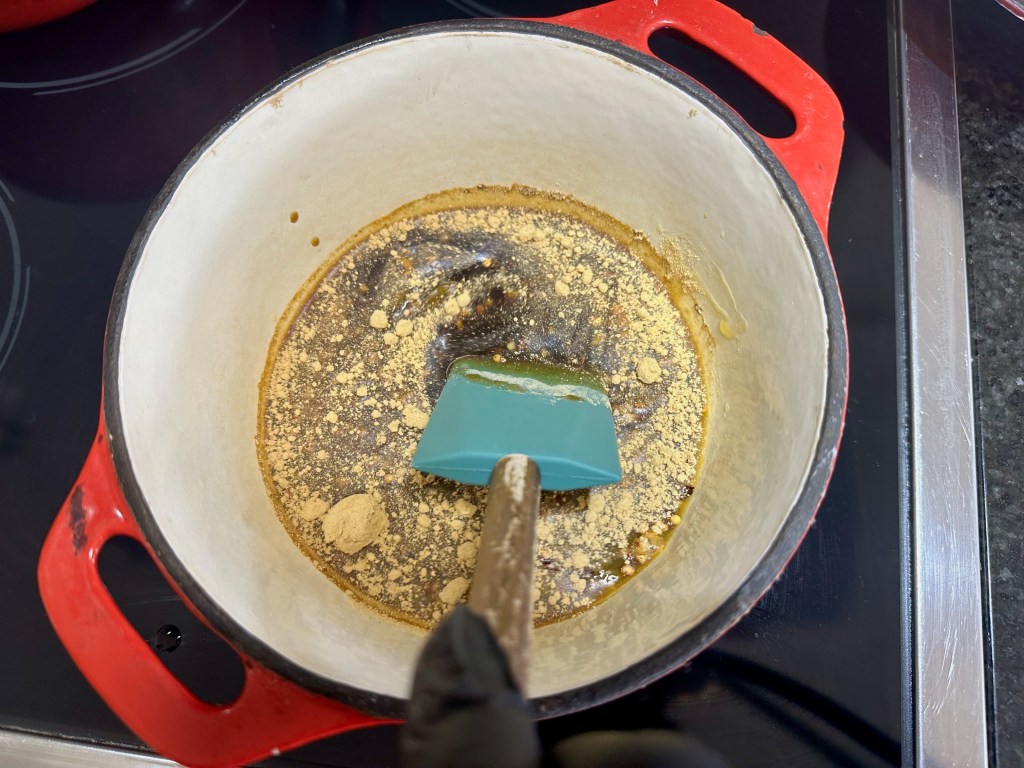
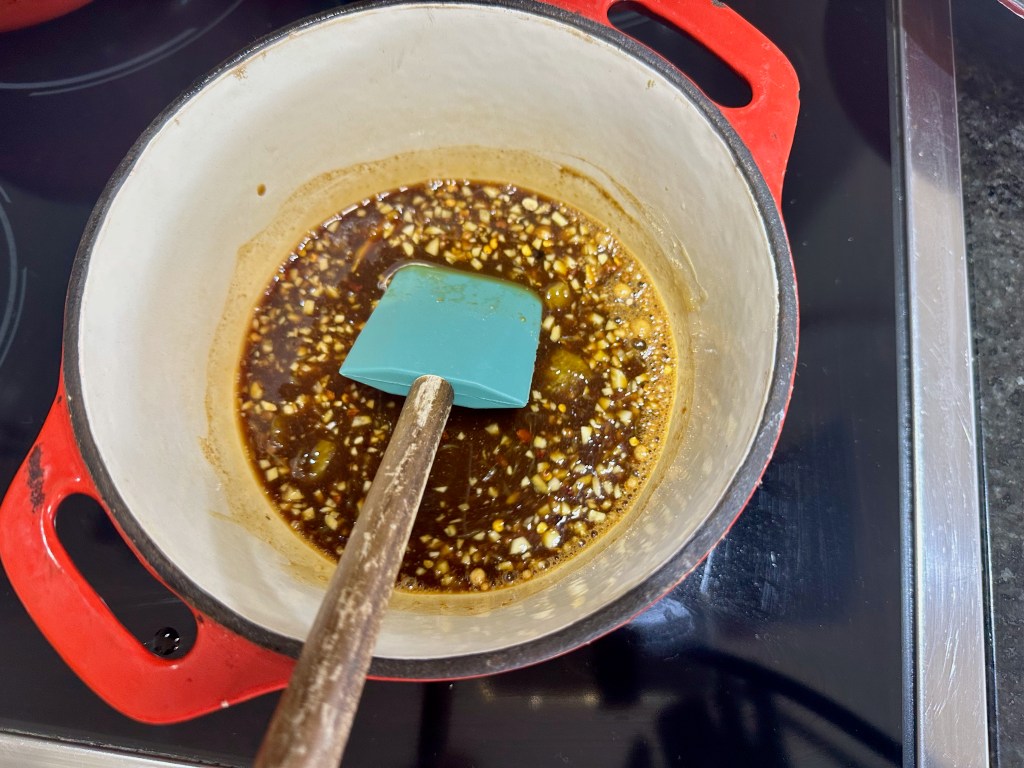
Simmer the sauce until it thickens.
Alternatively, you can thicken the sauce using tapioca flour, mix it with 2 tablespoons of cold water, and add the mixture to the sauce and cook until thicken.
2 tsp. tapioca flour (optional- this is for thickening)
2 tbsp. water
Directions
In a small saucepan over a medium heat, mix the coconut aminos, orange juice, honey, ginger, garlic and chilli flakes.
Simmer the sauce until it thickens.
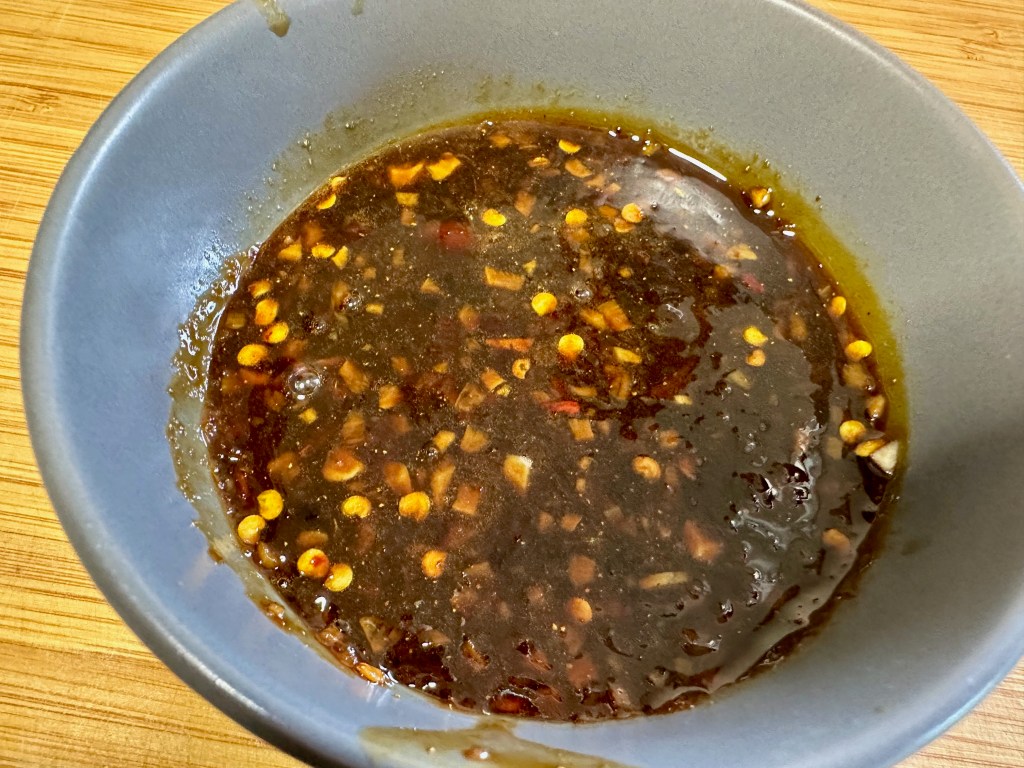
Alternatively, you can thicken the sauce with tapioca flour: mix two tablespoons of cold water with one tablespoon of tapioca flour, then add the mixture to the sauce and cook until thickened.
Nutrition
Per Serving: 63 calories; 0g fat; 14.8g carbohydrates; 0.2g protein
Equipment
Measuring cups
Measuring spoons
Saucepan
Whisk
Spatula
Nutritional disclaimer
Nutrition information is provided as an estimate based on the ingredients used and available in my area (New Zealand). The nutritional information is here to help you understand the recipe; I use MyFitnessPal to generate my estimates. For more accurate nutritional information, please use a nutritional calculator with the ingredients in your area.
Back in the UK, I remember there being a lot of fruitcakes at Christmas. I also remember that most of them came topped with marzipan, so I never got to eat them.
Stupid almonds.
Stupid nut allergy.
I didn’t get a lot of Christmas fruitcake when I was younger, so I’ve made the most of it as an adult with full control of a kitchen.
Christmas fruit cake
So nommy
My former mother-in-law used to make kick-ass Christmas cake (maybe she still does, I don’t know). It is a fruitcake that comes with fondant icing and royal icing; there are berries and holly along with a Merry Christmas sign on it. Totes amazing. I love the cake, but the sugar crash afterwards is not so lovable. I’m not overly happy about how it fills up my carb pockets either.
Christmas without the carb coma
Anyway. Rather than pass on the chance to eat fruitcake, I decided to adapt a recipe so that I can drop the sugar and flour to make them more guilt-free (and sugar crash-free).
Taking the sugar-filled Christmas fruitcake recipe as the base, I set about making changes and eating some mistakes. After a bit of experimentation, I landed on the perfect recipe that was moist, dense, but not stodgy. To minimise the impact on my carb pockets, I decided not to add icing to my cake, but if you are happy to make the trade, feel free to add whatever icing makes you happy.
A sweet treat to enjoy
In years gone by, any baking I did would barely last a day before it was completely consumed, and often I would be lucky to get any piece of my creation. Thankfully, that is no longer the case. I actually have the opposite problem now, my baked goods need to go in the freezer so they don’t start growing a furry coat before I can finish them.
We have a winner
I swapped out the wheat flour and regular sugar; I like using a mix of dried fruit soaked in a bit of rum to make sure the cake stays nice and moist. You can leave out the booze if your little people like fruit cake, or leave it in if you want them to take a nap. If you want his sweet treat to last, it can be portioned and stored in the freezer for a taste of Christmas anytime you need it.
Gluten-Free Christmas fruit cake recipe
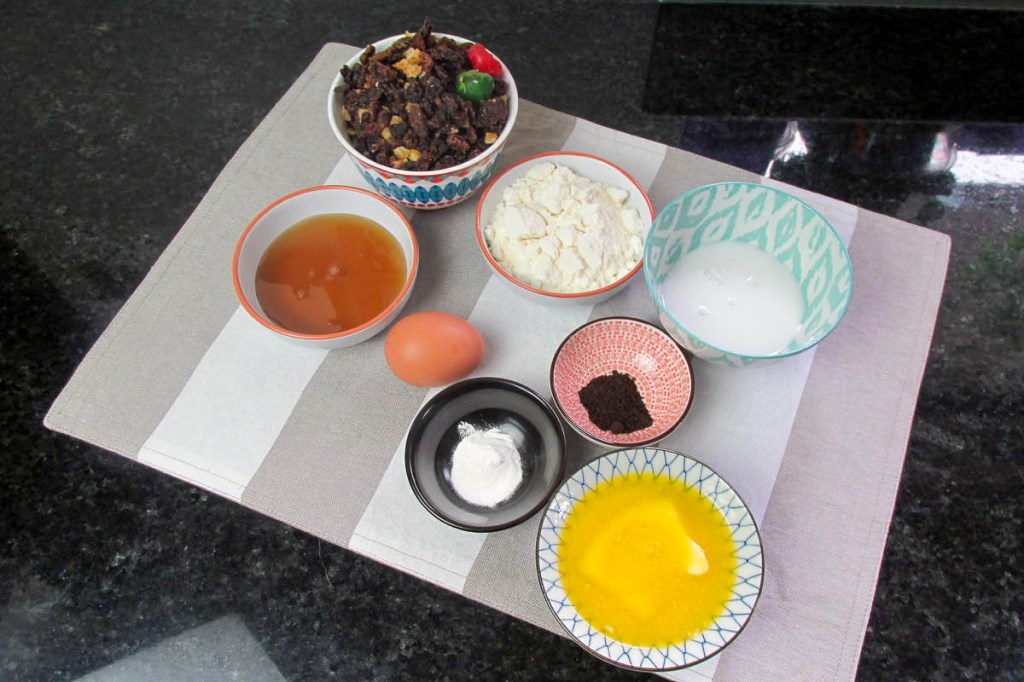
Christmas fruit cake ingredients
Ingredients
3 egg whites
2 eggs
1/4 cup coconut cream
1/3 cup maple syrup
1/2 tsp. baking soda
1/2 cup coconut flour
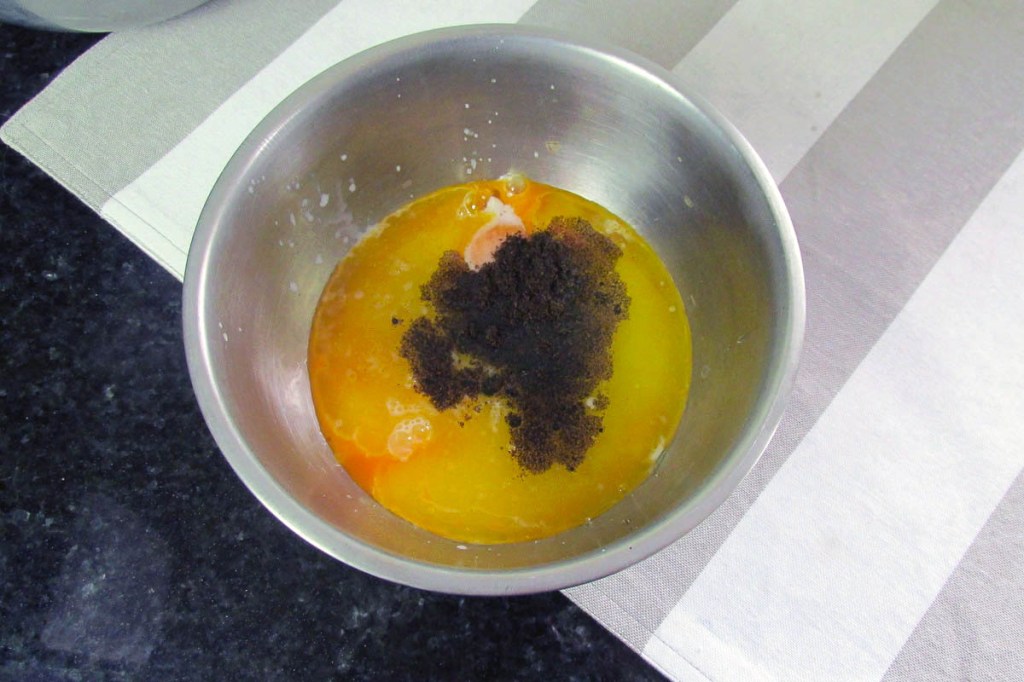
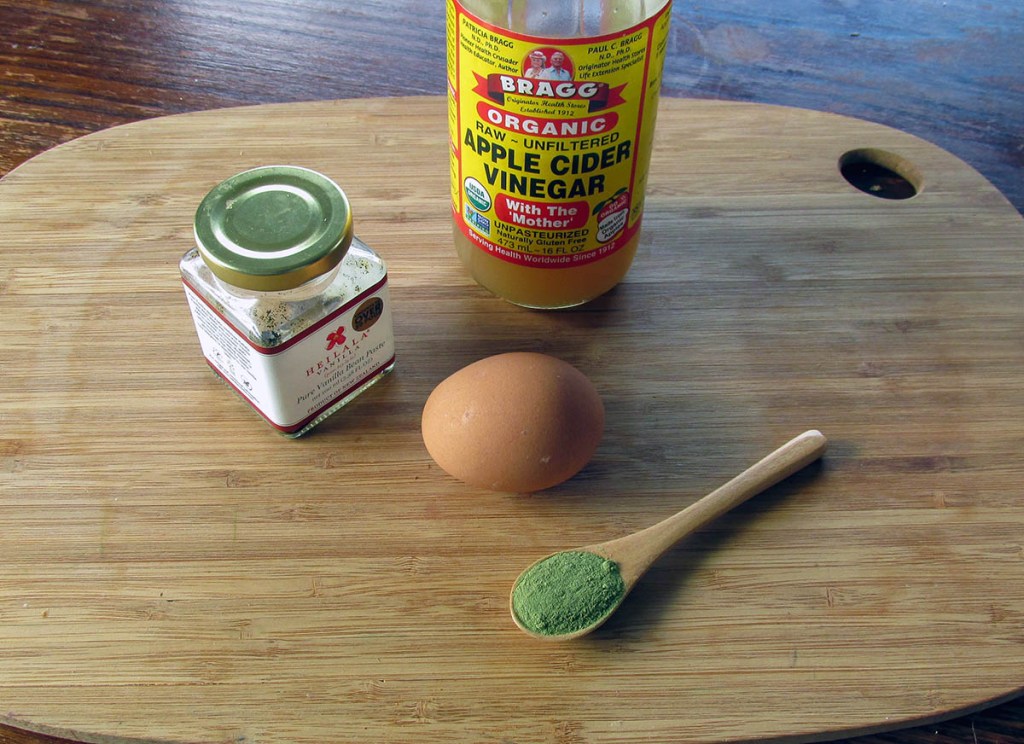
2 tsp. vanilla bean paste
1/2 cup butter, melted
1 1/2 cups fruit cake mix
optional – 1/4 cup rum
Instructions
Preheat the oven to 180 degrees C/ 350 degrees F
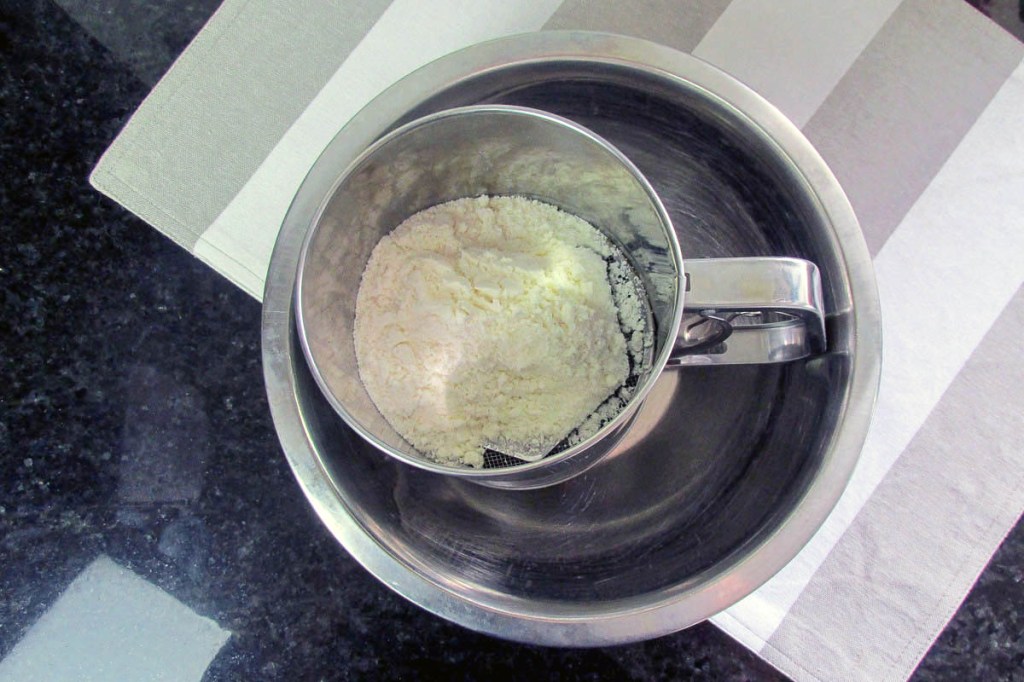
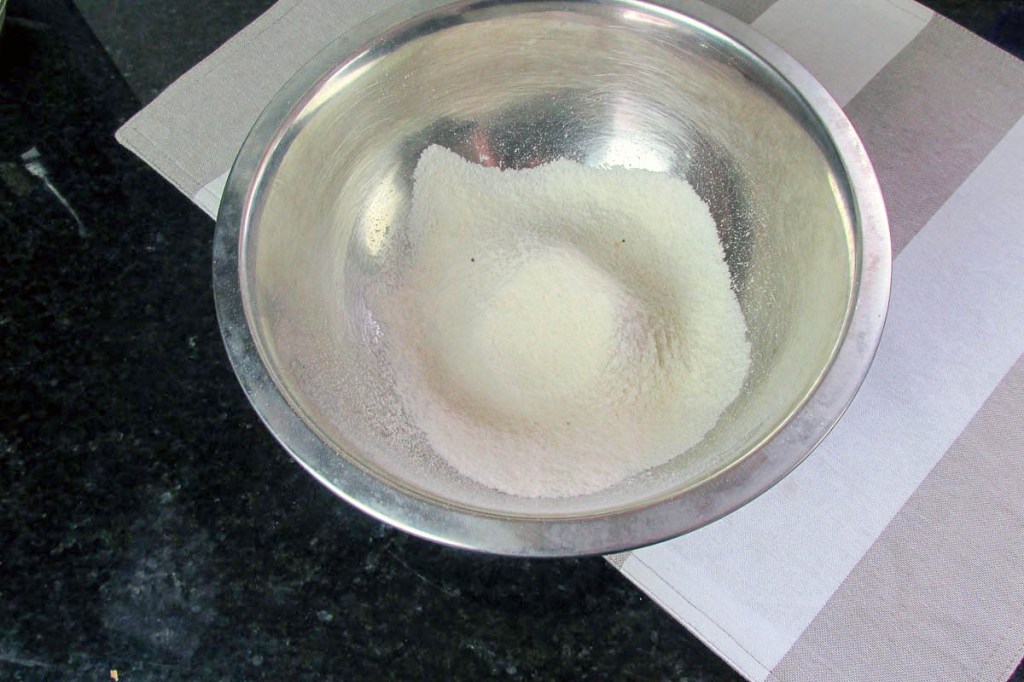
Shift the flour and baking soda together in a bowl.
Shift the flour and baking soda together in a bowlShift the flour and baking soda together in a bowl
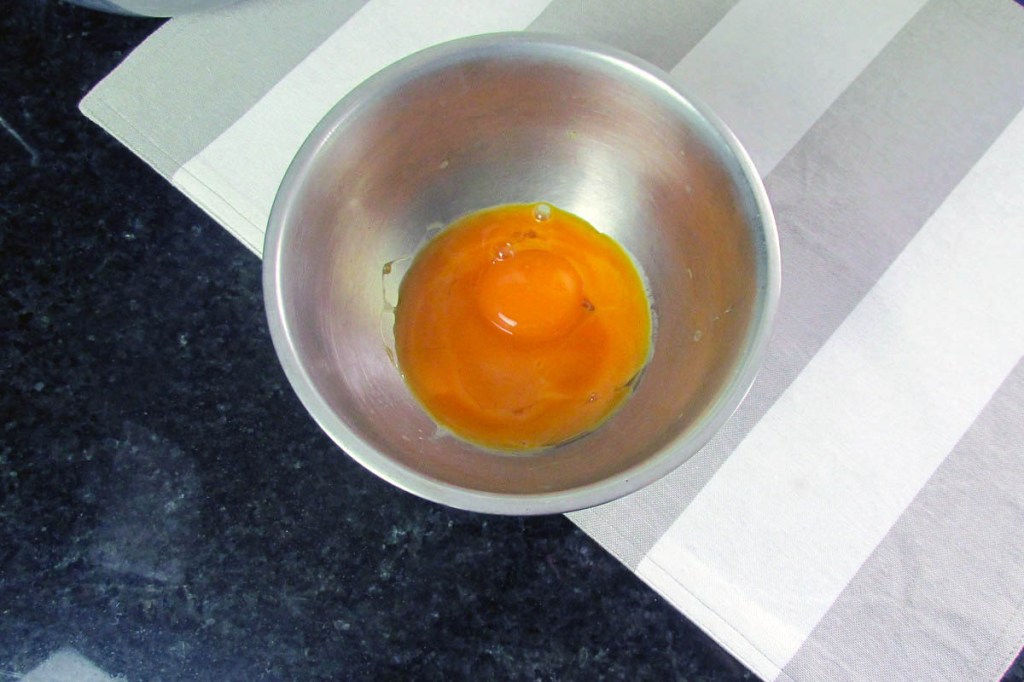
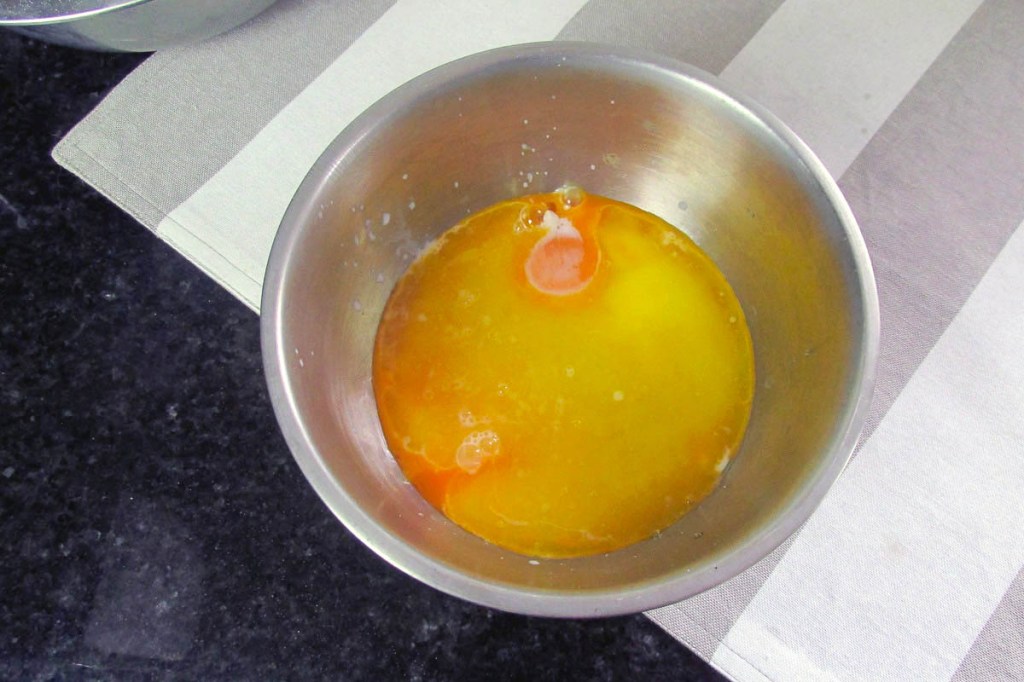
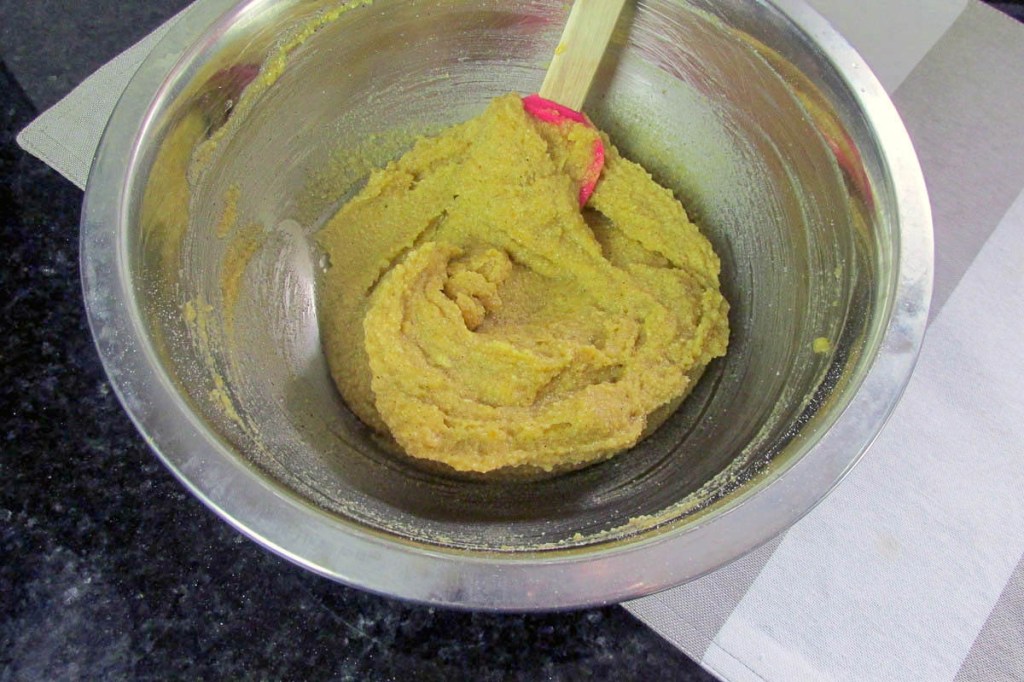
In another bowl, whisk together the two eggs, melted butter, coconut cream, vanilla, and maple syrup until the mixture is foamy.
In another bowl, mix together the two eggsIn another bowl, mix together the melted butter, coconut cream, vanilla and maple syrup until it is foamy.
Mix the wet and dry ingredients, then set the fruit cake mix aside.
Mix together the wet and dry ingredientsMix together the wet and dry ingredients
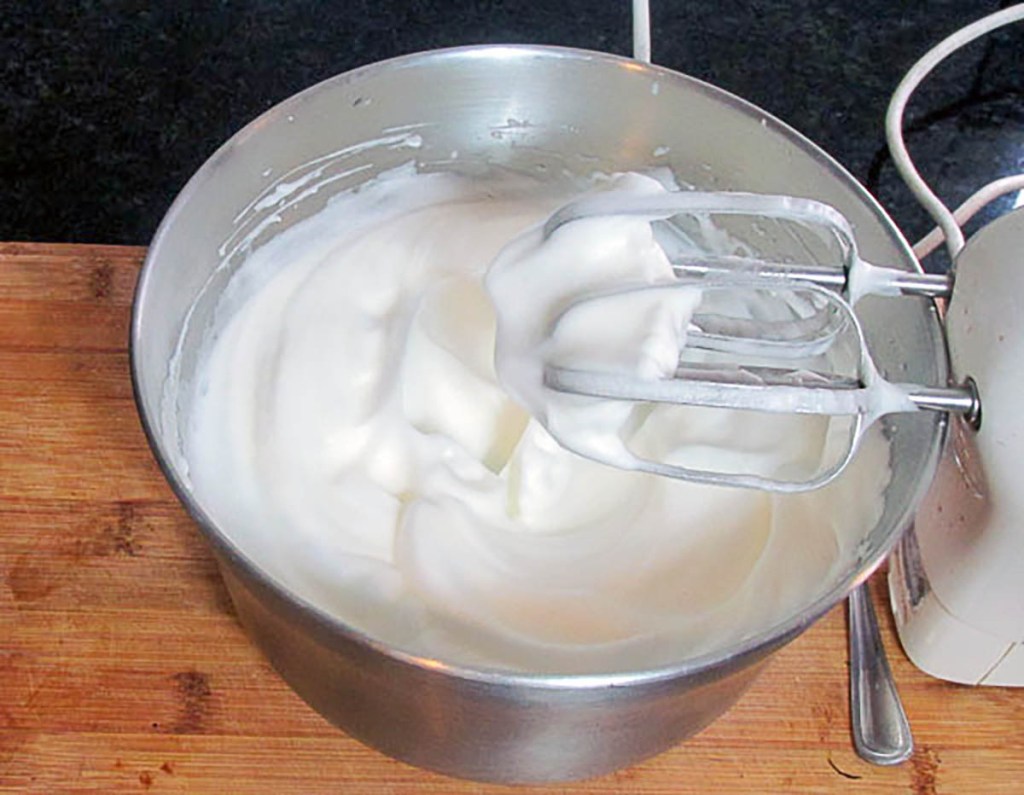
In a bowl, whisk the egg whites until they form soft peaks.
In a bowl, whisk the egg whites until they are soft peaks.
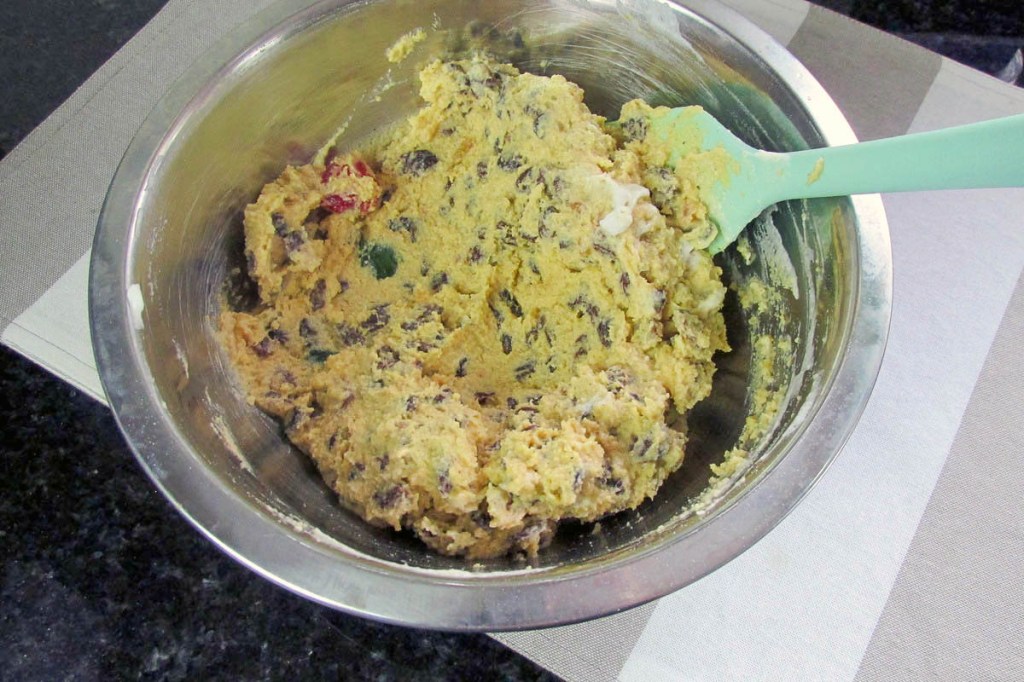
Mix the fruit cake mix into the batter.
Mix in the fruit cake mix to the batter.
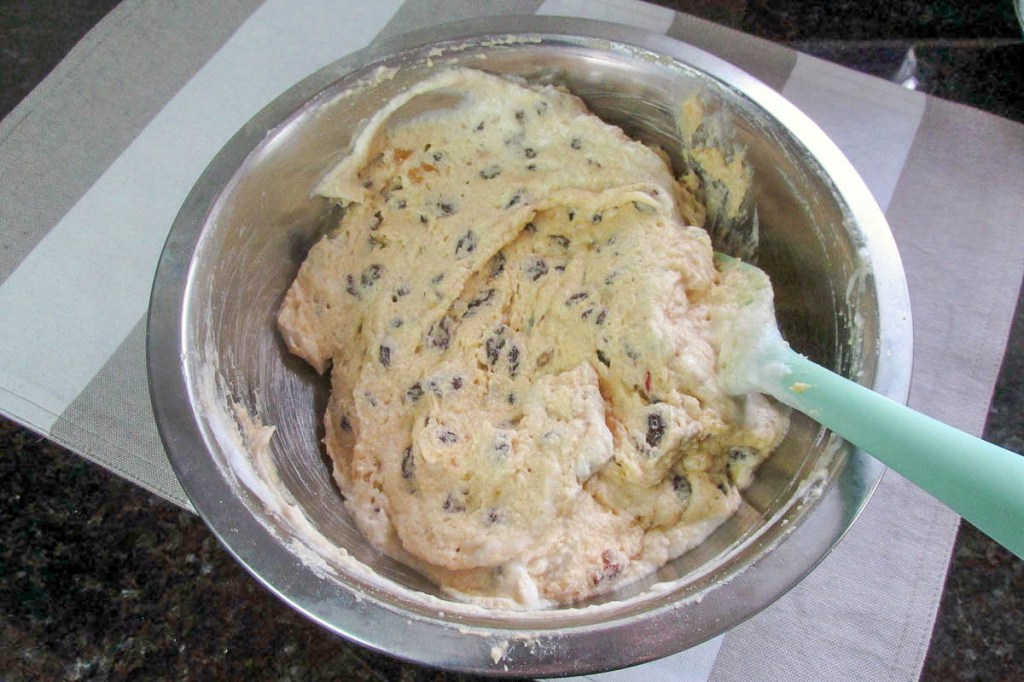
Fold the egg whites into the batter.
Fold the egg whites into the batter.Fold the egg whites into the batter.
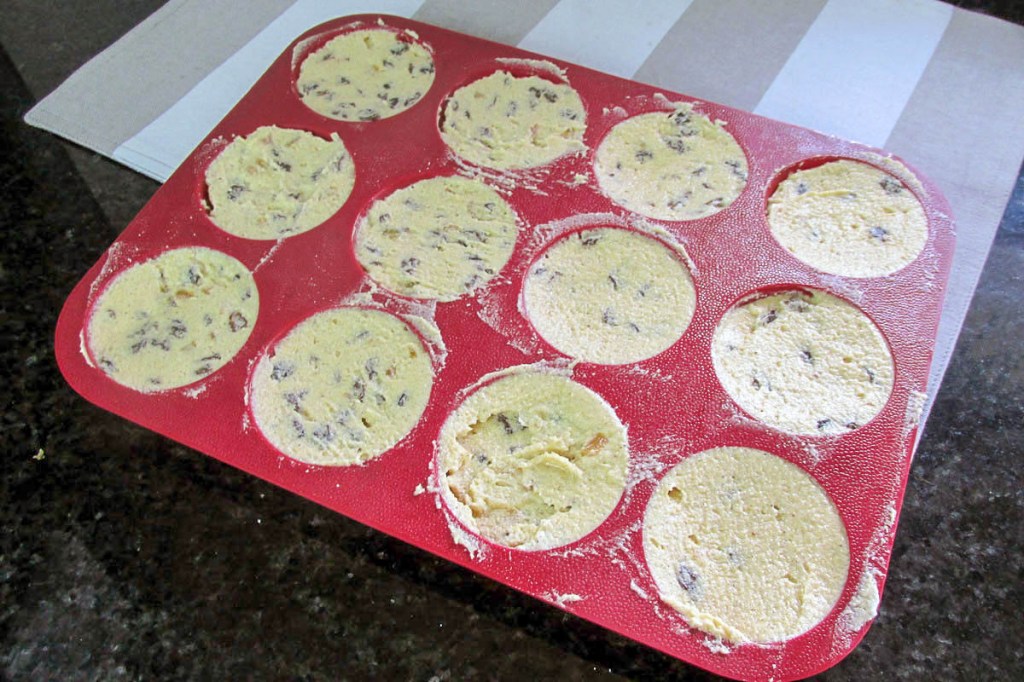
Pour the batter into a lined cake tin.
Fold the egg whites into the batter.Mini fruit cakes ready for the oven
Bake for 30 minutes at 180 degrees C/ 350 degrees F.
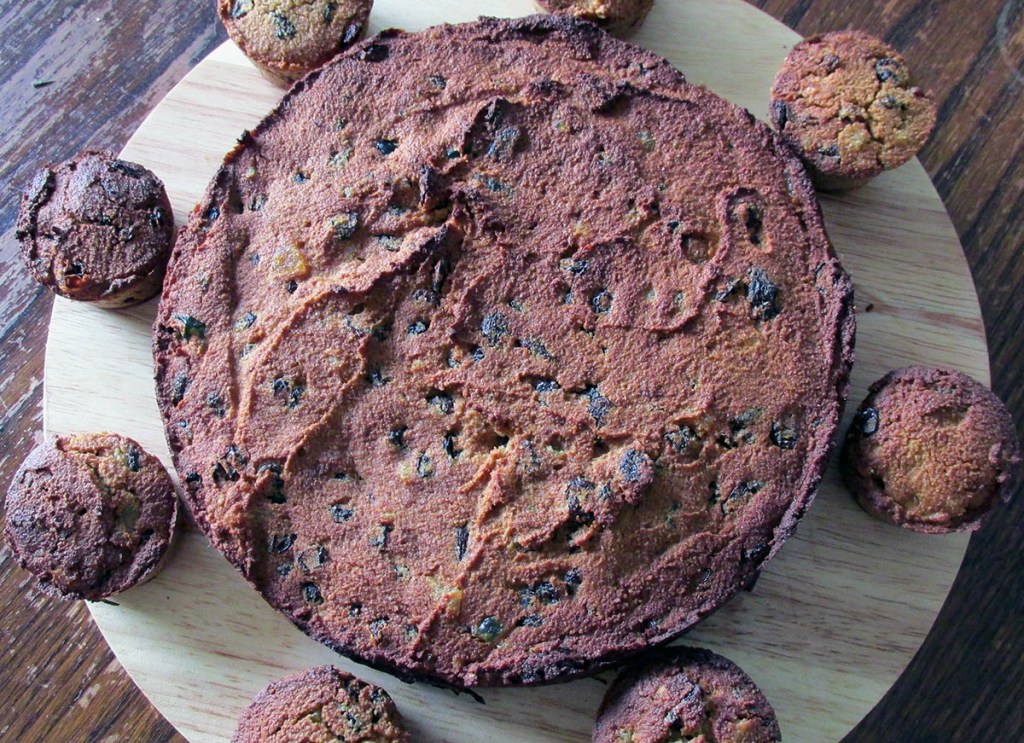
Christmas cake fresh from the ovenFull cake and mini cakes
What would Christmas be without some fruit cake. This fruit cake is moist and full of fruit (and a little rum).
Credit: Cath @ easycleaneats
Ingredients
3 egg whites
2 eggs
1/4 cup coconut cream
1/3 cup maple syrup
1/2 tsp. baking soda
1/2 cup coconut flour
2 tsp. vanilla bean paste
1/2 cup butter, melted
1 1/2 cups fruit cake mix
1/4 cup rum (optional)
Directions
Preheat the oven to 180 degrees C/ 350 degrees F
Shift the flour and baking soda together in a bowl.
In another bowl, mix together the two eggs, melted butter, coconut cream, vanilla and maple syrup until it is foamy.
Mix together the wet and dry ingredients leave the fruit cake mix to one side.
In a bowl, whisk the egg whites until they are soft peaks.
Mix in the fruit cake mix to the batter.
Fold the egg whites into the batter.
Pour the batter into a lined cake tin.Pour the batter into a lined cake tin.
Bake for 30 minutes at 180 degrees C/ 350 degrees F.
Nutrition
Per Serving: 236 calories; 10 g fat; 32 g carbohydrates; 3 g protein
Equipment
Electric whisk
Large mixing bowls x2
Wooden spoon or spatula
Cake tin
Cooling rack
Measuring cups
Measuring spoons
Nutritional disclaimer
Nutrition information is provided as an estimate based on the ingredients used and available in my area (New Zealand). The nutritional information is here to help you understand the recipe; I use MyFitnessPal to generate my estimates. For more accurate nutritional information, please use a nutritional calculator with the ingredients in your area.
The meringue started as little cookies that were crispy on the outside and chewy inside. There are a few different types of meringues from across Europe that have slightly different ingredients and techniques. Meringue has been used for cookies, pavlova, Eton mess, and lemon meringue pies.
Big on sugar
There is one thing that all meringues have in common is a considerable amount of sugar, which isn’t my bag. Some recipes take a long time to get right from a technical cooking perspective and others from a flavour perspective, it is usually one thing or another, but in this instance, it took a long time to get the flavour and the technique right. I will save you the tale of woe and the many failed experiments to get a recipe that gave me silky meringues that once baked were crisp on the outside and chewy on the inside. All you need to know is the best combination of cream of tartar, apple cider vinegar and monkfruit sweetener.
No sugar meringue recipe
Ingredients
3 egg whites
1/2 tsp. apple cider vinegar
1/4 tsp. Cream of tartar
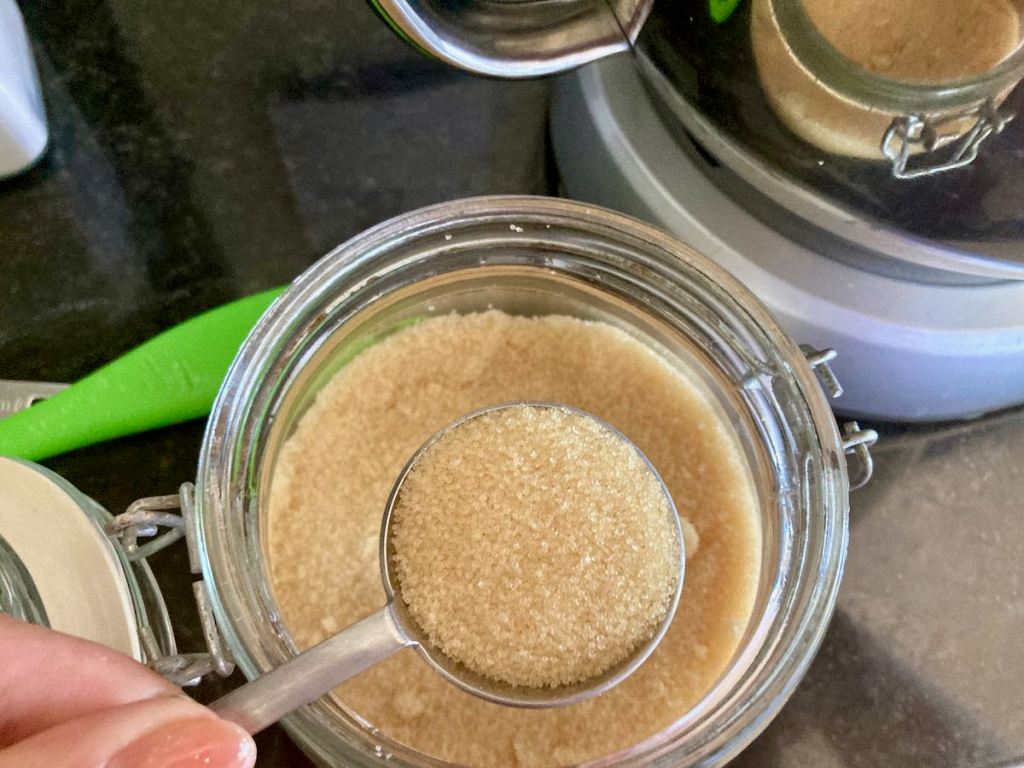
3 tbsp. Monkfruit sweetener
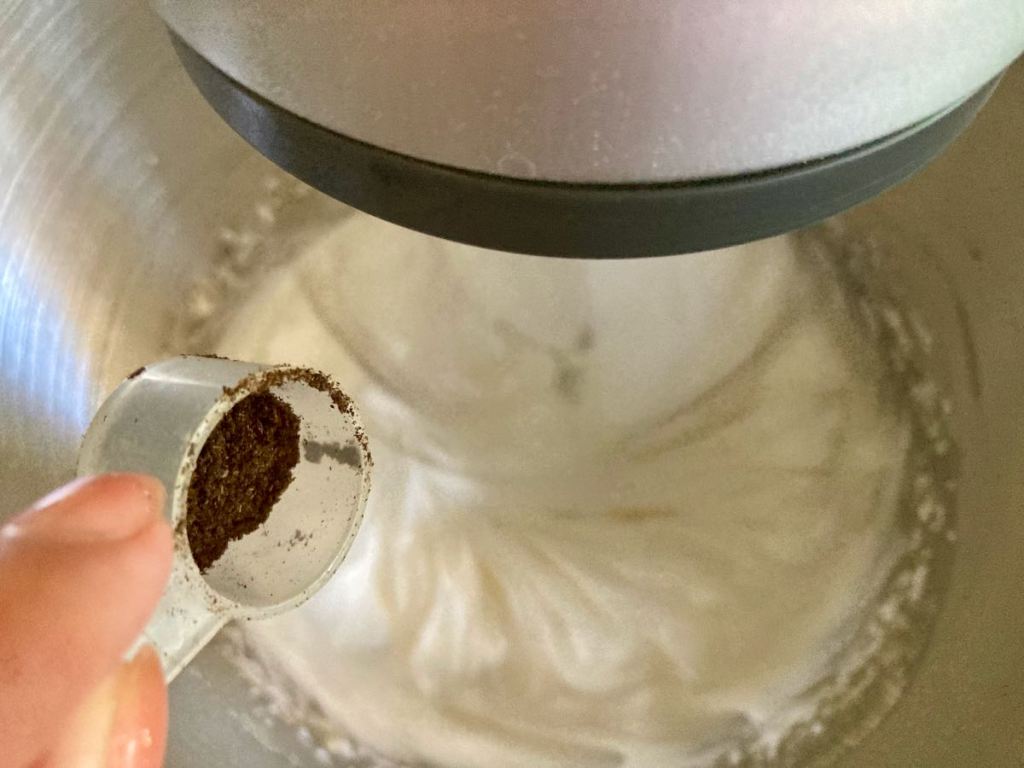
1/4 tsp. vanilla bean powder
Preheat to 135 degrees C / 275 degrees F.
Crack the eggs and separate the egg whites from the yolks*.
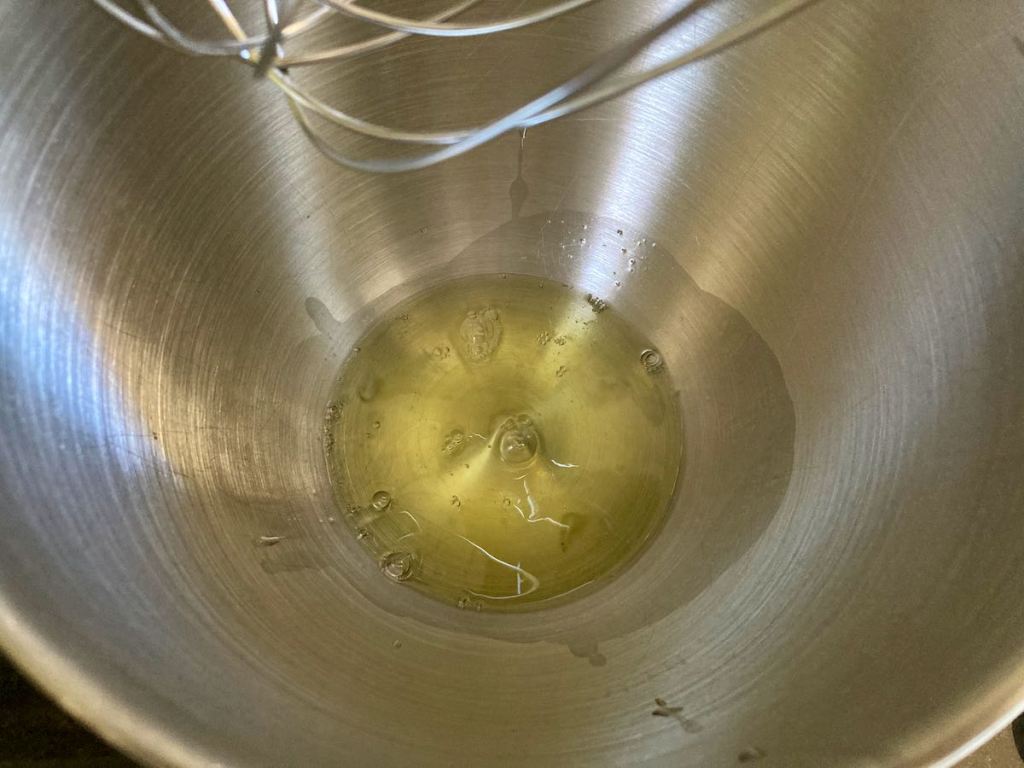
Place the egg whites into a large, clean bowl or a mixer.
Using an electric whisk, start to beat the egg whites, use a medium speed setting on the whisk.
Beat the whites until they become foamy.
Whisk in the apple cider vinegar.
Add the monkfruit sweetener one tablespoon at a time, then whisk in the vanilla bean powder.
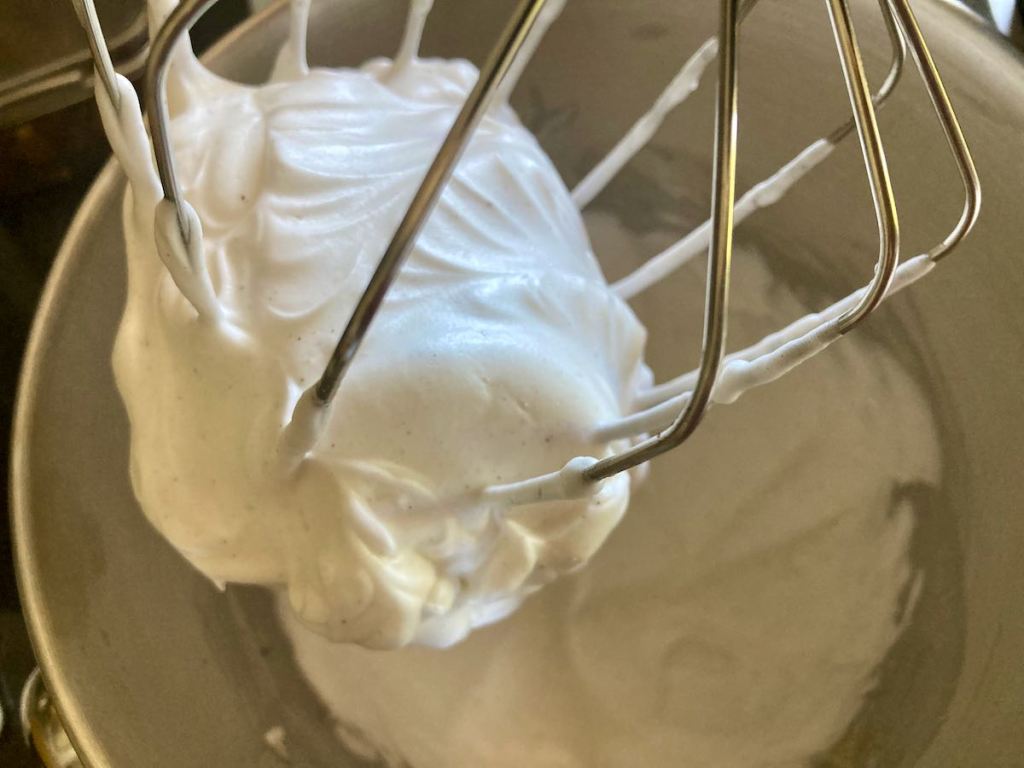
Keep beating the egg whites until they are stiff peaks and look glossy.
Line a baking tray with baking paper or a silicone liner.
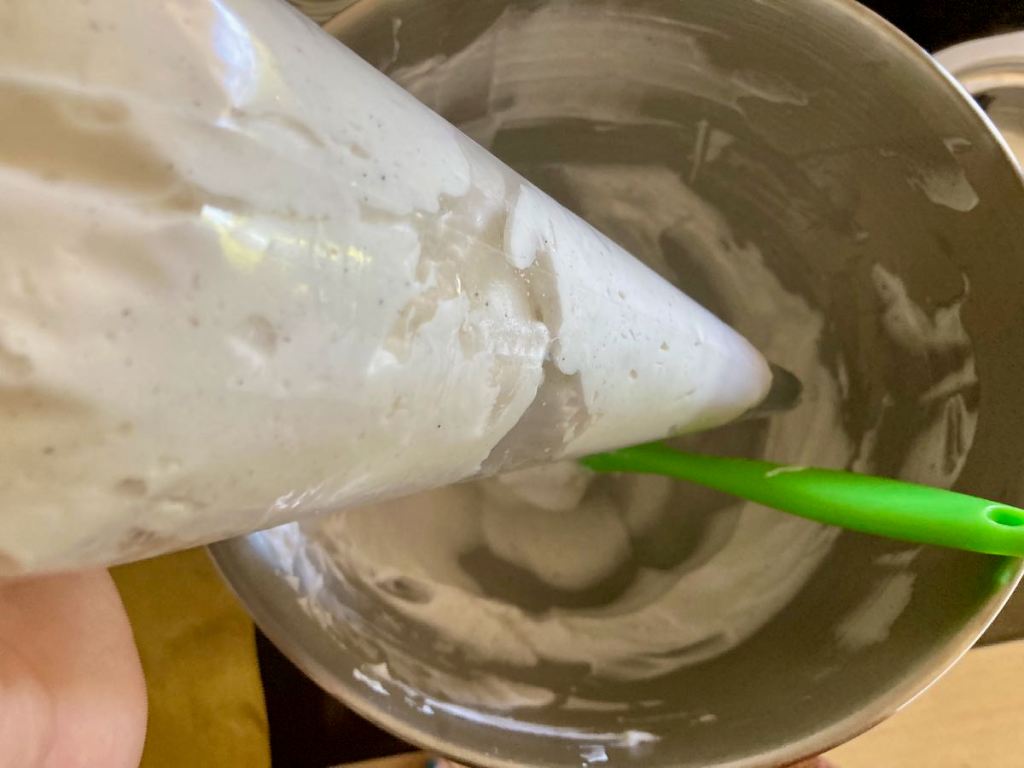
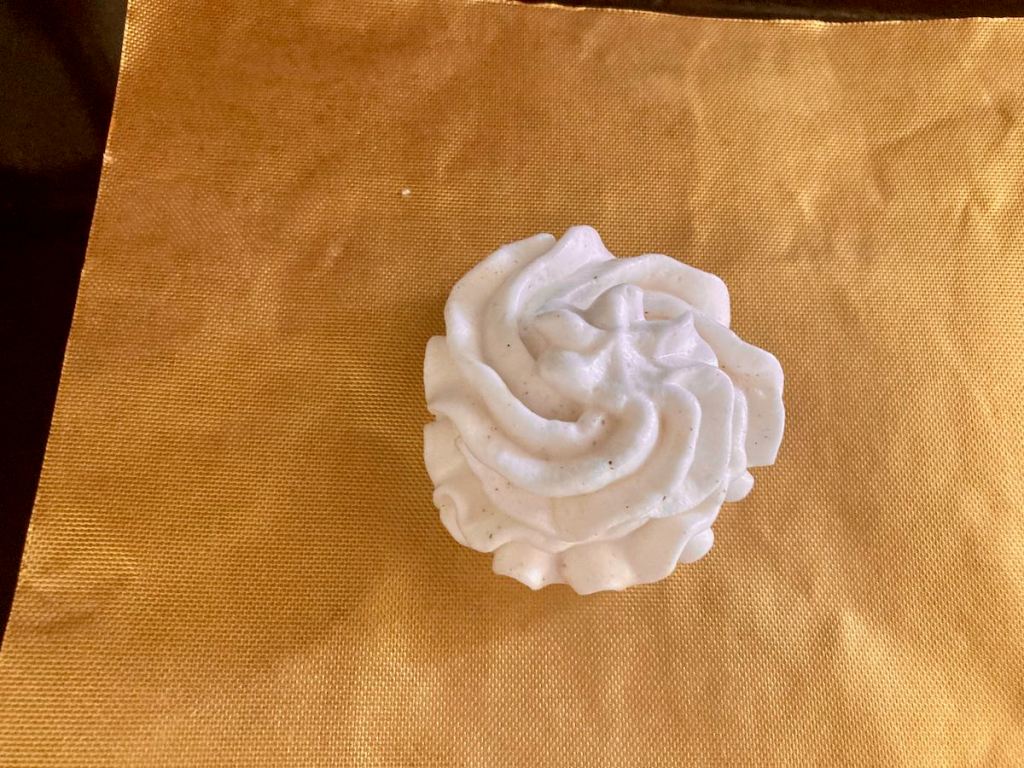
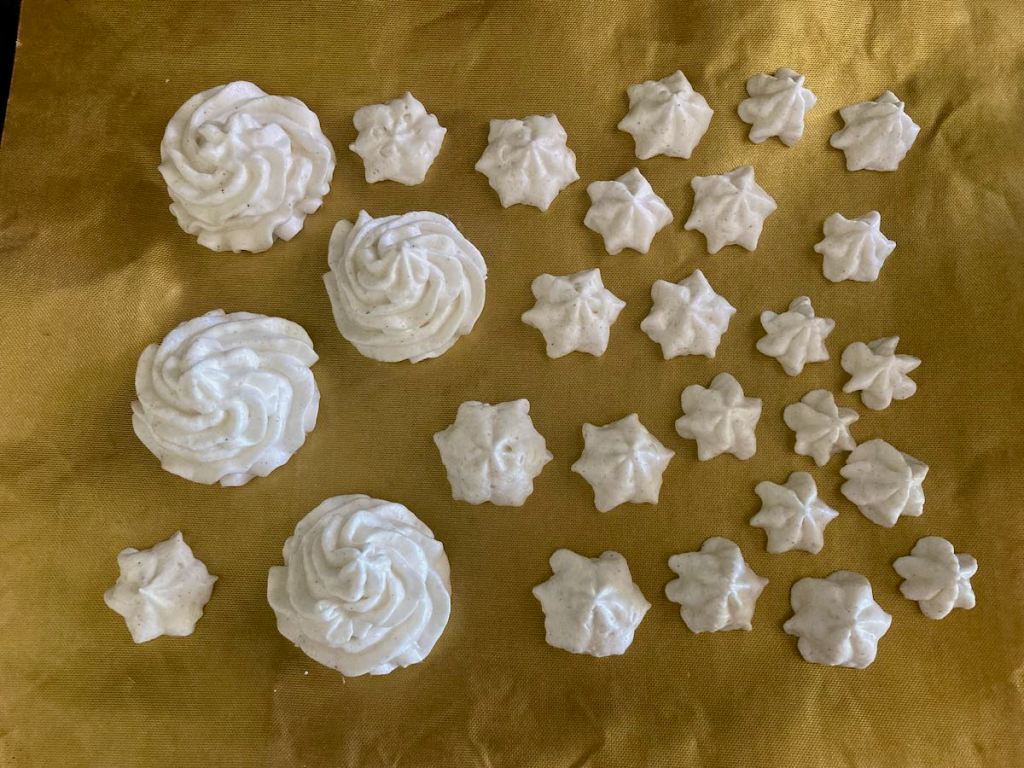
You can use a spoon to put the whites onto the baking tray; alternatively, you can use a piping bag to create shaped meringues.
Bake at 135 degrees C 275 degrees F for 15 minutes.
After 15 minutes, turn down the oven’s temperature to 100 degrees C 210 degrees F and cook for another hour.
After an hour, turn the oven off and keep the meringues in for another 2 hours.
When the oven has cooled completely, remove the meringues and put them into an airtight container.
You can store the meringues at room temperature until you need them.
*keep the yolks. You can add them to your homemade mayo to make it more creamy
Crack the eggs and separate the egg whites from the yolks*.
Place the egg whites into a large, clean bowl or a mixer.
Using an electric whisk, start to beat the egg whites, use a medium speed setting on the whisk. Beat the whites until they become foamy.
Whisk in the apple cider vinegar.
Add the monkfruit sweetener one tablespoon at a time, then whisk in the vanilla bean powder.
Keep beating the egg whites until they are stiff peaks and look glossy.
Line a baking tray with baking paper or a silicone liner.
You can use a spoon to put the whites onto the baking tray; alternatively, you can use a piping bag to create shaped meringues.
Bake at 135 degrees C 275 degrees F for 15 minutes.
After 15 minutes, turn down the oven’s temperature to 100 degrees C 210 degrees F and cook for another hour.
After an hour, turn the oven off and keep the meringues in for another 2 hours.
When the oven has cooled completely, remove the meringues and put them into an airtight container.
You can store the meringues at room temperature until you need them.
Nutrition
Per Serving:14 calories; 0.1g fat; 0.3g carbohydrates; 3.3g protein
Equipment
Mixing bowl
Electric whisk
Baking tray
Baking paper or silicone liner
Piping bag
Star piping tip
Nutritional disclaimer
Nutrition information is provided as an estimate based on the ingredients used and available in my area (New Zealand). The nutritional information is here to help you understand the recipe; I use MyFitnessPal to generate my estimates. For more accurate nutritional information, please use a nutritional calculator with the ingredients in your area.
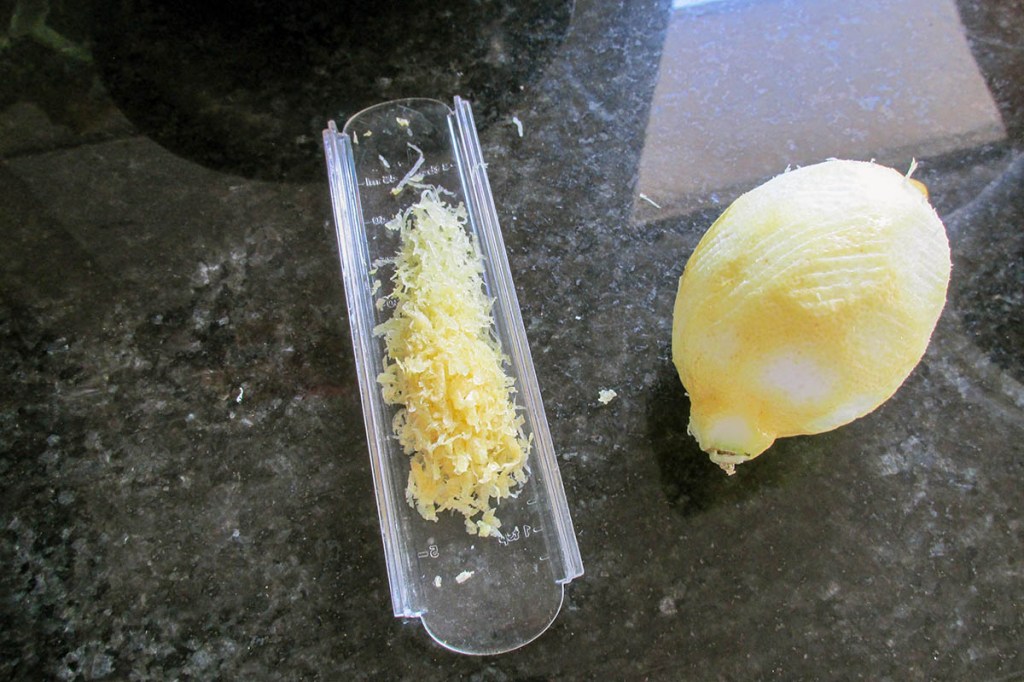
I got my hands on some beautiful lemons that are locally grown and perfectly ripe. There were so many I thought it would be rude not to make something absolutely delicious.
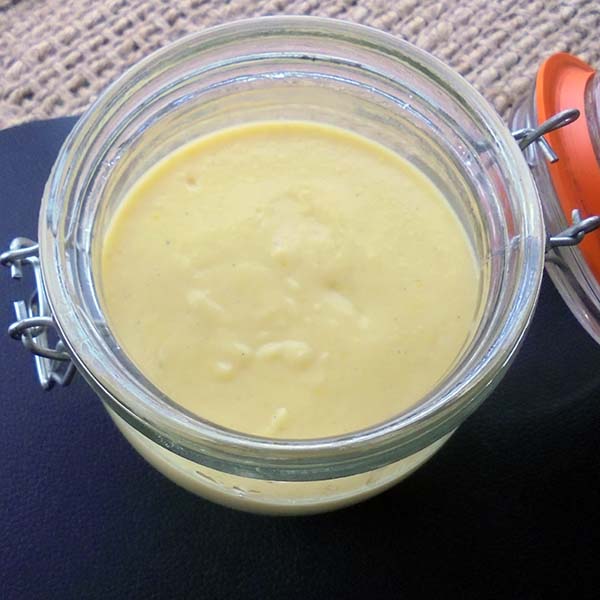
Sugar-free lemon curd
I love lemon curd, it is sweet, smooth, and if you do it right, it is also zingy. My only complaint with lemon curd is how much sugar you find in the store-bought kind. I’ve been working on my sourdough lately, so what better treat to spread over my toast than homemade sugar-free lemon curd.
easycleaneatsnz
How to make good lemon curd
There are a few simple tips for making the perfect lemon curd. First, keep stirring to prevent lumps and secondly, don’t overcook it, or it will curdle. If you follow those simple rules, you will have amazing.
Lemon curd recipe
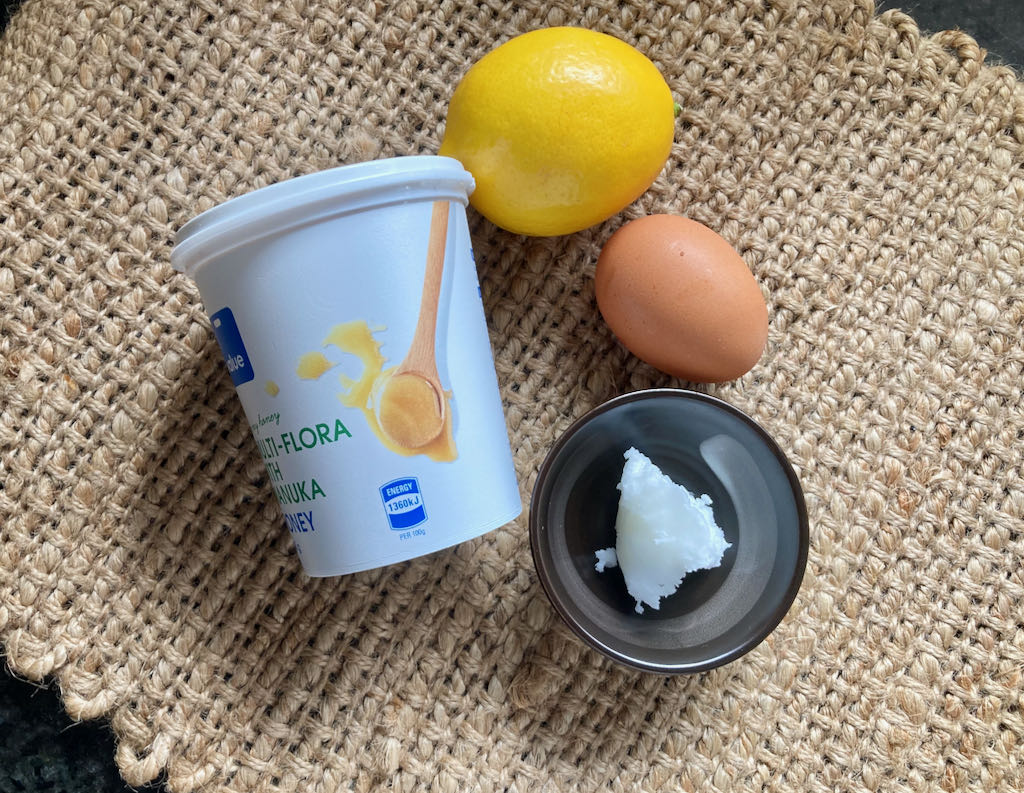
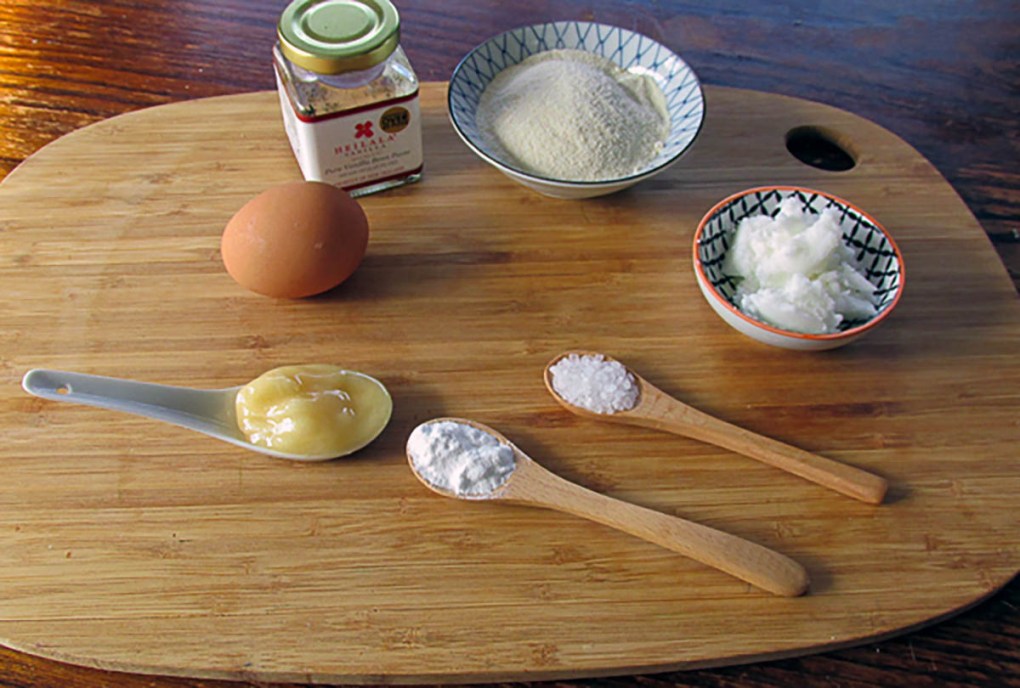
Lemon curd ingredients
Ingredients
1 tbsp lemon zest
3 eggs
1/4 cup honey
1/2 cup lemon juice
6 tbsp coconut oil
Take a large saucepan
Take a heavy bottom saucepan.
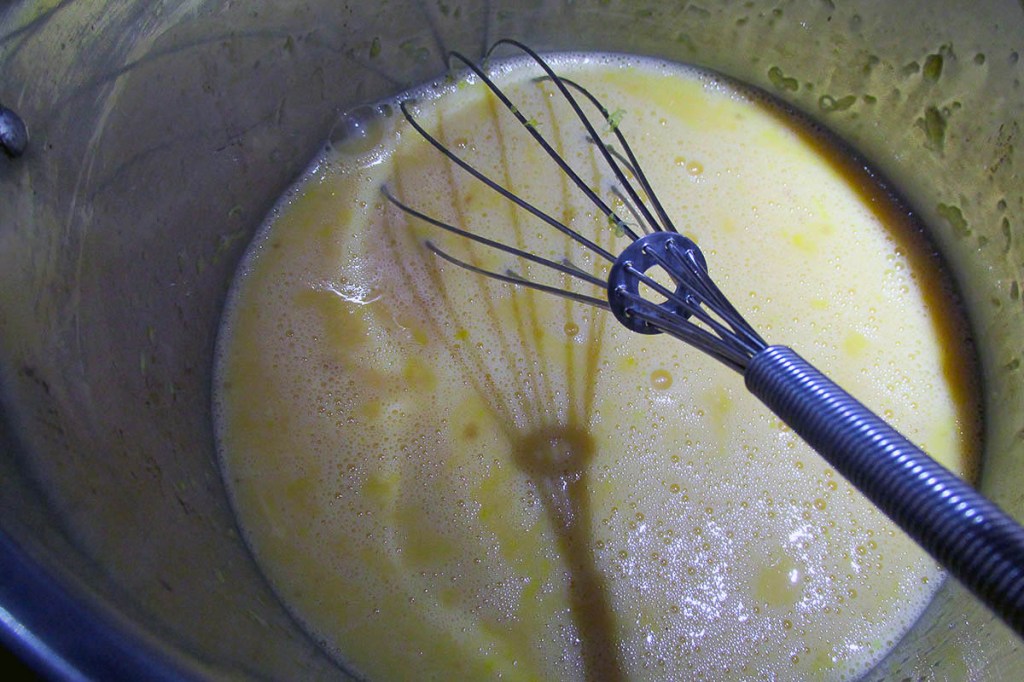
Put the eggs in the saucepan and whisk them.
Put the eggs in the saucepan and whisk them.
Add the honey and lemon zest to the eggs and whisk.
Add the honey and lemon zest to the eggs and whisk.
Put the pan over low heat.
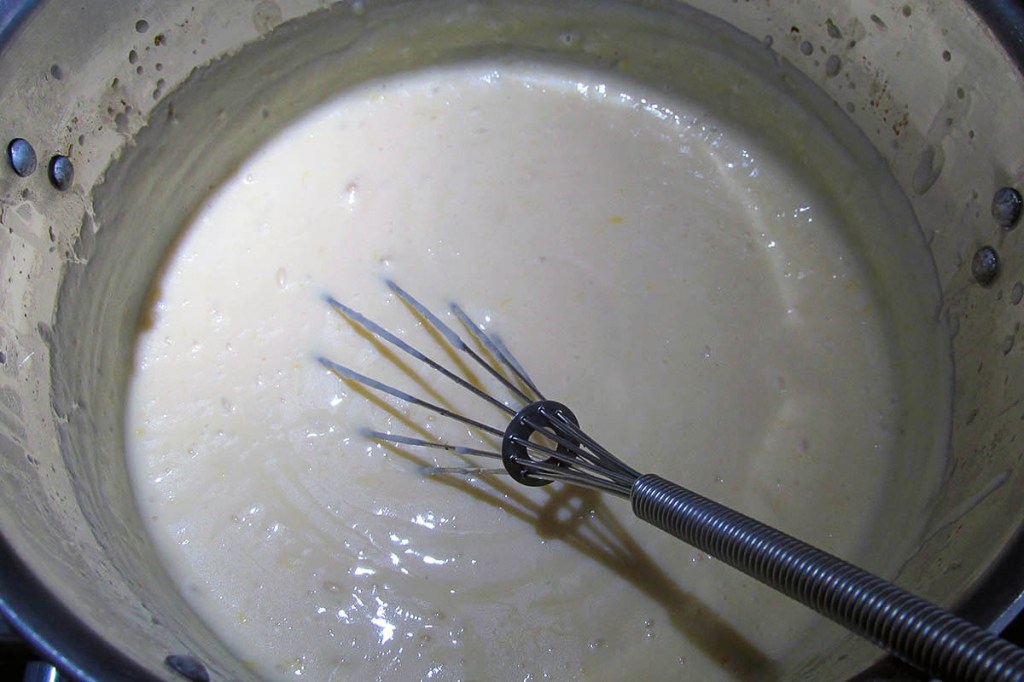
Keep whisking the mixture while it is over the heat.
Be patient and keep whisking; the mix will thicken and become pale.
Be patient and keep whisking; the mix will thicken and become pale.
Whisk in the lemon juice and coconut oil a tablespoon at a time.
Whisk in the lemon juice and coconut oil a tablespoon at a time.
Keep whisking.
Remove the pan from the heat when the mix starts to bubble.
Keep stirring for a few minutes before letting the curd sit to cool.
Keep whisking the mixture while it is over the heat.
Be patient and keep whisking; the mix will thicken and become pale.
Whisk in the lemon juice and coconut oil a tablespoon at a time.
Keep whisking.
Remove the pan from the heat when the mix starts to bubble.
Keep stirring for a few minutes before letting the curd sit to cool.
Strain the curd before serving.
Store in the fridge and enjoy.
Nutrition
Per Serving: 61 calories; 5g fat; 4g carbohydrates; 1g protein
Equipment
Measuring cup
Measuring spoons
Saucepan
Whisk
Zester/ microplane
Nutritional disclaimer
Nutrition information is provided as an estimate based on the ingredients used and available in my area (New Zealand). The nutritional information is here to help you understand the recipe; I use MyFitnessPal to generate my estimates. For more accurate nutritional information, please use a nutritional calculator with the ingredients in your area.
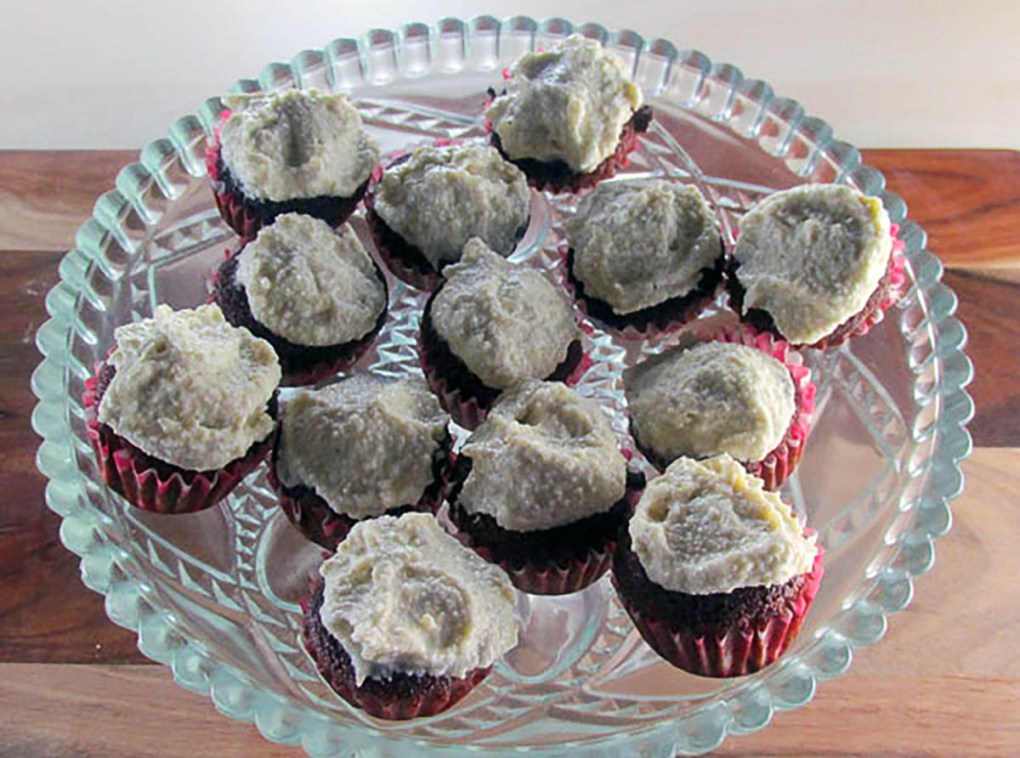
I realised recently that I don’t post a lot of sweet treats so thought I would give your something sweet this week. This is my grain-free vanilla cupcakes with sugar-free frosting. The cake mix is soft and airy which gives these cupcakes a real cake texture and taste without any sugar or grains.
Making it feel like real cake
I often find that making cakes taste like cakes when you aren’t using standard cake ingredients is difficult. The light and fluffy texture are not easy to achieve unless you know that eggs hold the key. It has taken me a while to get the technique right, but I think I have it. Egg whites whisked to stiff peaks that are folded into a cake batter make grain free cakes light, fluffy and airy. You would swear you were biting into a sponge cake.
Coconut flour
Jaime has come to a decision that he doesn’t like coconut flour; he doesn’t like cookies and cakes baked with coconut flour. I didn’t have the heart to tell him that the tray of cupcakes he ate in one afternoon was made from coconut flour, I didn’t want to ruin his afternoon. When you bake with coconut flour, it is a good idea to remember that not all coconut flour is made equally. Sometimes coconut flour can be very dry, it will soak up all the liquid in your recipe and leave you with something difficult to eat. When I bake cakes with a new bag or brand of coconut flour, I like to leave the batter to hang out for 10 minutes. This is to make sure that the flour doesn’t steal all the moisture in my cake. If the flour is super thirsty, you can add a little more liquid and save the cake before you bake.
The cake mix is soft and airy which gives these cupcakes a real cake texture and taste without any sugar or grains.
Credit: Cath @ easycleaneats
Ingredients
1/4 cup coconut flour
1/8 tsp. salt
1/8 tsp. baking soda
3 eggs
1/4 cup coconut oil
2 tbsp. honey
1 tbsp. vanilla bean paste
Directions
Instructions
Separate the egg whites and yolks.
Put the egg whites in a clean mixing bowl and whisk until they are stiff peaks.
Set the egg whites to one side
Put the remaining ingredients into a food processor and blend together to create a smooth batter.
Gently fold the egg whites into the batter.
Line a 12- cup muffin pan with cupcake wrappers, the number of cakes you get will depend on how large your cake pan is
Pour the batter into the cupcake wrappers, don’t overfill the cupcake wrappersPour the batter into the cupcake wrappers, don’t overfill the cupcake wrappers
Bake at 180 degrees C/ 350 degrees F for 20 minutes
Allow the cakes to cool completely before icing
Nutrition
Per Serving: 80 calories; 6 g fat; 5 g carbohydrates; 2 g protein
Equipment
Whisk
Bowl
Food processor
Muffin tin
Cupcake wrappers
Measuring cups
Measuring spoons
Nutritional disclaimer
Nutrition information is provided as an estimate based on the ingredients used and available in my area (New Zealand). The nutritional information is here to help you understand the recipe; I use MyFitnessPal to generate my estimates. For more accurate nutritional information, please use a nutritional calculator with the ingredients in your area.