Updating as I go
Early in 2021, I relocated and started updating my website; I’ve been making changes and improving everything as I go. This recipe is one of the many things I’ve tried to improve.
Make your own
If you are like me and you try to avoid mass-produced processed foods, the best option is to make your own. When you make your own, you control which ingredients you use and how much or how sweet you want it to be. Once you have a go at making your own and realise how easy it is, you will never go back to store-bought again.
A way to make tuna interesting
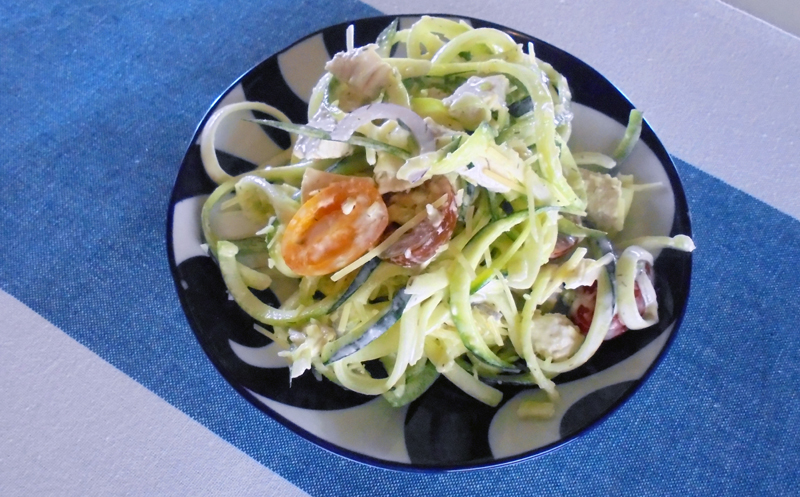
For a long time, tuna was on the menu almost every weekend; it was tuna melts all around, and I got bored with it. To spice things up a little, I decided to replace the easy mayo I would typically use with something creamy and spicy, which wouldn’t lead to complaints from the kids. I made this dressing for tuna lettuce wraps, which were a welcome alternative to tuna melts.

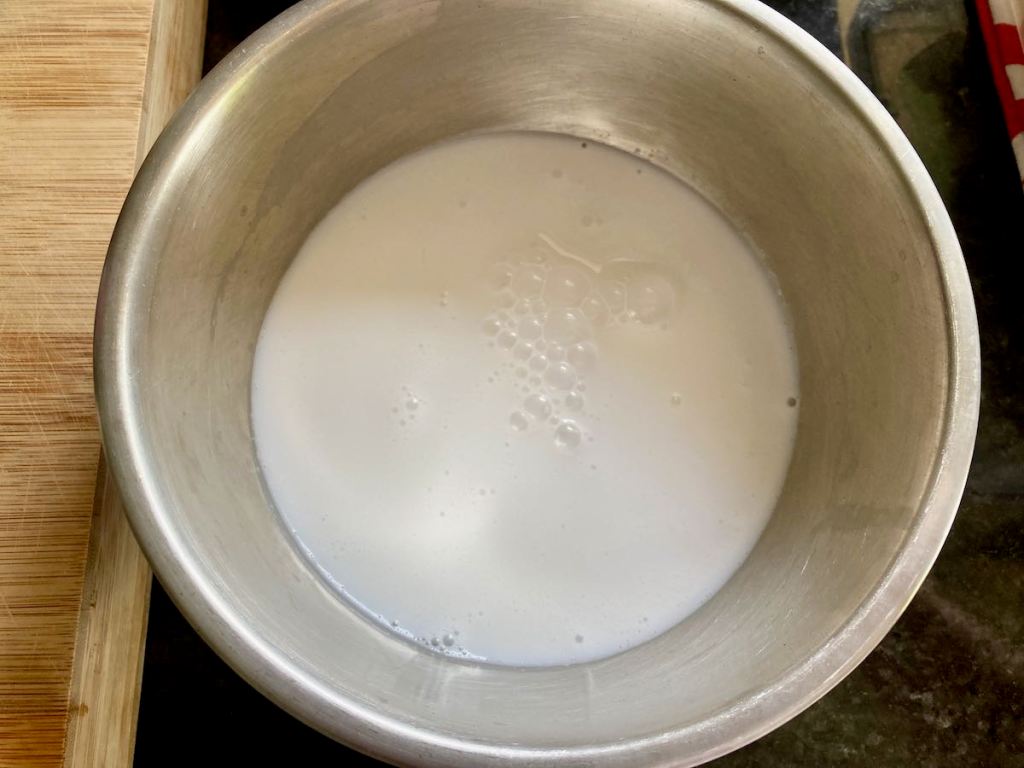
Avocado dressing recipe
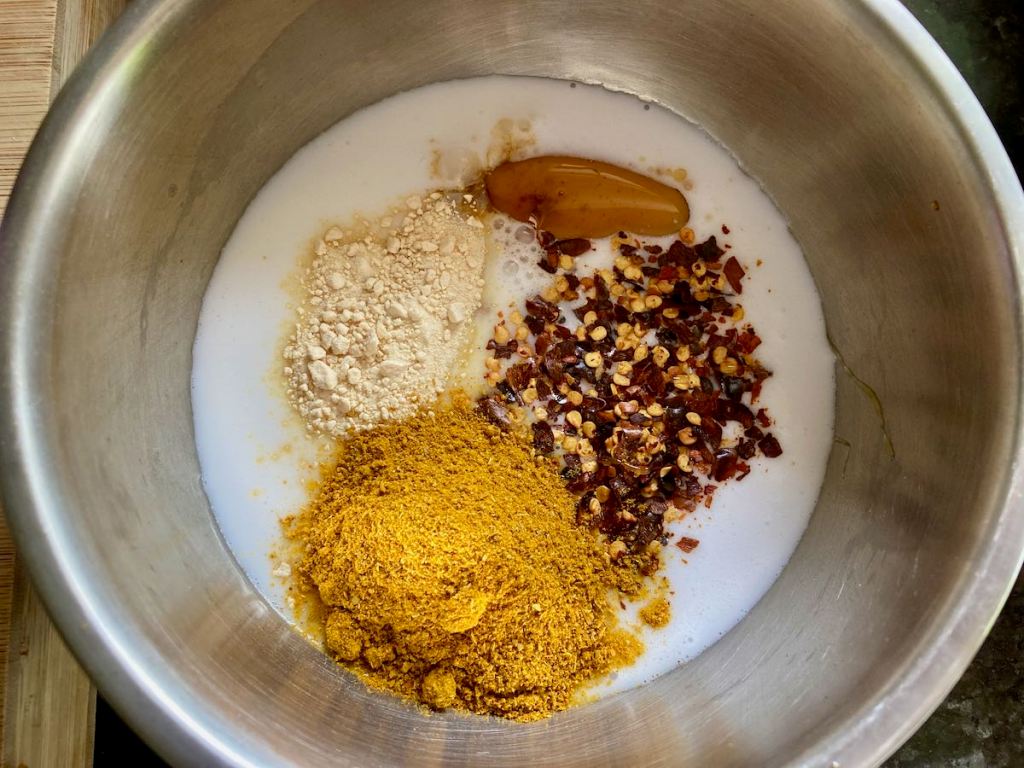
Ingredients
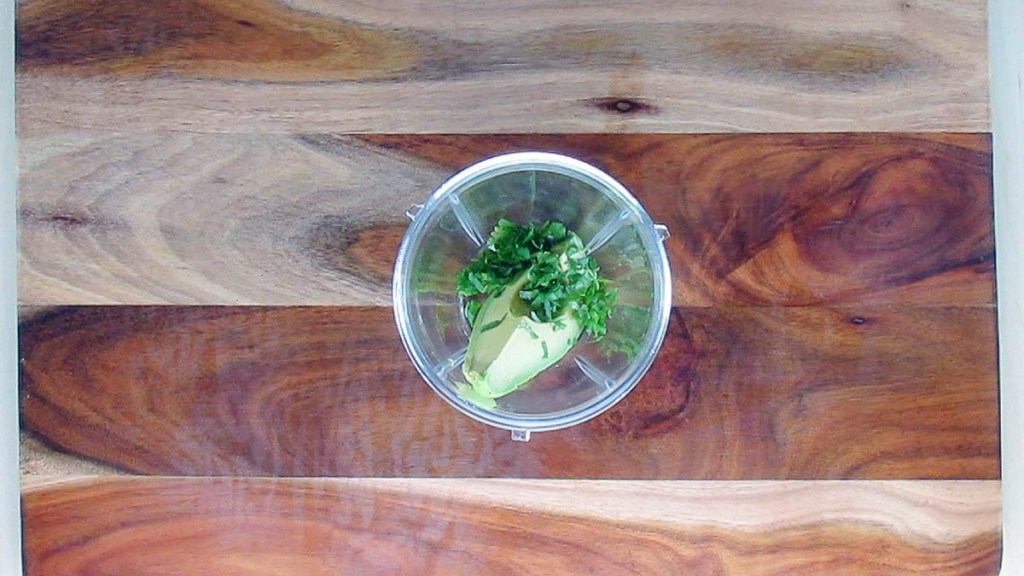
- 1/2 cup plain yoghurt
- 1/4 avocado
- 3 tbsp. fresh coriander, chopped
- 1/2 jalapeño pepper, seeds removed
- 1 garlic clove
- Juice from 1/4 lime
- pinch of salt
- freshly ground pepper, to taste
- 1 tbsp. water, as needed
Instructions
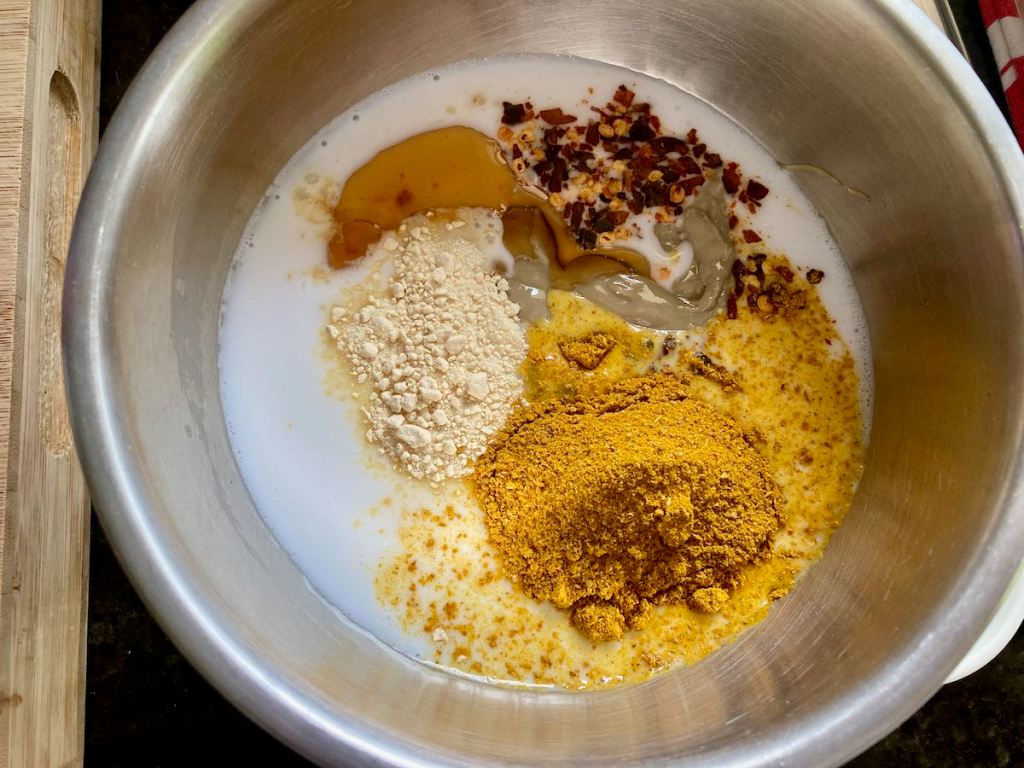
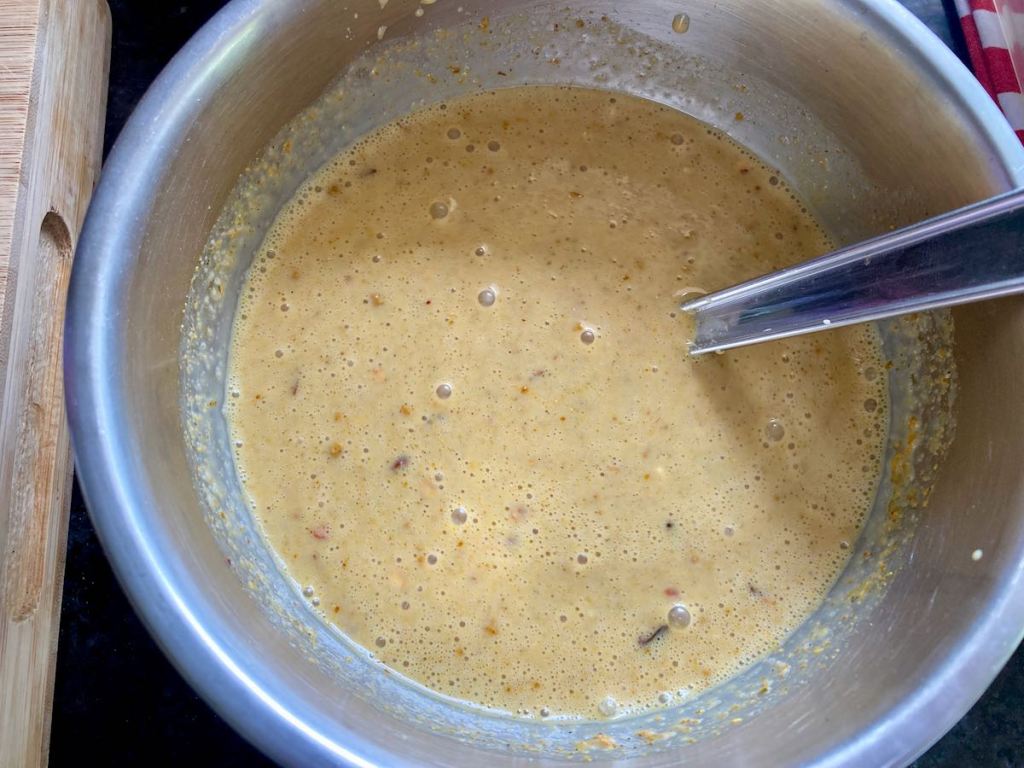
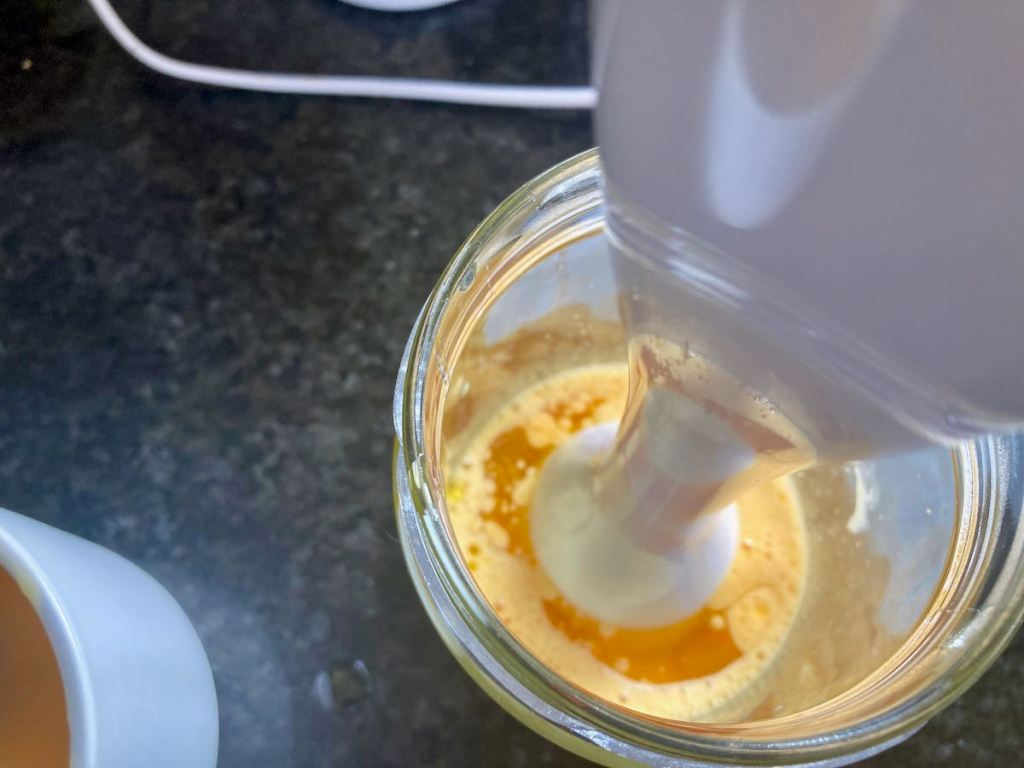
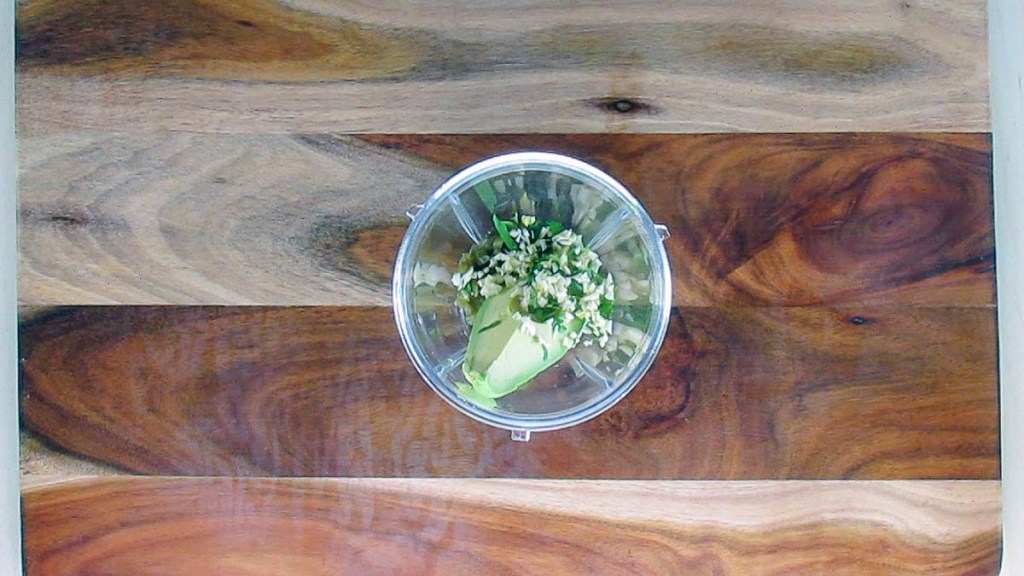
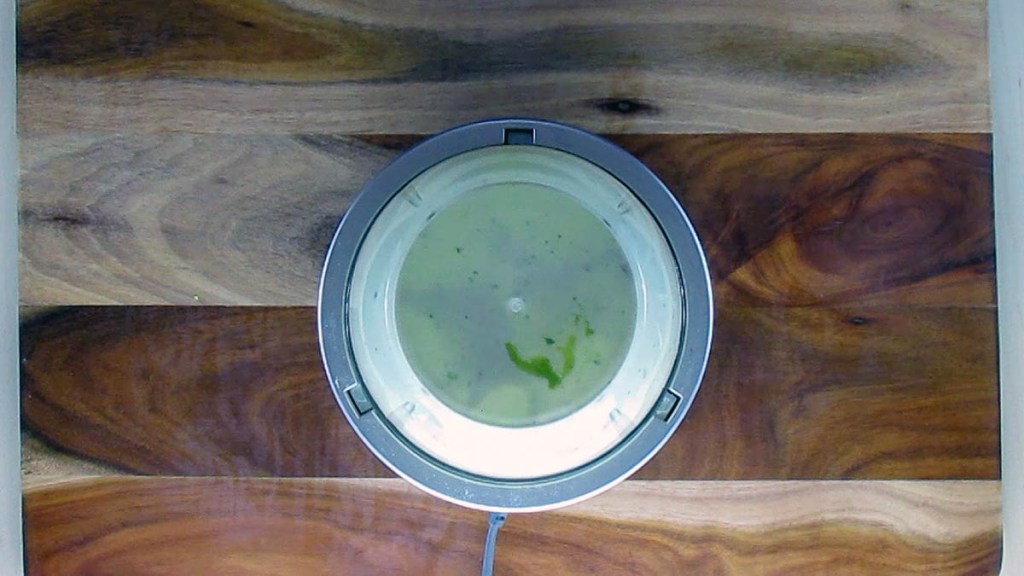
Place all of the ingredients into a blender.
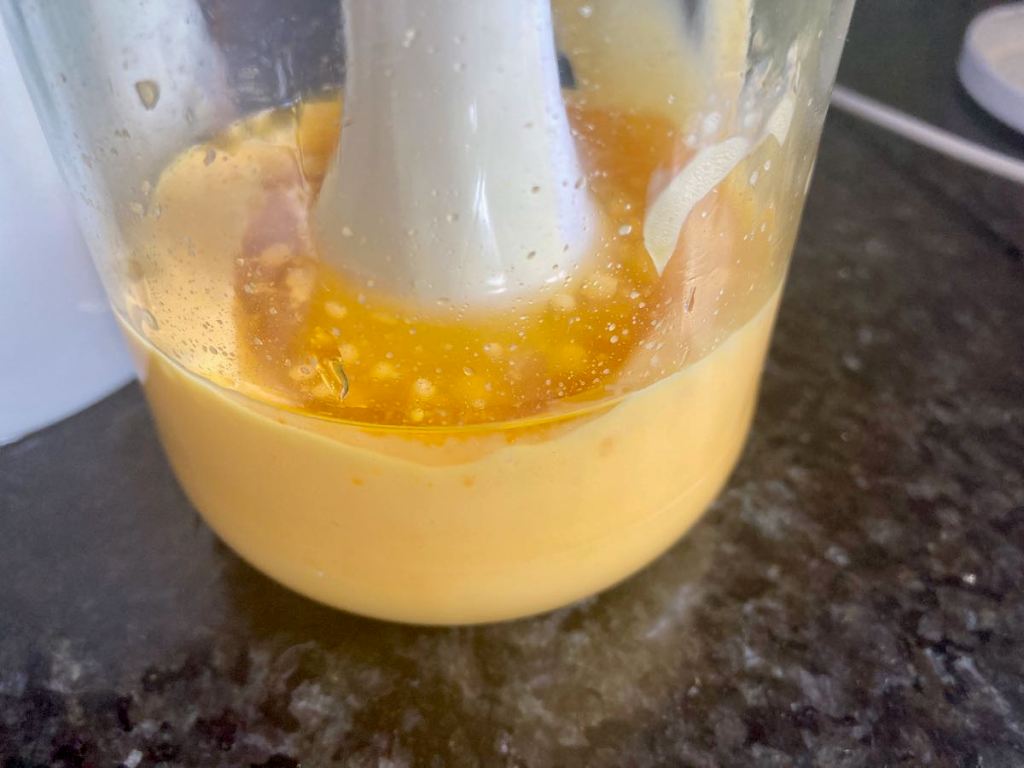
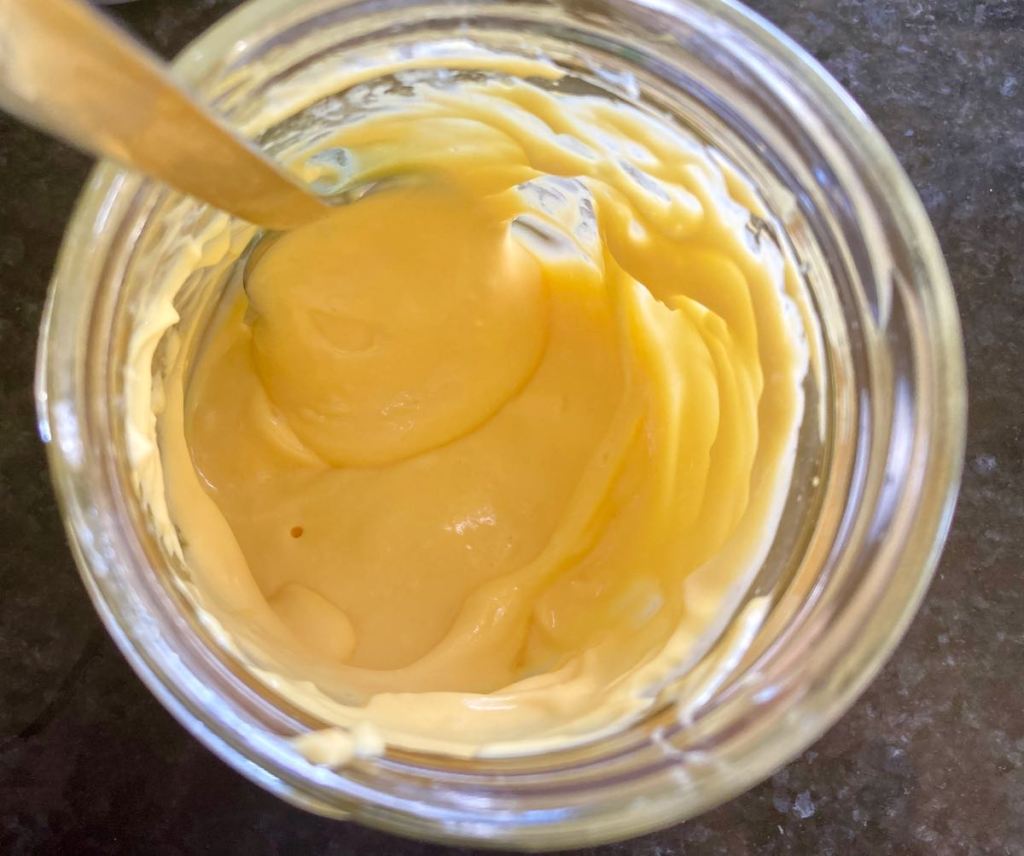
Blitz until the dressing is completely smooth and thick.
If the dressing is too thick, add a little more water.


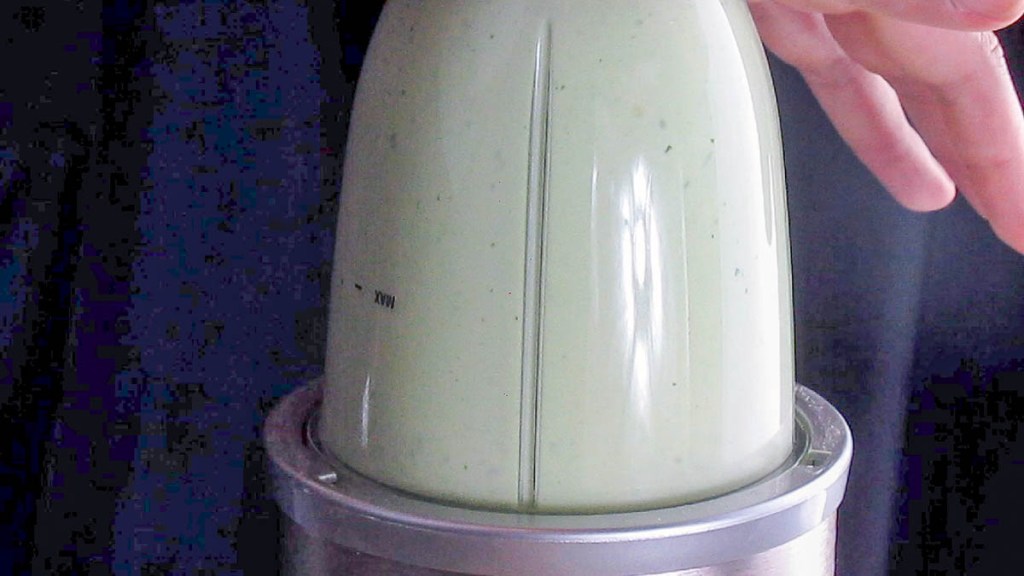


Store in the fridge for up to five days.
“Avocado
“This
Credit: Cath @ easycleaneats
Ingredients
- 1/2 cup plain yoghurt
- 1/4 avocado
- 3 tbsp. fresh coriander, chopped
- 1/2 jalapeño pepper, seeds removed
- 1 garlic clove
- Juice from 1/4 lime
- pinch of salt
- freshly ground pepper, to taste
- 1 tbsp. water, as needed
Directions
- Place all of the ingredients into a blender.
- Blitz until the dressing is completely smooth and thick, if the dressing is too thick add a little more water.
Nutrition
Per Serving: 108 calories; 4g fat; 16.2g carbohydrates; 3.9g proteinEquipment
- Blender
- Spatula
- Chopping board
- Knife
- Spoon
- Measuring cups
- Measuring spoons
- Citrus juicer
Nutritional disclaimer
Nutrition information is provided as an estimate based on the ingredients used and available in my area (New Zealand). The nutritional information is here to help you understand the recipe; I use MyFitnessPal to generate my estimates. For more accurate nutritional information, please use a nutritional calculator with the ingredients in your area.