Revisiting favourites
I’ve been revisiting recipes that have been some of my old-school recipes and favourites that were staples when I got started eating clean. I first posted this recipe in 2017; at that time, my step kids were fussy, vegetables had to be hidden and disguised, and there was no potential for intense flavours or spice.
Times (thankfully) changed, the kids grew up (like man-sized grown), and learned to enjoy a wide range of foods. Things like vegetables no longer meant faces being pulled, spice and chilli were consumed without complaint, and new ingredients were tried without tantrums.
As the kids grew, my recipes changed organically to meet their palates and preferences. I’ve updated this recipe because of that, but fear not; the original recipe suitable for kids and less developed palates is at the bottom of the post.
A match made in heaven
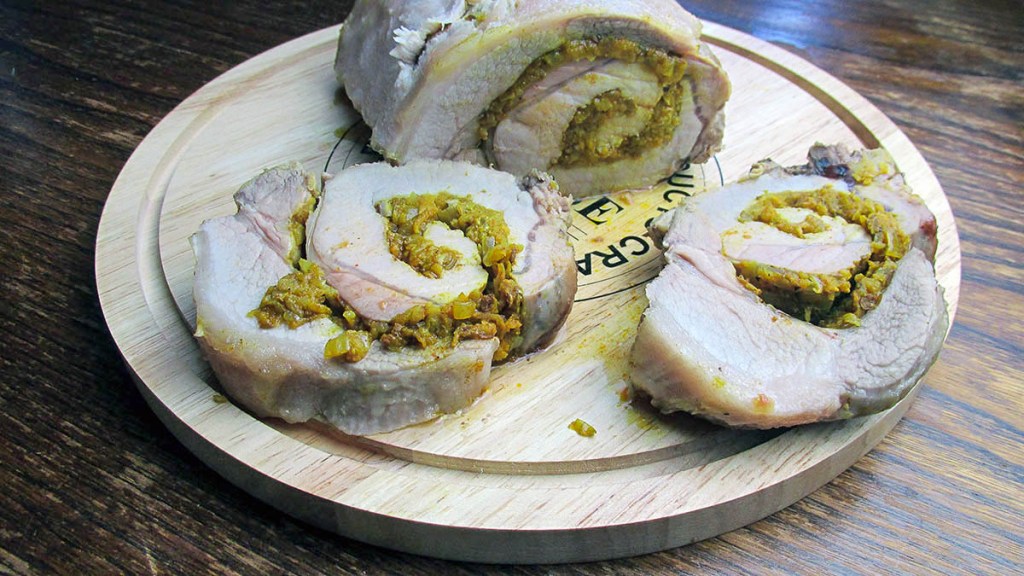
Apple and pork are a match made in food heaven. Apple stuffed pork roast is one of my favourite dishes when the weather is cooling down outside. The apple and pork taste amazing together, and the Moroccan spice adds some extra warmth to the mix. If you are looking for something a little fancy during the winter, I can highly recommend this roast.
Apple stuffed pork roast recipe

Ingredients
- 1 tbsp. butter
- 2 apples, peeled, cored, and sliced
- 1 onion, chopped
- 1 tsp. ground coriander
- 1 tsp. ground cumin
- 1 tsp. ground cinnamon
- 1 tsp. ground ginger
- 1 tsp. paprika
- 1/2 tsp. ground turmeric
- 1 tsp. salt
- 1 tsp.
- 1kg boneless pork loin roast
- 1 cup pressed apple juice
Instructions
Heat the oven to 220 degrees C/ 450 degrees F.

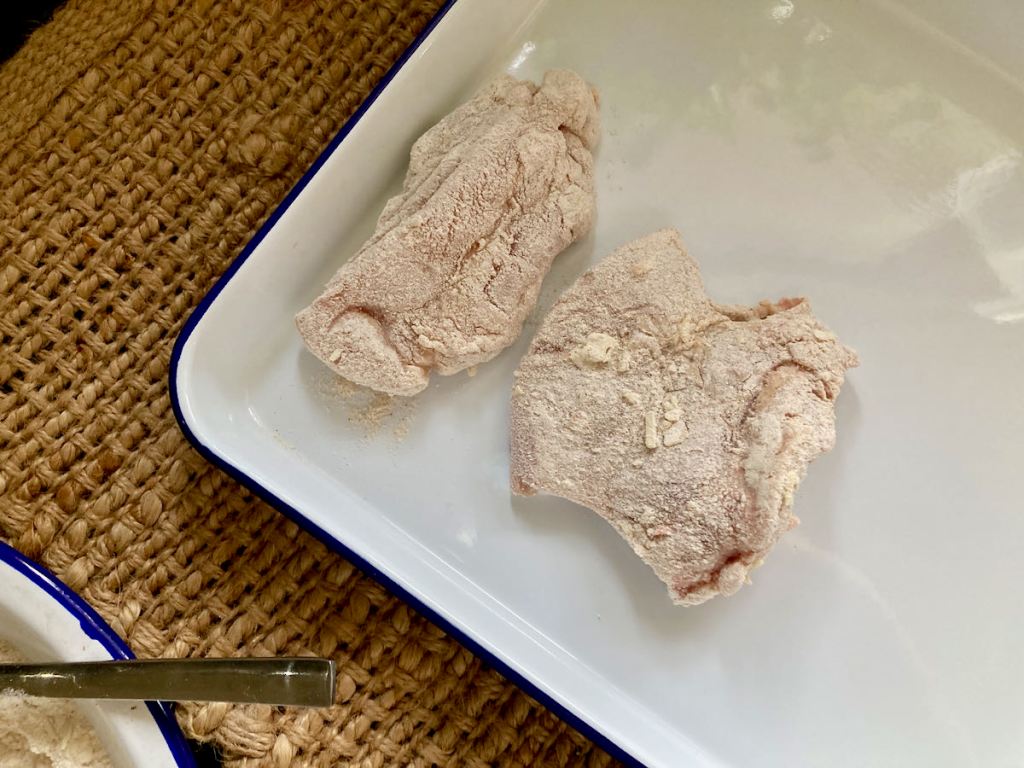
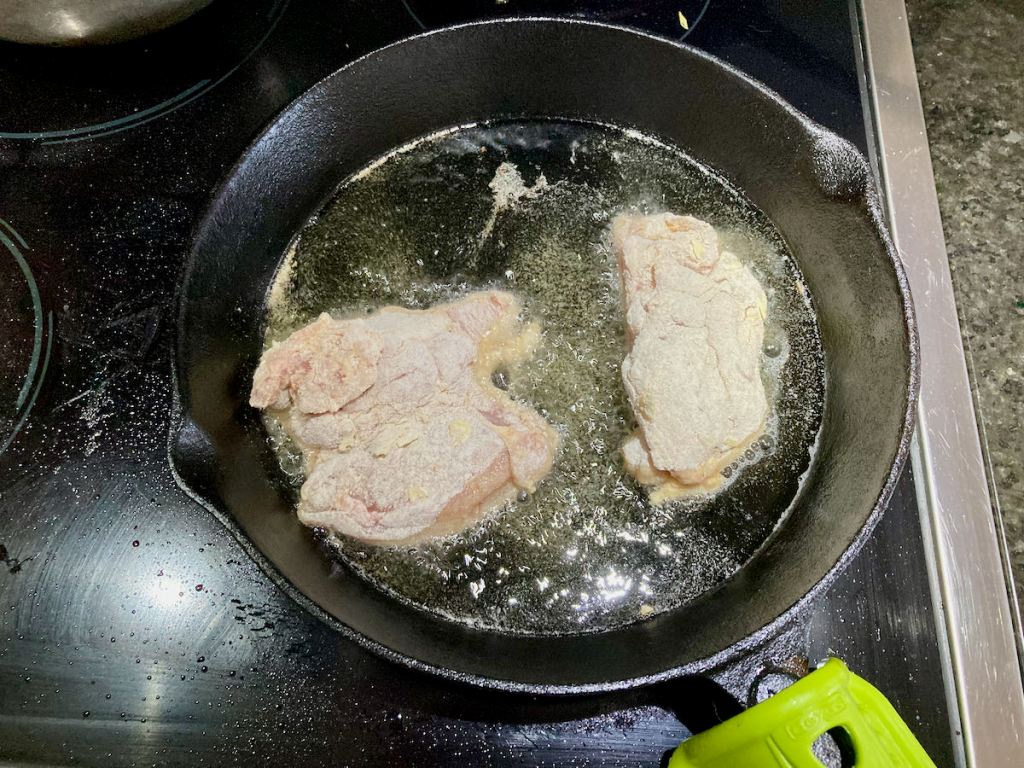
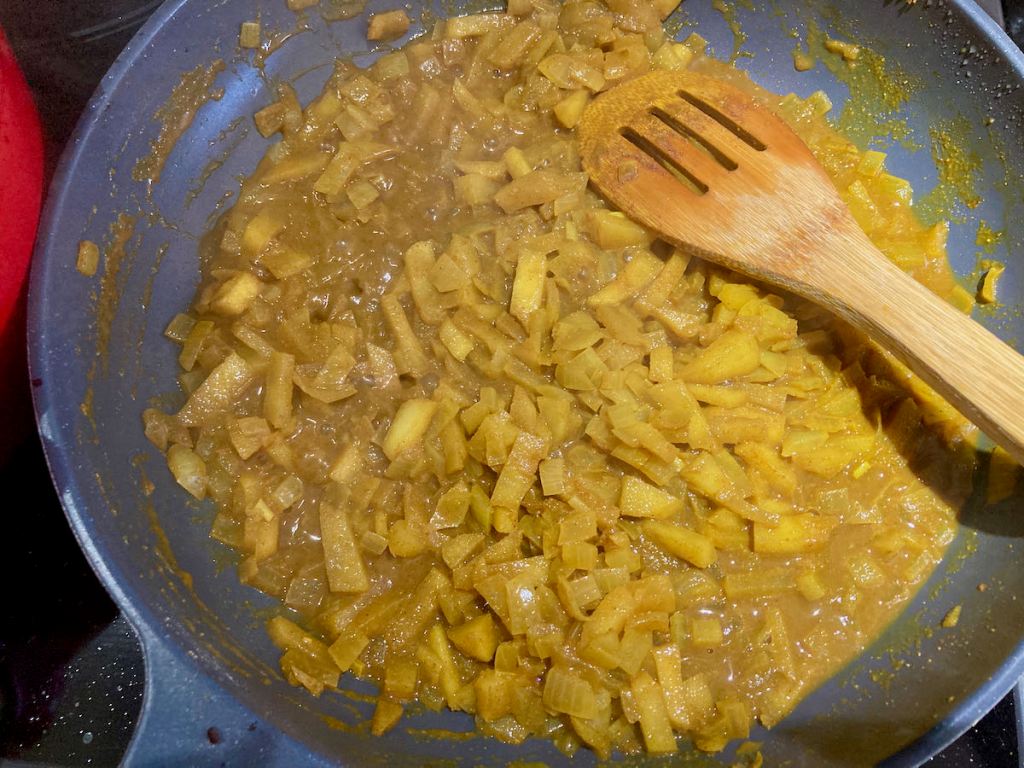
In a large frying pan, melt the butter.
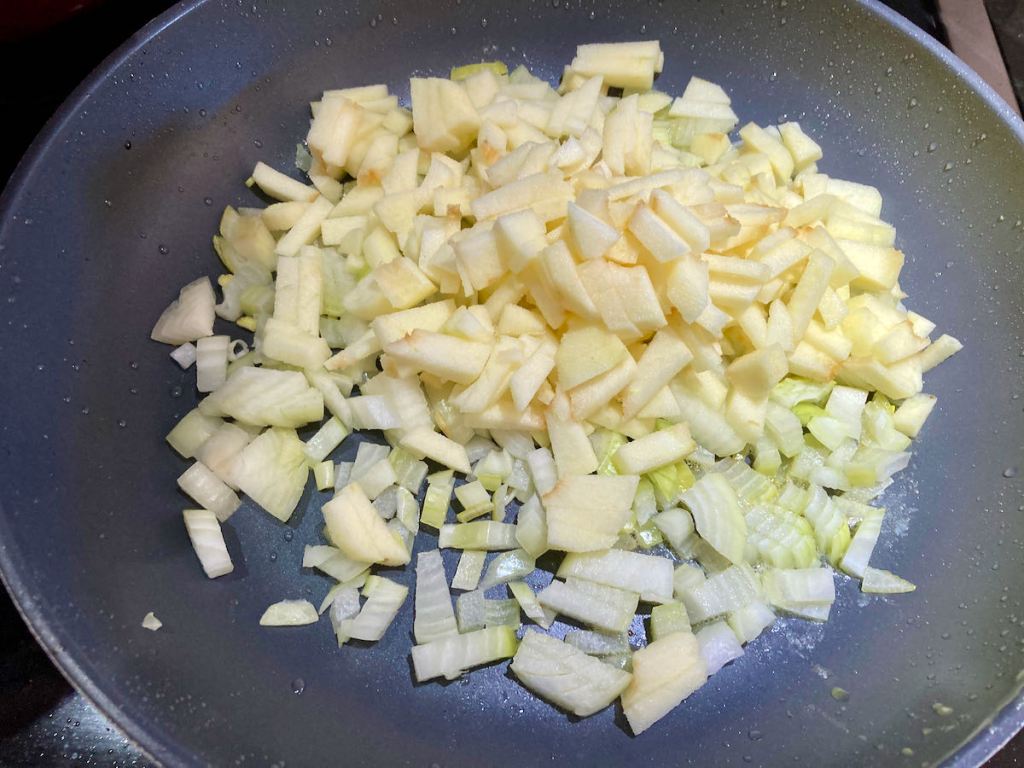
Sauté the apples and onion over a medium.
Cook until the onions are soft.
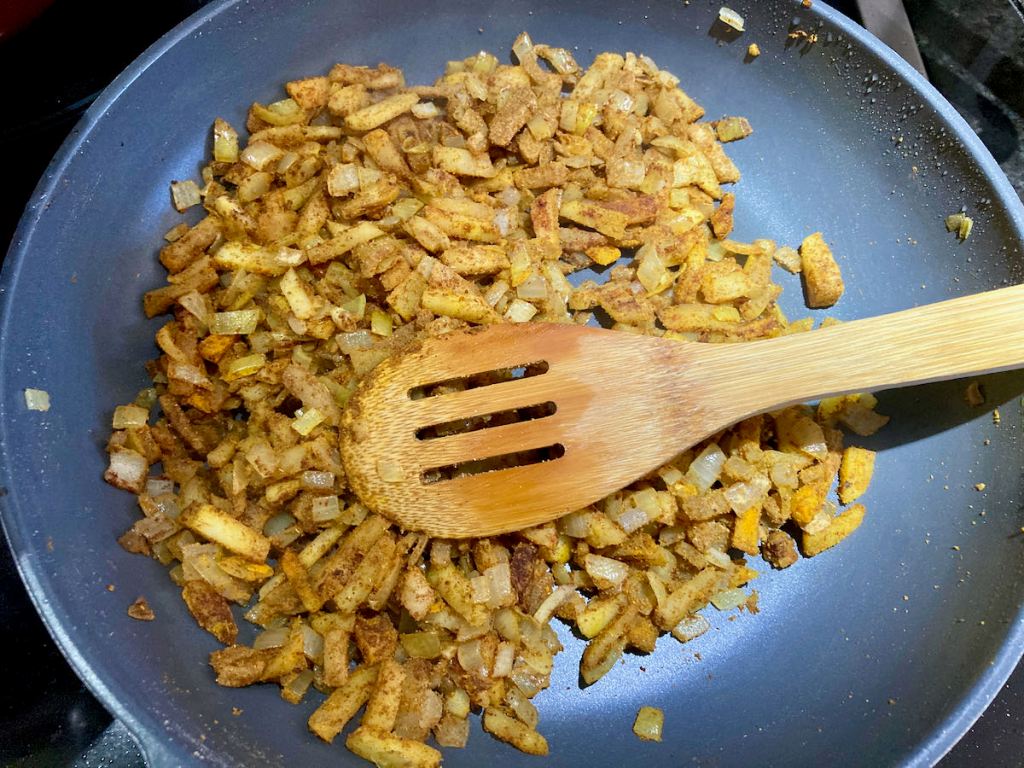
Add the coriander, cumin, cinnamon, ginger, paprika, turmeric, salt and pepper.
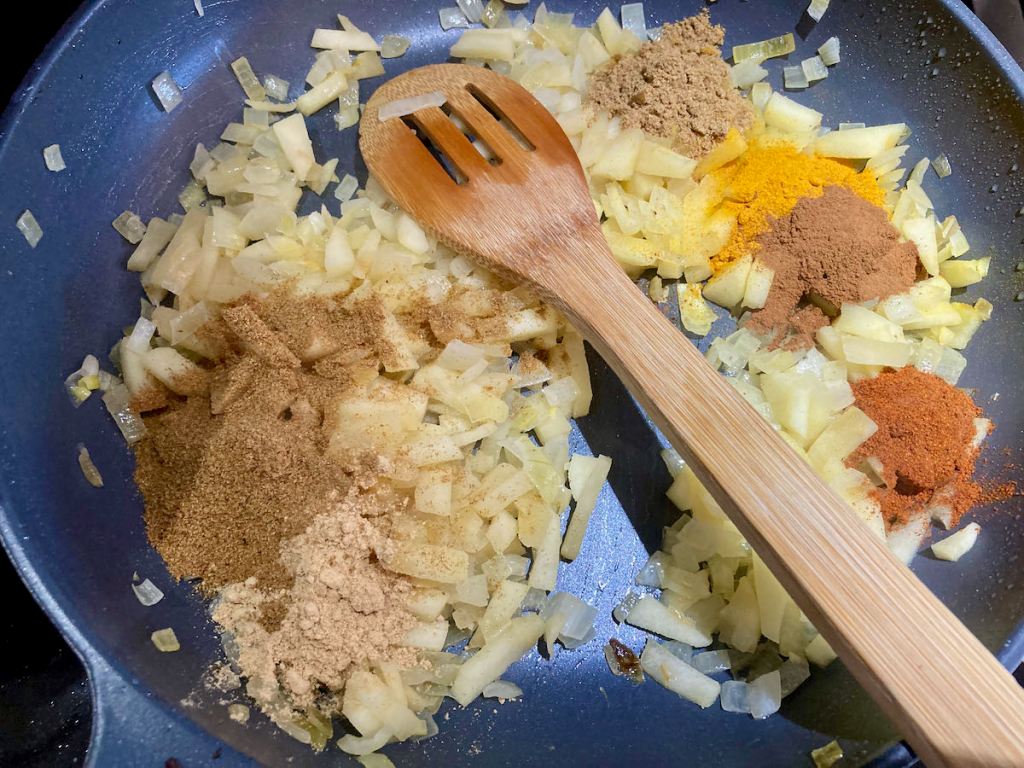
Turn down the heat and let the apples soften.
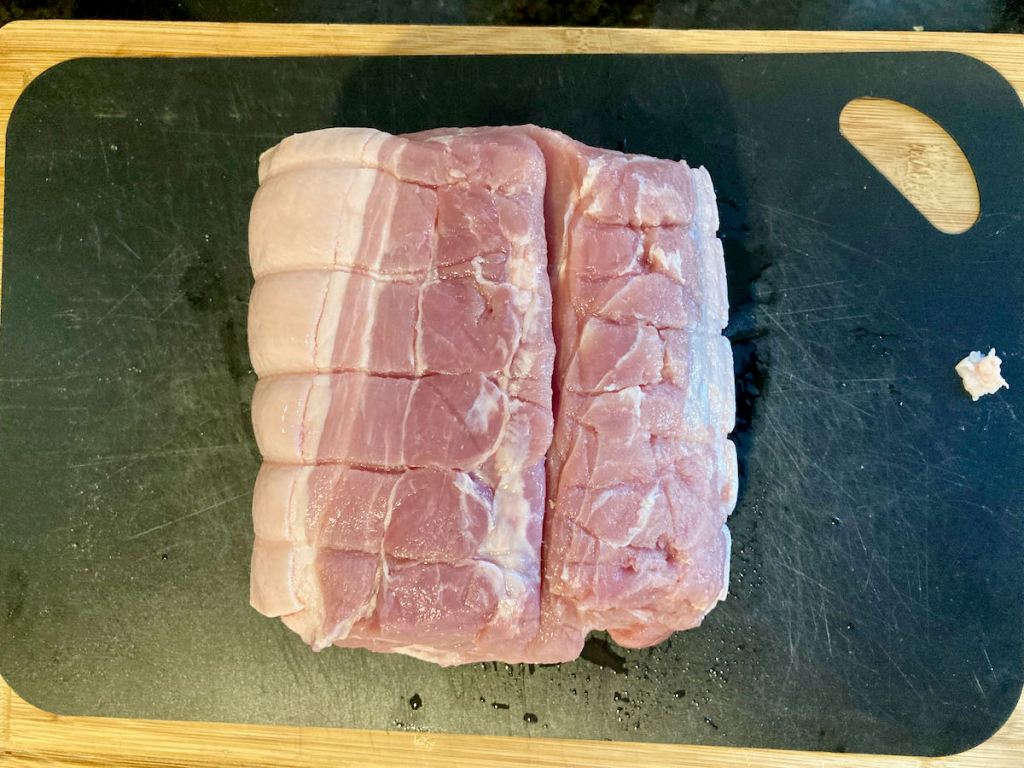
Meanwhile, please the pork roast on a stable surface.

Cut any butchers string around the roast and flatten it out as much as possible.
Cut a lengthwise slit down the centre of the tenderloin to within 2 cm of the bottom.
Be careful not to cut all the way through.

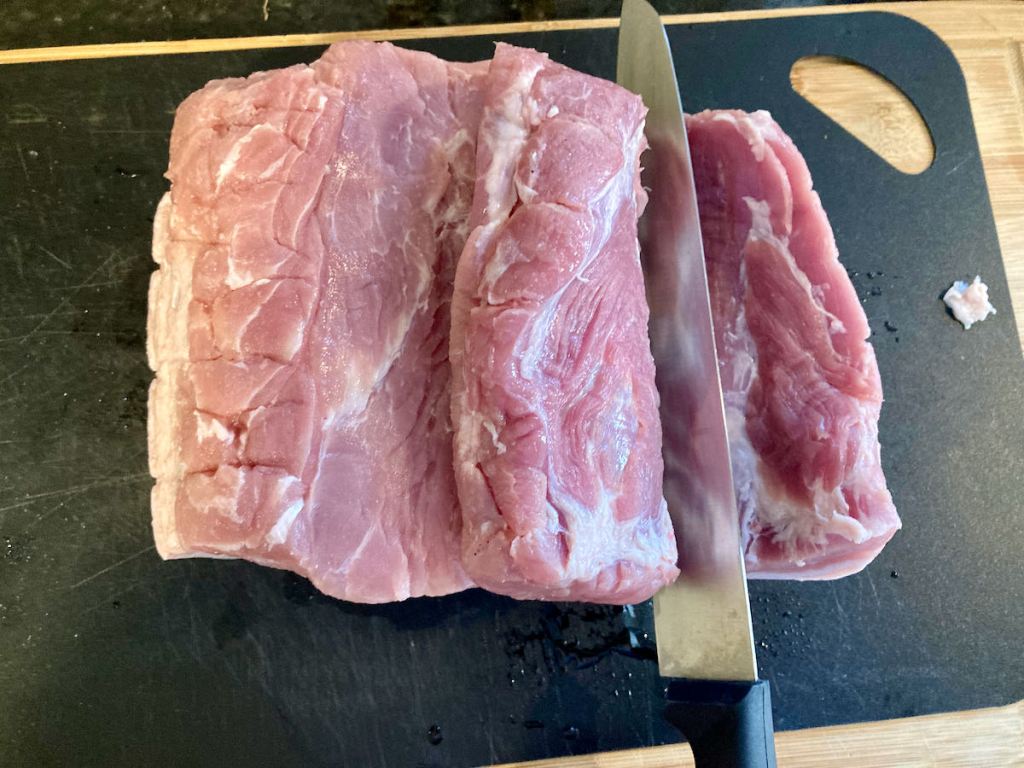
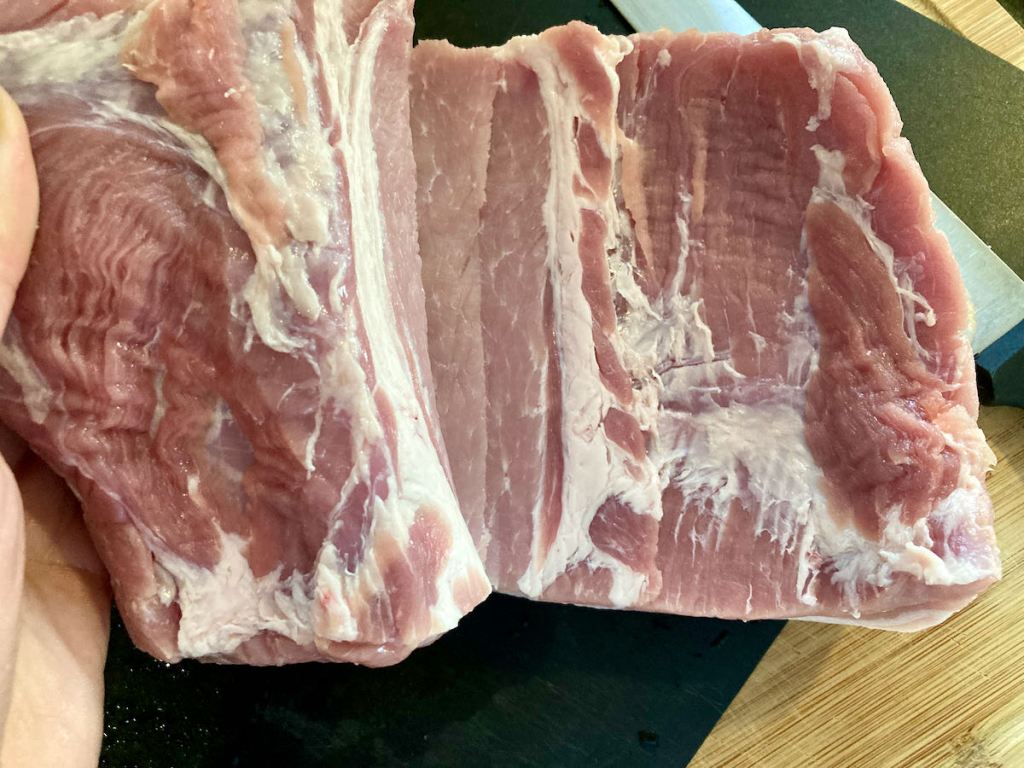
Open up the cut so that the tenderloin lies flatter.
On each half, make another lengthwise slit down the centre to within 2 cm of the bottom.
If you aren’t confident with a knife, you can mallet the meat out flatter.
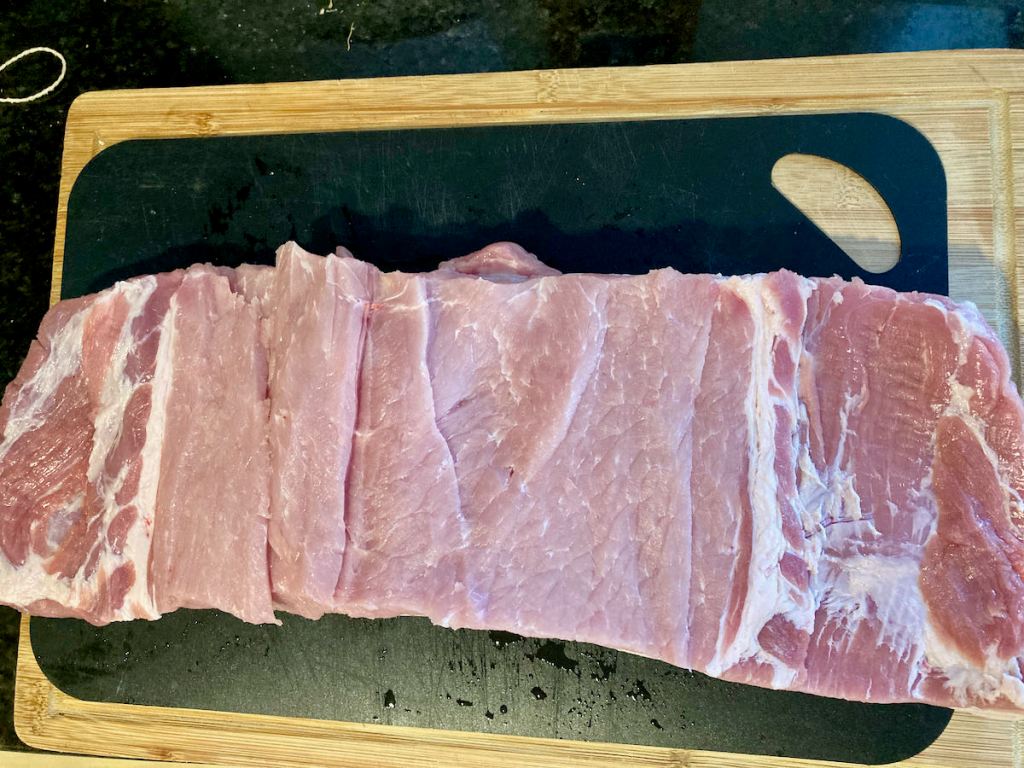
Cover the meat with cling film and flatten it to 1cm thickness with a mallet or rolling pin.
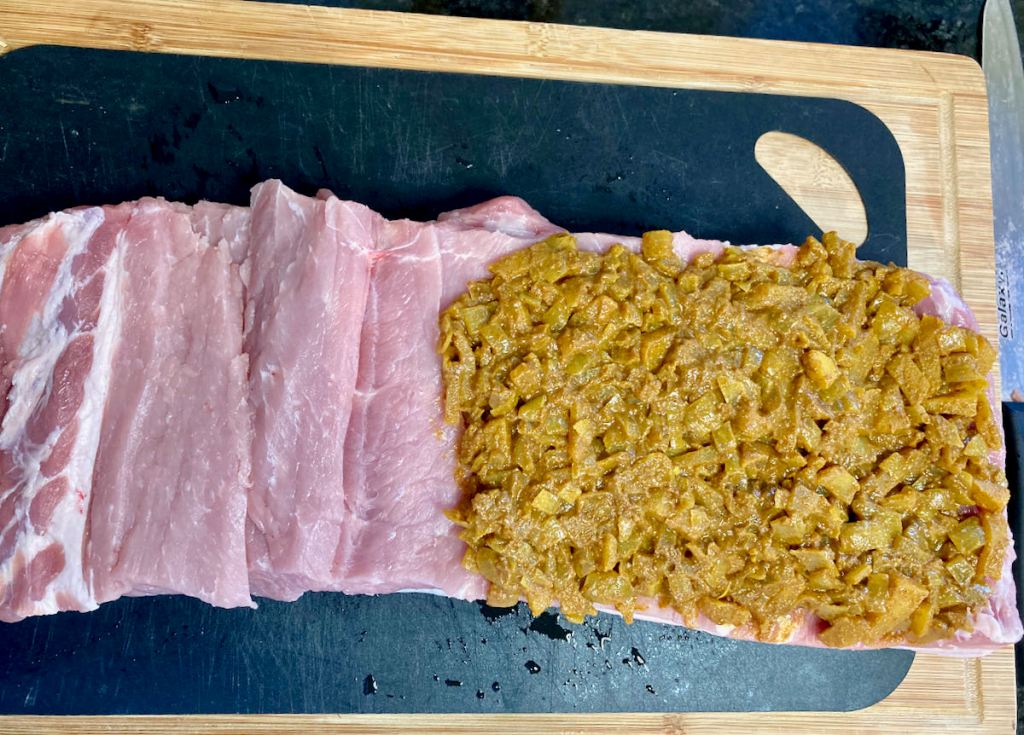
Spread the apple and onion mixture inside the pork.
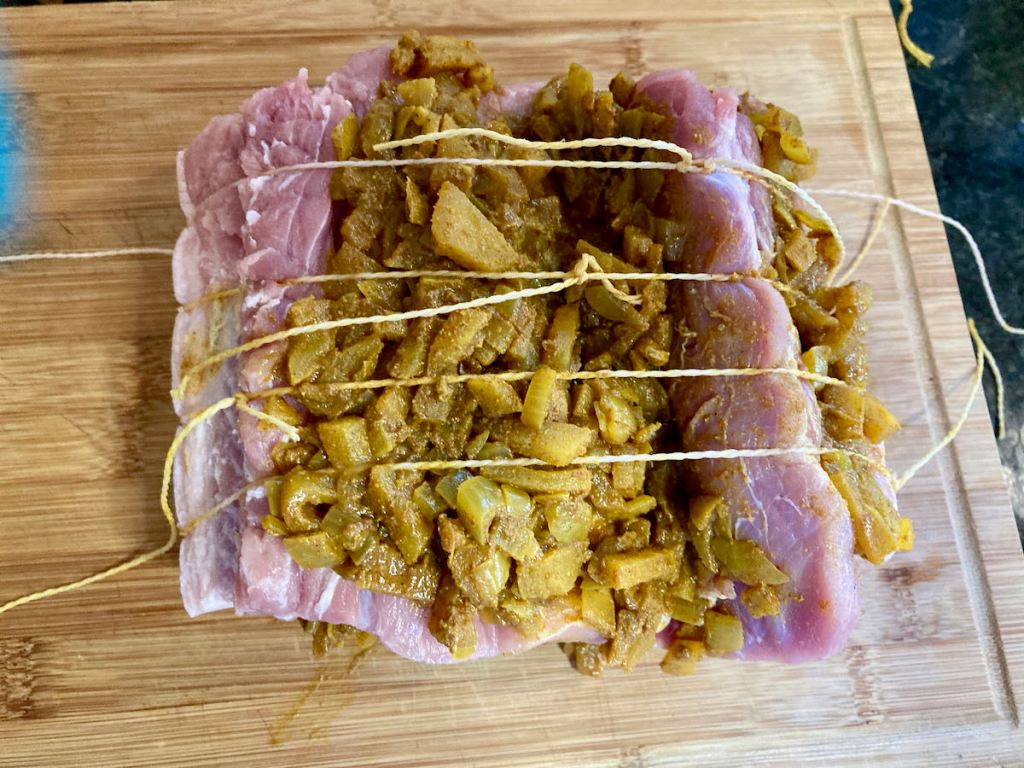
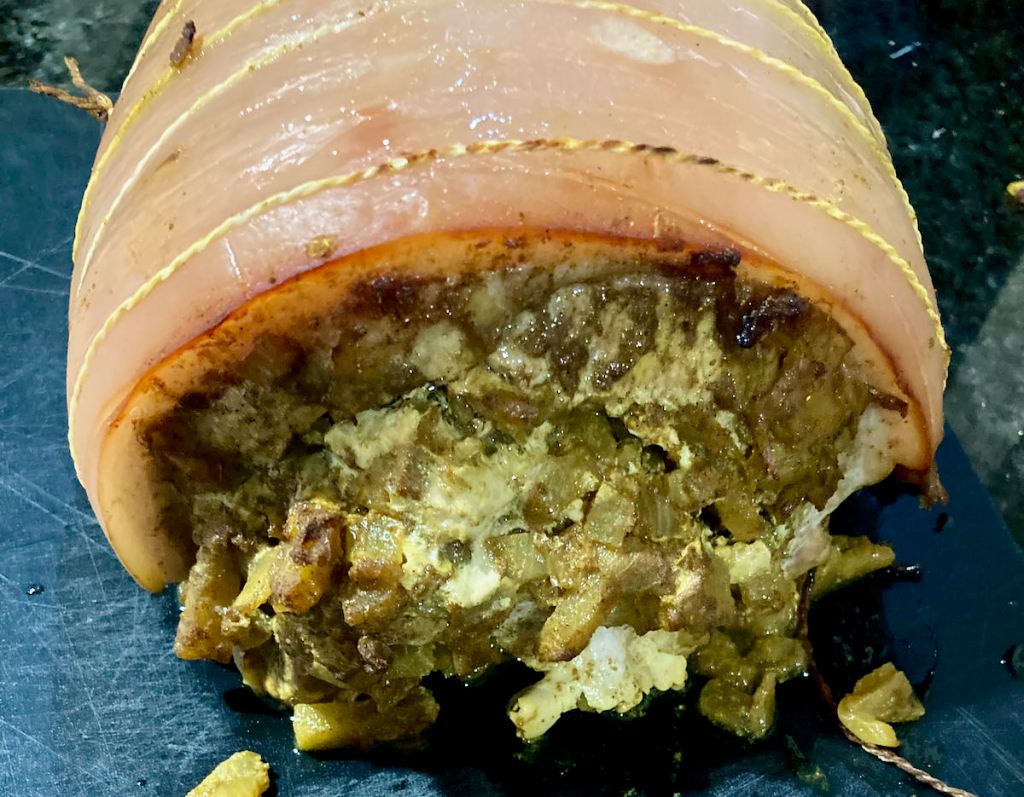
Roll the loin back up to a single roll.
With some butchers string, put some loops around the roll to keep it all together.


Season the outside of the loin with salt and pepper.
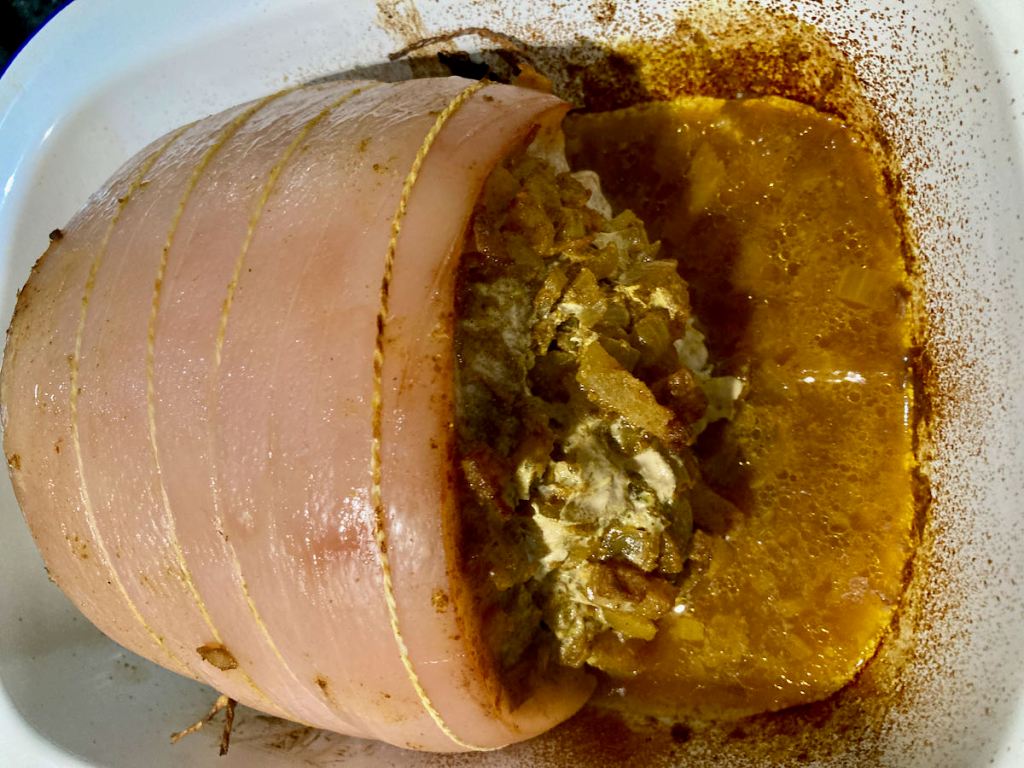
Take a large baking dish, pour in the apple juice, and transfer the loin to the baking dish.

Cover the dish with baking foil.

Roast the loin for 15 minutes at 220 degrees C/ 450 degrees F
Reduce the heat to 160 degrees C/ 325 degrees F and roast for a further 45 minutes.
While the loin is cooking, baste it with the apple juice every 15 minutes or so.
Depending on your oven, it could take between 45 minutes and an hour for the roast to be done.
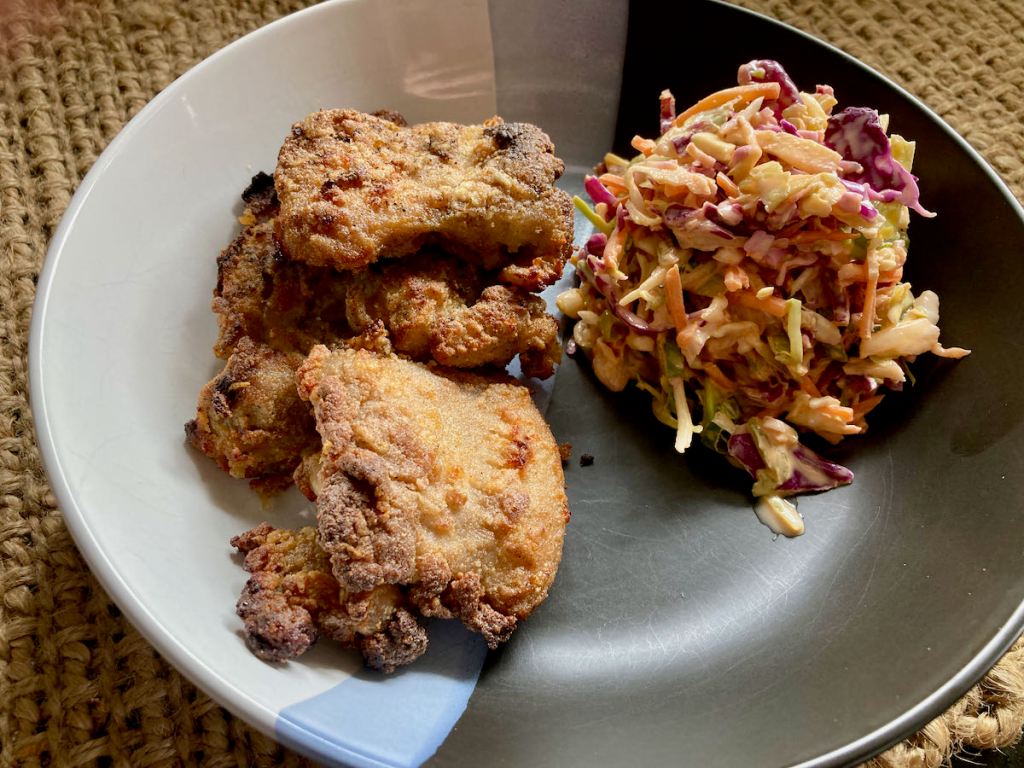
Let the roast rest for 10 minutes before serving.
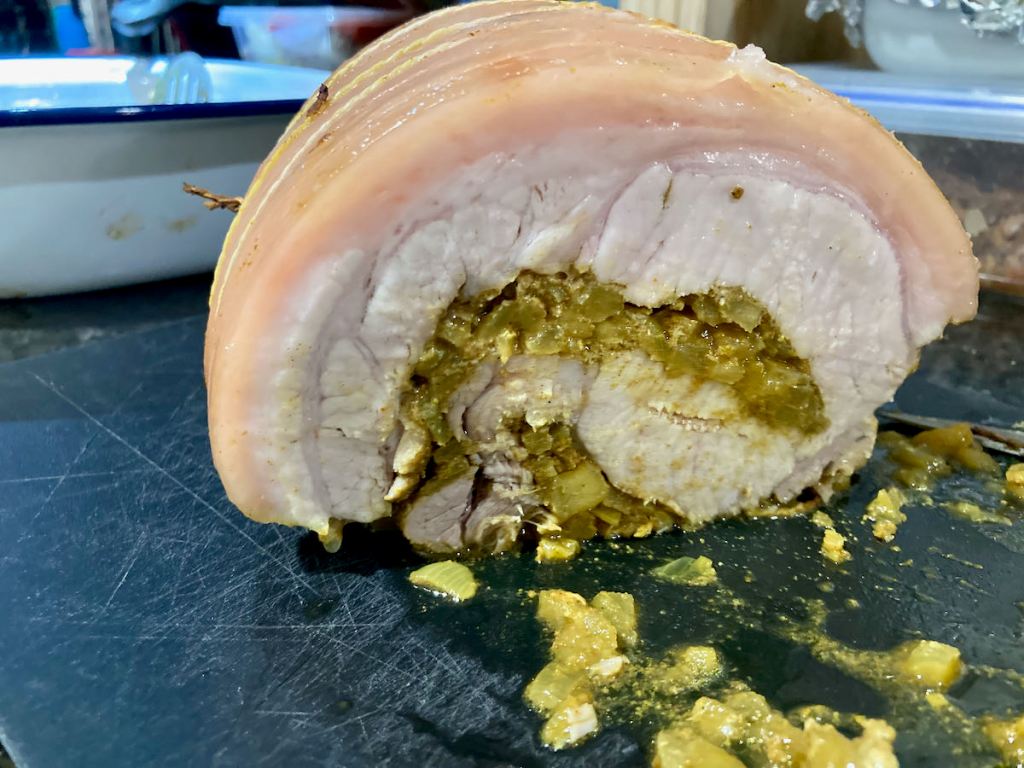
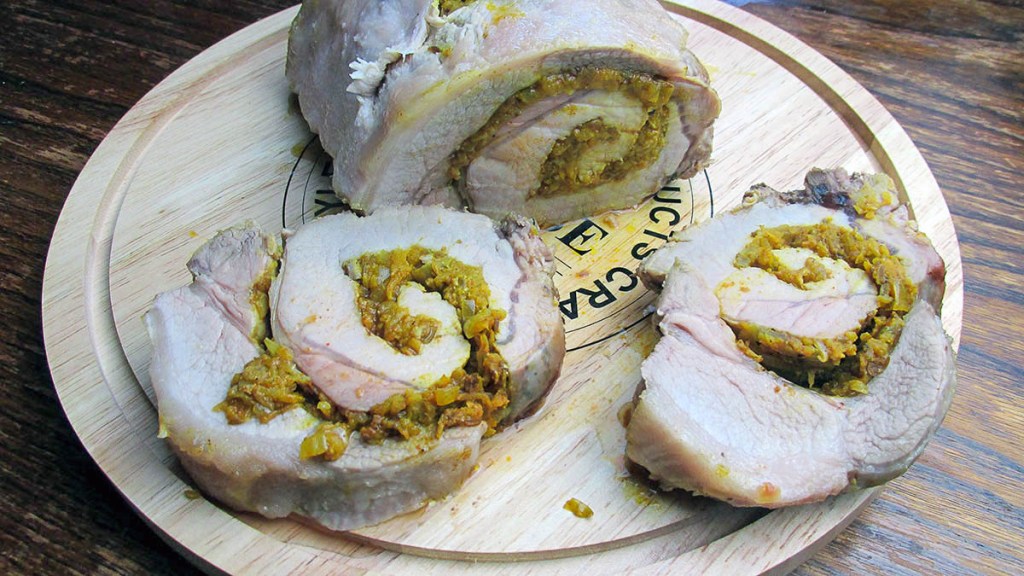
Apple stuffed pork roast
“This
Credit: Cath @ easycleaneats
Ingredients
- 1 tbsp. butter
- 2 apples, peeled, cored, and sliced
- 1 onion, chopped
- 1 tsp. ground coriander –1 tsp. ground cumin –1 tsp. ground cinnamon –1 tsp. ground ginger –1 tsp. paprika –1/2 tsp. ground turmeric –1 tsp. salt –1 tsp. pepper –1kg boneless pork loin roast –1 cup pressed apple juice
Directions
- Heat the oven to 220 degrees C/ 450 degrees F.
- In a large frying pan, melt the butter.
- Sauté the apples and onion over a medium.
- Cook until the onions are soft.
- Add the coriander, cumin, cinnamon, ginger, paprika, turmeric, salt and pepper.
- Turn down the heat and let the apples soften.
- Meanwhile, please the pork roast on a stable surface.
- Cut any butchers string around the roast and flatten it out as much as possible.
- Cut a lengthwise slit down the centre of the tenderloin to within 2 cm of the bottom.
- Be careful not to cut all the way through.
- Open up the cut so that the tenderloin lies flatter.
- On each half, make another lengthwise slit down the centre to within 2 cm of the bottom.
- If you aren’t confident with a knife, you can mallet the meat out flatter.
- Cover the meat with cling film and flatten it to 1cm thickness with a mallet or rolling pin.
- Spread the apple and onion mixture inside the pork.
- Roll the loin back up to a single roll.
- With some butchers string, put some loops around the roll to keep it all together.
- Season the outside of the loin with salt and pepper.
- Take a large baking dish, pour in the apple juice, and transfer the loin to the baking dish.
- Cover the dish with baking foil.
- Roast the loin for 15 minutes at 220 degrees C/ 450 degrees F
- Reduce the heat to 160 degrees C/ 325 degrees F and roast for a further 45 minutes.
- While the loin is cooking, baste it with the apple juice every 15 minutes or so.
- Depending on your oven, it could take between 45 minutes and an hour for the roast to be done.
- Let the roast rest for 10 minutes before serving.
Nutrition
Per Serving: 246 calories; 8.1 g fat; 13.7 g carbohydrates; 33.1 g proteinEquipment
- Knife
- Chopping board
- Cling film
- Meat mallet or rolling pin
- Frying pan
- Spatula
- Butchers string
- Baking dish
- Tablespoon
Nutritional disclaimer
Nutrition information is provided as an estimate based on the ingredients used and available in my area (New Zealand). The nutritional information is here to help you understand the recipe; I use MyFitnessPal to generate my estimates. For more accurate nutritional information, please use a nutritional calculator with the ingredients in your area.