Mag what now?
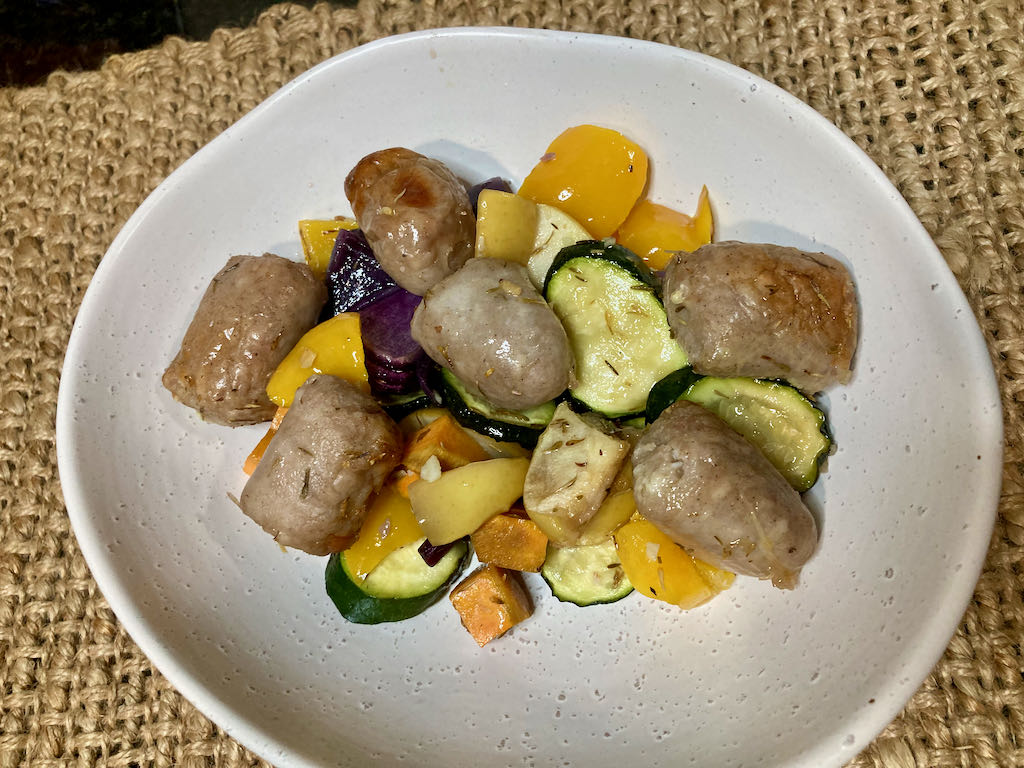
Don’t worry, I did not have a brain fart or spell that wrong; I meant to put magel. What the hell is a magel? You may be asking yourself. The easy answer is it is a bagel made out of meat, hence m-agel.
Meat with everything
I know it is an out-there idea, but the magel works when you don’t have grains as part of your diet and really want something to spread cream cheese on for breakfast. I know that there is no real alternative or replacement for bread in life, but I think that replacing bread products with cauliflower, coconut or meat may be the future.
I have tried several ways to create a bagel without grains and have to be honest; it has never ended well. There have been a few times I feared for my teeth and even more times that my taste buds have flat out said no.
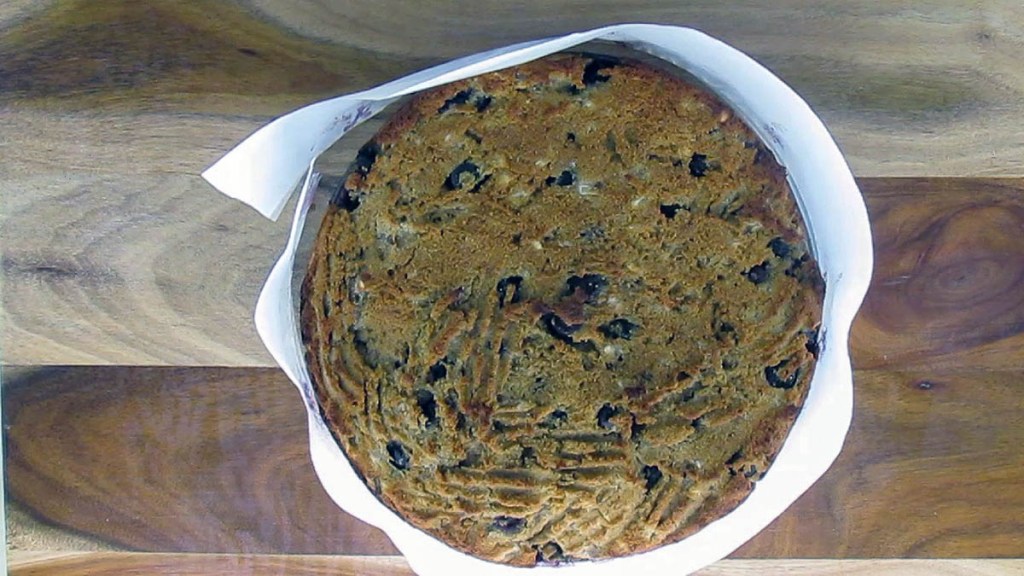
I can’t say that the magel is the best replacement for the traditional bagel, but it is probably my favourite so far. If that changes, I will keep you posted.
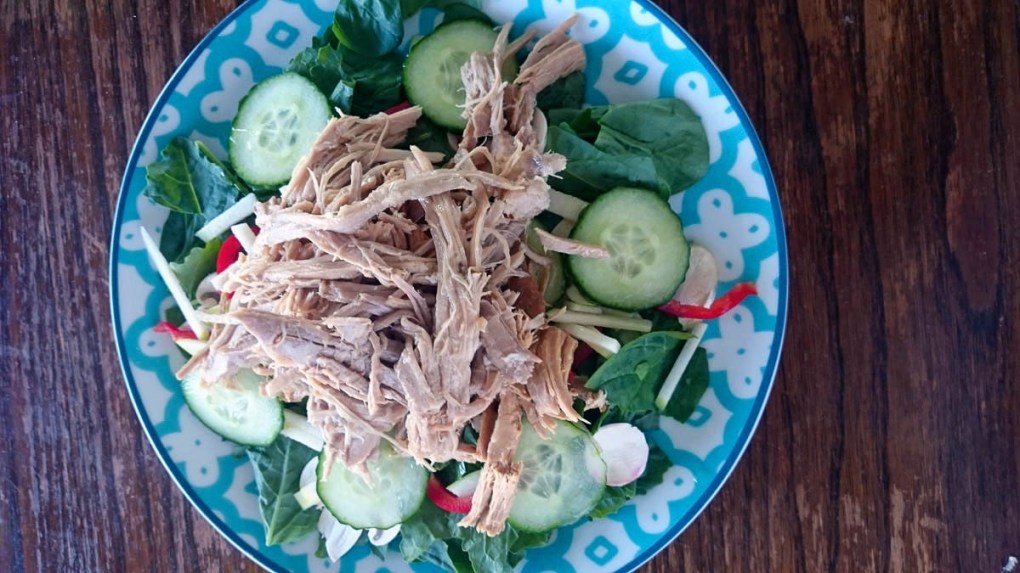
This meaty treat is a great and filling way to start your day. The high protein breakfast is perfect for a lazy.
Sunday morning when you want something other than pancakes.
I like to add some chipotle powder to mine to give them a little kick if you don’t like spice or have kids that don’t like it you can leave it out. I love to pair my magel with a generous helping of cream cheese and fried egg with a perfectly runny yolk.
Magel recipe
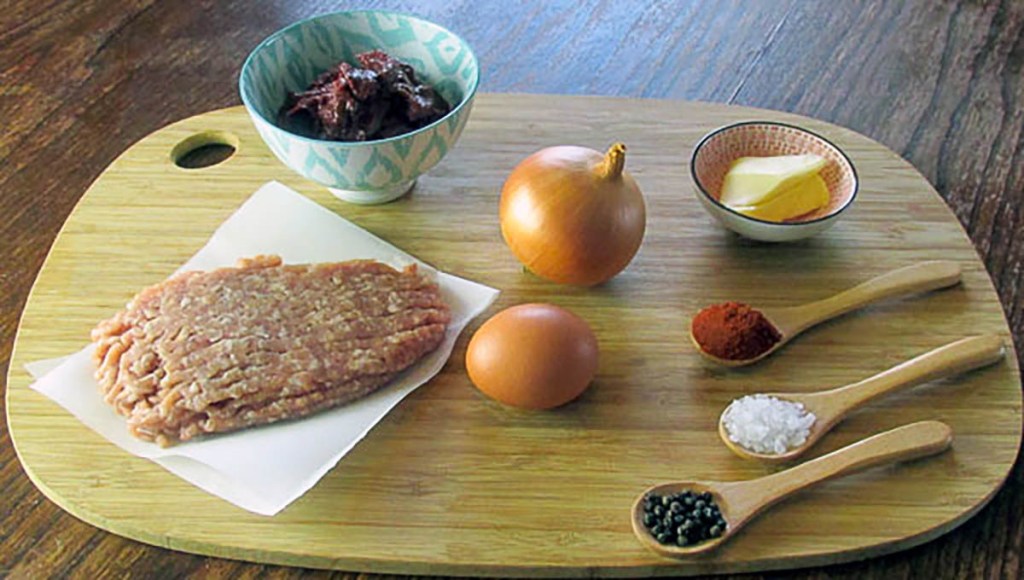
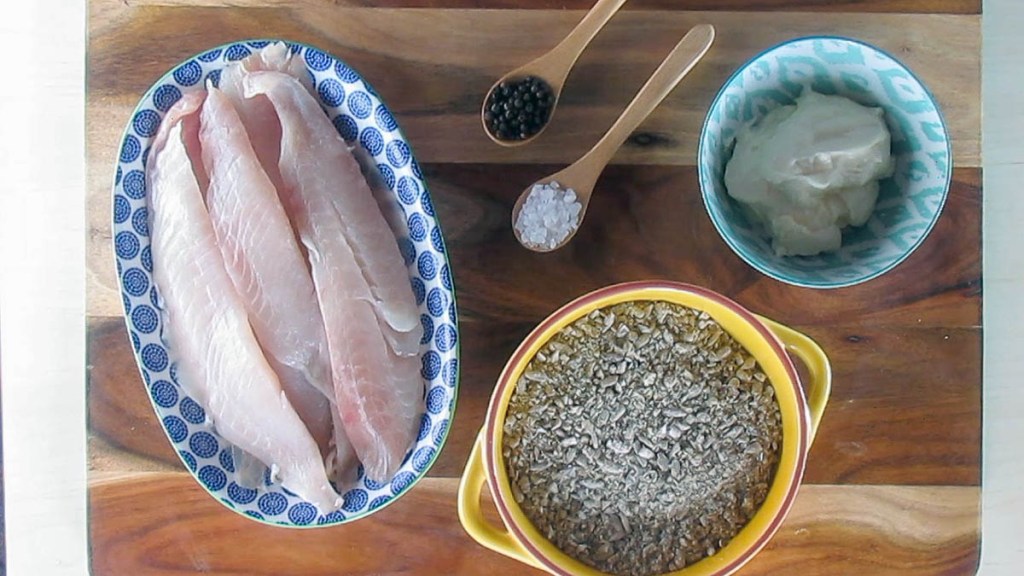
Ingredients
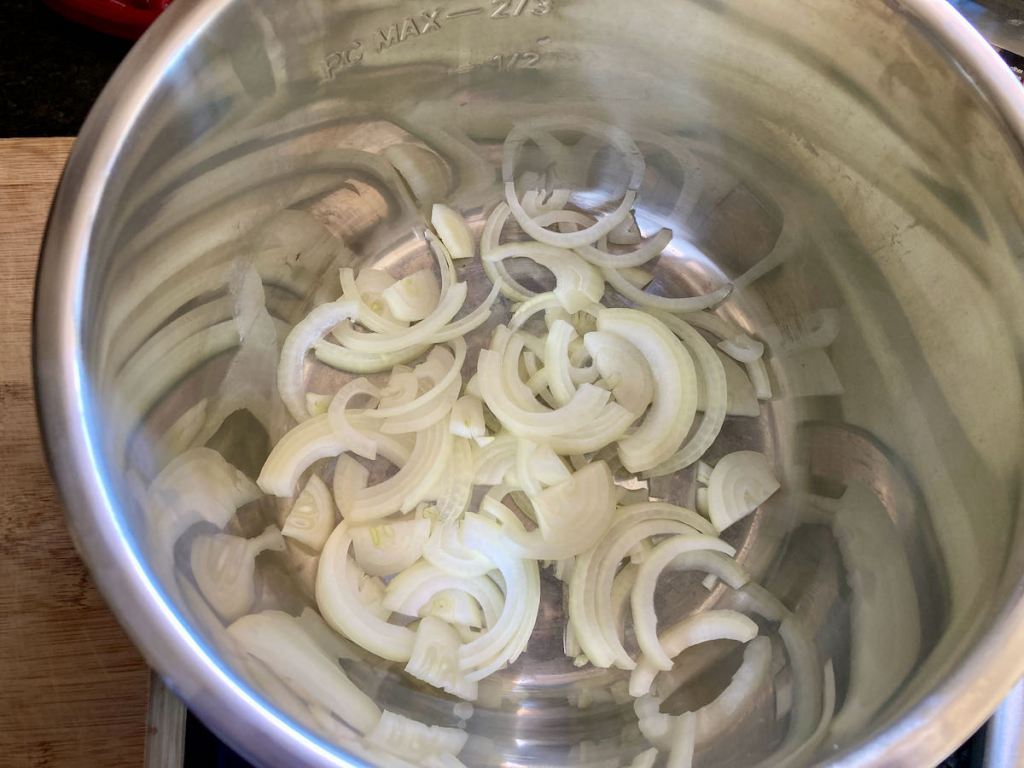
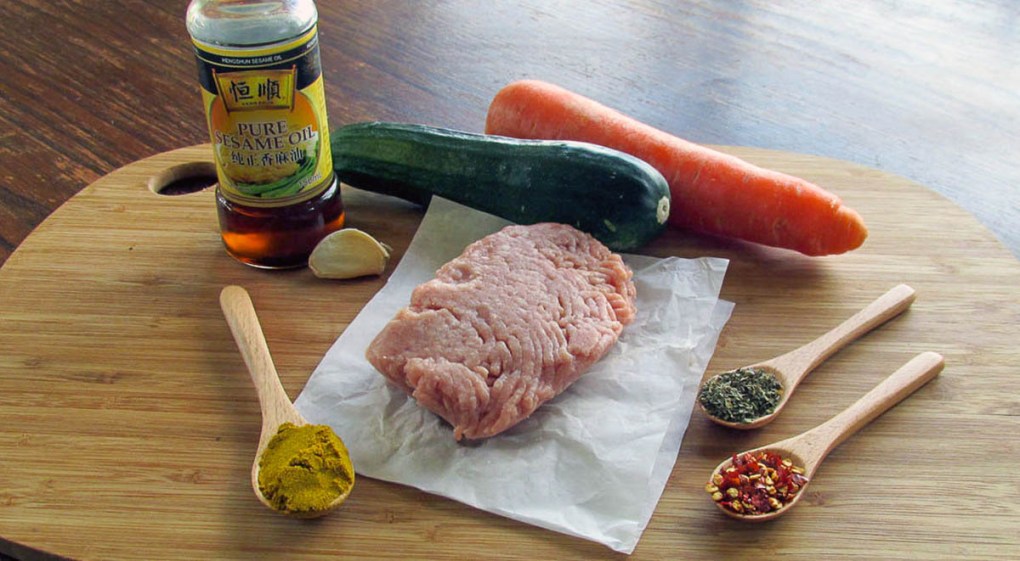
- 1/2 onion finely diced
- 1 tbsp. butter
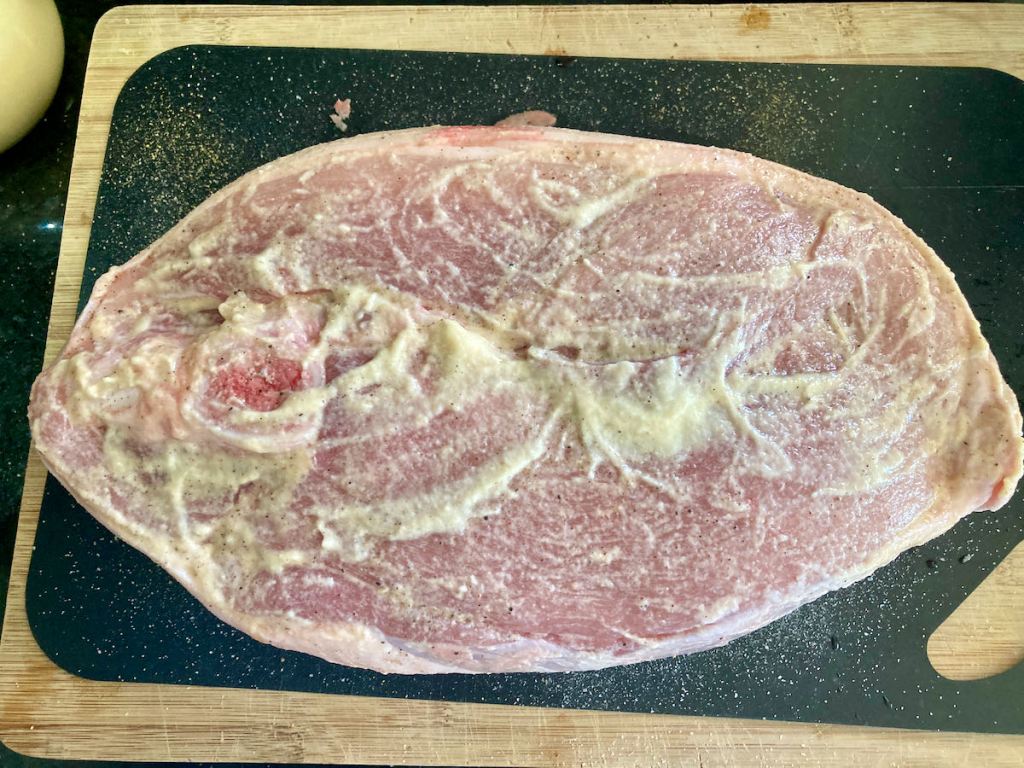
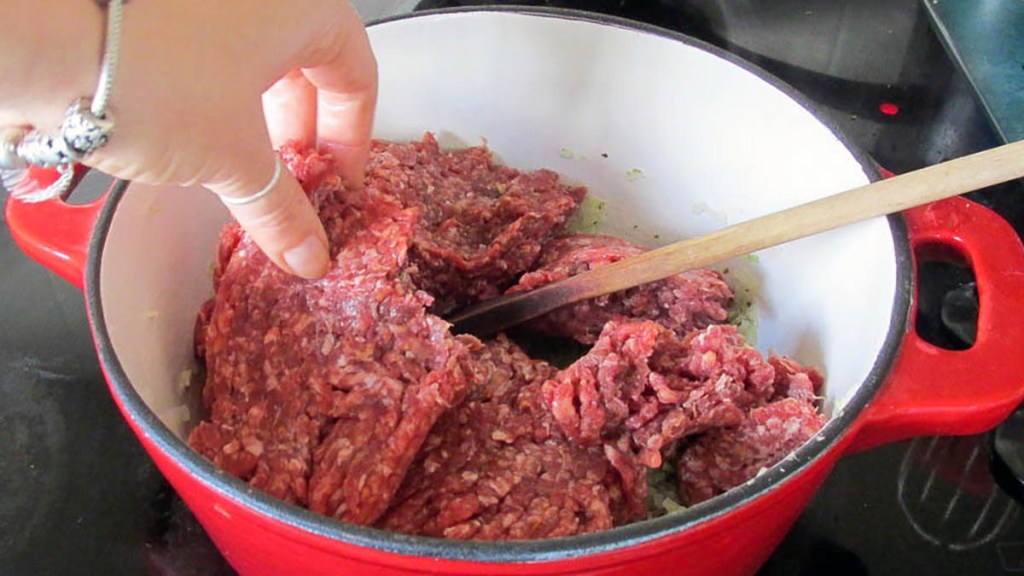
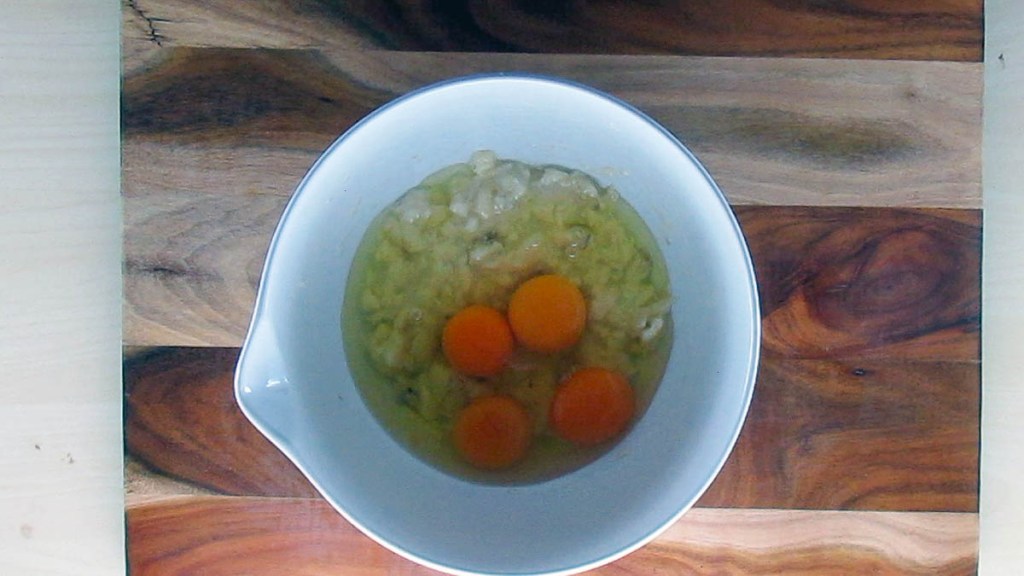
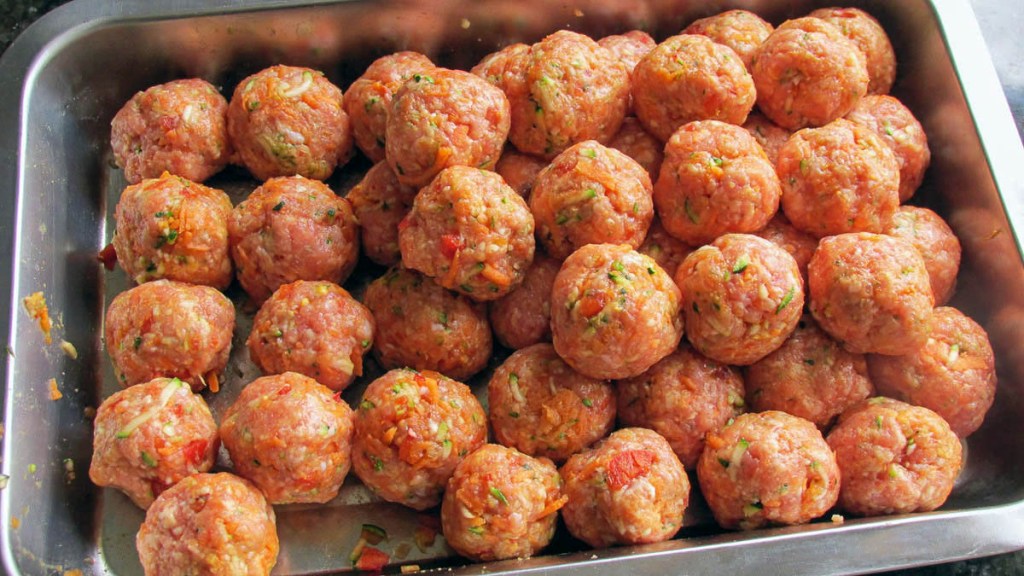
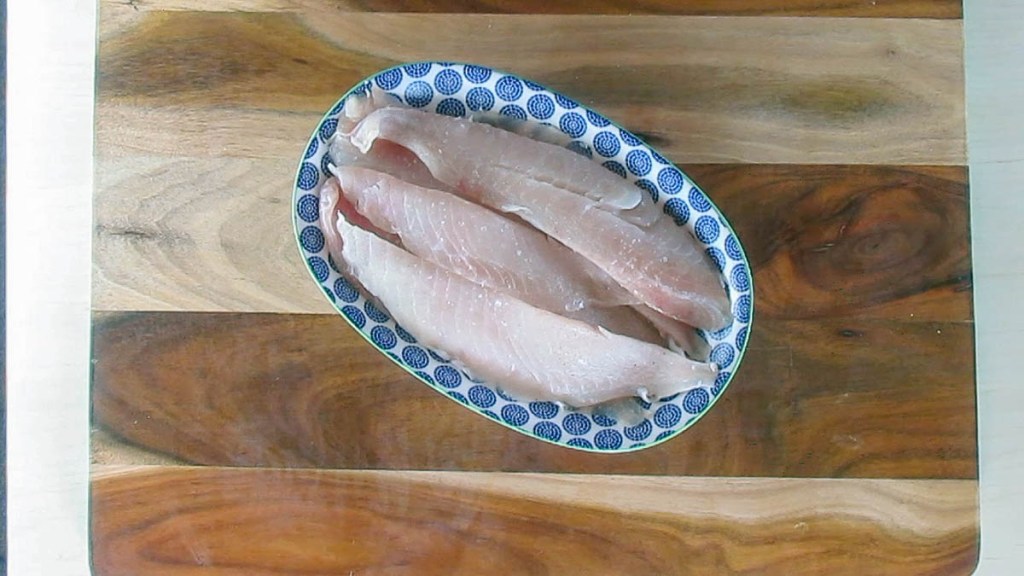
- 500g minced pork
- 2eggs
- 2 tbsp. Tomato sauce
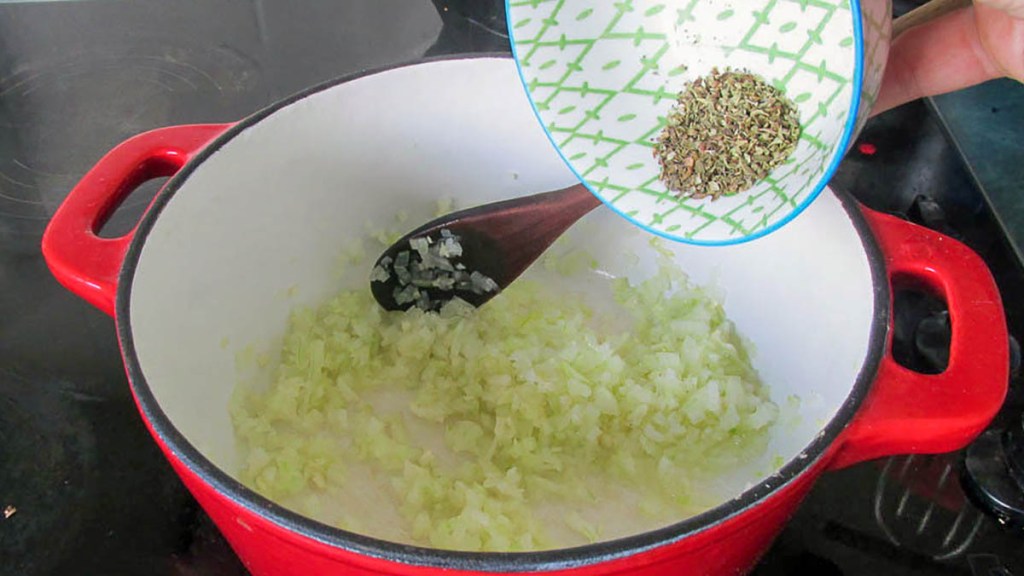
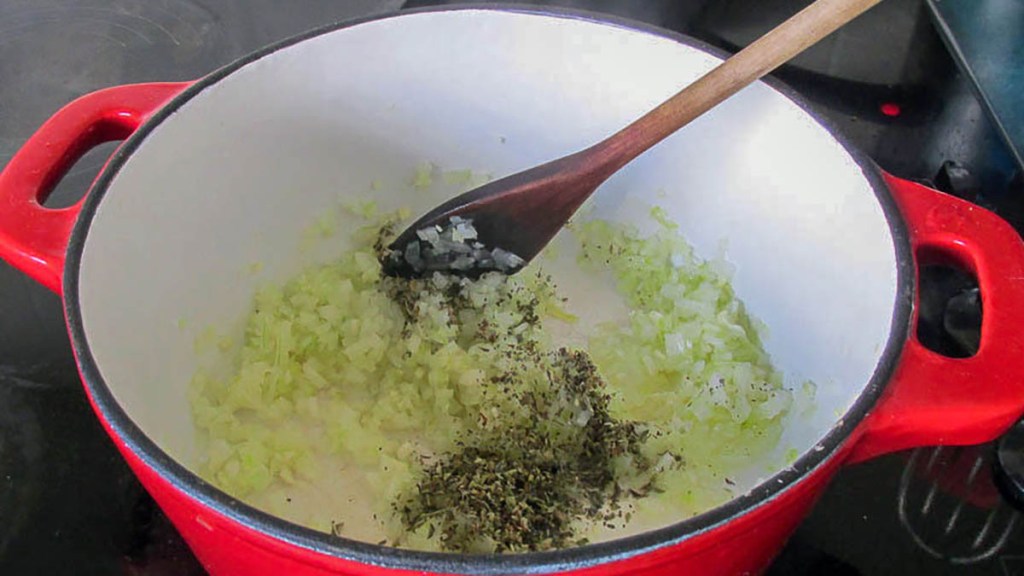
- 1 tsp. Paprika
- 1 tsp. Salt
- 1/2 tsp. Ground pepper
- 1 tsp. chipotle powder
Preheat the oven to 180 degrees c/ 350 degrees f.
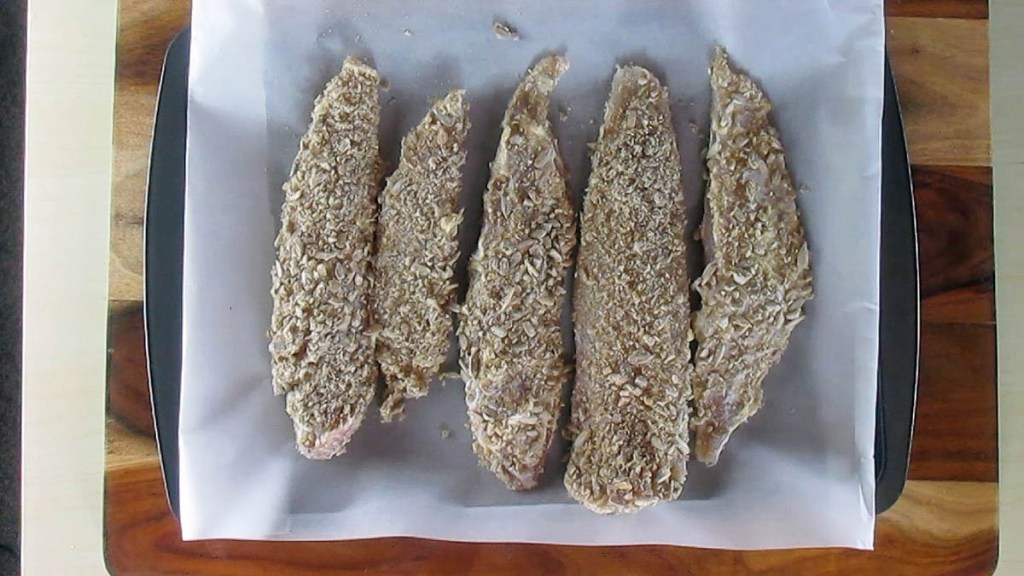
Line a baking tray with baking paper or a silicone liner .
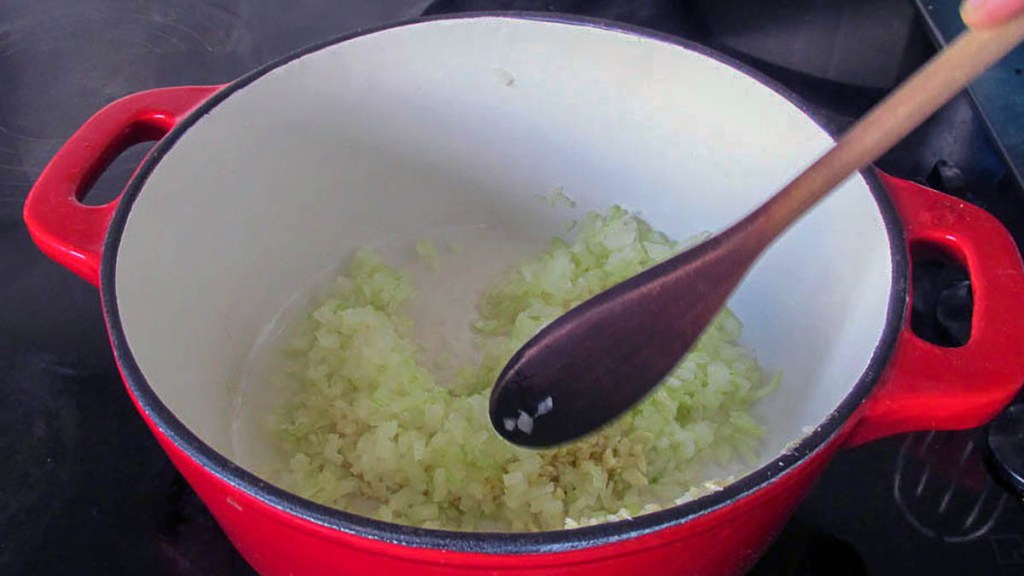
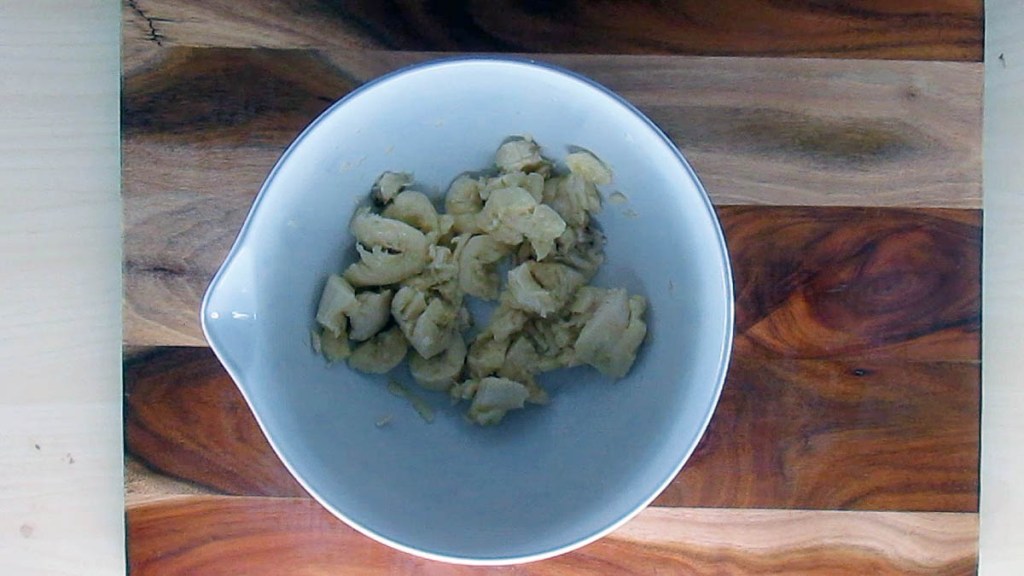
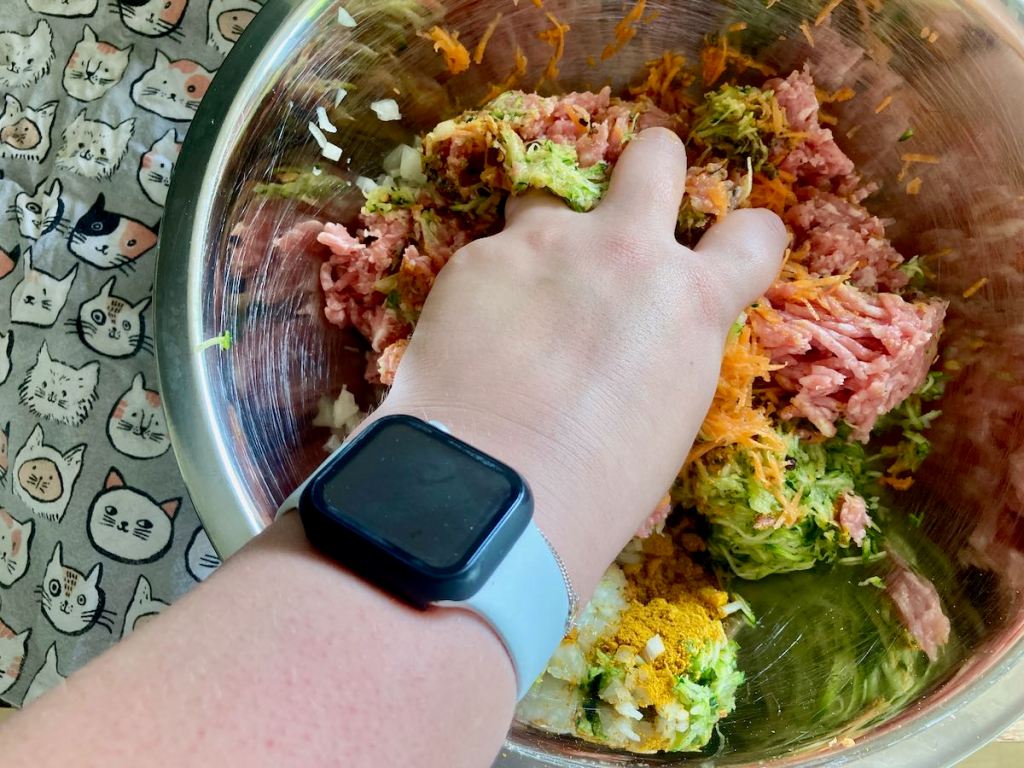
In a frying pan sauté the onions over medium heat with some butter until they become translucent.
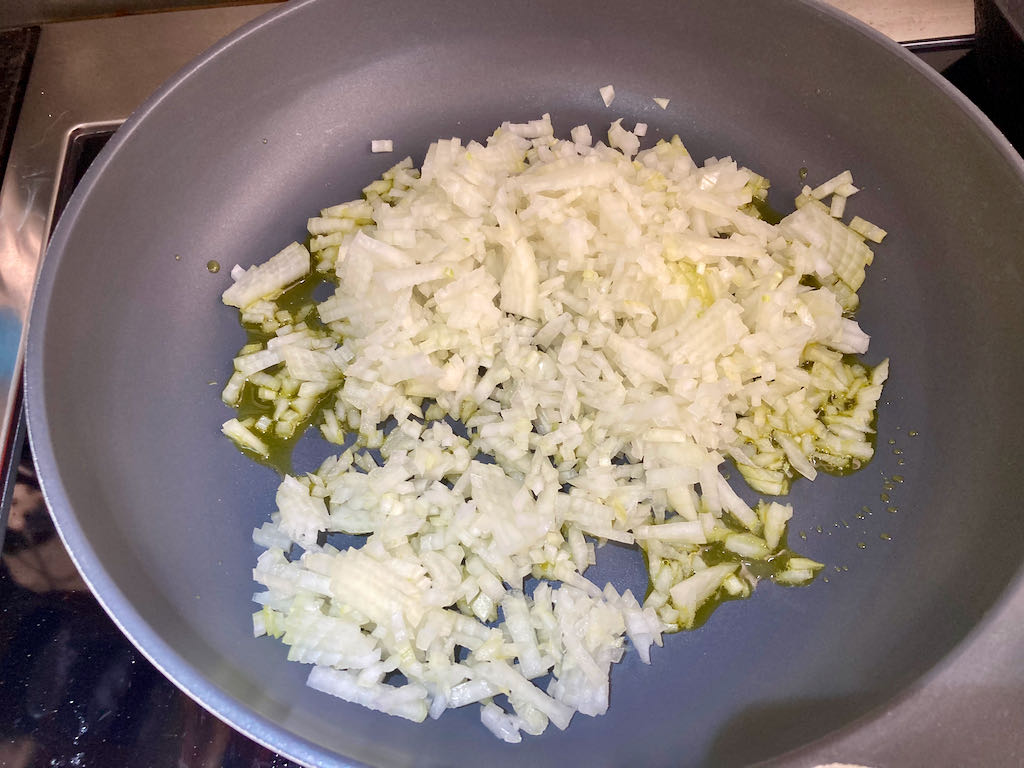


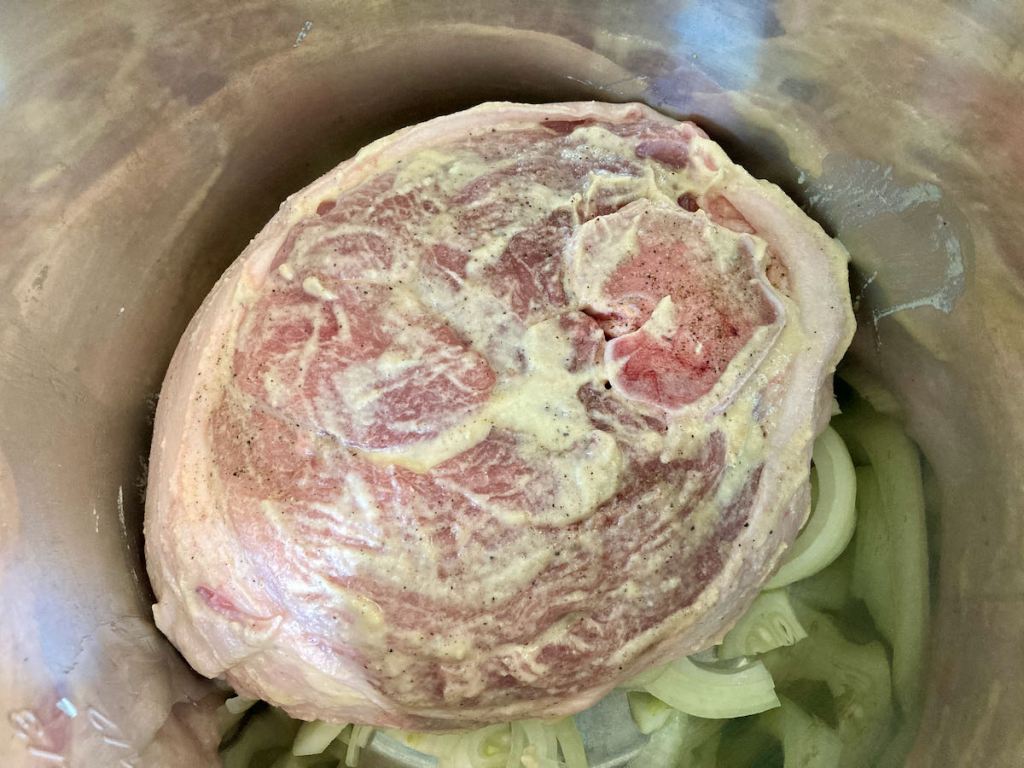
Remove the onions from the pan and allow them to cool before adding them to the meat.
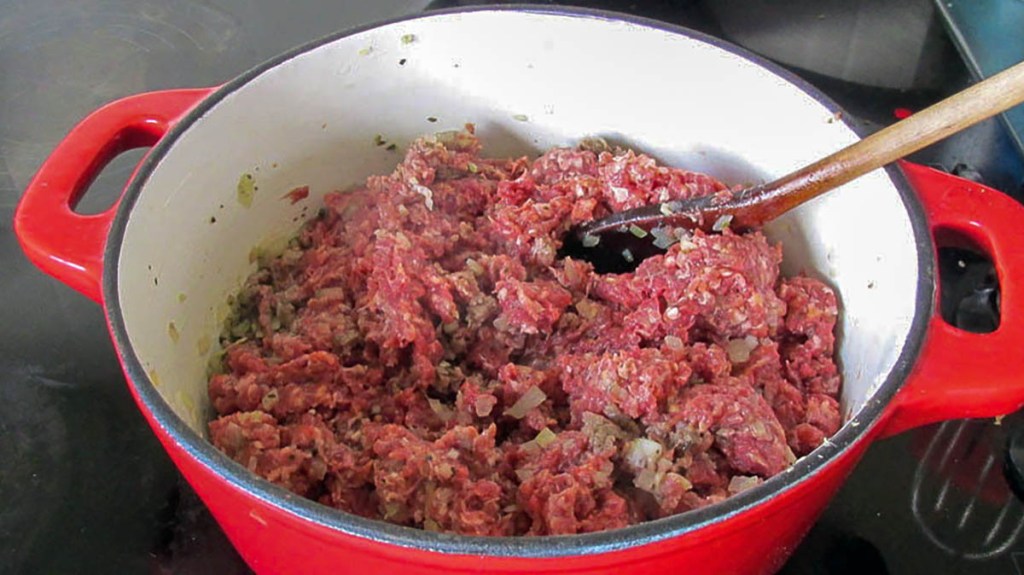
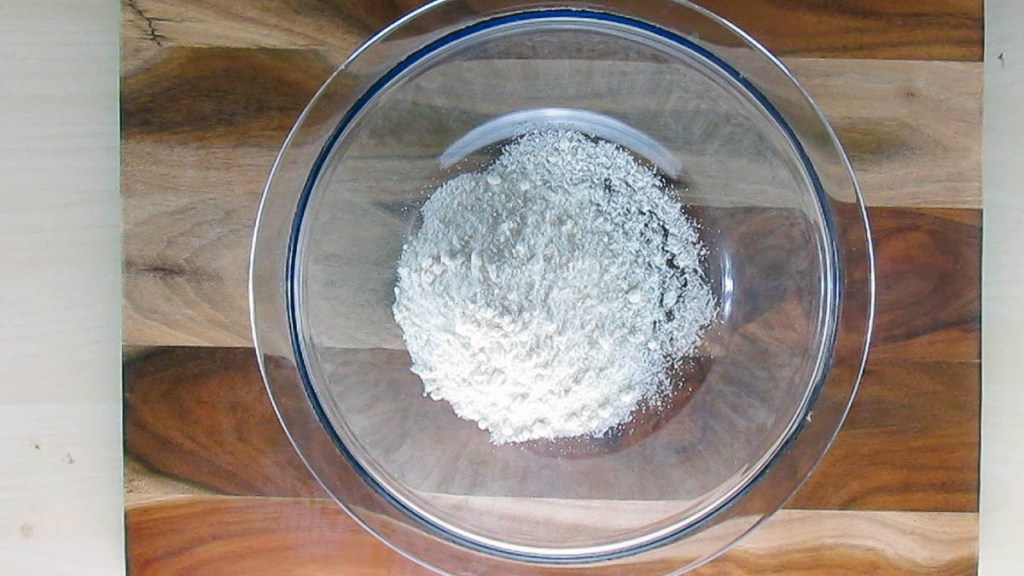
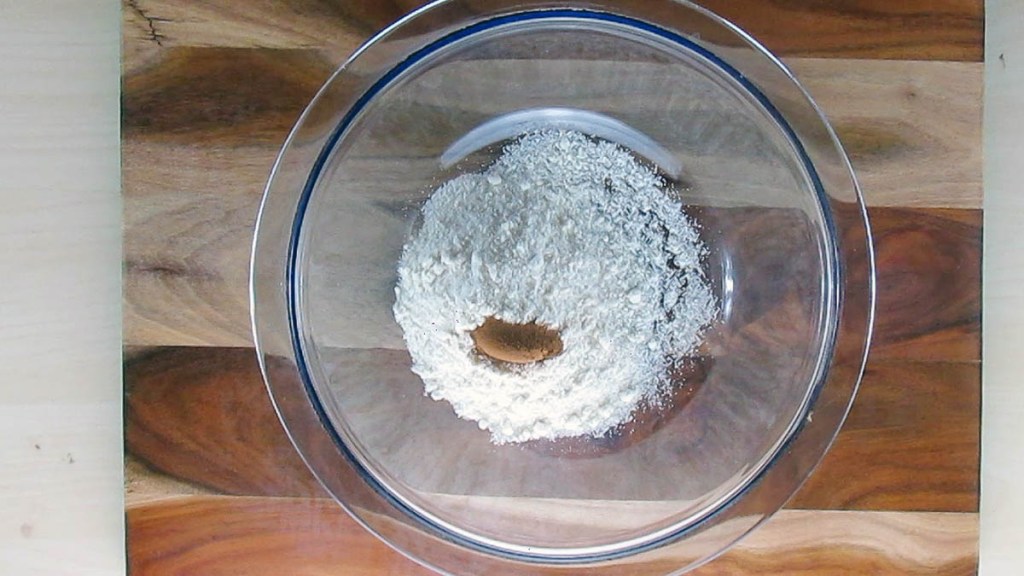
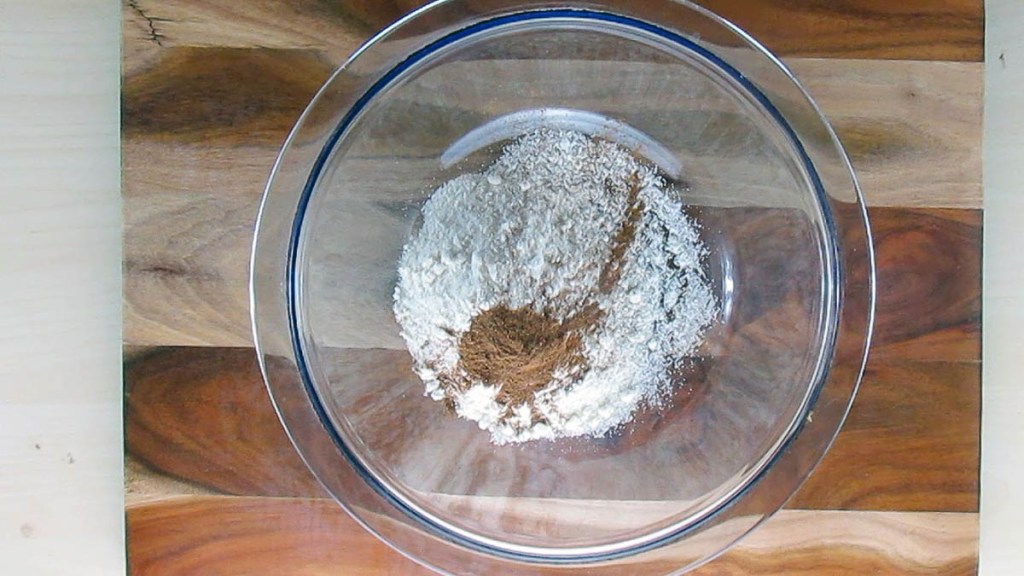
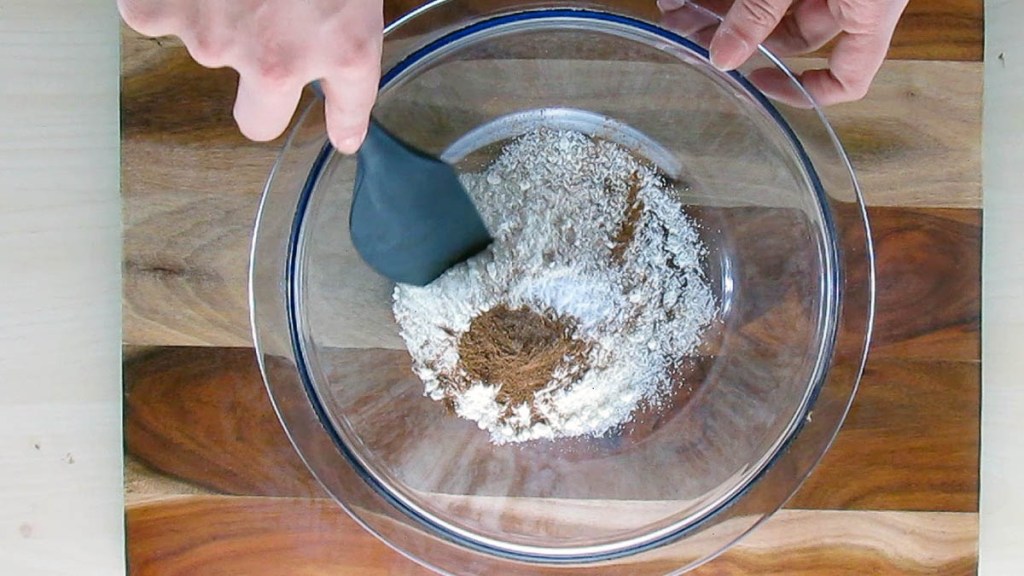
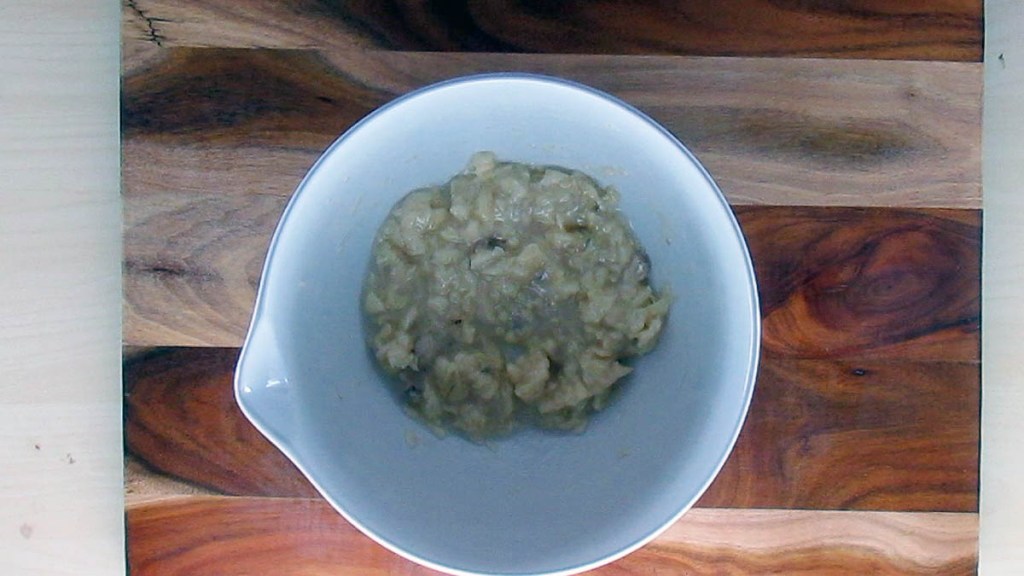
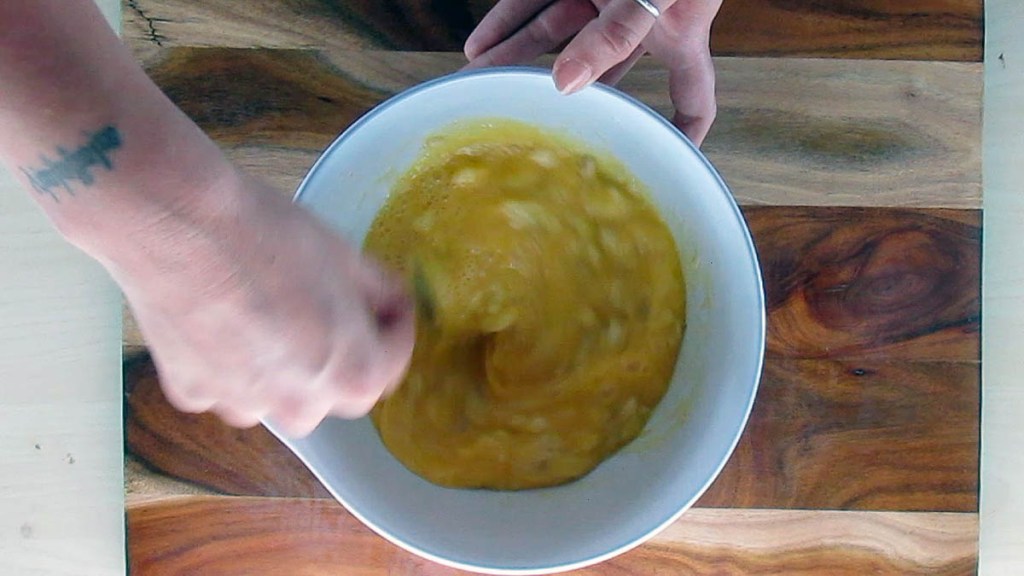
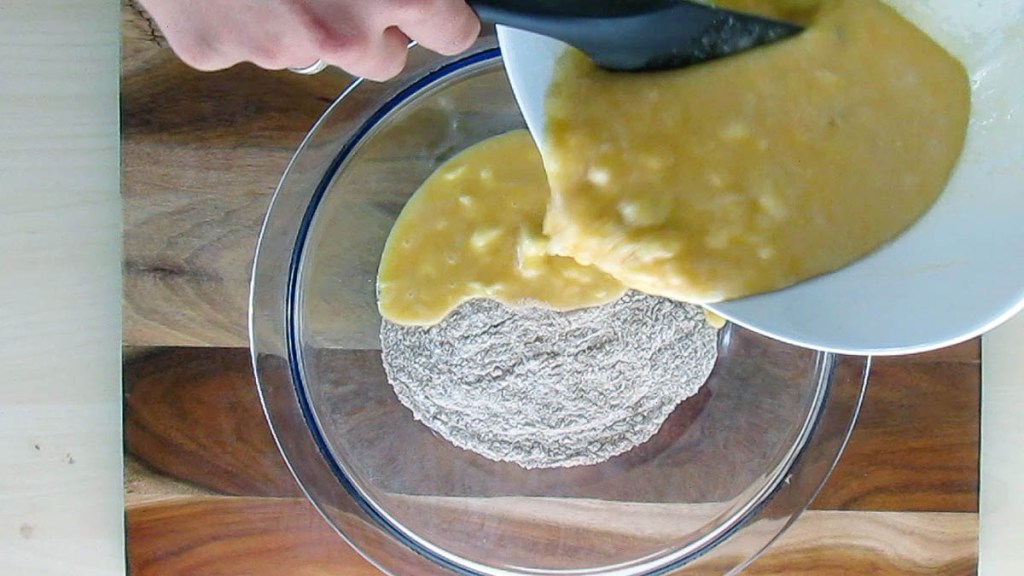
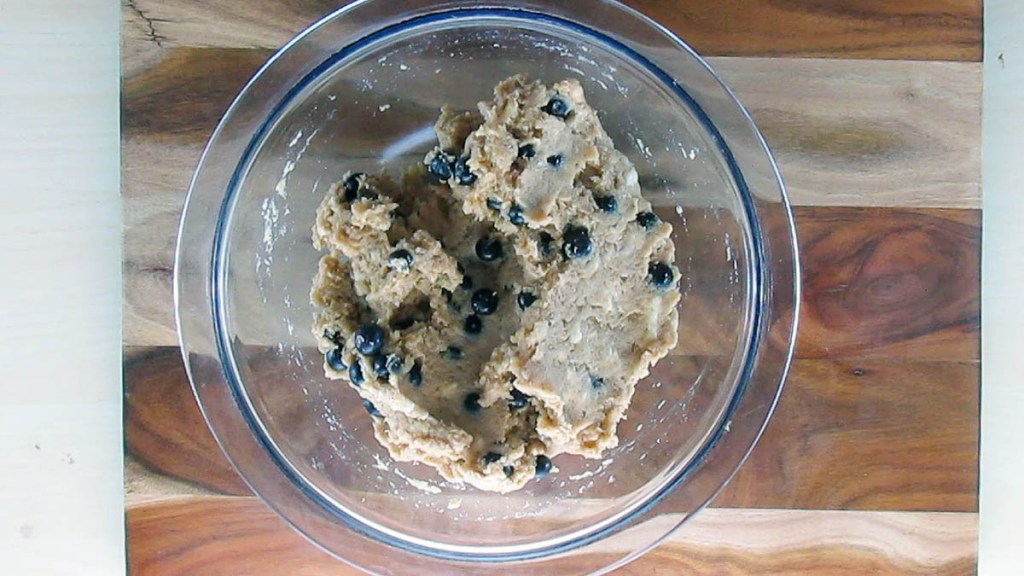
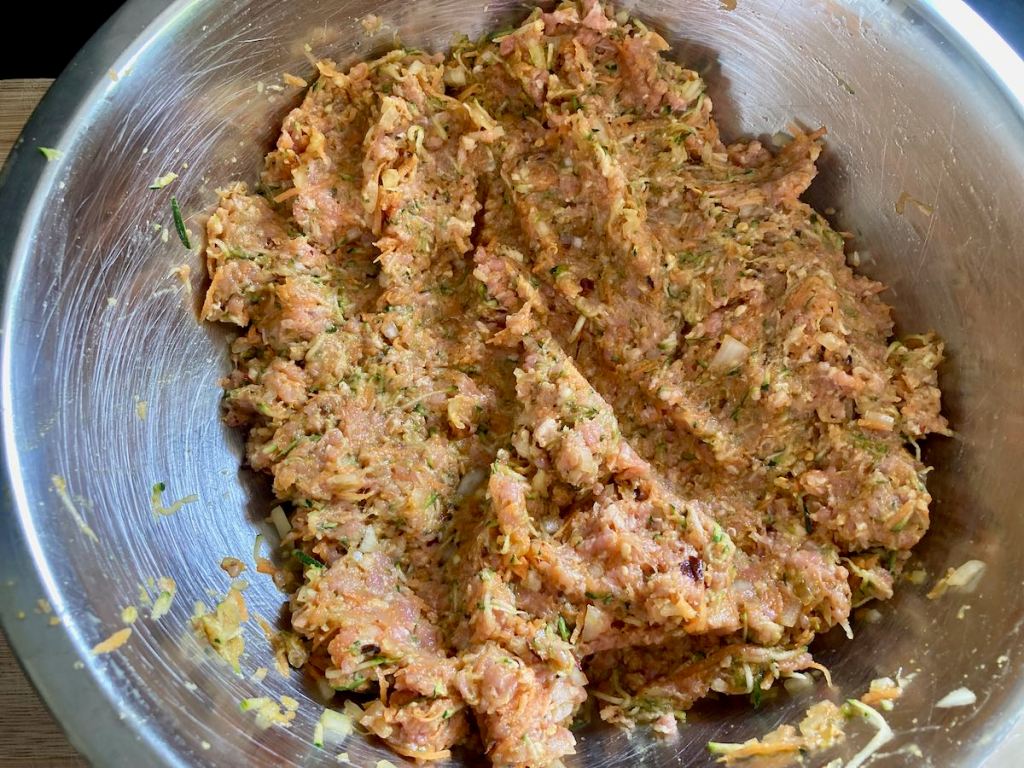
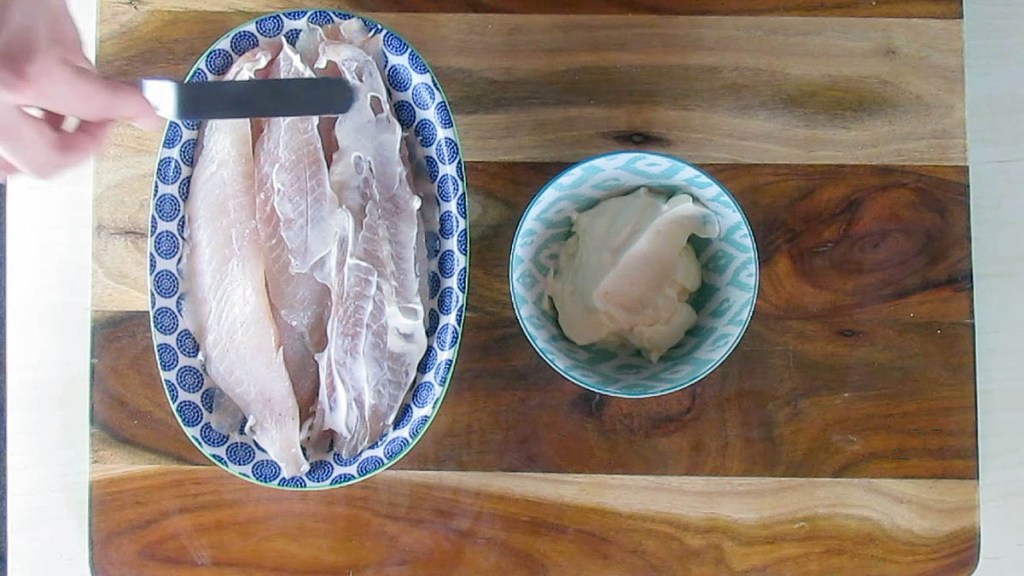
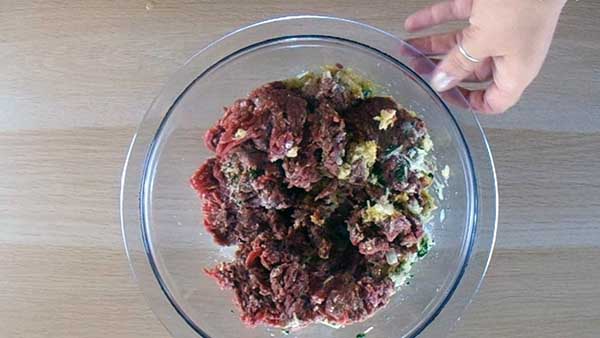
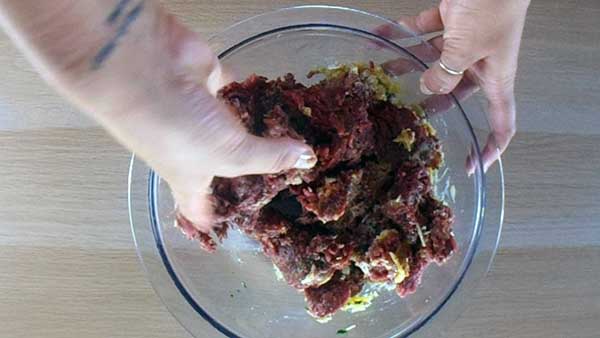
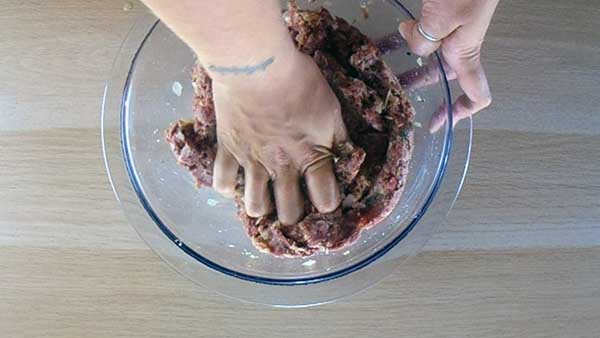
Mix together all the ingredients in a large bowl; make sure all the ingredients are evenly distributed.
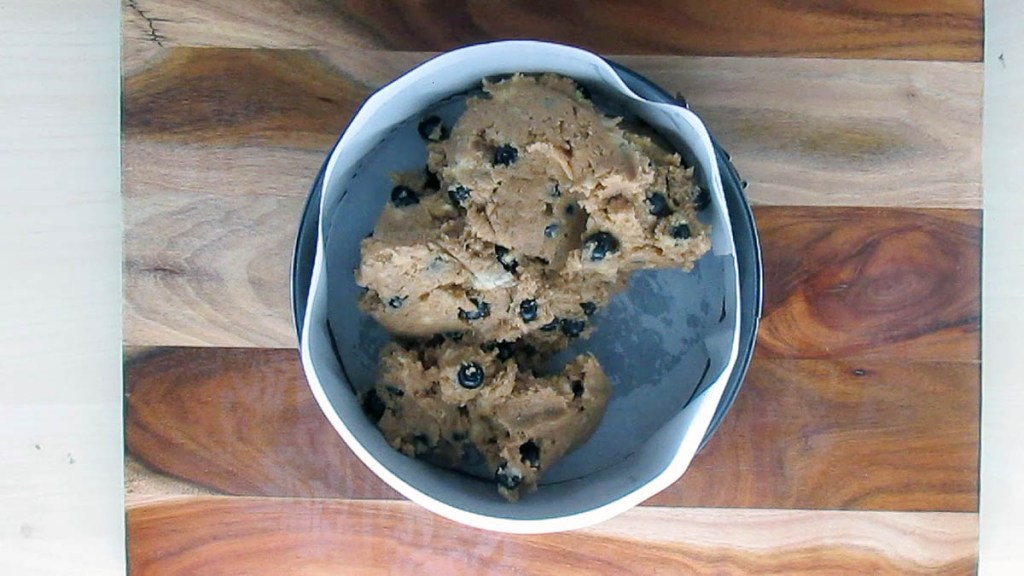
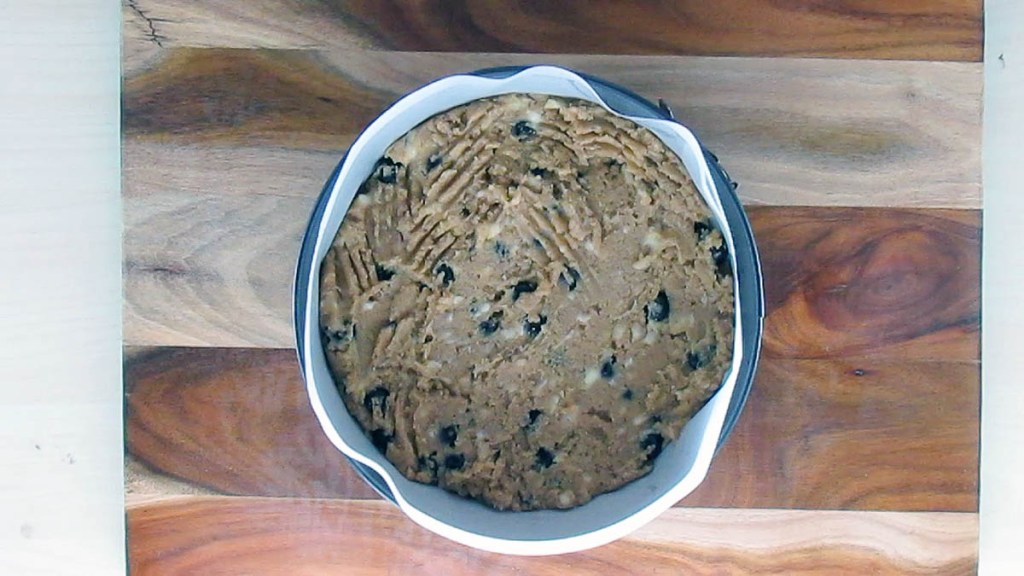
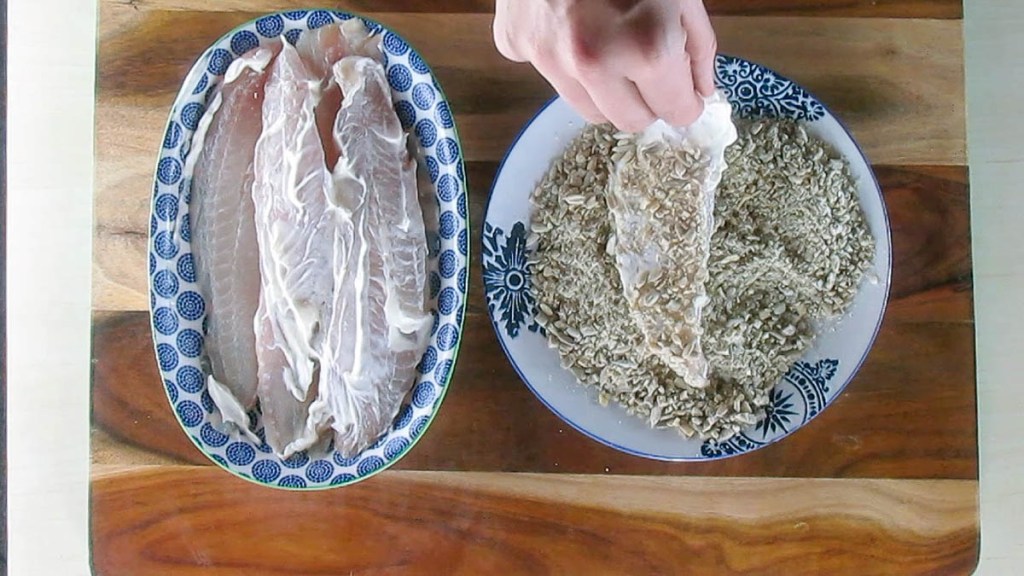
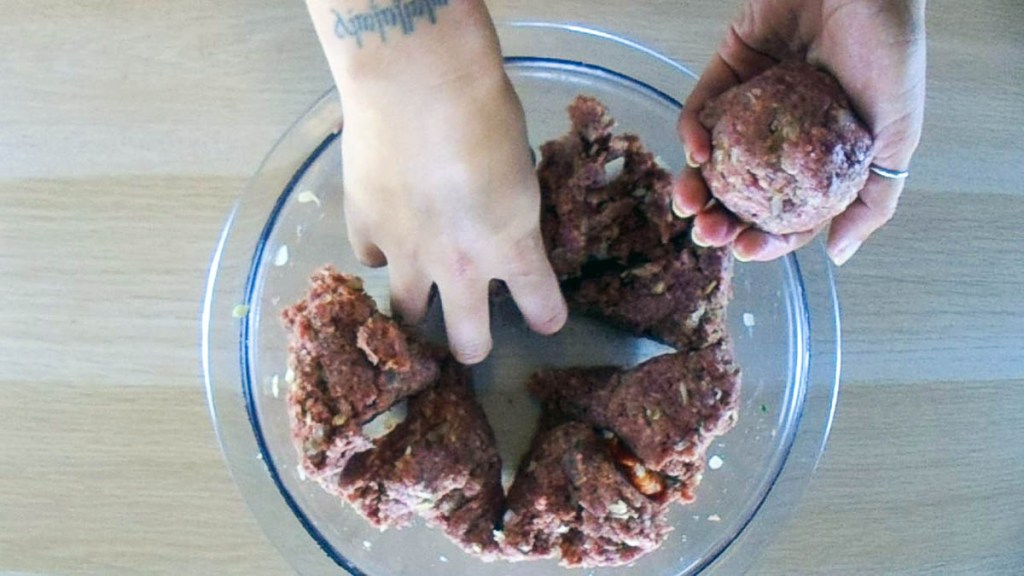
Divide the meat into 6 portions, roll into balls then flatten down on the baking dish then create a hole in the centre to form the magel.
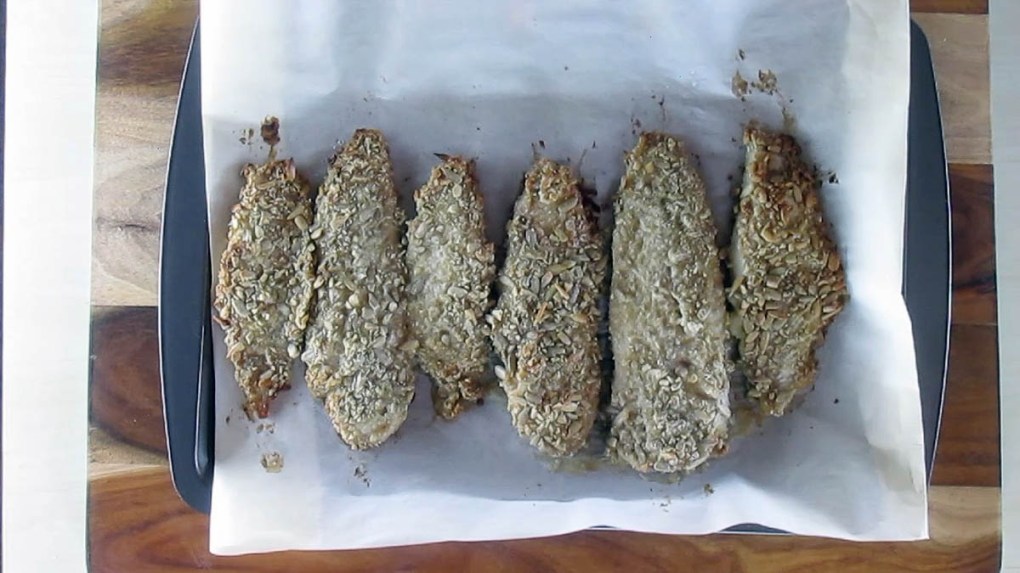
Bake for 40 minutes or until the meat is fully cooked.
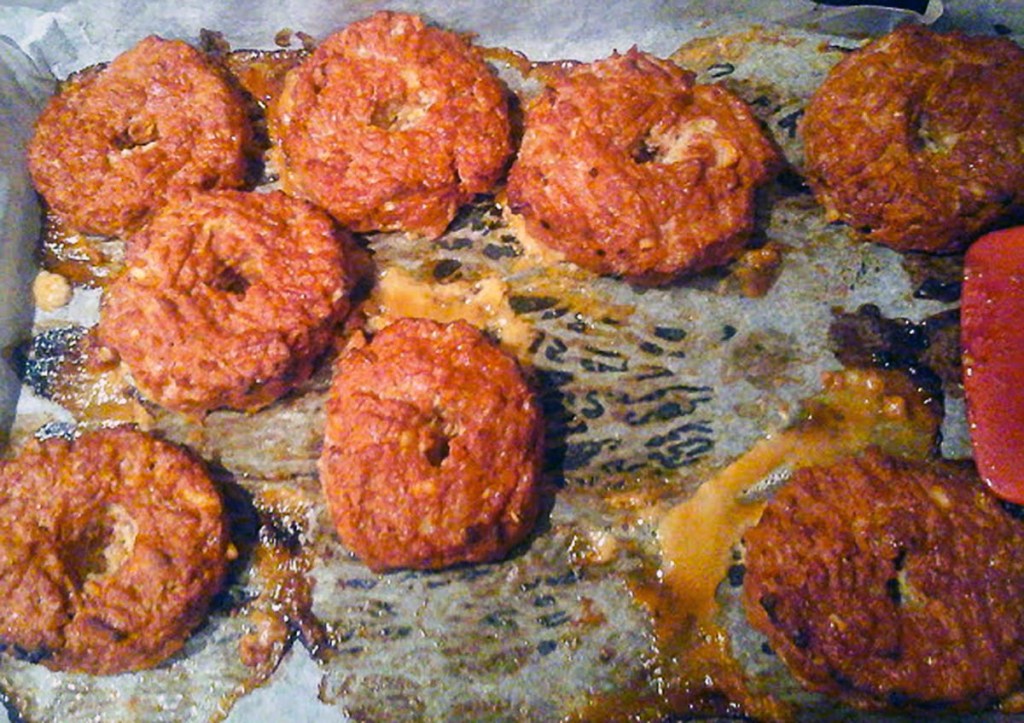
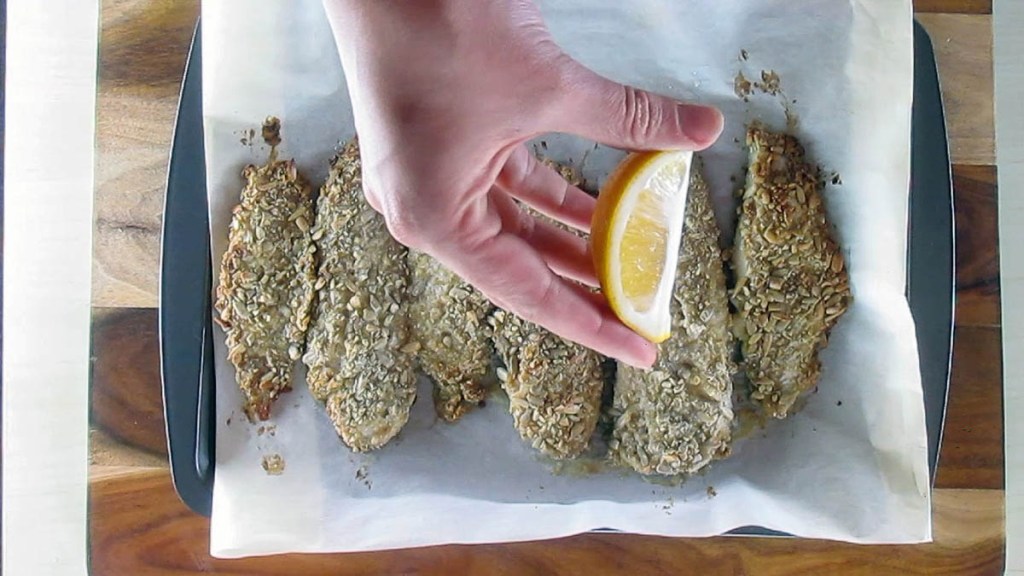
Allow the magels to cool slightly before slicing in half.
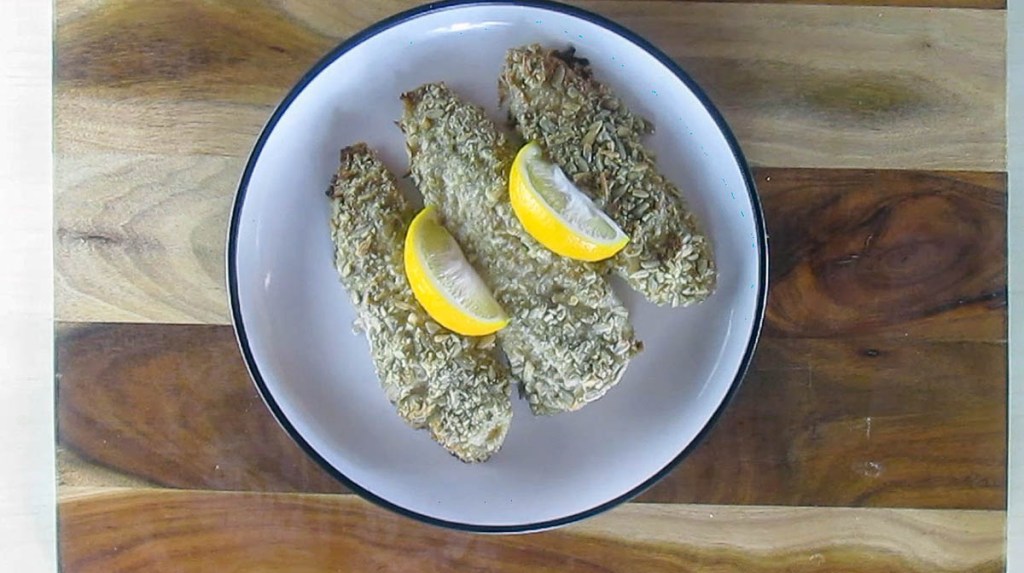
Serve with cream cheese, fried eggs and bacon.
Magel
What the hell is a magel? you may be asking yourself. Easy answer it is a bagel made out of meat, hence m-agel.
Credit: Cath @ easycleaneats
Ingredients
- 1/2 onion finely diced
- 1 tbsp. butter
- 500g minced pork
- 2eggs
- 2 tbsp. Tomato sauce
- 1 tsp. Paprika
- 1 tsp. Salt
- 1/2 tsp. Ground pepper
- 1 tsp. chipotle powder
Directions
- Preheat the oven to 180 degrees c/ 350 degrees f.
- Line a baking tray with baking paper or a silicone liner .
- In a frying pan sauté the onions over medium heat with some butter until they become translucent.
- Remove the onions from the pan and allow them to cool before adding them to the meat.
- Mix together all the ingredients in a large bowl; make sure all the ingredients are evenly distributed.
- Divide the meat into 6 portions, roll into balls then flatten down on the baking dish then create a hole in the centre to form the magel.
- Bake for 40 minutes or until the meat is fully cooked.
- Allow the magels to cool slightly before slicing in half.Allow the magels to cool slightly before slicing in half.
- Serve with cream cheese, fried eggs and bacon.
Nutrition
Per Serving: 150 calories; 7.6 g fat; 0.7 g carbohydrates; 19.7 g proteinEquipment
- Baking tray
- Baking paper or a silicone liner
- Frying pan
- Spatula
- Mixing bowl
- Measuring cup
- Measuring spoons
- Scales
Nutritional disclaimer
Nutrition information is provided as an estimate based on the ingredients used and available in my area (New Zealand). The nutritional information is here to help you understand the recipe; I use MyFitnessPal to generate my estimates. For more accurate nutritional information, please use a nutritional calculator with the ingredients in your area.