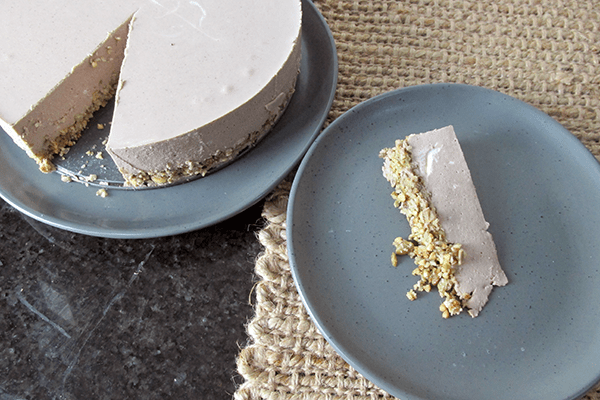
Guac you gonna do about it?
I love avocados and get very excited when they come into season. I would happily eat them with every meal, but guacamole is my favourite way to have them.
I will be honest; I am eating guacamole with almost every meal at the moment. I may add a healthy dose of jalapeño to make it too spicy for everyone else. I didn’t say I was doing that; I might be doing it. It could be that the jalapeños are extra spicy.

Back to the point
I have two ways to make guacamole; both are easy, but they give two different textures, so it is a matter of personal preference. If you are making guacamole for the kids to enjoy, you can leave the chilli out of the recipe. This Guacamole recipe is suitable for those eating Primal, Paleo, and Clean. With minor modification, it is also kid-friendly; leave out the chilli.
Guacamole recipe
Ingredients
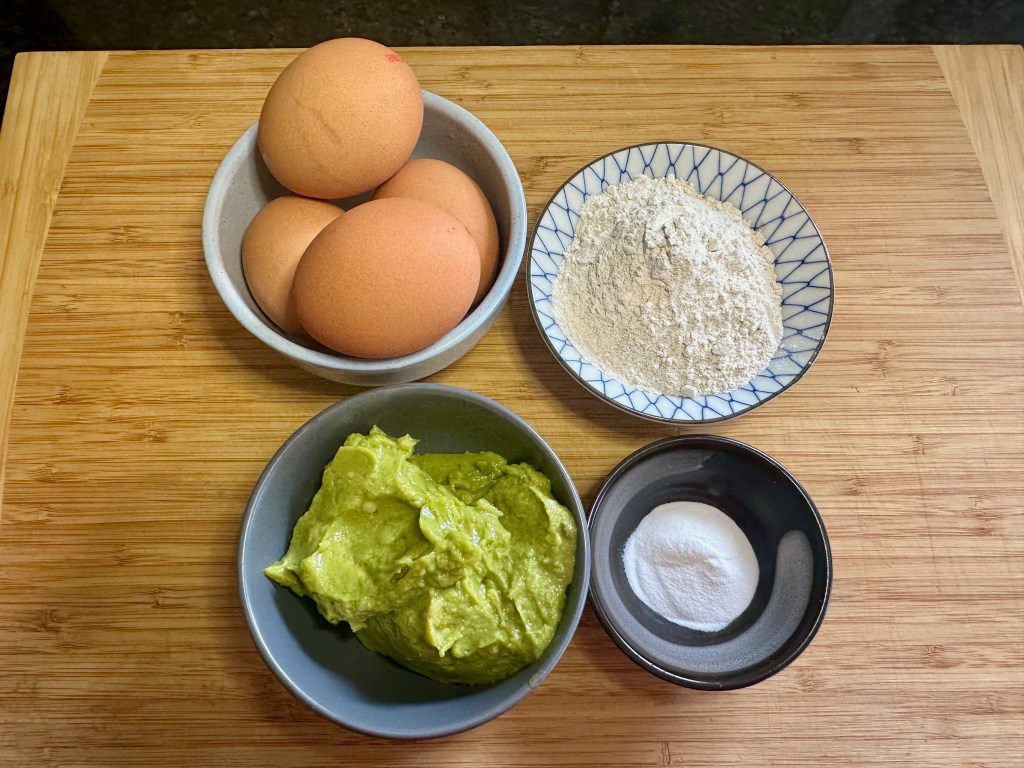
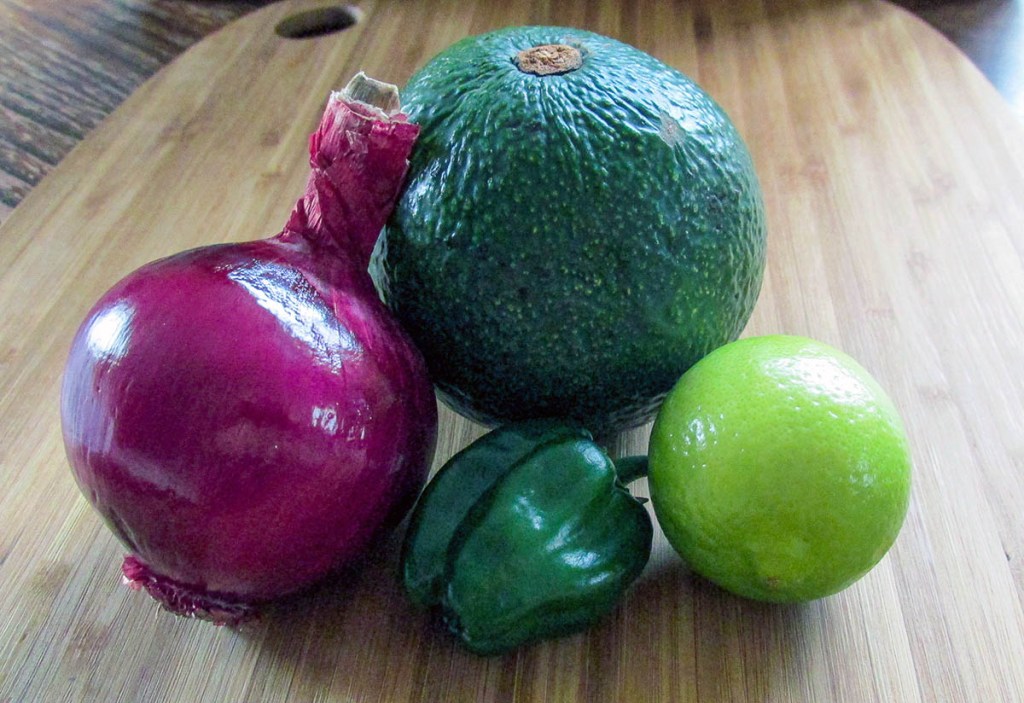
- 2 avocados
- 1/2 red onion
- 1 jalapeno chilli (optional)
- 1 tbsp. lemon juice
Take your avocados, cut them in half, remove the stones, and then scoop out the flesh
This is where you get to choose.
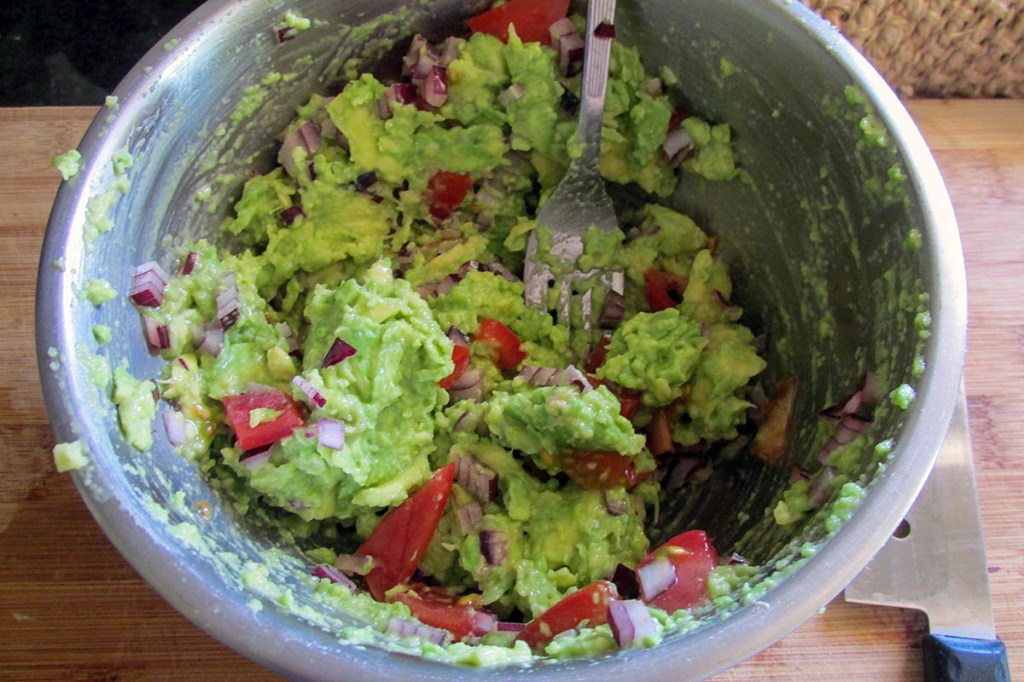
Option 1 Chunky
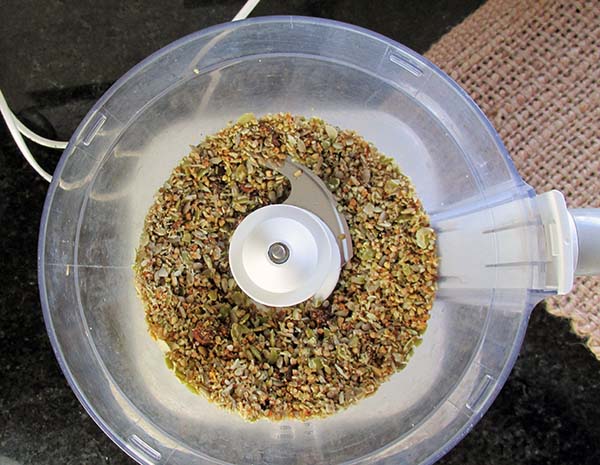
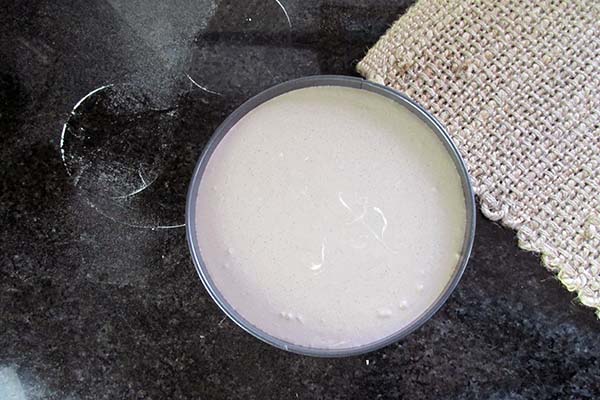
For a more chunky texture, I use a food processor to finely mince the chilli, pulse the onion then add the avocado with lemon juice and pulse again, this gives a part chunky part smooth texture that is great as a dip or addition to something spicy.
Option 2 Smooth
For a smoother texture, I like to finely mince the chilli and onion together into a paste, add the avocado and lemon juice and blend until you get a smooth texture.
If you are making guacamole without a food processor, it is down to you how finely you want to chop your ingredients and how much you mush the avocado with a fork.

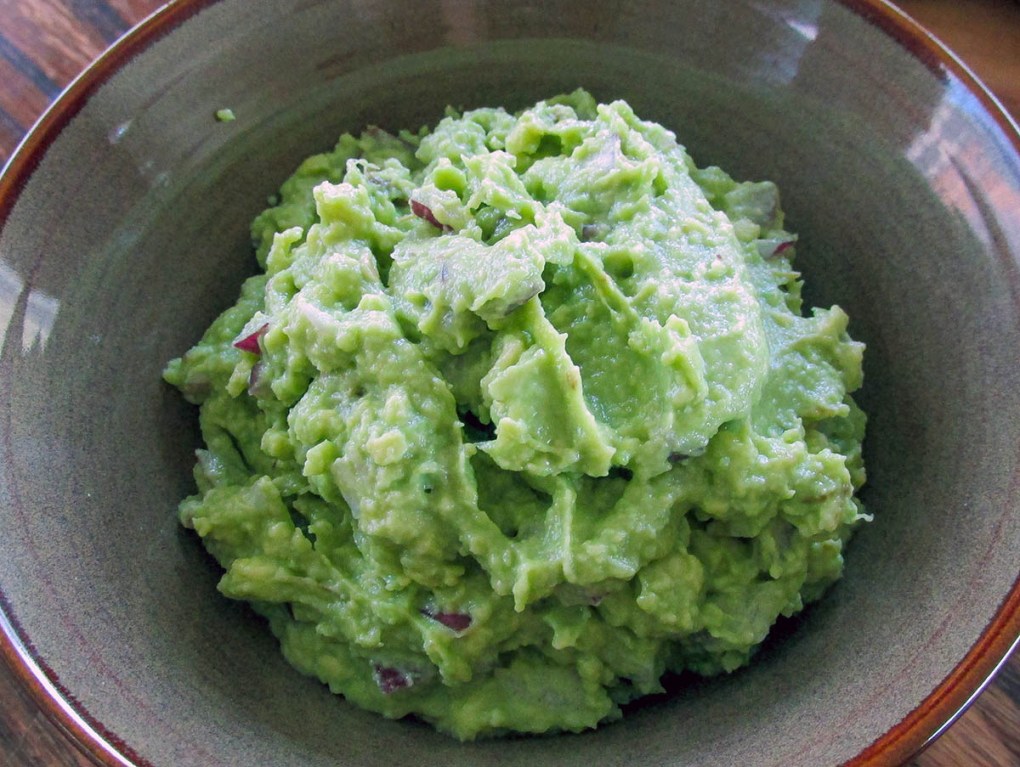
The result should still be great tasting guacamole
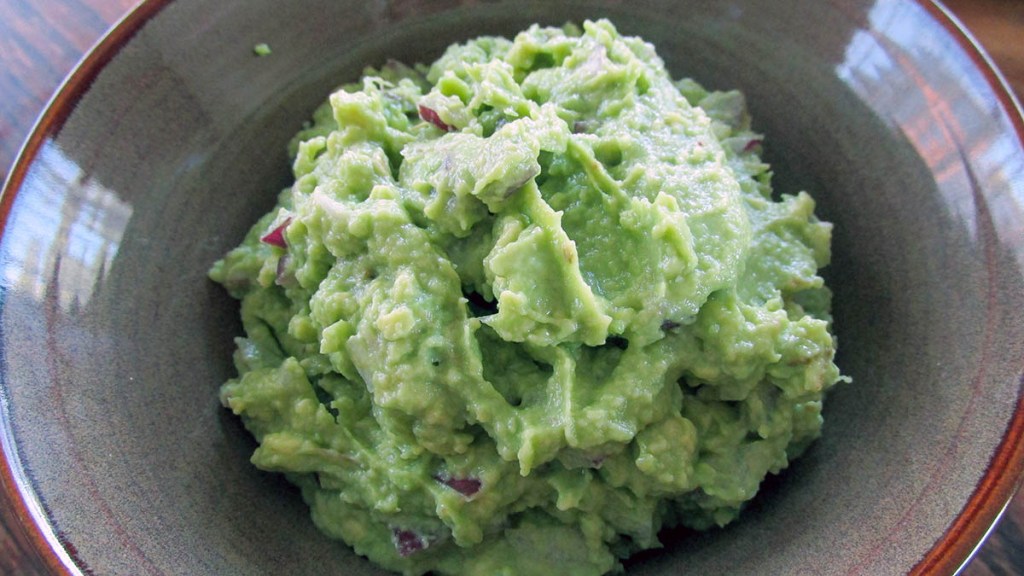
Guacamole
“
Credit: Cath @ easycleaneats
Ingredients
- 2 avocados
- 1/2 red onion
- 1 jalapeno chilli (optional)
- 1 tbsp. lemon juice
Directions
- Take your avocados, cut them in half, remove the stones, and then scoop out the flesh
- This is where you get to choose.
- For a more chunky texture I use a food processor to finely mince the chilli, pulse the onion then add the avocado with lemon juice and pulse again, this gives a part chunky part smooth texture that is great as a dip or addition to something spicy. Or
- For a smoother texture, I like to finely mince the chilli and onion together into a paste, add the avocado and lemon juice and blend until you get a smooth texture.
- If you are making the guacamole without a food processor, it is down to you how finely you want to chop your ingredients.
- The result should still be great tasting guacamole
Nutrition
Per Serving: 39 calories; 3 g fat; 2 g carbohydrates; 1 g proteinEquipment
- Knife
- Chopping board
- Food processor
- Measuring spoons
- Fork
Nutritional disclaimer
Nutrition information is provided as an estimate based on the ingredients used and available in my area (New Zealand). The nutritional information is here to help you understand the recipe; I use MyFitnessPal to generate my estimates. For more accurate nutritional information, please use a nutritional calculator with the ingredients in your area.