Updating as we go
Early in 2021, I relocated and started updating my website; I’ve been making changes and improving everything as I go. This recipe is one of the many things I’ve tried to improve.
Simple and fancy looking
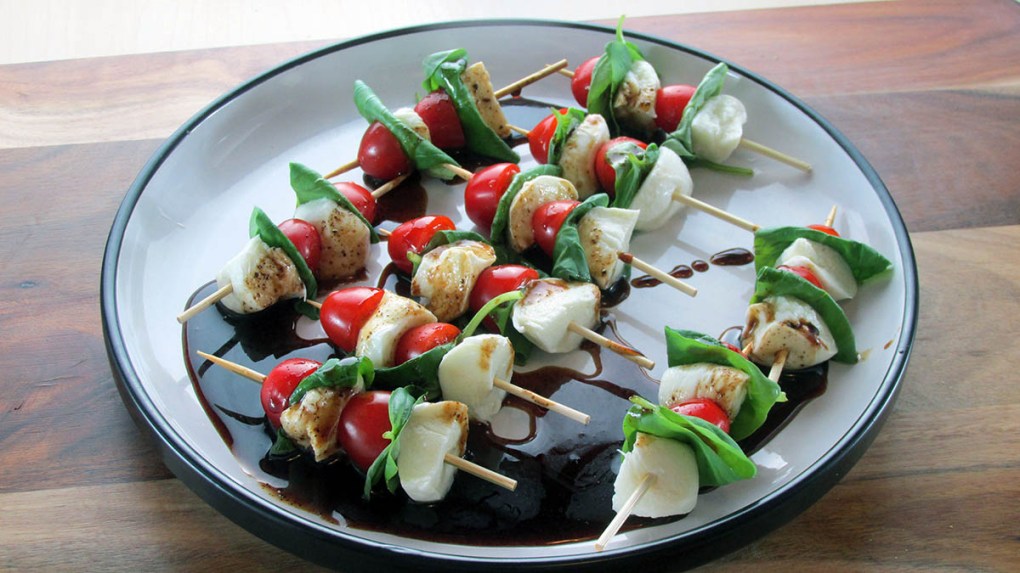
Who doesn’t love something that looks fancy, tastes delicious, and is so simple to make that you could leave the kids to make it? I know that I do. These caprese skewers are one of the easiest recipes ever, and they always gather compliments when I make them. No cooking is needed; you need some chopping and skewers, and you are good to go. Did I mention how cool they look on the plate?
Ideal for company
I first made these skewers for a UFC pay-per-view event when I was hanging out with friends. Making food for fights isn’t as easy as you might think. You spend half the day with your eyes glued to the action and afraid to look at what you are eating because you know you will miss that knockout shot. The main appeal of these skewers is that they are finger food, and you don’t need to take your eyes off the fights while you eat them. Grab, munch and repeat. The first time I made them, the plate was cleared in a single round, which usually means they are a hit. They have been on the menu for pay-per-view parties ever since.
Caprese skewer recipe

Ingredients
- 1/4 cup balsamic glaze
- 10 cherry tomatoes
- 5 mini mozzarella balls
- 10 fresh basil leaves
- mini skewers
Instructions
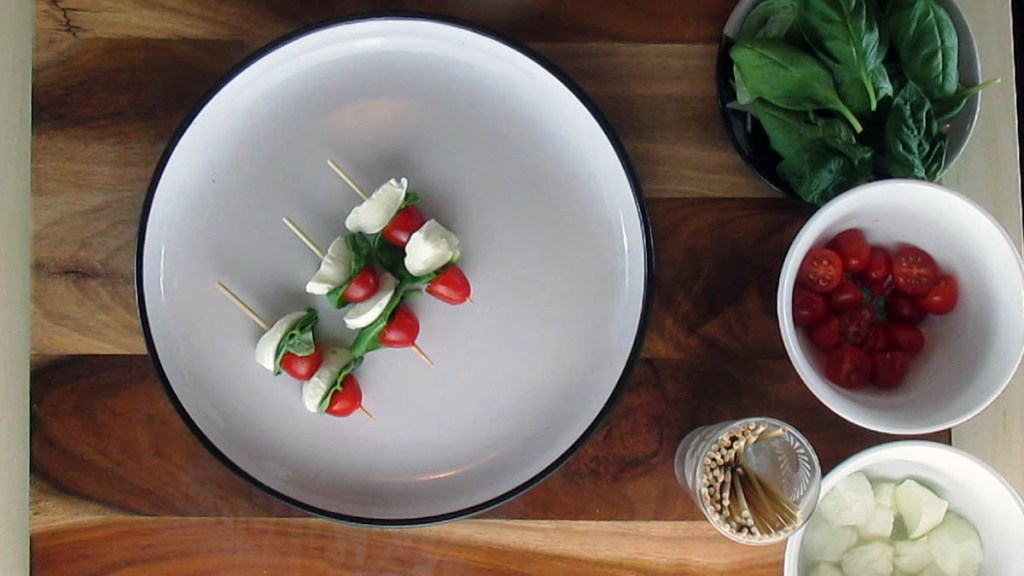
Cut the cherry tomatoes in half.
Cut in half any of the large basil leaves.
Cut in half the mozzarella balls.
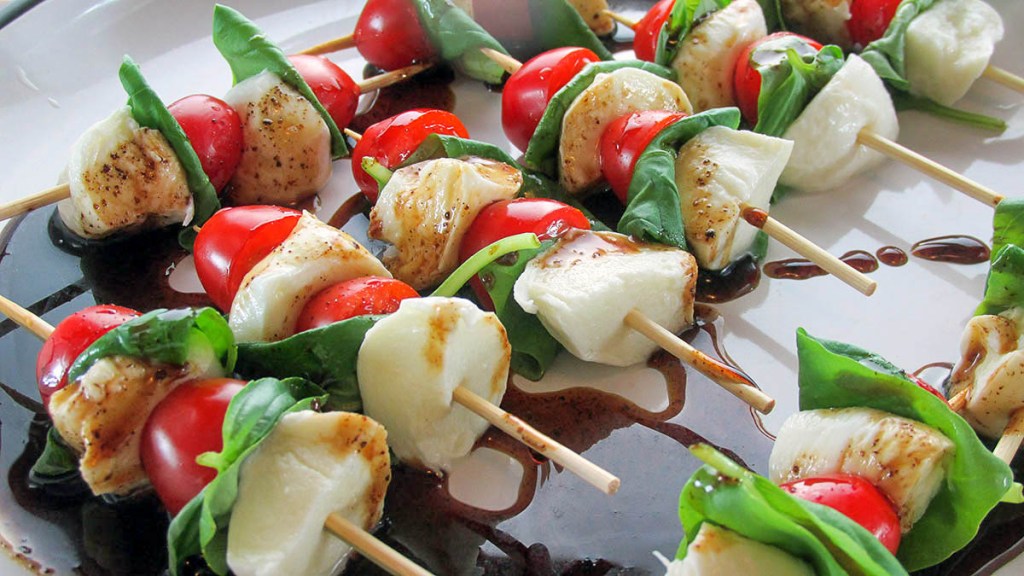
Take a mini skewer and thread on a piece of mozzarella, then a basil leaf and a piece of tomato, repeat to fill up the skewer.
Repeat with the remaining ingredients.

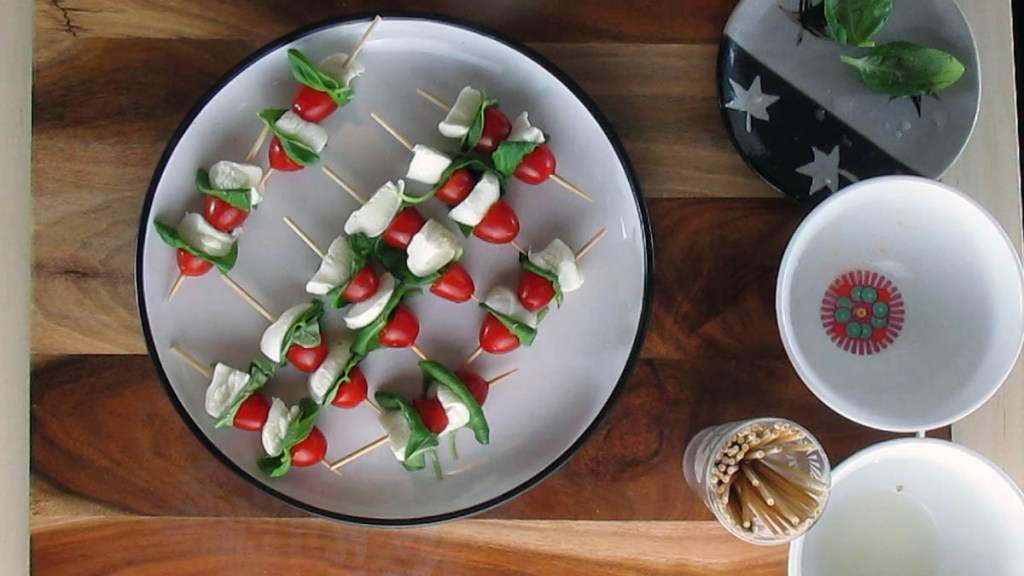
Lay out the skewers and drizzle them with the balsamic glaze before serving.
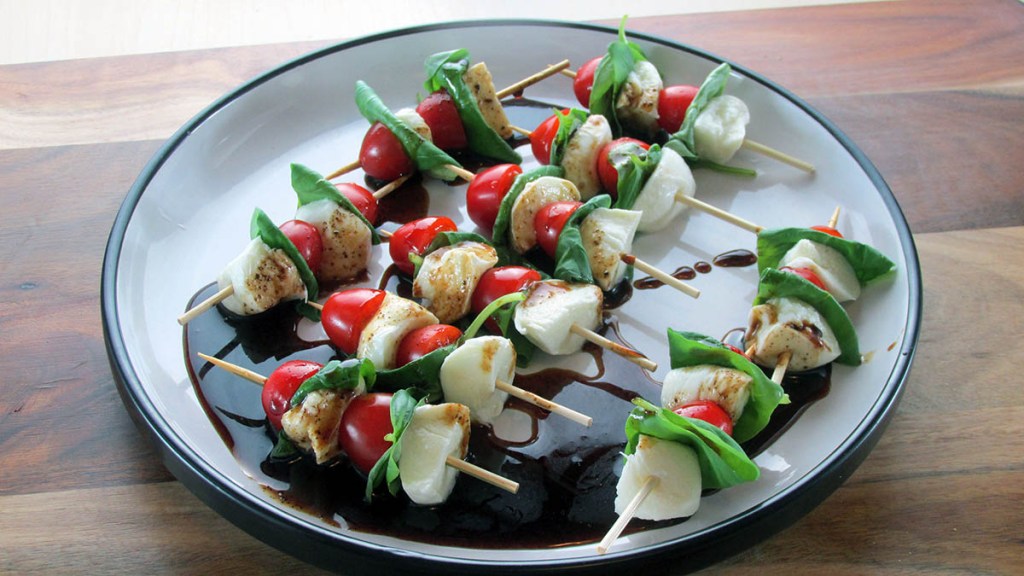
Caprese skewers
“Simple
Credit: Cath @ easycleaneats
Ingredients
- 1/4 cup balsamic glaze
- 10 cherry tomatoes
- 5 mini mozzarella balls
- 10 fresh basil leaves
- mini skewers
Directions
- Cut the cherry tomatoes in half.
- Cut in half any of the large basil leaves.
- Cut in half the mozzarella balls.
- Take a mini skewer and thread on a piece of mozzarella, then a basil leaf and a piece of tomato, repeat to fill up the skewer.
- Repeat with the remaining ingredients.
- Lay out the skewers and drizzle them with the balsamic glaze before serving.
Nutrition
Per Serving: 50 calories; 2.6g fat; 3.2g carbohydrates; 3g proteinEquipment
- Knife
- Chopping board
- Skewers
- Plate
Nutritional disclaimer
Nutrition information is provided as an estimate based on the ingredients used and available in my area (New Zealand). The nutritional information is here to help you understand the recipe; I use MyFitnessPal to generate my estimates. For more accurate nutritional information, please use a nutritional calculator with the ingredients in your area.