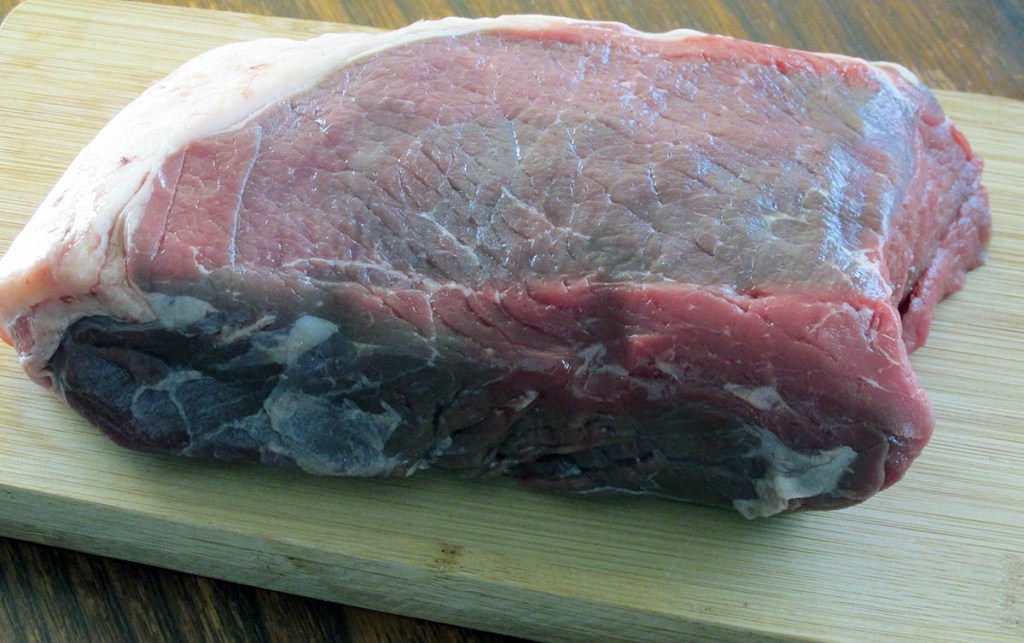
All of the meat
As snacks go, I don’t think you can get better than beef jerky. The little meaty treat is hard to say no to and more so when the alternative snacks are loaded with sugar or soy. I initially decided to make my own beef jerky because the store-bought stuff didn’t agree with me. The beauty of homemade jerky is the different flavours you can make in one go and that it is so much cheaper.
Simple to make
You don’t need any special equipment to make your own jerky. If you have a sharp knife and an oven with a low heat setting, you have everything you need. If you have access to a dehydrator, it is an easier tool to use, and you can make more jerky in one go.
More meat-lovers
Recently the youngest member of our house joined the beef jerky lover group with a vengeance. My coconut amino teriyaki jerky seems to be a firm favourite with him (and the cat). The big bag of beef jerky that we get out of each beef roast is impressive. Keeping it in glass jars in a cool, dry place means that we have beefy treats on hand for a couple of weeks.
Beef jerky recipe
Ingredients
- 1kg Beef roast
- 5 tsp. paprika
- 2 tsp. garlic powder
- 1 tsp. salt
- 4 tsp. basil
- 2 tsp. thyme
- 300ml water

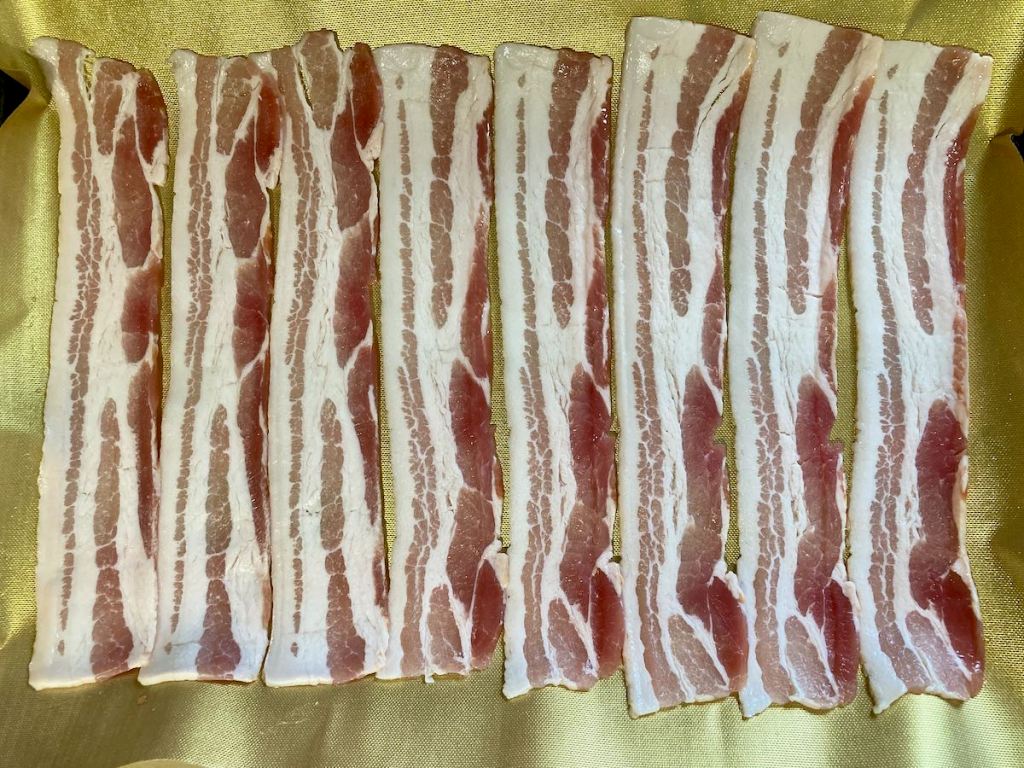
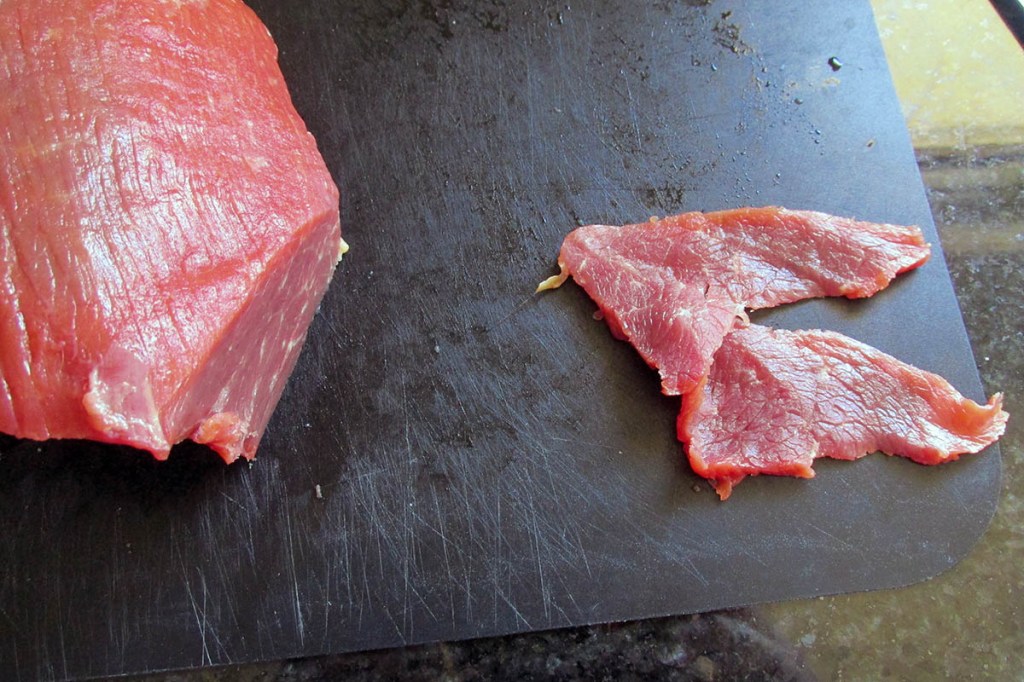
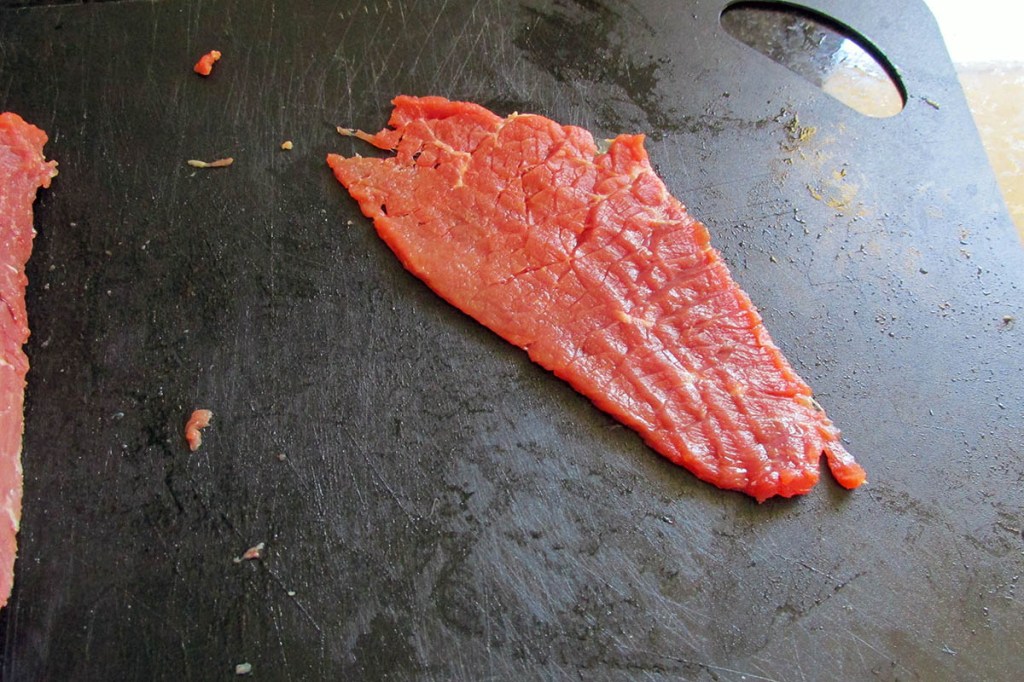
Thinly slice your meat; you want it to be no more than 5 mm in thickness.
Take a large sandwich bag you can seal up and place the meat inside or a bowl that can be covered.

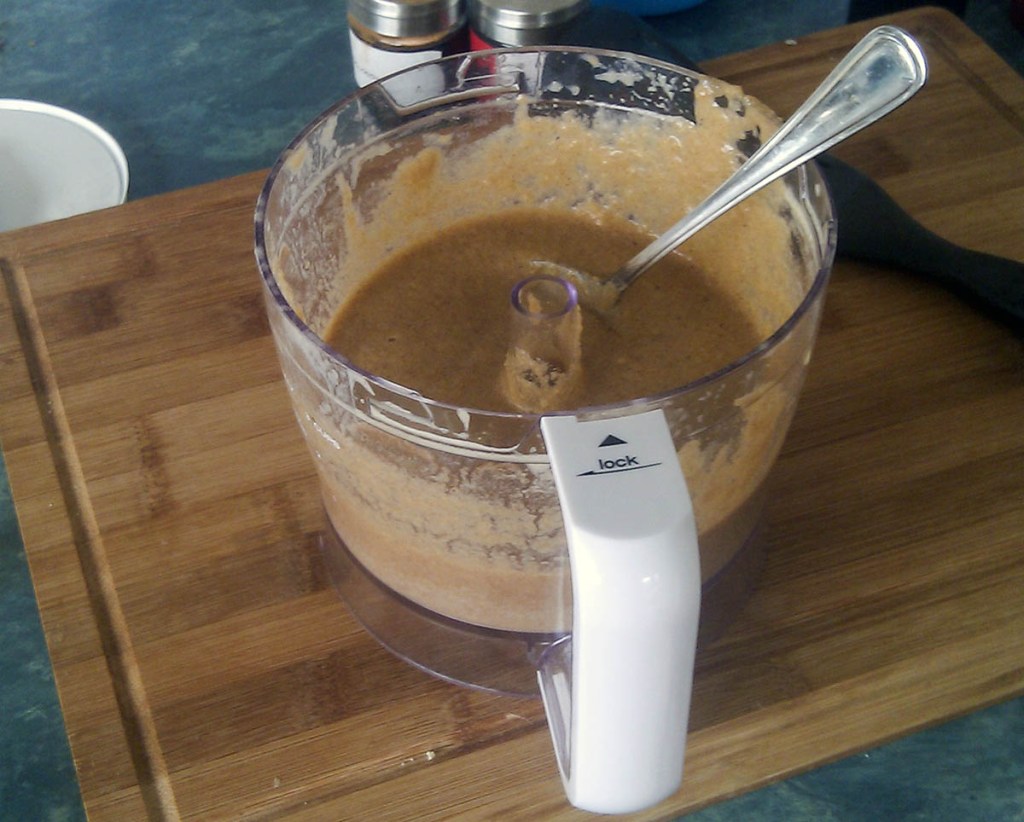
In a bowl mix together the ingredients for your marinade, whisk to make sure it is well combined.

Pour the marinade over the meat and massage it around in the bag or in the bowl.
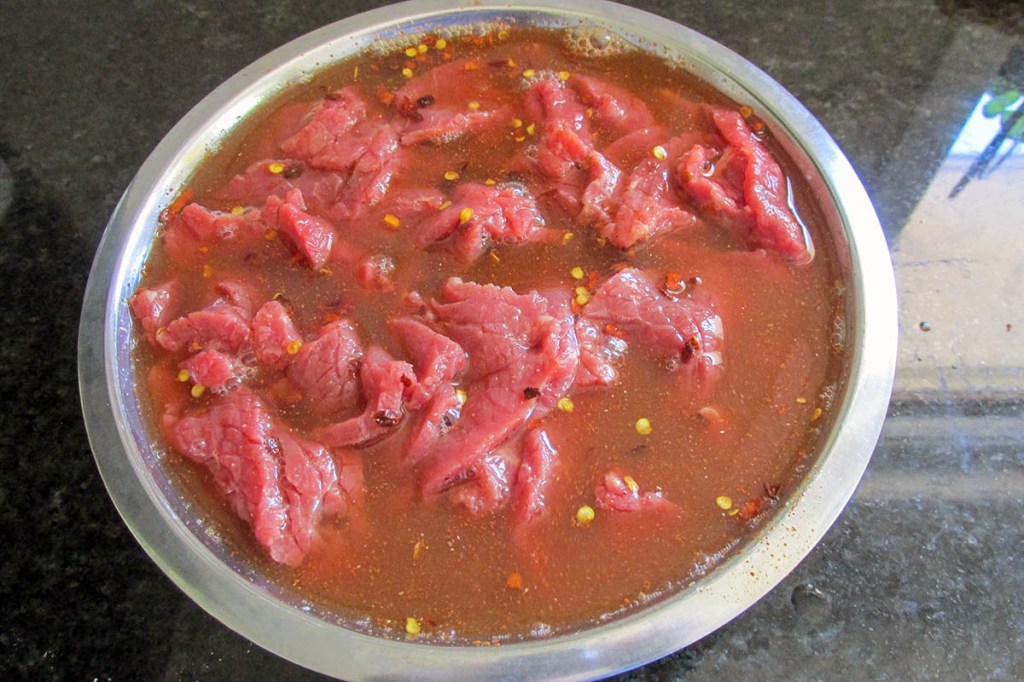
Seal the bag or cover the bowl and put it in the fridge for at least 12 hours but preferably 24 hours.

There are two ways you can dry the meat to make into jerky, you can use your oven or a dehydrator.
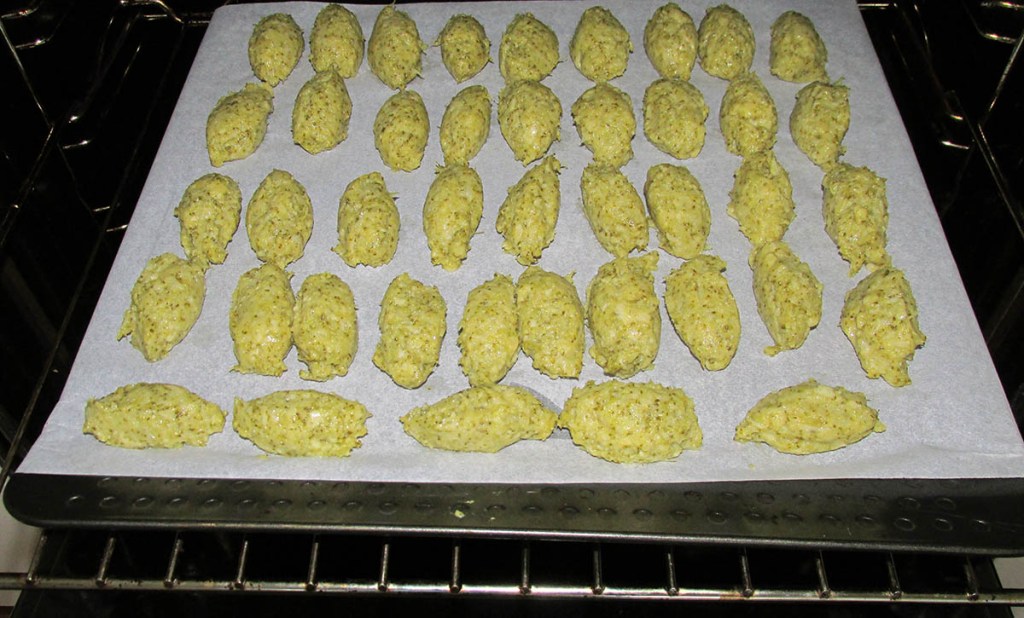
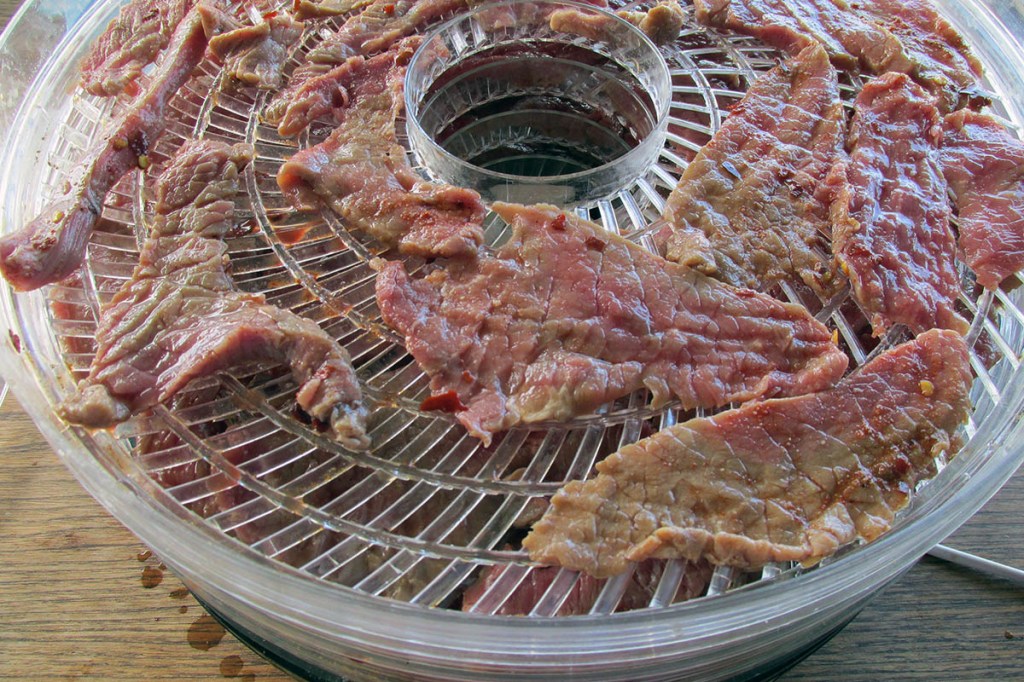
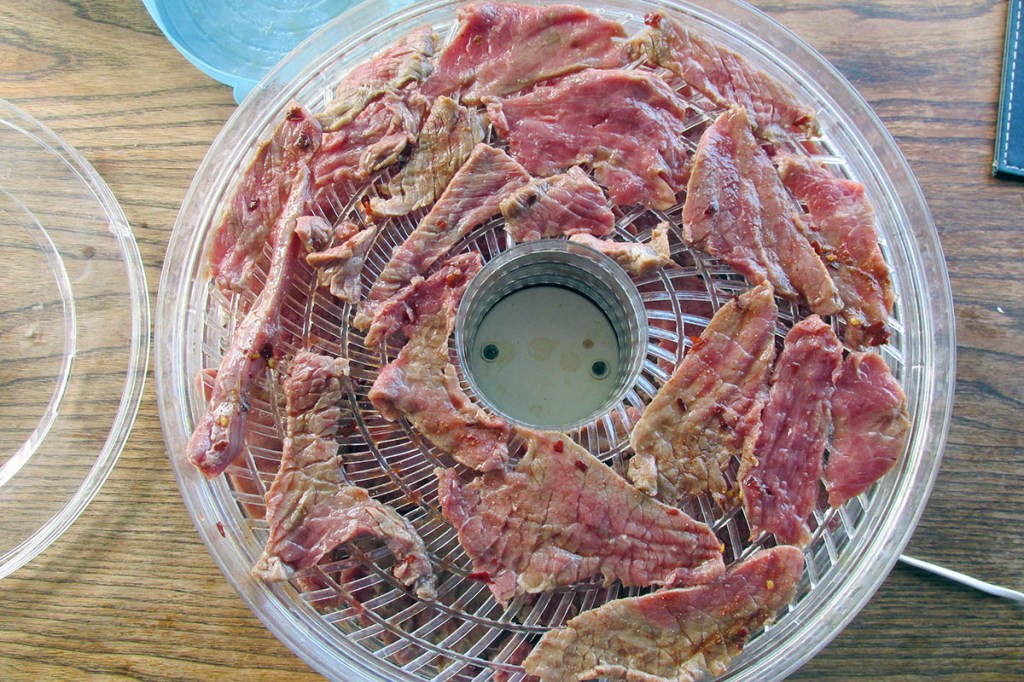
Lay out all of the meat onto the dehydrator trays making sure the pieced of meat don’t overlap.

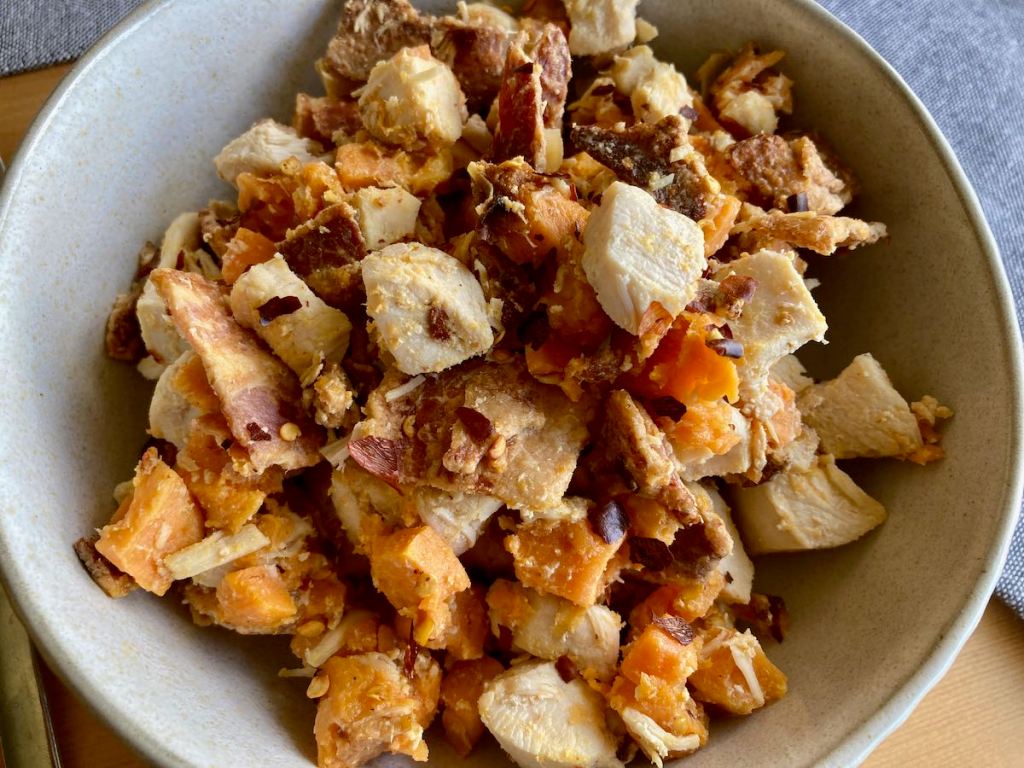
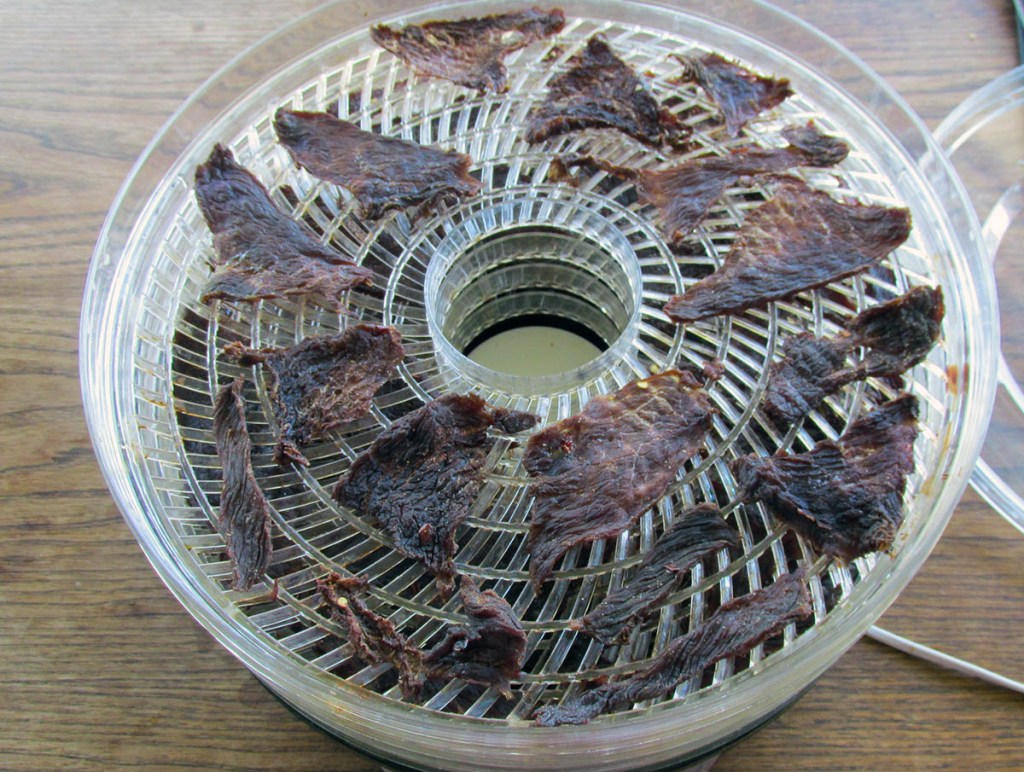
Once the meat has dried out it is ready to be stored, I keep my in bags in the fridge or in an airtight jar.

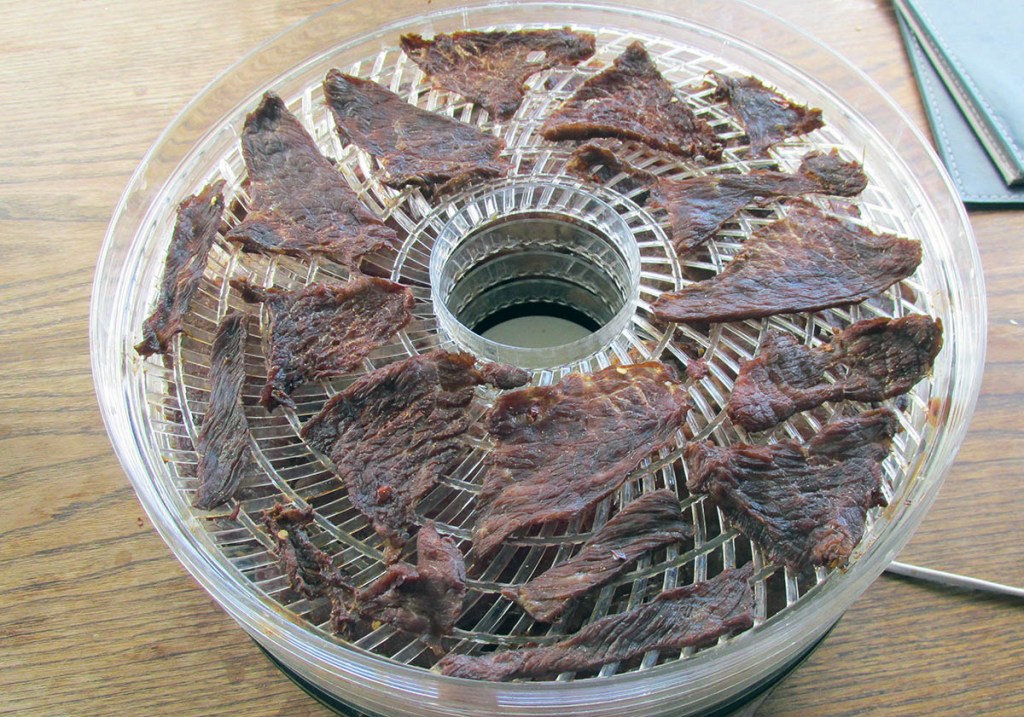
The time it takes for the meat to dry will depend on how thick it has been sliced, the temperature you are drying the meat at.

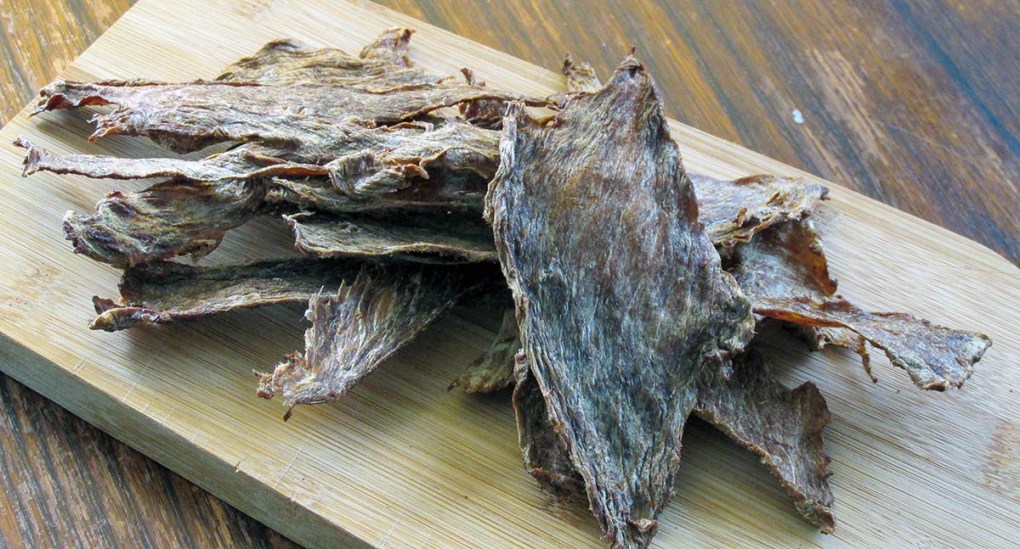
“Beef
Credit: Cath @ easycleaneats
Ingredients
- 1kg Beef roast
- 5 tsp. paprika
- 2 tsp. garlic powder
- 1 tsp. salt
- 4 tsp. basil
- 2 tsp. thyme
- 300ml water
Directions
- Thinly slice your meat; you want it to be no more than 5 mm in thickness.
- Take a large sandwich bag you can seal up and place the meat inside.
- In a bowl mix together the ingredients for your marinade, whisk to make sure it is well combined.
- Pour the marinade over the meat and massage it around in the bag.
- Seal the bag and put it in the fridge for at least 12 hours but preferably 24 hours.
- When it’s ready drain the marinade off the meat and remove any excess moisture with a clean tea towel.
- There are two ways you can dry the meat to make into jerky, you can use your oven or a dehydrator.
- If your using the oven you need to have it set around 50 degrees C/ 120 degrees F.
- Lay out all of the meat onto wire trays, you need to make sure that the pieces of meat don’t overlap, you can put multiple wire trays on top of each other but the needs to be space for the air to get between each tray.
- Put it in the oven on the low heat with the oven door slightly open if you can, if not just open the door every now and then to allow the moisture to escape.
- If you are using a dehydrator it needs to be set to around 65 degrees C/ 150 degrees F.
- Lay out all of the meat onto the dehydrator trays making sure the pieced of meat don’t overlap.
- The time it takes for the meat to dry will depend on how thick it has been sliced, the temperature you are drying the meat at. 14.Once the meat has dried out it is ready to be stored, I keep my in bags in the fridge or in an airtight jar.
Nutrition
Per Serving: 64 calories; 2.1g fat; 0g carbohydrates; 10.4g proteinEquipment
- Scales
- Measuring jug
- Measuring spoons
- Knife
- Chopping board
- Ziplock bag
- Mixing bowl
- Whisk
- Dehydrator or wire racks
Nutritional disclaimer
Nutrition information is provided as an estimate based on the ingredients used and available in my area (New Zealand). The nutritional information is here to help you understand the recipe; I use MyFitnessPal to generate my estimates. For more accurate nutritional information, please use a nutritional calculator with the ingredients in your area.