Pesto that won’t kill me
Stupid nut allergies have prevented me from trying a number of foods over the years that look, smell and no doubt taste amazing. Pesto was one of the things I had wanted to try for years, but as it contains pine nuts it’s been a no go.
I had a moment of genius (or madness, I can never really tell the difference) and figured that I could replace the pine nuts with something else, after a little trial and error I found a combination that worked.
The verdict
My taste tester assures me that the flavours are in the same balance as normal pesto made with nuts the only difference is the texture of the sunflower seeds, I suppose I have to take his word for it because I don’t fancy the hospital trip that I would get if I checked. If you don’t have to avoid nuts sub the sunflower seeds for the same amount of pine nuts.
Baby kale everywhere
I recently planted some kale out on my deck and it has grown like crazy. With so much baby kale leaves around I decided to make some pesto with it. The baby kale adds a new dimension of flavour that works well with eggs. Green eggs and ham anyone?
Nut-free kale pesto recipe
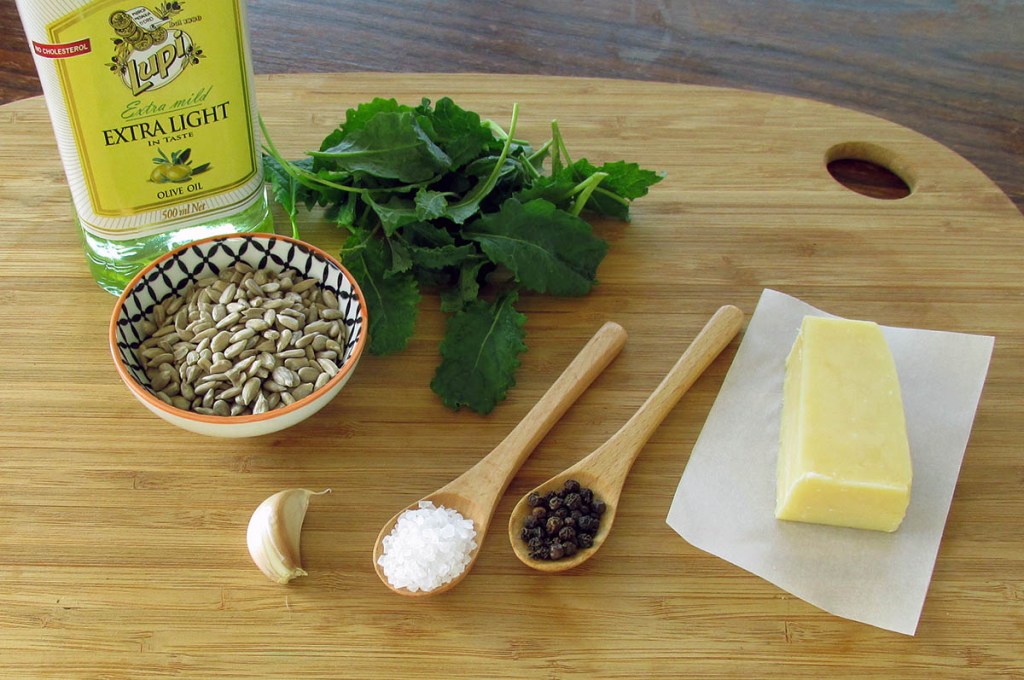
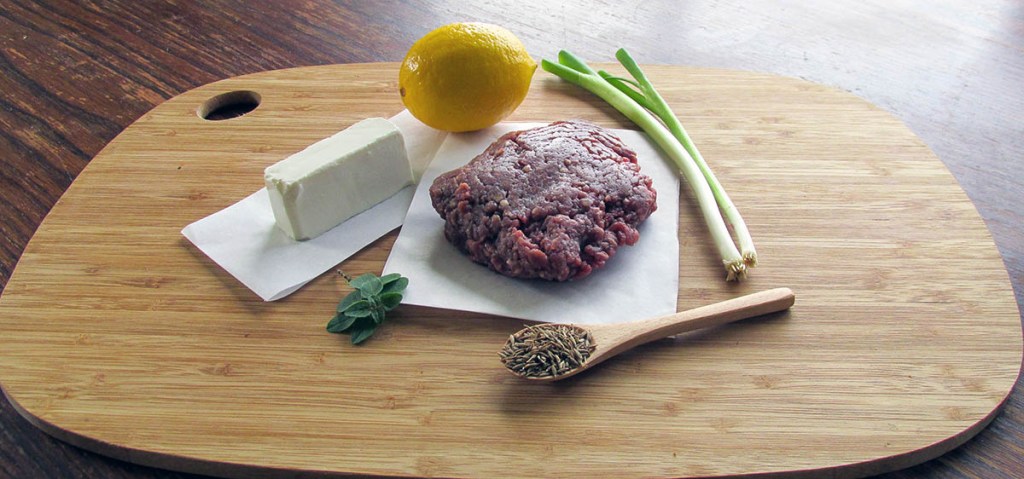
Ingredients
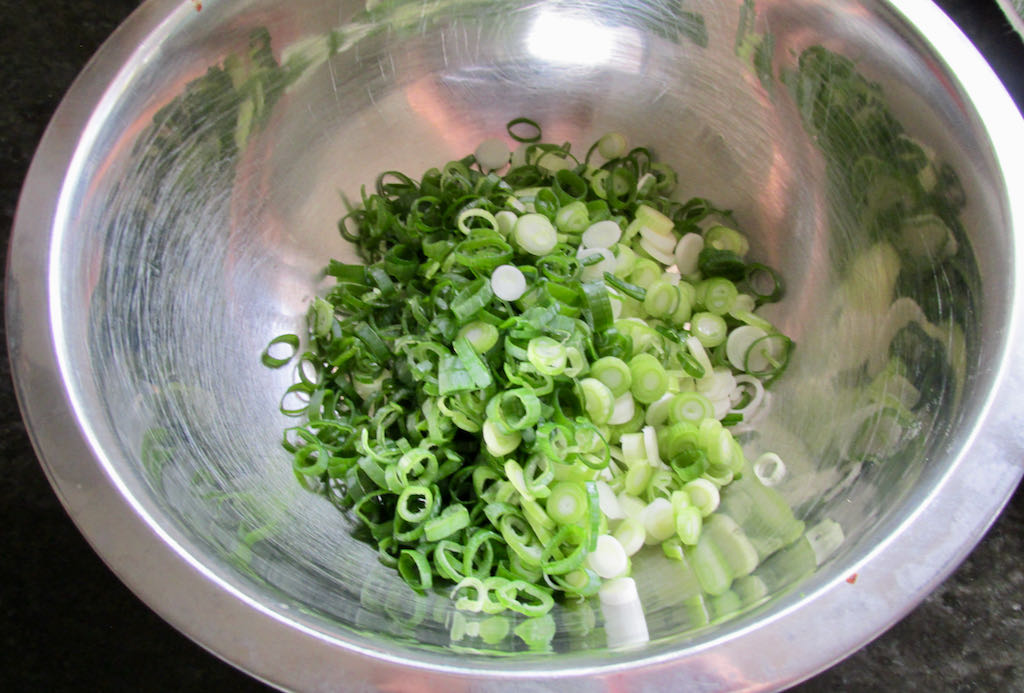
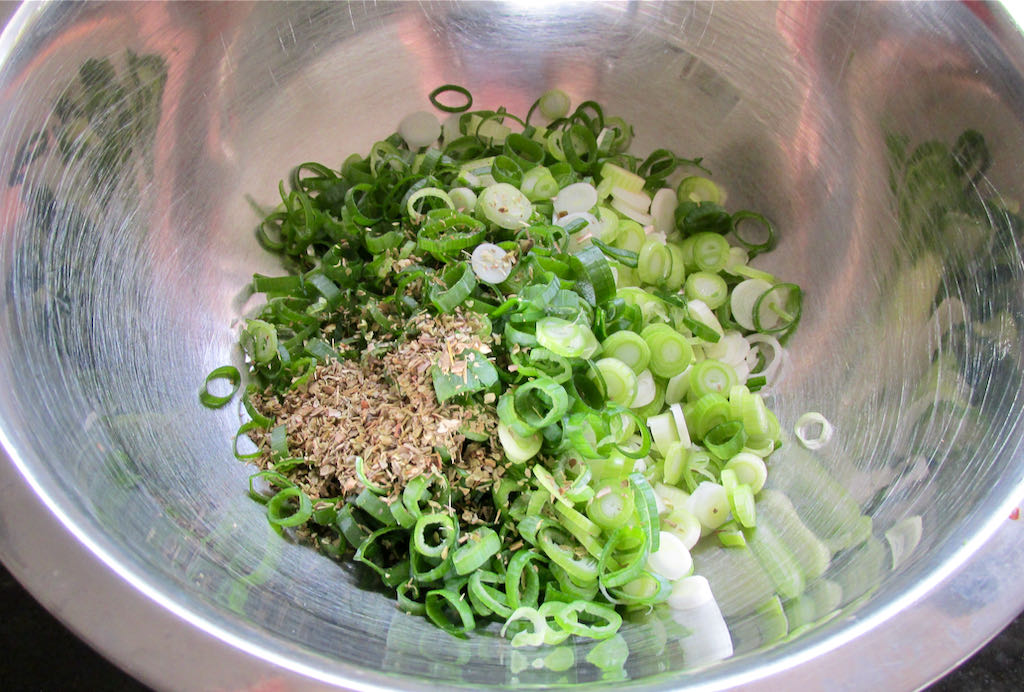
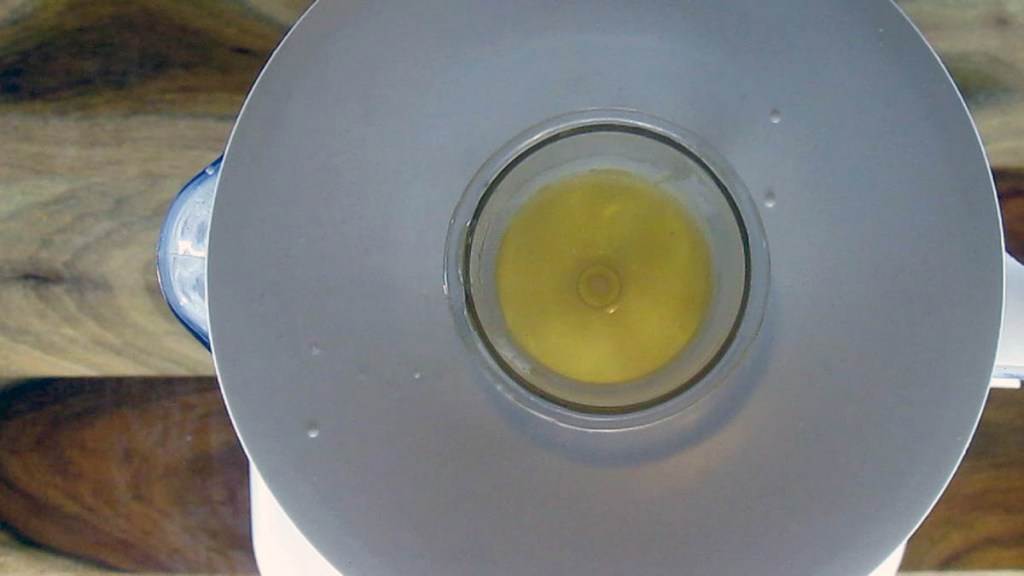
- 1/2 garlic clove, chopped
- 3 handfuls fresh baby kale leaves, picked and chopped
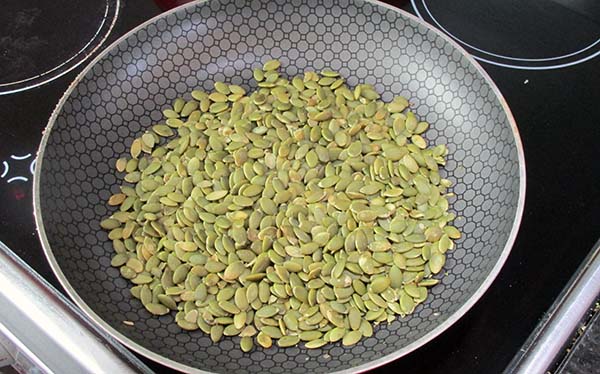
- 1 handful sunflower seeds, very lightly toasted
- 1 handful Parmesan cheese, freshly grated
- 3 tbsp. olive oil
- Salt and pepper to taste
Instructions
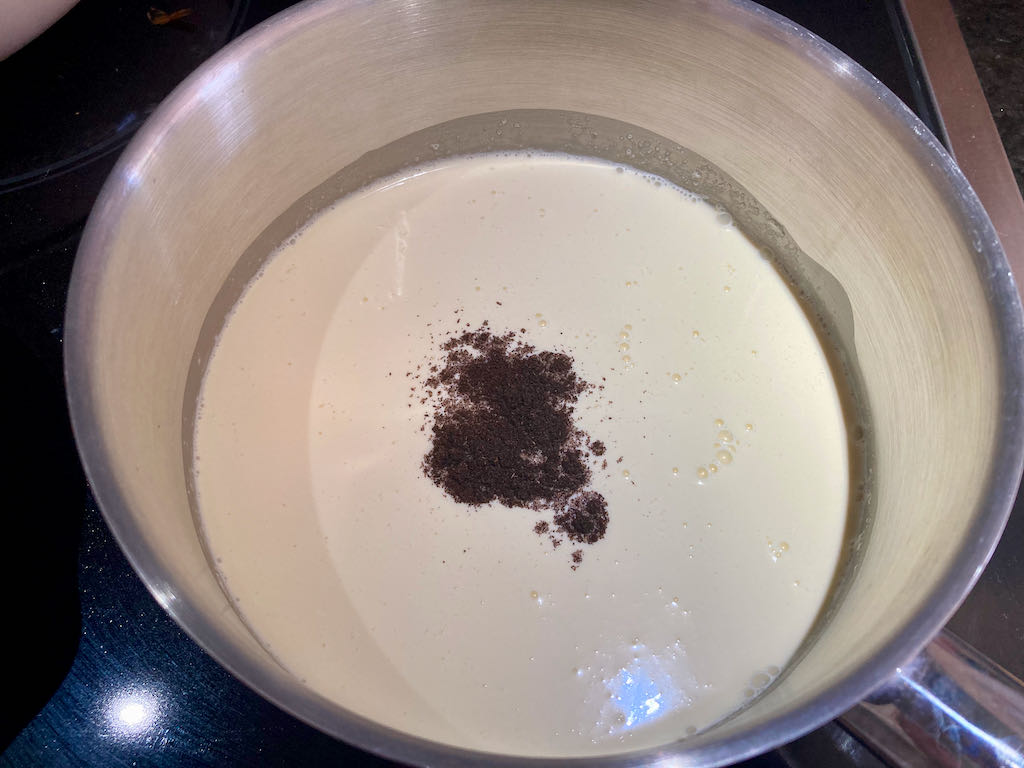
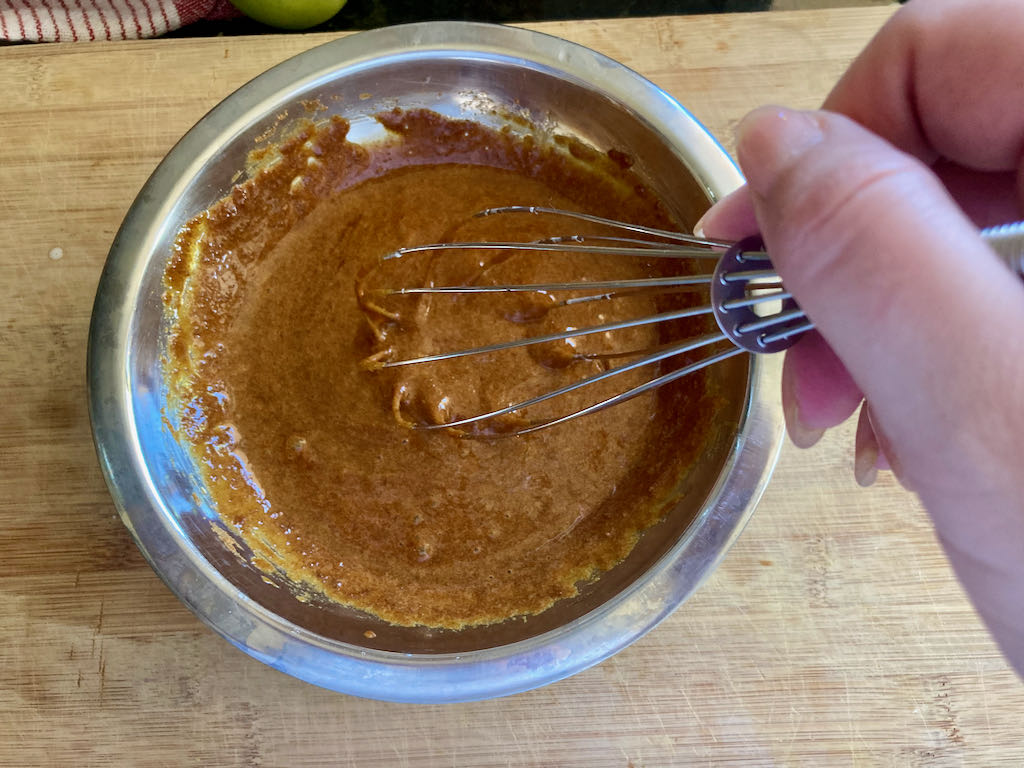
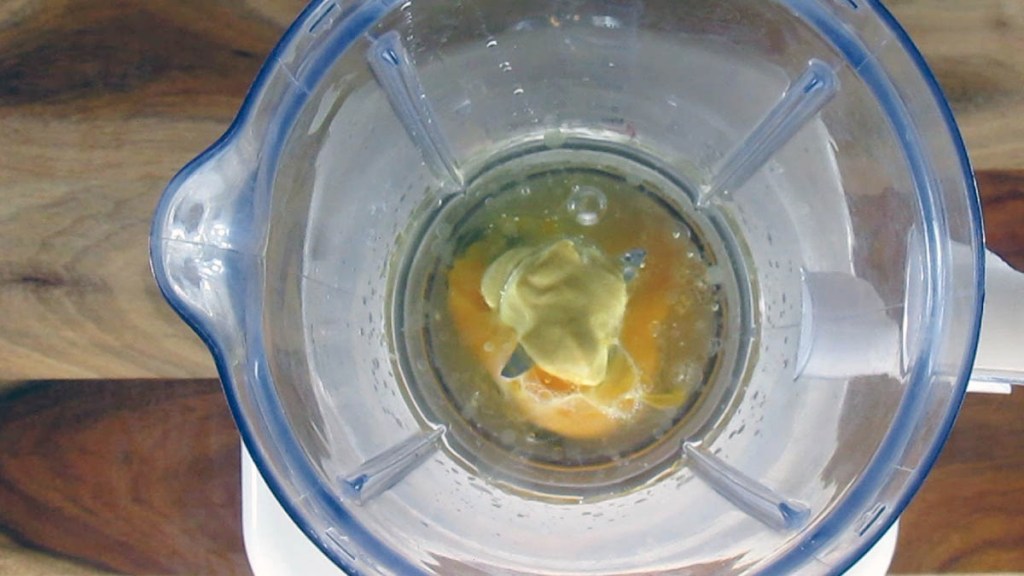
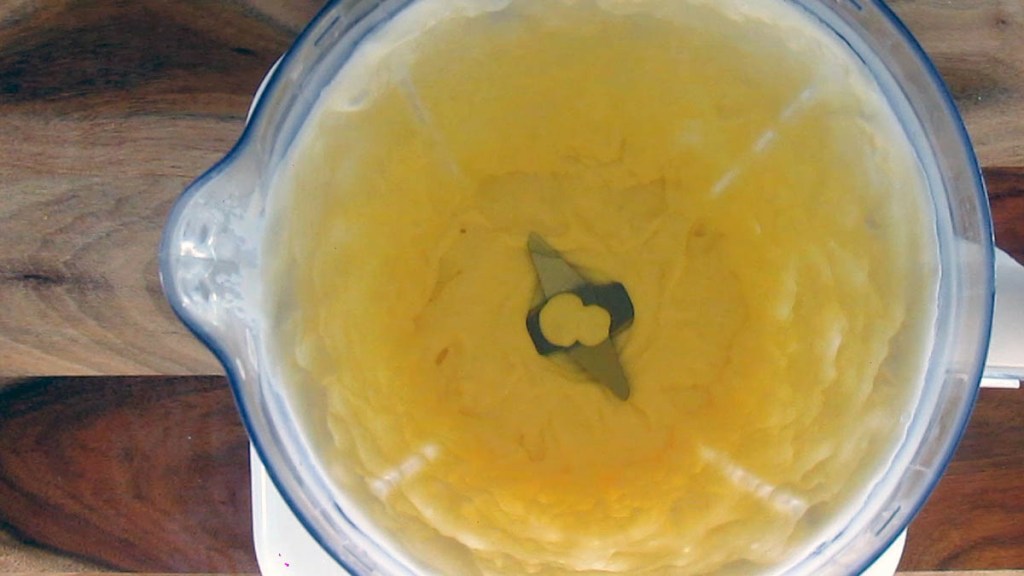
Pound the garlic and the baby kale leaves in a pestle and mortar, or pulse in a food processor.

Add the sunflower seeds to the mixture and pound or pulse again.

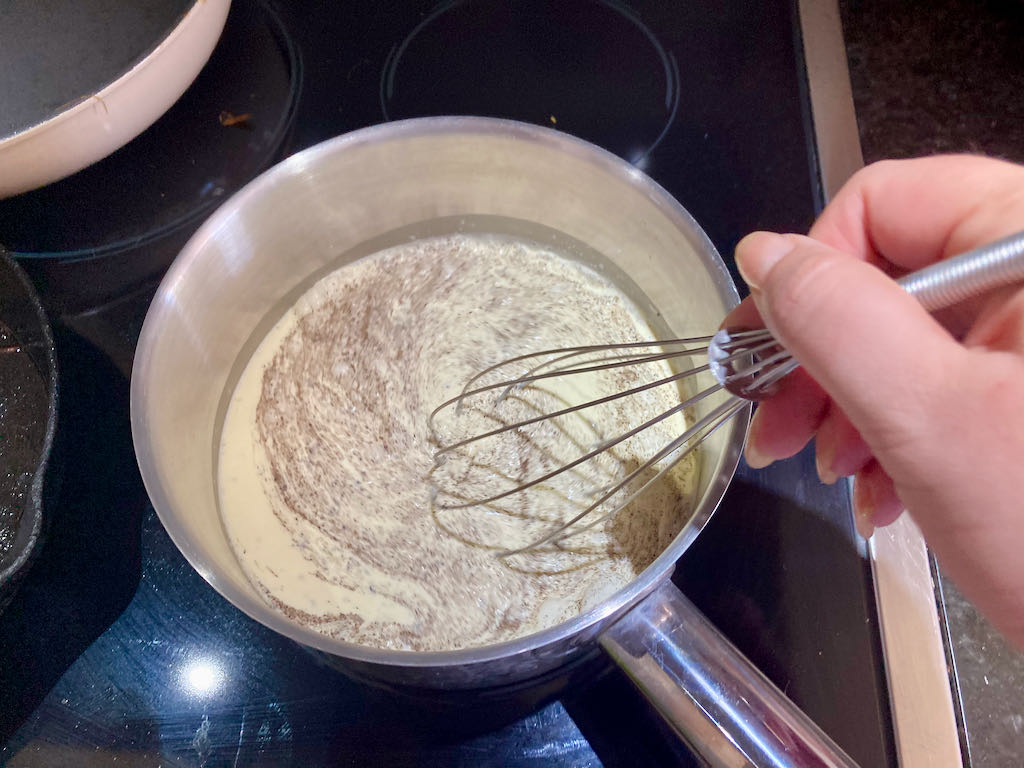
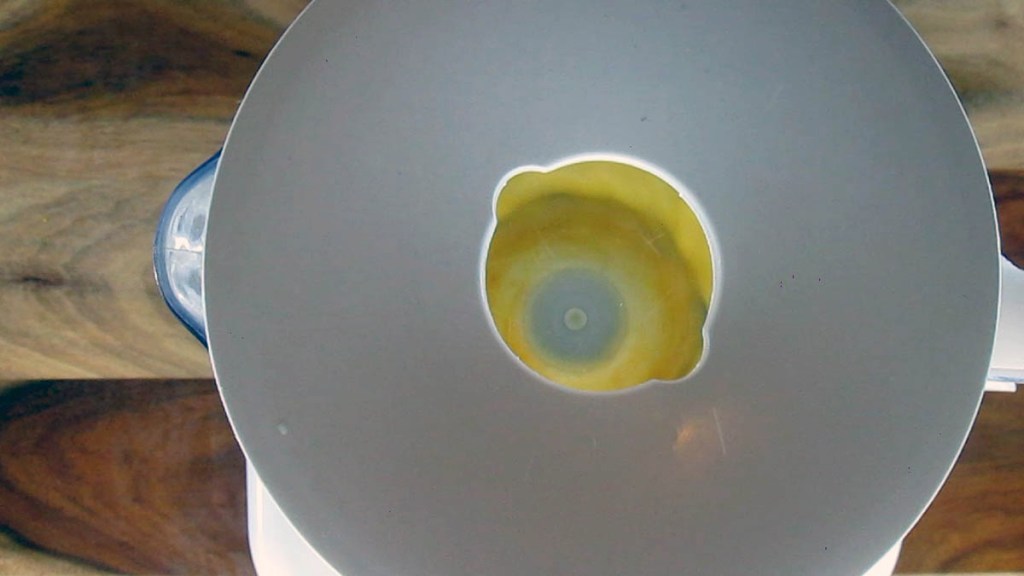
Add the parmesan and mix with a spoon or do a quick pulse again.

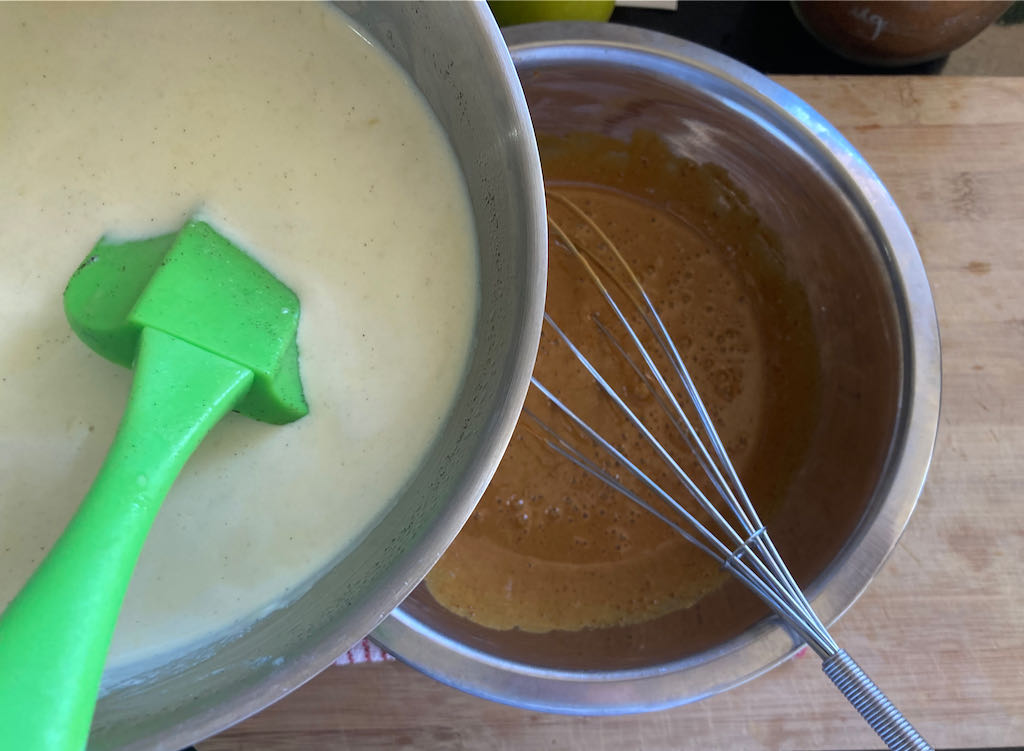
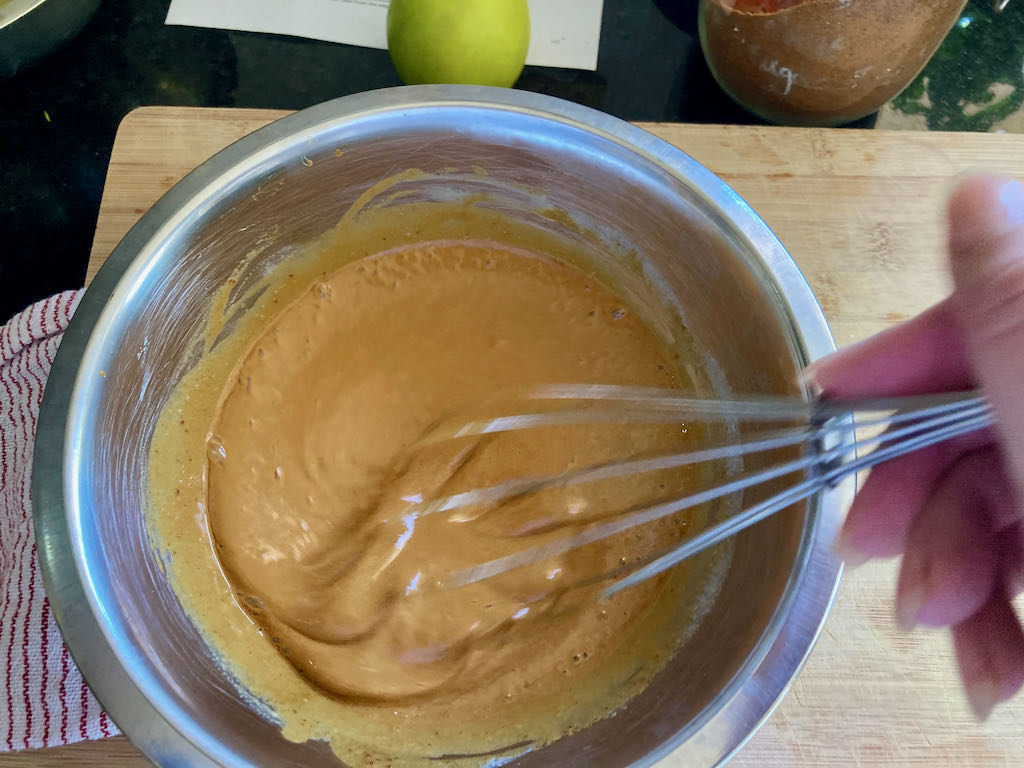
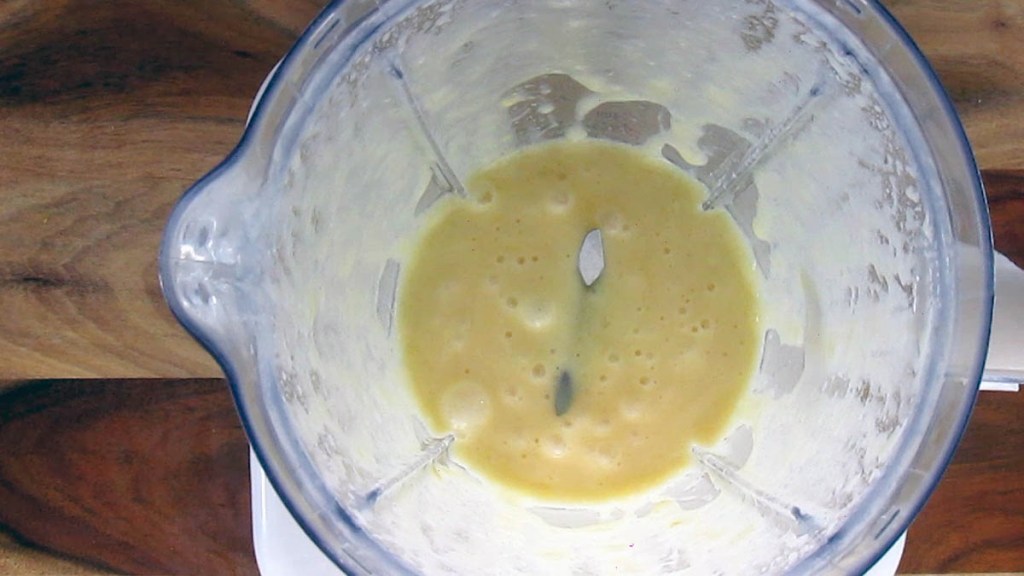
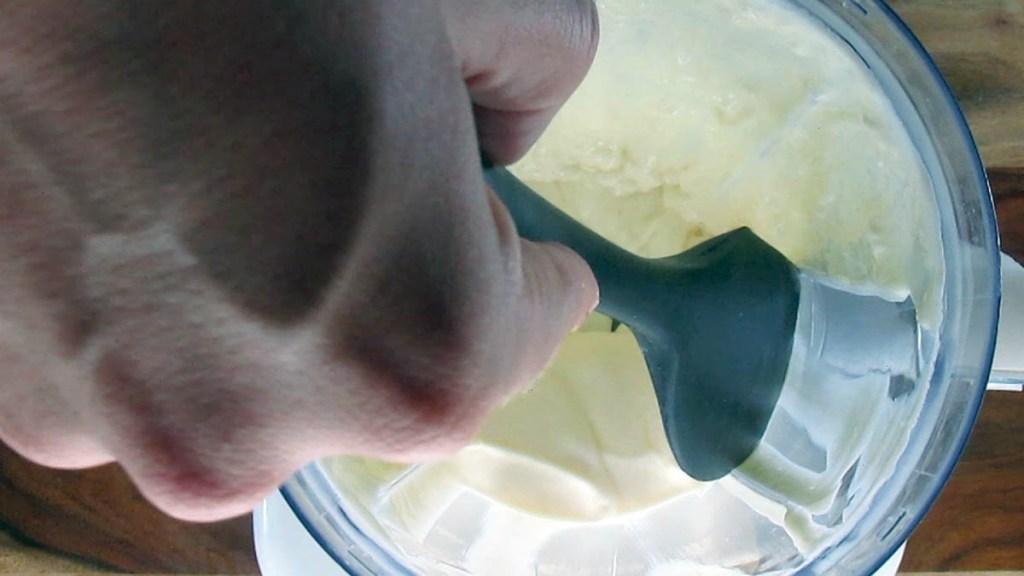
Stir gently and add olive oil or put the food processor on its lowest setting and pour in the oil.

Add a little oil at a time so you don’t drown everything else.
Season to taste.
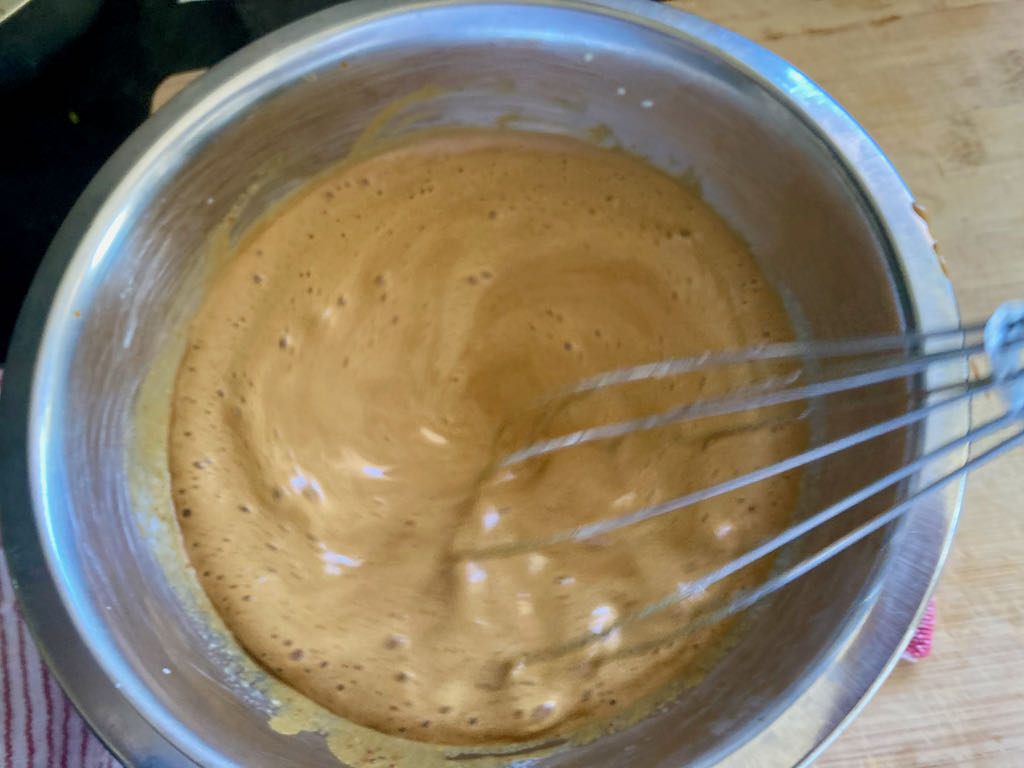
Add the remaining cheese and oil to your taste and preferred consistency.

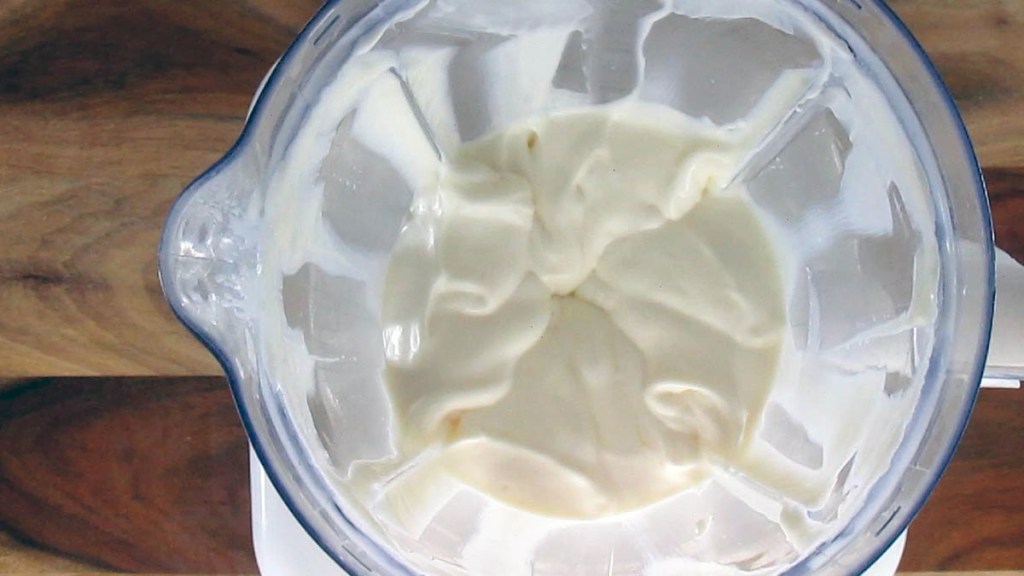
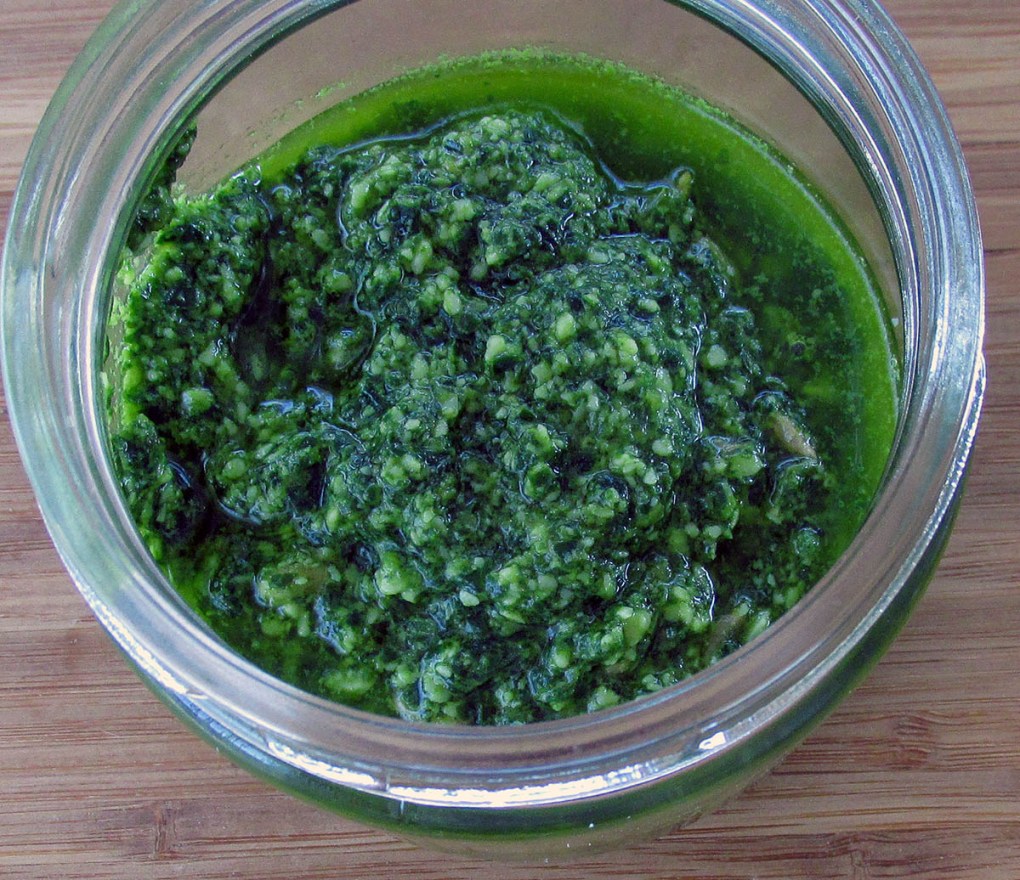
The finished pesto should look shiny and a little creamy.

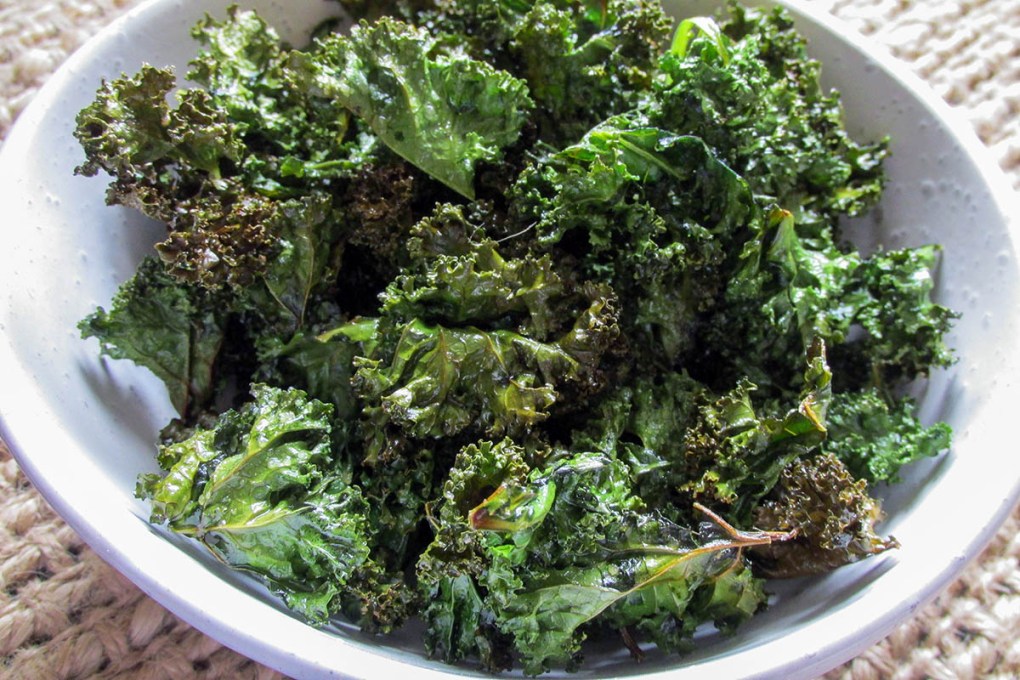
Nut-free pesto

This nut-free pesto is a great alternative for anyone that has to stay away from tree nuts.
Credit: Cath @ easycleaneats
Ingredients
- 1/2 garlic clove, chopped
- 3 handfuls fresh baby kale leaves, picked and chopped
- 1 handful sunflower seeds, very lightly toasted
- 1 handful Parmesan cheese, freshly grated
- 3 tbsp. olive oil
- Salt and pepper to taste
Directions
- Pound the garlic and the baby kale leaves in a pestle and mortar, or pulse in a food processor.
- Add the sunflower seeds to the mixture and pound or pulse again.
- Add the parmesan and mix with a spoon or do a quick pulse again.
- Stir gently and add olive oil or put the food processor on its lowest setting and pour in the oil.
- Add a little oil at a time so you don’t drown everything else.
- Season to taste.
- Add the remaining cheese and oil to your taste and preferred consistency.
- The finished pesto should look shiny and a little creamy. The finished pesto should look shiny and a little creamy.
Nutrition
Per Serving: 123 calories; 10.1 g fat; 2.1 g carbohydrates; 6.2 g proteinEquipment
- Food processor
- Spatula
- Measuring spoons
Nutritional disclaimer
Nutrition information is provided as an estimate based on the ingredients used and available in my area (New Zealand). The nutritional information is here to help you understand the recipe; I use MyFitnessPal to generate my estimates. For more accurate nutritional information, please use a nutritional calculator with the ingredients in your area.