Some advantages to going out of town
My partner in crime has to travel around a bit as part of his job. Usually, it’s a few trips a year and the odd day trip down to Hamilton thrown in to make life interesting. I don’t like it when he heads out of town, I kind of like having him around, so it sucks when he goes away. The exception to this is when he goes to Hamilton. Trips south of Auckland usually come with a pit stop at Pokeno bacon.
What is Pokeno bacon?
Pokeno Bacon is the place to go for the best sausages and bacon in New Zealand, hands down. Their products are made using fresh locally-sourced pork. This means you get the best quality product and they support the local community.
If you find yourself driving into Auckland from the south, you will come across the Mercer service station. Even if you don’t need fuel or a leg stretch you should stop off and head into the Pokeno Bacon Mercer cafe.
Pokeno Bacon’s pork products taste like childhood. You can taste the love and care in the bacon and sausages.
Not pig arseholes and sawdust
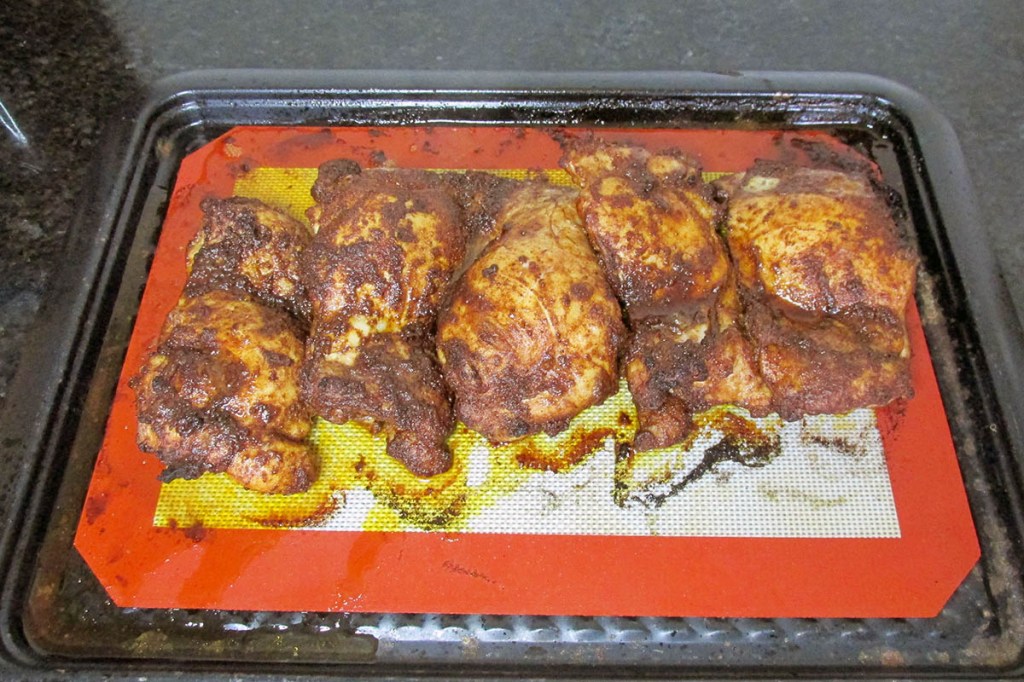
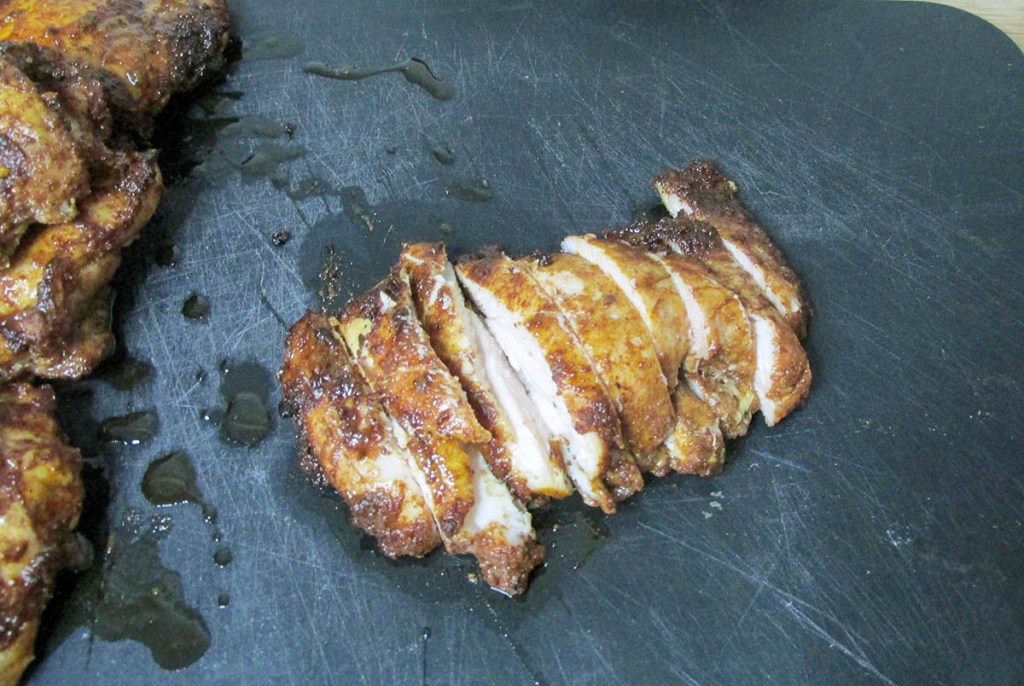
I try not to buy big brand sausages, after reading the ingredients and finding wood pulp in some I don’t trust them anymore. Pokeno Bacon’s sausages are different. Their sausages are made with pork and spices and believe me you can taste the difference. Jaime brings homes every time he makes a pit stop at Pokeno Bacon. I am a big fan of the Texan Chilli sausages and the Chorizo Sausages but love the Pork & Bacon Sausages. This recipe came about after Jay made a stop at Mercer. I wanted to make the most of the Pork & Bacon Sausages that Jay brought home along with some red peppers that I had roasted the day before. This salad is simple to make and can be made using hot or cold sausages so find some Pokeno Bacon sausages and give it a go.
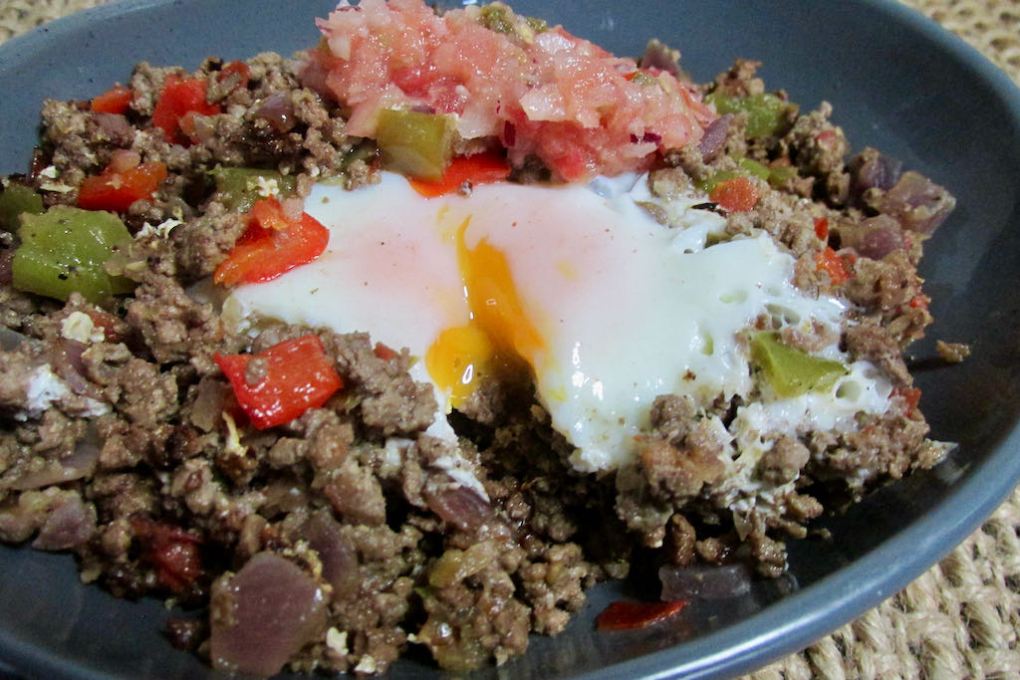
Sausage and pepper salad recipe

Ingredients
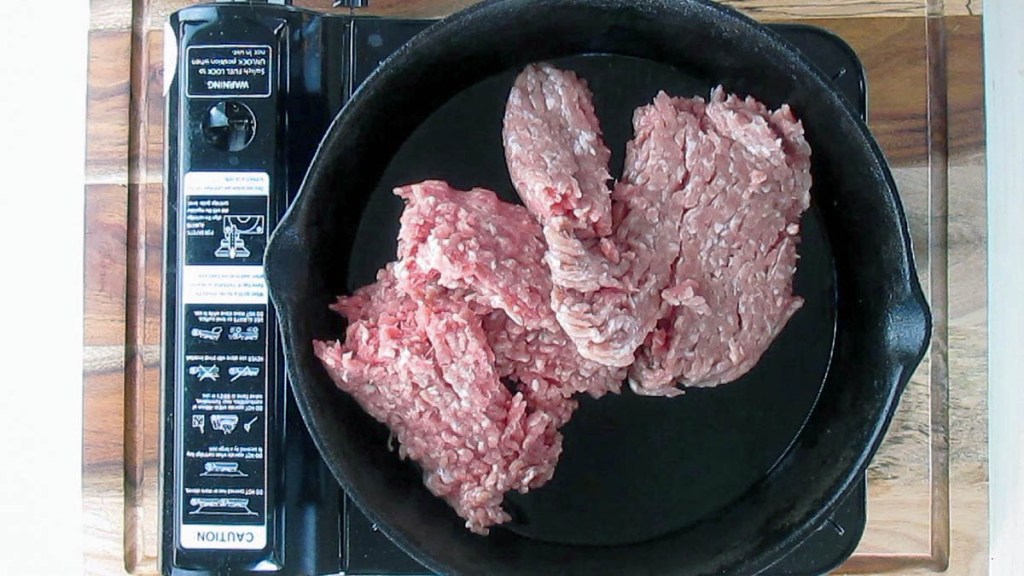
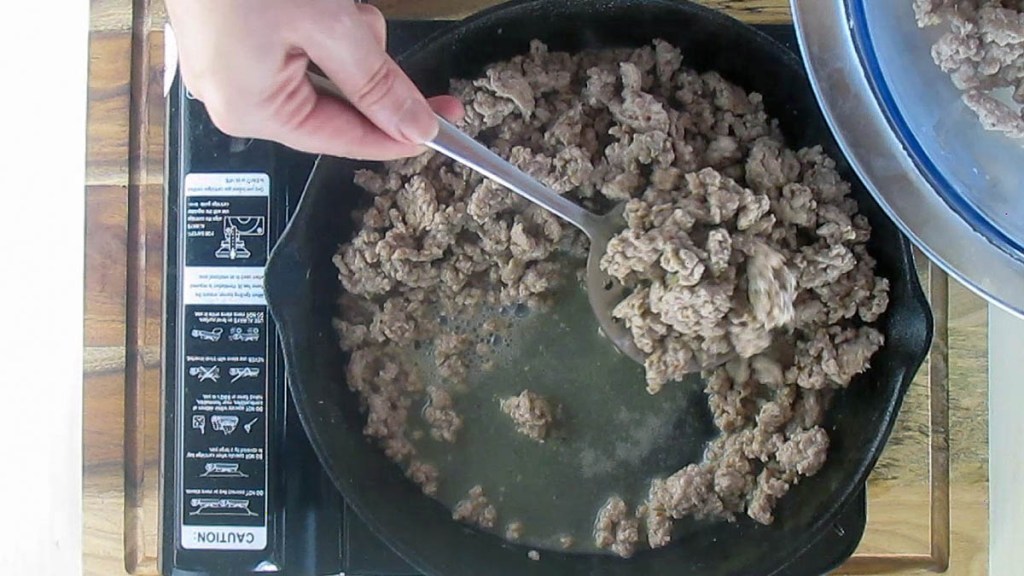
- 4 pork sausages, cooked and sliced
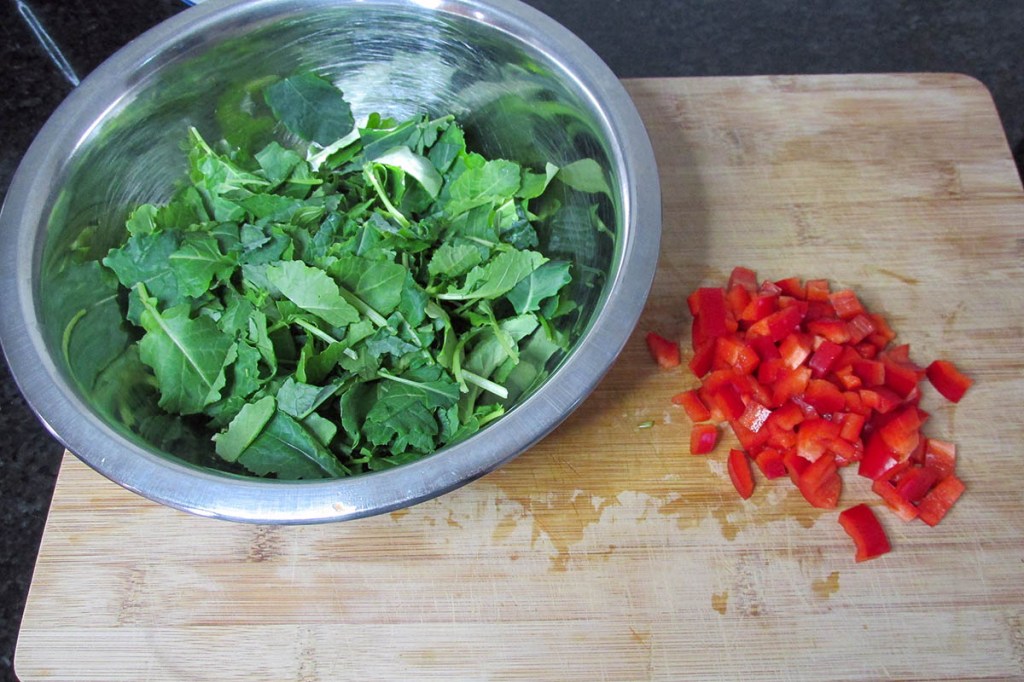
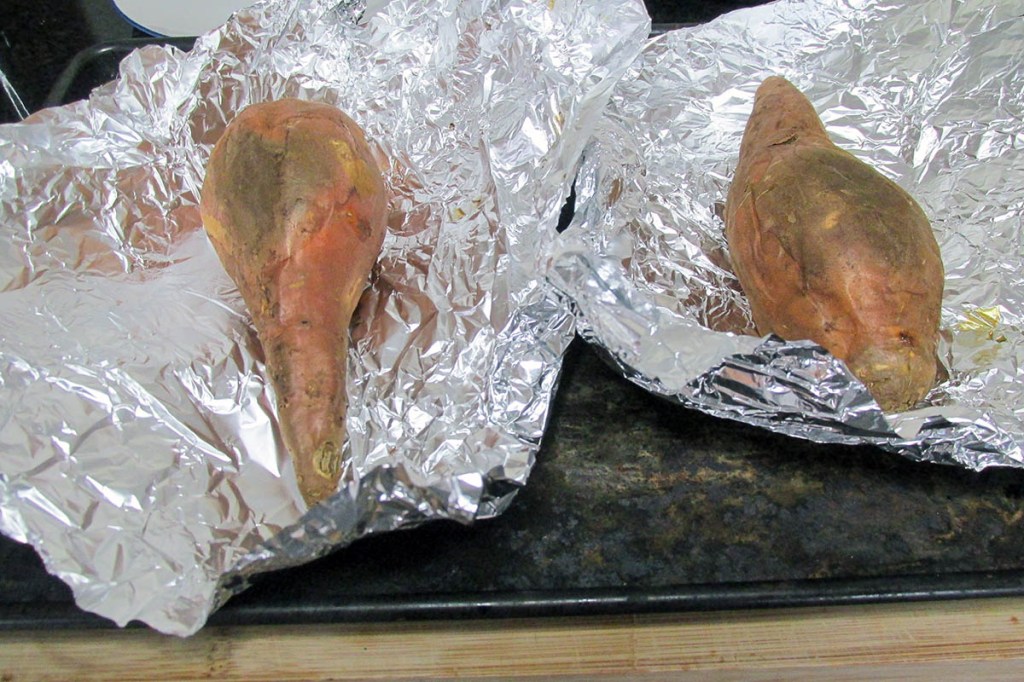
- 1 red pepper, roasted and sliced
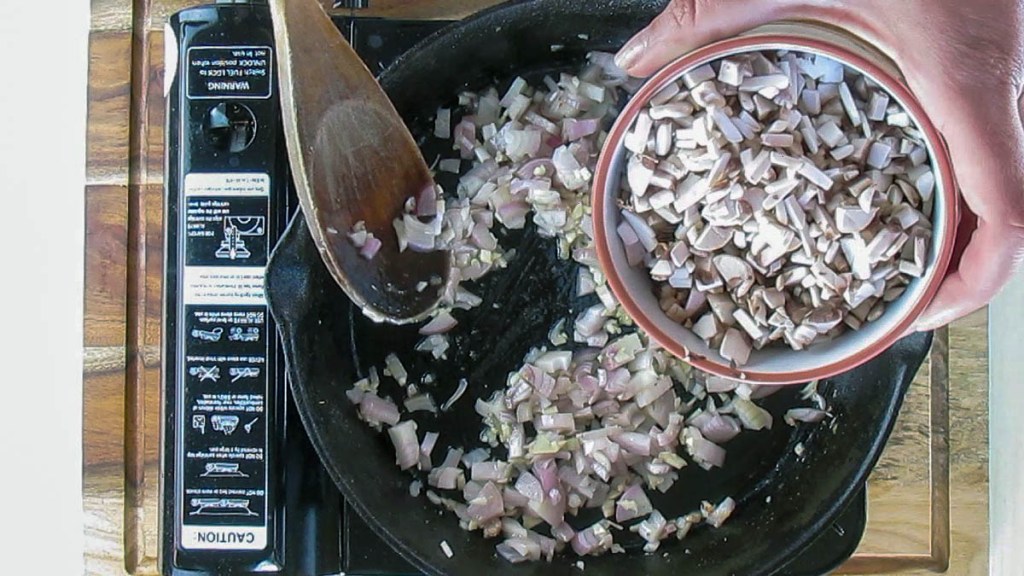
- 1 clove garlic, minced
- 2 tsp fresh oregano, chopped
- 1 tbsp. balsamic vinegar
- 1 tbsp. extra virgin olive oil
- salt & pepper
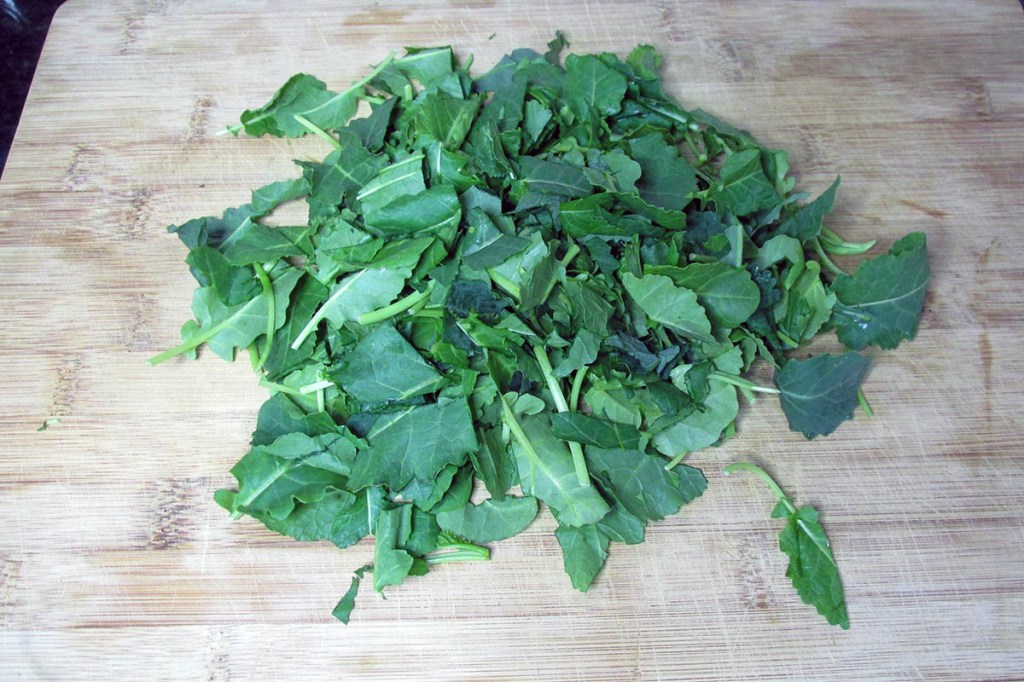
- 4 cup cos lettuce


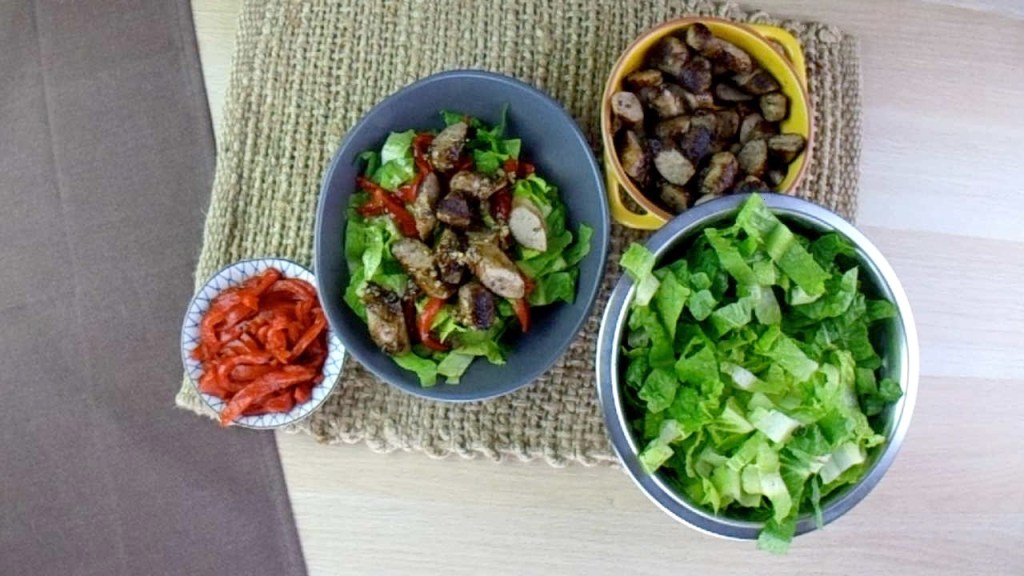
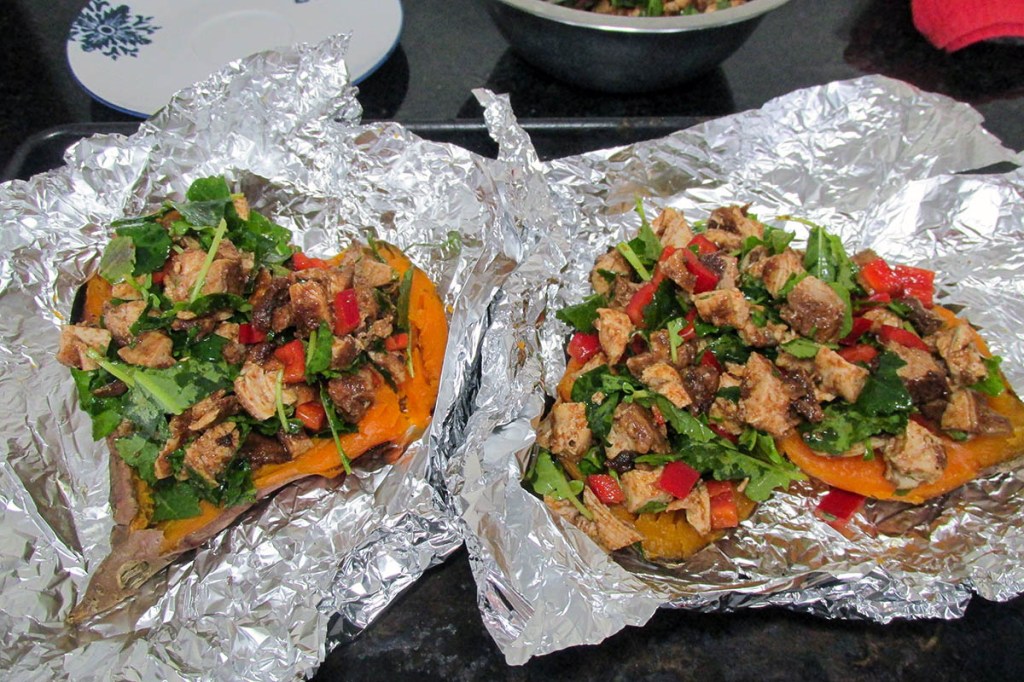
Sausage and pepper salad
A simple and tasty salad to make use of those tasty bangers
Credit: Cath @ easycleaneats
Ingredients
- 4 pork sausages, cooked and sliced
- 1 red pepper, roasted and sliced
- 1 garlic clove, minced
- 2 tsp. fresh oregano, chopped
- 1 tbsp. balsamic vinegar
- 1 tbsp. extra virgin olive oil
- salt and pepper
- 4 cup cos lettuce
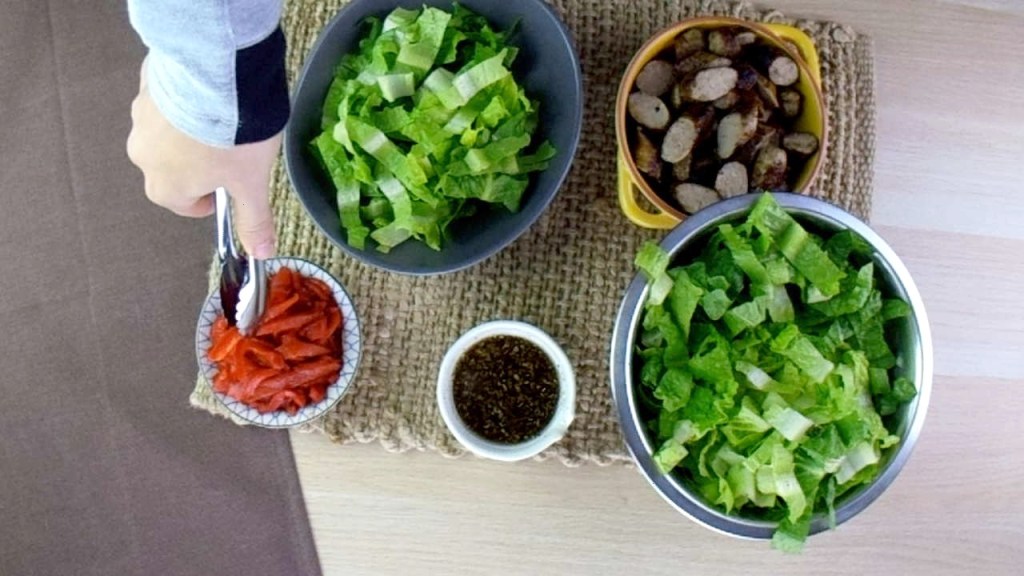
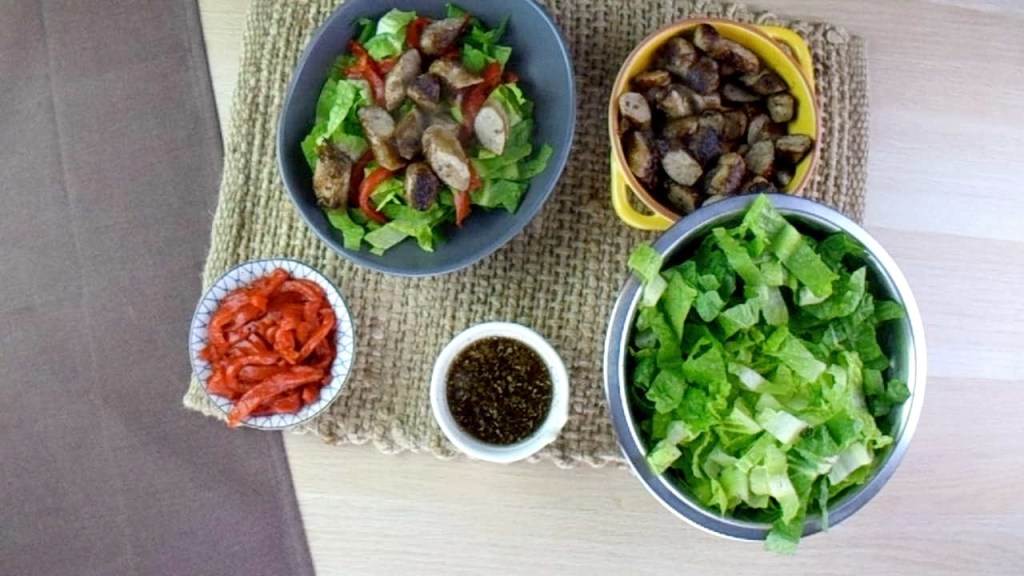
Directions
- In a bowl whisk together the garlic, oregano, olive oil, balsamic vinegar, salt and pepper.
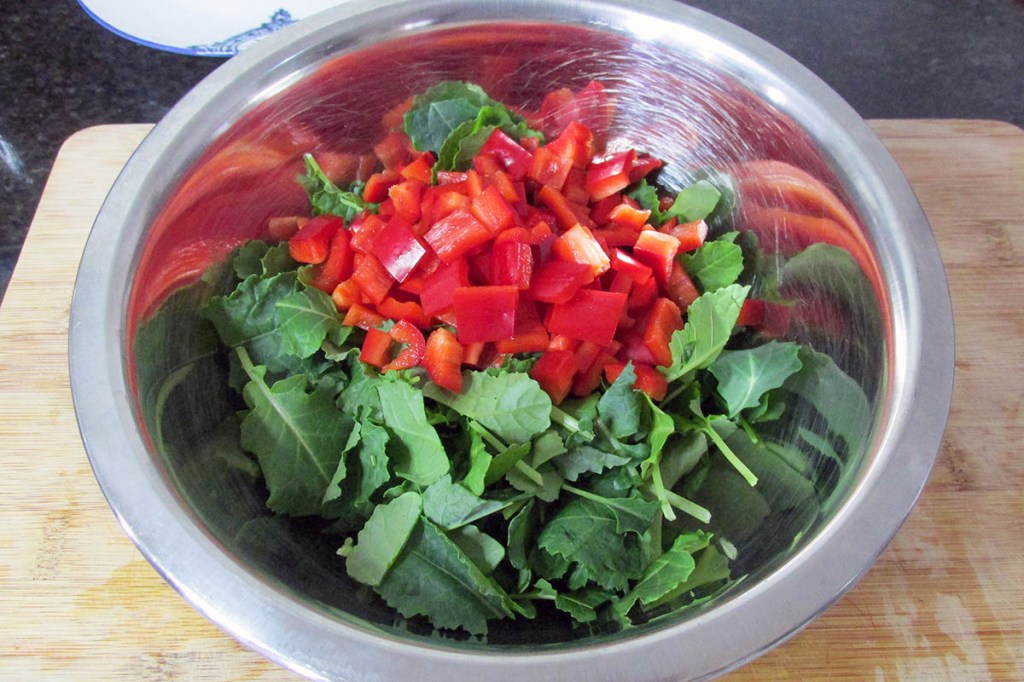
- Build the salad on a plate, start with the cos, followed by the pepper slices, sausages and then drizzle the dressing over the top.
Nutrition
Per Serving: 345 calories; 26 g fat; 10 g carbohydrates; 17 g proteinEquipment
- Knife
- Chopping board
- Bowl
- Whisk
- Plate/Salad bowl
- Measuring spoons
Nutritional disclaimer
Nutrition information is provided as an estimate based on the ingredients used and available in my area (New Zealand). The nutritional information is here to help you understand the recipe; I use MyFitnessPal to generate my estimates. For more accurate nutritional information, please use a nutritional calculator with the ingredients in your area.