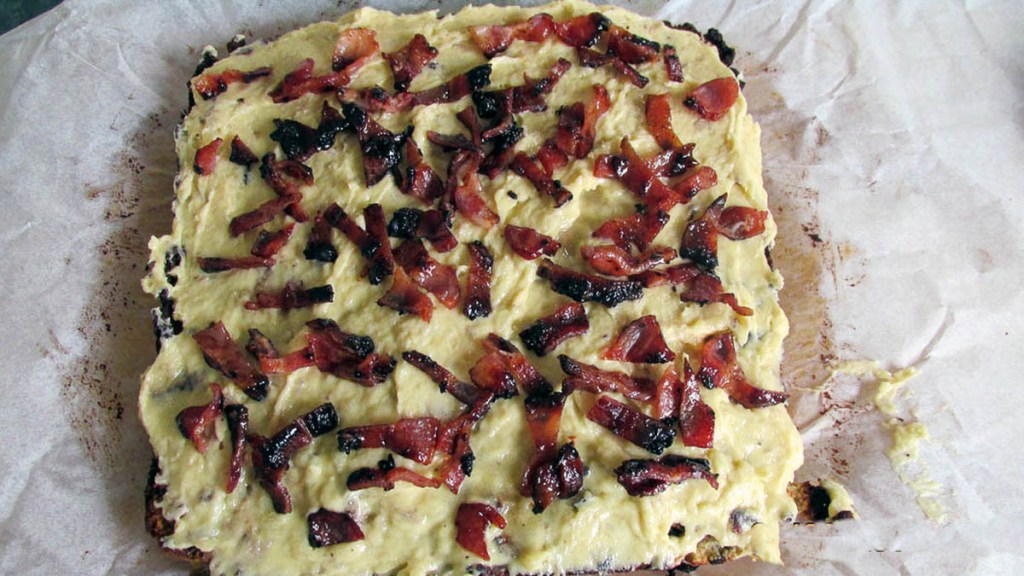
Weekend tradition
Saturday morning, a not so small child stumbles out of bed into the living room as is offered a cup of tea. His response isn’t ‘yes please’ or ‘no thank you’ his answer is ‘gingernut?’. He likes to sit down with a nice cup of team and a gingernut to dunk in his brew. I thought I would have a go at creating a slightly healthier version of the gingernut and put it to the little dunker for testing.
As these things go, this recipe was pretty easy to develop. I knew the challenge would be getting the amount of crunch right. Too much crunch and we could be looking for replacement teeth, not enough crunch and you have a terrible cookie with no structural integrity for dunking. The key to a good gingernut is how long you bake it for. The trick with this recipe is to remove the cookies from the oven on time and then let them sit on the hot baking tray to become crisper and develop the right amount of crunch. If you leave them in the oven too long, you will be looking for new teeth.
Gingernut cookies
Ingredients
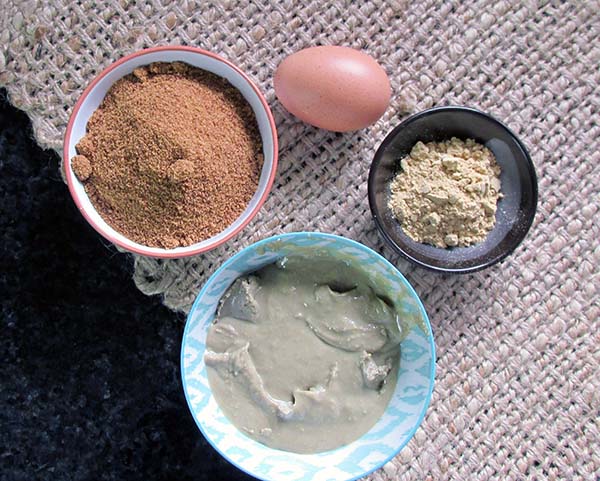
- 200g seed butter
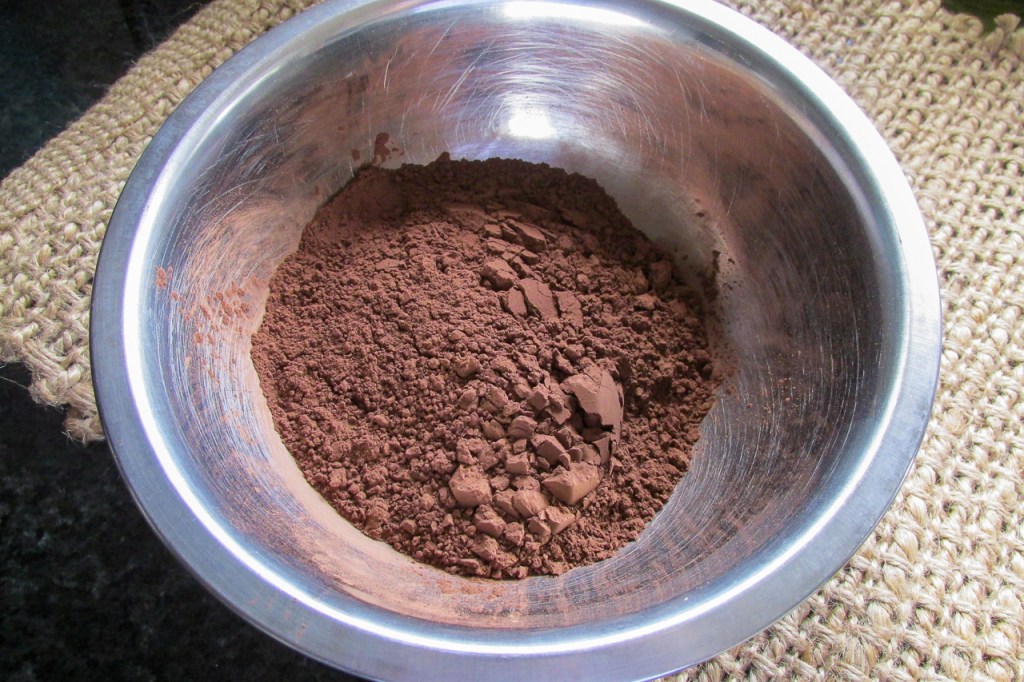
- 3 tsp. Ground ginger
- 1 egg
- 100g coconut sugar


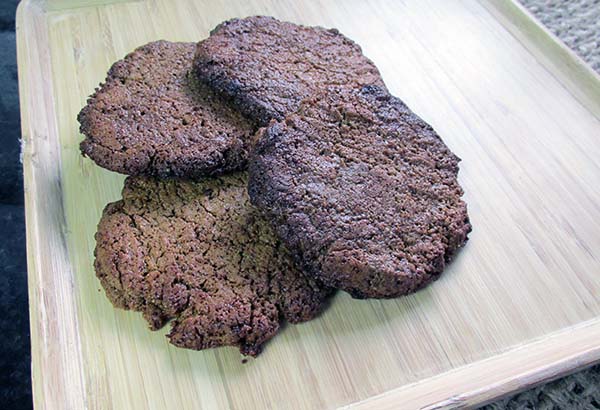
Gingernut cookies
This recipe is my take on the traditional gingernut, it is gluten-free but still has all the flavour and crunch.
Credit: Cath @ easycleaneats
Ingredients
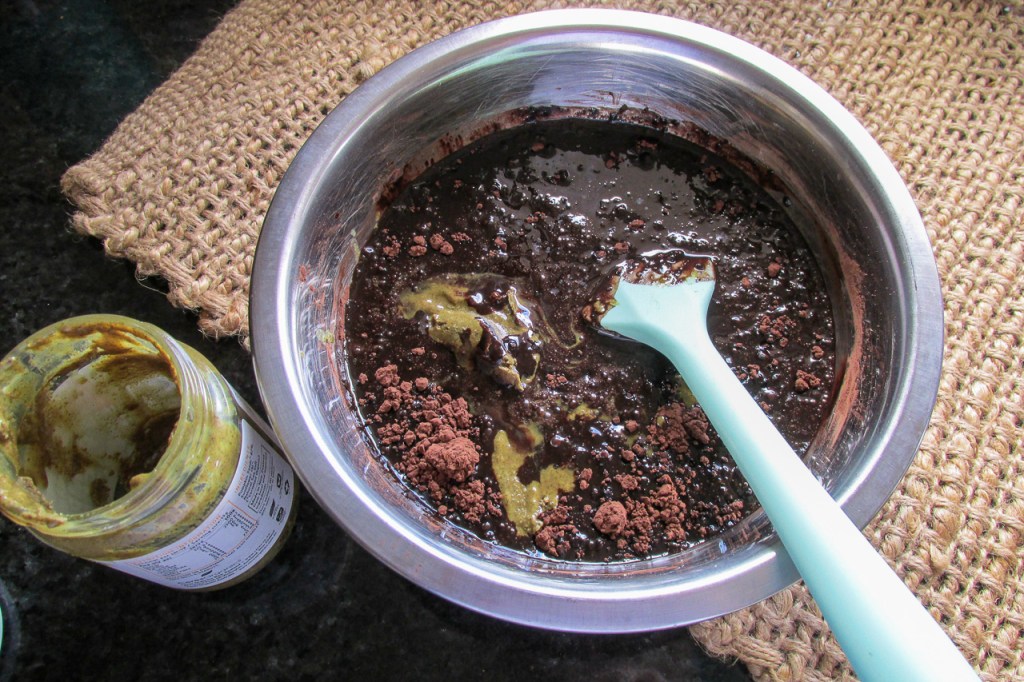
- 200g seed butter
- 3 tsp. Ground ginger
- 1 egg
- 100g coconut sugar
Directions
- Pre-heat oven to 200 degrees c 392 degrees f
- Have a baking tray ready with baking paper on it
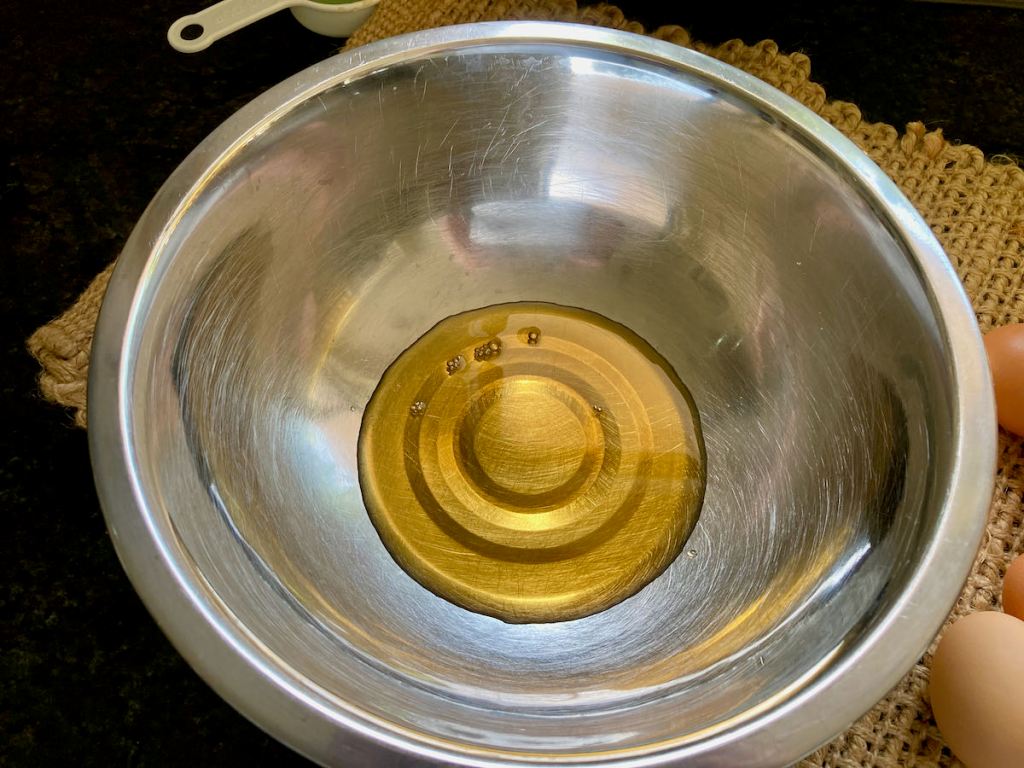
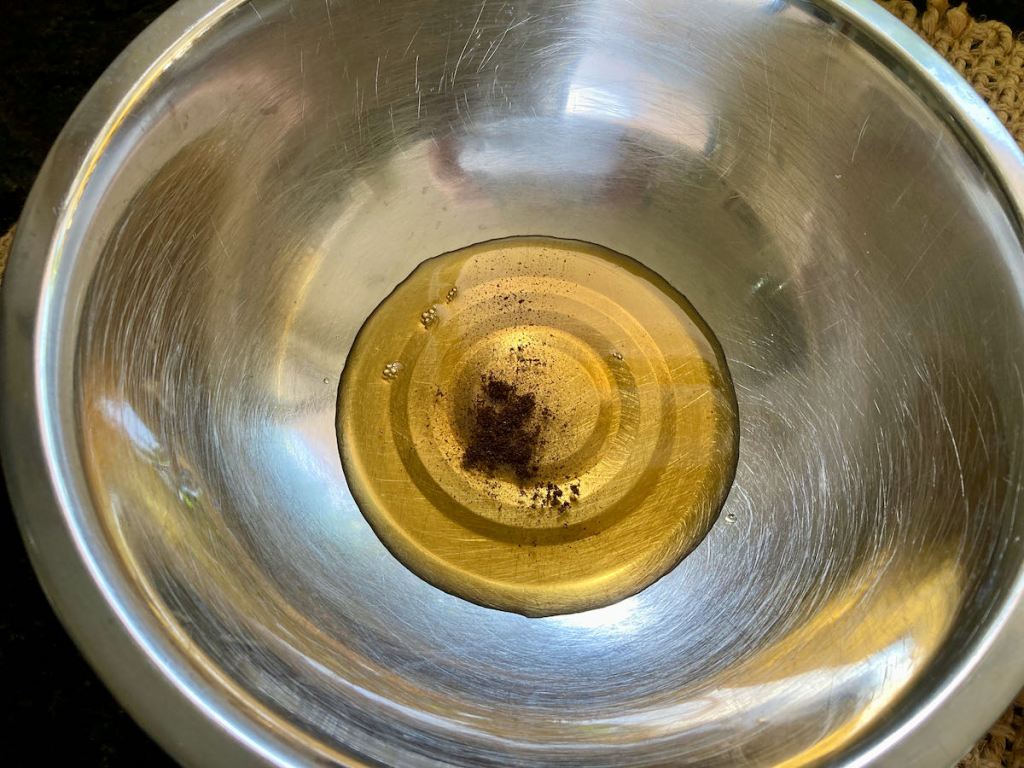
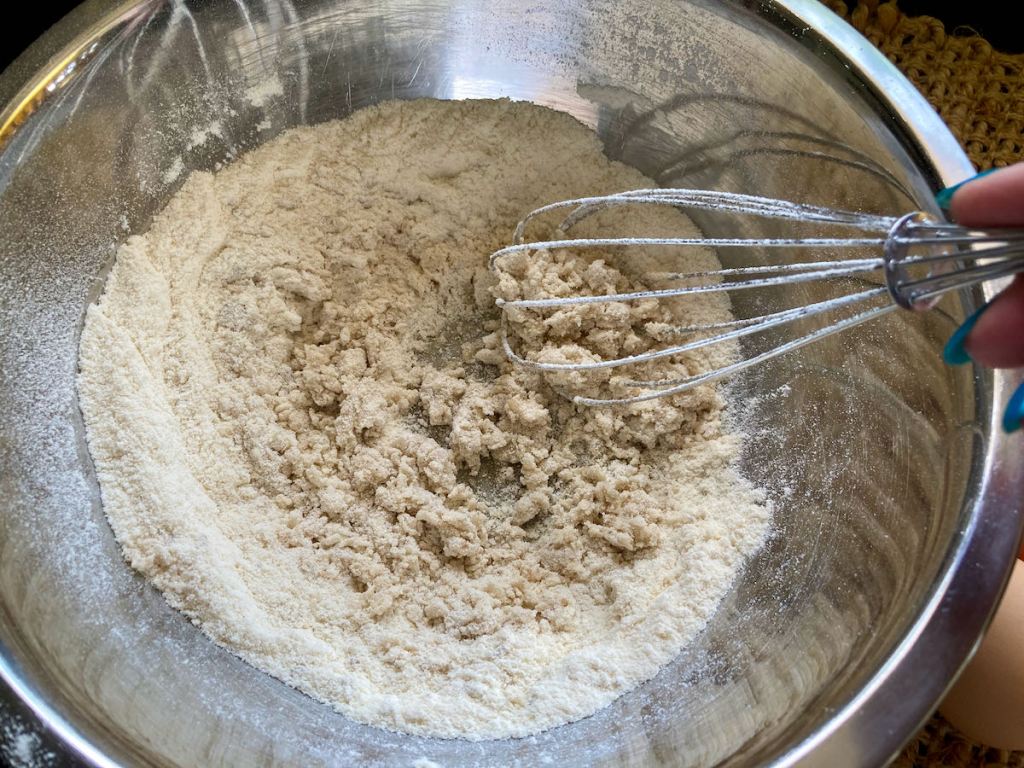
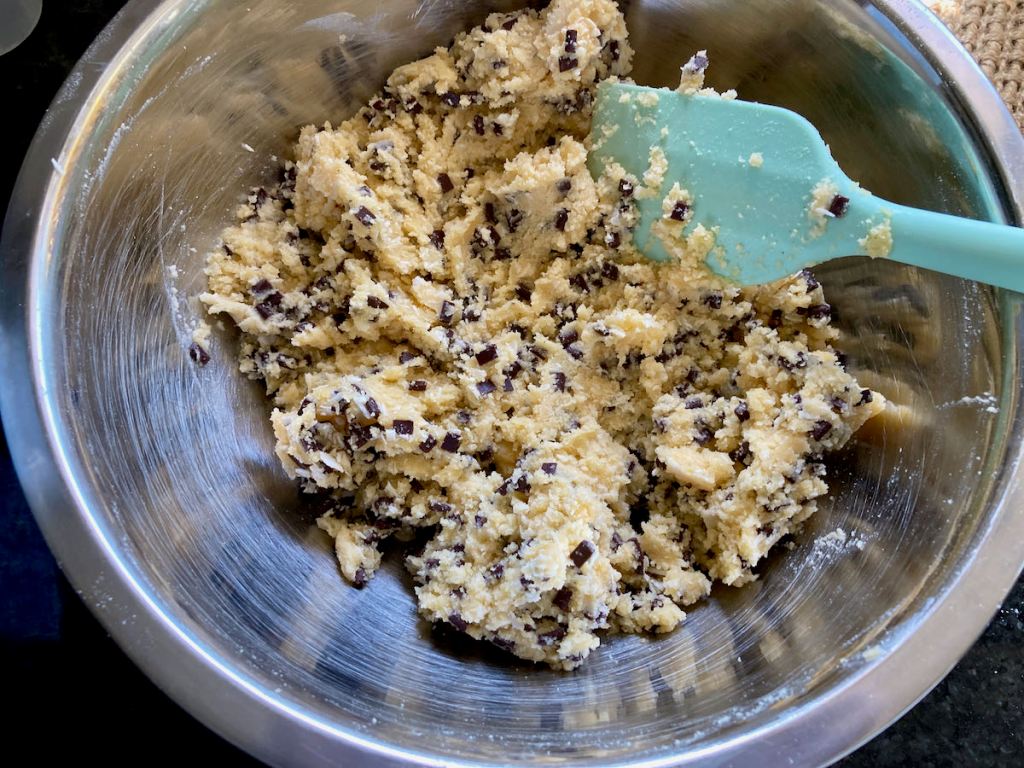
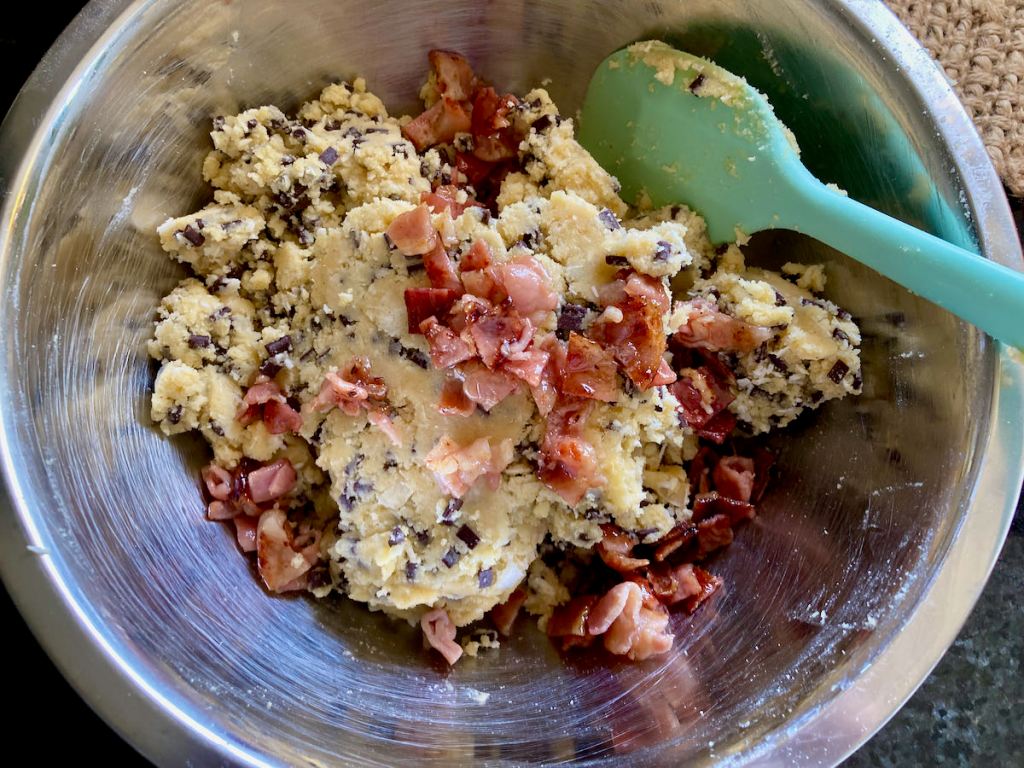
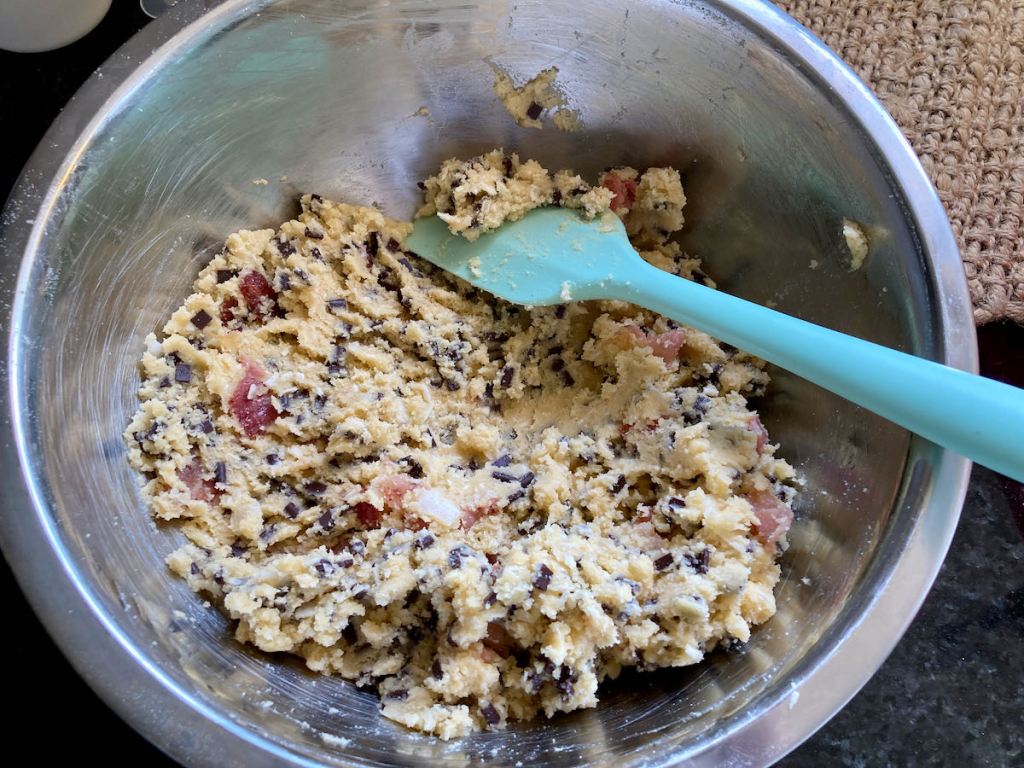
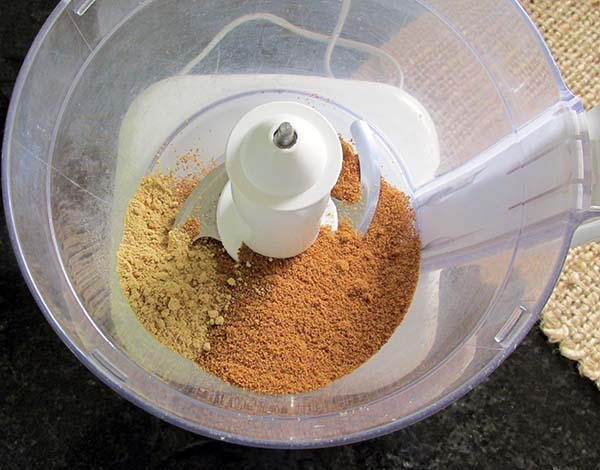
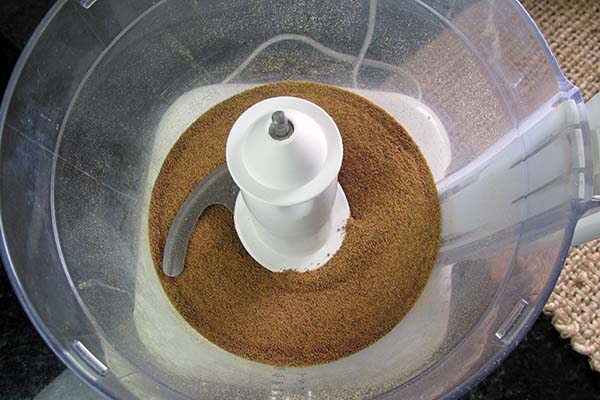
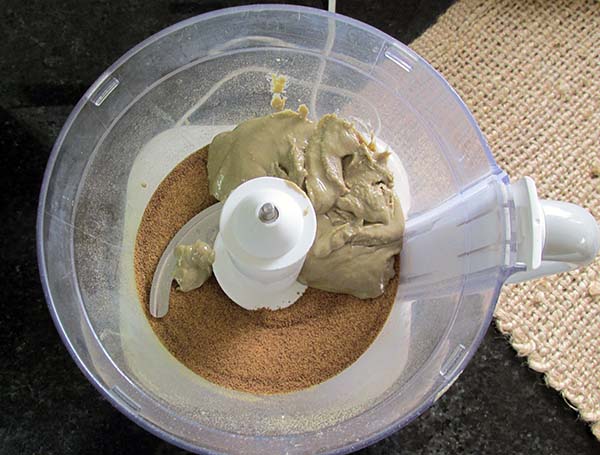
- Into a food processor place, the coconut sugar and ginger blend until thoroughly combined
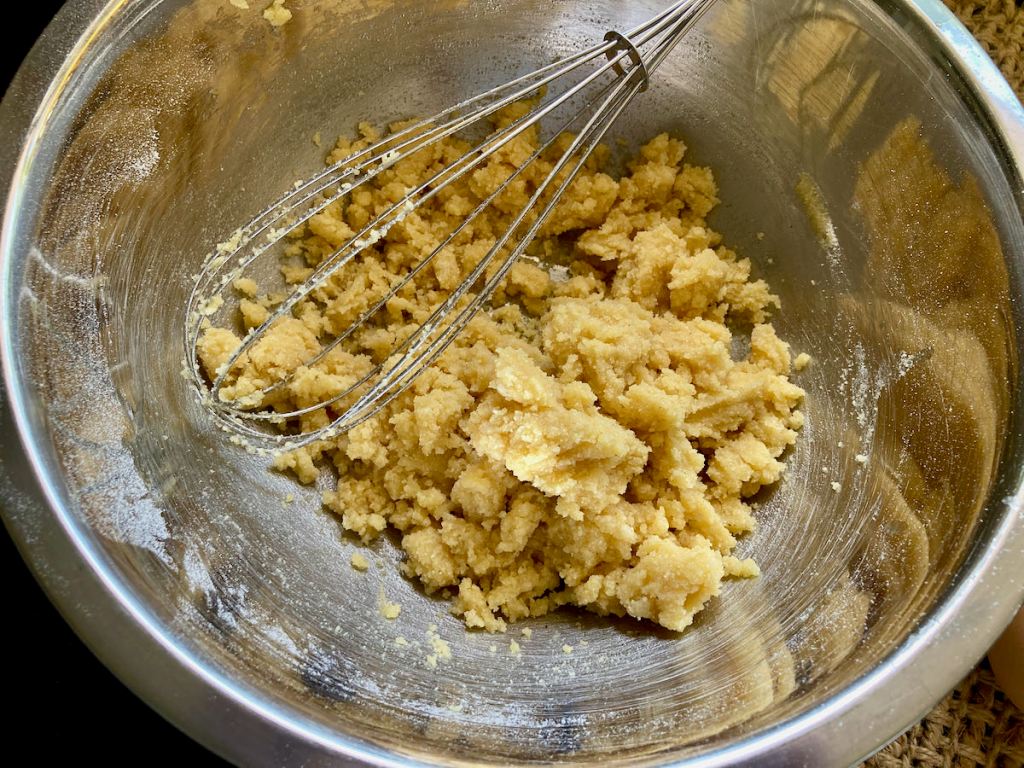
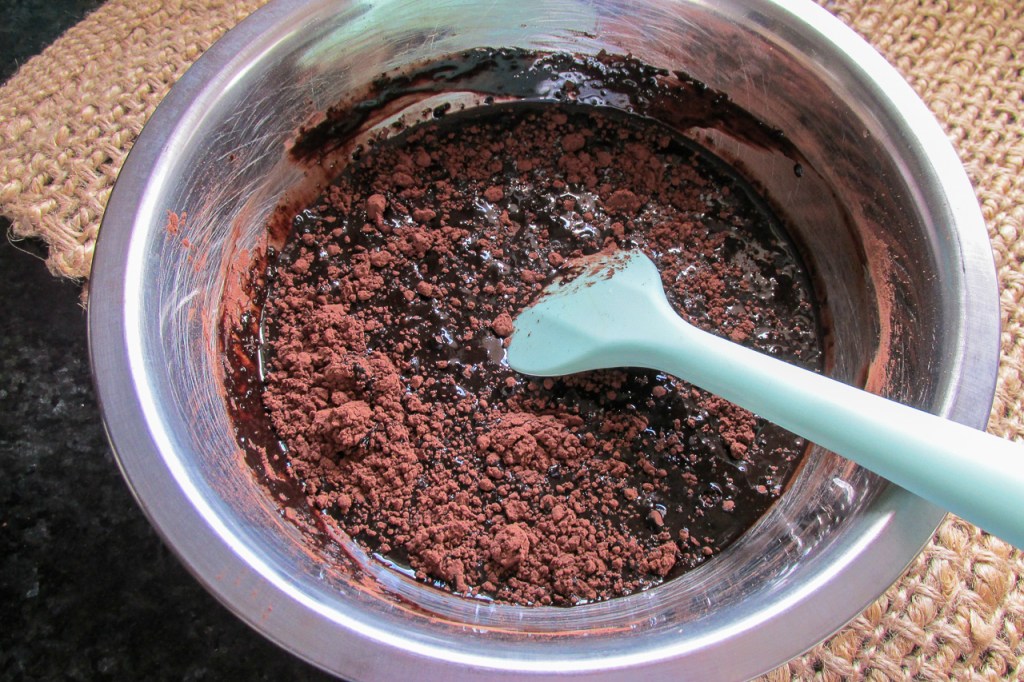
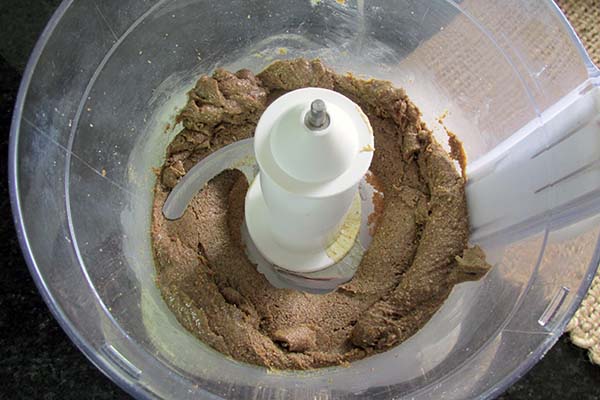
- Add the seed or nut butter and mix until thoroughly combined, it will start to clump together.
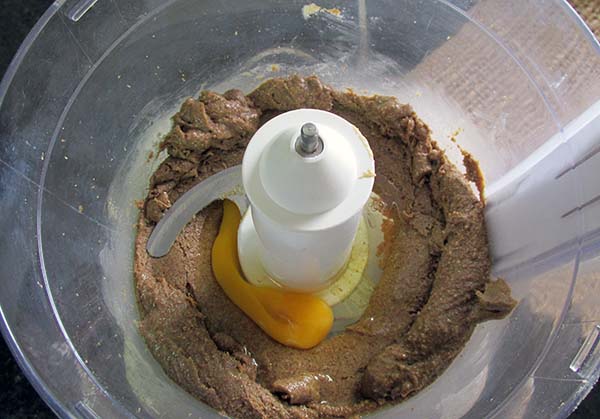
- Add the egg and mix again until the mixture starts to form a ball if it doesn’t form a ball don’t worry when everything is thoroughly combined stop the processor.
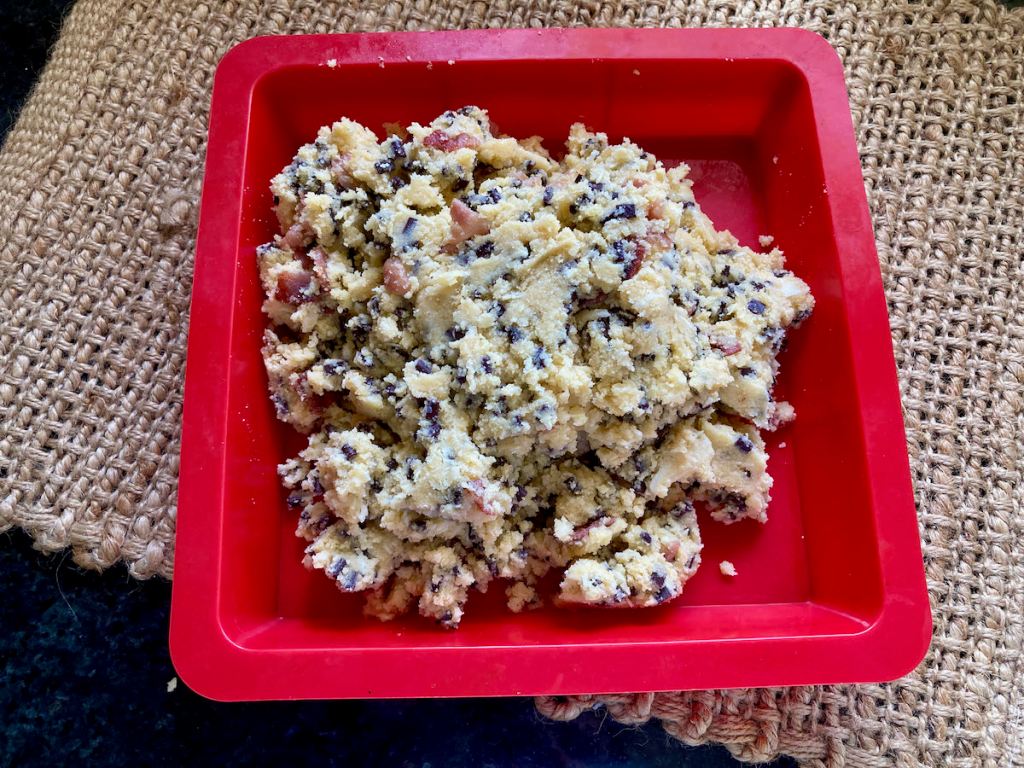
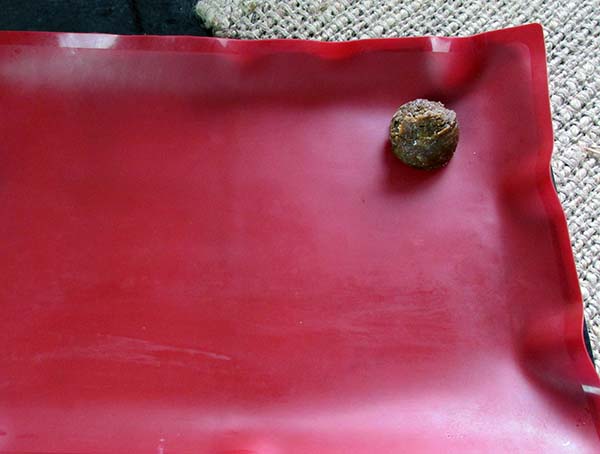
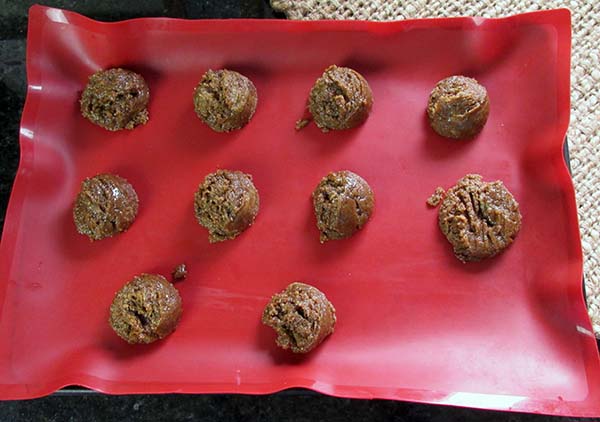
- Use an ice cream scoop to portion out the cookie dough, place each portion onto the lined baking tray, and make sure there is space between each portion so that the cookies have space to spread.
- Use the back of a spoon to press down the pieces slightly.
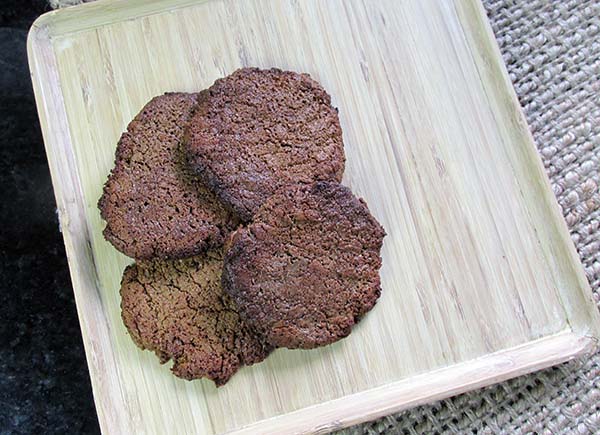
- Bake the cookies for 15 minutes or until they are golden brown.
- Remove the cookies from the oven, let them cool, and crisp up.
- When the cookies are hard, move the cookies to a container, they will keep for about a week.
Nutrition
Per Serving: 161 calories; 10 g fat; 15 g carbohydrates; 4 g protein.Equipment
- Food processor
- Ice cream scoop
- Baking tray
- Baking paper/ silicone liner
- Spoon
- Measuring spoons
- Scales
Nutritional disclaimer
Nutrition information is provided as an estimate based on the ingredients used and available in my area (New Zealand). The nutritional information is here to help you understand the recipe; I use MyFitnessPal to generate my estimates. For more accurate nutritional information, please use a nutritional calculator with the ingredients in your area.