
What do you do?
When setting off on a journey to remove processed foods from your diet, you may stop and ask yourself the question What can I eat instead of rice/couscous/pasta/bread?
The answer is to find a suitable replacement.
The options are limitless; you can find gluten-free, sugar-free, grain-free, I could go on. An easy way to eat clean and simple is to switch out the standard meal padding of rice/couscous/pasta/bread with a vegetable alternative or something you can make yourself.
This recipe is an excellent alternative that can be easily added to your meal.
Making the most of leftovers
Leftovers are not something that I am used to having, usually everything that gets cooked gets eaten right away, cauliflower rice is probably the exception to the rule. With a few pantry staples and leftovers, you can have this fresh, crunchy and very filling salad that is perfect for lunch
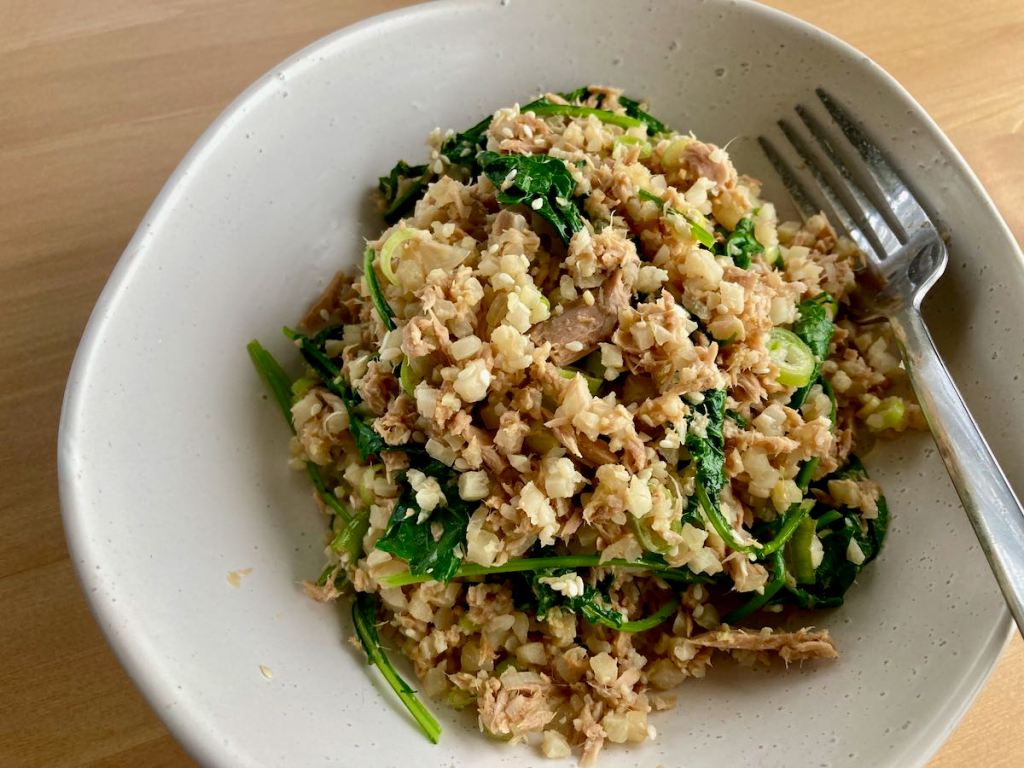
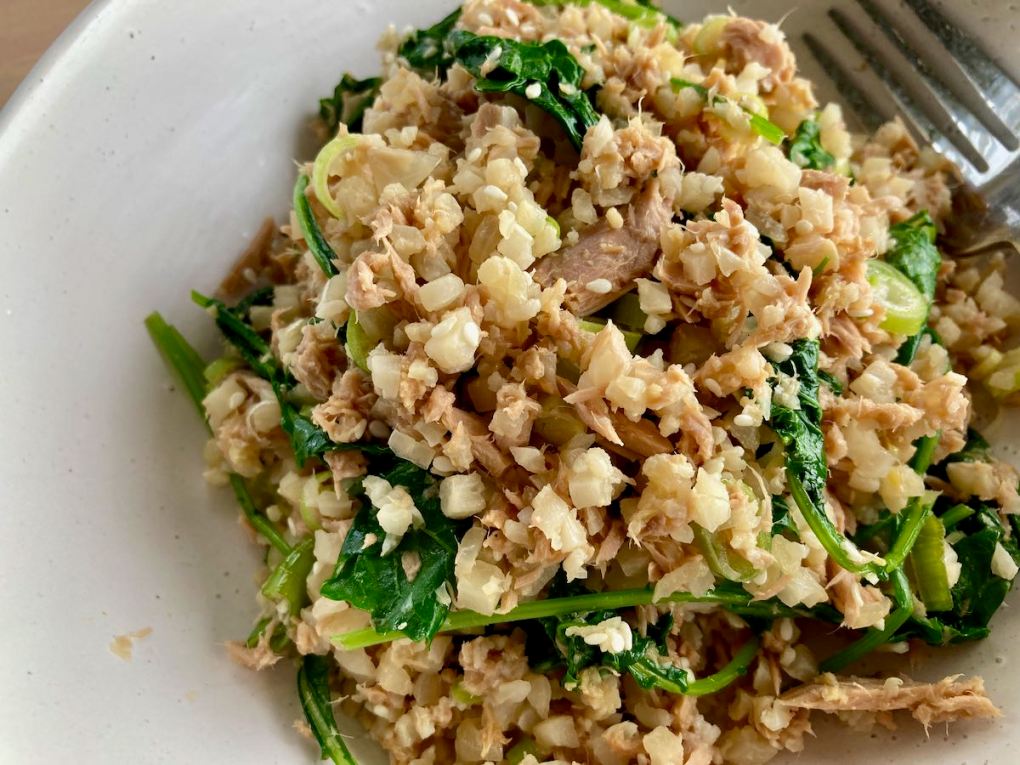
Tuna and kale salad recipe
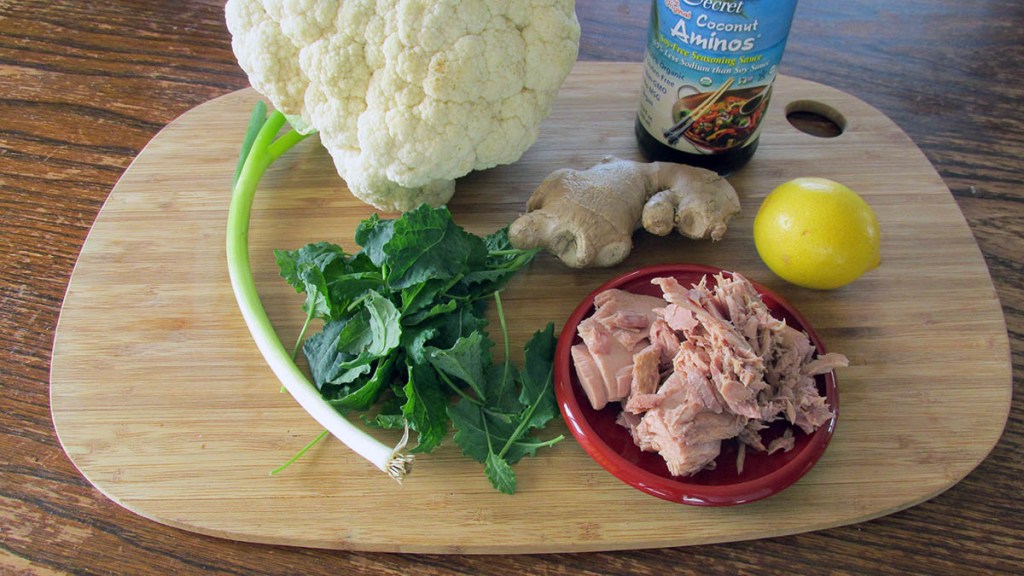
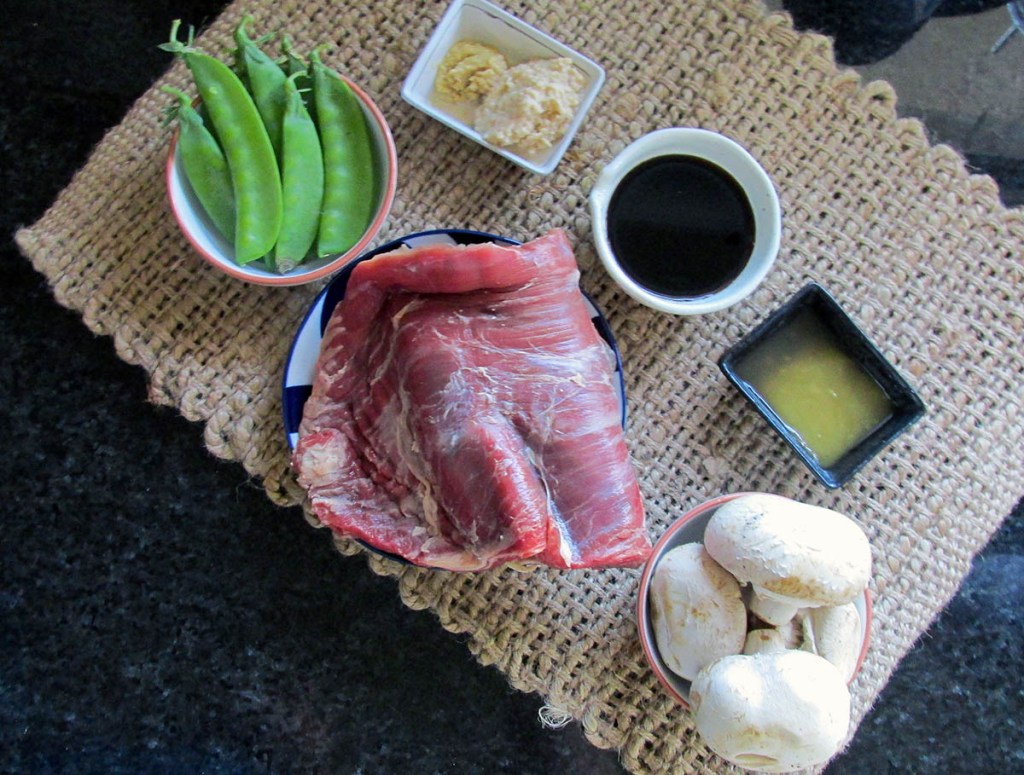
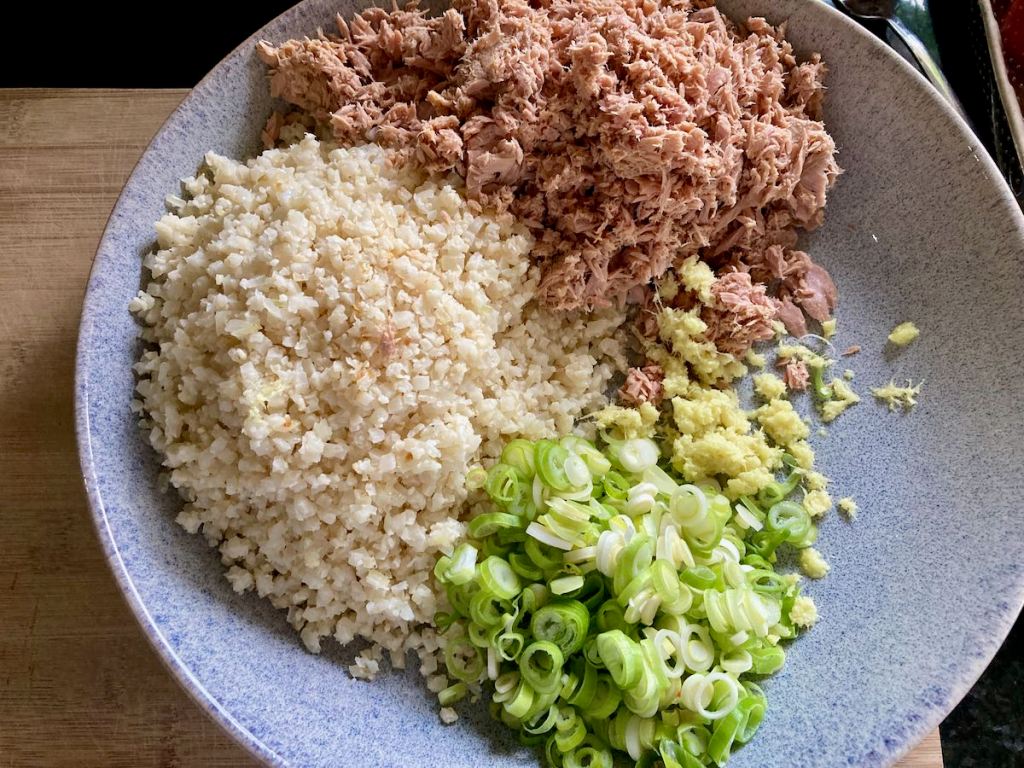
Ingredients
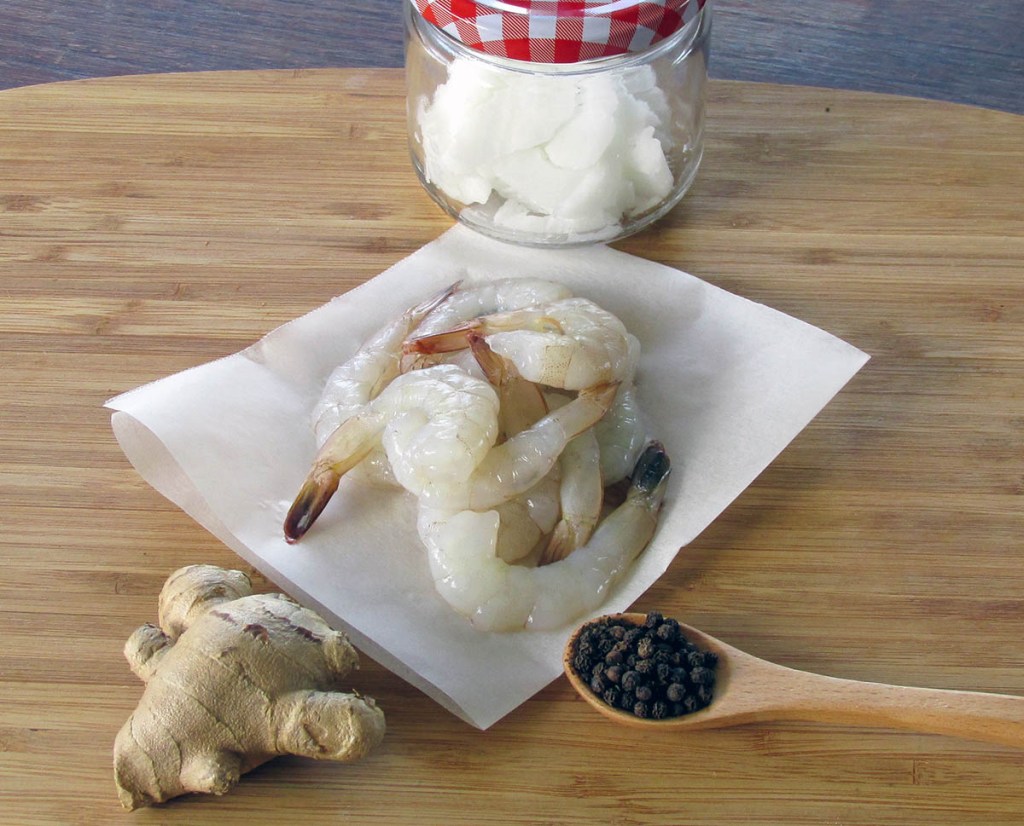
- 1 bunch kale
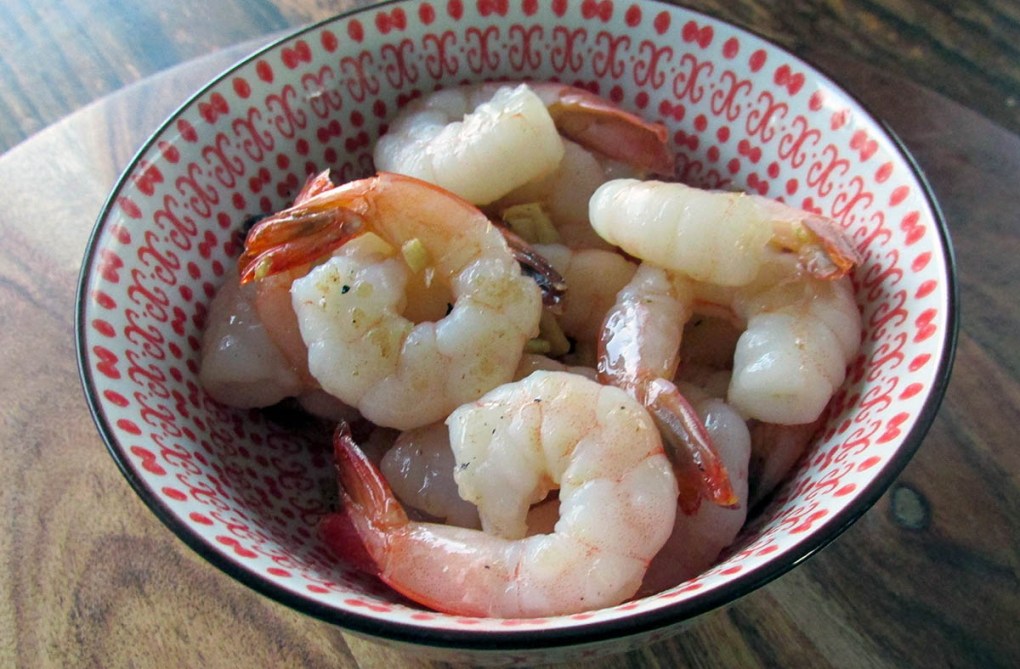
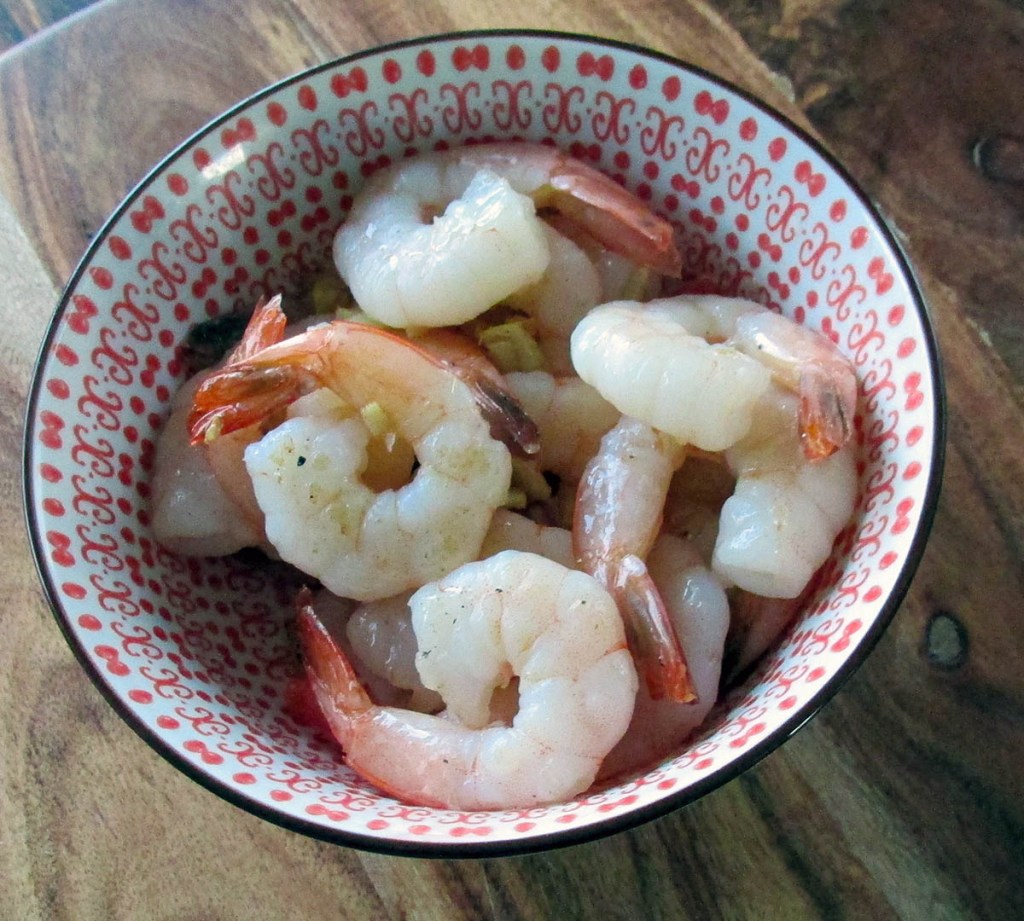
- 425g tinned tuna in spring water
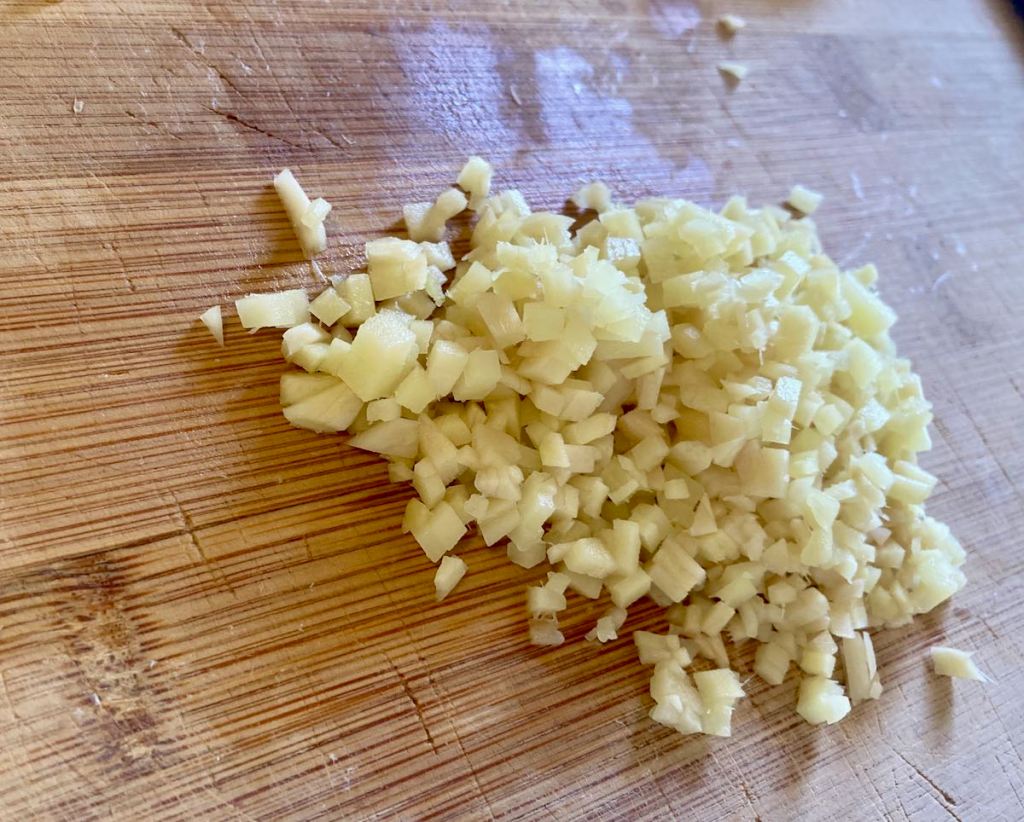
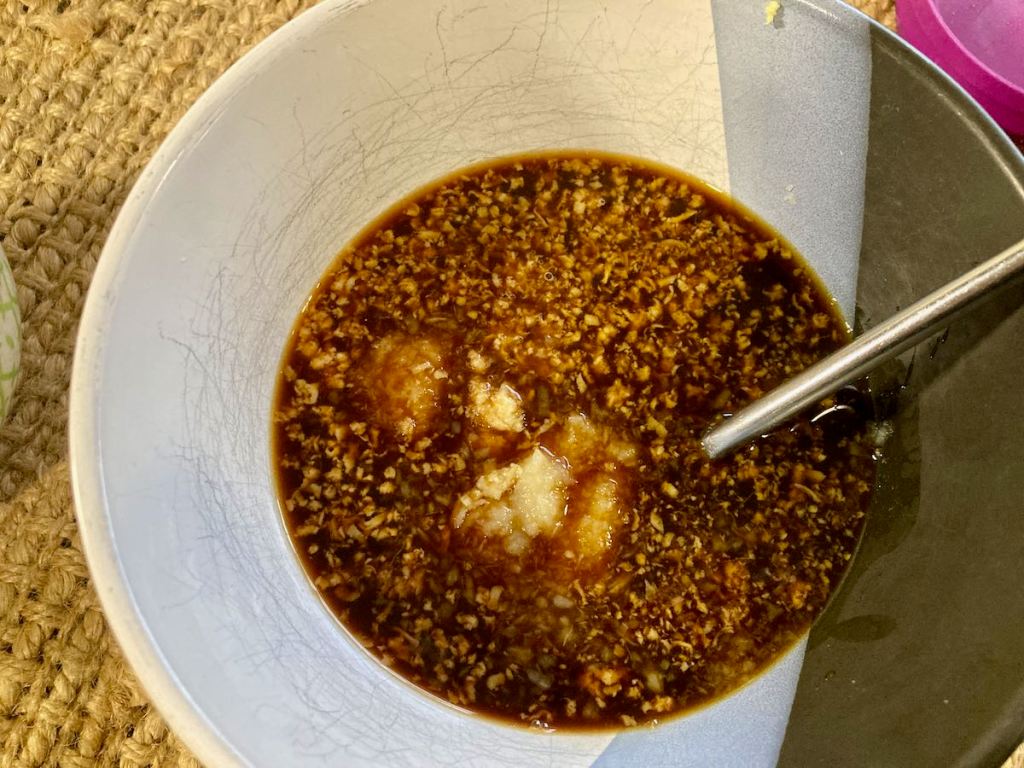
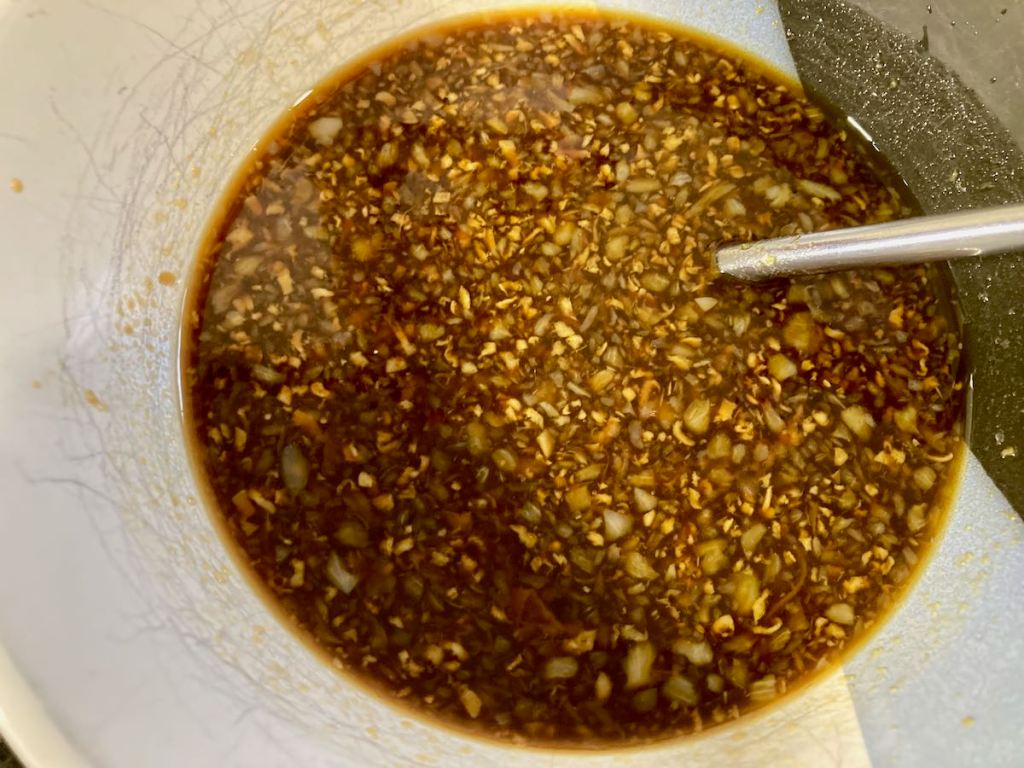
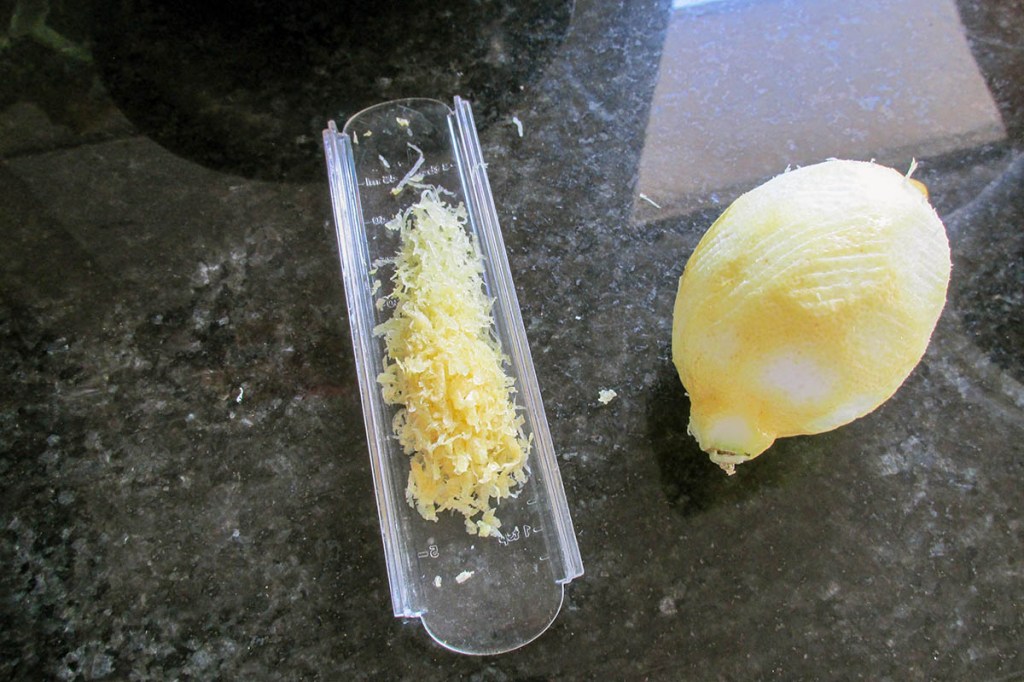
- 1 tbsp. ginger, grated
- 1/4 cup herbs, chopped
- 3 spring onions
- 2 cups cauliflower rice
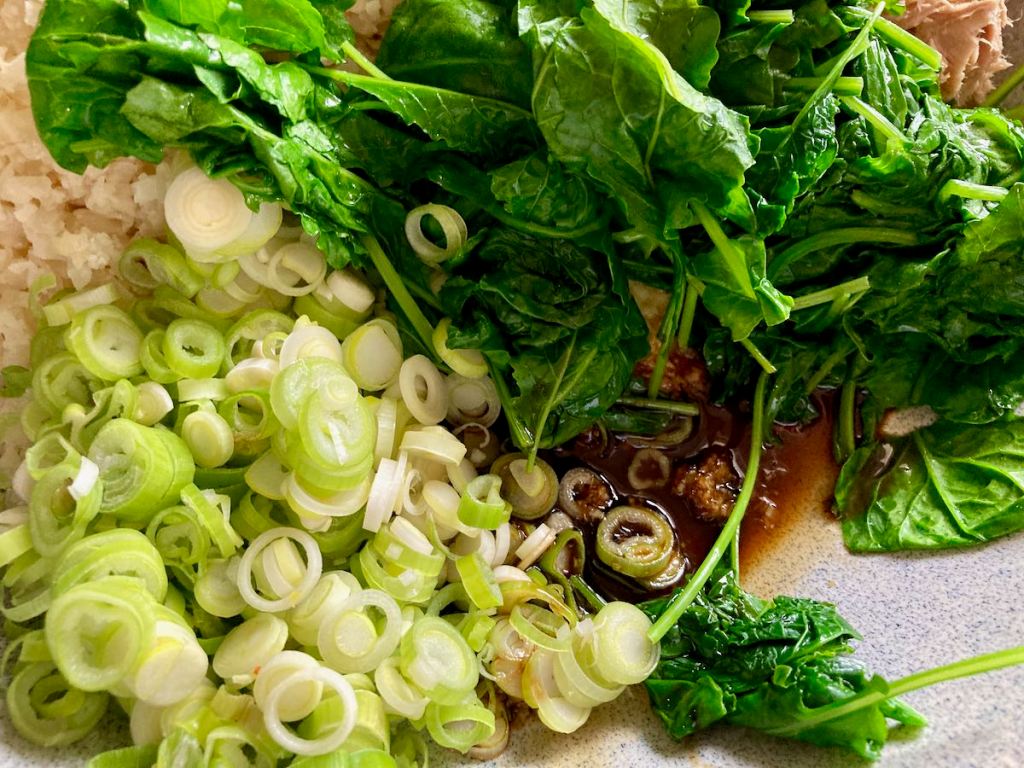
- 2 tbsp. coconut aminos
- 2 tbsp. lime juice
- Sprinkle of sesame seeds – optional
Instructions
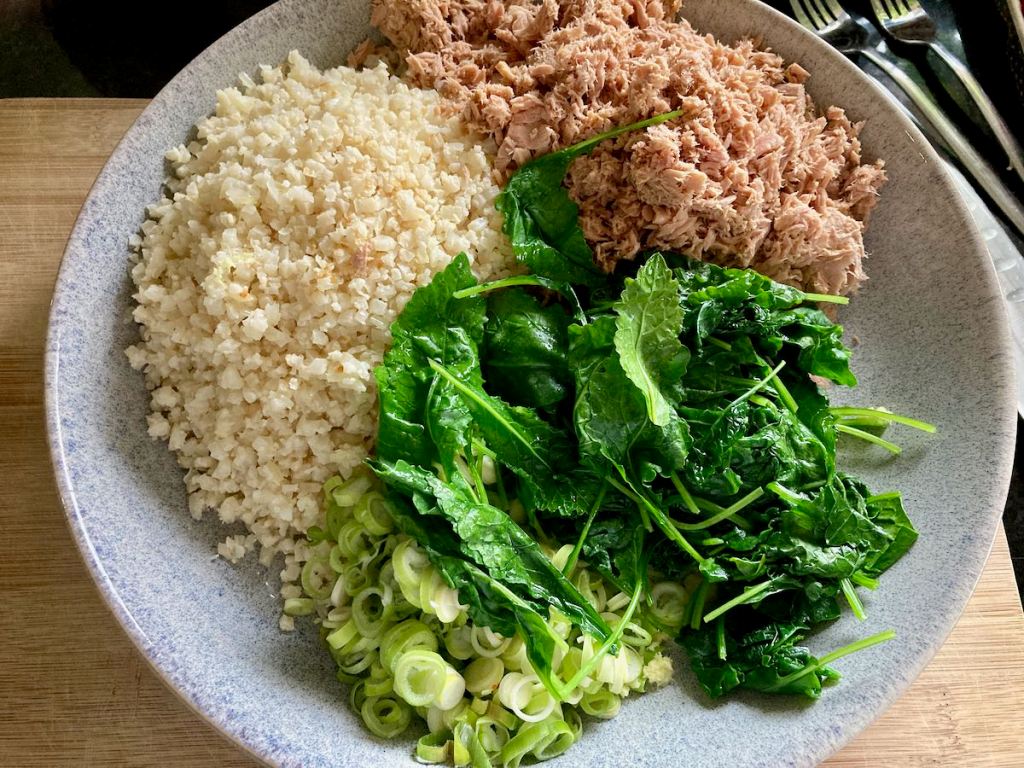
Remove the stems from the kale.
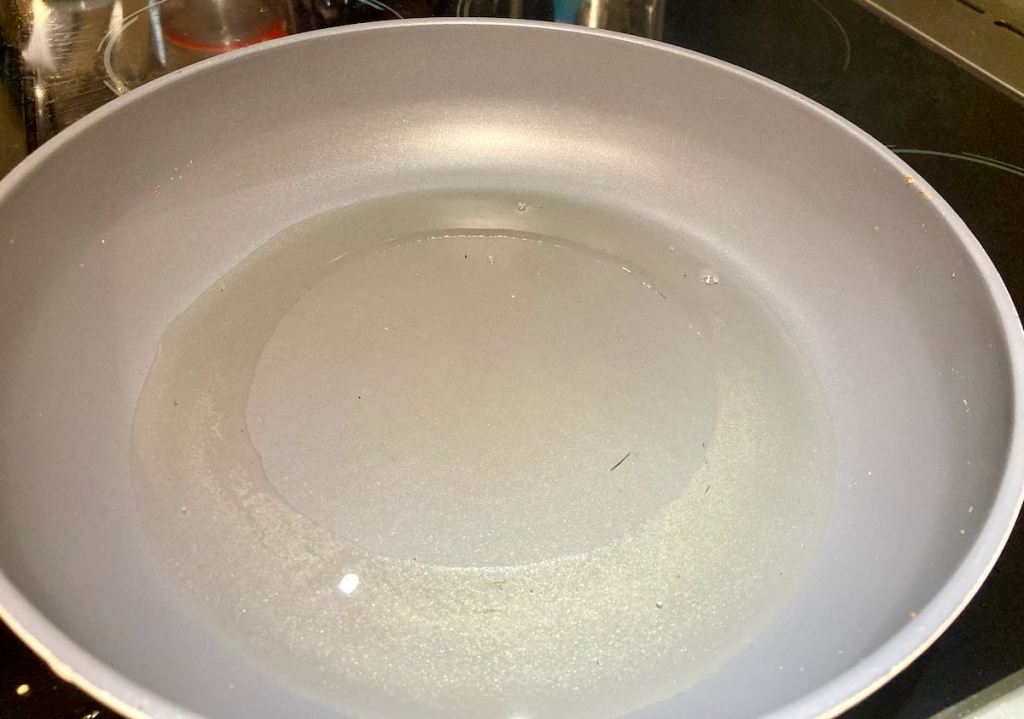
Add some water to the bottom of a saucepan and put a steaming basket on the top of the saucepan.
Let the water come to boil and steam started to come up through the basket.
Add the kale to the steaming basket and let it wilt, it should take about 5 minutes.
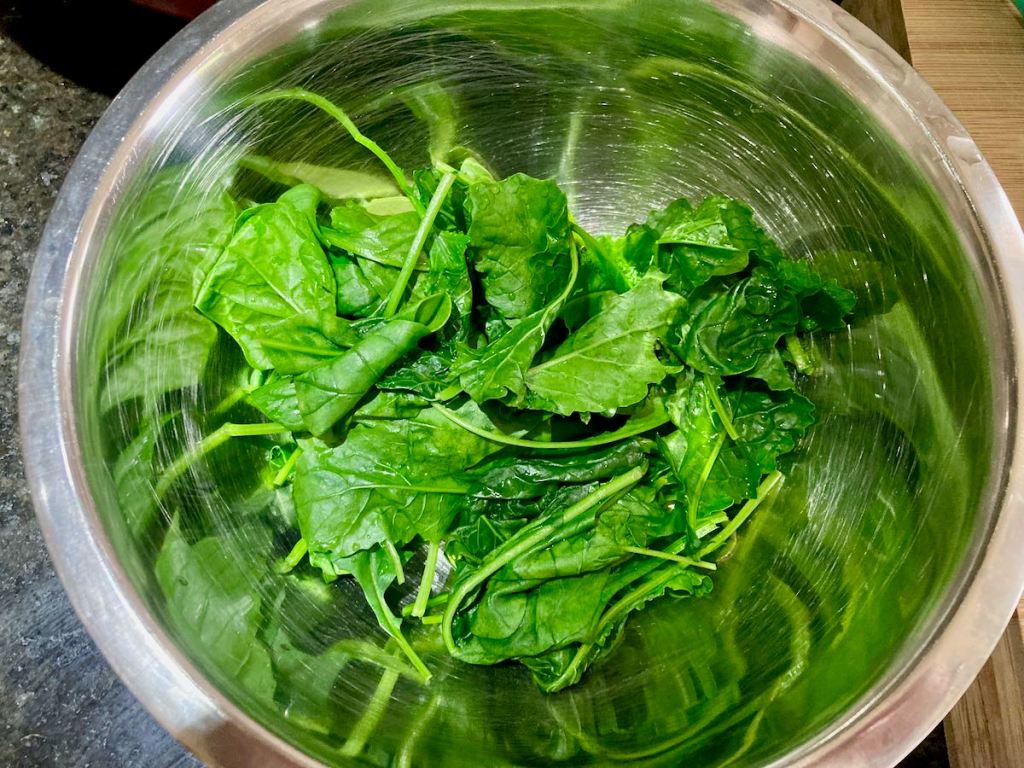
Remove the wilted kale from the basket and chop it roughly.
Add the kale to a large mixing bowl and let it cool slightly.
Add the remaining ingredients to the mixing bowl and mix well.

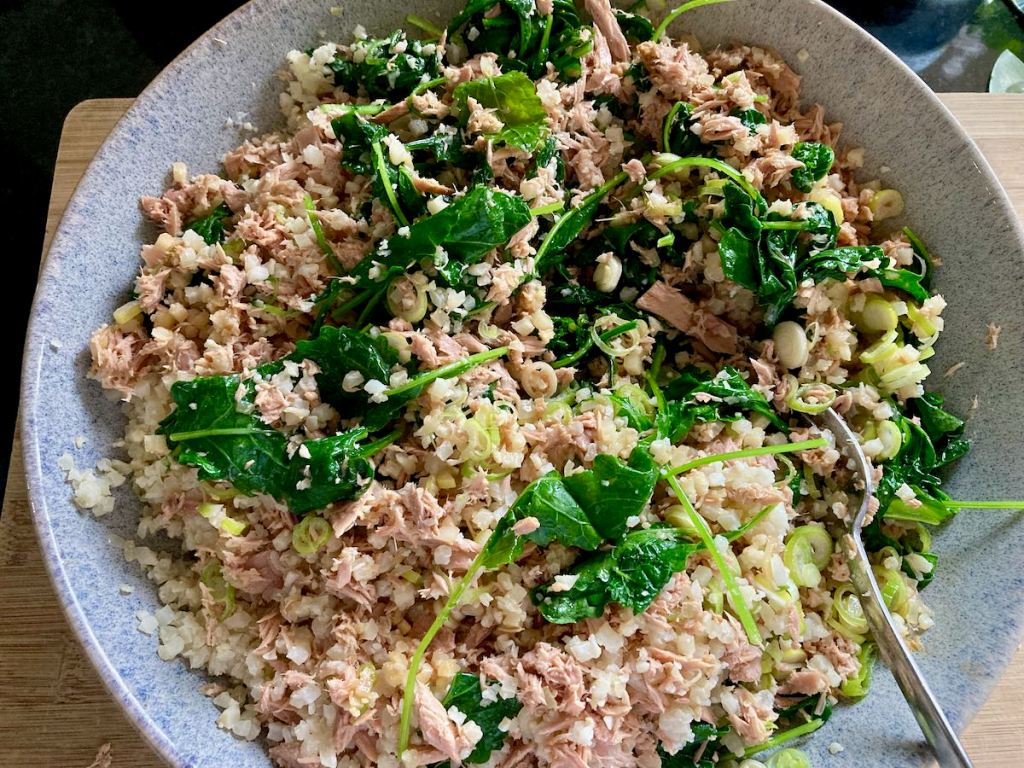

Serve or put in the fridge until you are ready to eat it.
“This
Credit: Cath @ easycleaneats
Ingredients
- 1 bunch kale
- 425g tinned tuna in spring water
- 1 tbsp. ginger, grated
- 1/4 cup herbs, chopped
- 3 spring onions
- 2 cups cauliflower rice
- 2 tbsp. coconut aminos
- 2 tbsp. lime juice
Directions
- Remove the stems from the kale.
- Add some water to the bottom of a saucepan and put a steaming basket on the top of the saucepan.
- Let the water come to boil and steam started to come up through the basket.
- Add the kale to the steaming basket and let it wilt, it should take about 5 minutes.
- Remove the wilted kale from the basket and chop it roughly.
- Add the kale to a large mixing bowl and let it cool slightly.
- Add the remaining ingredients to the mixing bowl and mix well.
- Serve or put in the fridge until you are ready to eat it.
Nutrition
Per Serving: 186 calories; 2.1 g fat; 10.2 g carbohydrates; 31 g proteinEquipment
- Knife
- Chopping board
- Saucepan
- Steaming basket
- Mixing bowl
- Tongs
Nutritional disclaimer
Nutrition information is provided as an estimate based on the ingredients used and available in my area (New Zealand). The nutritional information is here to help you understand the recipe; I use MyFitnessPal to generate my estimates. For more accurate nutritional information, please use a nutritional calculator with the ingredients in your area.