Simple meals don’t have to be boring
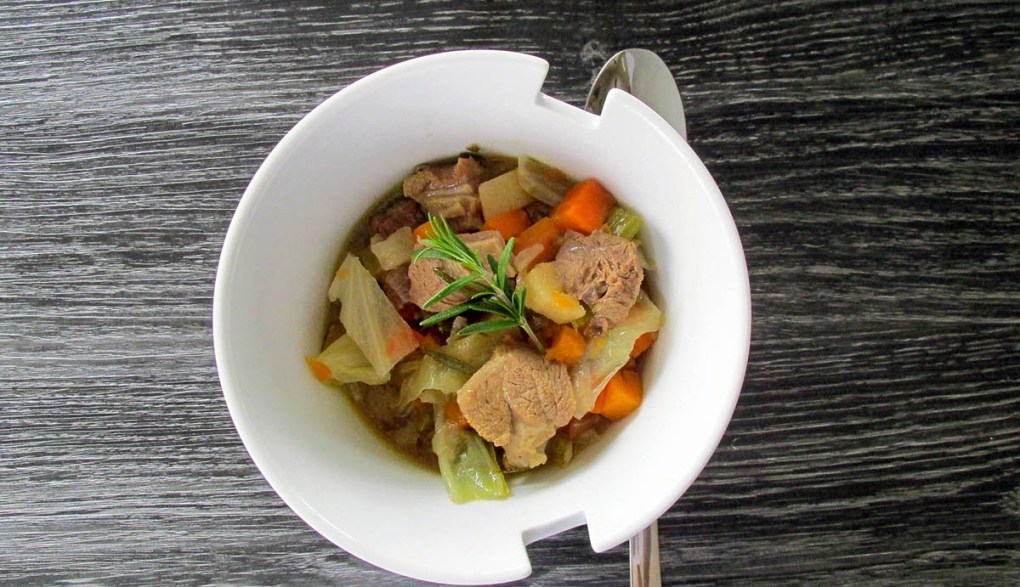
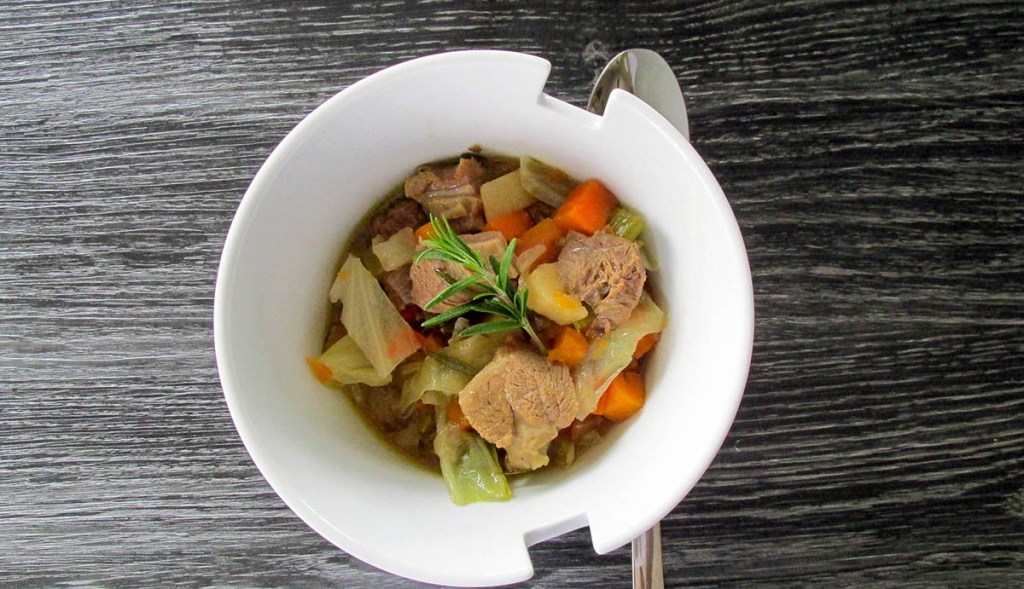
I have been on a mission this year to make simple but tasty meals. The aim was to create recipes that can be prepared and cooked quickly on a busy weeknight.
We all struggle to make healthy and tasty meals while keeping on top of everything else in life.
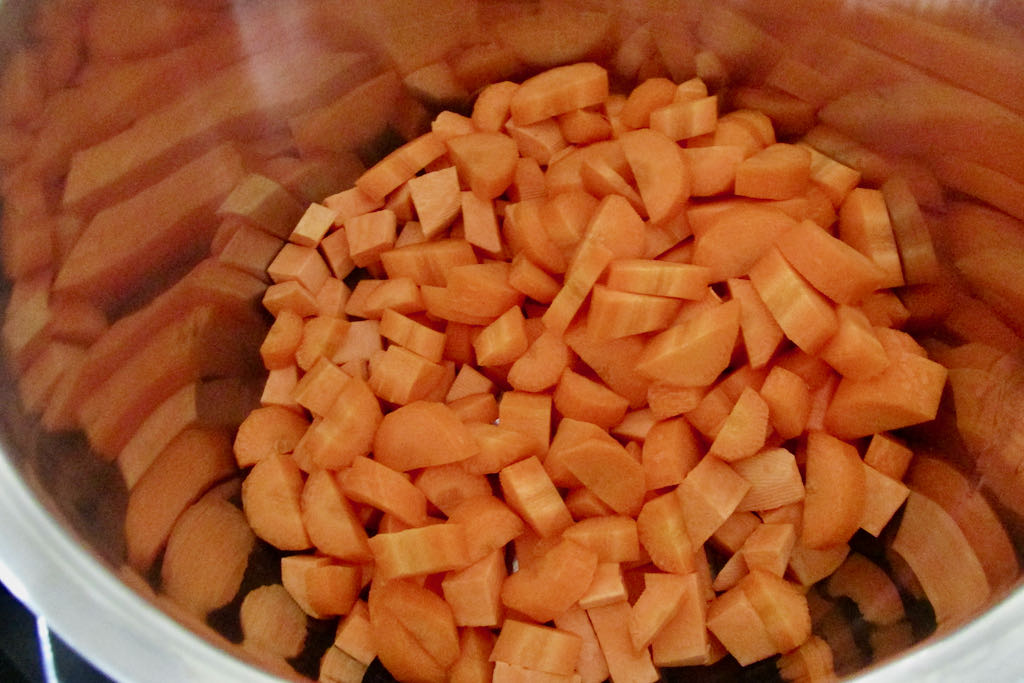
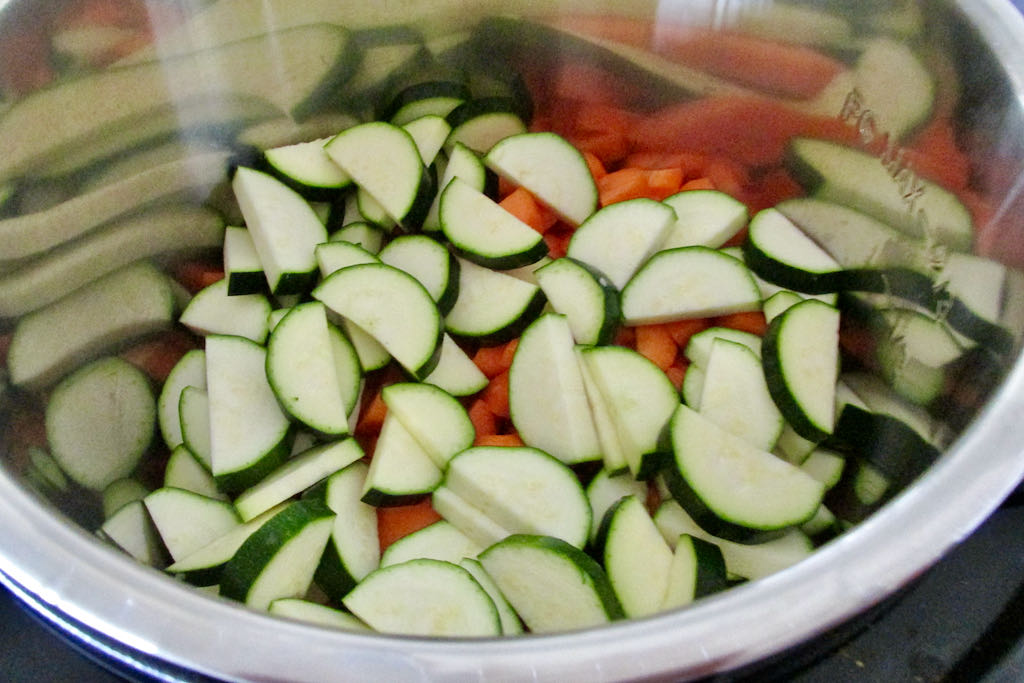
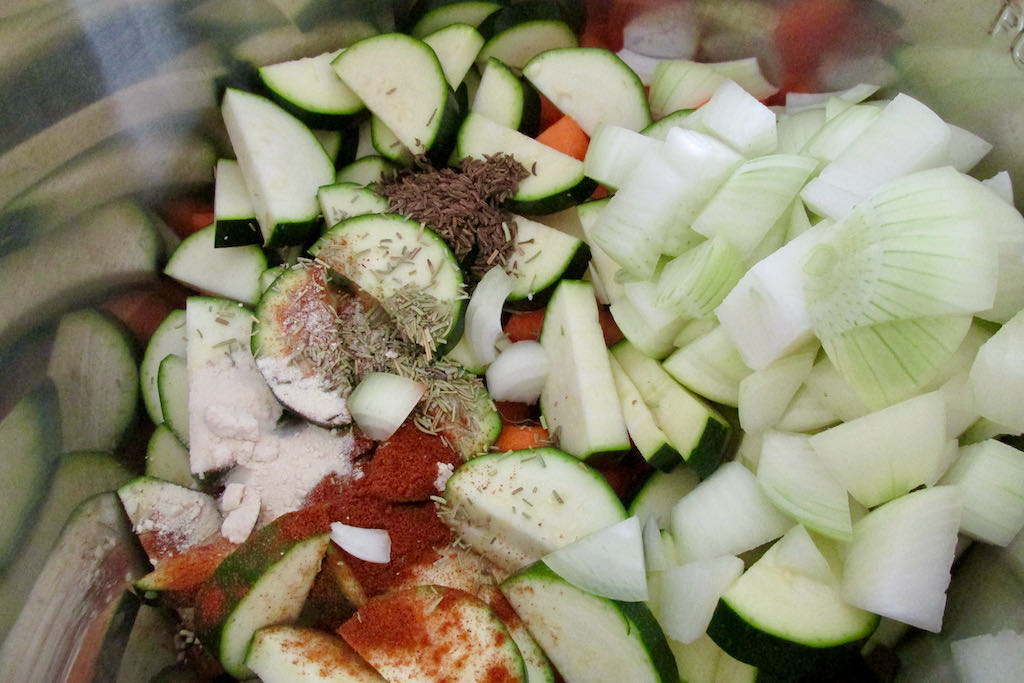
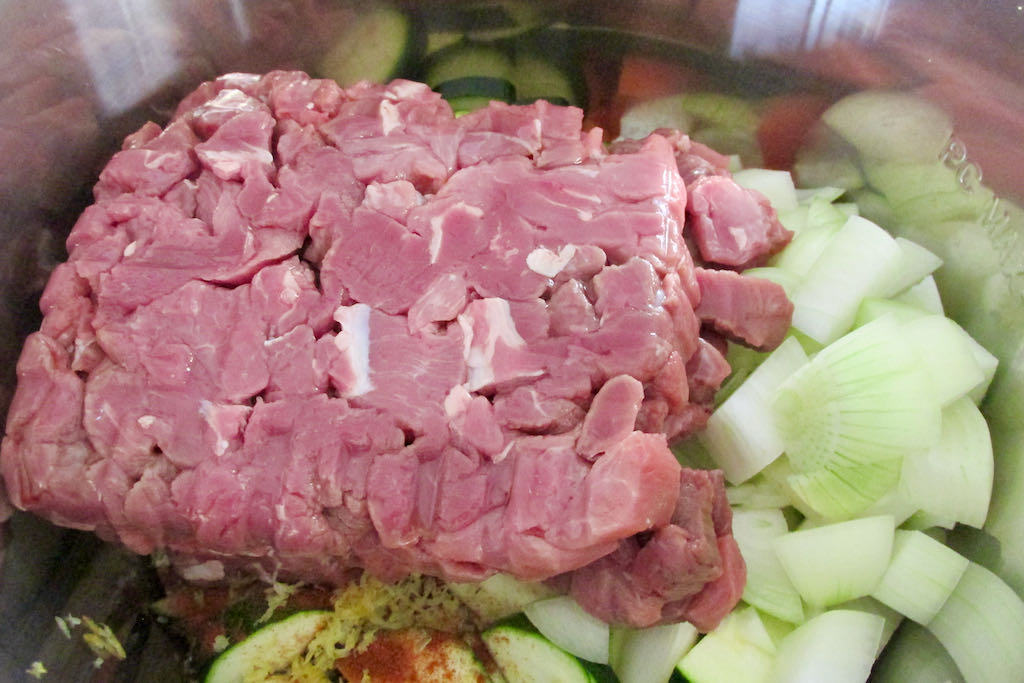
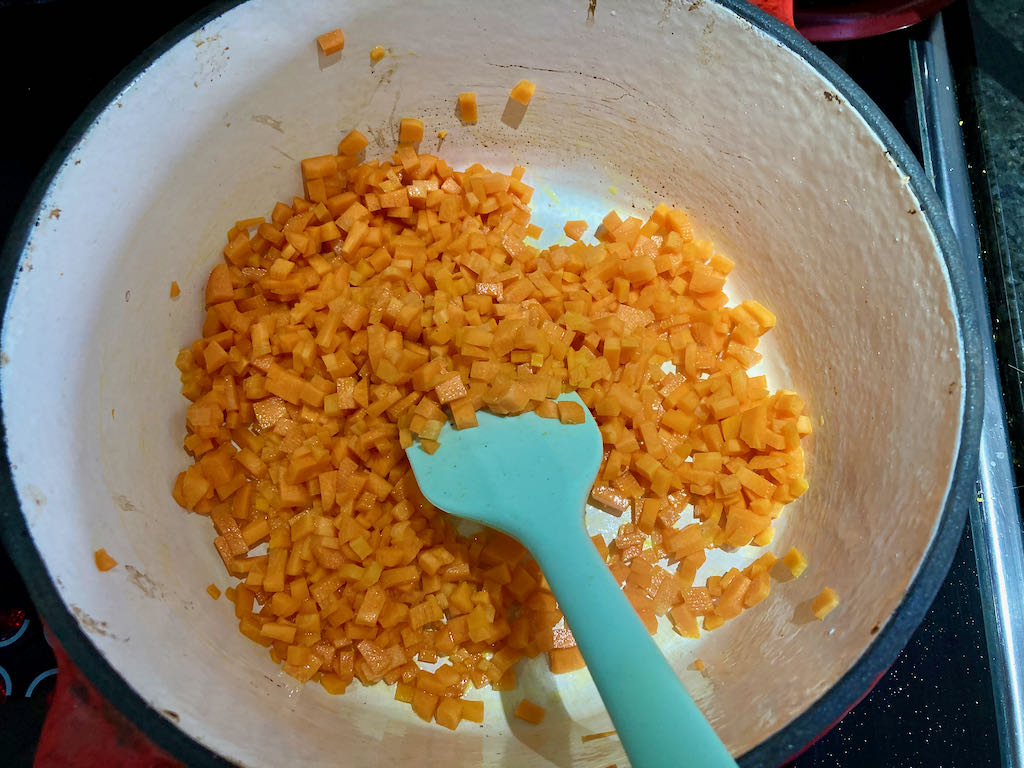
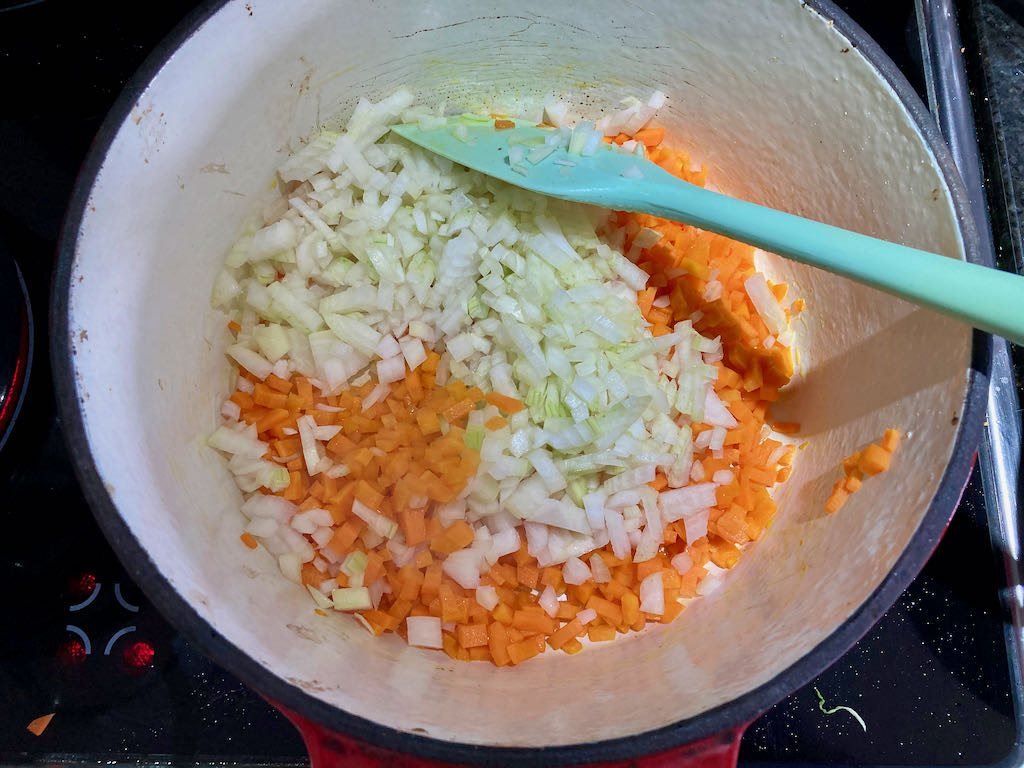
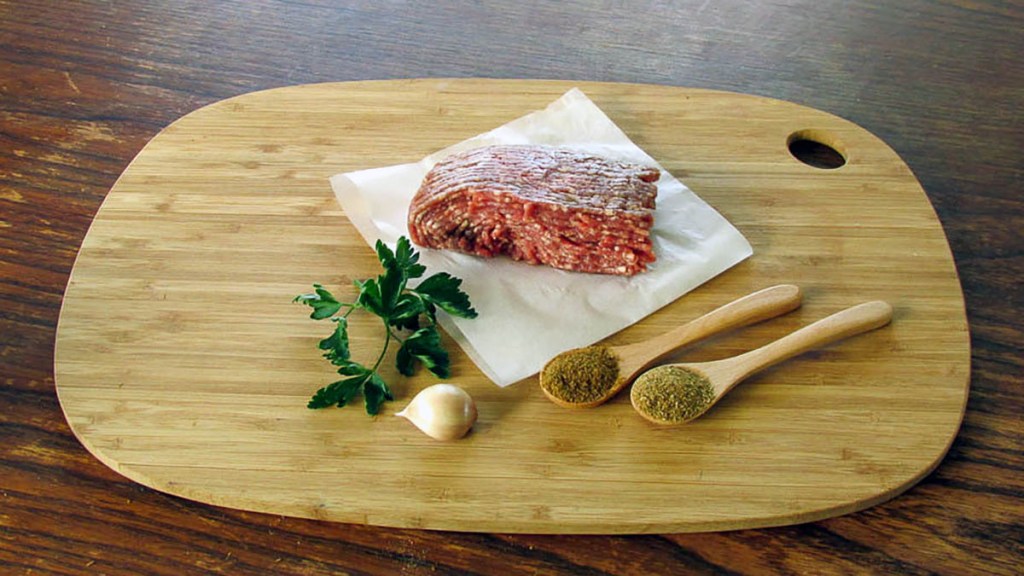
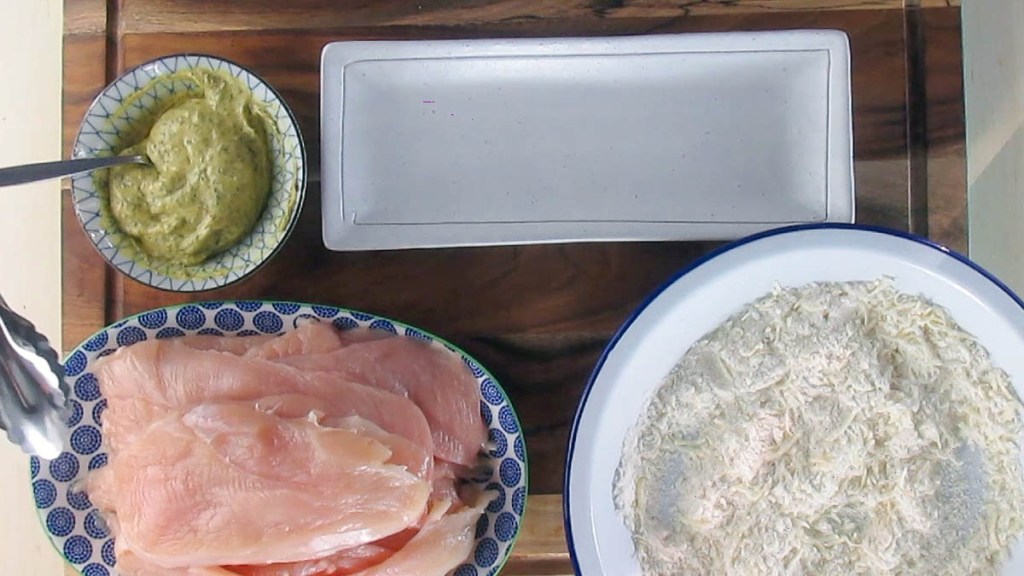
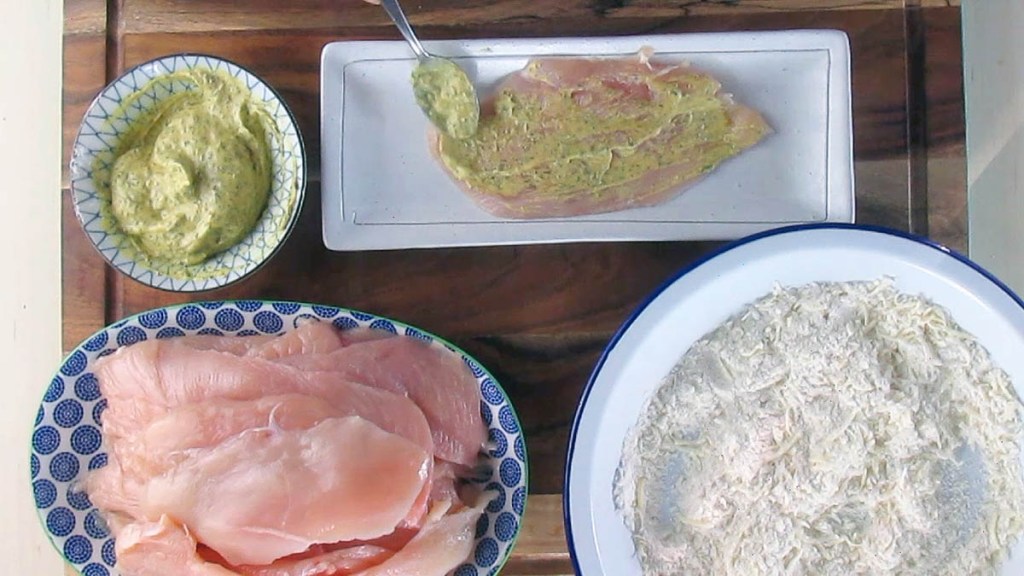
This recipe is healthy, delicious and easy to make recipes that you can cook on a single tray in the oven. The preparation takes no more than 20 minutes, that is all of the slicing, dicing and mixing.
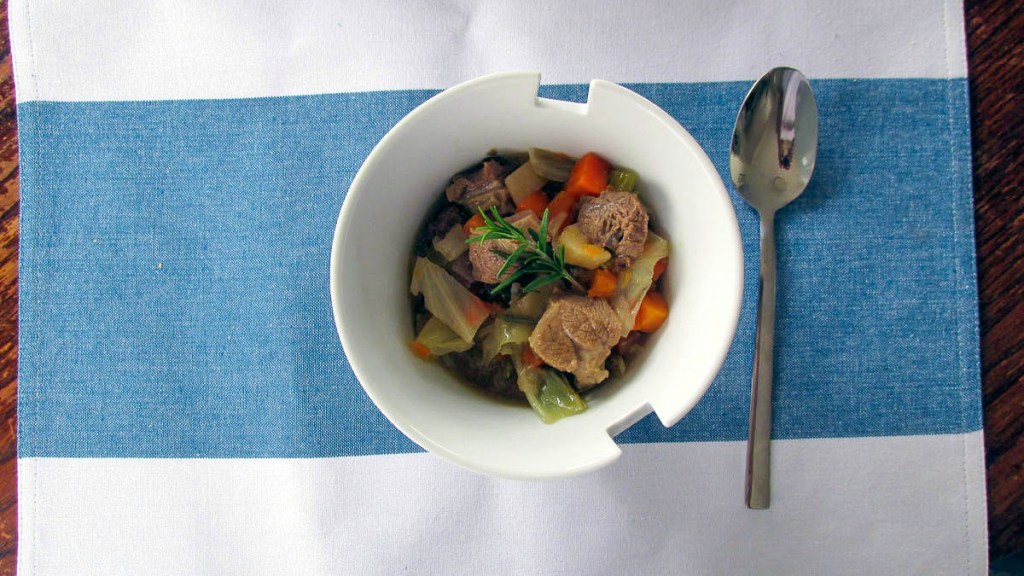
Each meal is portioned to feed four adults.
Another take on a classic
The Reuben is something of a classic sandwich, the combination of corned beef, swiss cheese, sauerkraut, with Russian dressing on rye bread. This combination isn’t the only one that goes by the name ‘Reuben’. there are a range of variations, corned beef is switched out for smoked meat, pastrami, fish or courgettes, sauerkraut gets switched out for coleslaw, and Russian dressing gets switched for thousand island dressing or mayo. The possible combinations are endless.
Bake it
As is often the case, I can’t leave a recipe alone; I have to play around with a recipe. I wanted to create a meal that brought together the classic flavours of the Reuben without the carbs of the sandwich. With the weather getting colder, I also want something warm for dinner. Another Reuben alternative I came up with paired pastrami and pork tenderloin so I knew ham and pastrami would work together. Swapping the pork tenderloin for some tasty ham was an easy step that would allow me to make a layered casserole dish out of my Rueben.
Reuben casserole recipe

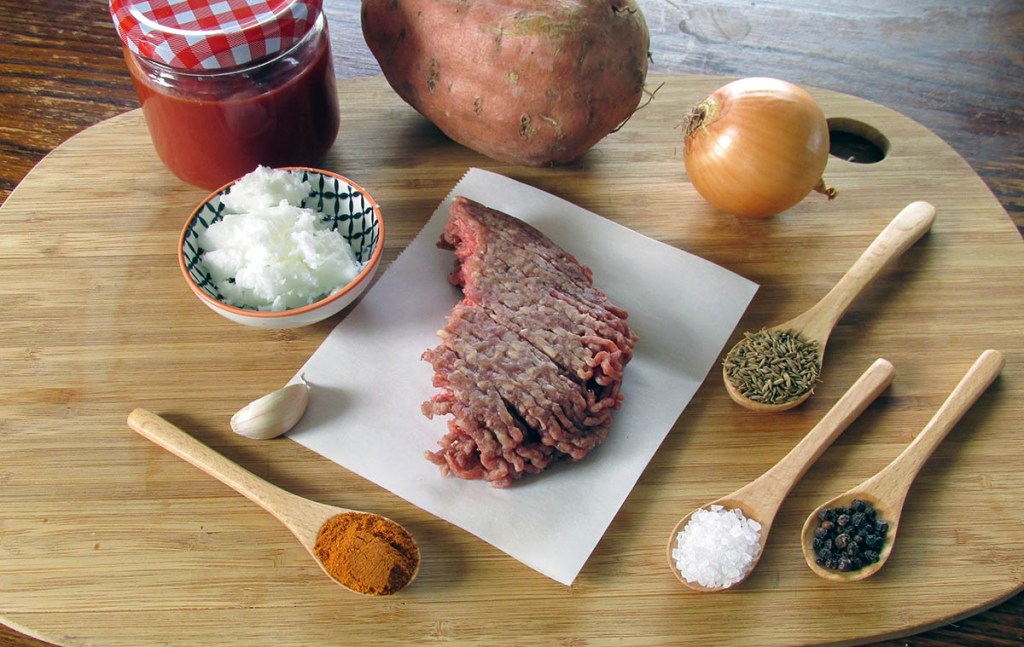
Ingredients
- 1 cup thousand island dressing
- 450g pastrami, thinly sliced
- 450g ham, thinly sliced
- 3 cups sauerkraut, drained
- 2 cups cheese, grated
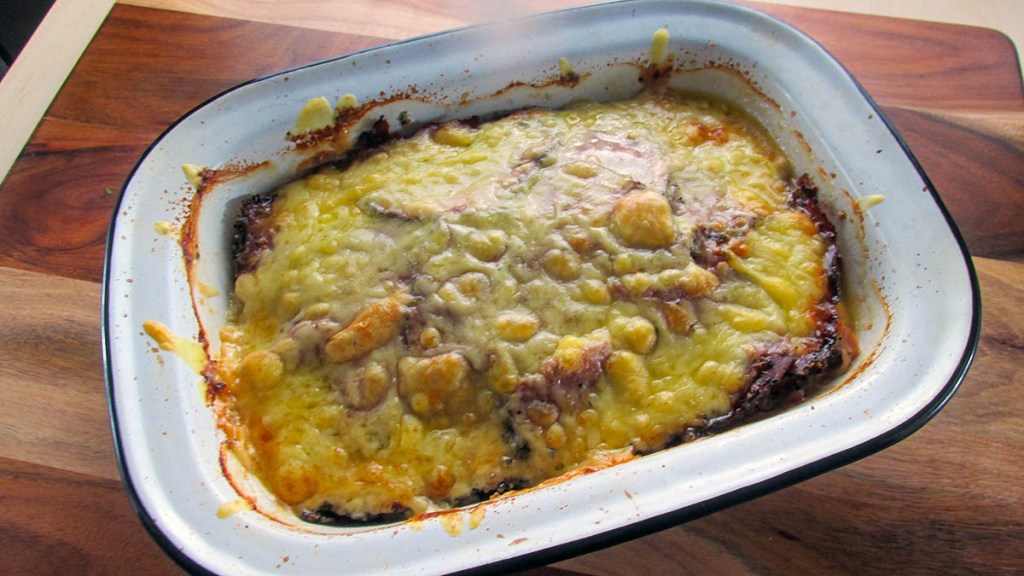
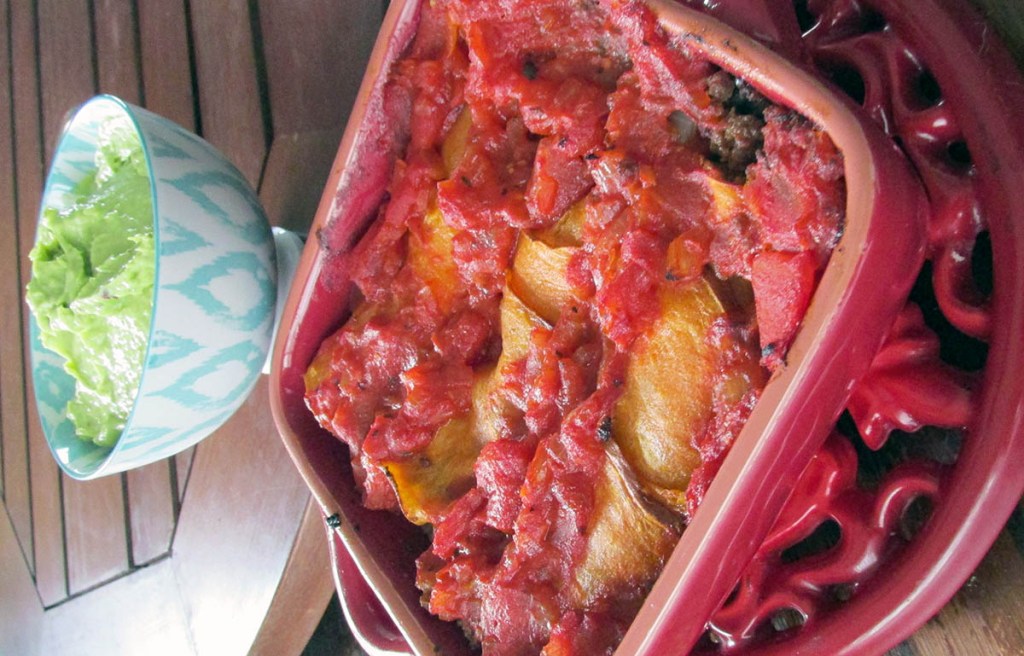
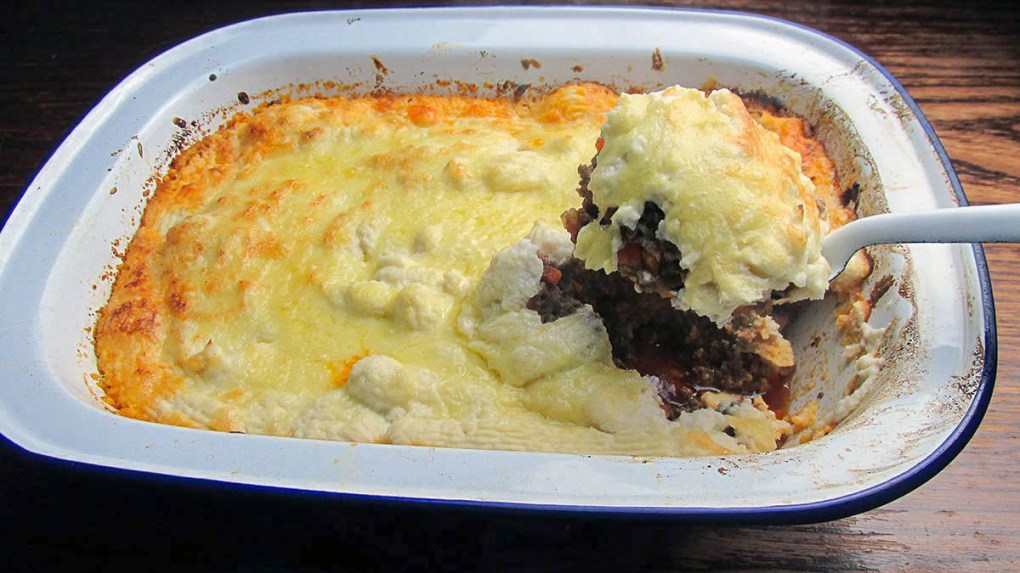
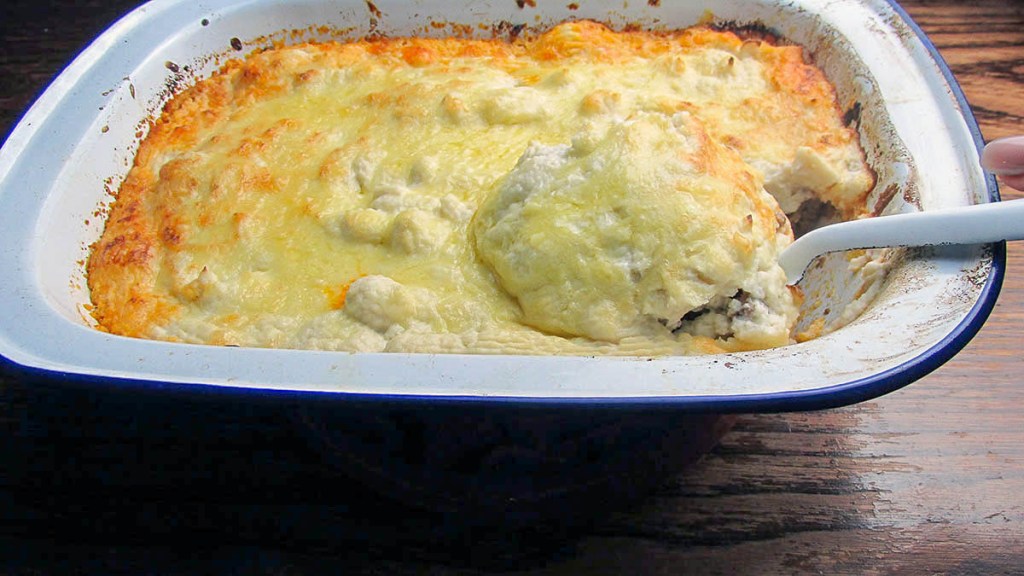
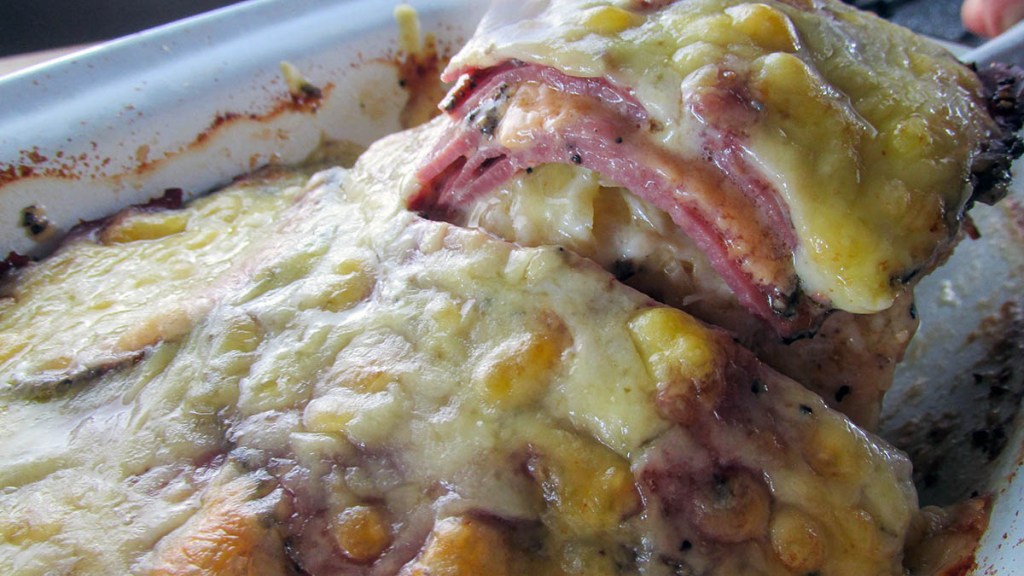
Reuben casserole
This one tray meal is easy to make and an excellent options for a weeknight meal
Credit: Cath @ easycleaneats
Ingredients
- 1 cup thousand island dressing
- 450g pastrami, thinly sliced
- 450g ham, thinly sliced
- 3 cups sauerkraut, drained
- 2 cups cheese, grated
Directions
- Preheat the oven to 180 degrees C/ 350 degrees F.
- Take a baking dish and lightly oil it.
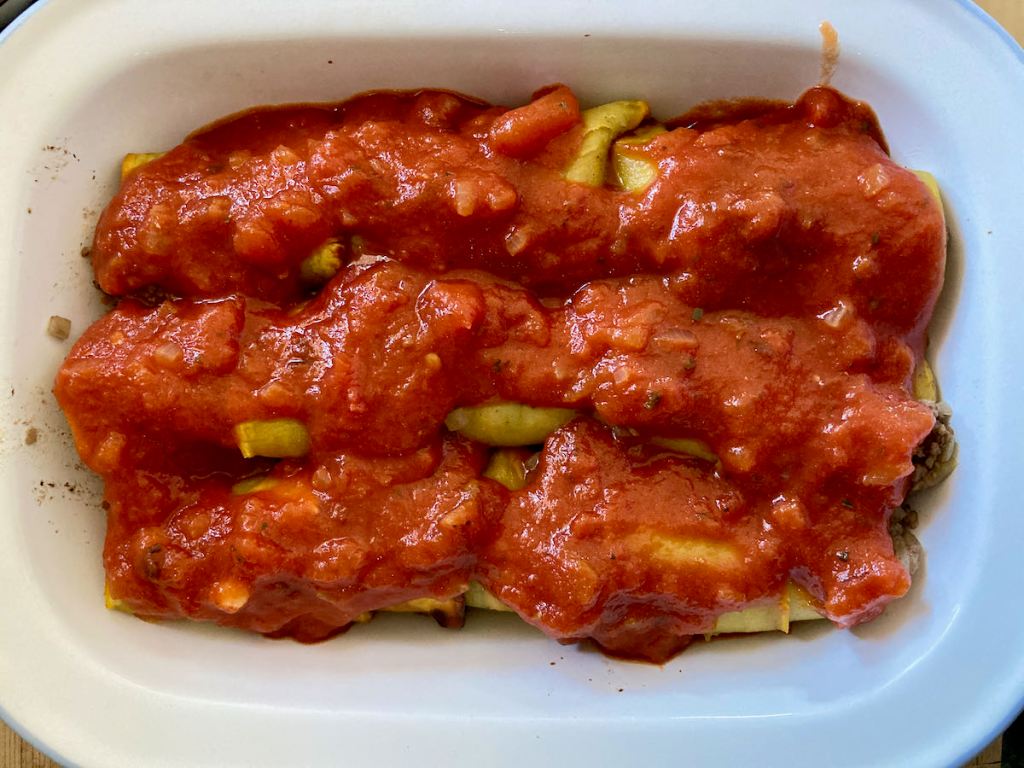
- Cover the bottom of the baking dish with ham slices, spread a layer of sauerkraut over the ham, then add a layer of pastrami, thousand island dressing, then some cheese.
- Repeat until you have used all of the ingredients.
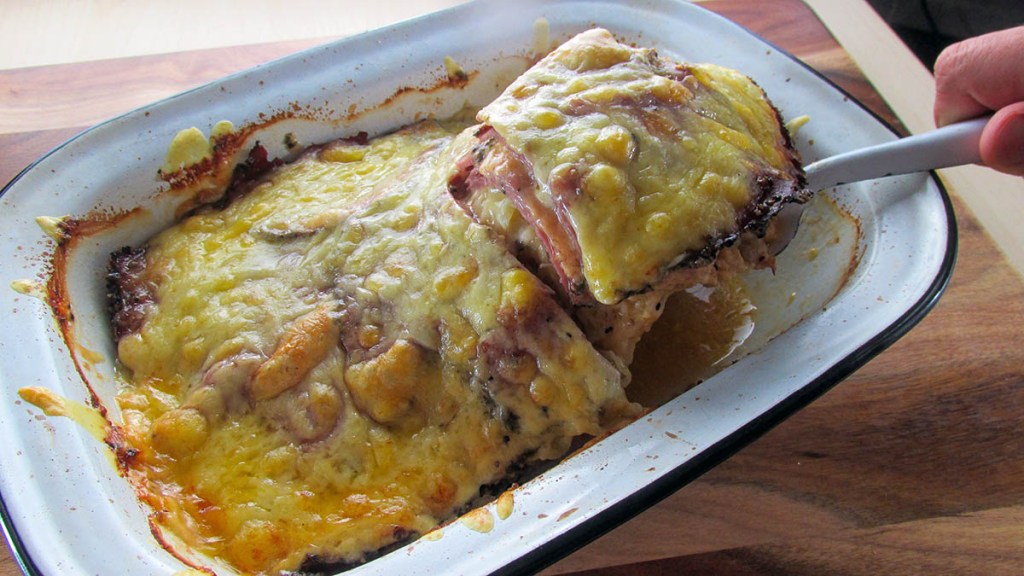
- Cover the baking dish with foil and bake for 45 minutes, remove the foil and bake for another 30 minutes.
- Serve the casserole while it is hot.
Nutrition
Per Serving: 339 calories; 23 g fat; 10 g carbohydrates; 22 g proteinEquipment
- Baking dish
- Fork
- Spoon
- Measuring cups
- Scales
Nutritional disclaimer
Nutrition information is provided as an estimate based on the ingredients used and available in my area (New Zealand). The nutritional information is here to help you understand the recipe; I use MyFitnessPal to generate my estimates. For more accurate nutritional information, please use a nutritional calculator with the ingredients in your area.