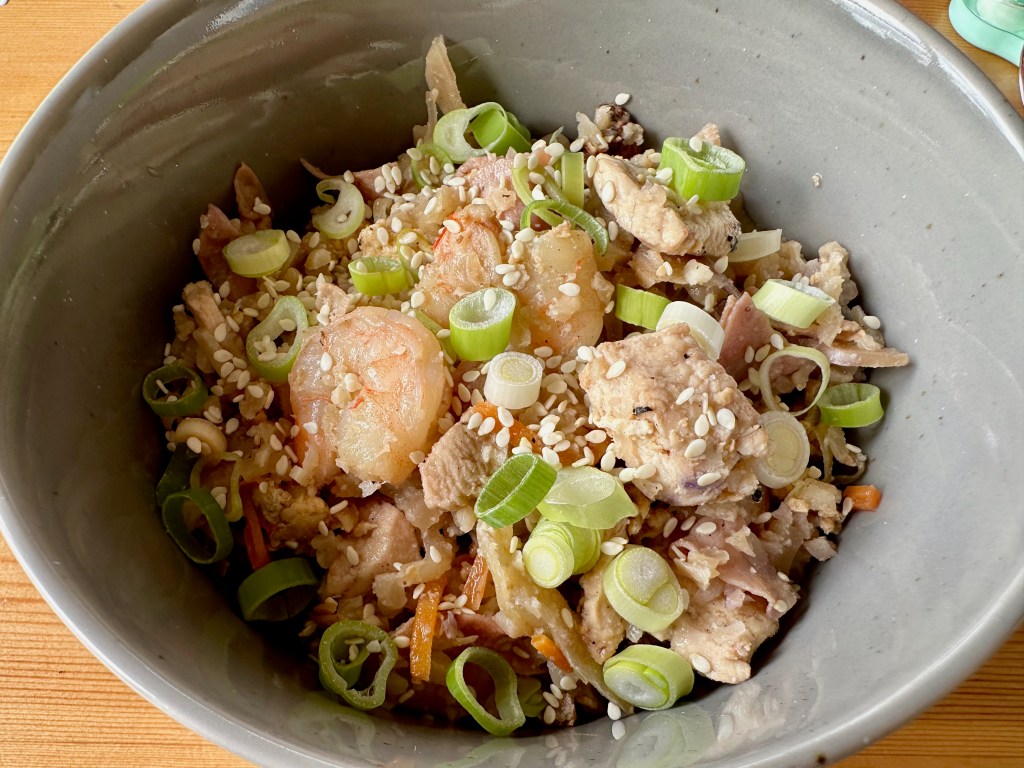
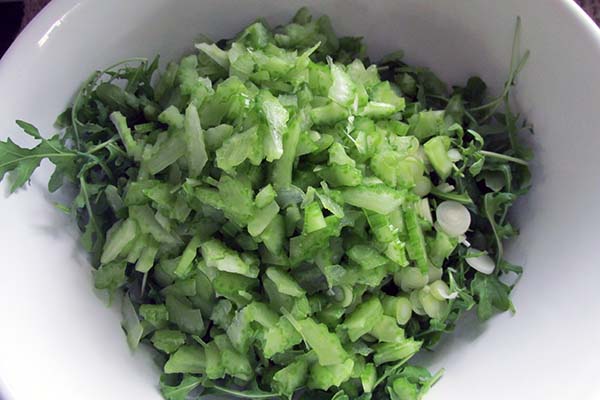
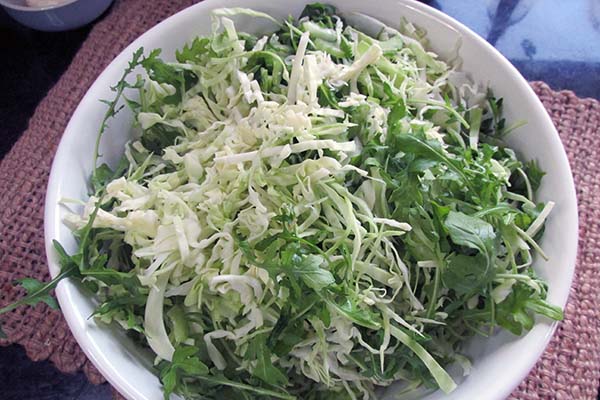
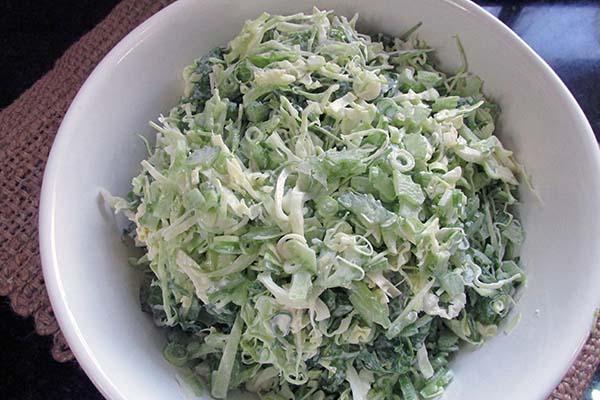
Making friends with salad
I love salad, it is sad, but true. For a long time, if I suggested salad for dinner, it was met with grumbles, groans, and complaints. Nowadays, I have the freedom to eat salad as often as I want, and I’ll be honest, I eat it a lot. In my book, salad is something to get excited about; it is an amazingly fresh meal full of endless possibilities, not limp lettuce, sad dressing and soggy tomatoes. I love to create salads that taste amazing and look great.
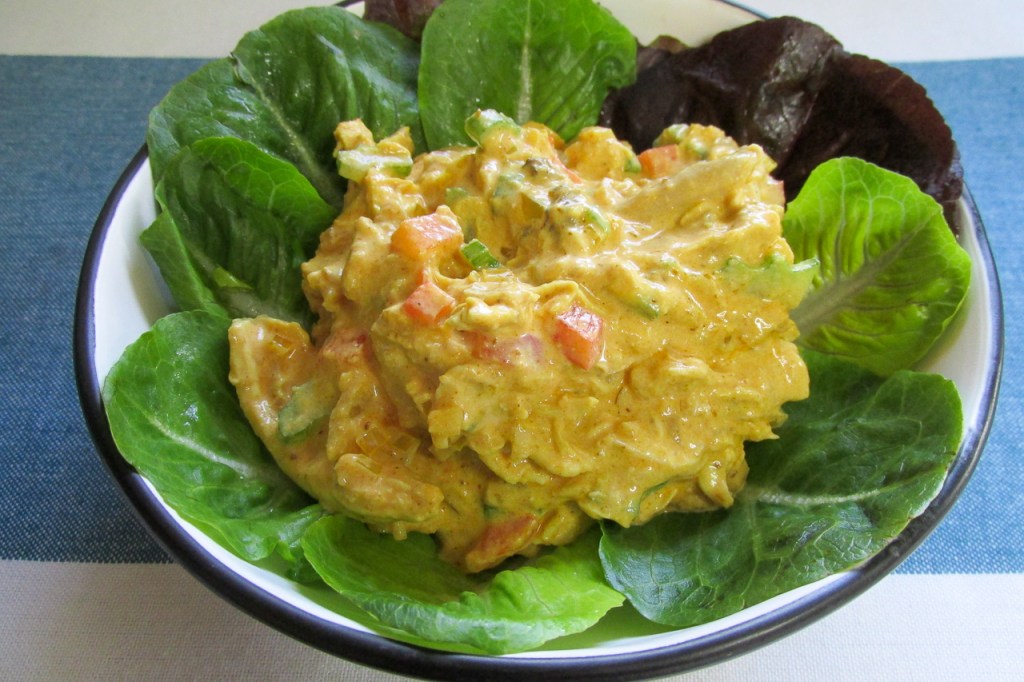
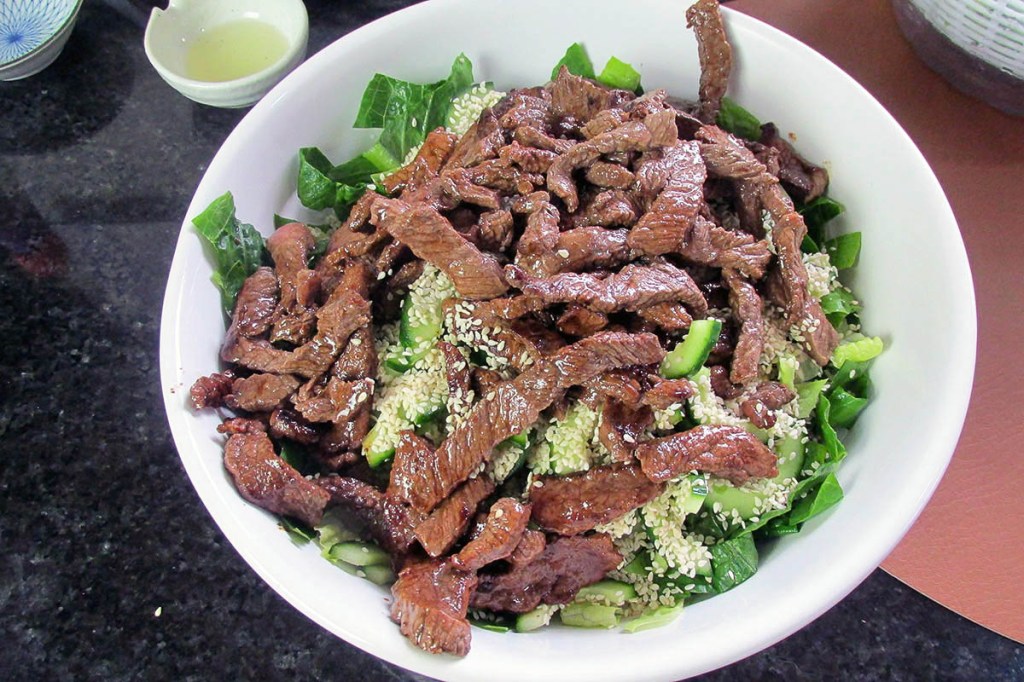
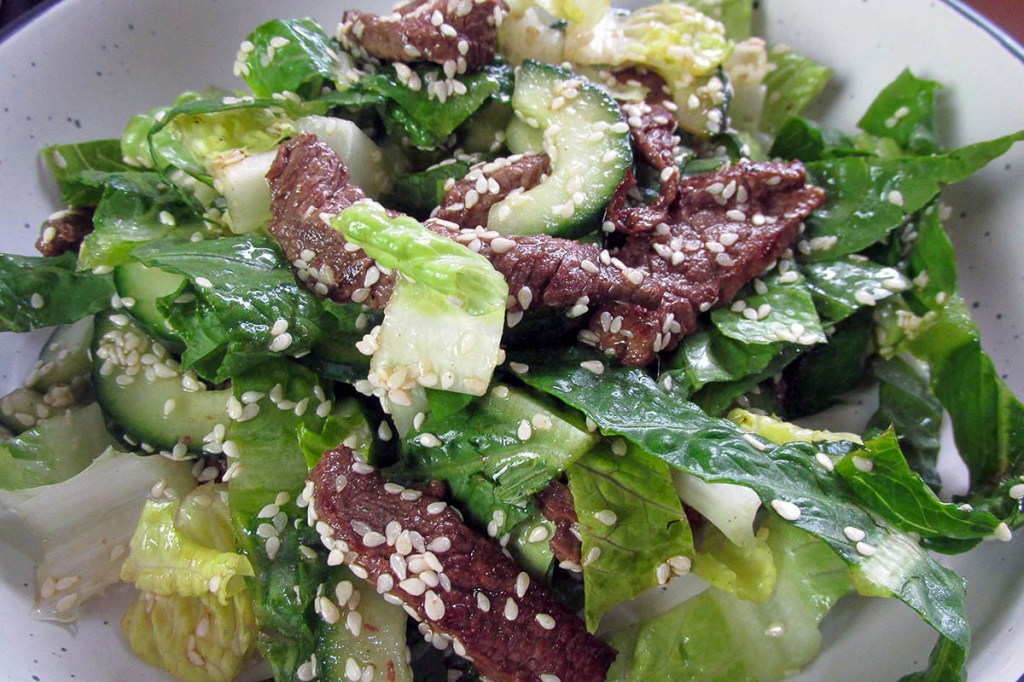
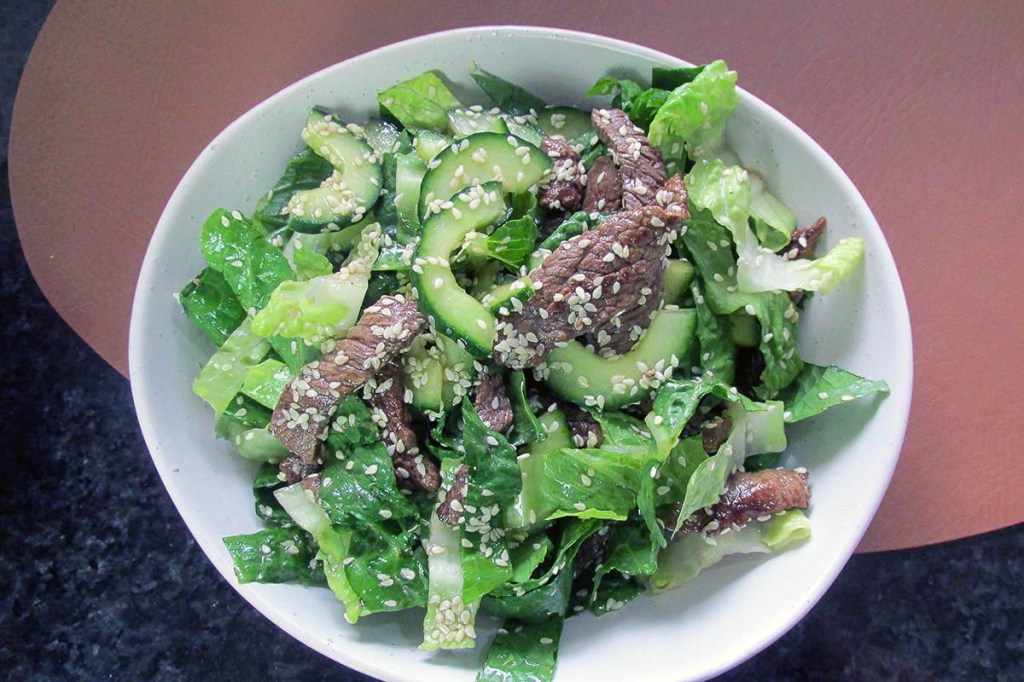
More spicy flavours
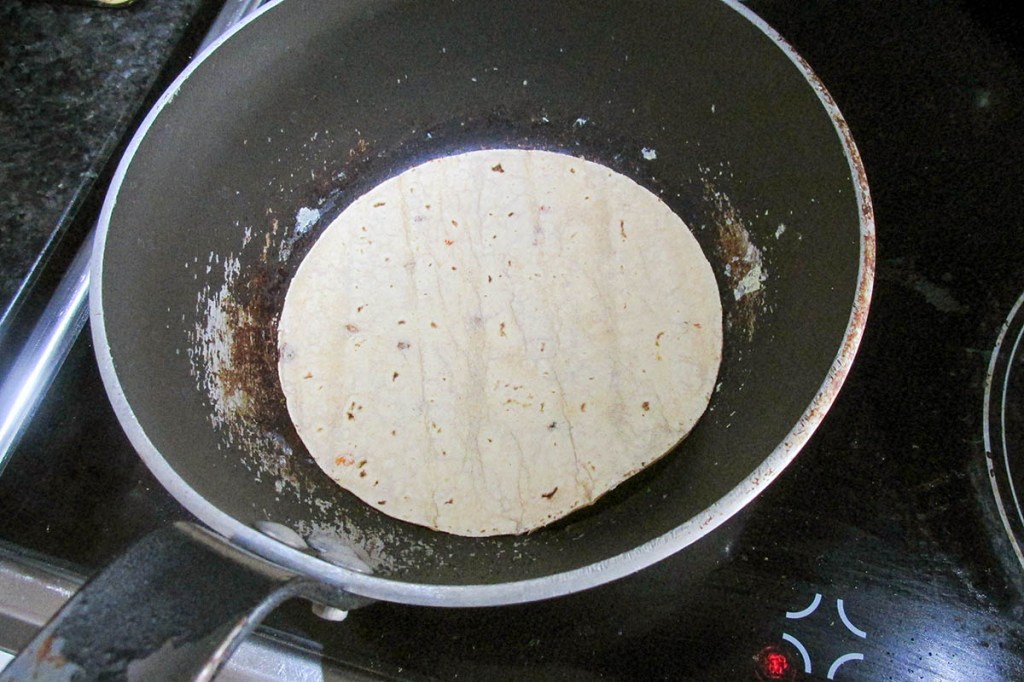
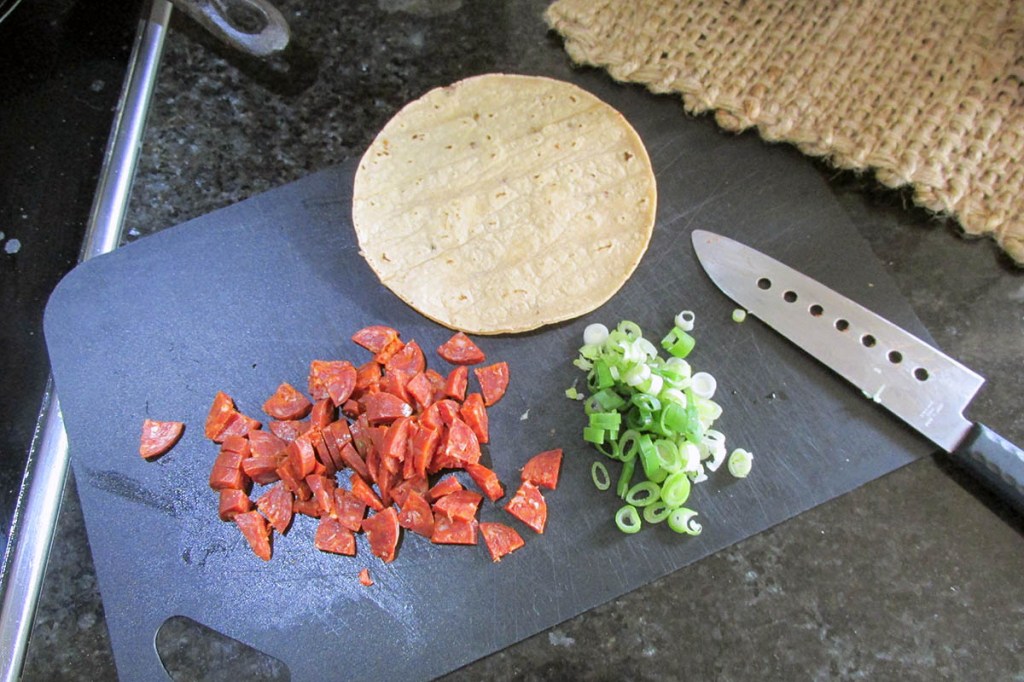
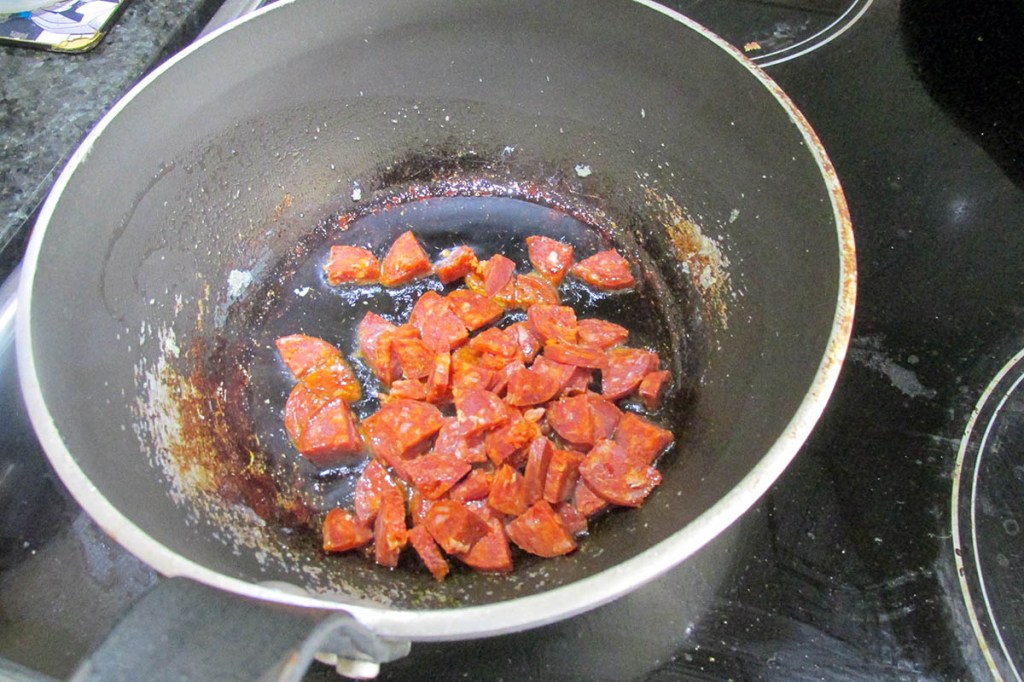
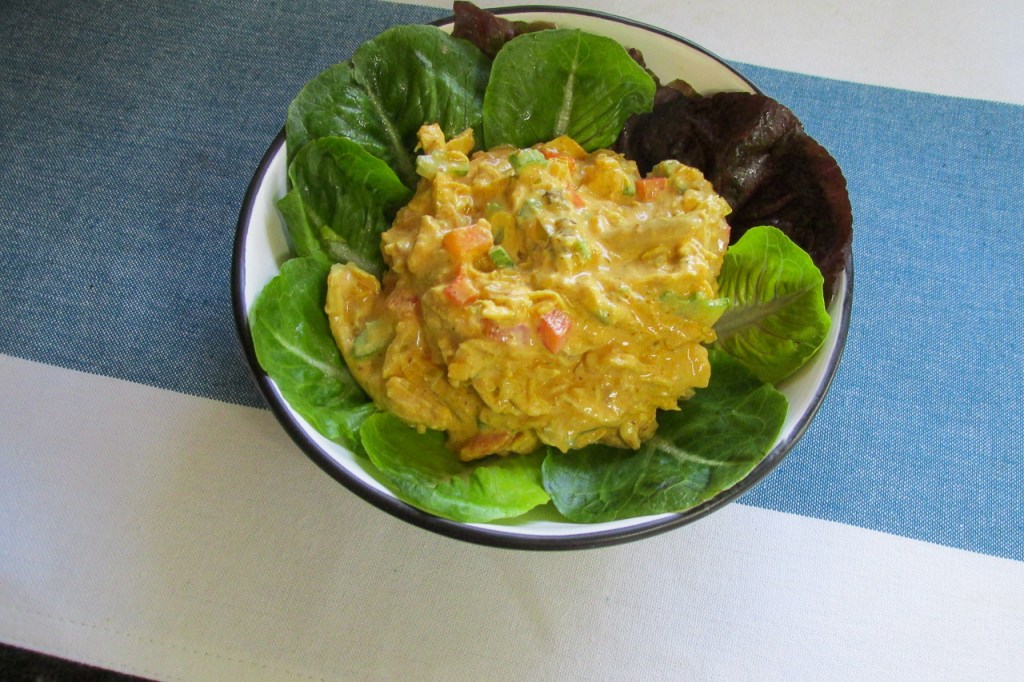
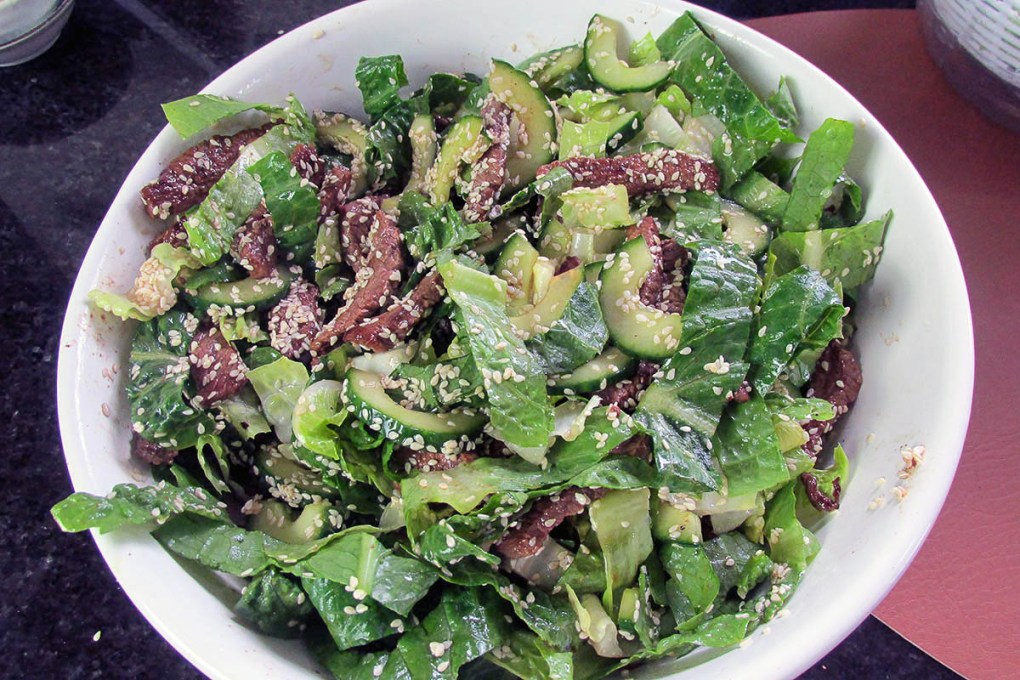
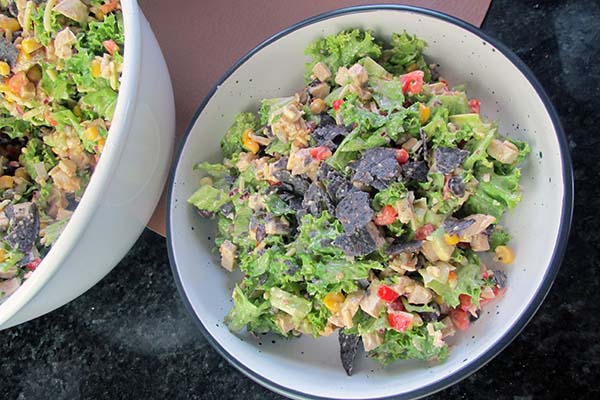
While I find it hard to say no to tacos, I sometimes want the flavour of tacos without so many carbs. This salad is my compromise; it is a taco in a bowl. This salad delivers on the flavour of tacos, but with a tasty and creamy dressing that brings everything together. It is easy to make, and the recipe is enough to feed a hungry family and leave you with some leftovers. If you don’t need quite so much food, it is easy to half the ingredients to make 5 servings rather than 10.
Taco style salad

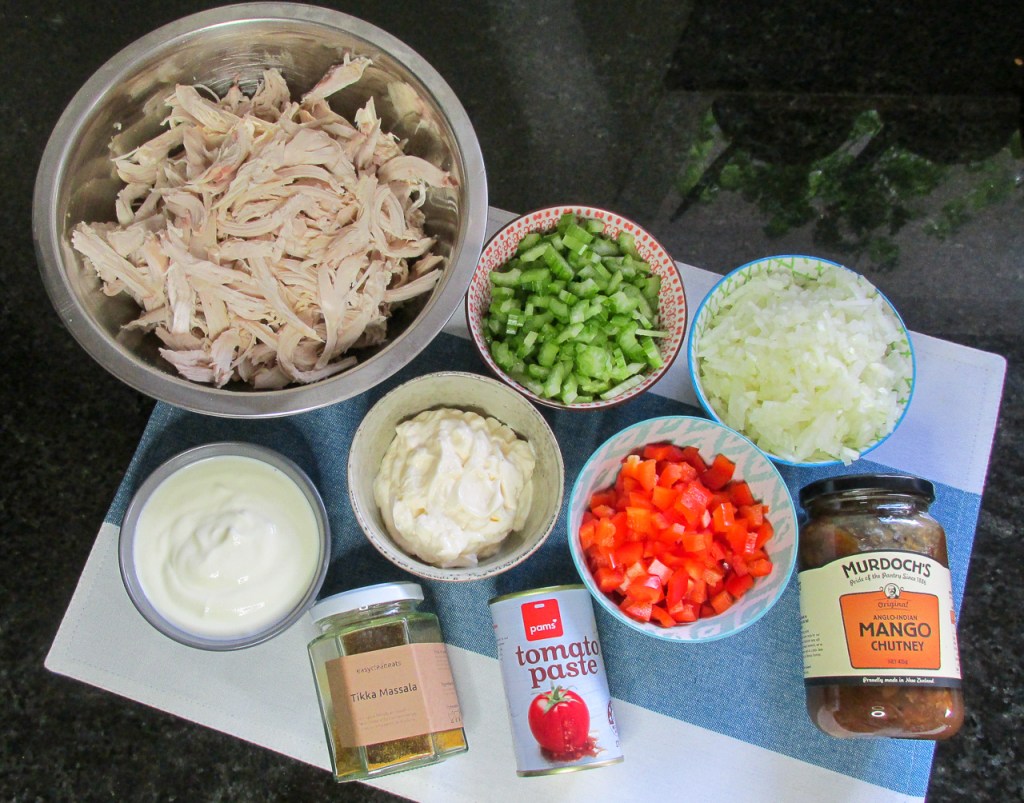
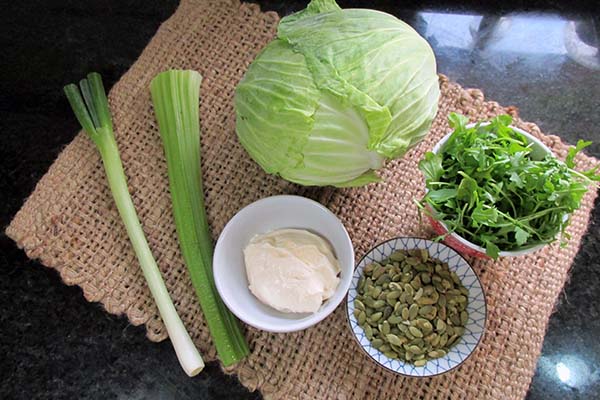
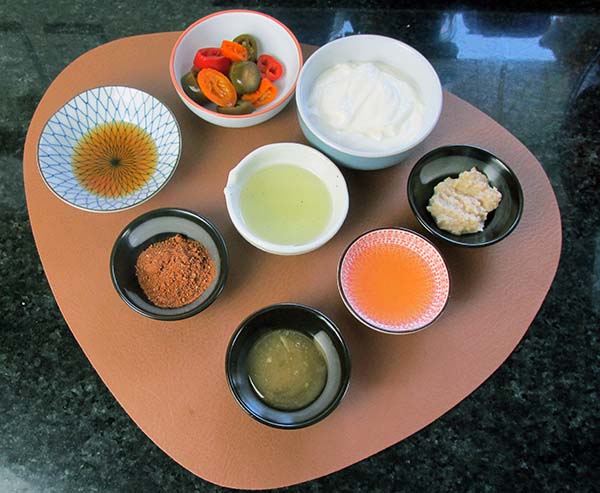
Ingredients
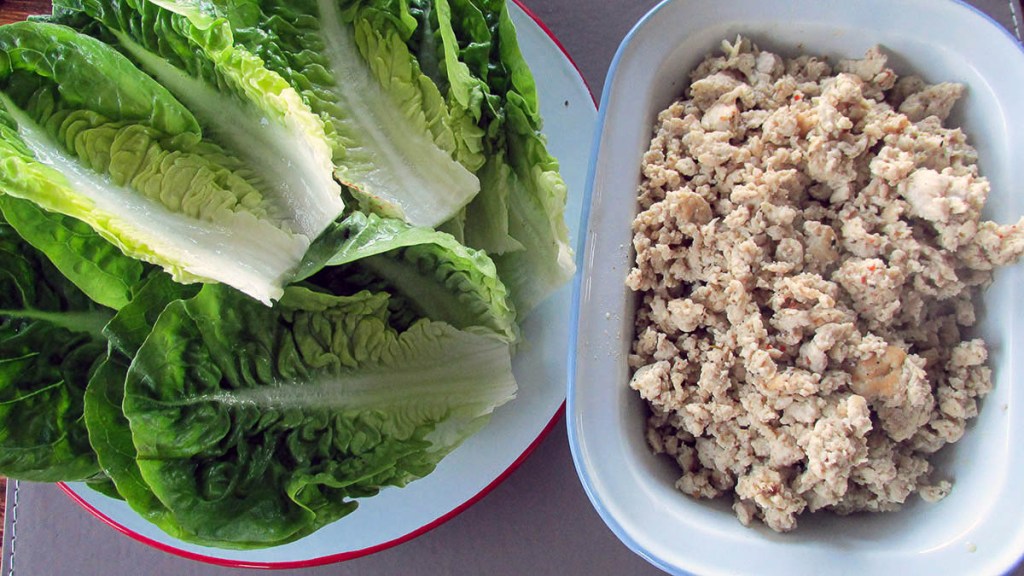
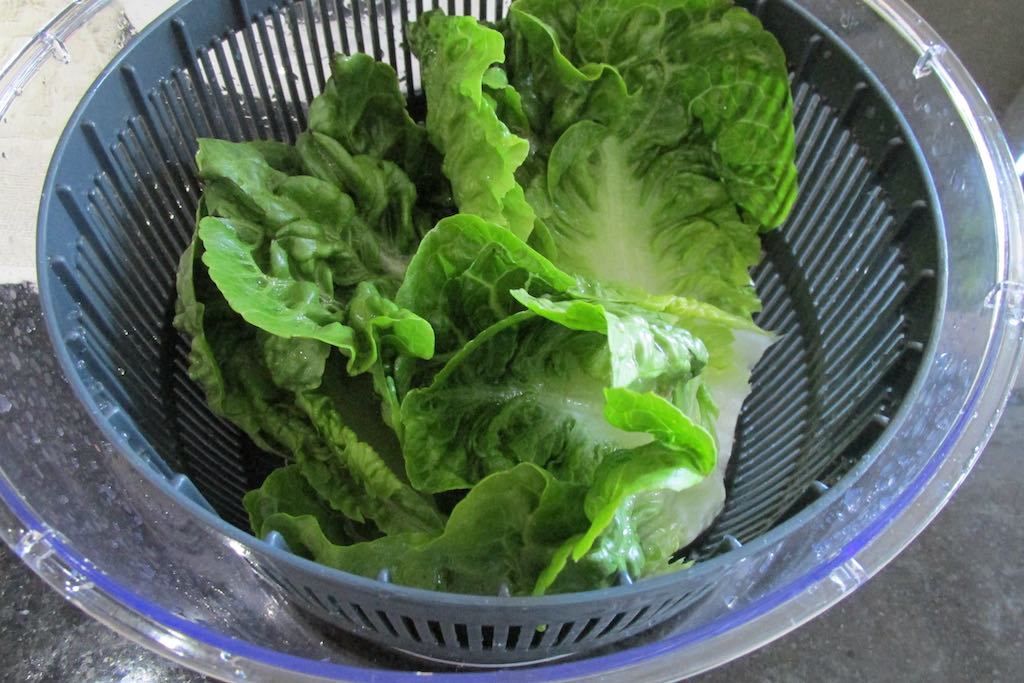
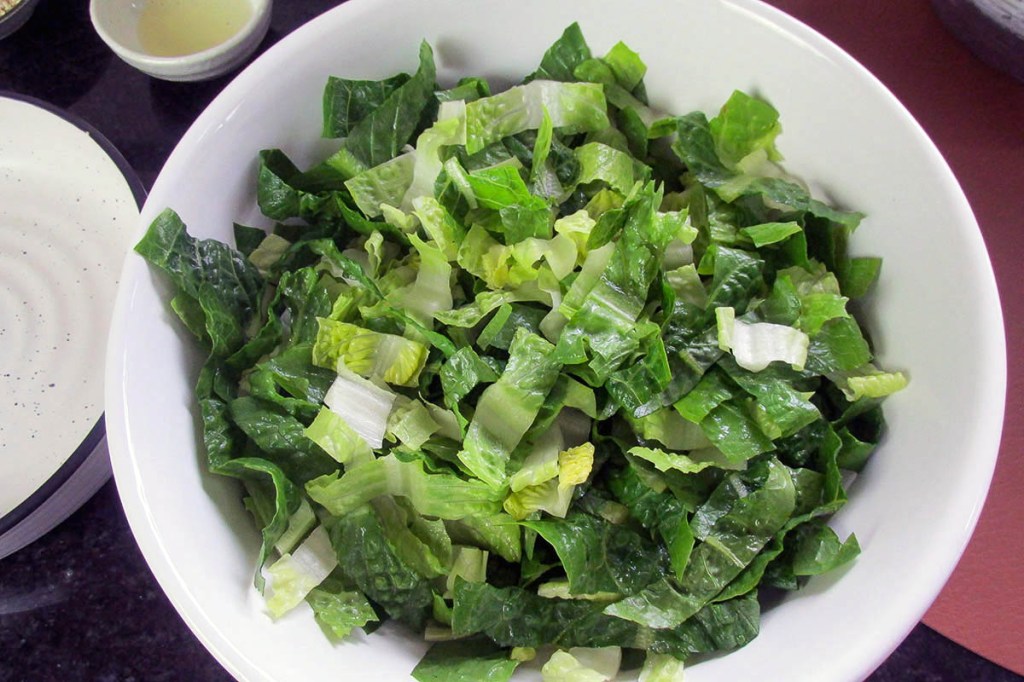
- 6 cups cos lettuce, chopped
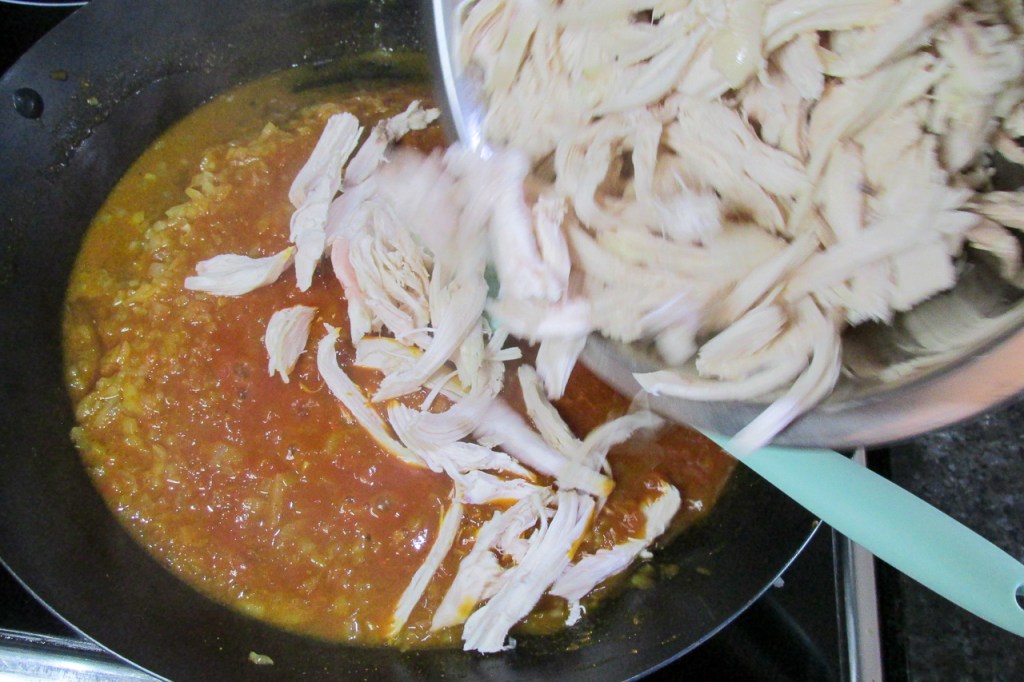
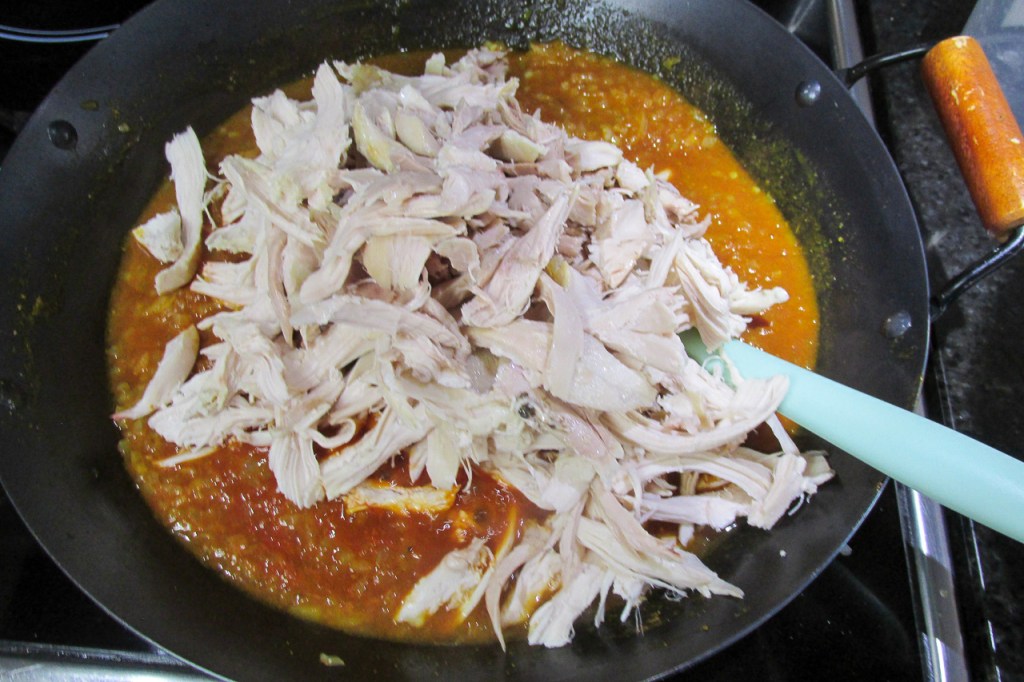
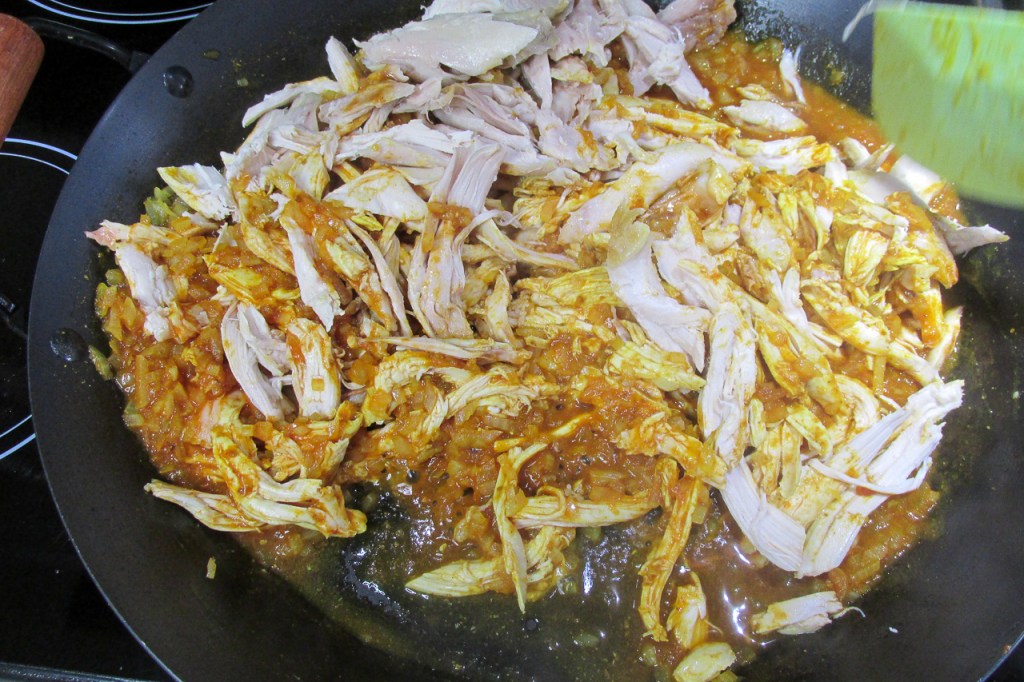
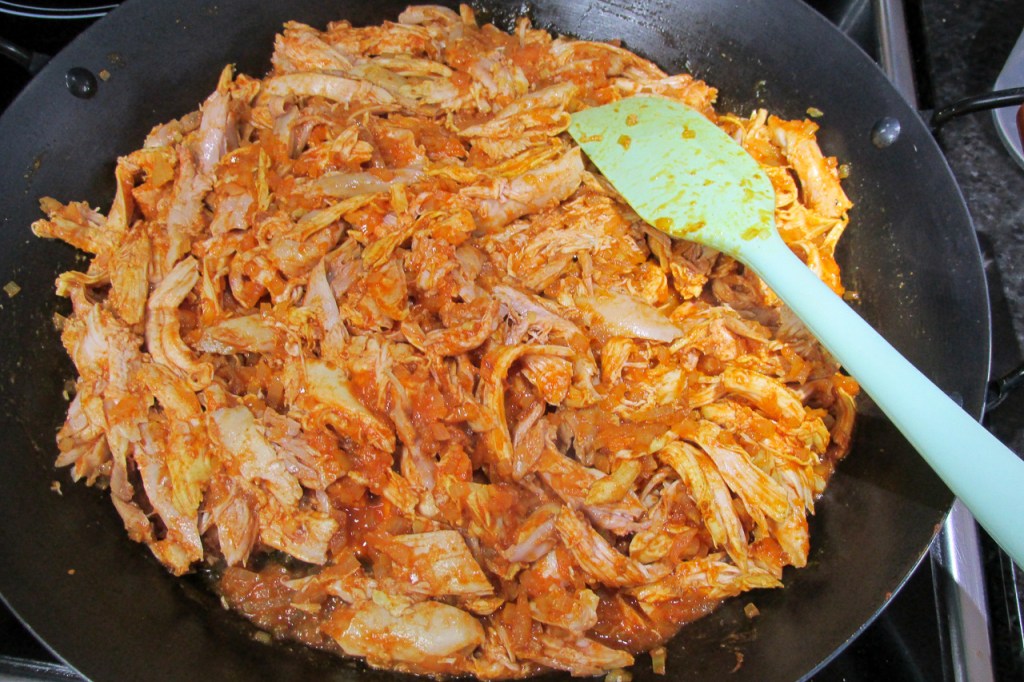
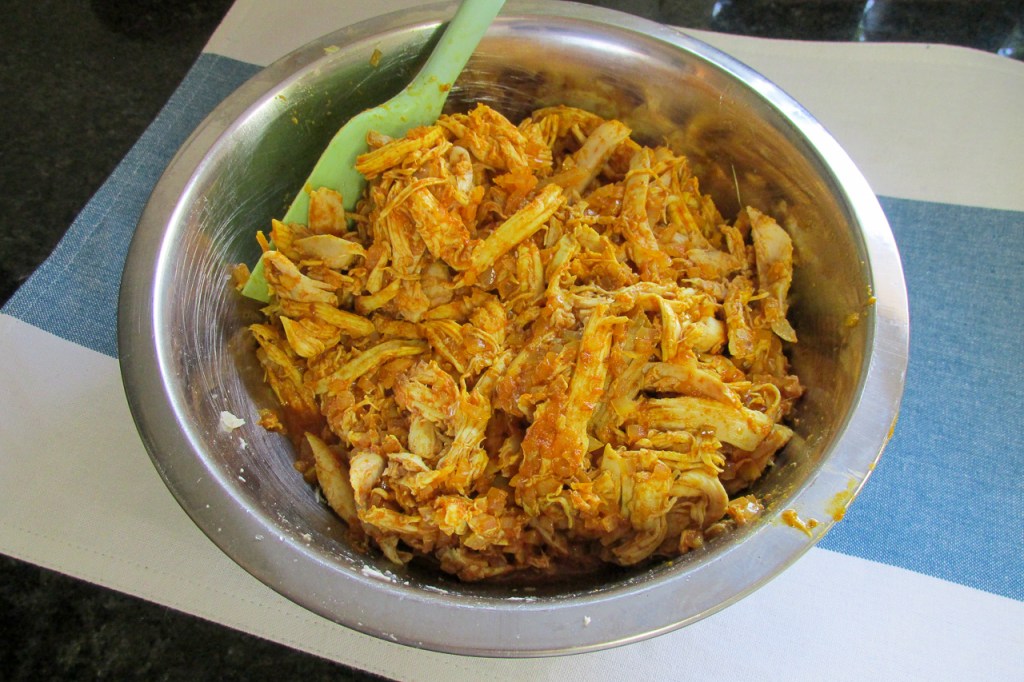
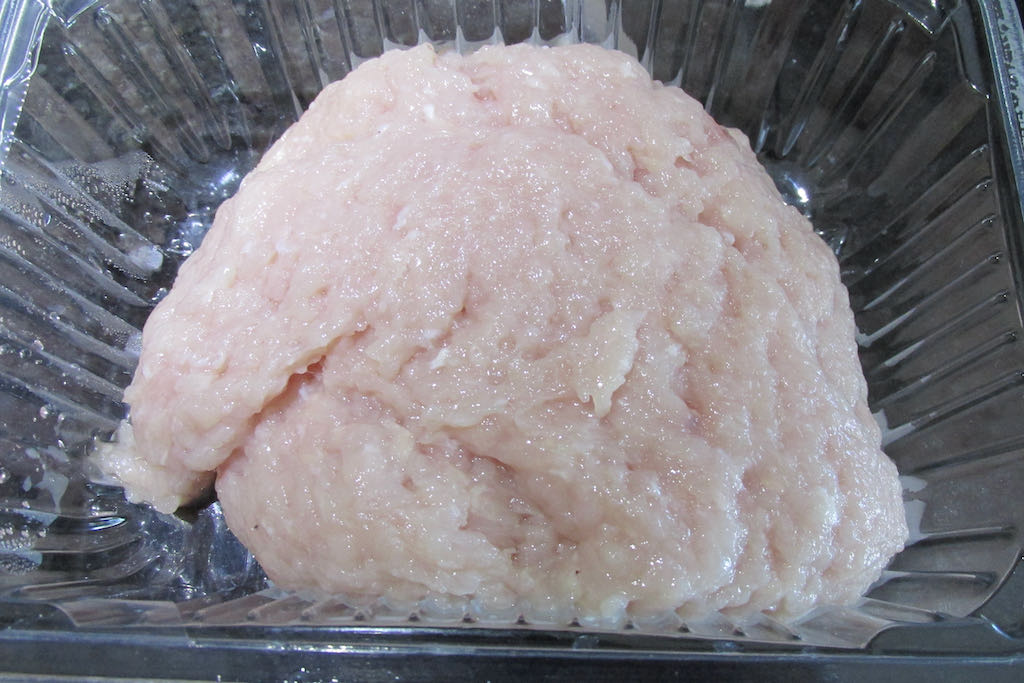
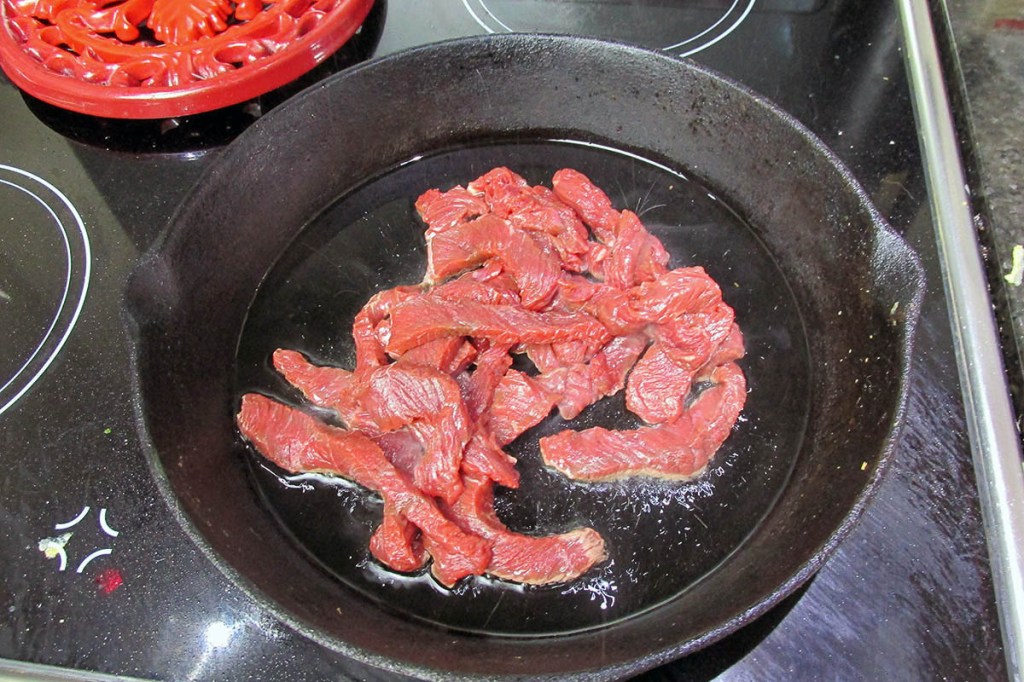
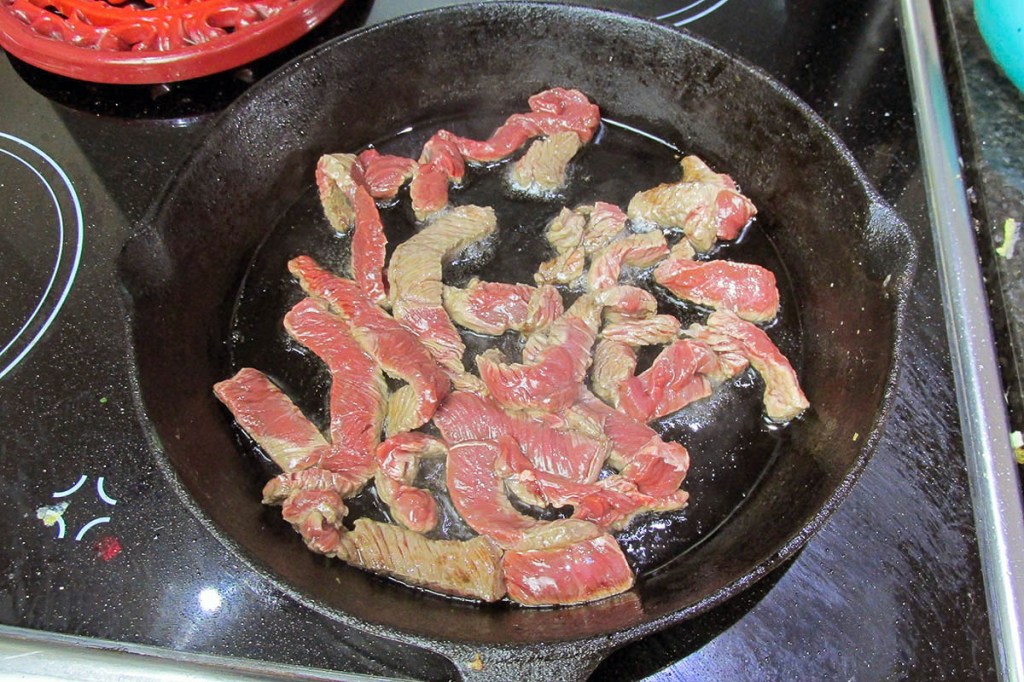
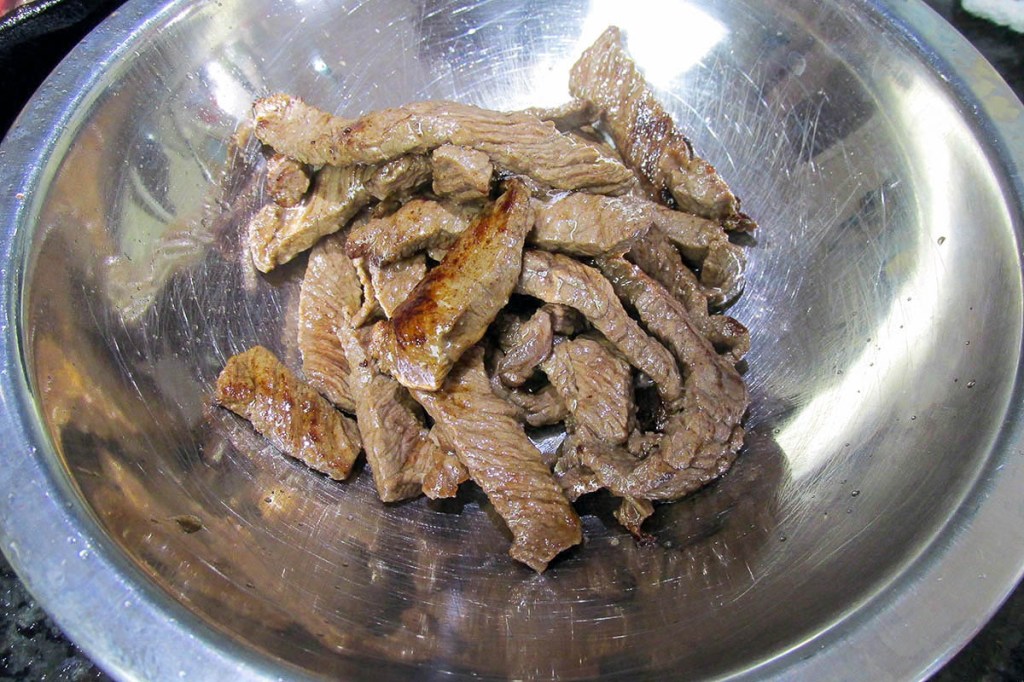
- 6 cups chicken, cooked and cubed
- 1 can corn
- 1 can black beans
- 2 tomatoes, diced
- 1 avocado, diced
- 1/2 red onion, diced
- 3/4 cup cheddar cheese, grated
- 1 cup tortilla chips, crushed
- 1 handful fresh coriander, chopped
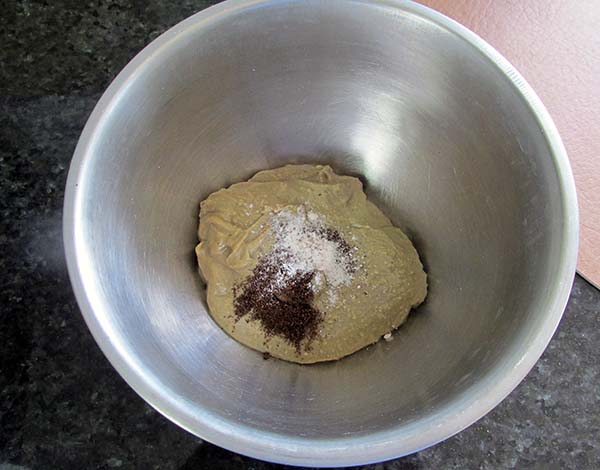
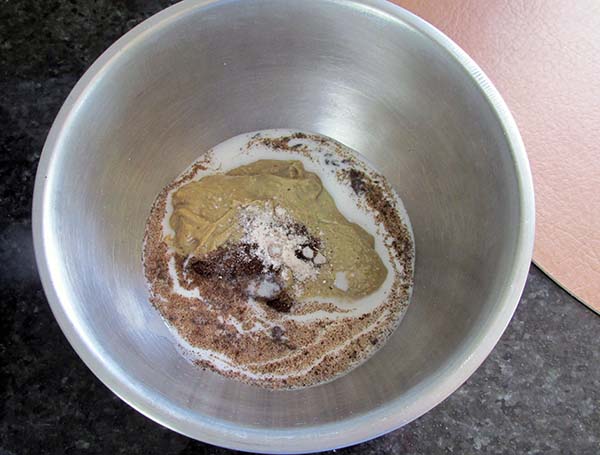
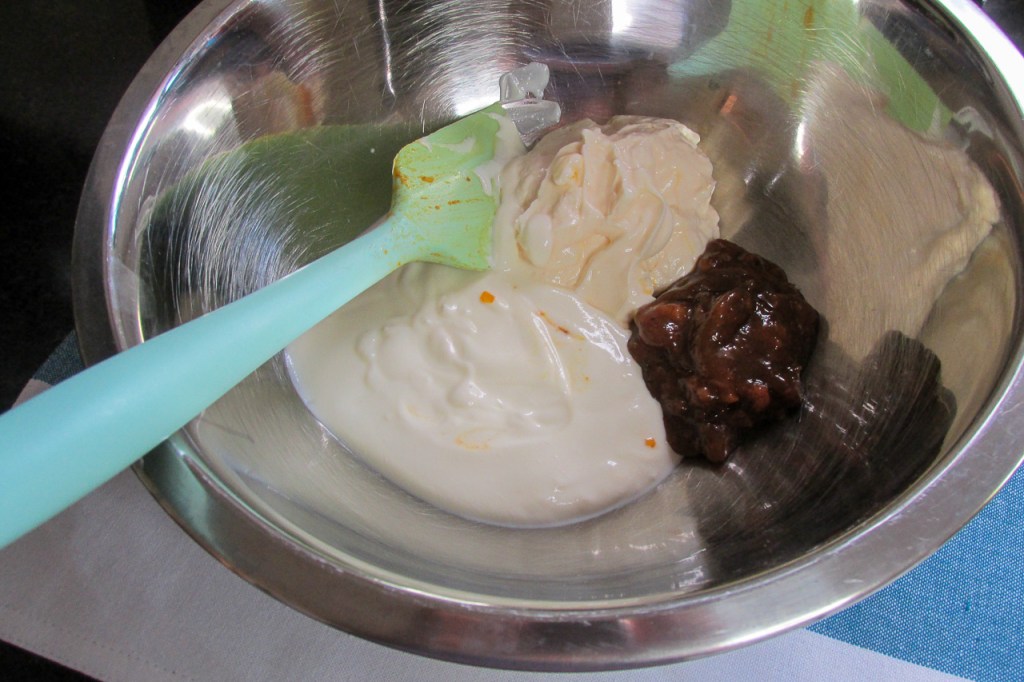
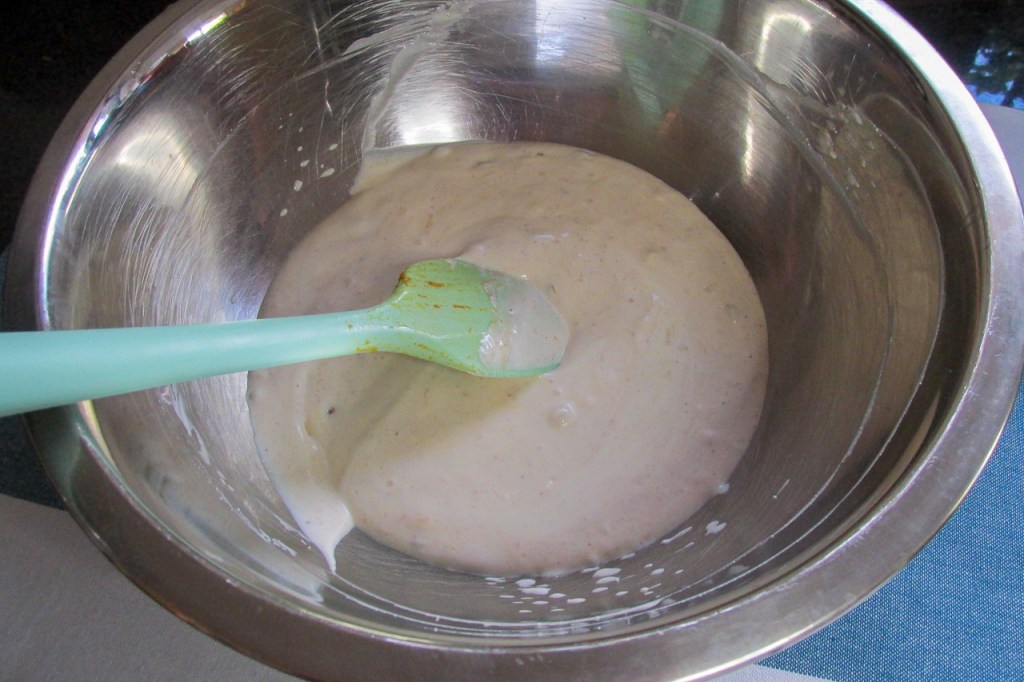
- 1/2 cup plain yogurt
- 3 tbsp. avocado oil
- 2 tsp. honey
- 2 tsp. apple cider vinegar
- 1 tsp. garlic, minced
- 1 lime, juiced
- 1/2 jalapeño, finely diced
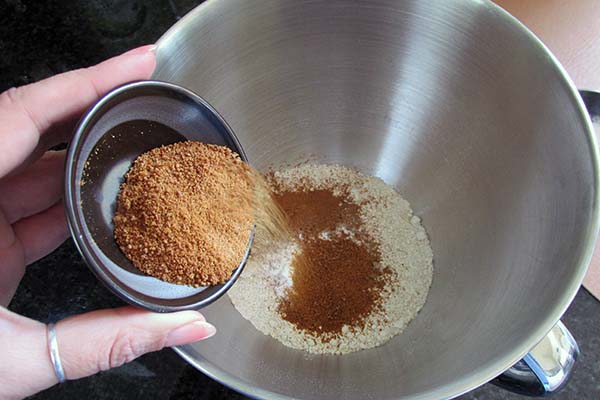
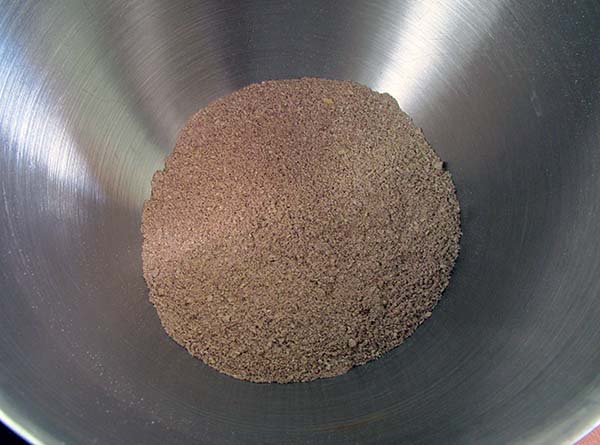
- 2 tsp. taco seasoning
Instructions
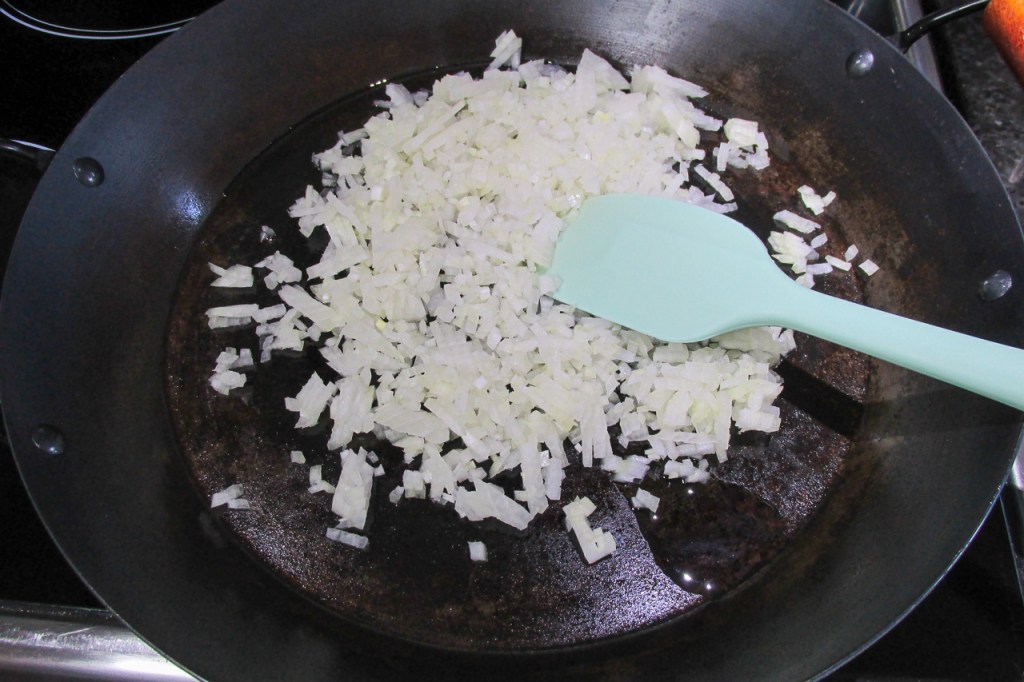
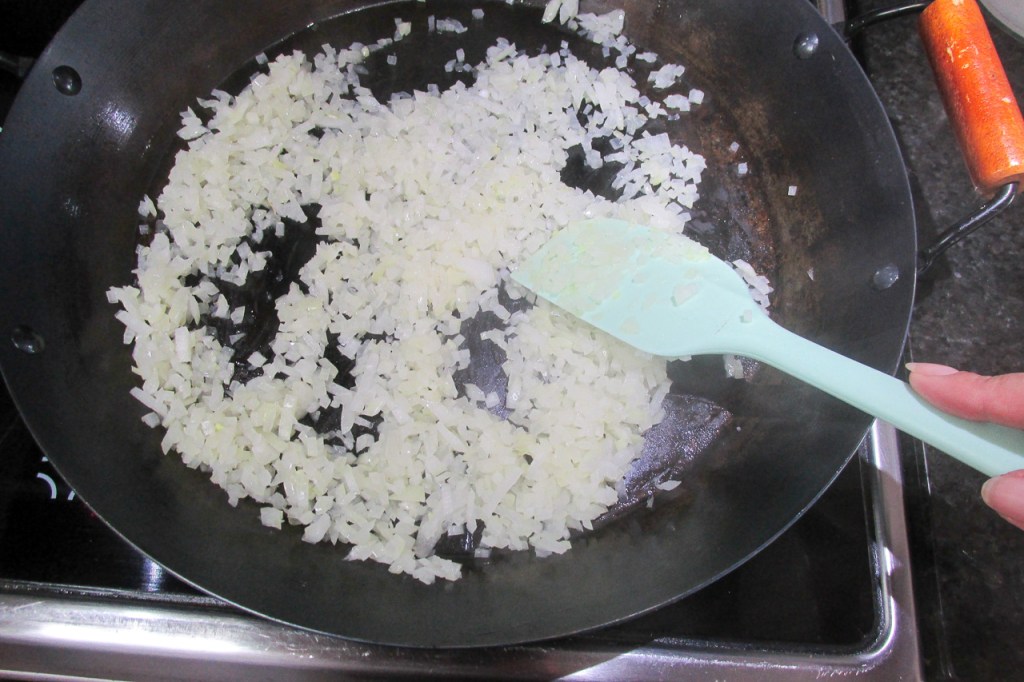
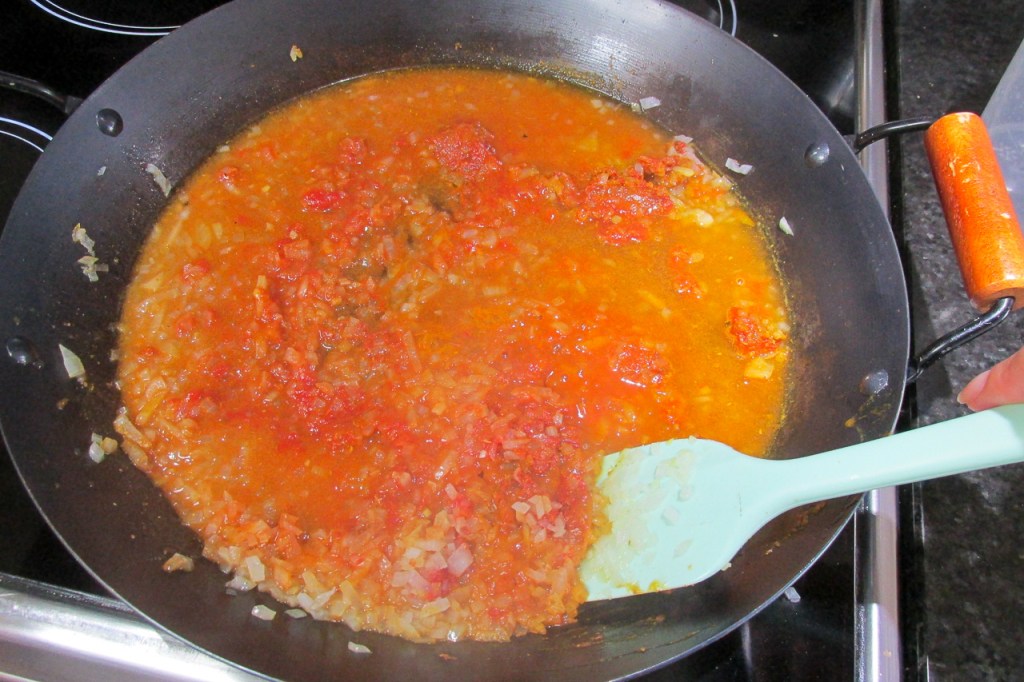
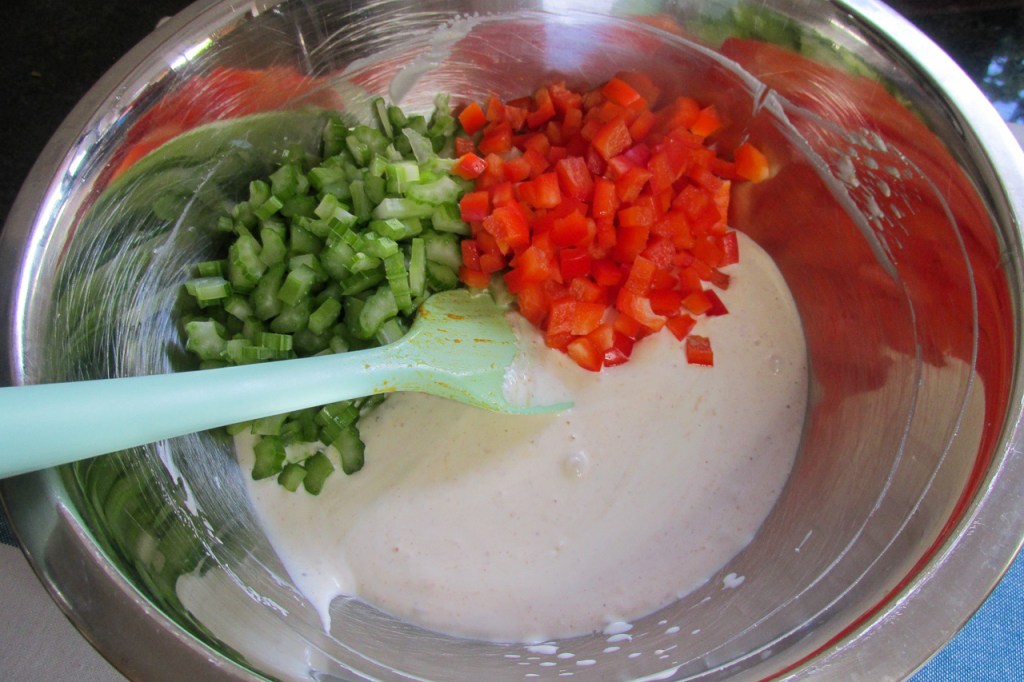
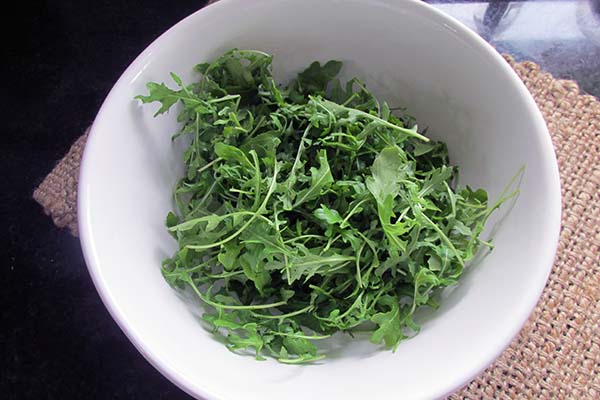
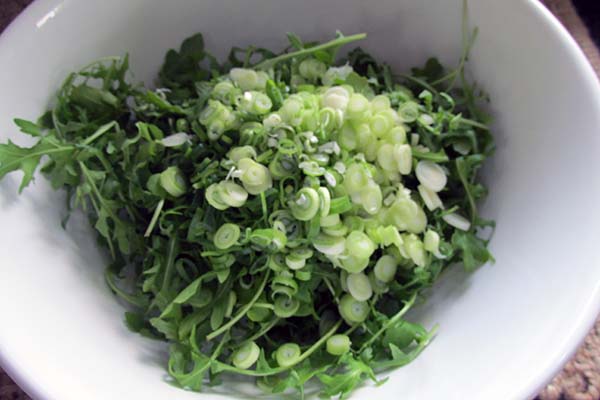
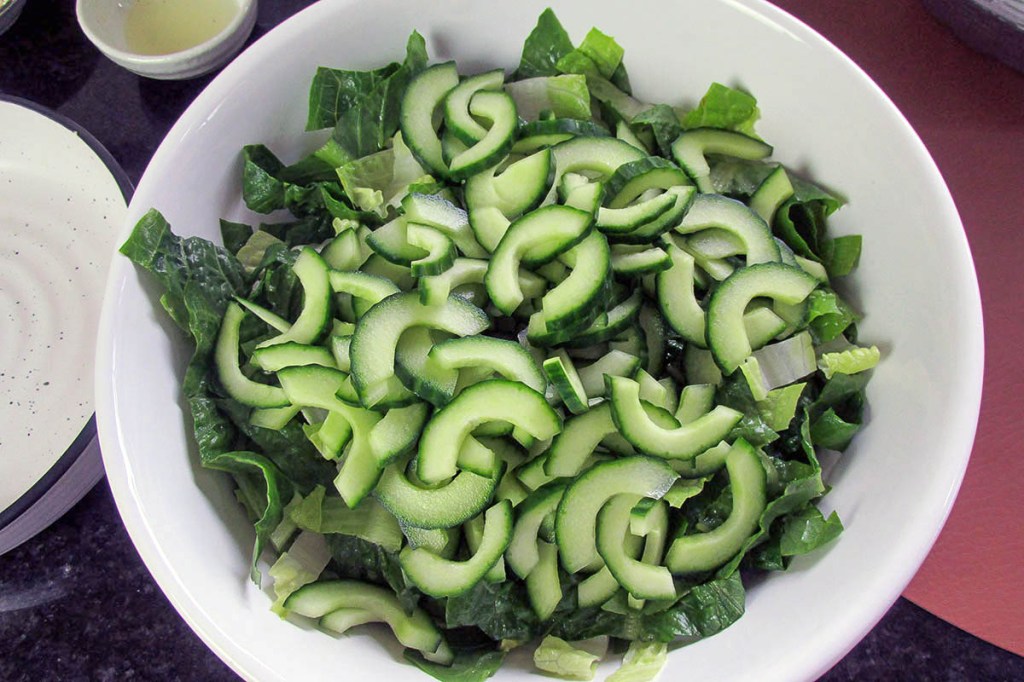
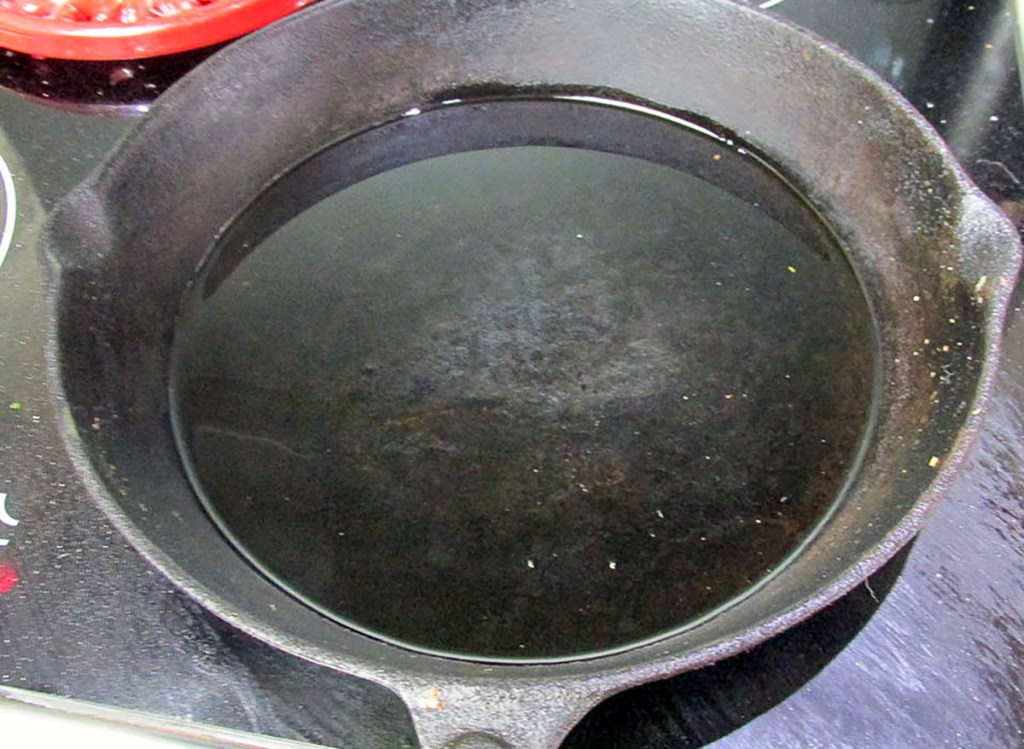
Mix the lettuce, corn, beans, tomatoes, avocado, onion and cheese in a large bowl.


Set the bowl to one side.
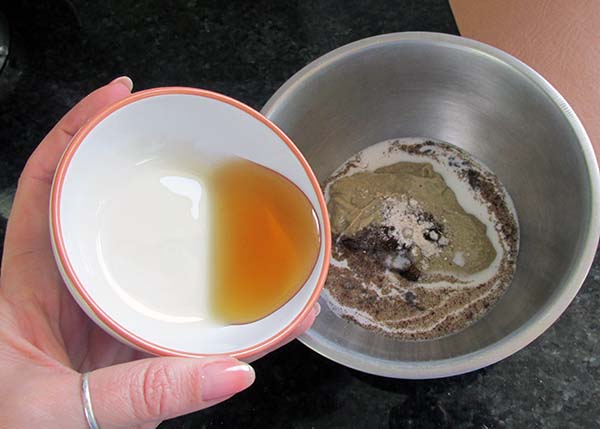
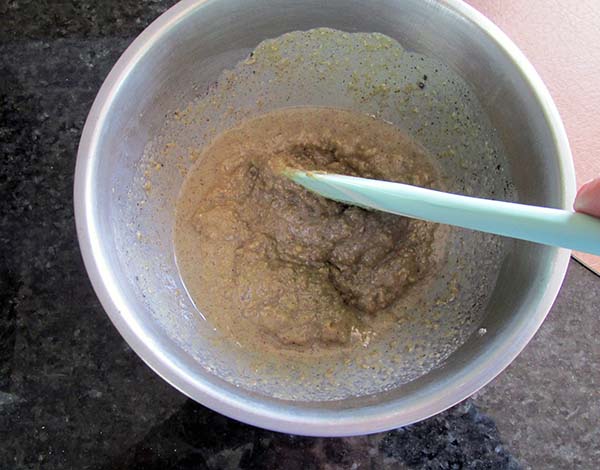
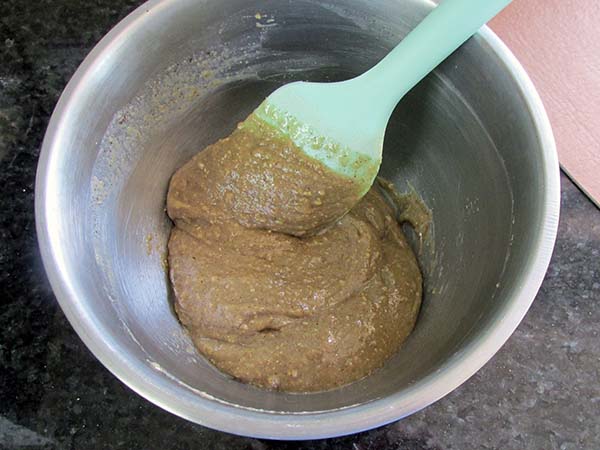
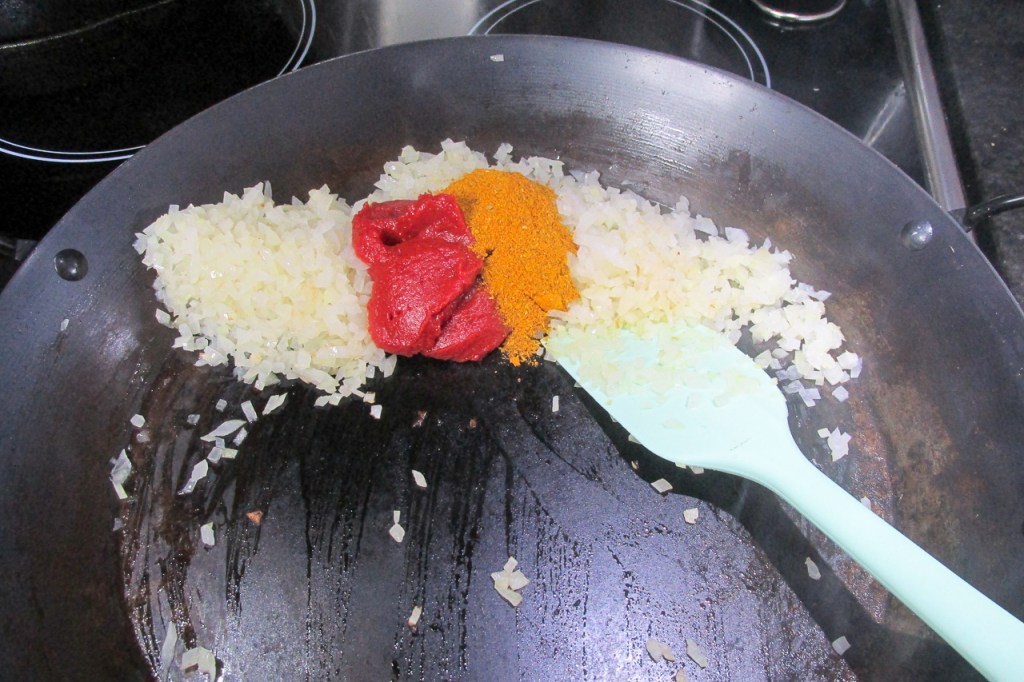
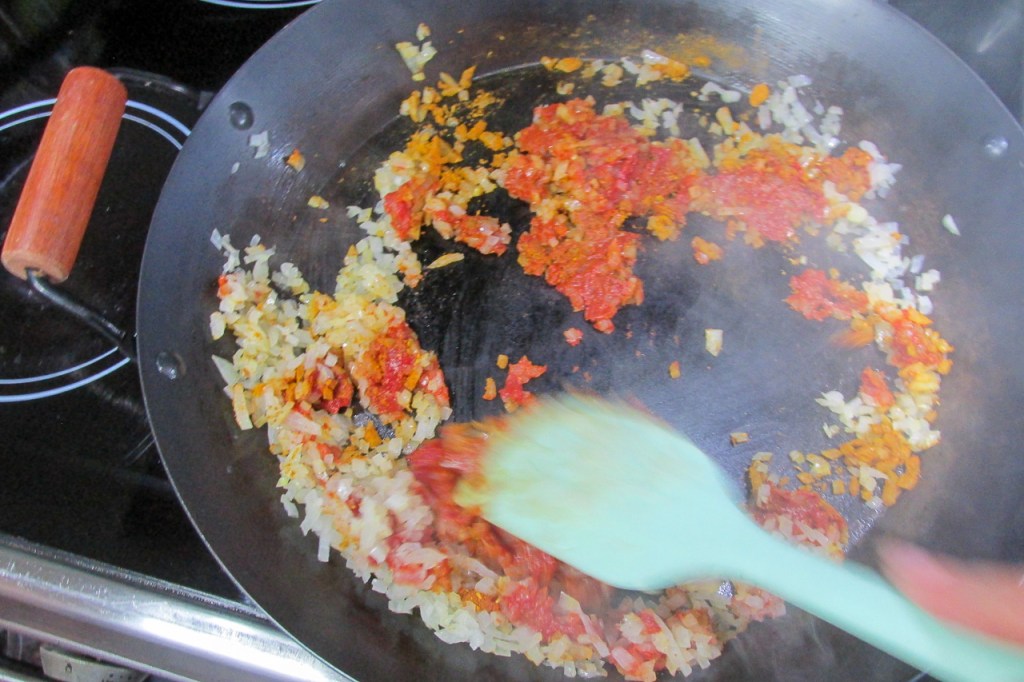
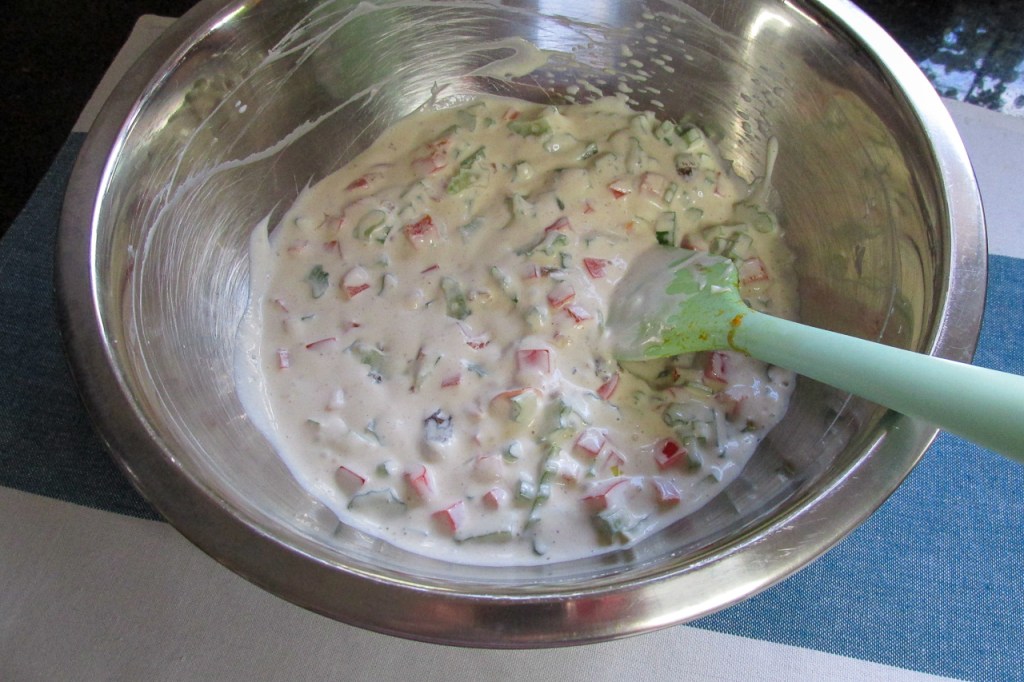
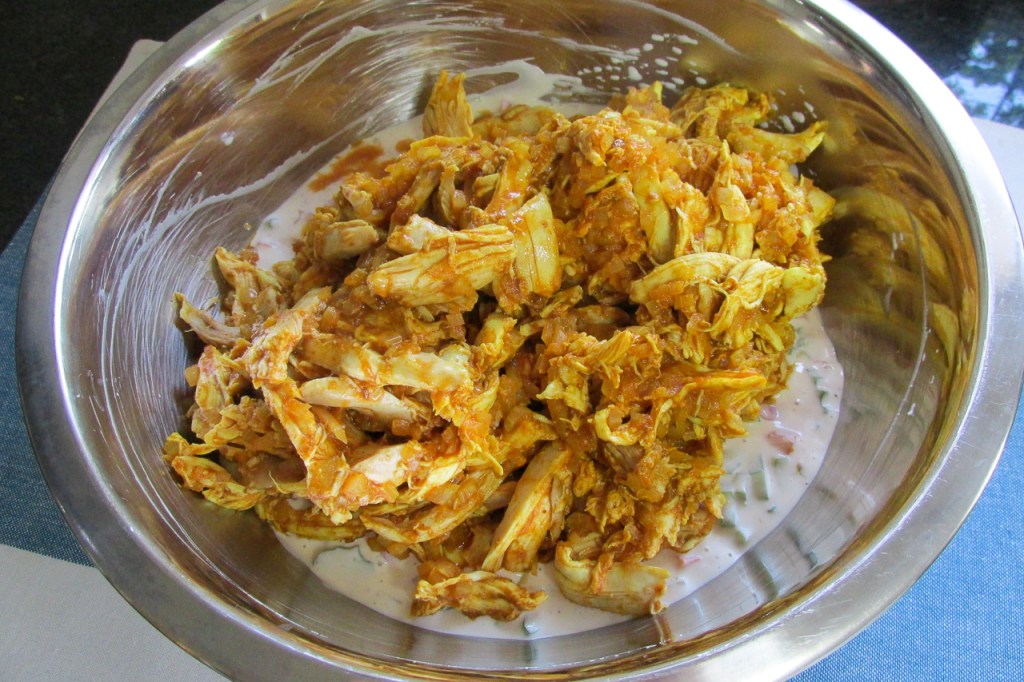
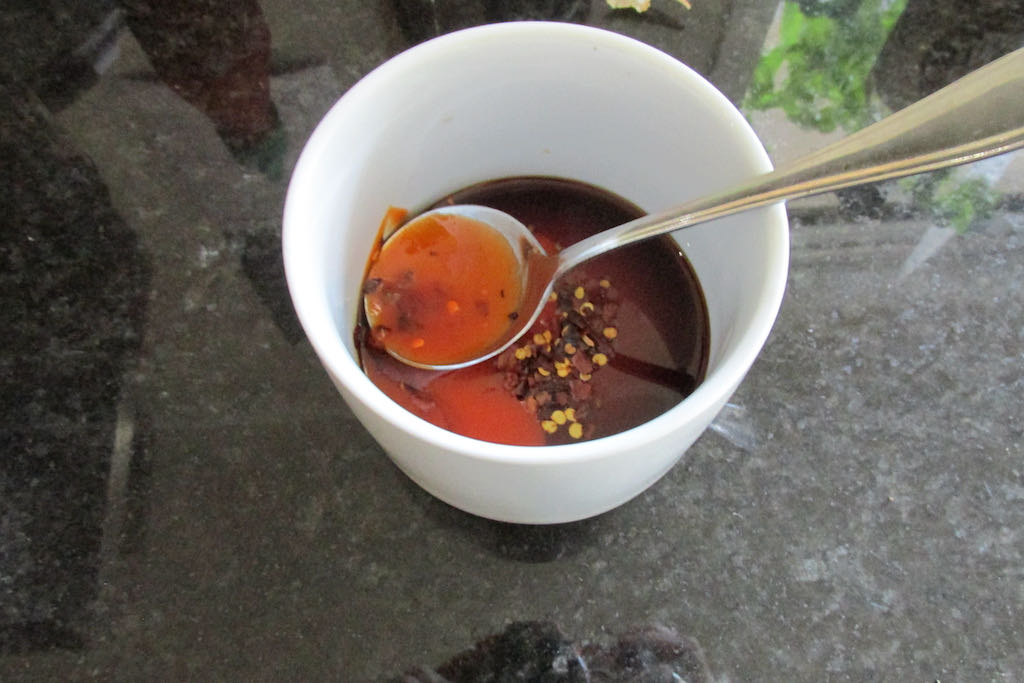
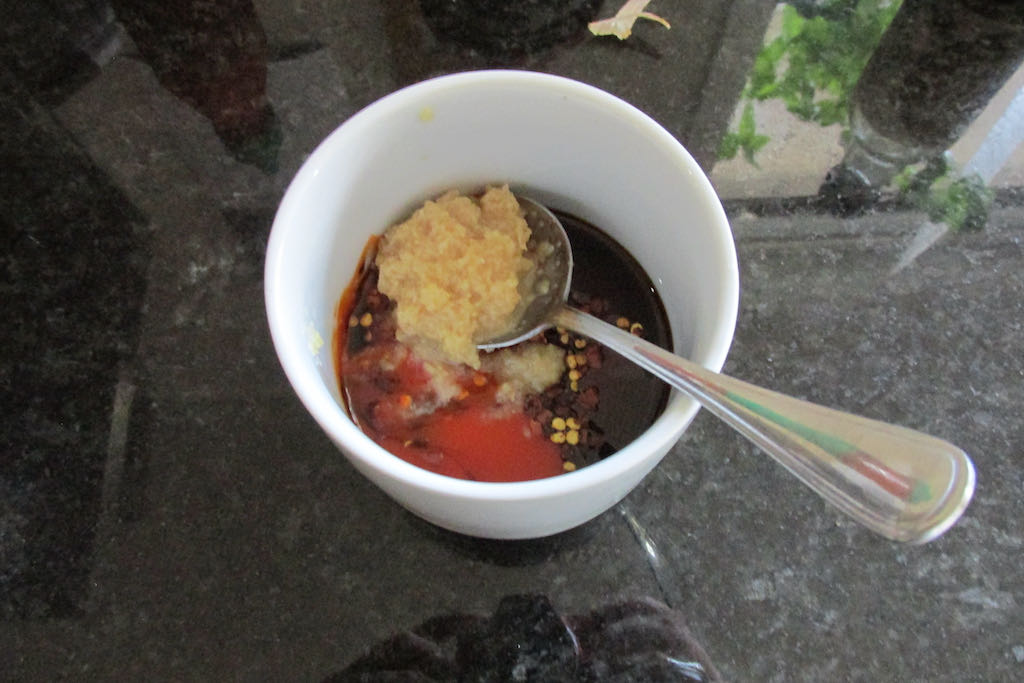
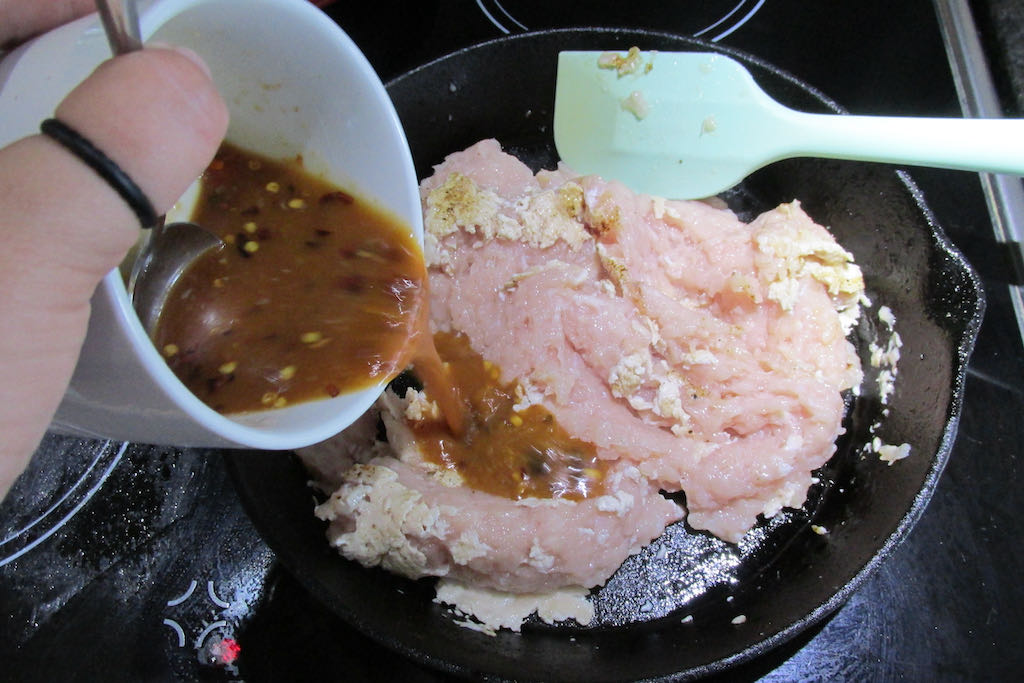
In another bowl, whisk together the yoghurt, oil, honey, apple cider vinegar, garlic, lime juice, jalapeño, and taco seasoning.


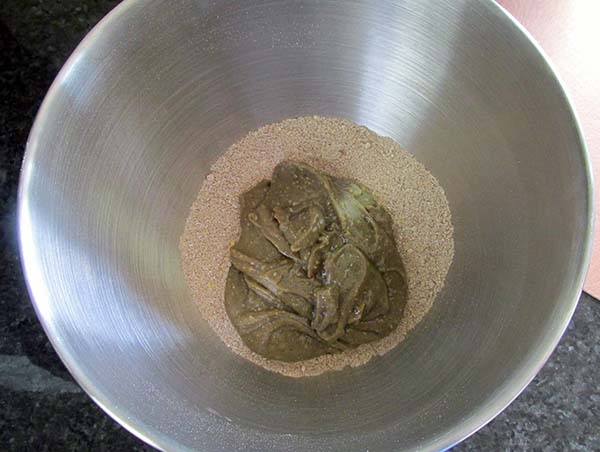
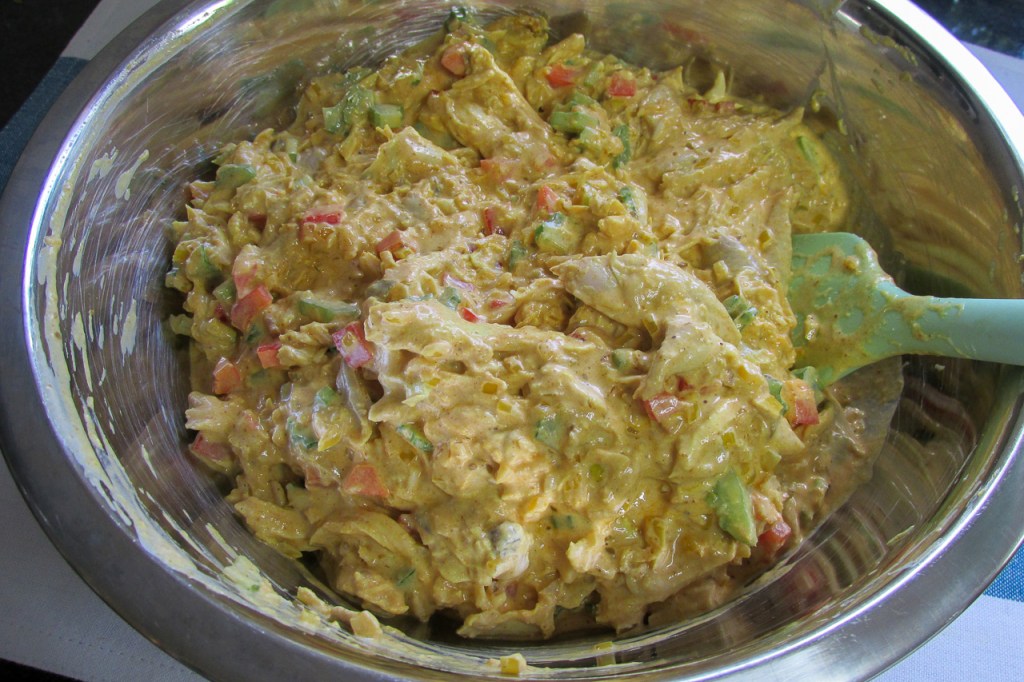
When you are ready to serve the salad, add the dressing to the bowl with the salad.

Toss the salad to coat everything with the dressing.

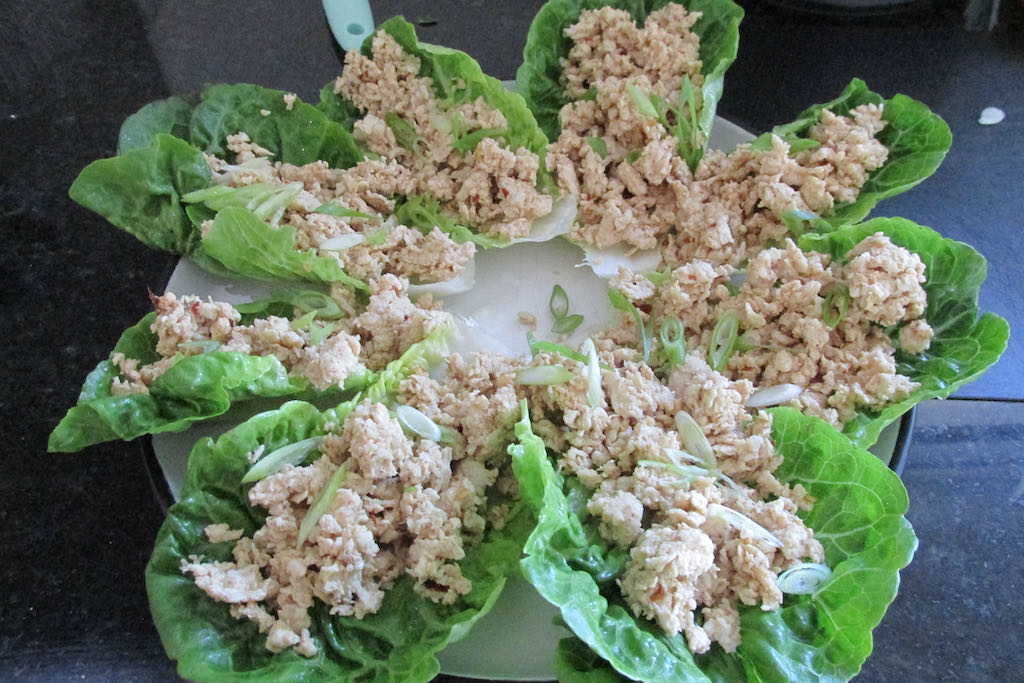
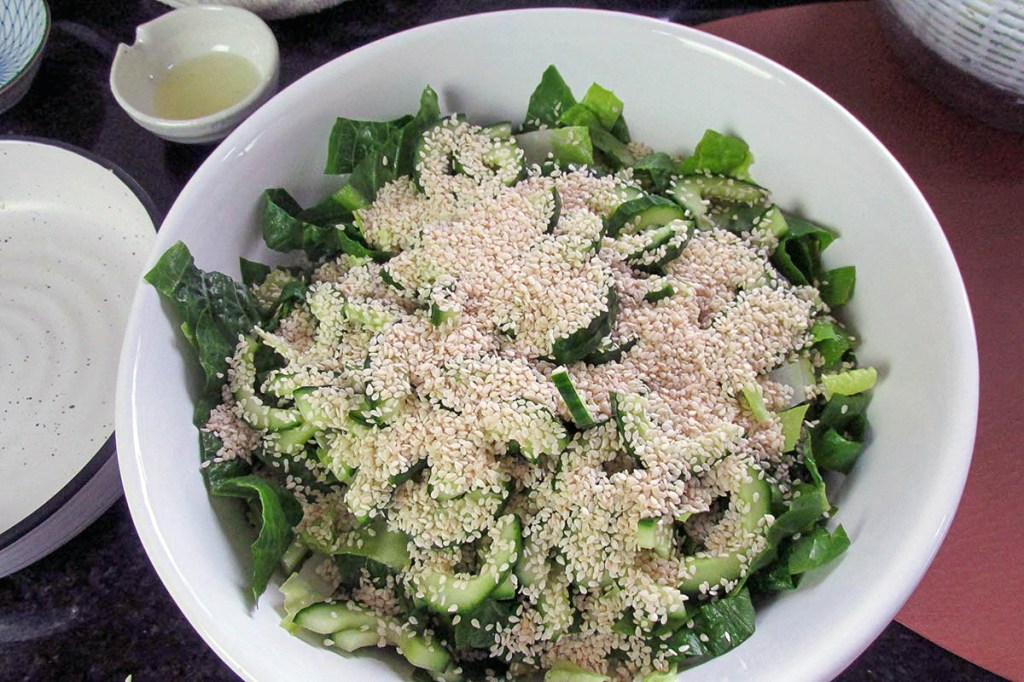
Top the salad with the crushed chips and coriander to serve.


Taco style salad
Sometimes want the flavour of tacos without so many carbs. This salad is my compromise; it is a taco in a bowl.
Credit: Cath @ easycleaneats
Ingredients
- 6 cups cos lettuce, chopped
- 6 cups chicken, cooked and cubed
- 1 can corn
- 1 can black beans
- 2 tomatoes, diced
- 1 avocado, diced
- 1/2 red onion, diced
- 3/4 cup cheddar cheese, grated
- 1 cup tortilla chips, crushed
- 1 handful fresh coriander, chopped
- 1/2 cup plain yogurt
- 3 tbsp. avocado oil
- 2 tsp. honey
- 2 tsp. apple cider vinegar
- 1 tsp. garlic, minced
- 1 lime, juiced
- 1/2 jalapeño, finely diced
- 2 tsp. taco seasoning
Directions
- Mix the lettuce, corn, beans, tomatoes, avocado, onion and cheese in a large bowl.
- Set the bowl to one side.
- In another bowl, whisk together the yoghurt, oil, honey, apple cider vinegar, garlic, lime juice, jalapeño, and taco seasoning.
- When you are ready to serve the salad, add the dressing to the bowl with the salad.
- Toss the salad to coat everything with the dressing.
- Top the salad with the crushed chips and coriander to serve.
Nutrition
Per Serving: 287 calories; 12 g fat; 18 g carbohydrates; 26 g protein.Equipment
- Chopping board
- Knife
- Large mixing bowl
- Small mixing bowl
- Whisk
- Spoon
- Measuring cups
- Measuring spoons
- Scales
Nutritional disclaimer
Nutrition information is provided as an estimate based on the ingredients used and available in my area (New Zealand). The nutritional information is here to help you understand the recipe; I use MyFitnessPal to generate my estimates. For more accurate nutritional information, please use a nutritional calculator with the ingredients in your area.