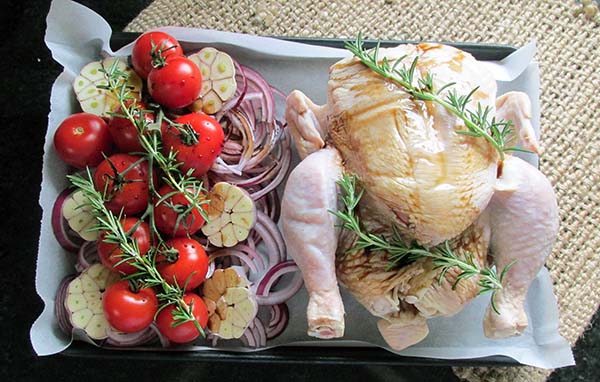
Revisiting family favourites
I’ve been revisiting recipes that have been some of my old school recipes and family favourites that were our staples when we got started as clean eaters. I first posted this recipe in 2016; at that time, the kids were fussy, vegetables had to be hidden and disguised, and there was no potential for intense flavours or spice.
Times (thankfully) have changed, the kids have grown (like man-sized grown), and they now enjoy a wide range of foods. Things like vegetables are enjoyed, spice and chilli are consumed without complaint, and new ingredients are tried without tantrums.
As the kids have grown, my recipes have changed organically to meet their palates and preferences. I’ve updated this recipe because of that, but fear not, the original suitable be kids, and less developed palates is at the bottom of the post.
Not KFC
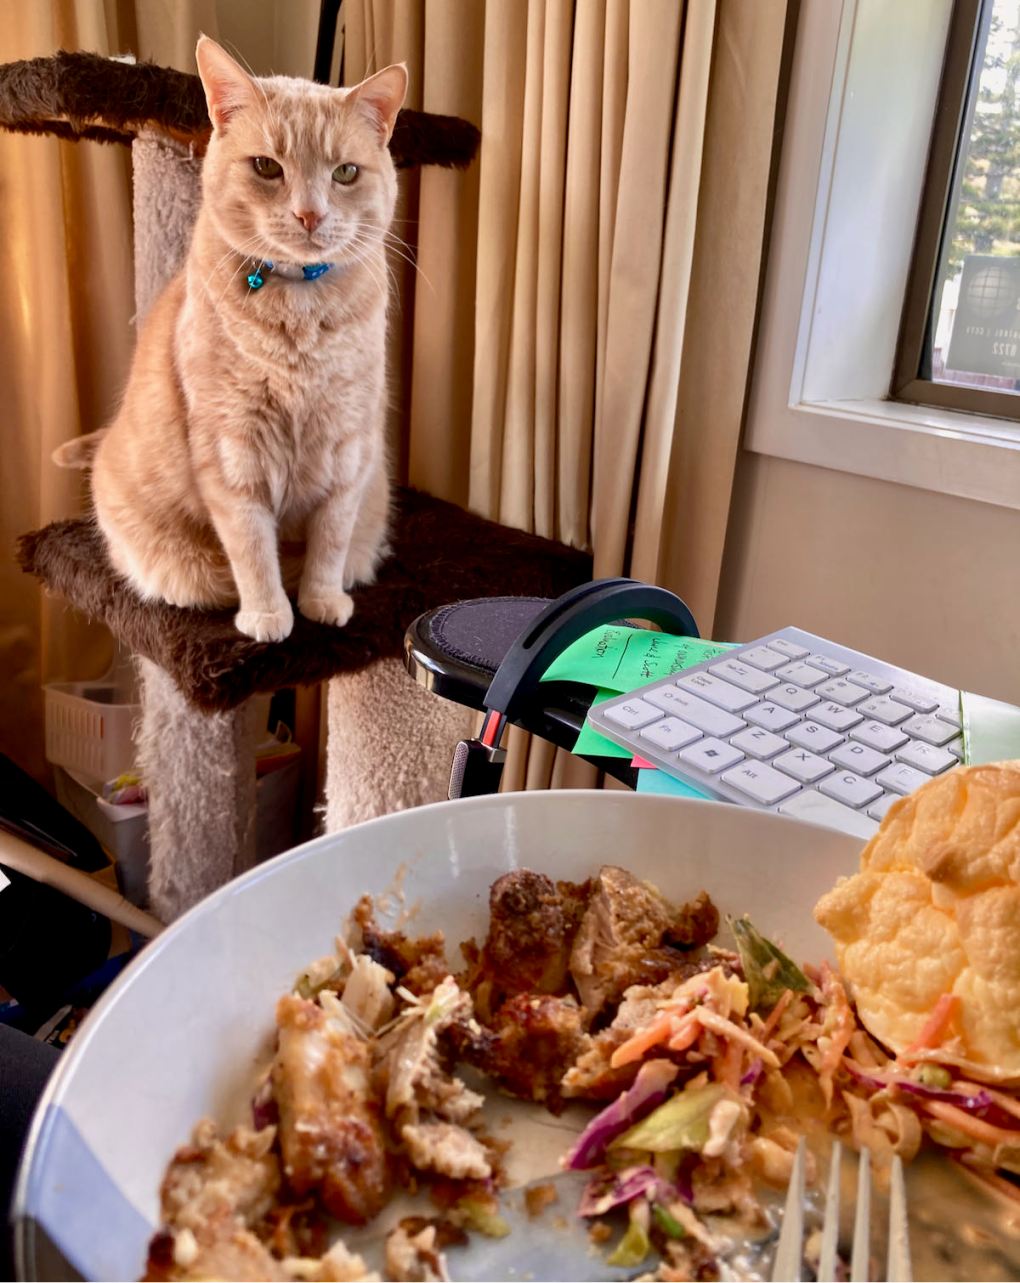
We all love a naughty takeaway, but we can all live without the extra calories and the expanding waistlines. You don’t need to live without your takeaway; swap it out for a delicious and healthier fakeaway. Thankfully, KFC was never on my junk food list, so I have never felt the need to reproduce it. The idea of fried chicken as a replacement for chicken nuggets for little people did appeal when the kids were young. I had a play around with a grain-free coating for some fried chicken that would keep the kids happy back in the day. I managed to come up with a simple coating that was light and crunchy, the coconut gives a great texture, and the flavour is a nice change from your standard heavy batter.
Fried chicken recipe

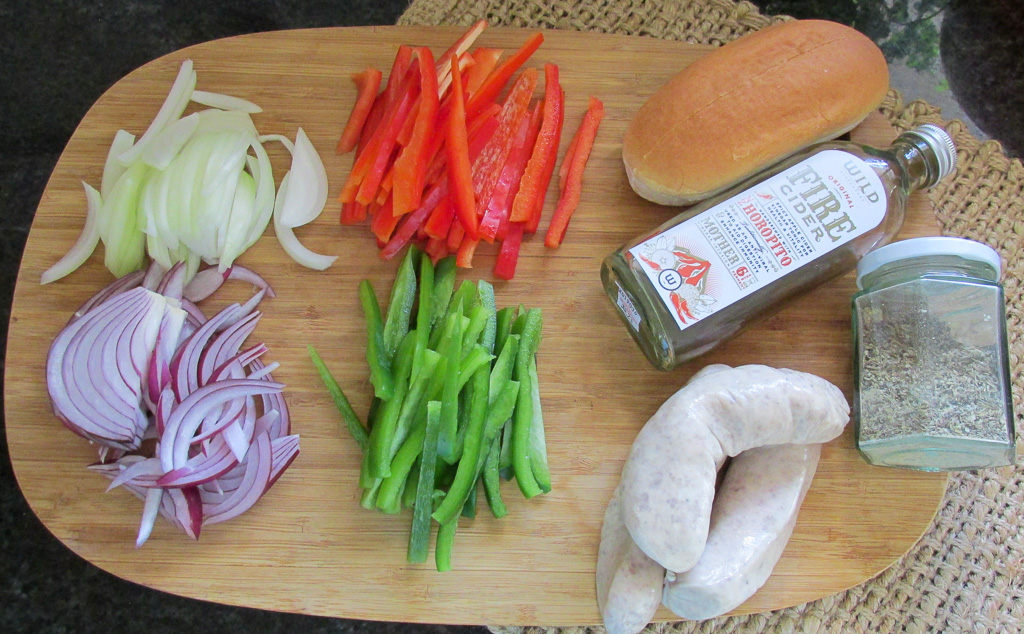
Ingredients
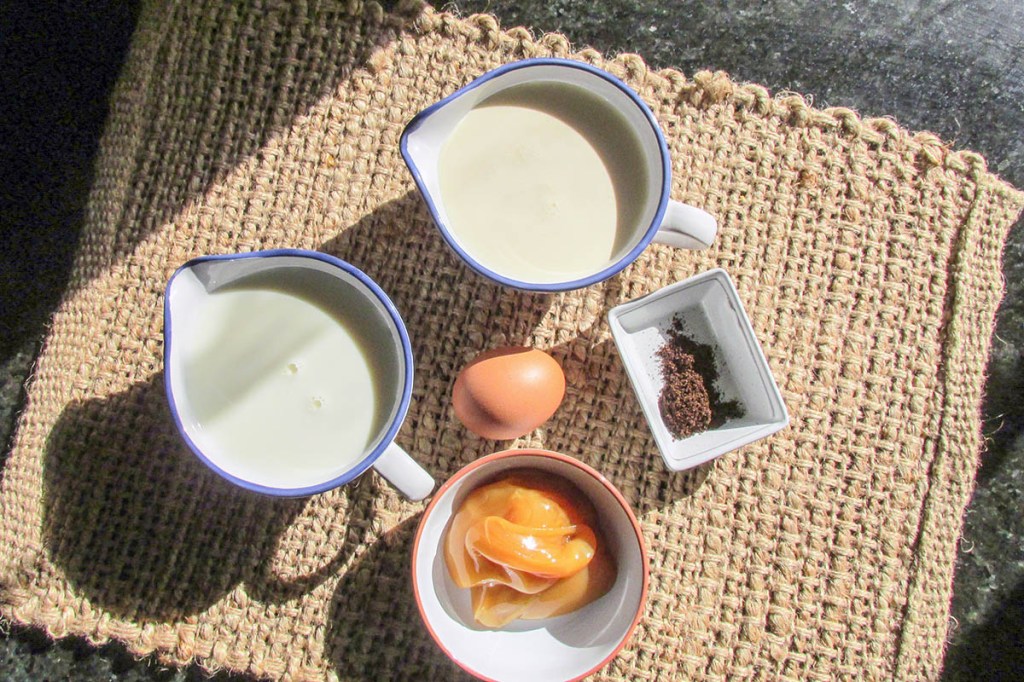
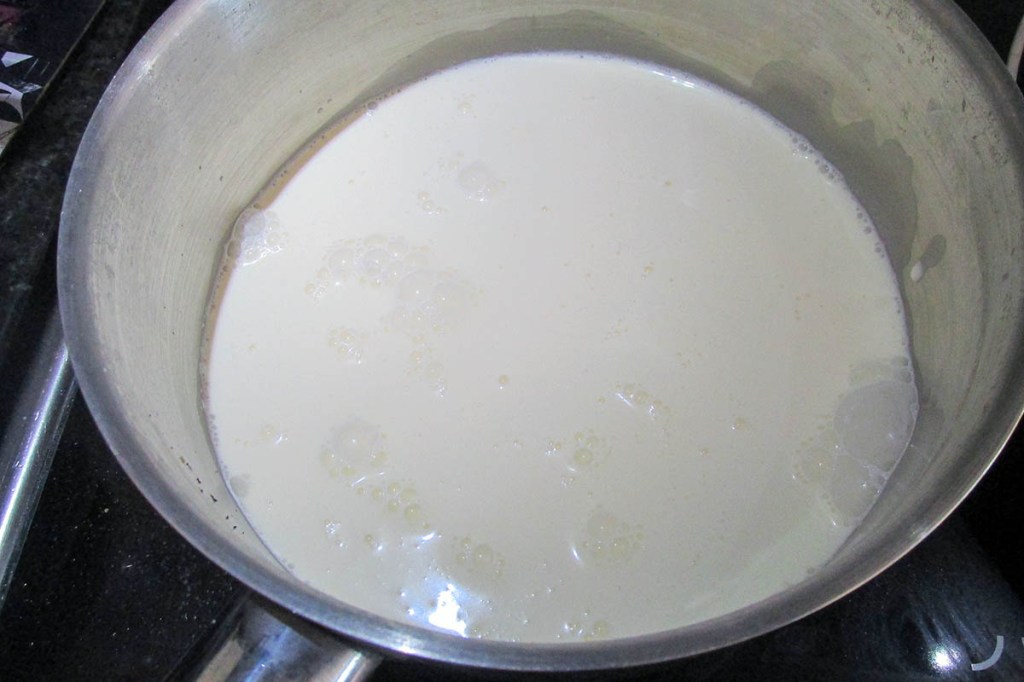
- 400ml milk
- 800g chicken thigh fillets
- 1 tsp. Garlic powder
- 1 tsp. paprika
- 1/2 cup coconut flour
- 1/2 cup buckwheat flour
- 1/4 cup parmesan cheese, grated
- 1 tsp. paprika
- Salt and pepper to taste
Instructions
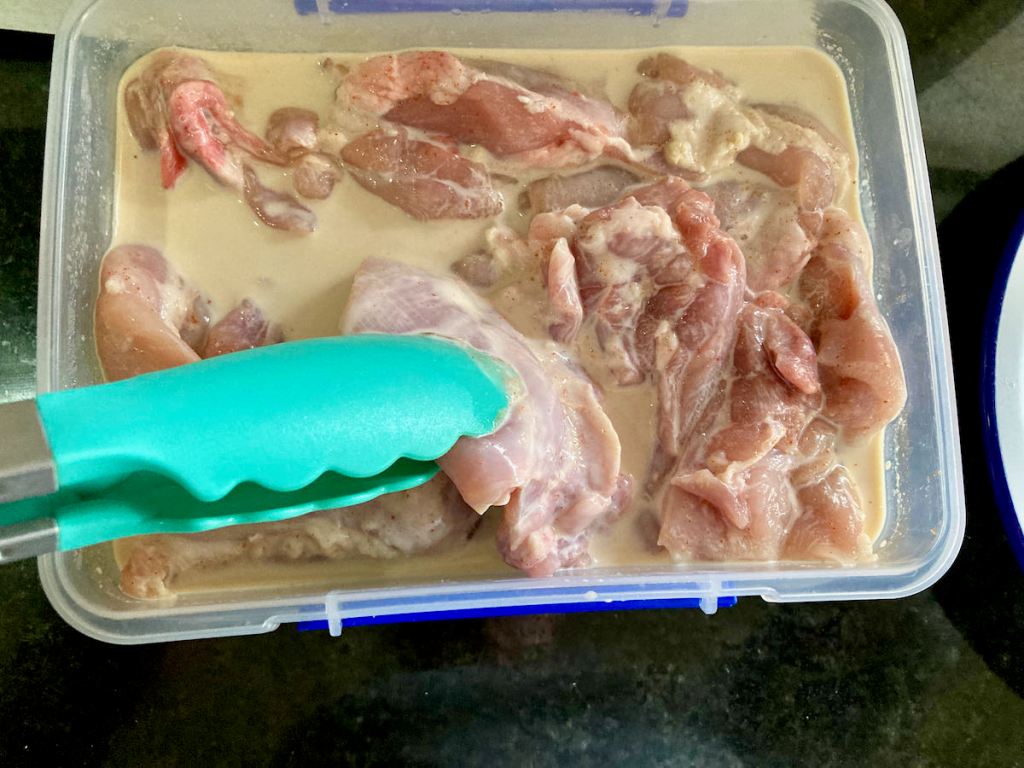
Take the chicken thighs and place them in a large bowl or tub.

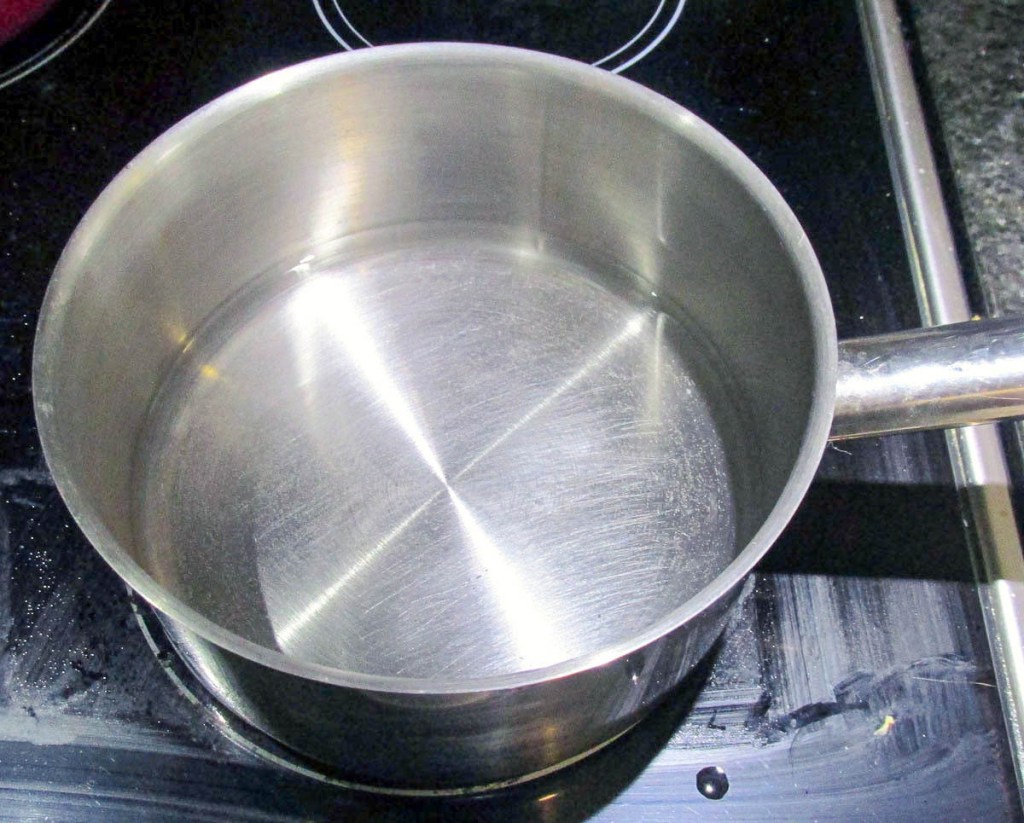
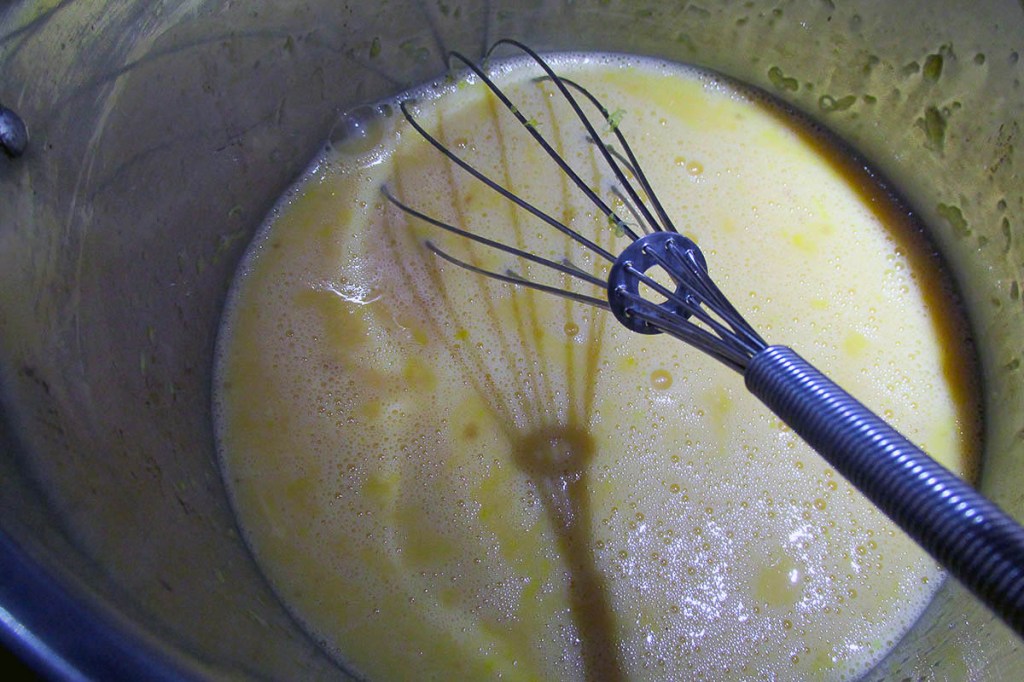
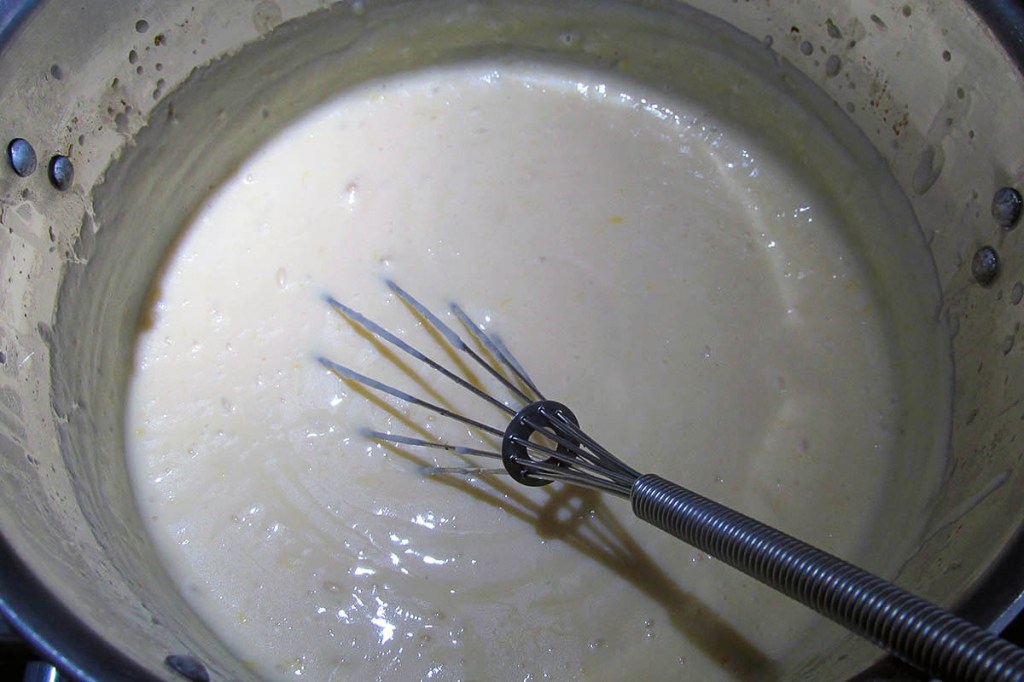
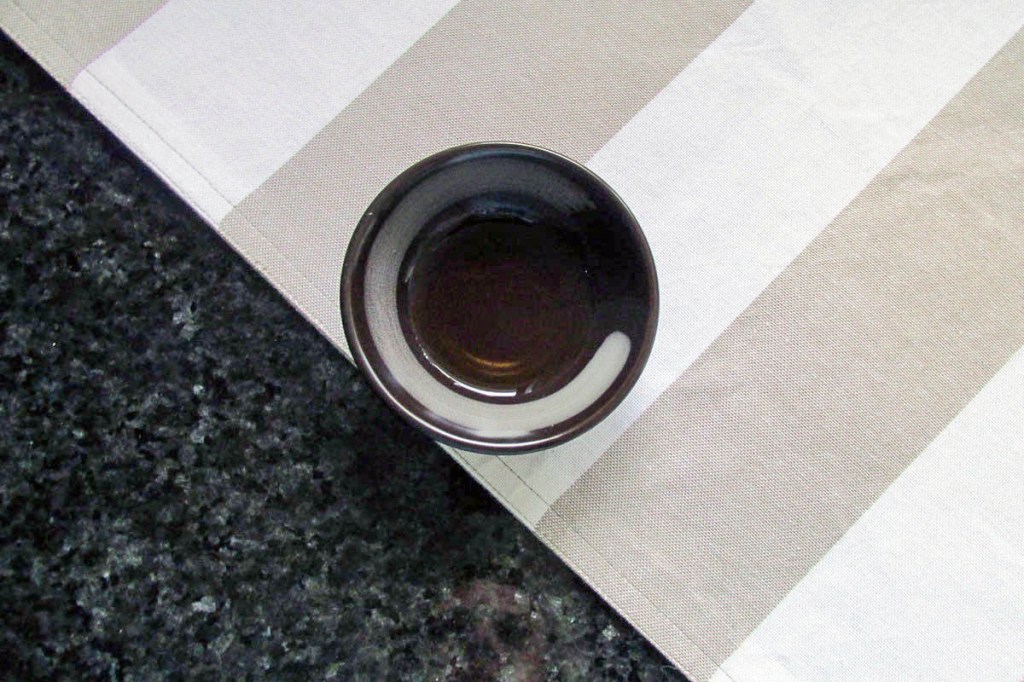
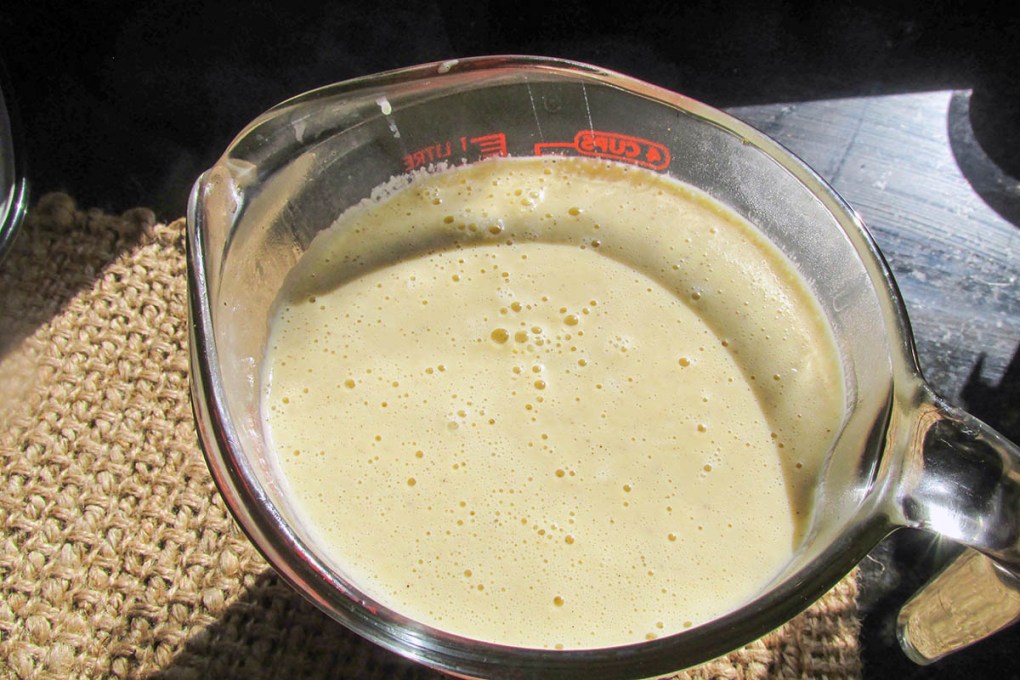
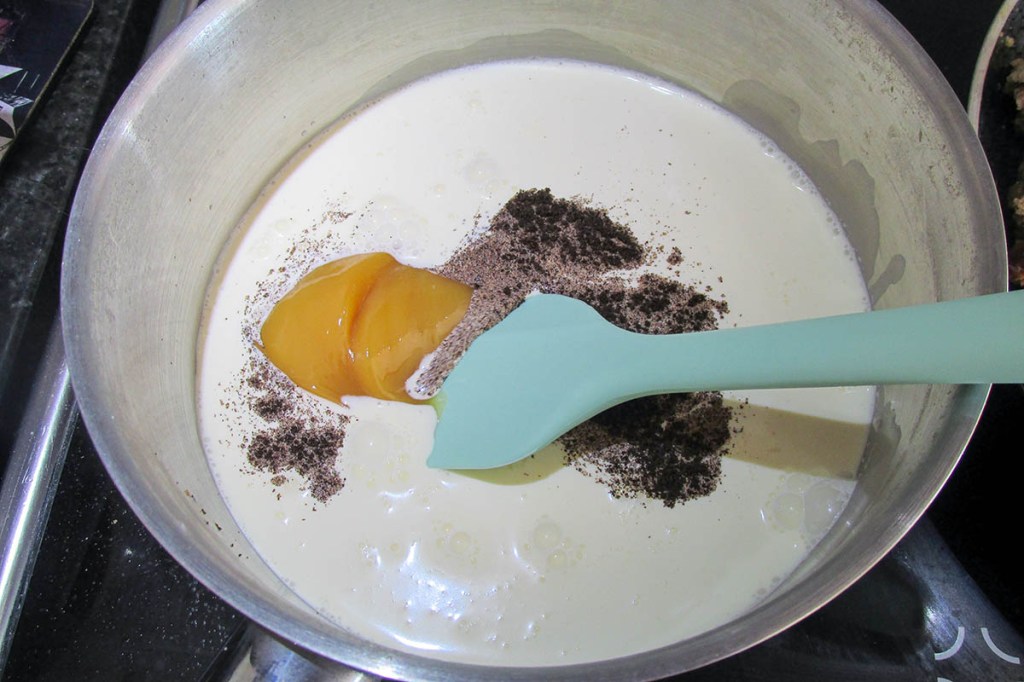
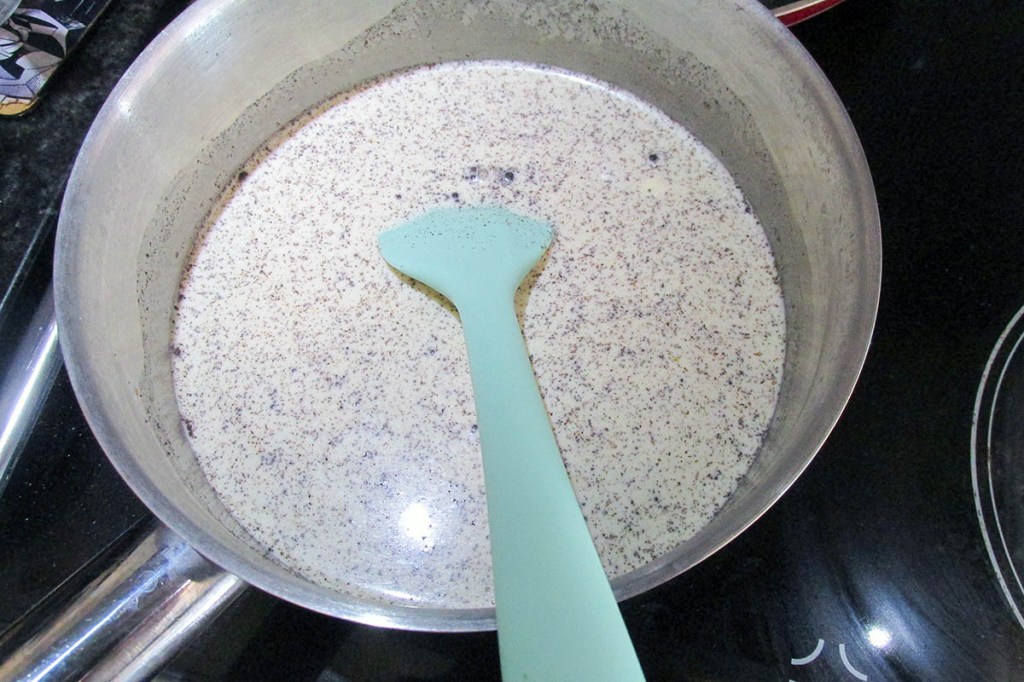
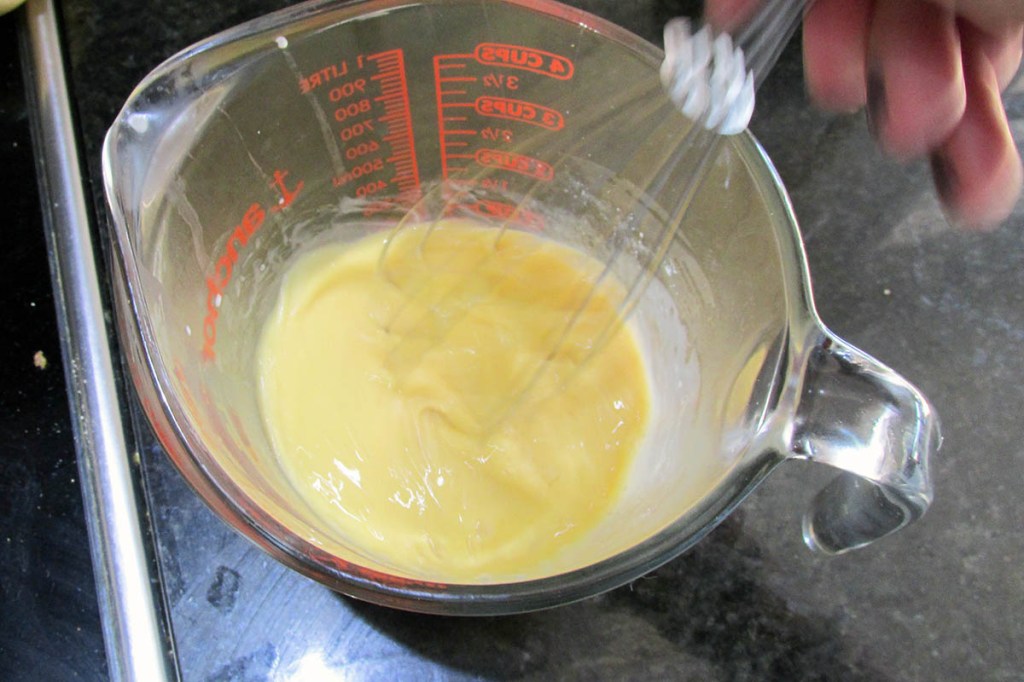
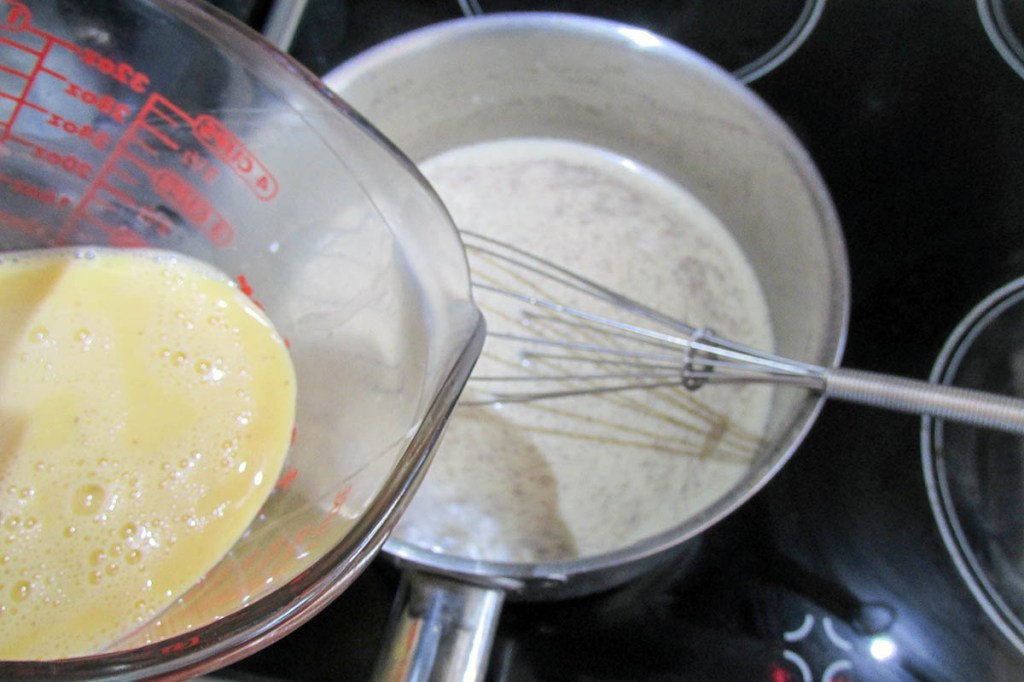
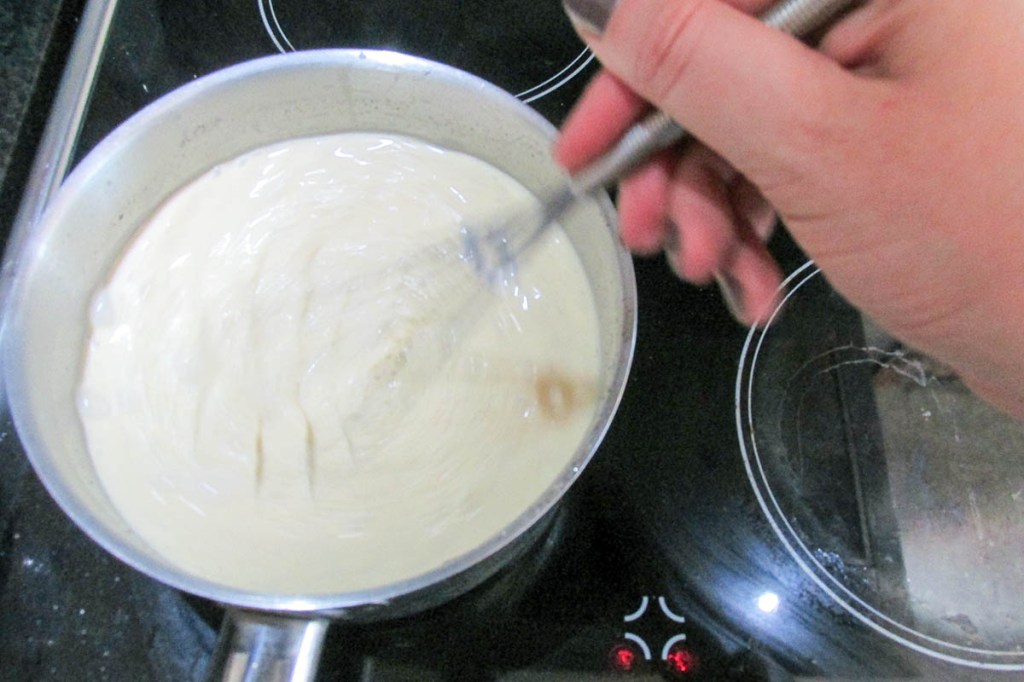
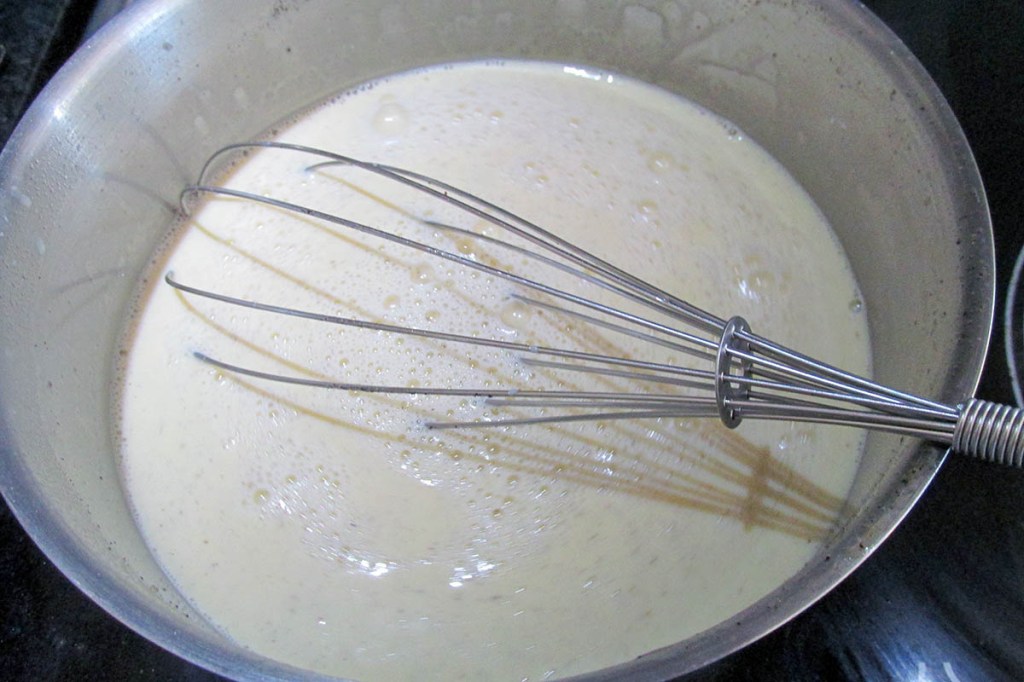
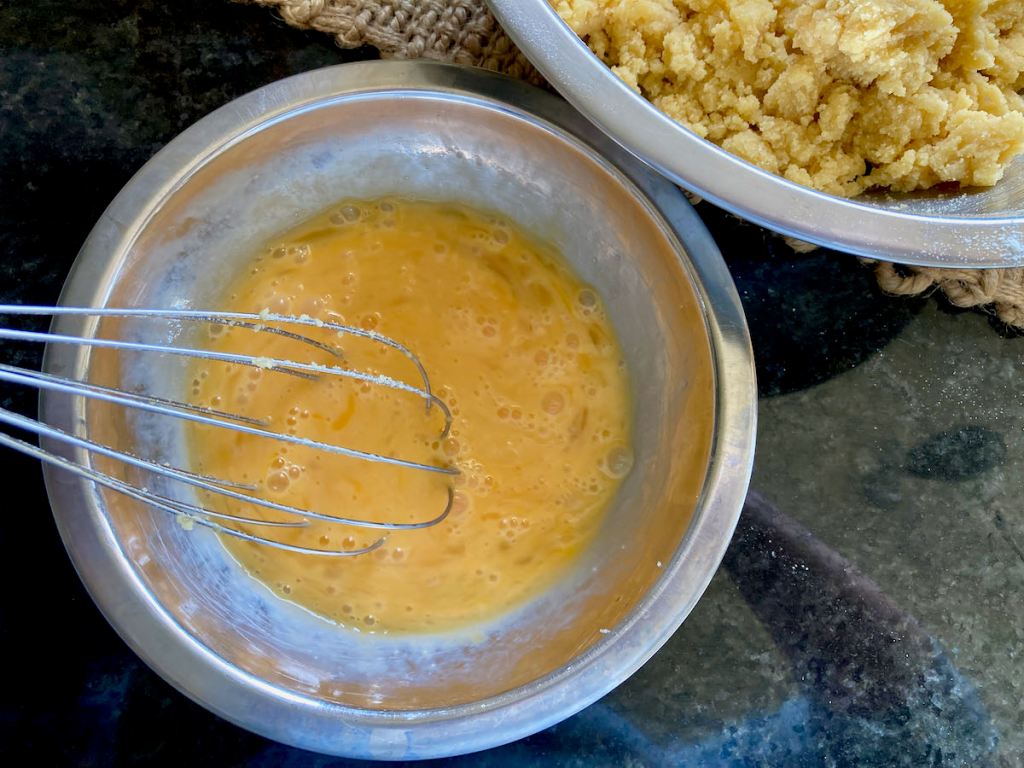
In a bowl, whisk together the milk, paprika and garlic powder.
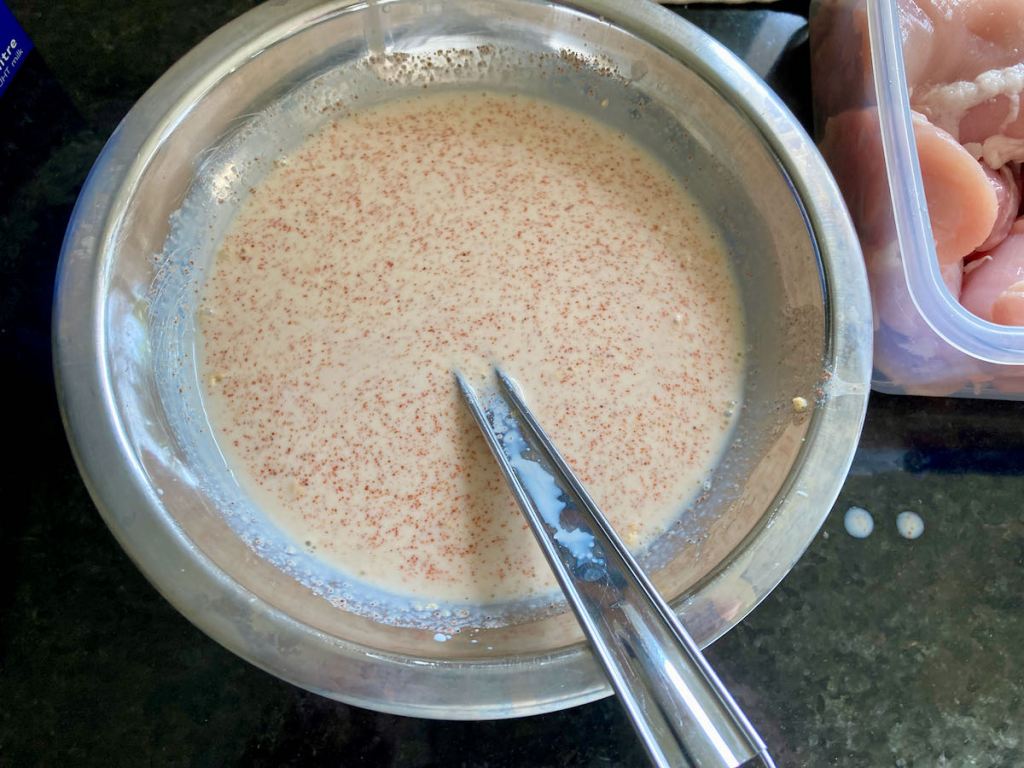
Pour the milk over the chicken thighs.
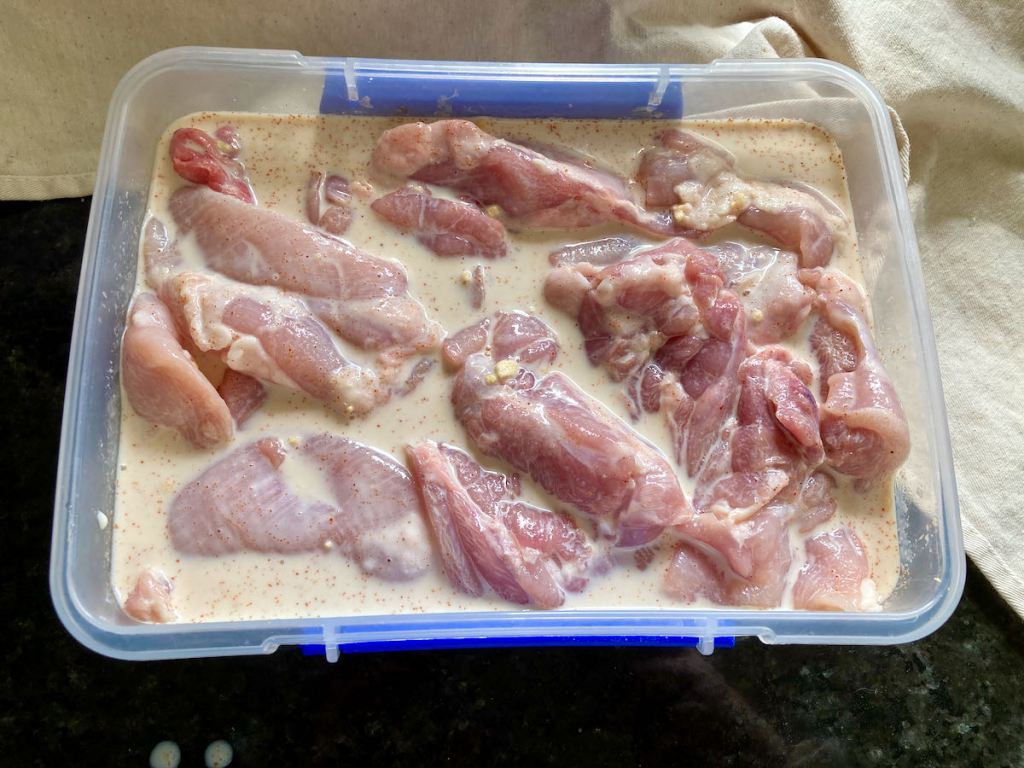
Cover the bowl or tub and put it in the fridge for a minimum of 2 hours but ideally overnight.

When you are ready to use the chicken, remove the bowl or tub from the fridge.
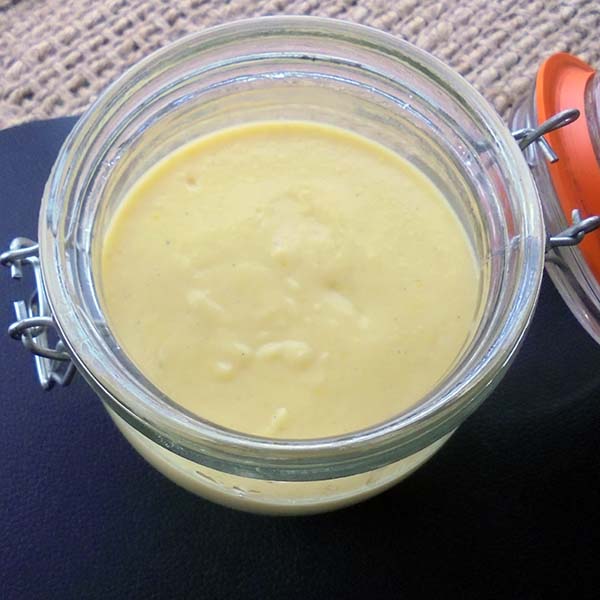
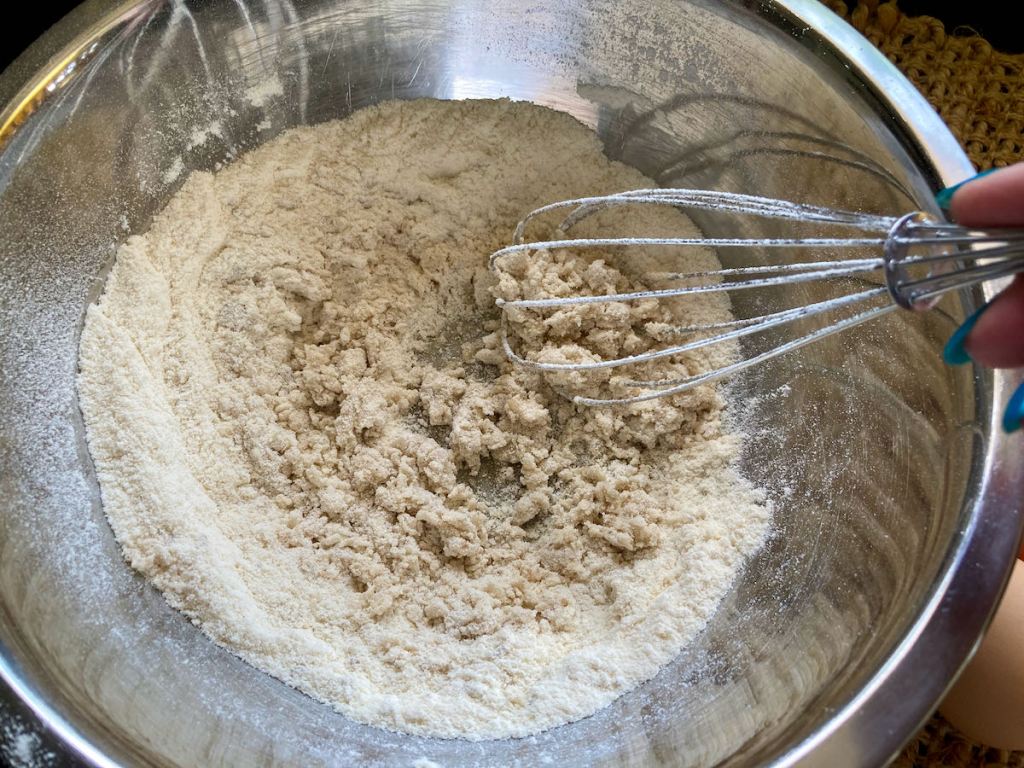
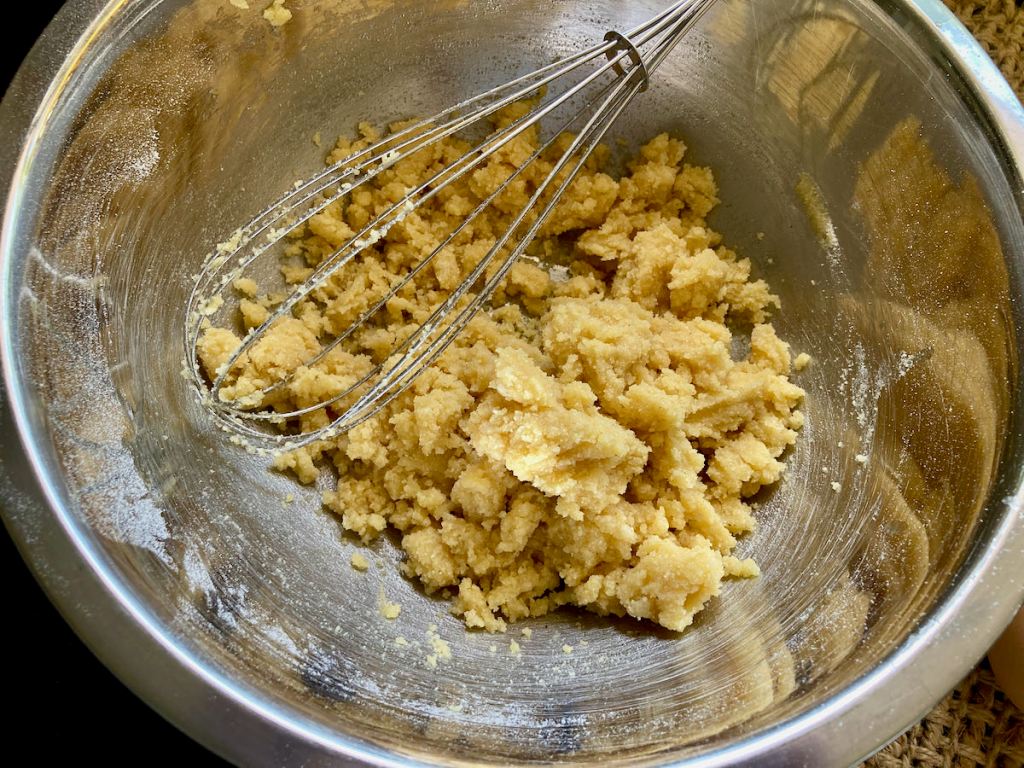
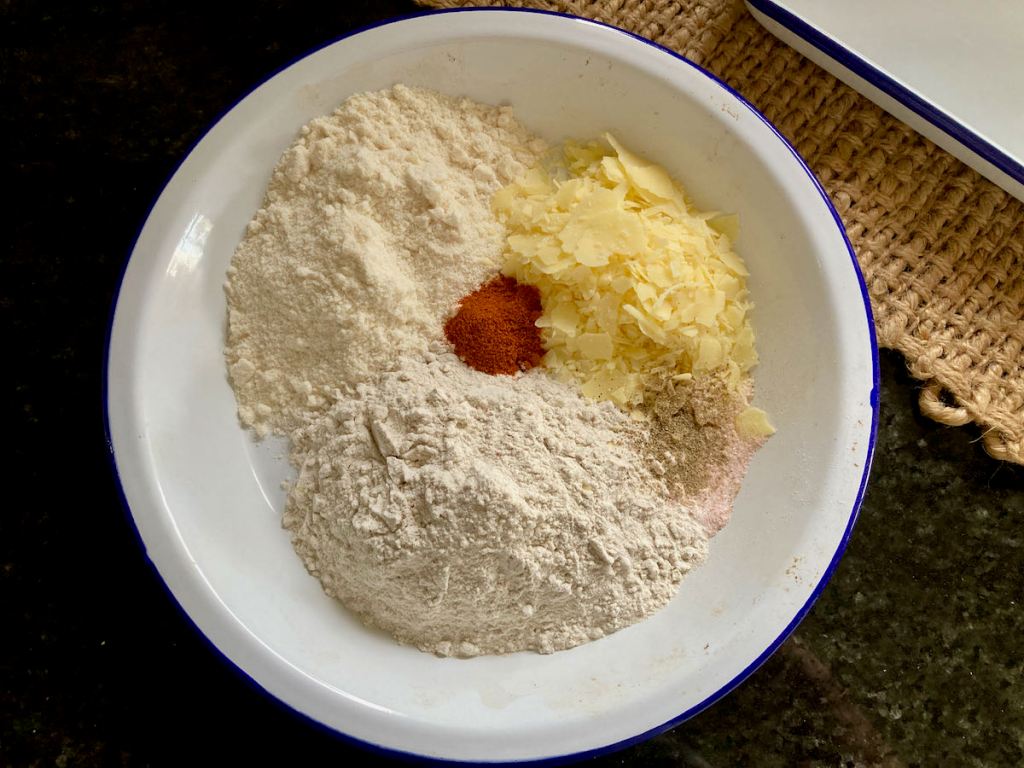
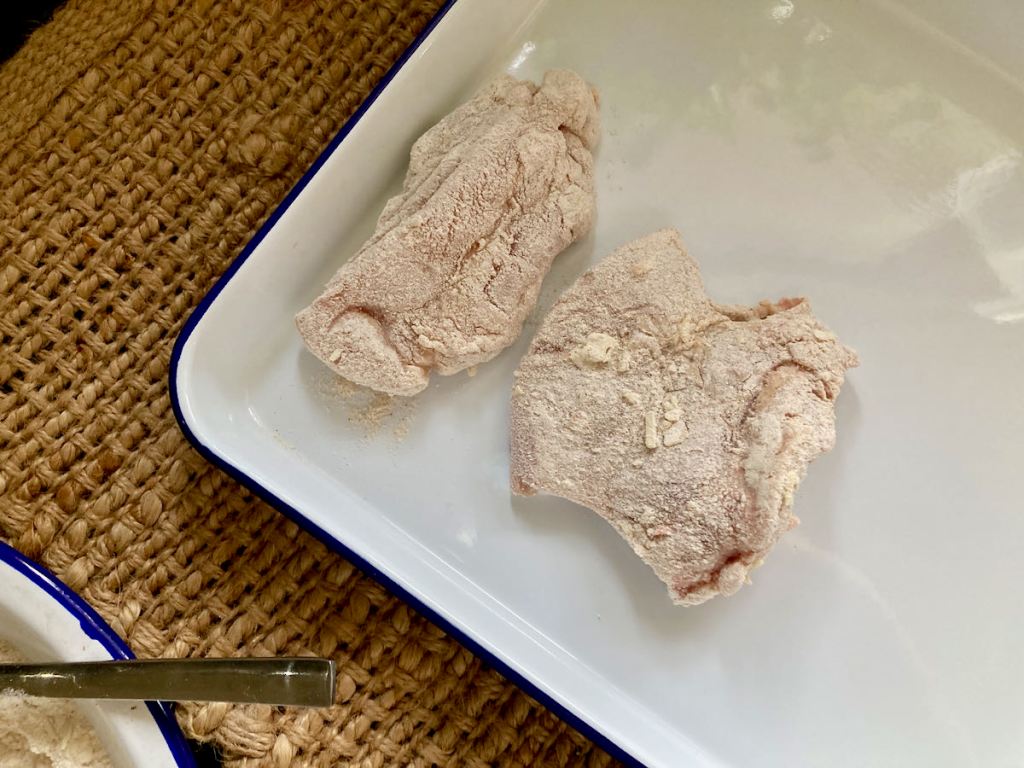
On a plate with tall sides or a bowl, mix together the coconut flour, buckwheat flour, parmesan cheese, paprika, salt and pepper.
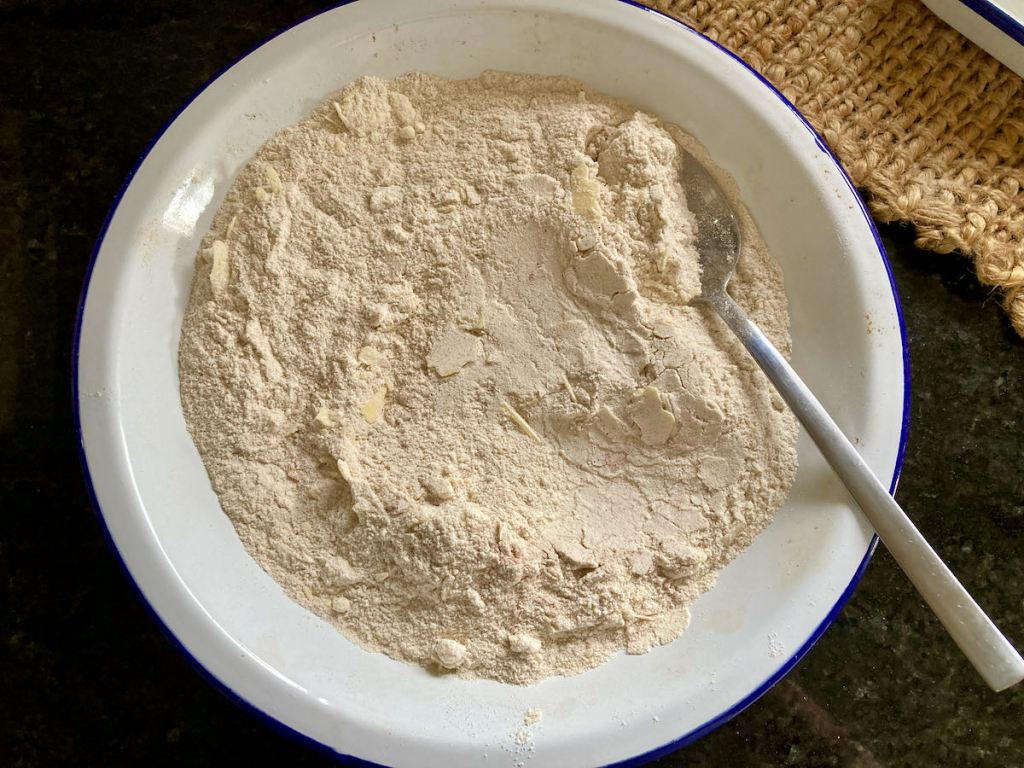
Take a piece of the chicken from the milk mixture and place it into the flour mix.
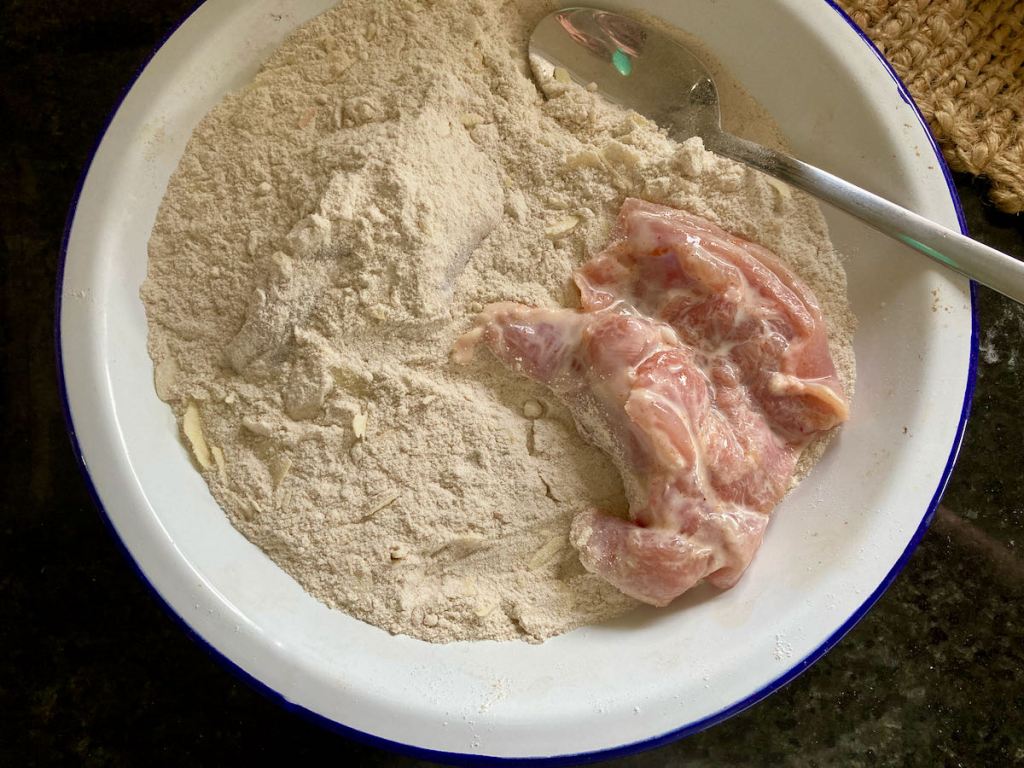
Spoon the flour over the chicken, making sure to coat the chicken thoroughly.
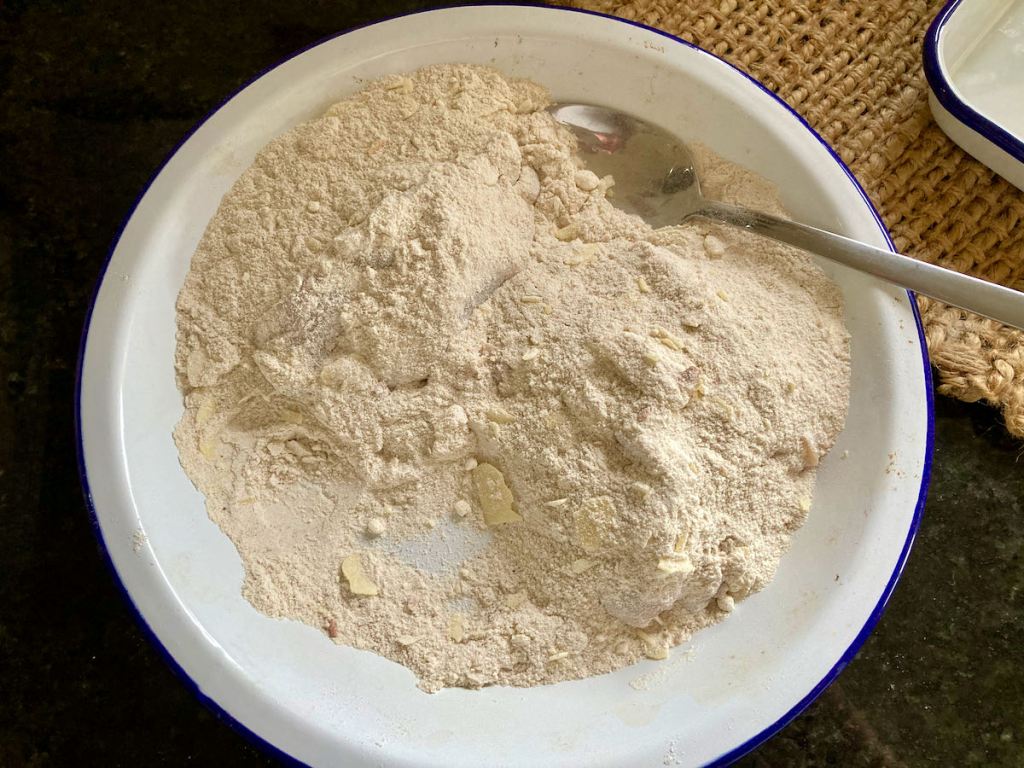
Lightly shake the excess flour off the chicken and place the chicken on a baking sheet to rest.
Repeat with all of the chicken.
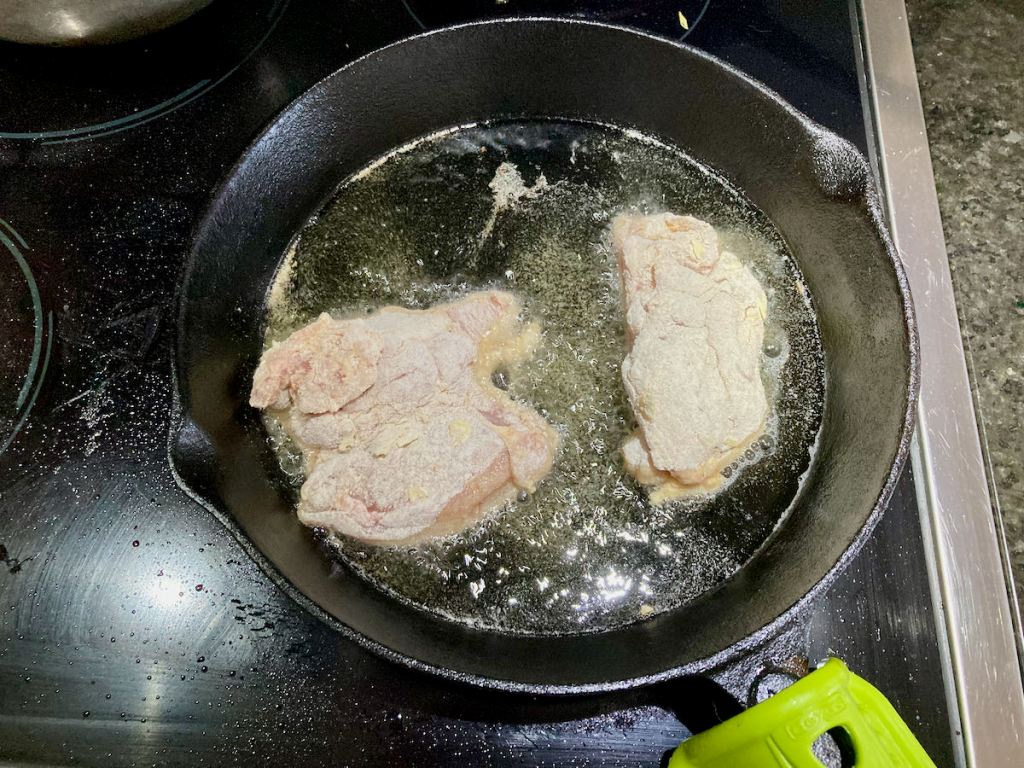
Take a large frying pan and heat a little oil over a medium heat.
Shallow fry the chicken.
The coating should be a golden brown all over.
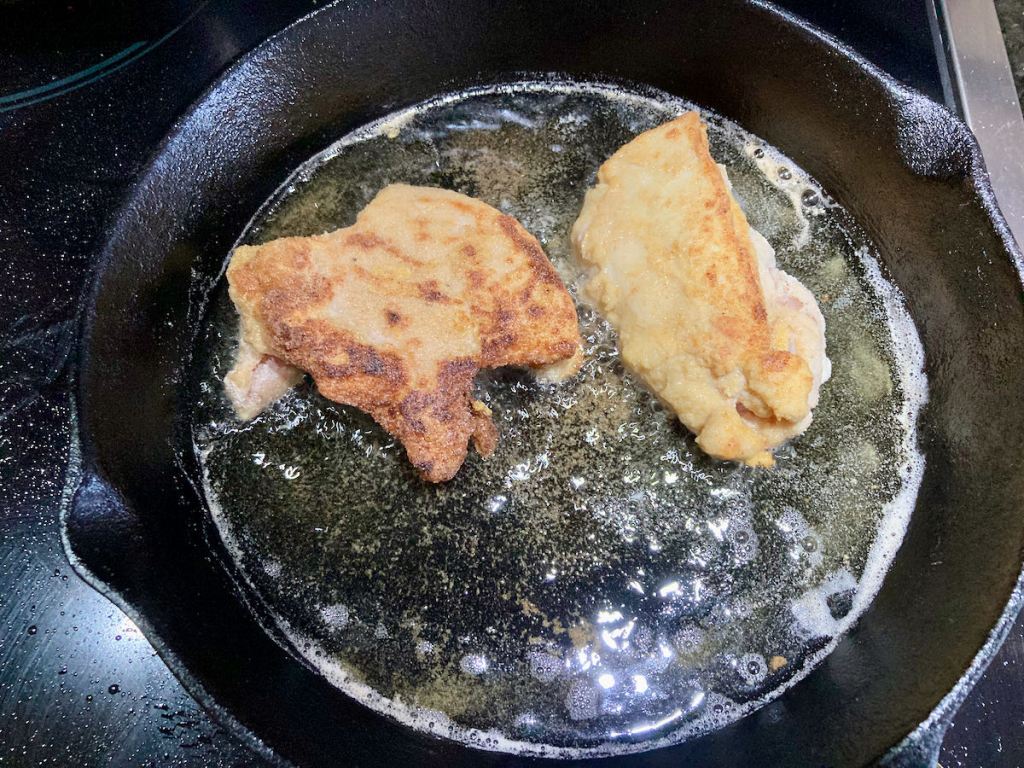
Make sure that the chicken is cooked through.
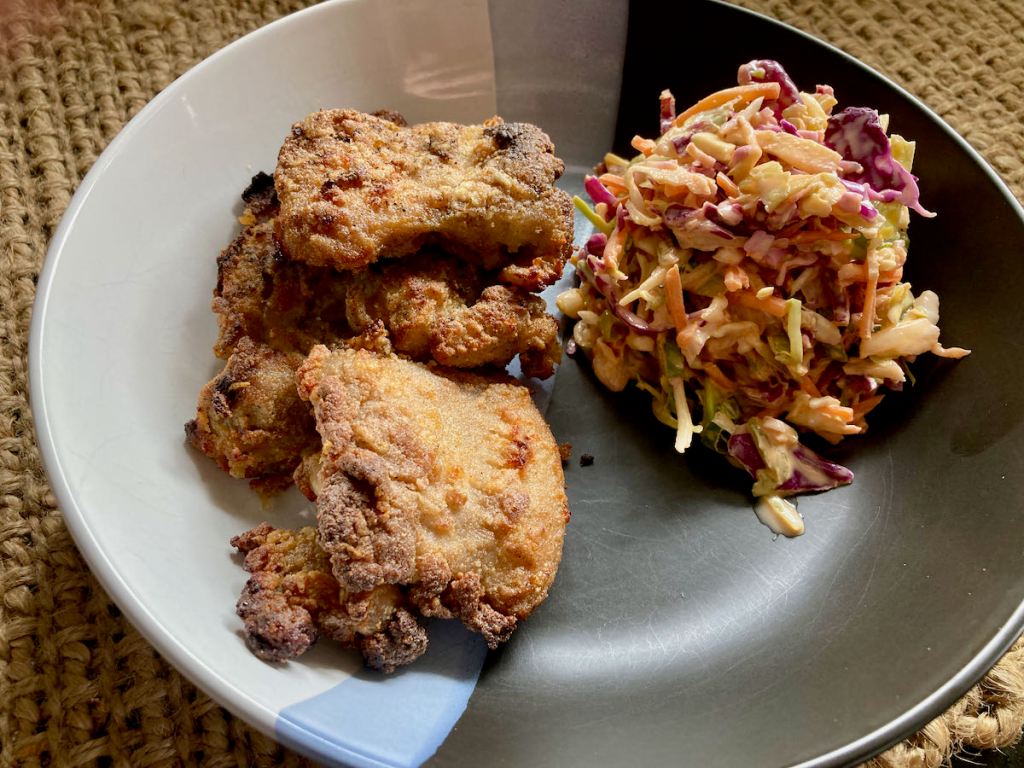
Set the cooked chicken on some kitchen paper to soak up any excess oil.
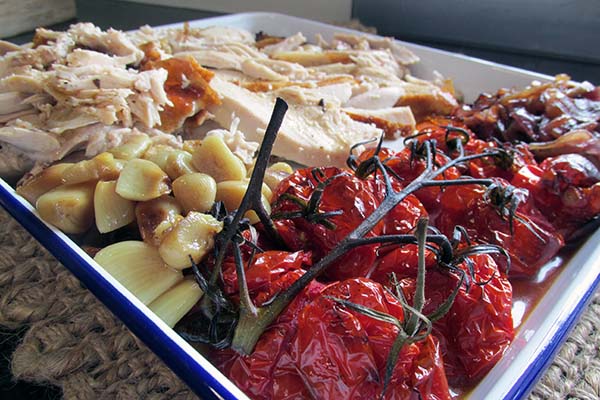
Serve with a helping of slaw.

“Fried
“
Credit: Cath @ easycleaneats
Ingredients
– 400ml milk – 800g chicken thigh fillets – 1 tsp. Garlic powder – 1 tsp. paprika – 1/2 cup coconut flour – 1/2 cup buckwheat flour – 1/4 cup parmesan cheese, grated – 1 tsp. paprika – Salt and pepper to tasteDirections
- Take the chicken thighs and place them in a large bowl or tub.
- In a bowl, whisk together the milk, paprika and garlic powder.
- Pour the milk over the chicken thighs.
- Cover the bowl or tub and put it in the fridge for a minimum of 2 hours but ideally overnight.
- When you are ready to use the chicken, remove the bowl or tub from the fridge.
- On a plate with tall sides or a bowl, mix together the coconut flour, buckwheat flour, parmesan cheese, paprika, salt and pepper.
- Take a piece of the chicken from the milk mixture and place it into the flour mix.
- Spoon the flour over the chicken, making sure to coat the chicken thoroughly.
- Lightly shake the excess flour off the chicken and place the chicken on a baking sheet to rest.
- Repeat with all of the chicken.
- Take a large frying pan and heat a little oil over a medium heat.
- Shallow fry the chicken.
- The coating should be a golden brown all over.
- Make sure that the chicken is cooked through.
- Set the cooked chicken on some kitchen paper to soak up any excess oil.
- Serve with a helping of slaw.
Nutrition
Per Serving:387 calories;6 g fat;16 g carbohydrates;53 g proteinEquipment
- Mixing bowl
- Food tub
- Plate x1
- Cooling rack/baking tray
- Frying pan
- Tongs
- Kitchen paper
Nutritional disclaimer
Nutrition information is provided as an estimate based on the ingredients used and available in my area (New Zealand). The nutritional information is here to help you understand the recipe; I use MyFitnessPal to generate my estimates. For more accurate nutritional information, please use a nutritional calculator with the ingredients in your area.
Fried chicken recipe
Ingredients
- 1/2 cup coconut flour
- 1/2 cup shredded coconut
- 1 egg beaten
- 600g chicken breast, large dices
Instructions
- In a mixing bowl, mix together shredded coconut and flour; put the flour mix onto a plate.
- In a bowl, beat the egg.
- Take the chicken pieces, dip each of them in the egg and then roll them in the flour mix.
- Put the coated chicken on a cooling rack.
- Once all of the chicken has been coated, it is ready to fry.
- In a frying pan over medium heat with some coconut oil, shallow fry the chicken.
- The coating should be a golden brown all over.
- Set the cooked chicken on some kitchen paper to soak up any excess oil.
- Sprinkle the cooked chicken with a little paprika before serving.