Simple meals don’t have to be boring
I have been on a mission to make simple and tasty meals. I aim to create recipes that can be prepared and cooked quickly on a busy weeknight. We all struggle to make healthy and delicious meals while keeping on top of everything else in life. So this recipe is designed to be healthy, delicious and easy to make. You can cook this meal on a single tray in the oven. The preparation takes no more than 20 minutes and is portioned to feed four adults.
Updating as we go
Early in 2021, I made the move to relocate and update my website; I’ve been making changes and improving all of the things as I go. This recipe is one of the many things I’ve tried to improve. This recipe is one of the first one-tray meals I came up with back in 2015. It has remained a regular meal that I crack out when we get some good quality sausages from Pokeno.
One tray of awesomeness
This recipe is one of the very first one-tray meals I made back when we started eating clean. I was big on throwing dinner in the slower cooker before heading off for a busy day at work, but it was always nice to have something a bit different on the weekends. The combination of tasty sausages and fresh vegetables always won on a Saturday afternoon after a day with the kids. We don’t spend our weekends running around playgrounds with the kids, but we still love a one-tray maple sausage roast.
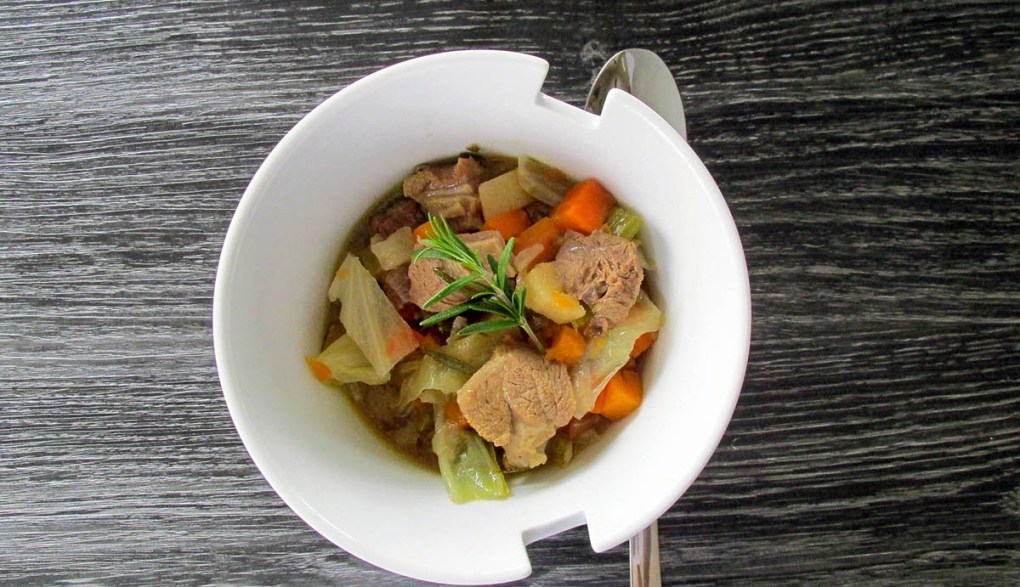
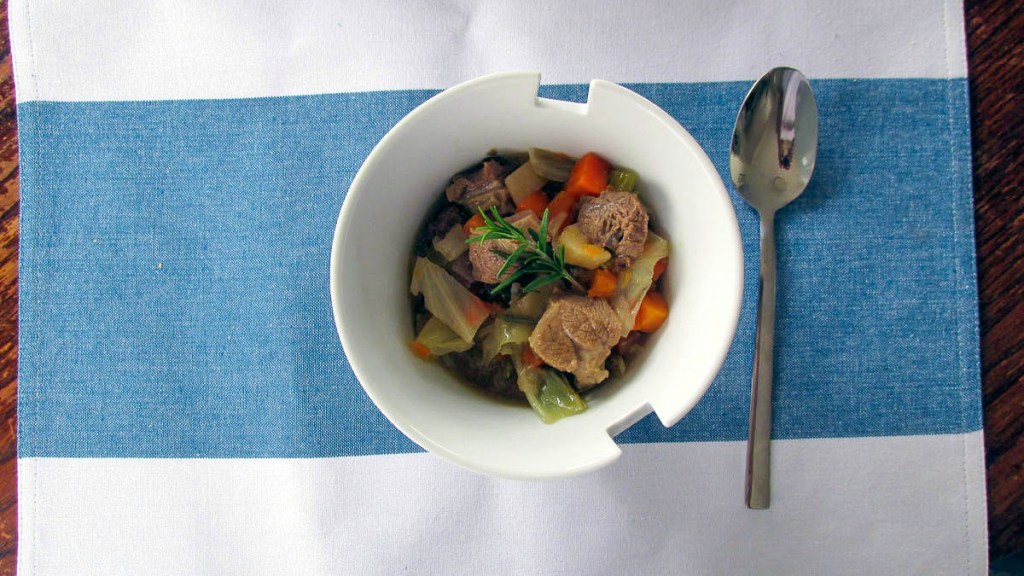
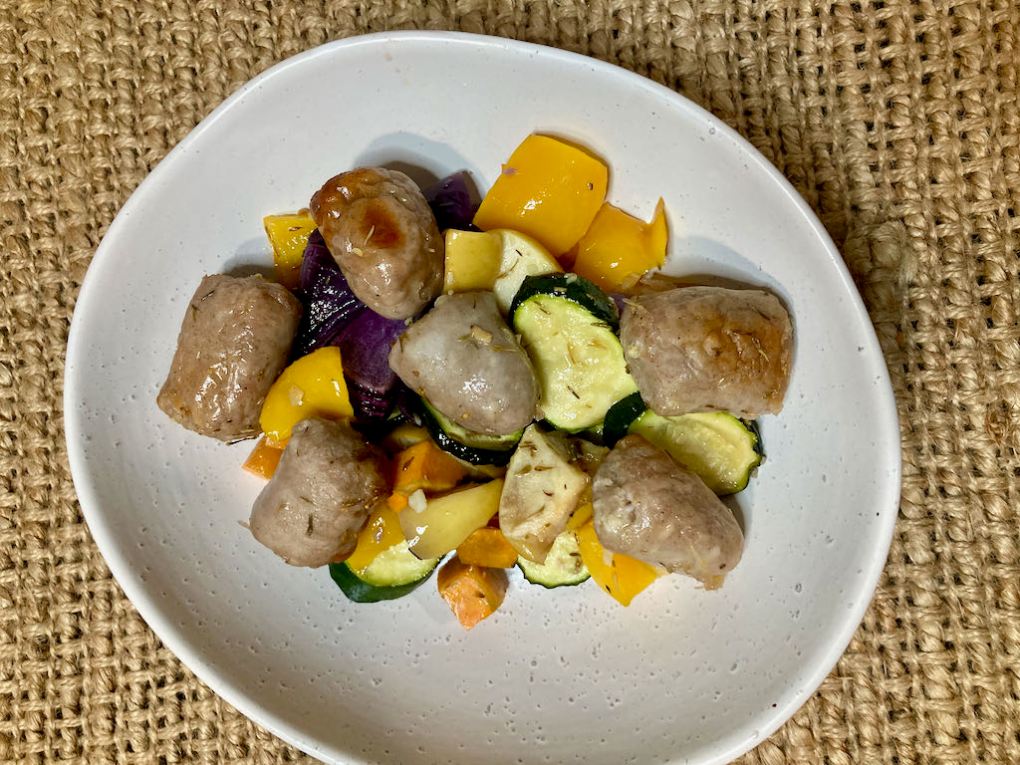
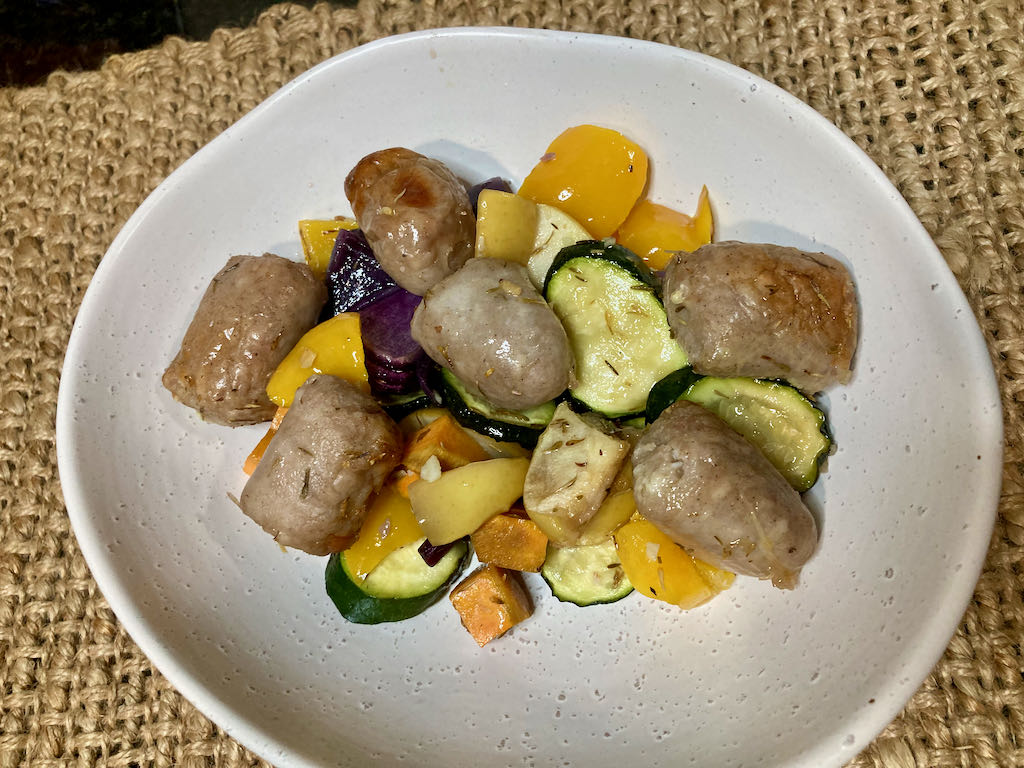
Maple sausage roast
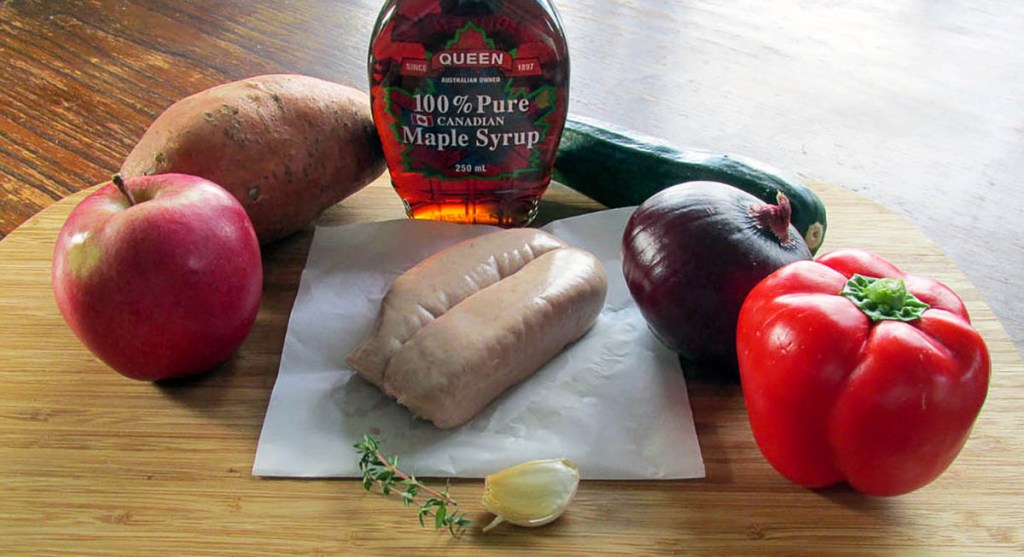
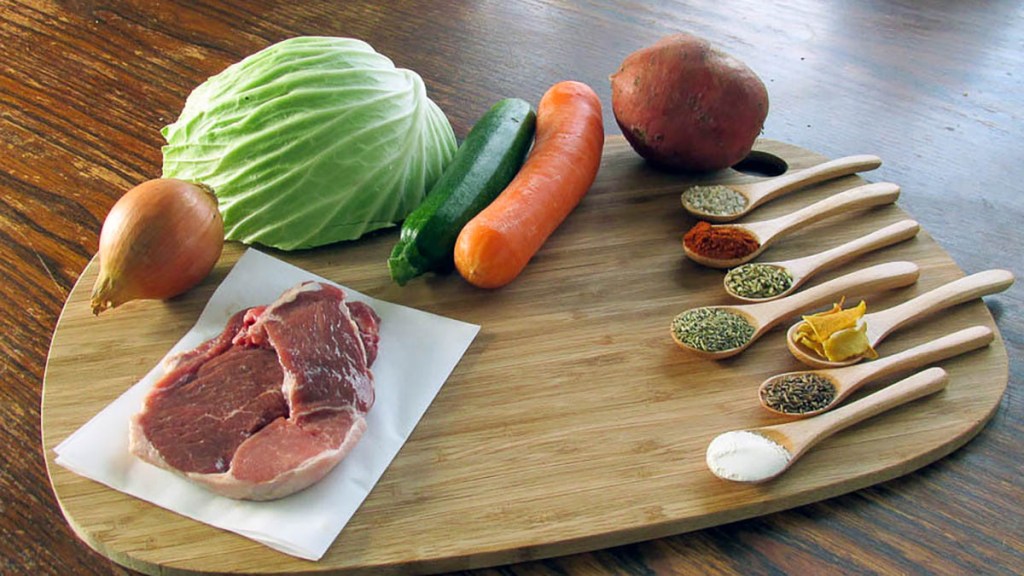
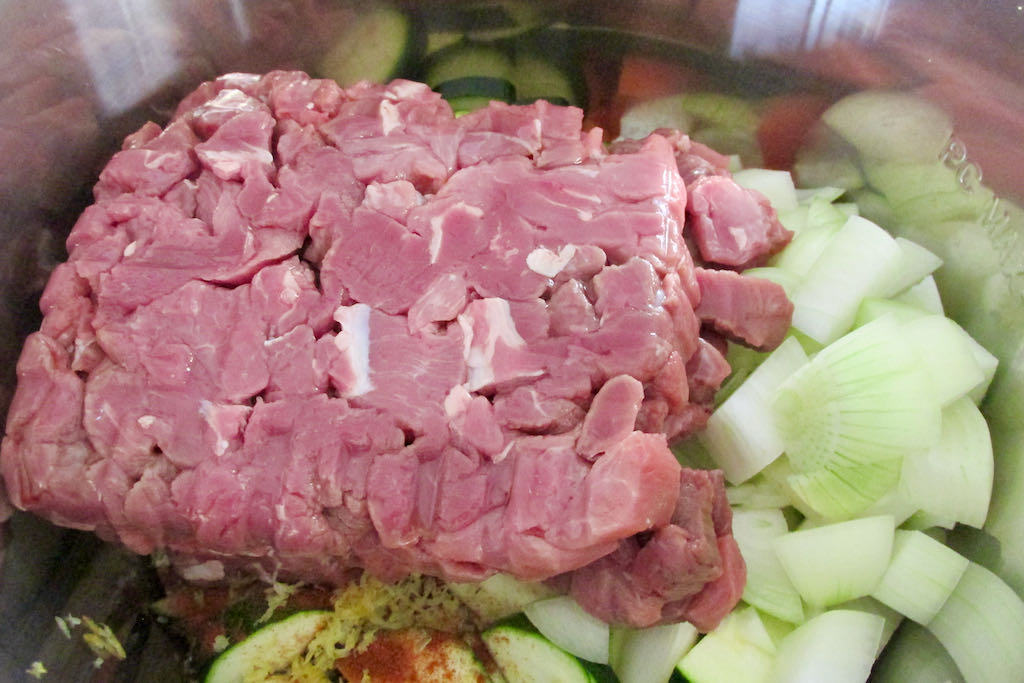
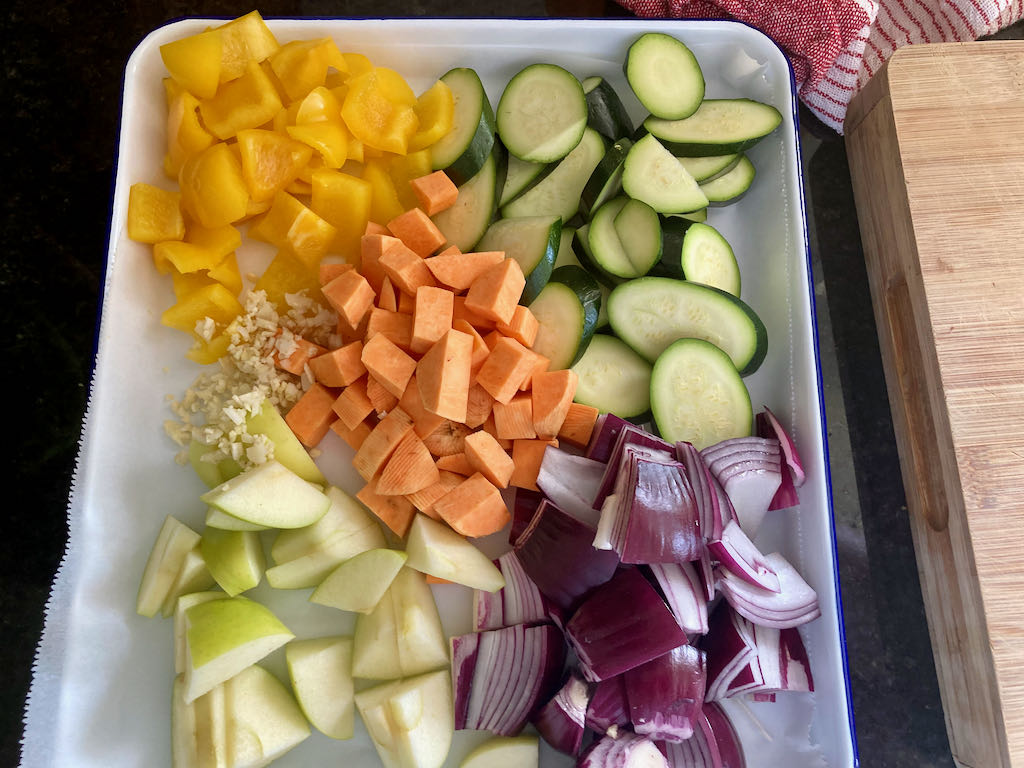
Ingredients
- 8 pork sausages cut into 3rds
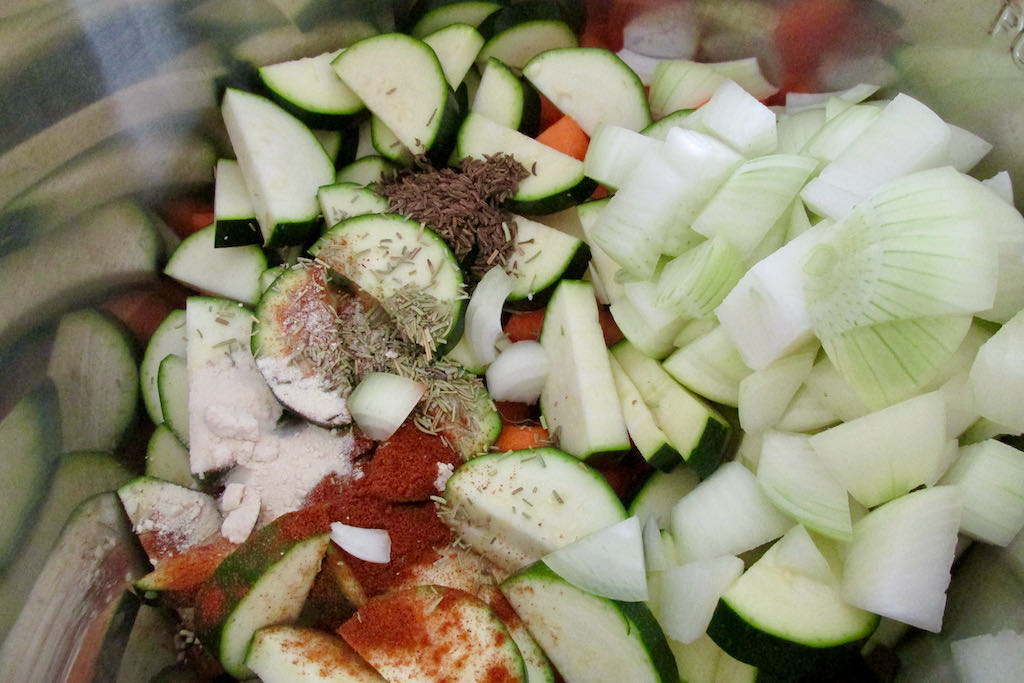
- 1 red onion cut into 8th
- 2 red apples cut into chunks
- 2 red peppers cut into chunks
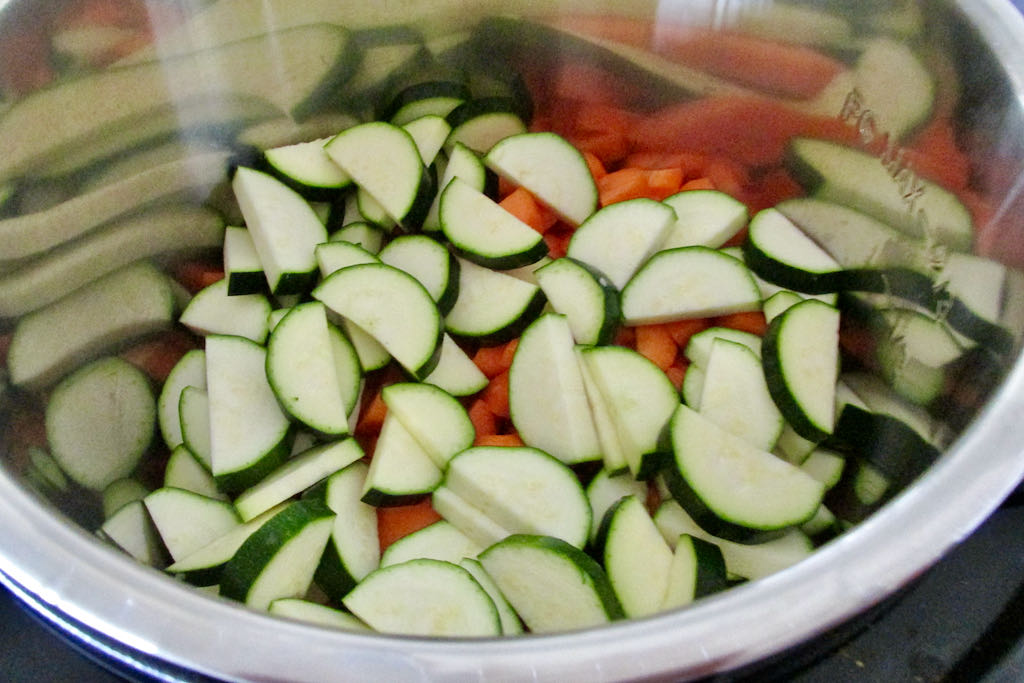
- 2 courgettes cut into chunks
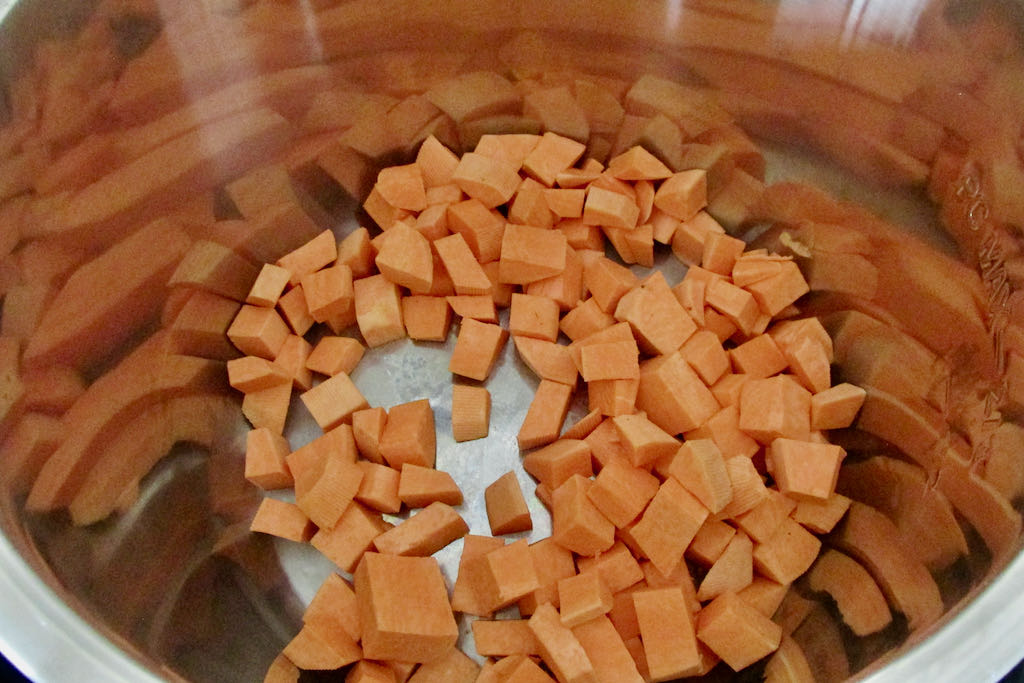
- 2 sweet potatoes cut into chunks
- 2 garlic cloves minced
- 2 tbsp. thyme
- 1/4 cup maple syrup
Instructions
Preheat oven to 210 °C/ 410 °F.
Line a roasting tray with baking paper or a silicone liner.
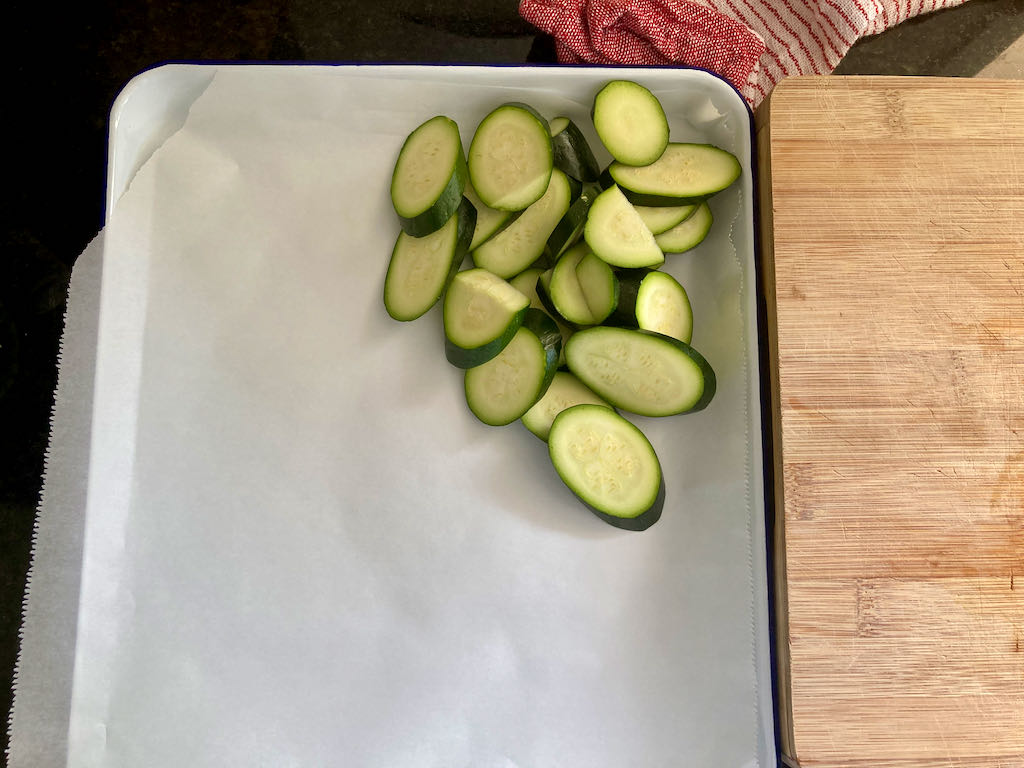
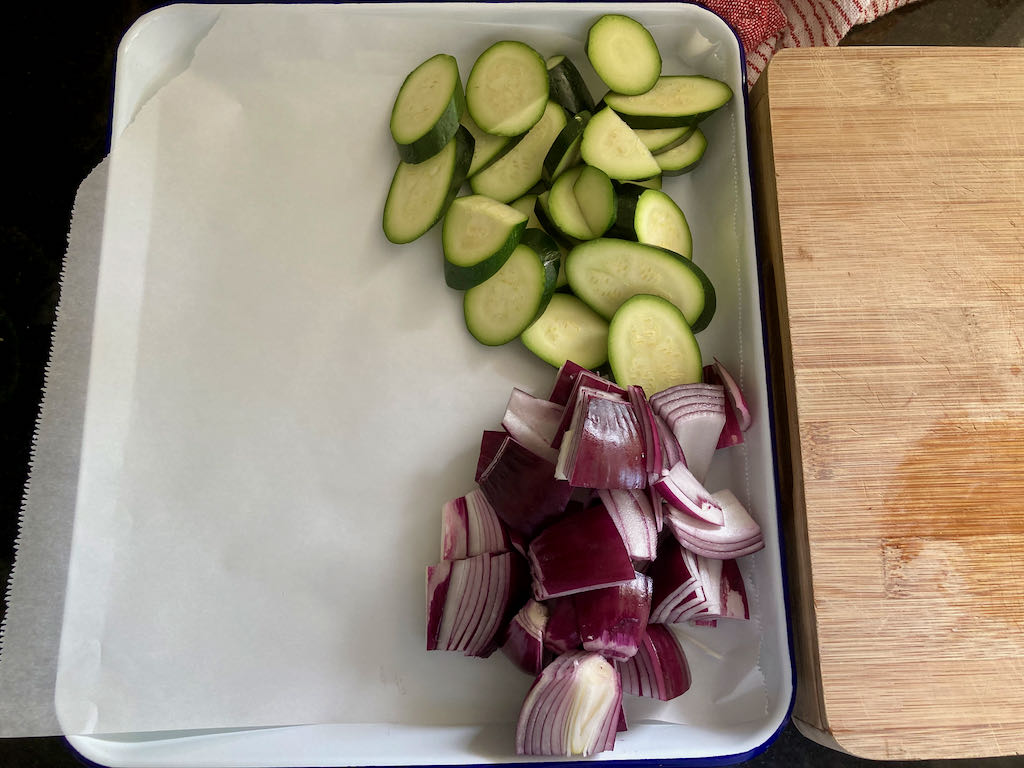
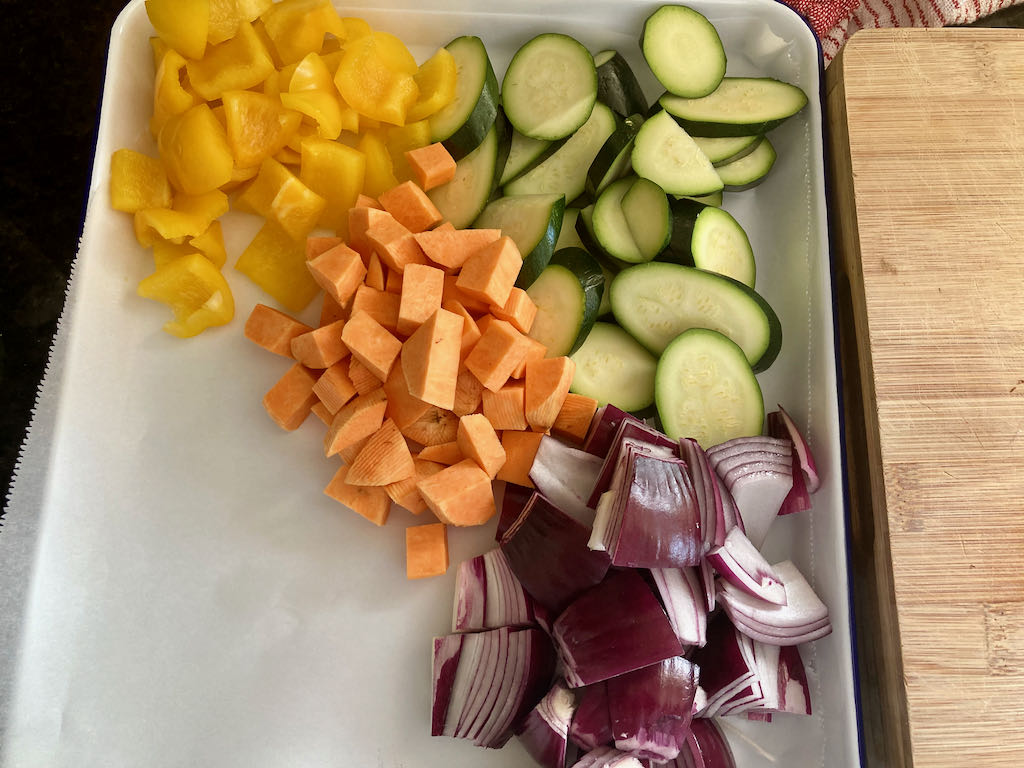
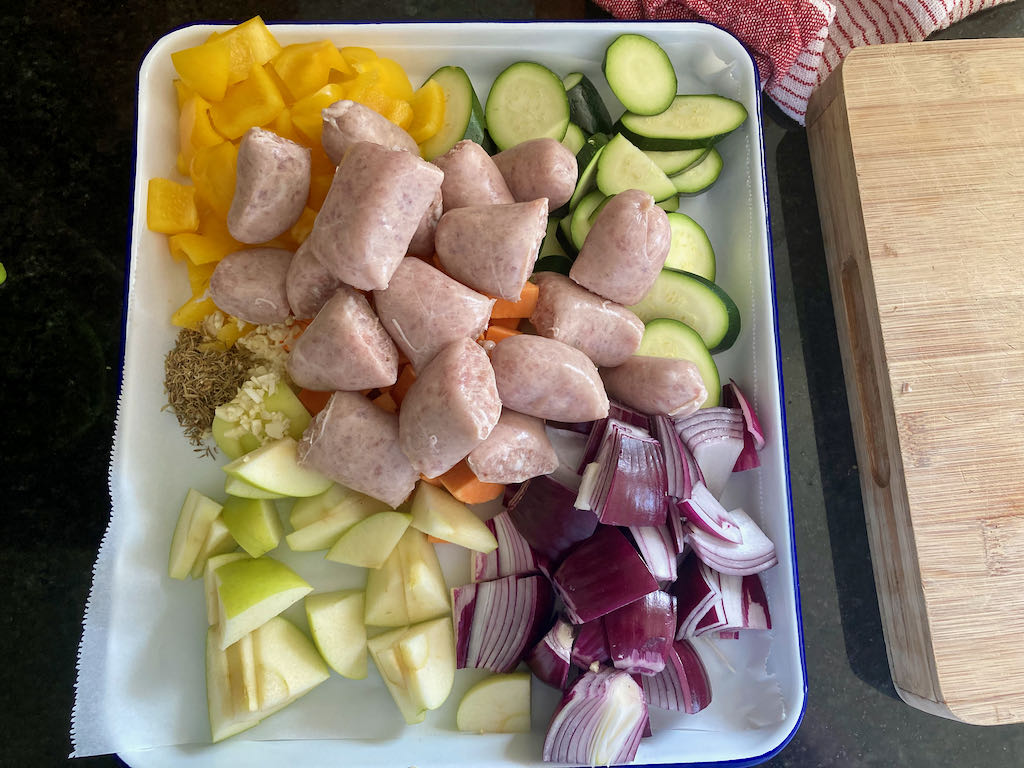
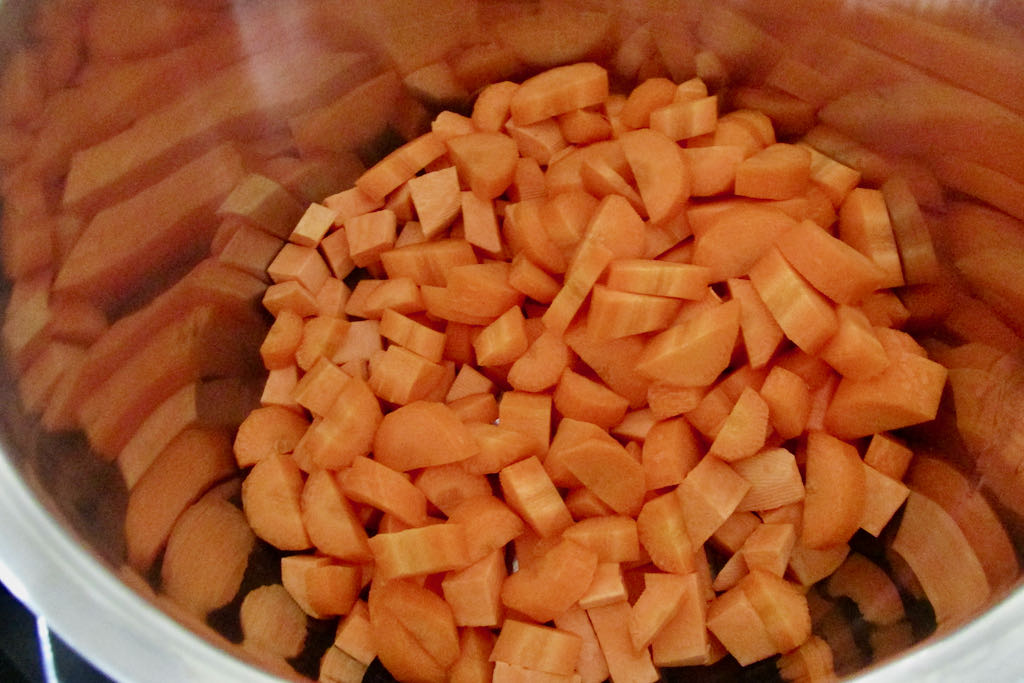
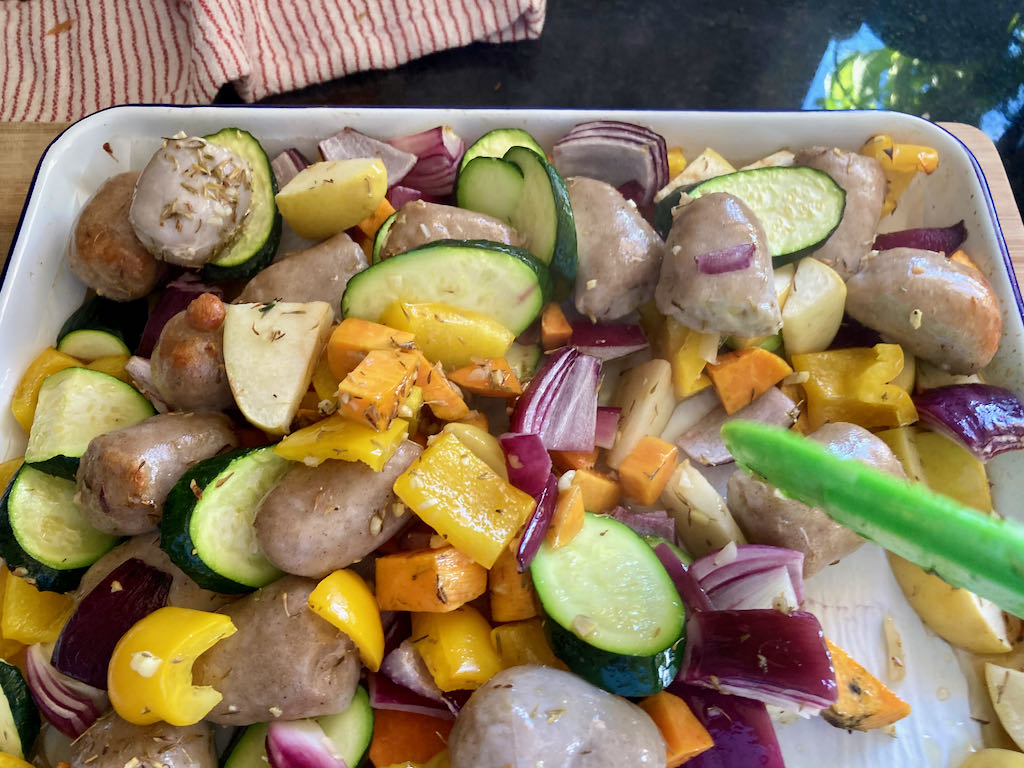
In the roasting tray, mix together all ingredients but keep the maple syrup to one side.
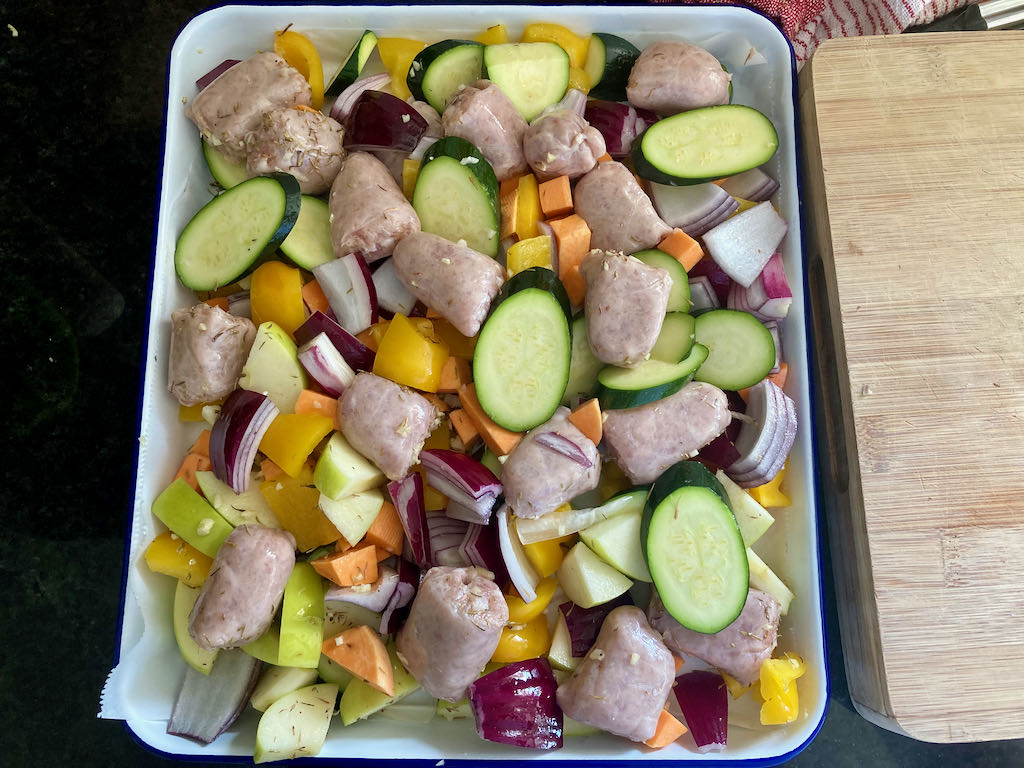
Bake for 20 minutes.
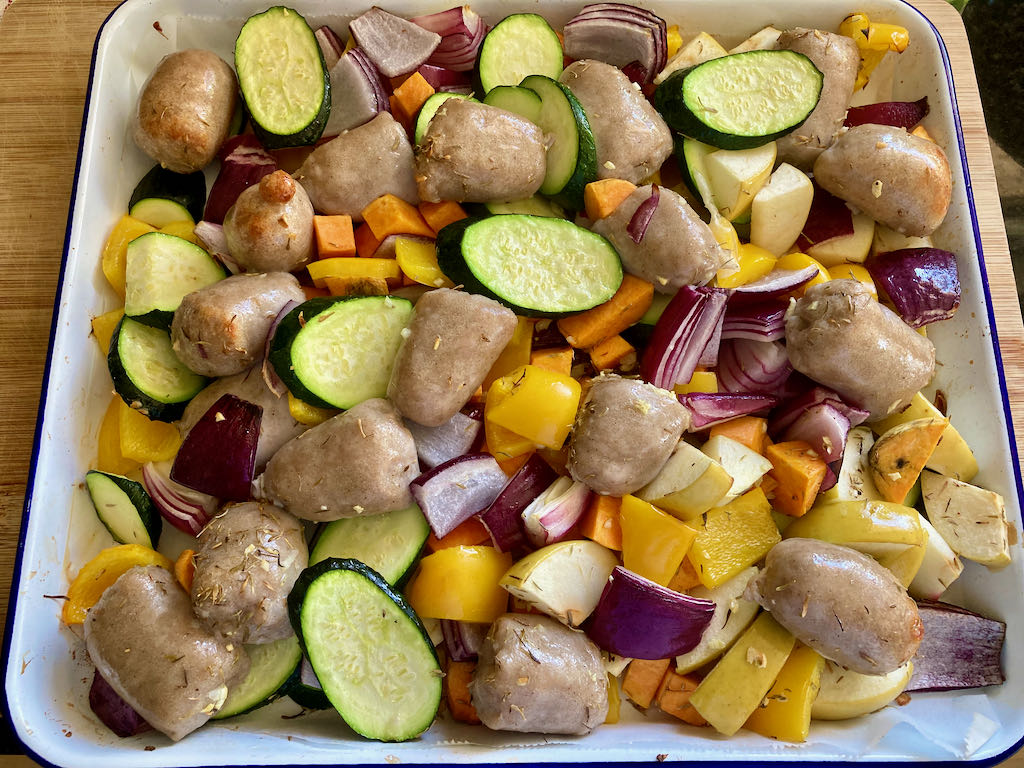
Remove the roasting tray from the oven.
Stir everything up and pour the maple syrup on top of everything.
Bake for another 10 minutes.

If your sausages are thick, you may need to cook them longer.
“A
Credit: Cath @ easycleaneats
Ingredients
- 8 pork sausages cut into 3rds
- 1 red onion cut into 8th
- 2 red apples cut into chunks
- 2 red peppers cut into chunks
- 2 courgettes cut into chunks
- 2 sweet potatoes cut into chunks
- 2 garlic cloves minced
- 2 tbsp. thyme
- 1/4 cup maple syrup
Directions
- Preheat oven to 210 °C/ 410 °F.
- Line a roasting tray with baking paper or a silicone liner.
- In the roasting tray, mix together all ingredients but keep the maple syrup to one side.
- Bake for 20 minutes.
- Remove the roasting tray from the oven.
- Stir everything up and pour the maple syrup on top of everything.
- Bake for another 10 minutes.
- If your sausages are thick, you may need to cook them longer.
Nutrition
Per Serving: 292 calories; 13g fat; 26g carbohydrates; 18g proteinEquipment
- Chopping board
- Knife
- Baking tray
- Baking paper or silicone liner
- Measuring cups
- Measuring spoons
- Tongs
- Spatula
Nutritional disclaimer
Nutrition information is provided as an estimate based on the ingredients used and available in my area (New Zealand). The nutritional information is here to help you understand the recipe; I use MyFitnessPal to generate my estimates. For more accurate nutritional information, please use a nutritional calculator with the ingredients in your area.