Updating as we go
Earlier in 2021, I made the move to relocate and update my website; I’ve been making changes and improving all of the things as I go. This recipe is one of the many things I’ve tried to make better.
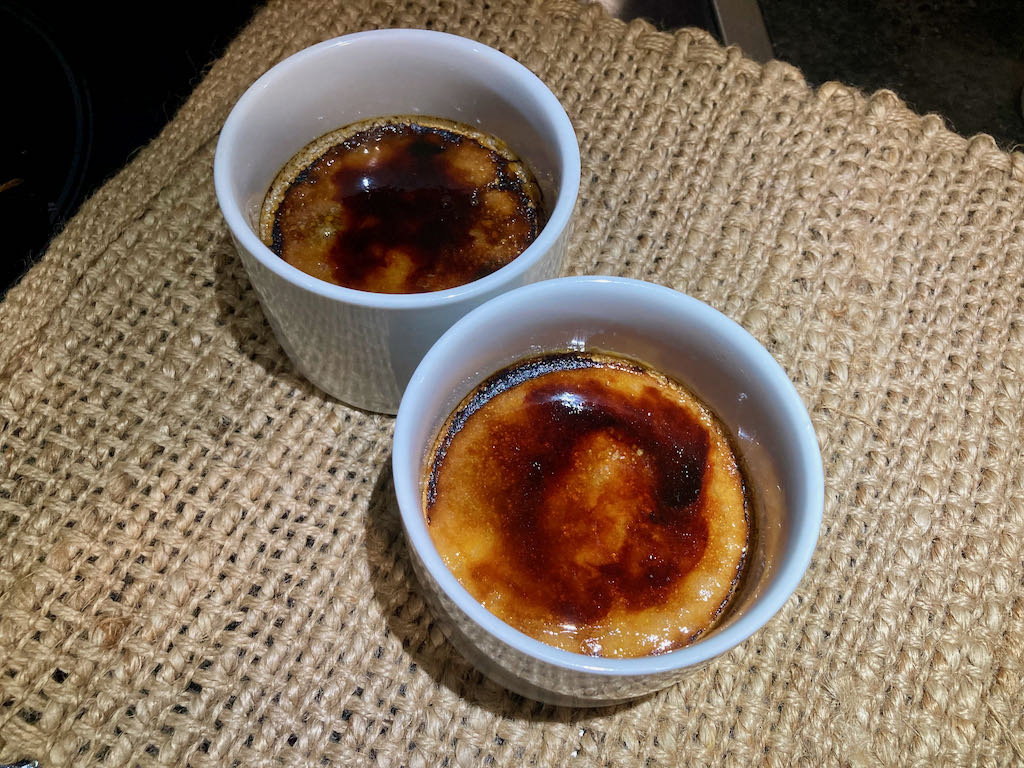
Something for a special occasion
This is the height of opulence in my book, and as such, I tend to crack out crème brûlée for special occasions. I first made this recipe for Jaime and my third anniversary, and it was amazing; even more impressive is that we celebrated our 11th anniversary in late 2021. Time fly’s when you are having all of the fun.
Not as tricky as you think
I always thought that crème brûlée was challenging to make, but the truth is they are straightforward to make. The bonus of making them is they make a big impact on those you put them in front of. This is one of the few recipes on this website that you will find normal white sugar. I tried for a long time and had many failed (burned tasting) attempts at this recipe before I realised I had to use white sugar. It is a minimal amount of sugar on the top of the custard.

Crème Brûlée recipe
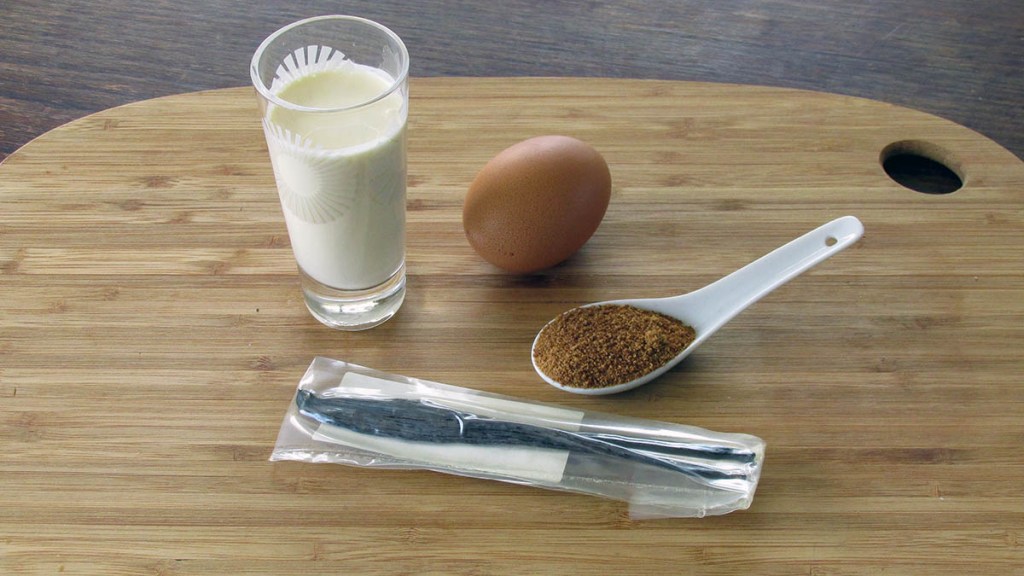
Ingredients
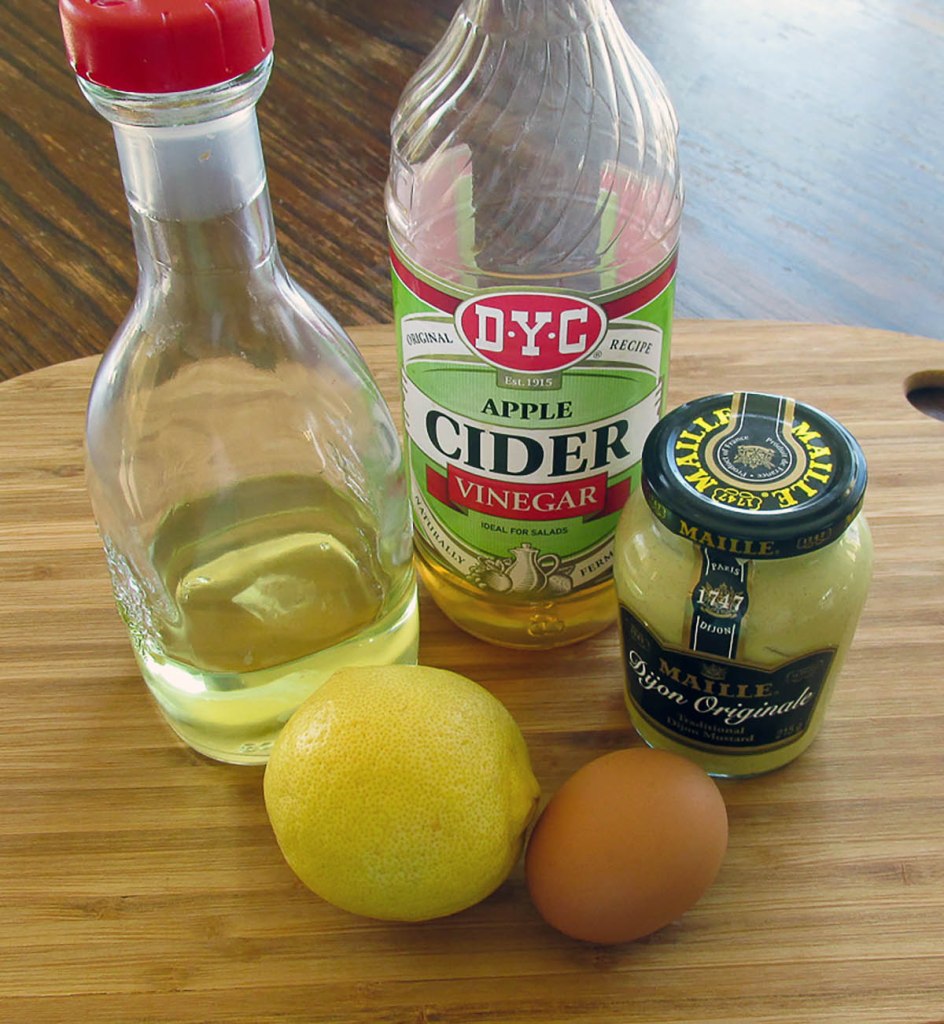
- 500ml double cream
- 1/4 tsp vanilla powder or 1 vanilla pod
- 100g coconut sugar
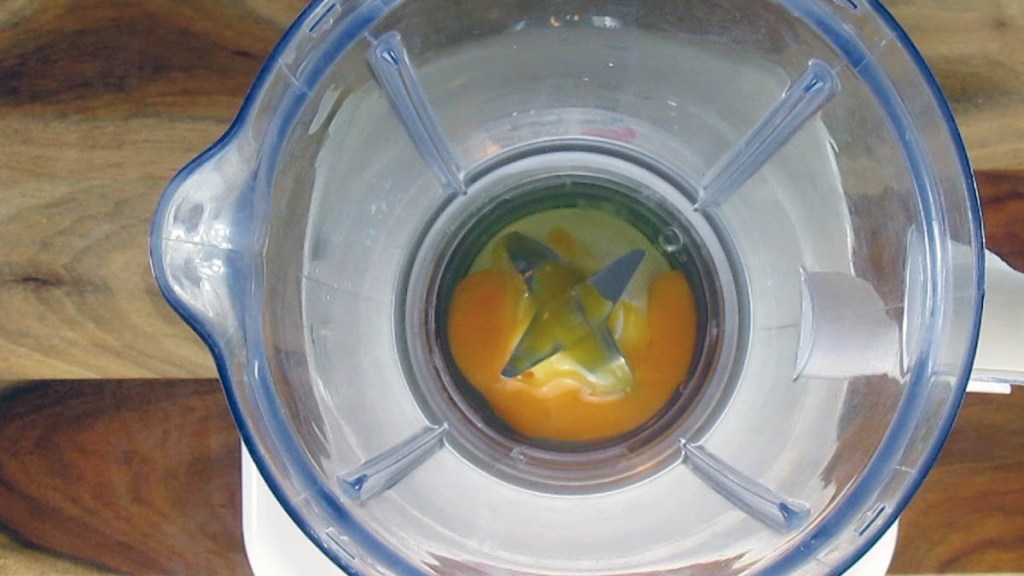
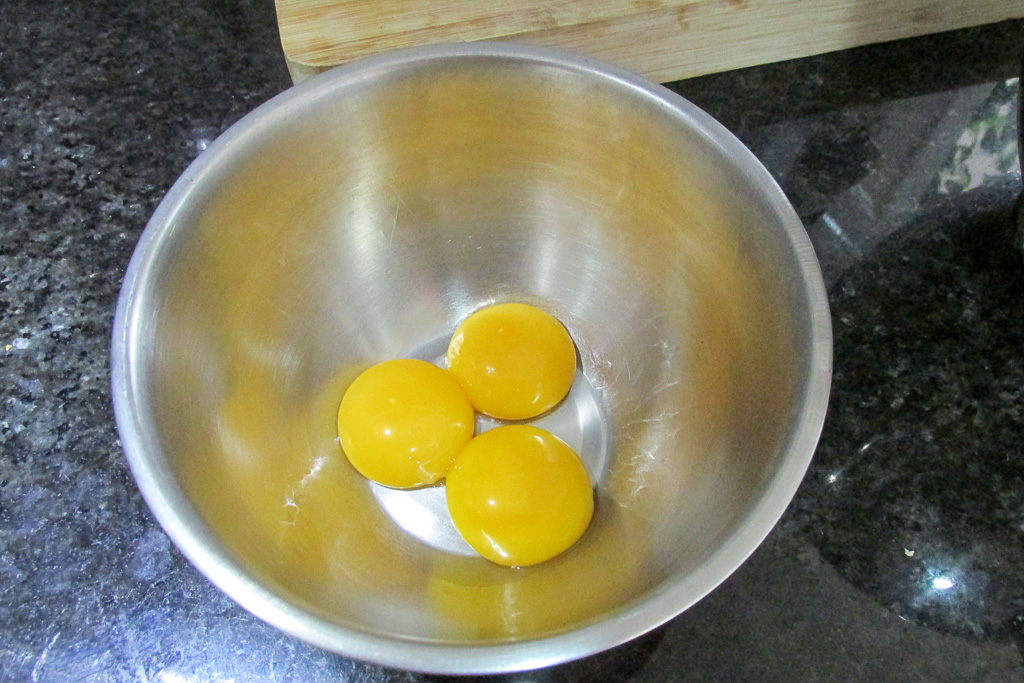
- 6 egg yolks
- 3 tbsp. white sugar
Instructions
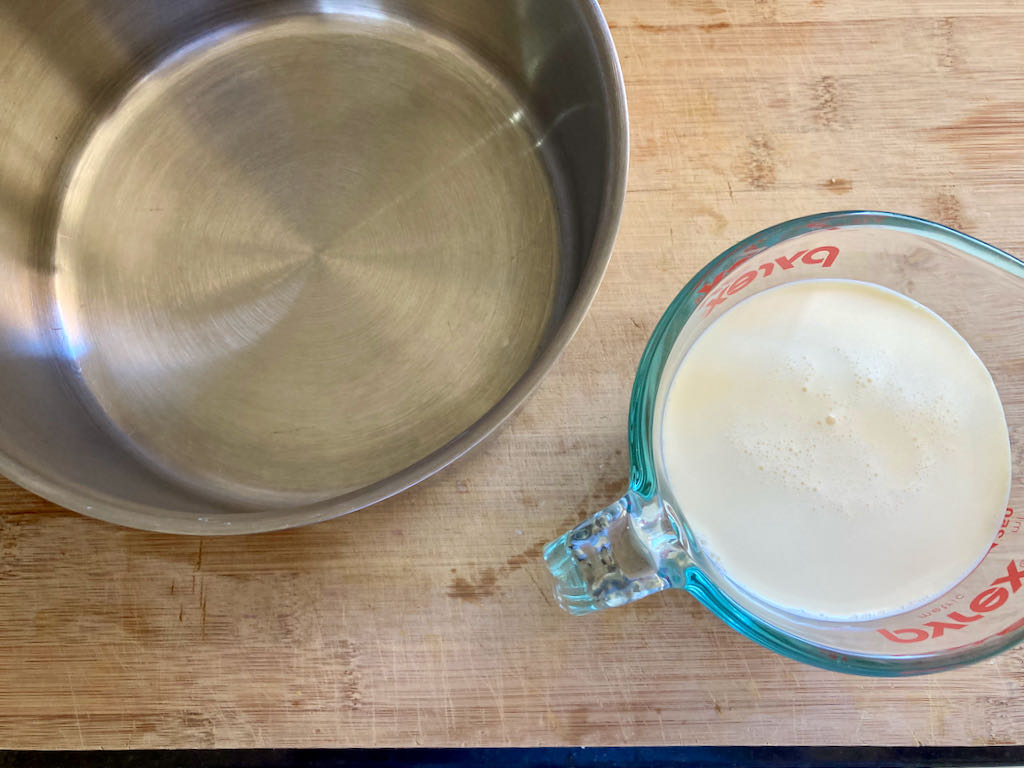
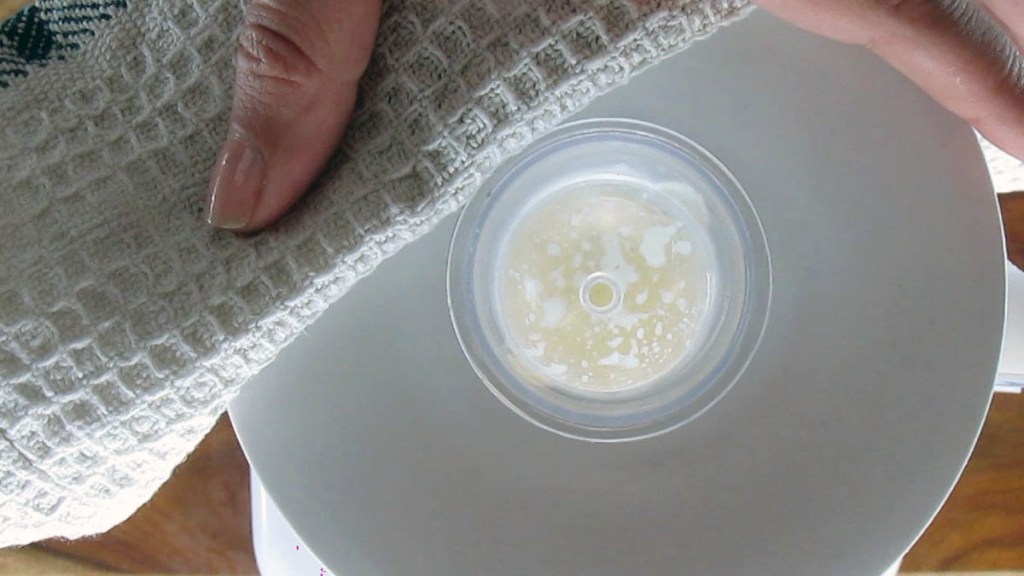
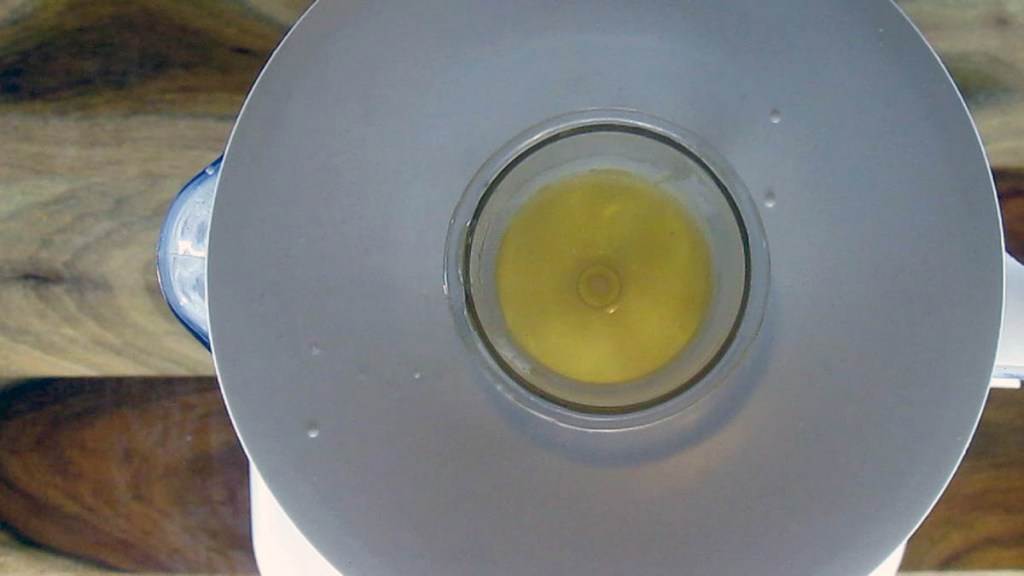
In a saucepan, mix together cream and vanilla.

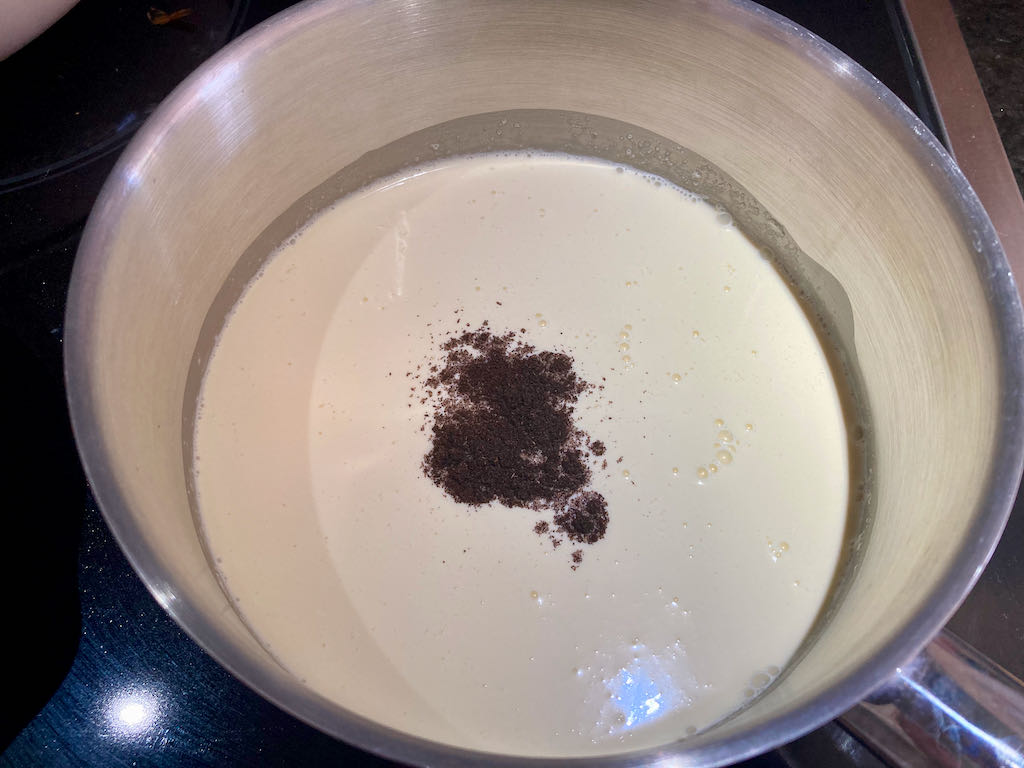
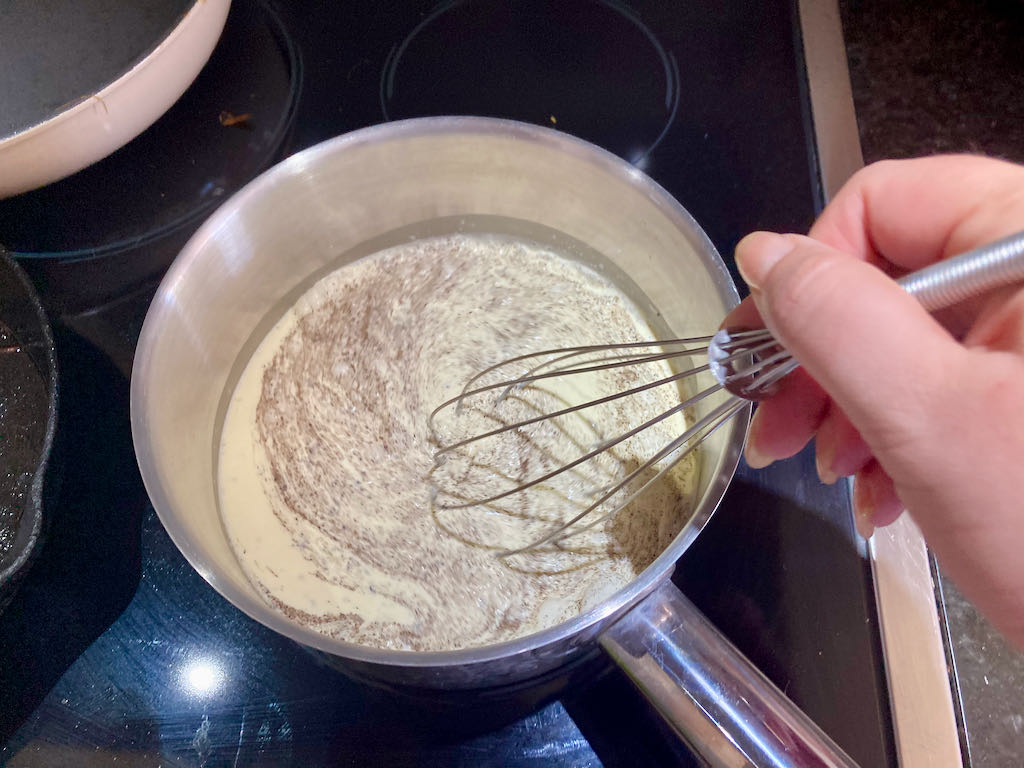
Bring them to the boil.
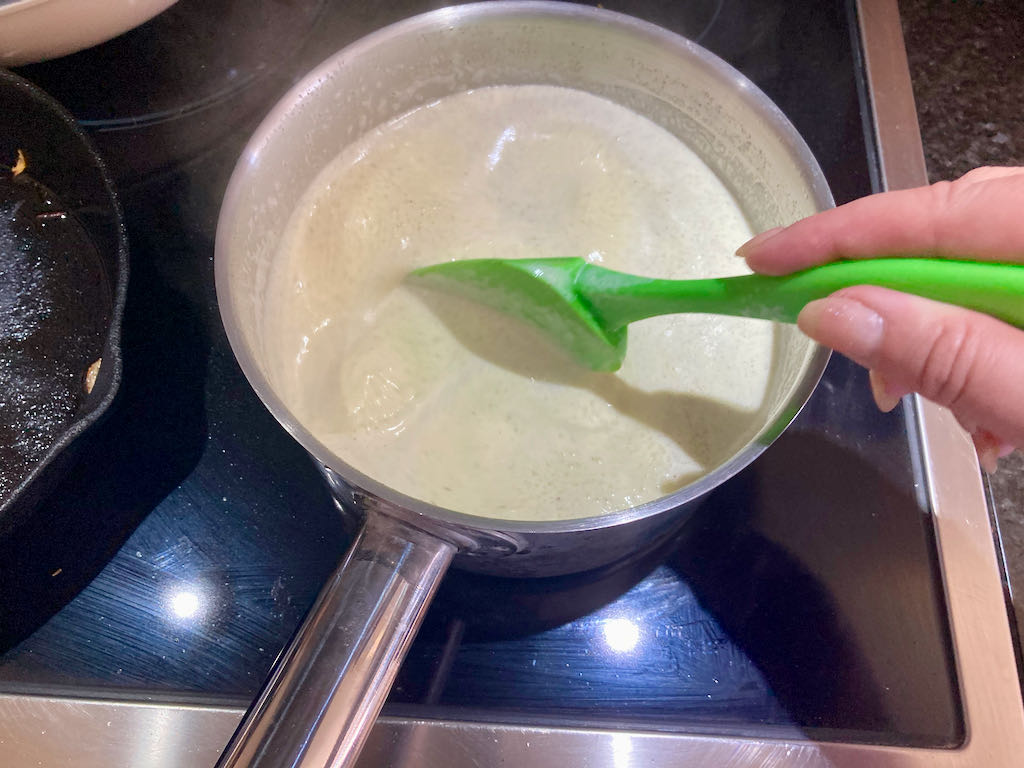
When the cream comes to a boil, reduce the heat and simmer gently for 5 minutes.
Watch this very closely; the cream can boil over very quickly.
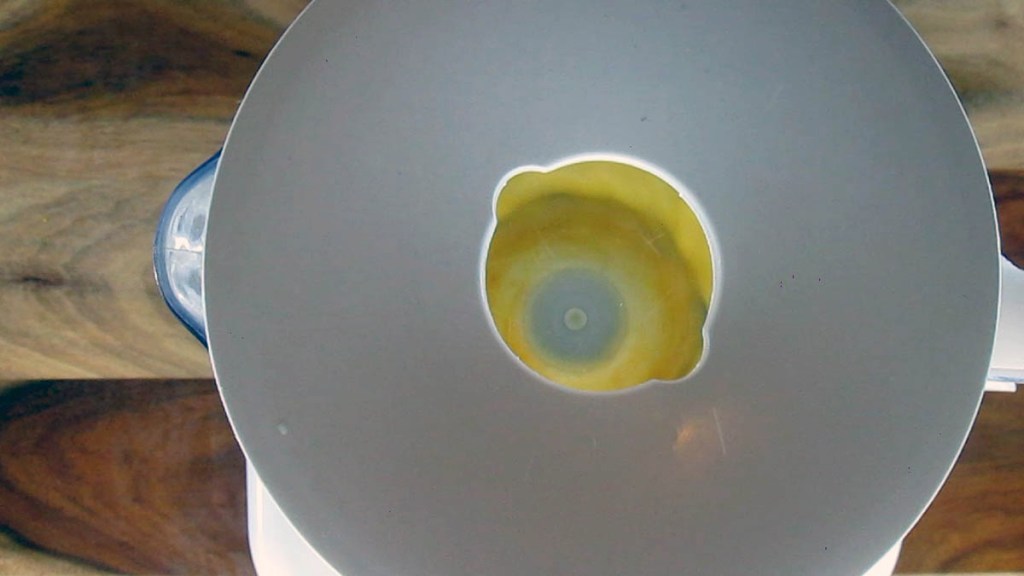
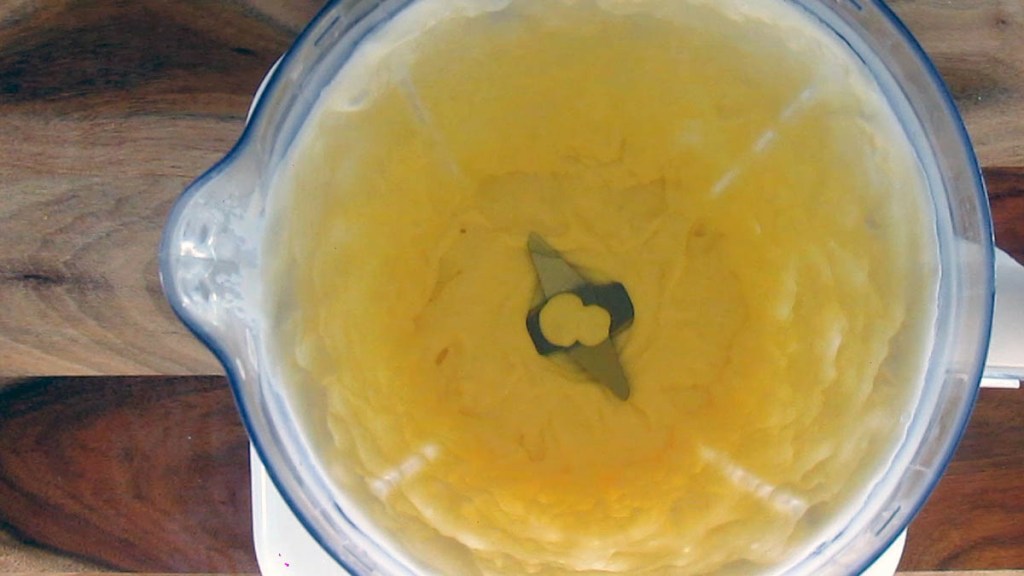
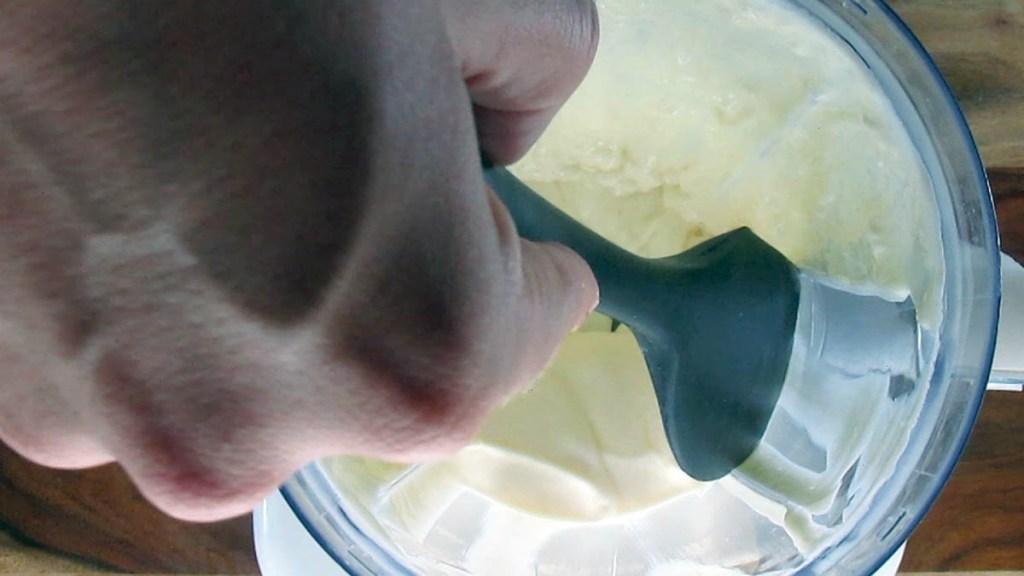
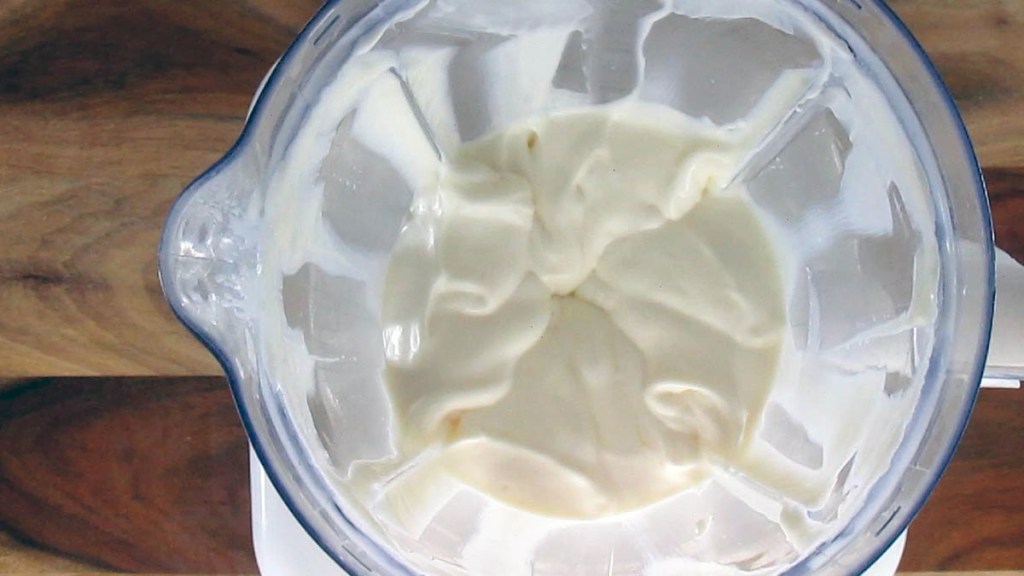
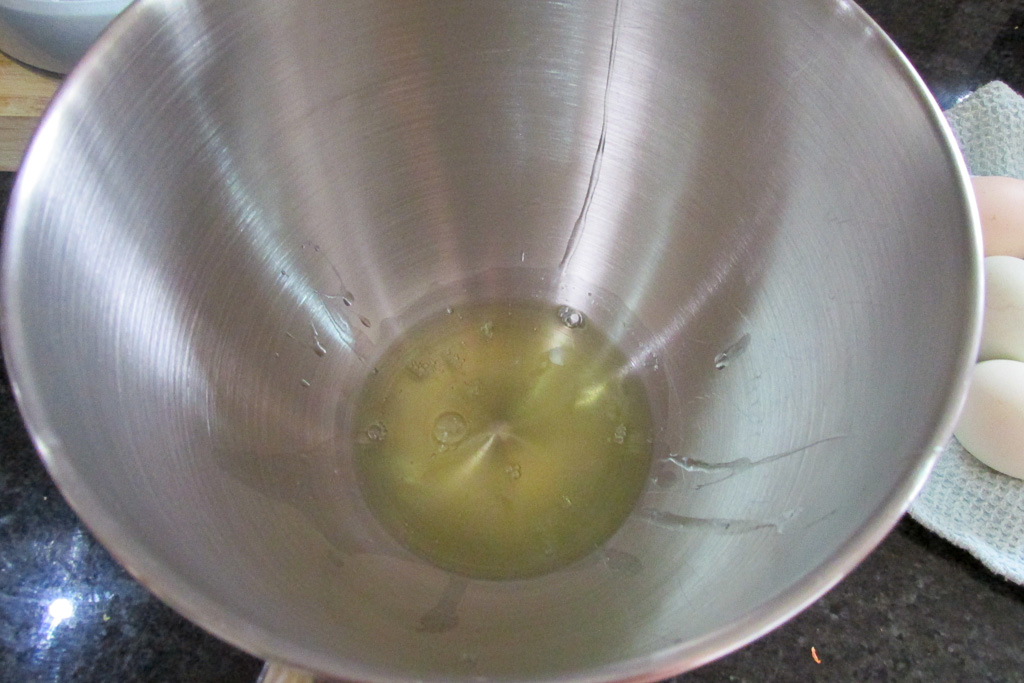
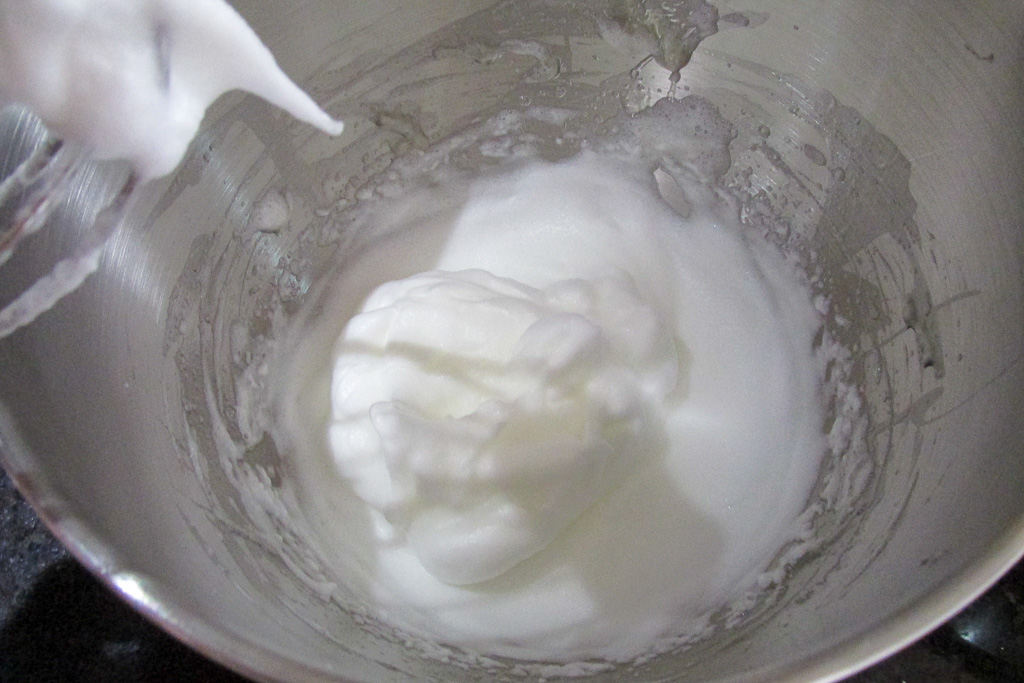
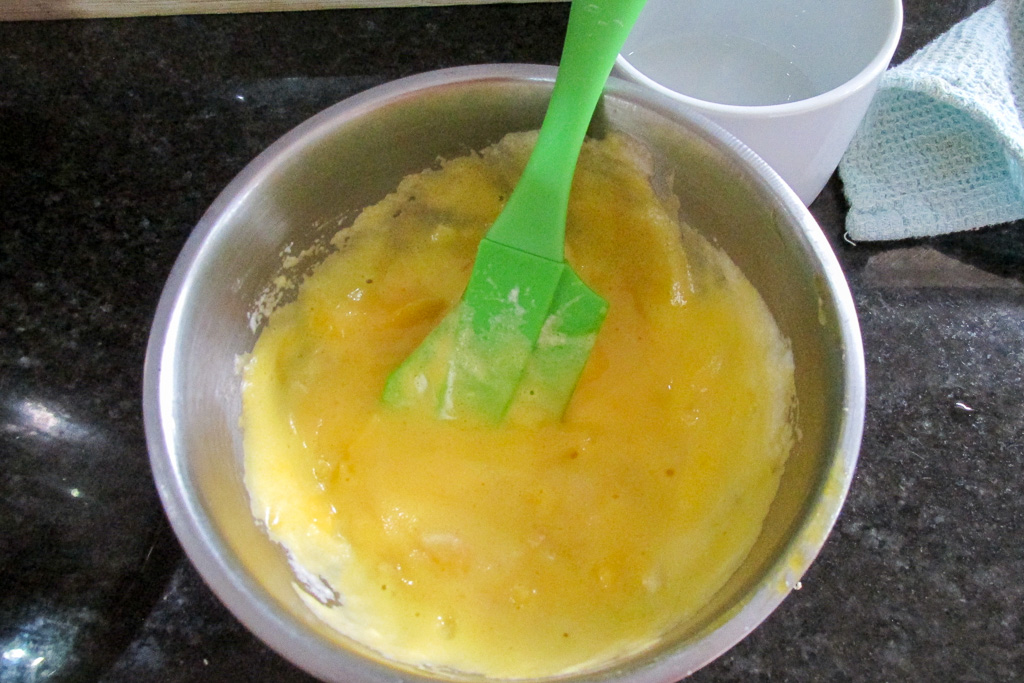
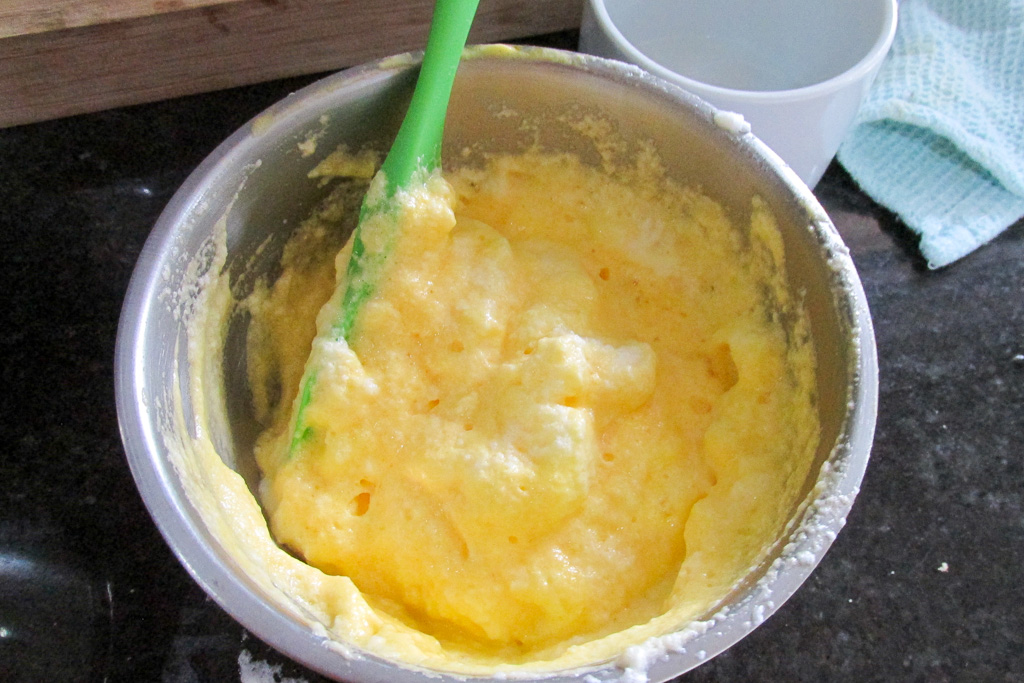
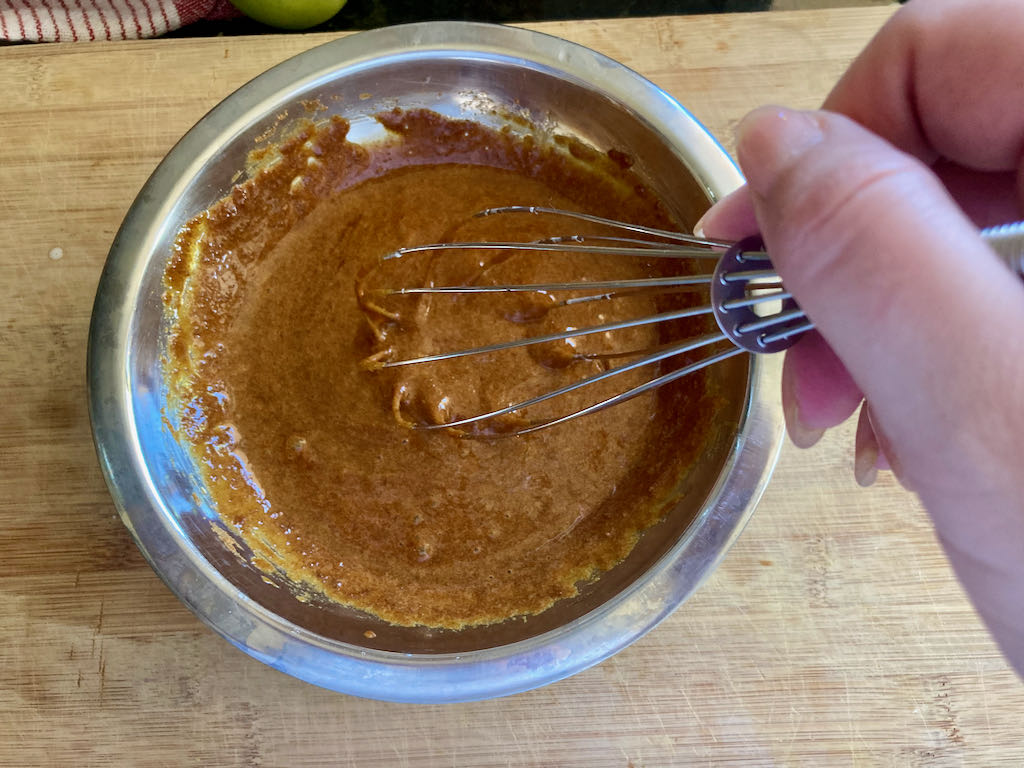
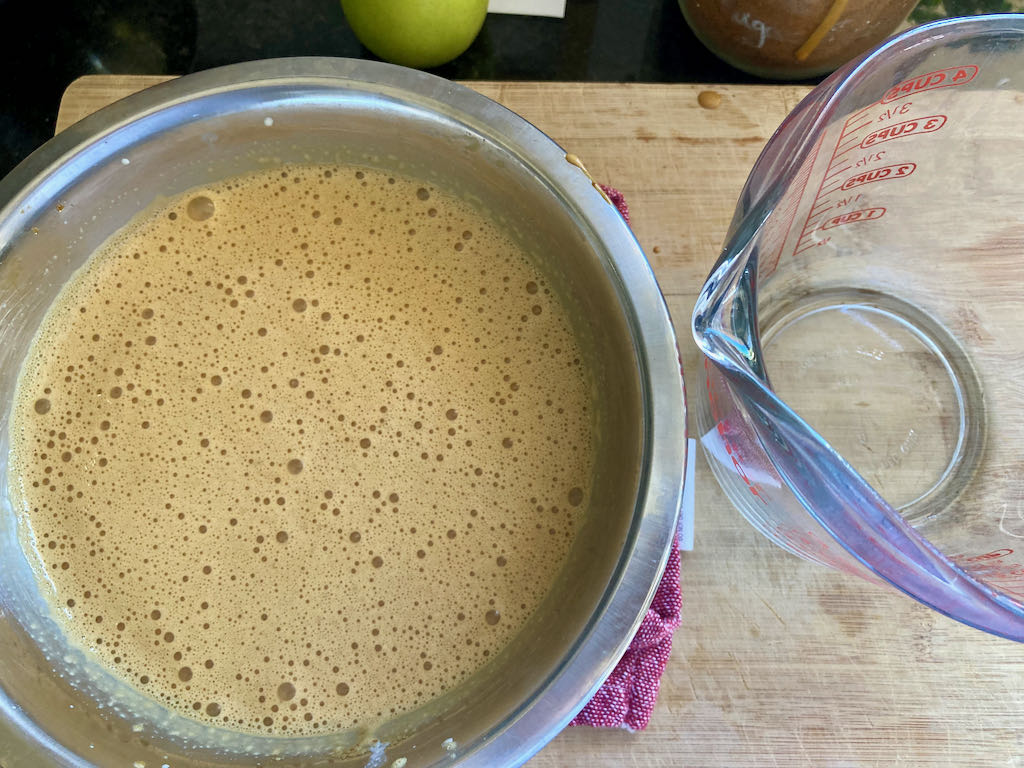
In a separate bowl, beat together egg yolks and sugar together until they are pale and fluffy.


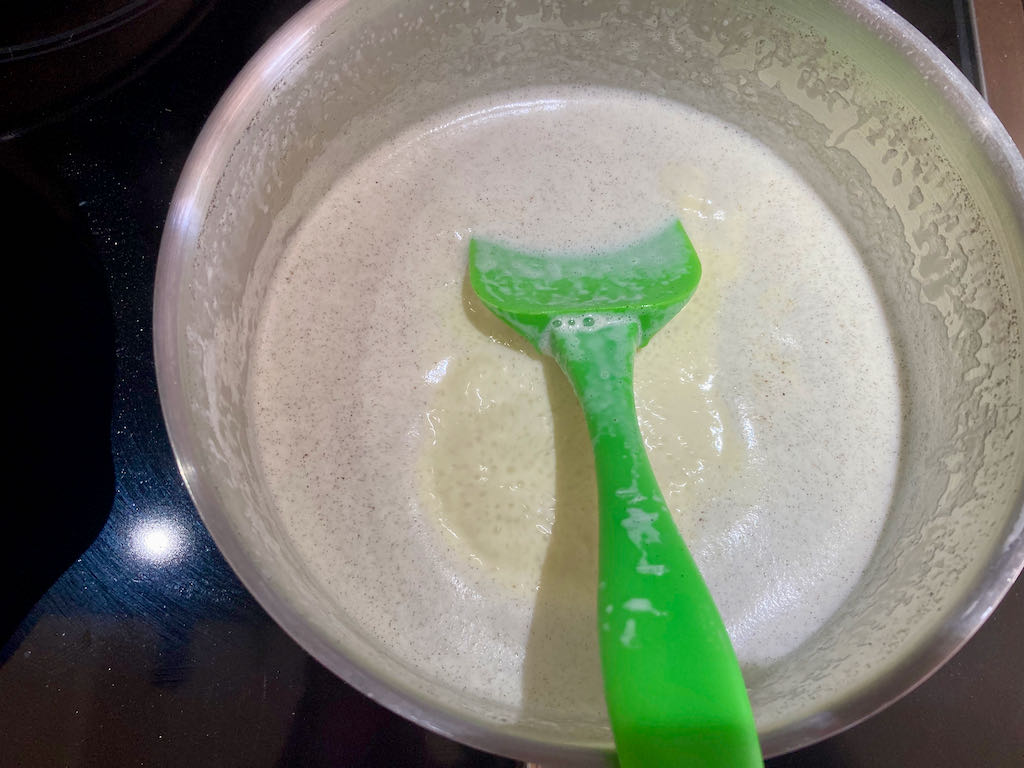
After 5 minutes, bring the cream back to a boil.
Pour a small amount of the cream over the eggs and whisk vigorously.
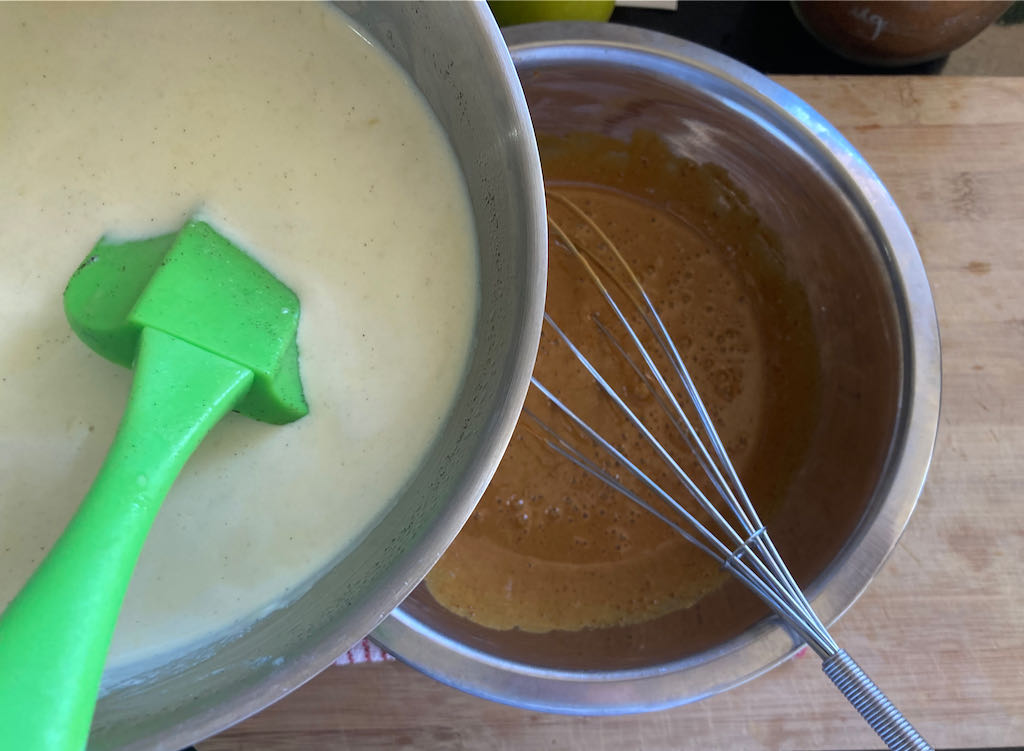
When the cream has been beaten into the eggs, start to add more.
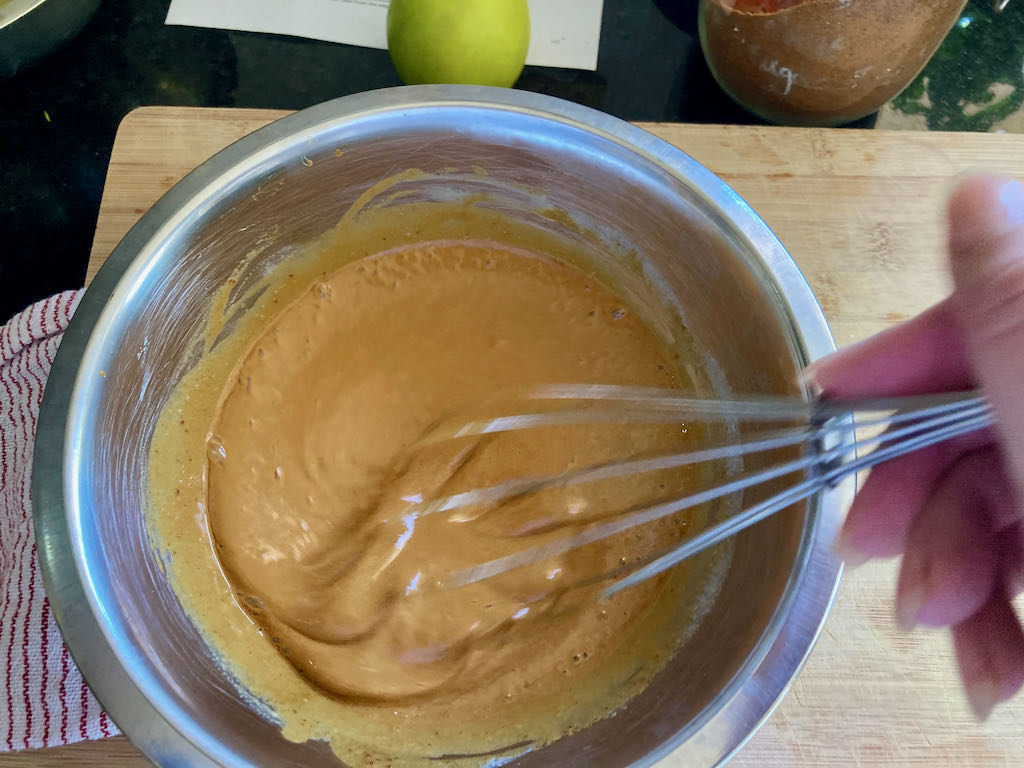
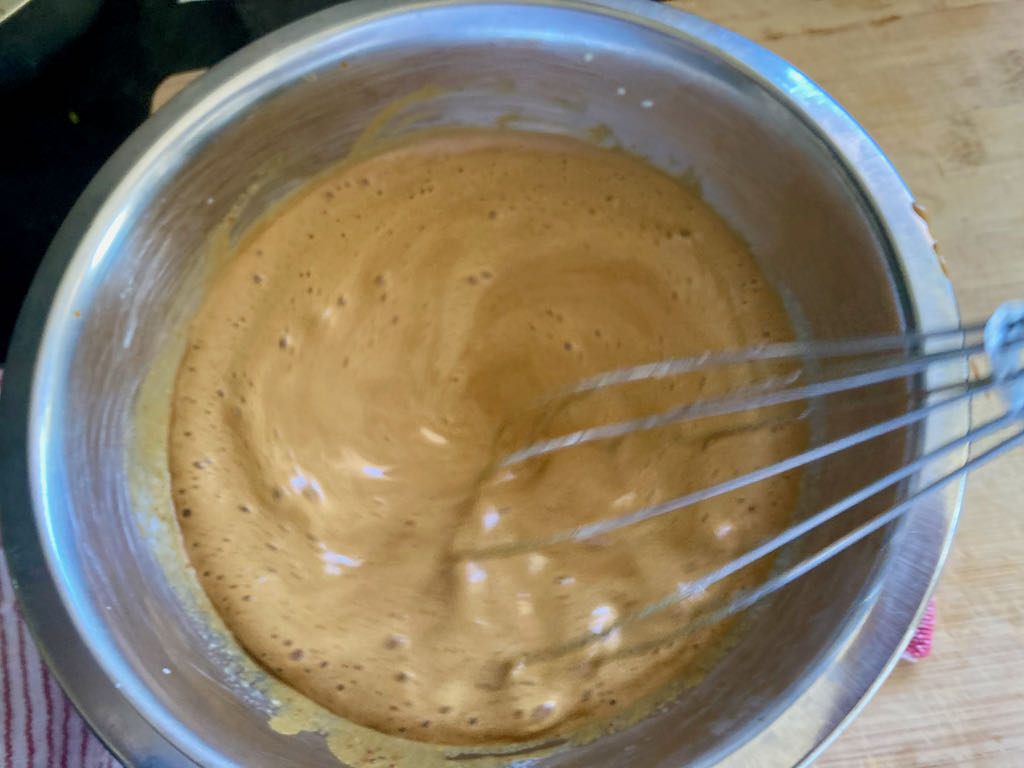
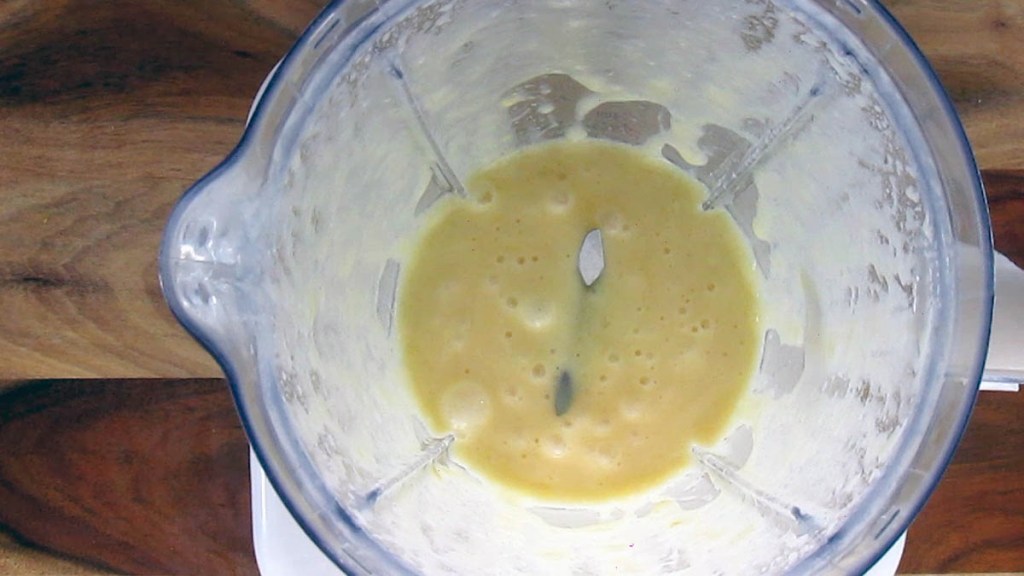
Slowly pour in the rest of the cream over the eggs, continuously whisking.
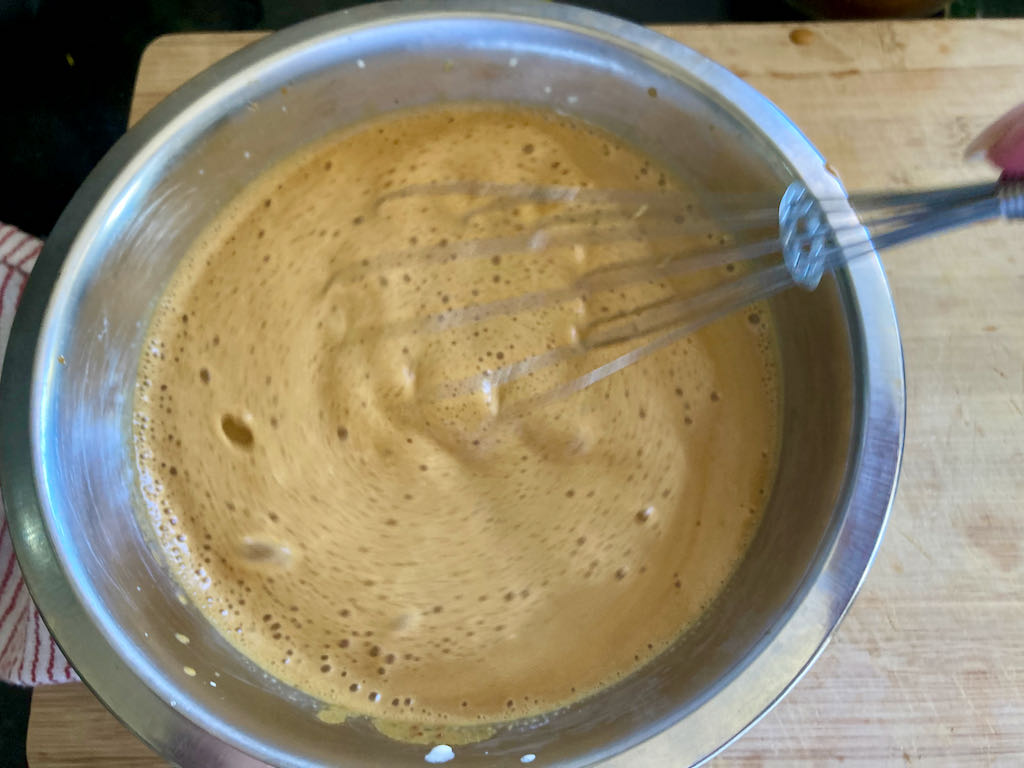
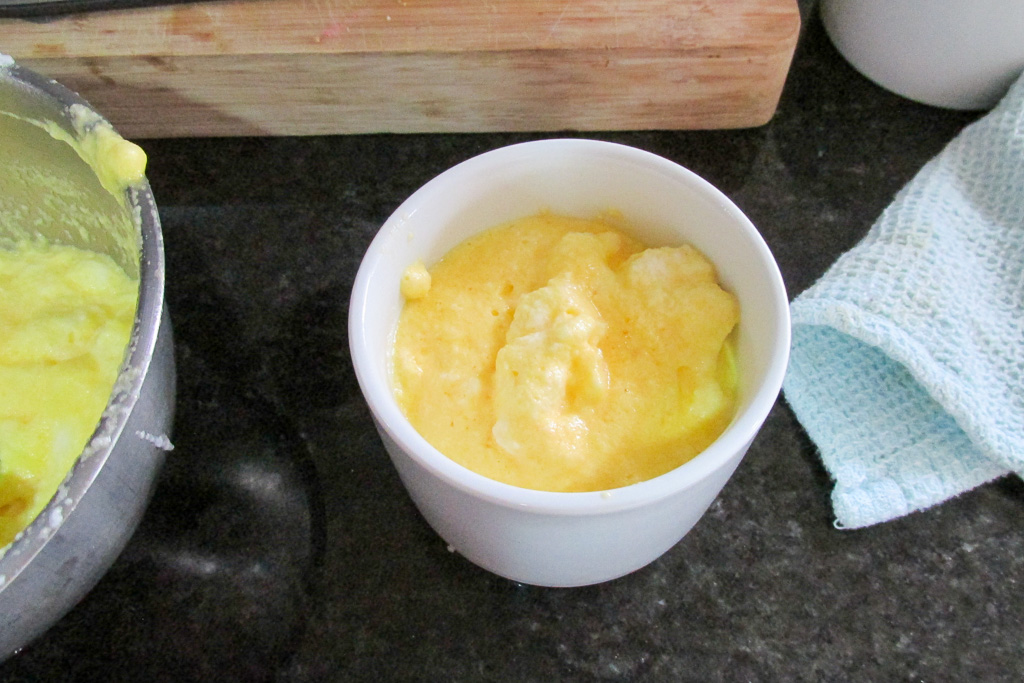
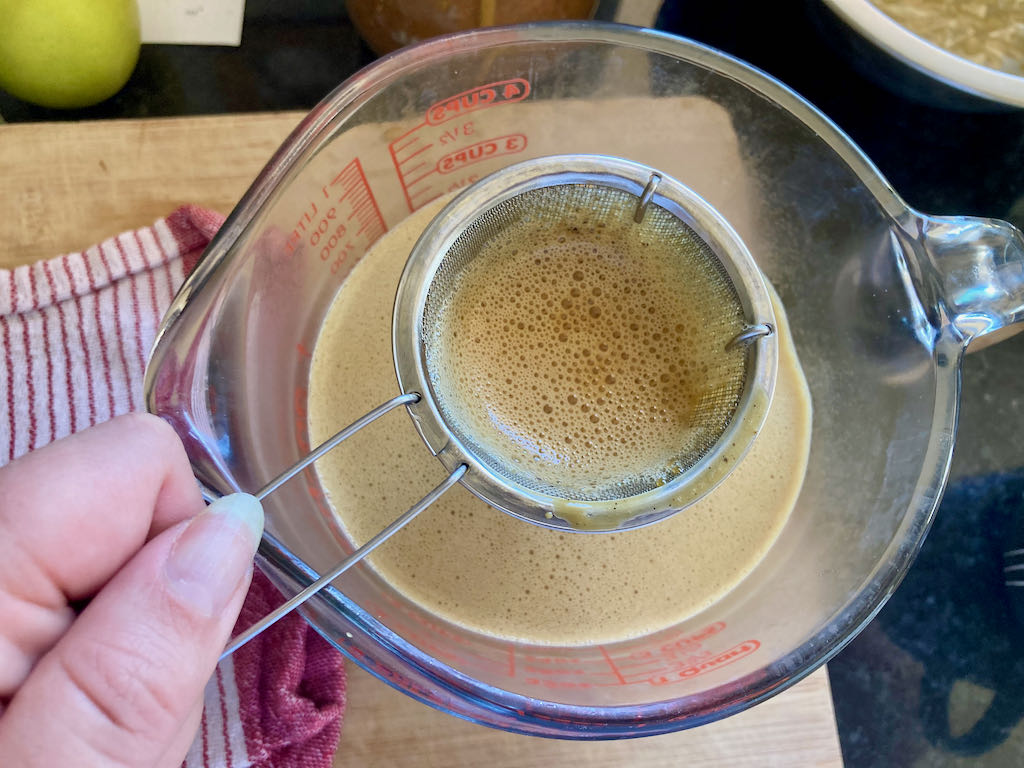
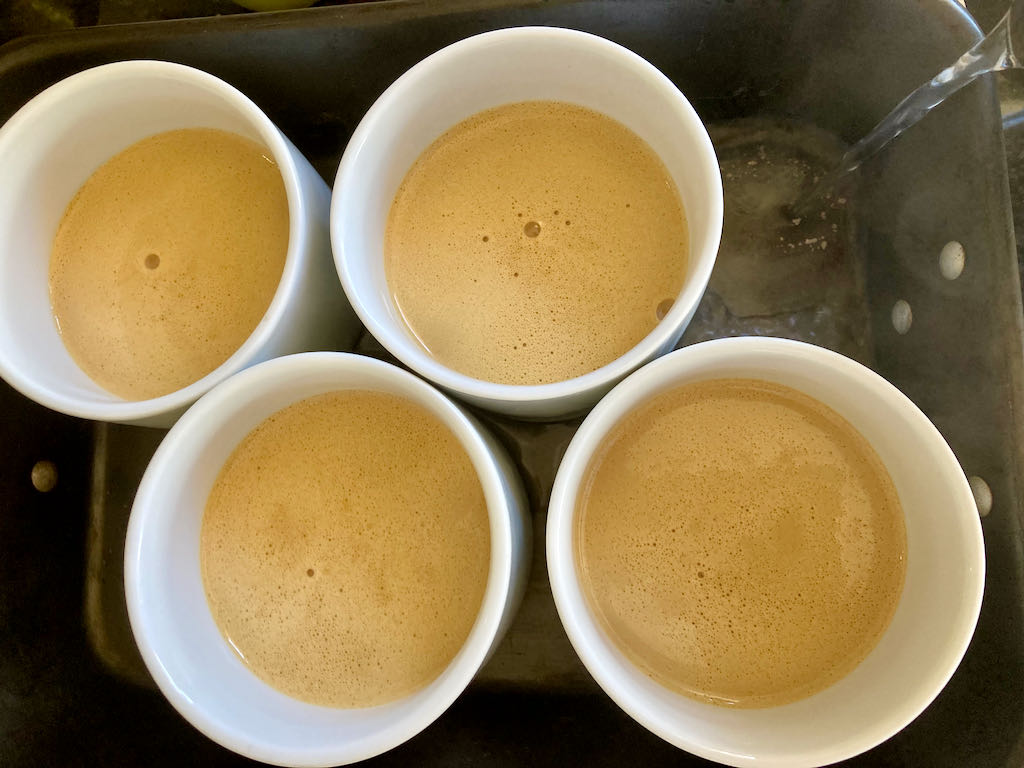
Strain the mixture, then pour it into ramekins.
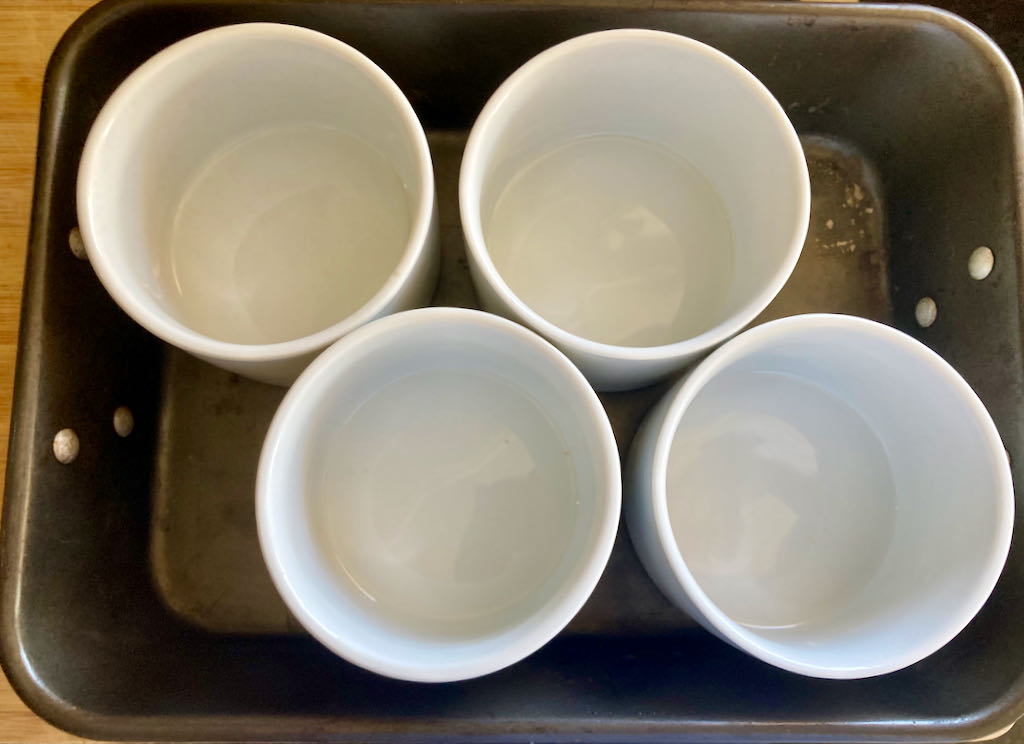
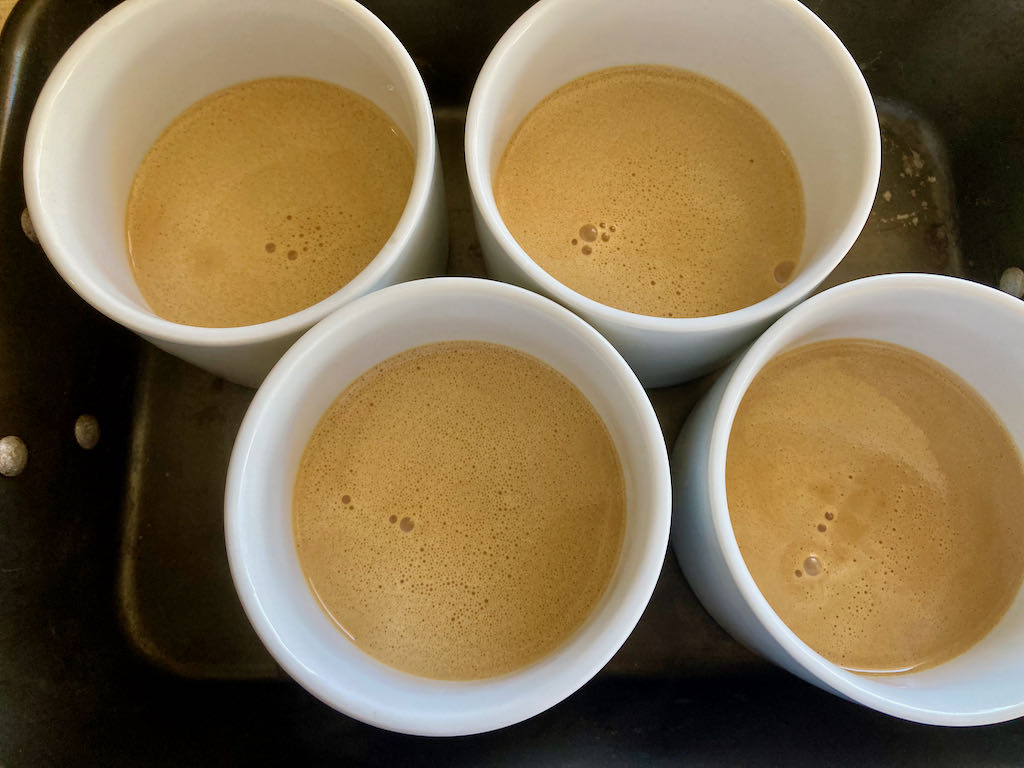
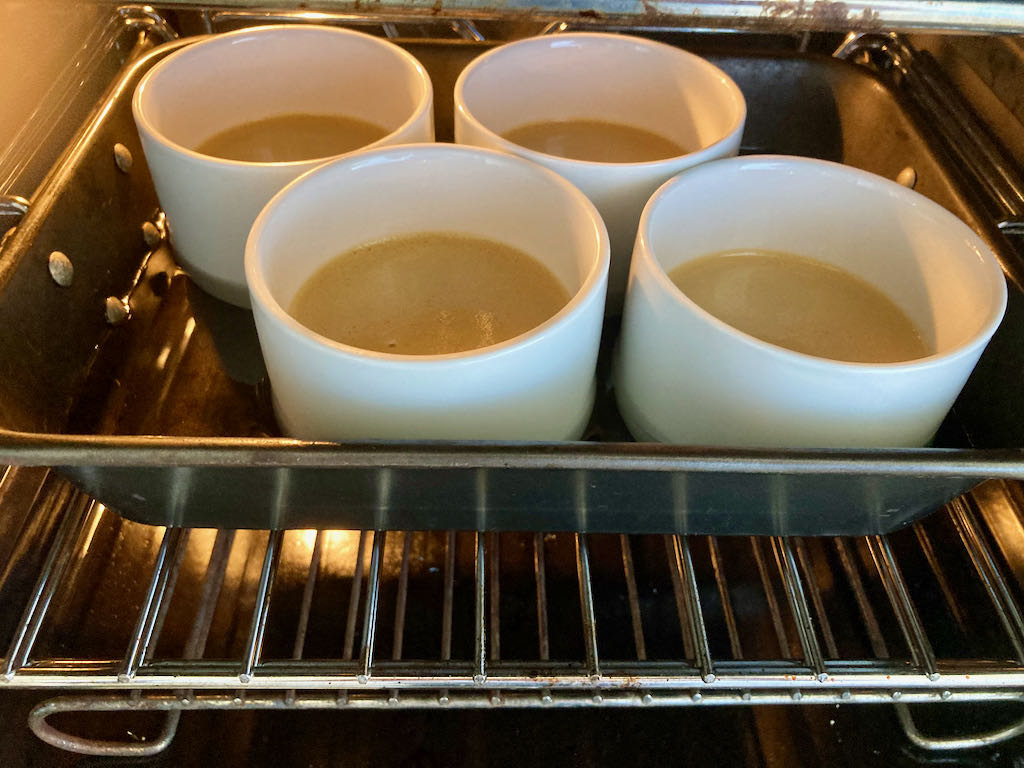
Place the ramekins in a bain-marie.
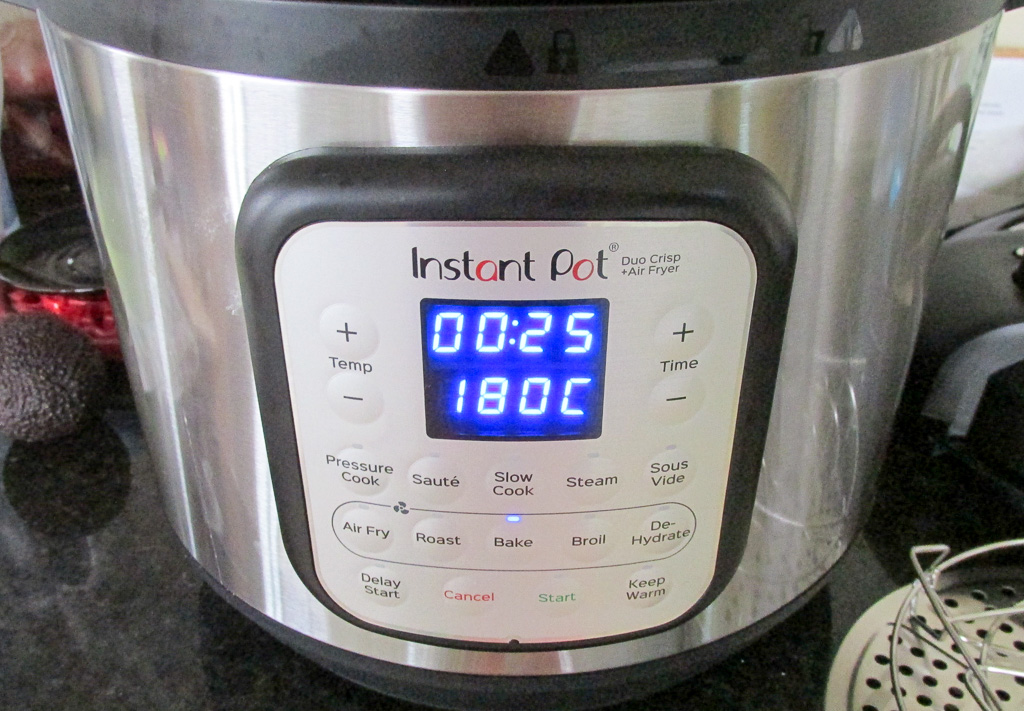
Bake at 150 degrees C/300 degrees F for 30-35 minutes.
The custard is set but still wobbly in the middle.
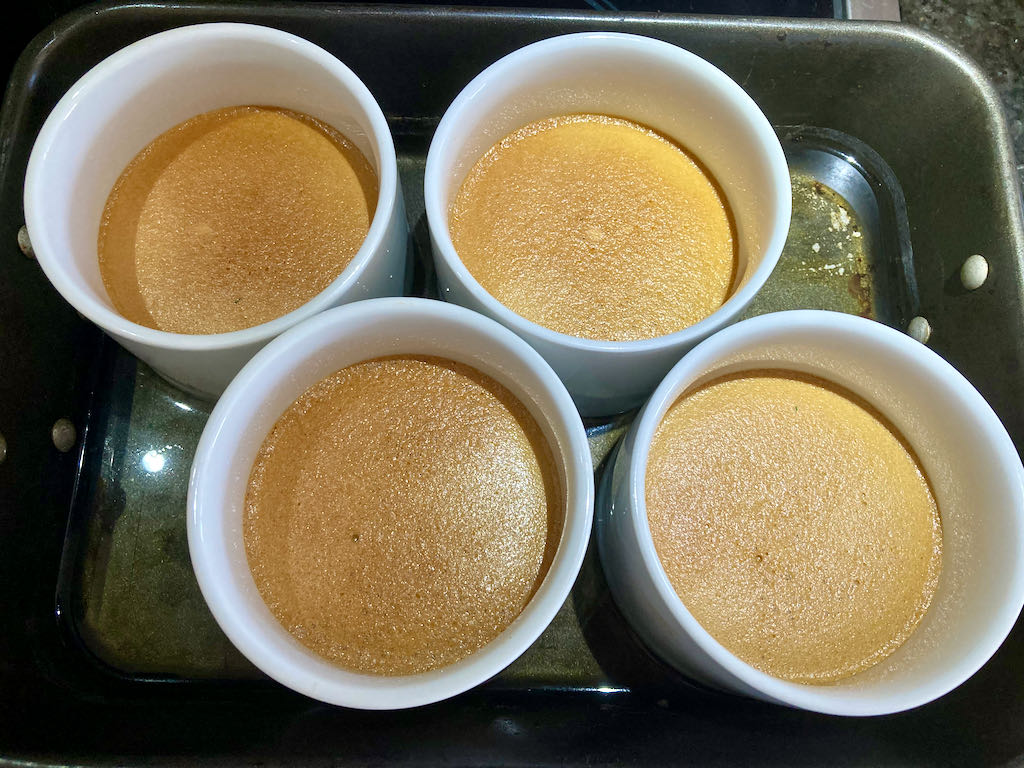
Remove bain-marie from the oven and chill the ramekins until needed.
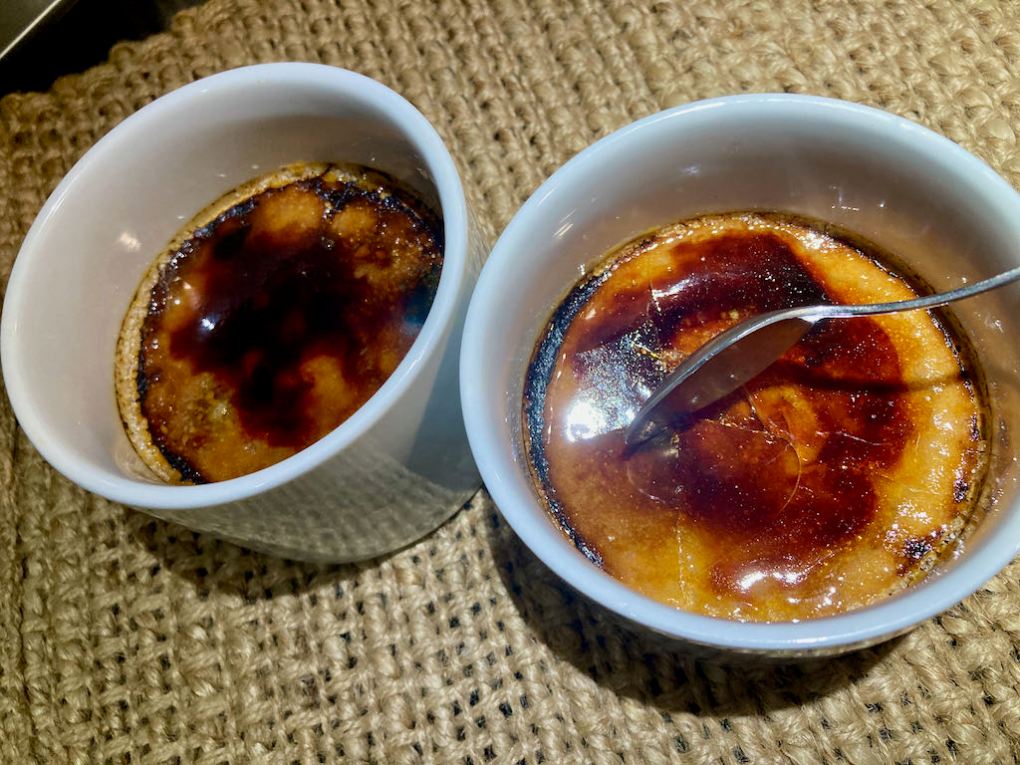
Sprinkle a small amount of sugar over the top of each custard.
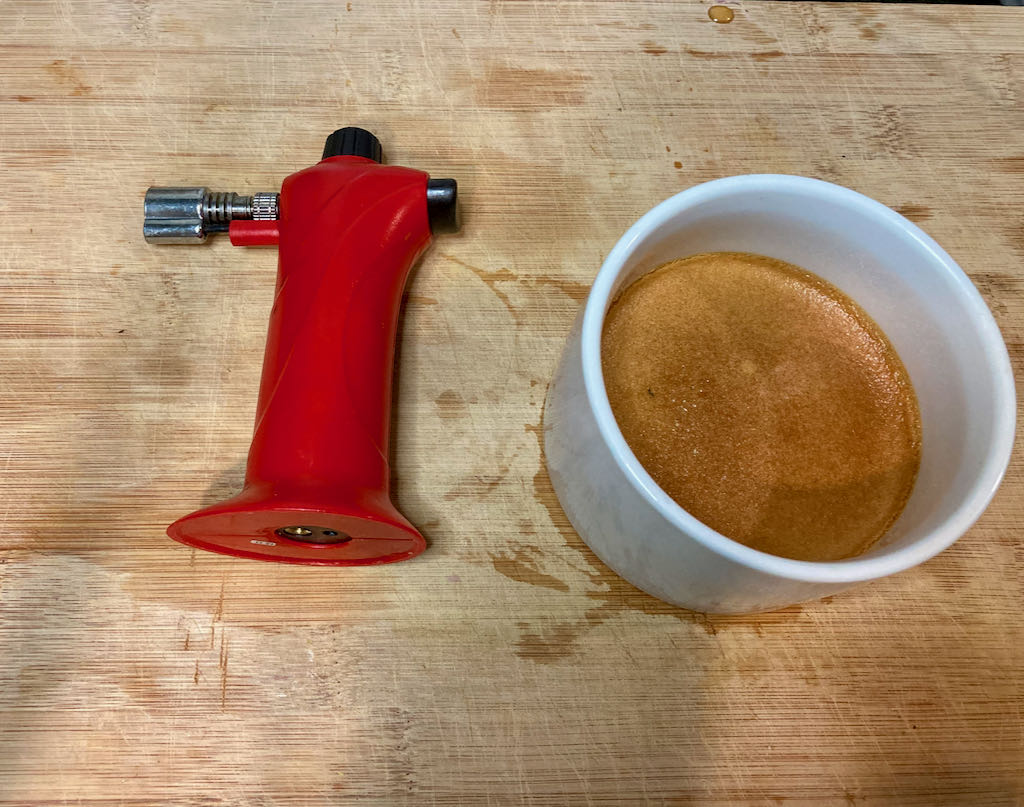
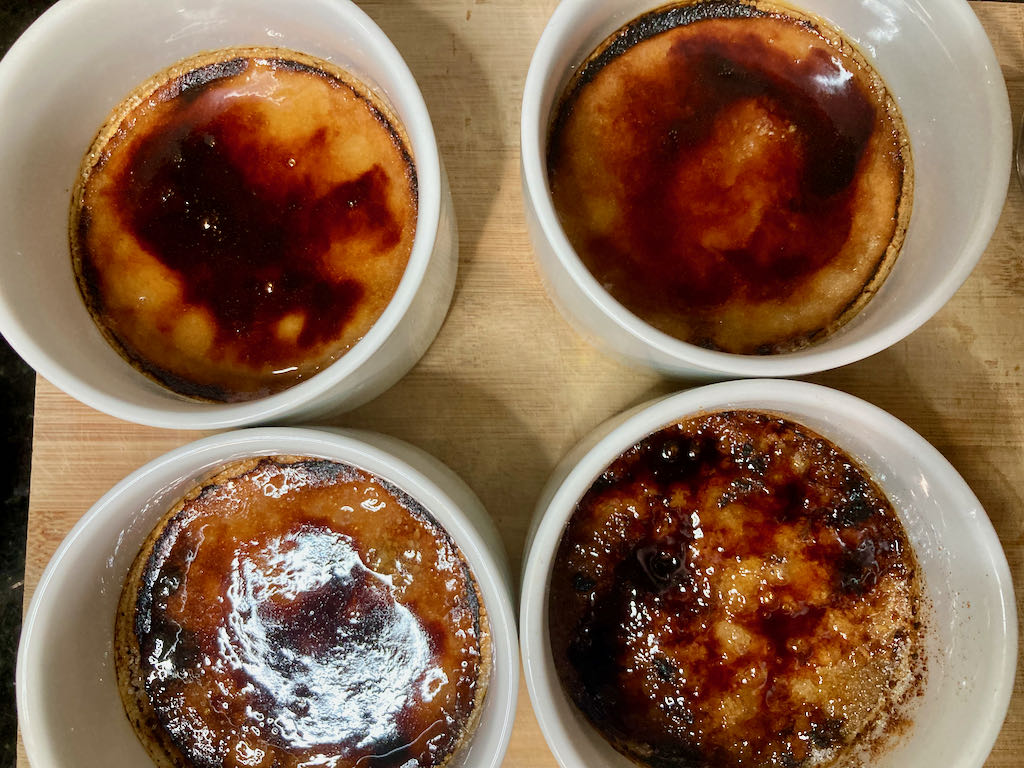
Caramelise the sugar before serving.

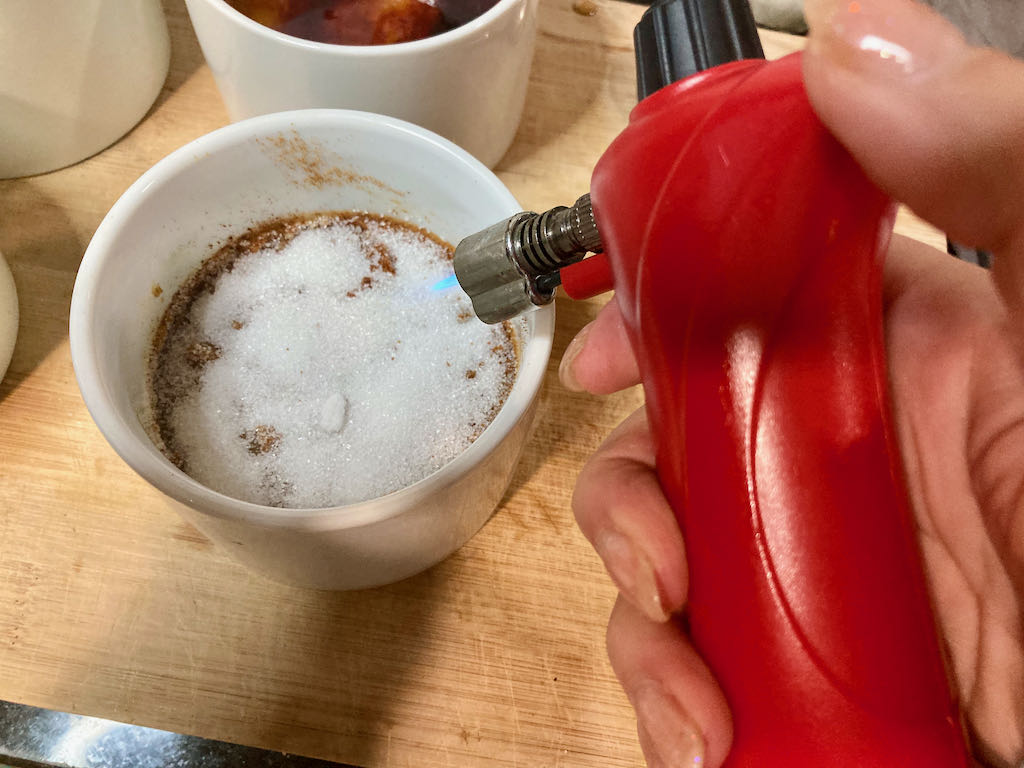
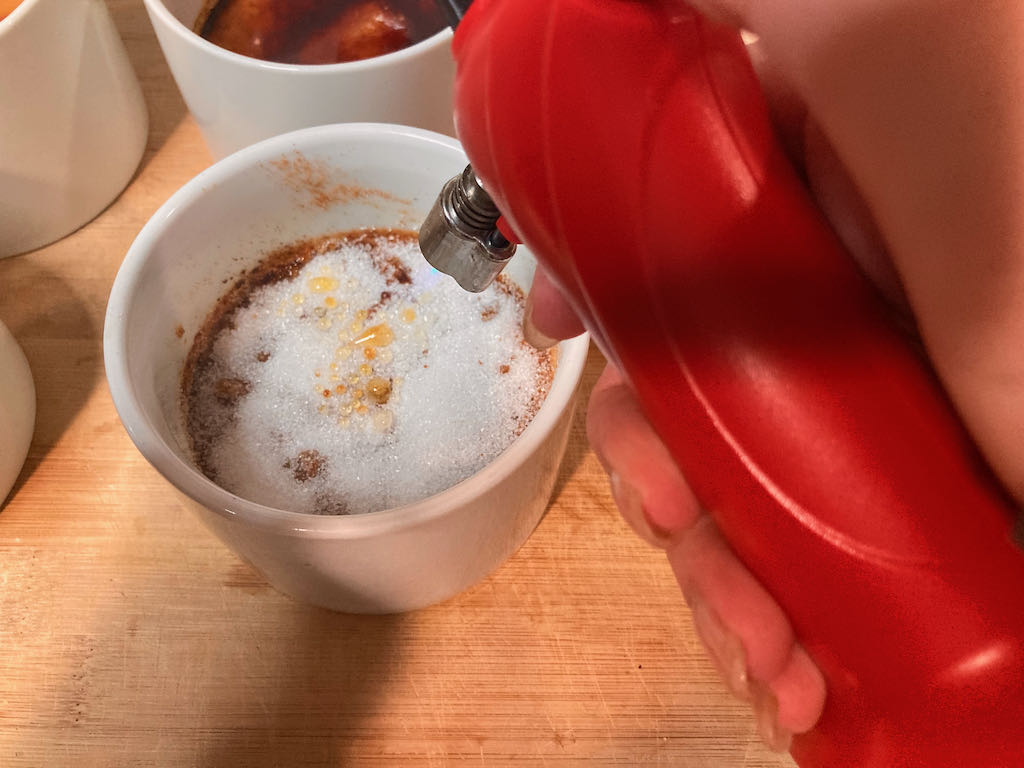
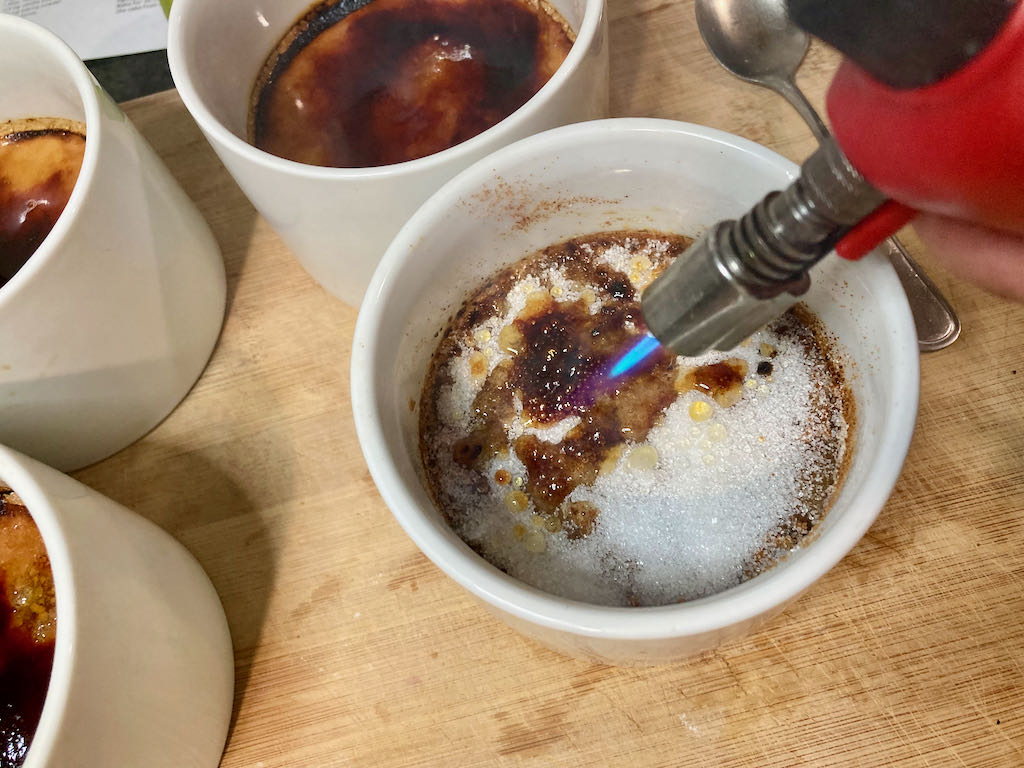
You can do that would a kitchen blowtorch or under a hot grill.
Crème Brûlée
“
Credit: Cath @ easycleaneats
Ingredients
- 500ml double cream
- 1/4 tsp vanilla powder or 1 vanilla pod
- 100g coconut sugar
- 6 egg yolks
- 3 tbsp. white sugar
Directions
- In a saucepan, mix together cream and vanilla.
- Bring them to the boil.
- When the cream comes to a boil, reduce the heat and simmer gently for 5 minutes.
- Watch this very closely; the cream can boil over very quickly.
- In a separate bowl, beat together egg yolks and sugar together until they are pale and fluffy.
- After 5 minutes, bring the cream back to a boil.
- Pour a small amount of the cream over the eggs and whisk vigorously.
- When the cream has been beaten into the eggs, start to add more.
- Slowly pour in the rest of the cream over the eggs, continuously whisking.
- Strain the mixture, then pour it into ramekins.
- Place the ramekins in a bain-marie.
- Bake at 150 degrees C/300 degrees F for 30-35 minutes.
- The custard is set but still wobbly in the middle.
- Remove bain-marie from the oven and chill the ramekins until needed.
- Sprinkle a small amount of sugar over the top of each custard.
- Caramelise the sugar before serving.
- You can do that would a kitchen blowtorch or under a hot grill.
Nutrition
Per Serving:455 calories; 38 g fat; 26 g carbohydrates; 3 g proteinEquipment
- Saucepan
- Whisk
- Mixing bowl
- Sieve
- Ramekins
- Baking dish
- Blowtorch
Nutritional disclaimer
Nutrition information is provided as an estimate based on the ingredients used and available in my area (New Zealand). The nutritional information is here to help you understand the recipe; I use MyFitnessPal to generate my estimates. For more accurate nutritional information, please use a nutritional calculator with the ingredients in your area.