Master the basics
Eating clean gets a lot easier once you have mastered a few essential recipes. This recipe is basic; not like basic unicorn basic, more like beard and flannel basic. Back to the point (which isn’t Unstable unicorns), having basic skills and recipes in your arsenal means you will never be left with only Uber Eats as your weeknight option. Once you master this recipe, the possibilities are endless.

Simple meal
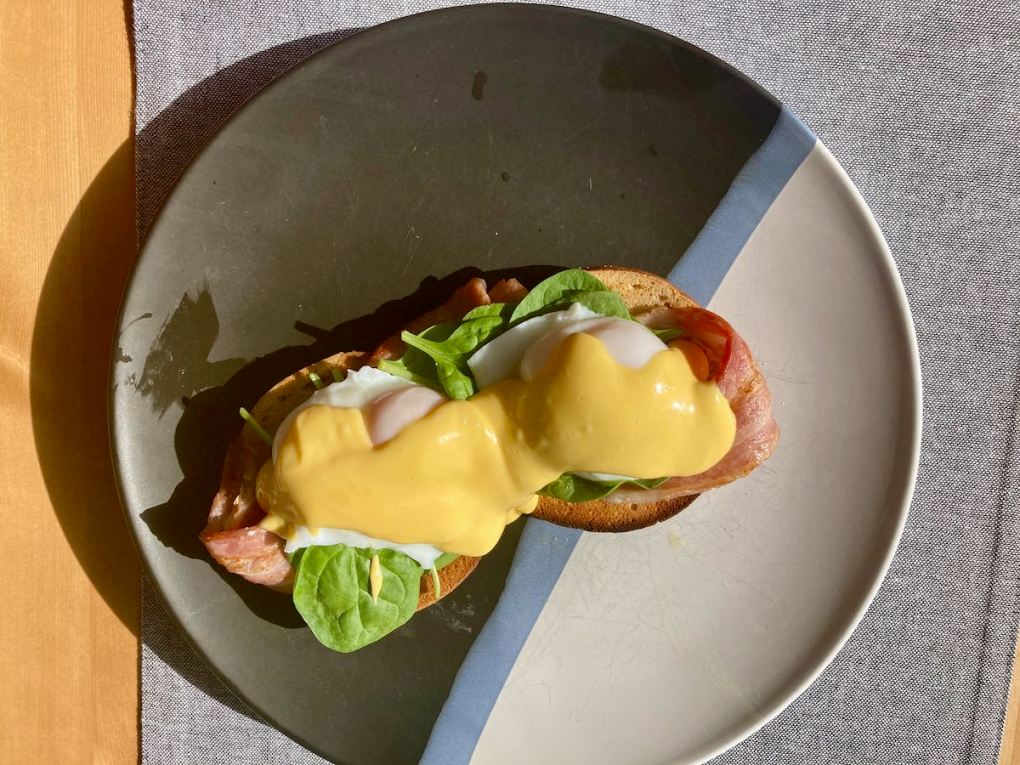
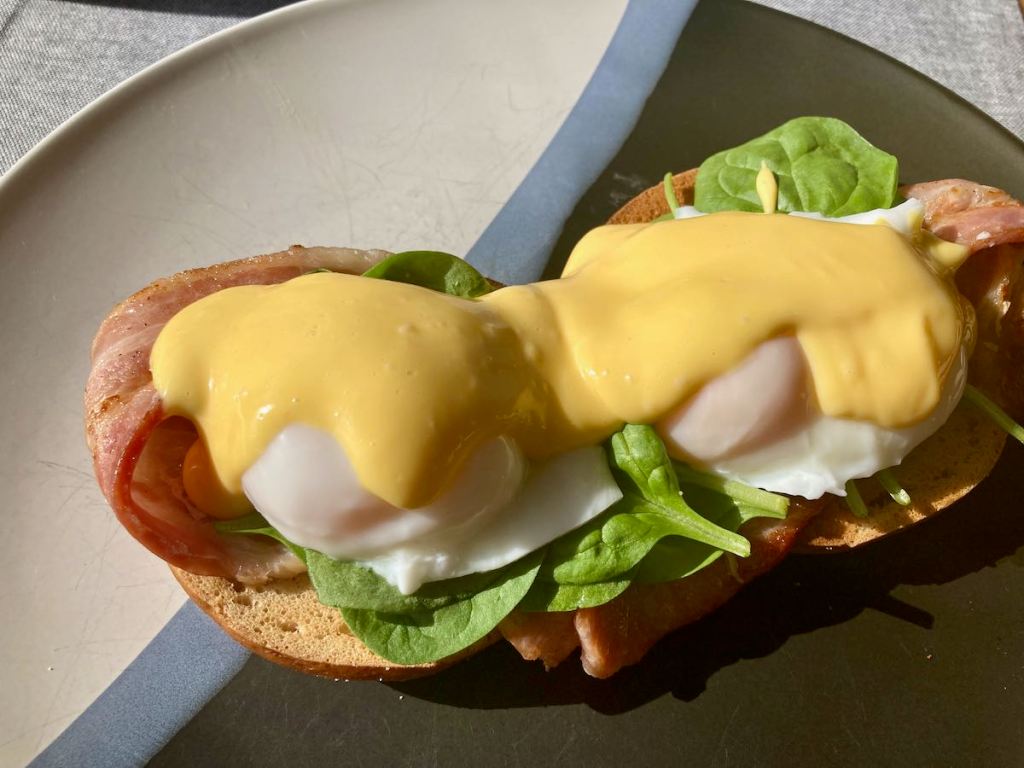
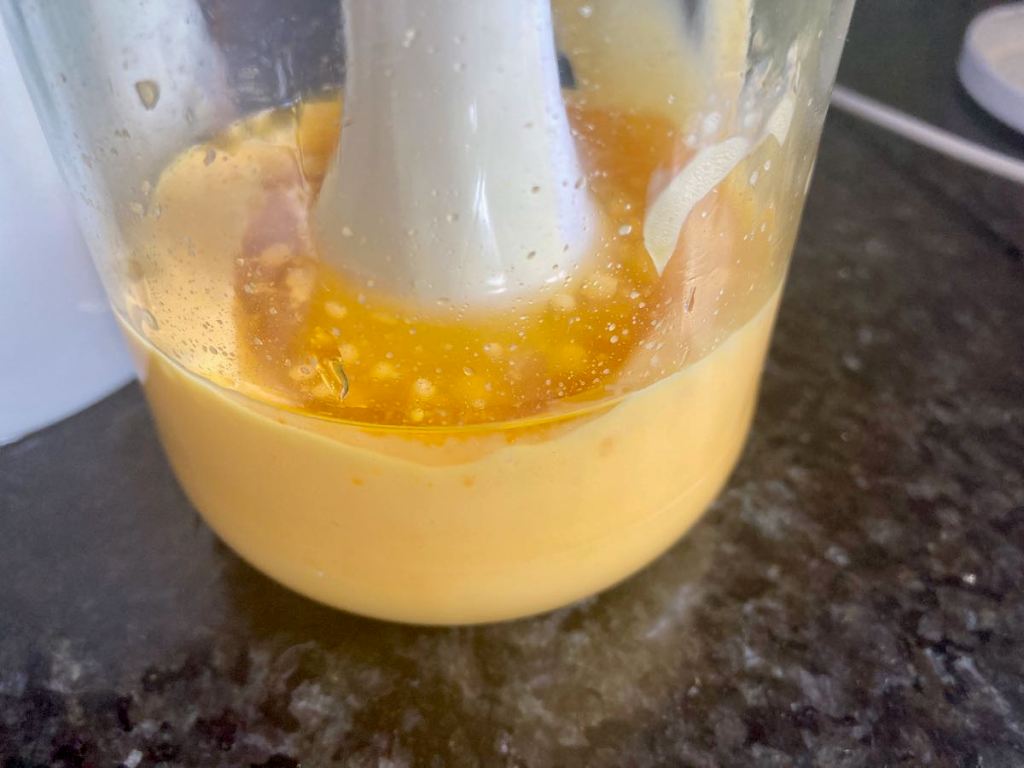
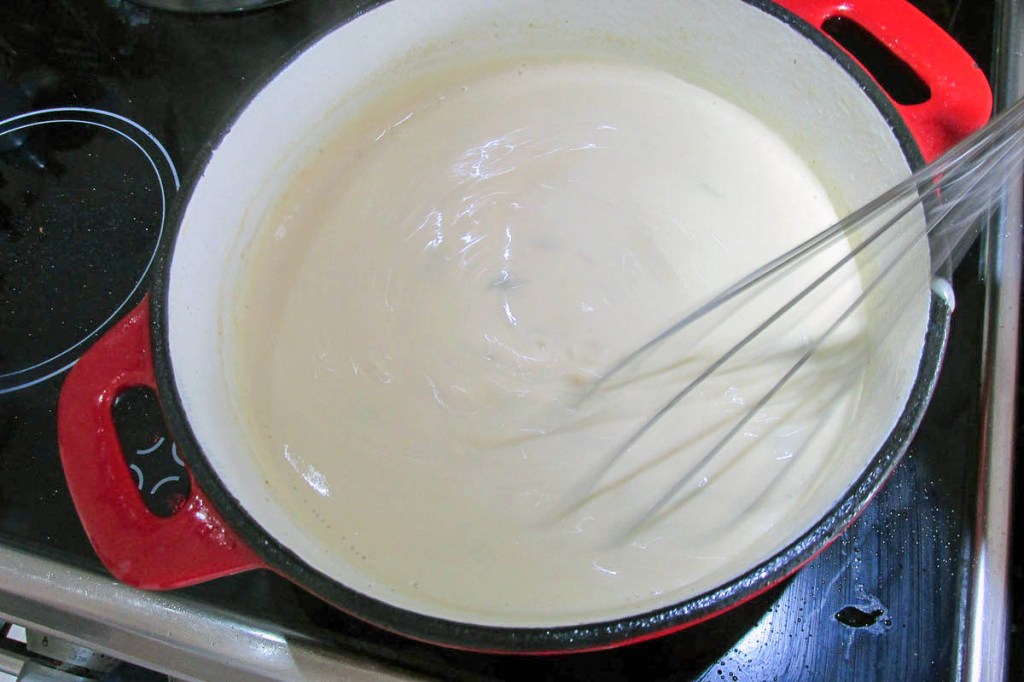
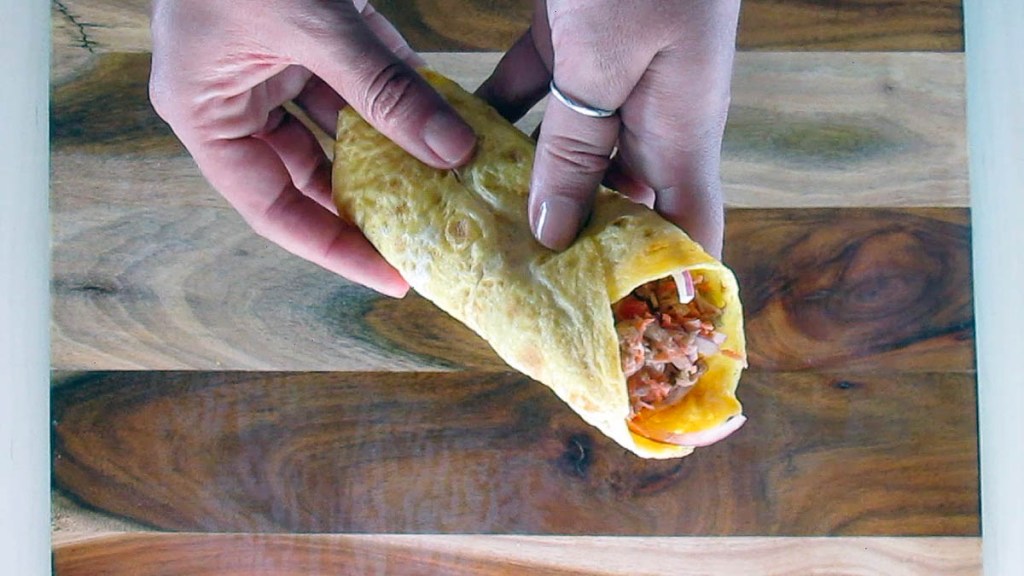
The omelette is stupidly easy and only takes a few minutes to make. The omelette is one of my go-to recipes when I’m short on time and low on options. They are an excellent option for breakfast, lunch or even a simple dinner with a salad. The method is simple, and you can add extras whenever you want to make some tasty meals.
Omelette recipe

Ingredients
- 2 eggs
- Salt and pepper to taste
- A small knob of butter
Instructions
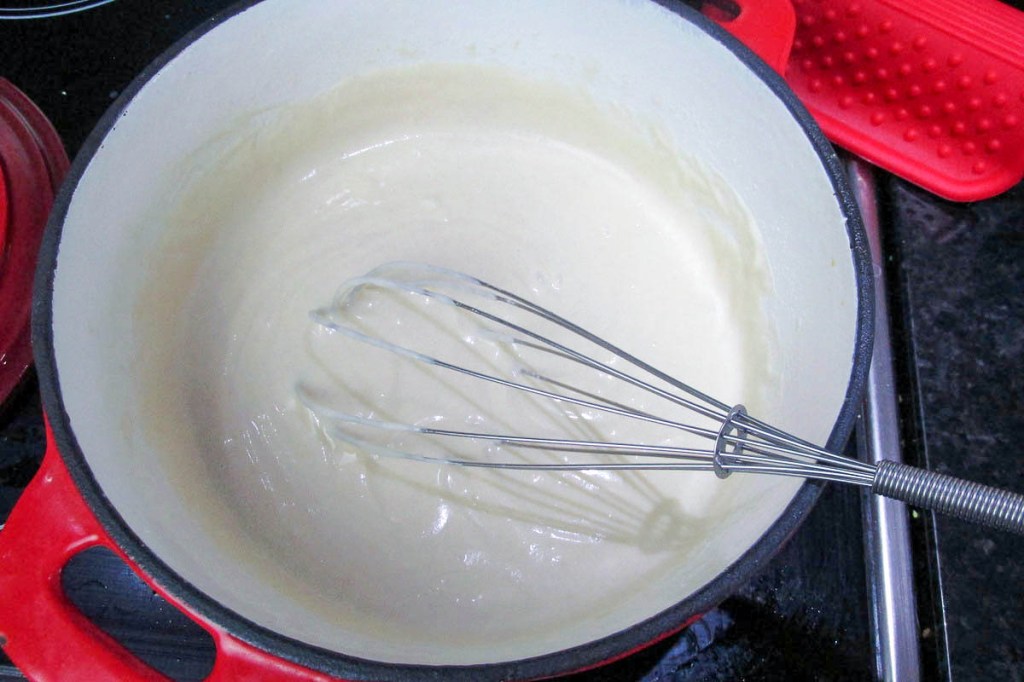
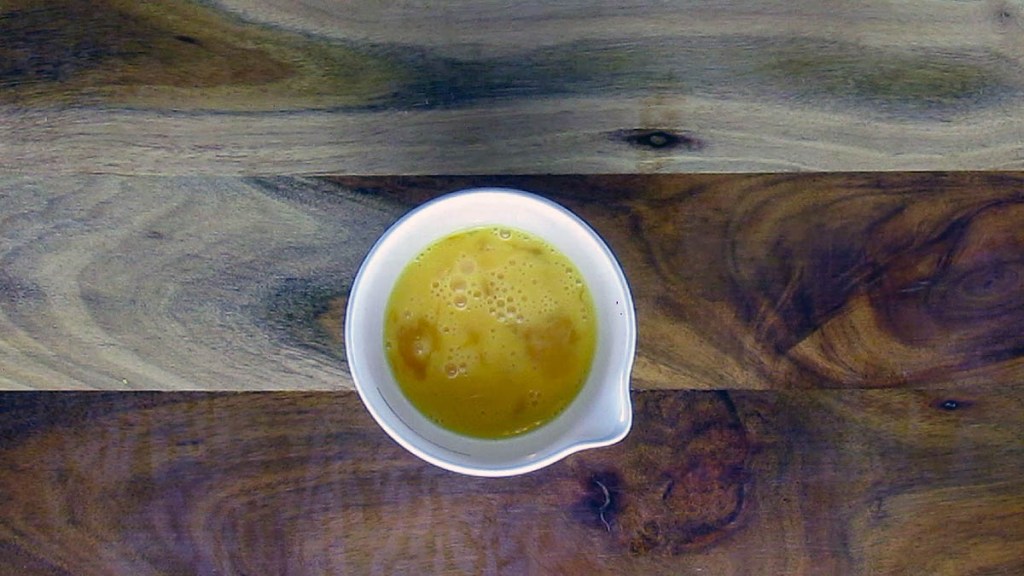
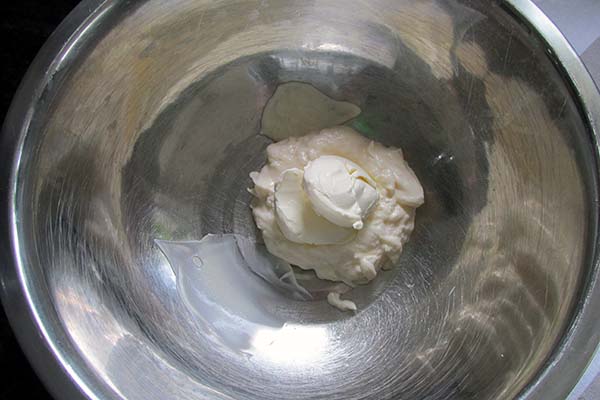
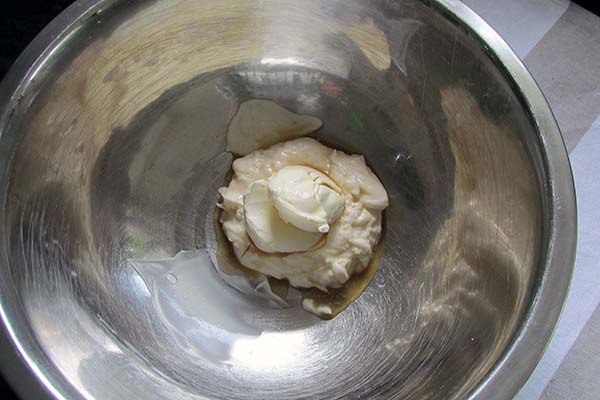
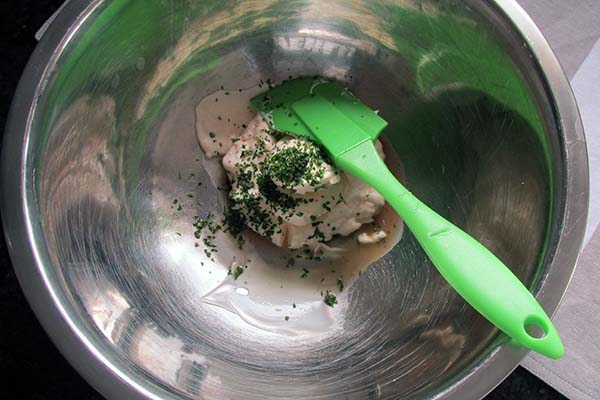
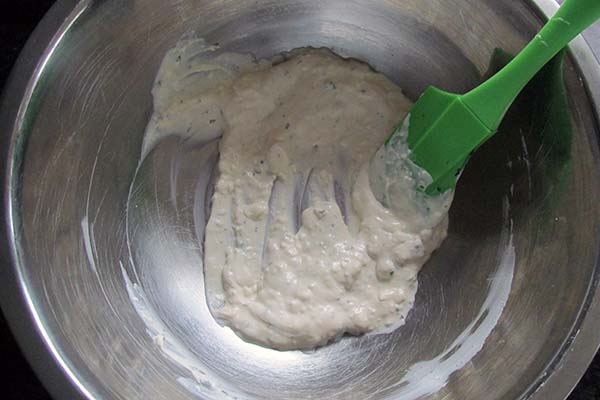
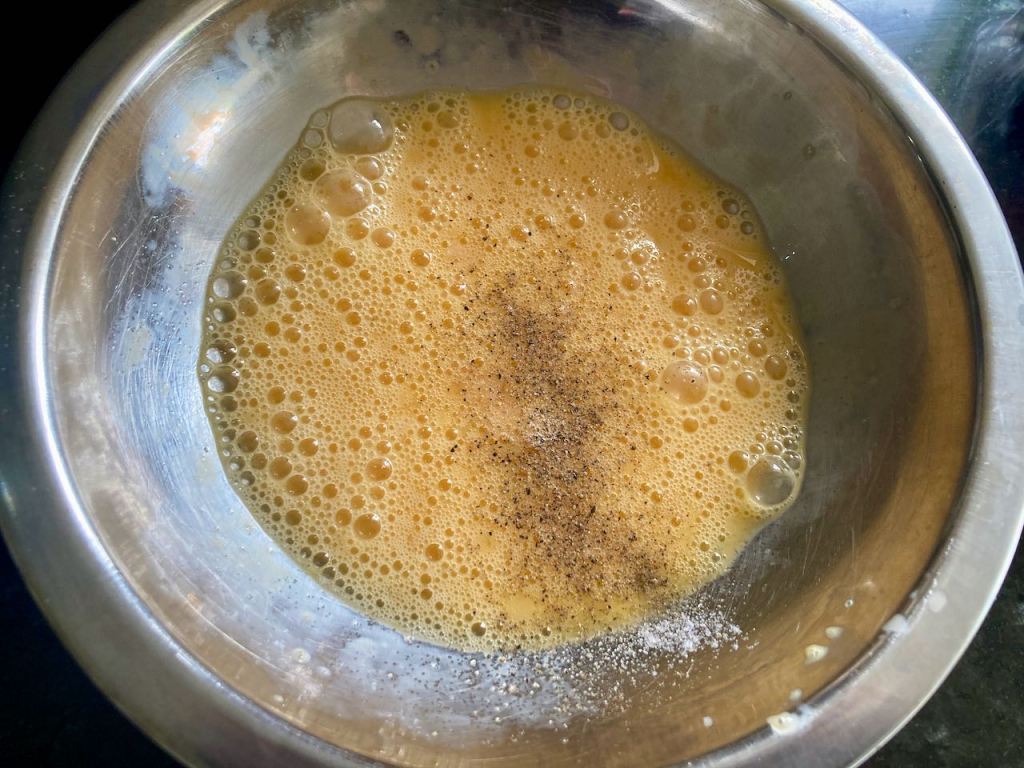
Crack eggs into a mixing bowl and beat them well.
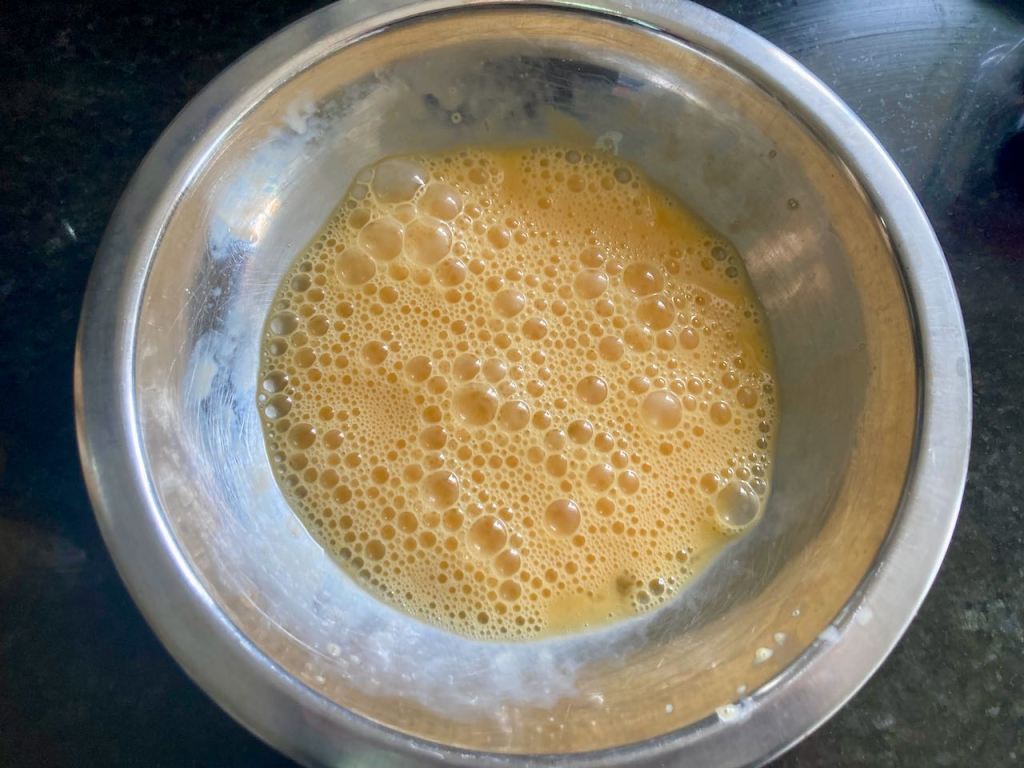
Add a pinch of salt and pepper.
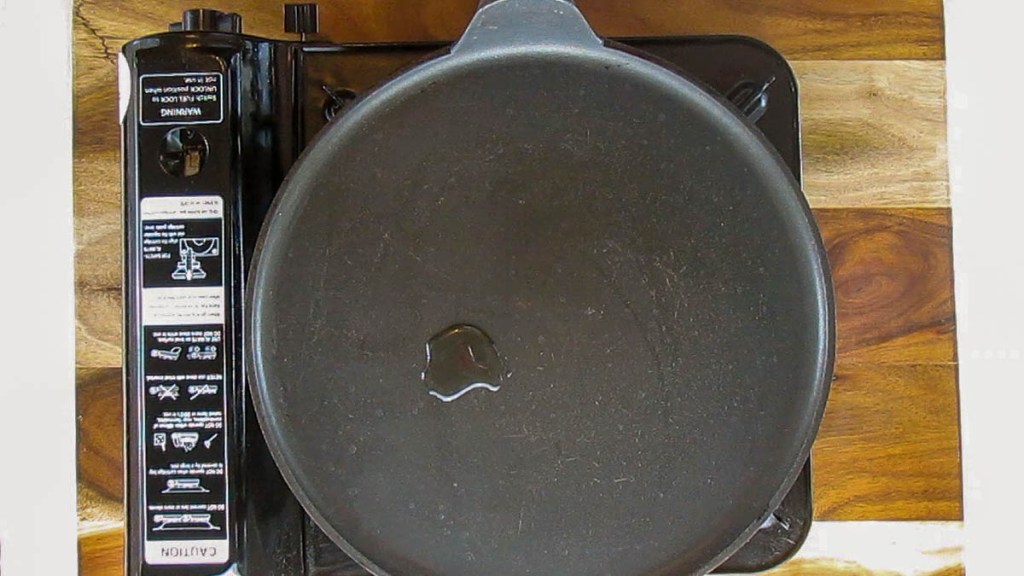
Over low heat, melt the butter in a frying pan.
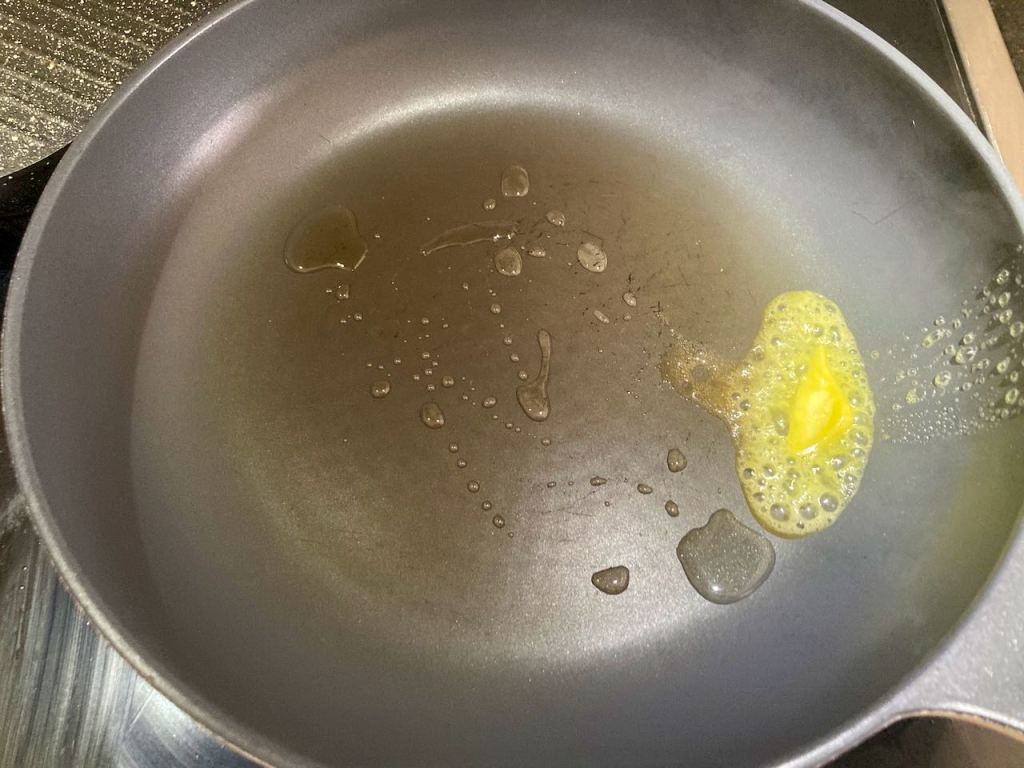
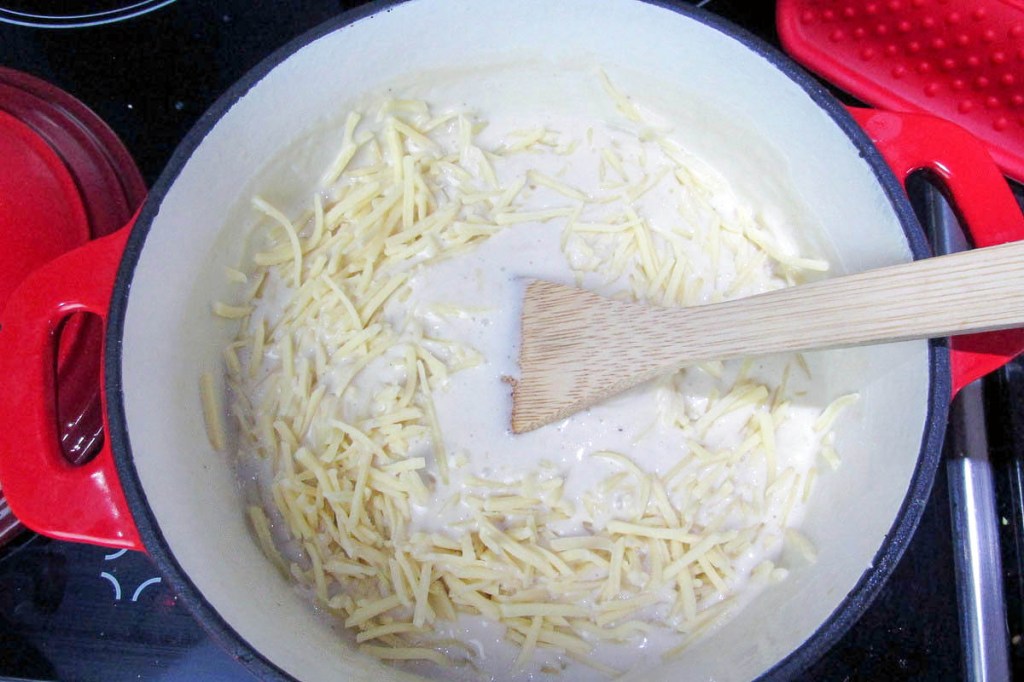
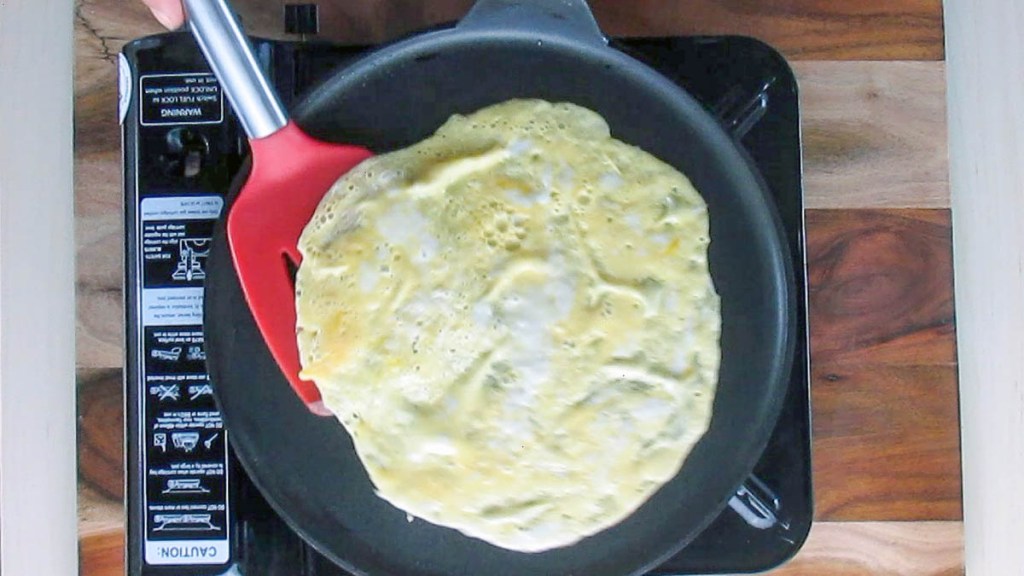
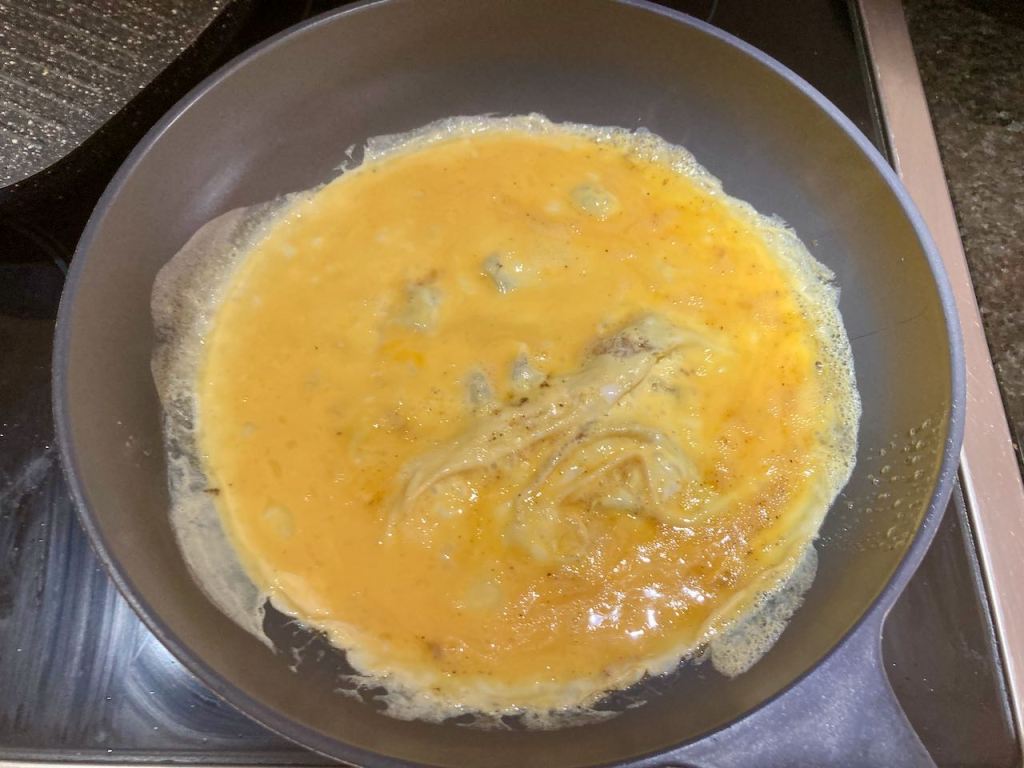
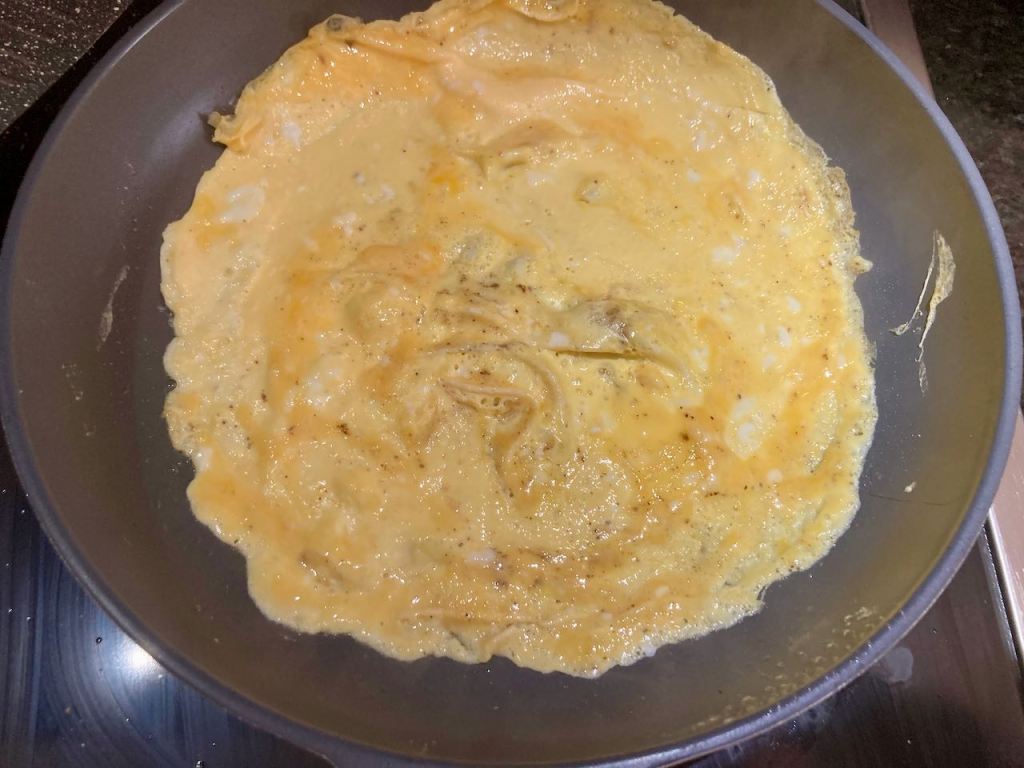
When the butter has melted, and the pan is hot, pour in the eggs.
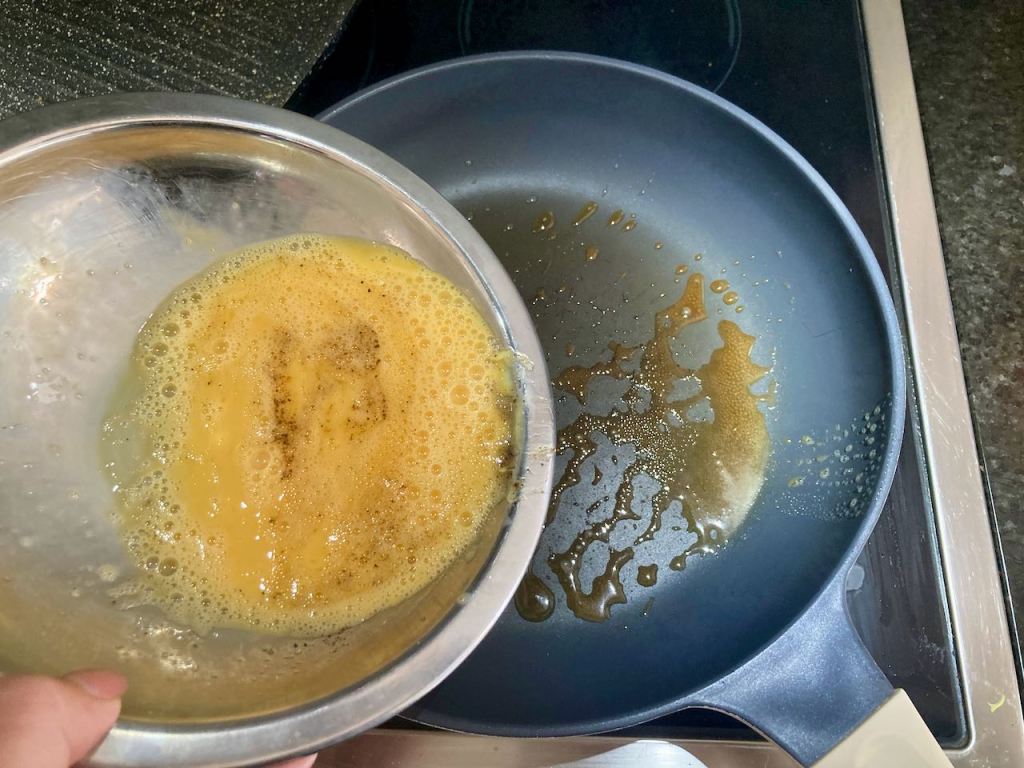
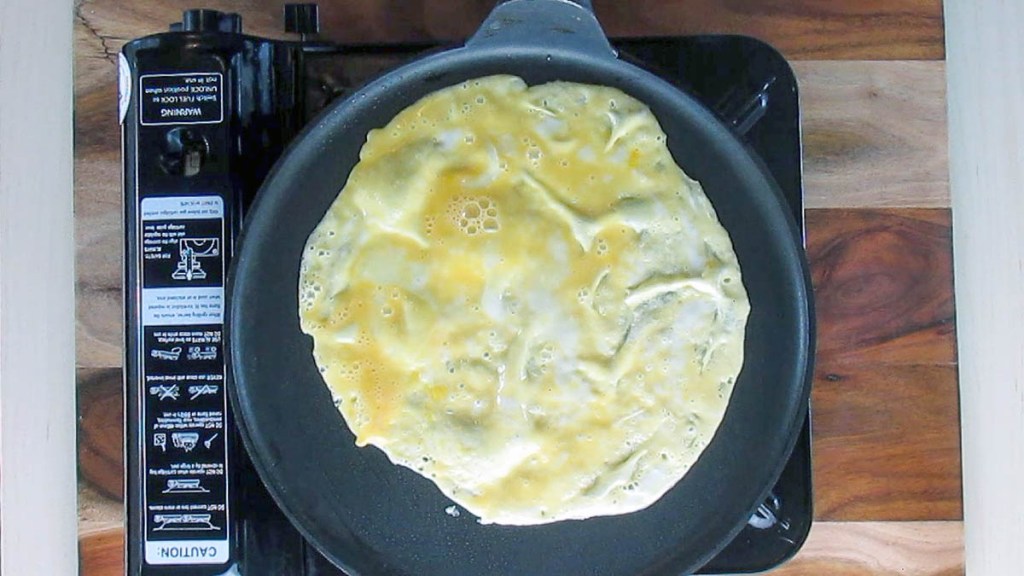
Make sure the eggs are evenly spread in the pan.
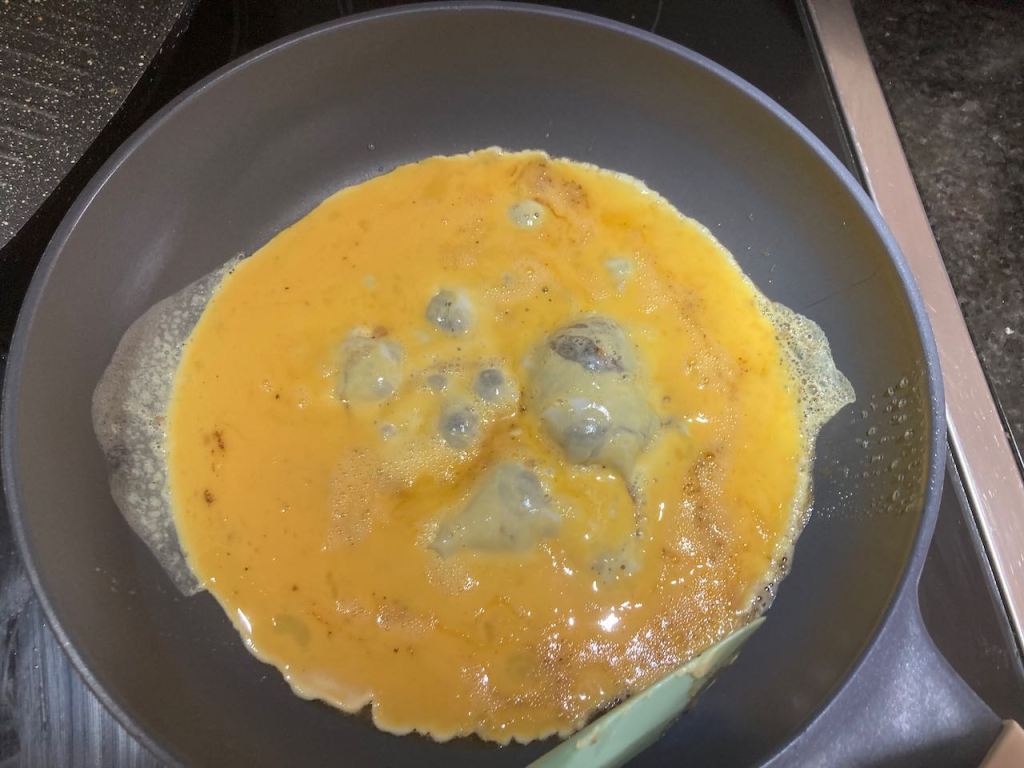
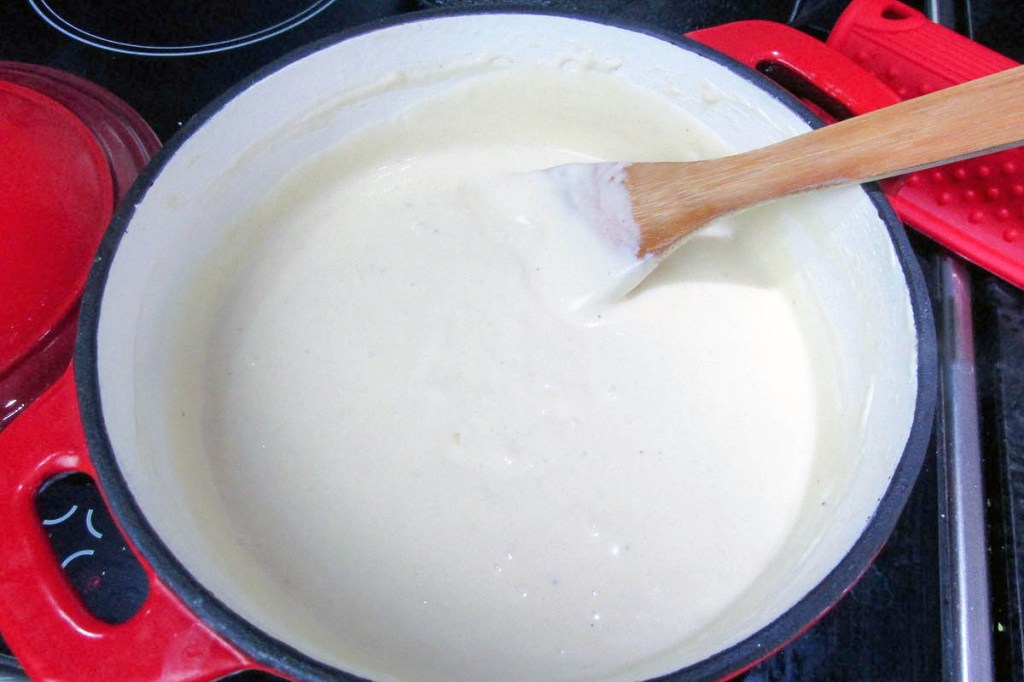
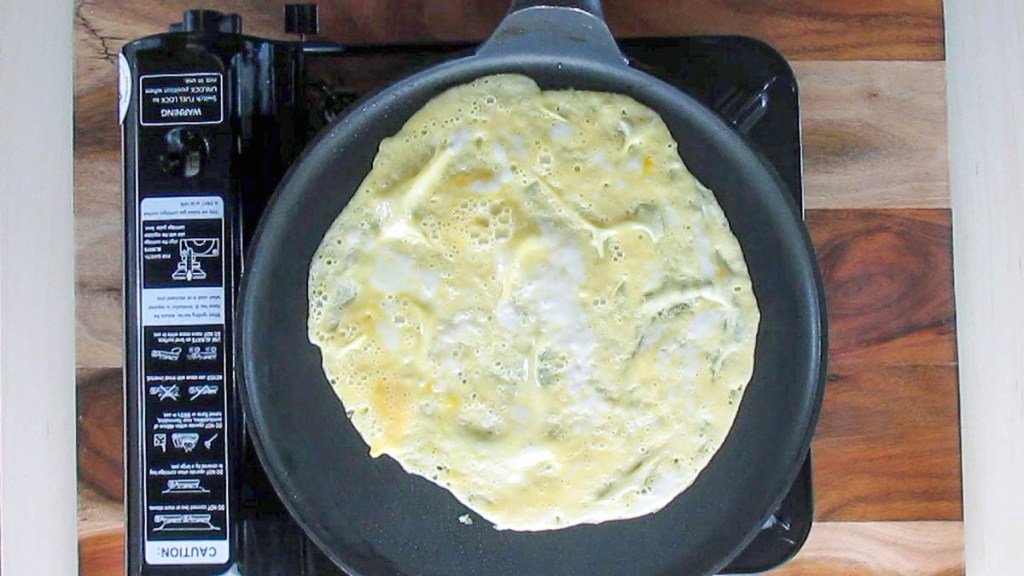
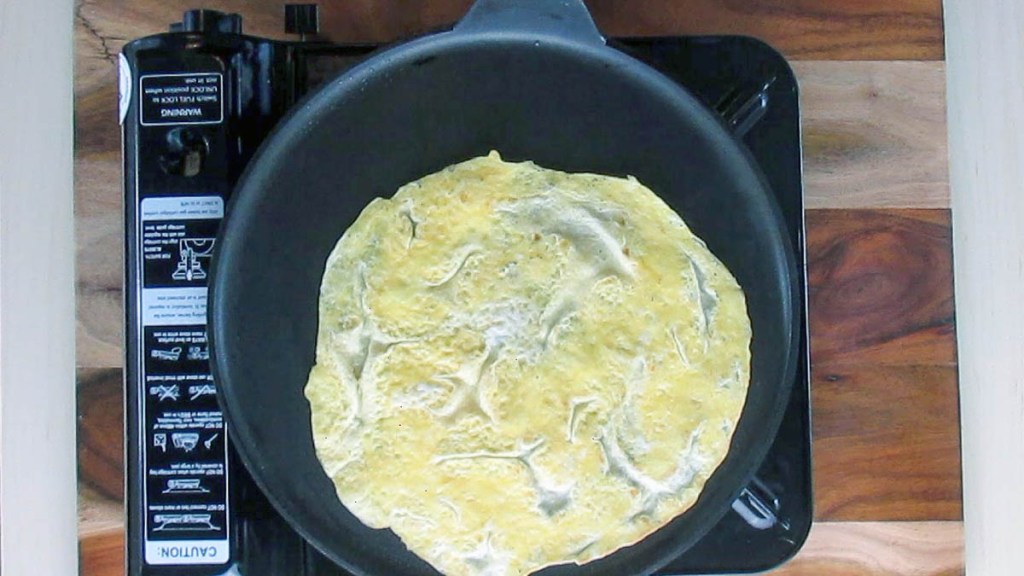
The eggs will set and start to firm around the edges; if you have any liquid egg on top, gently push the egg away from the edge and allow the liquid egg to move into the space created.
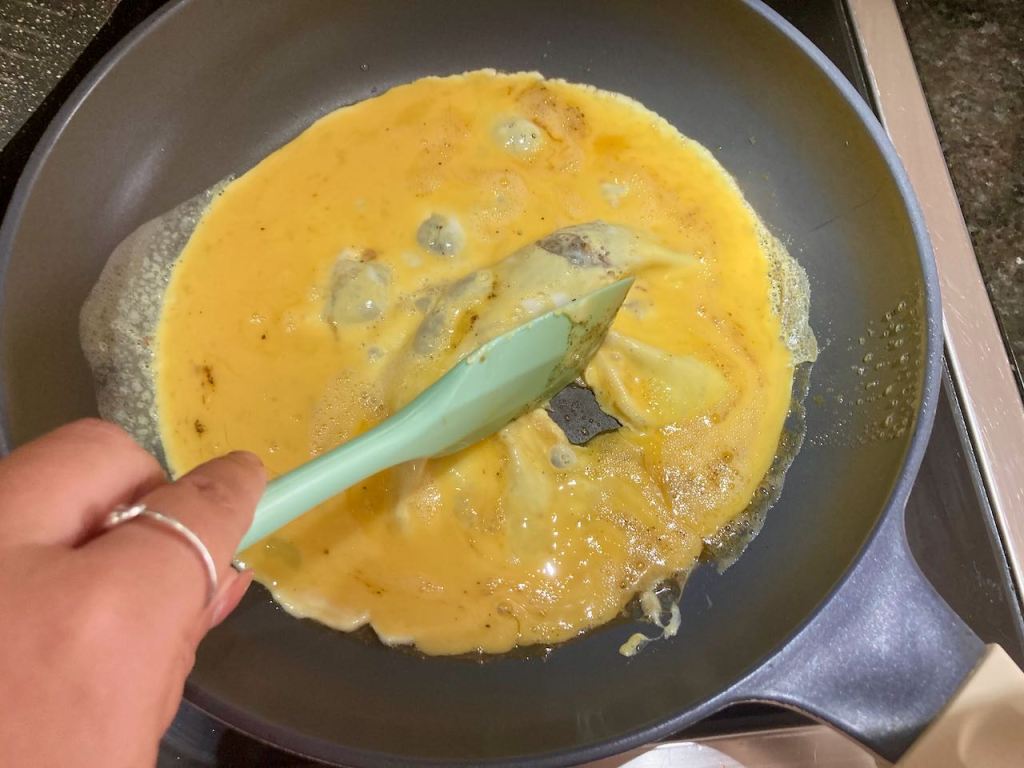
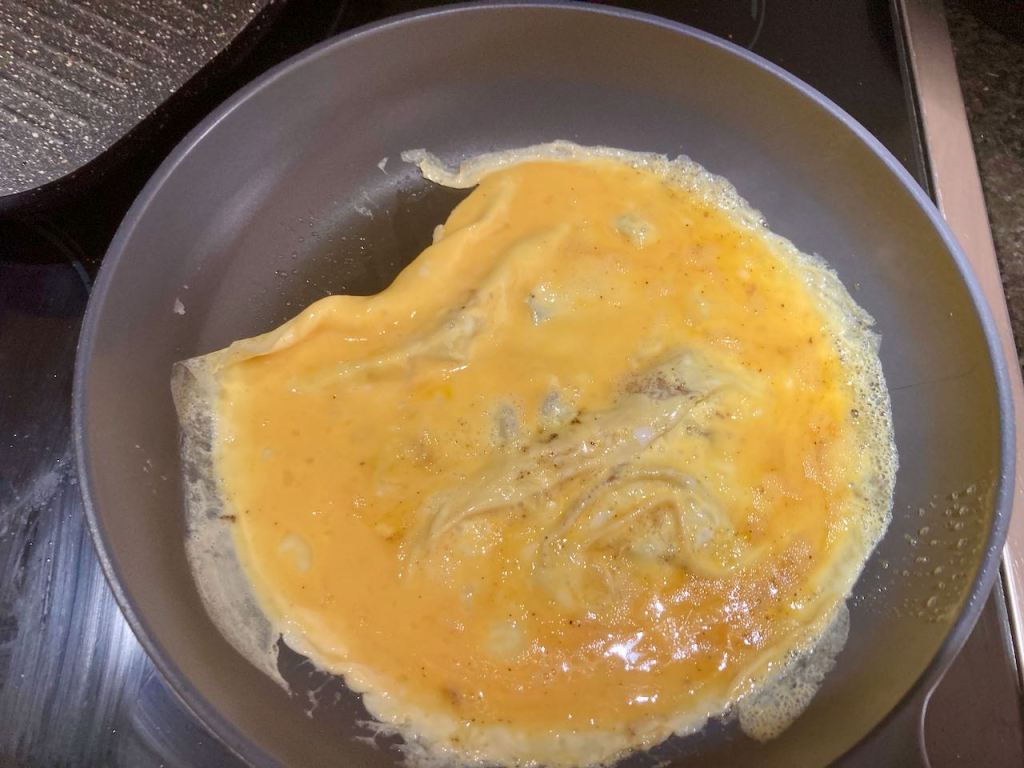
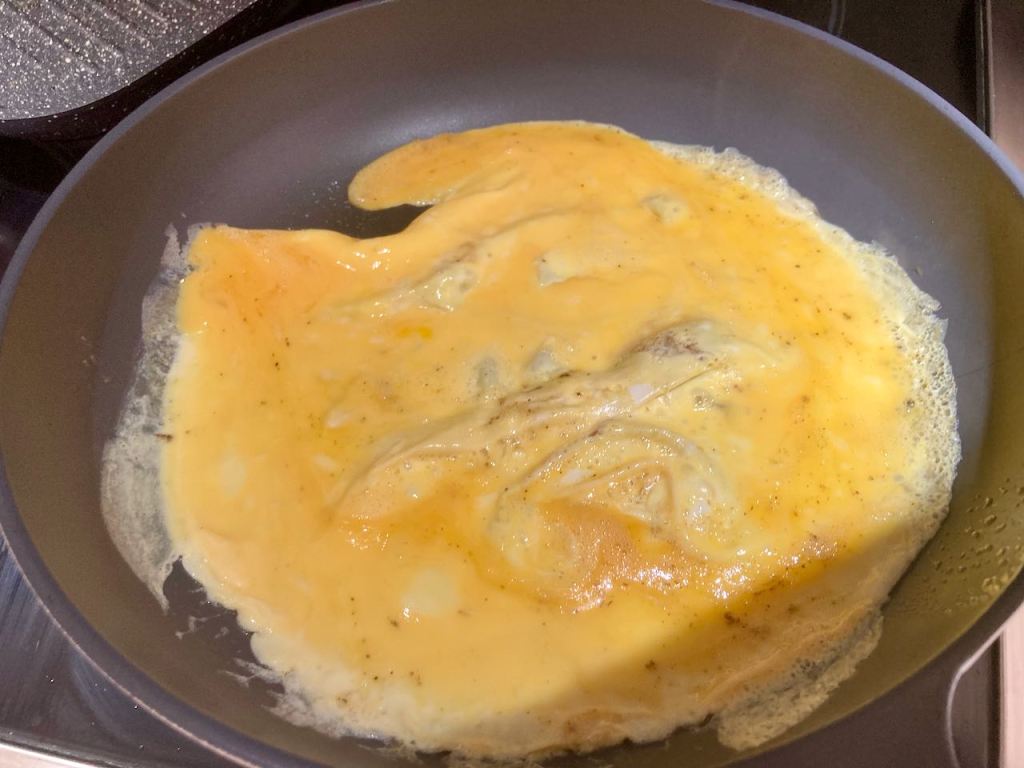

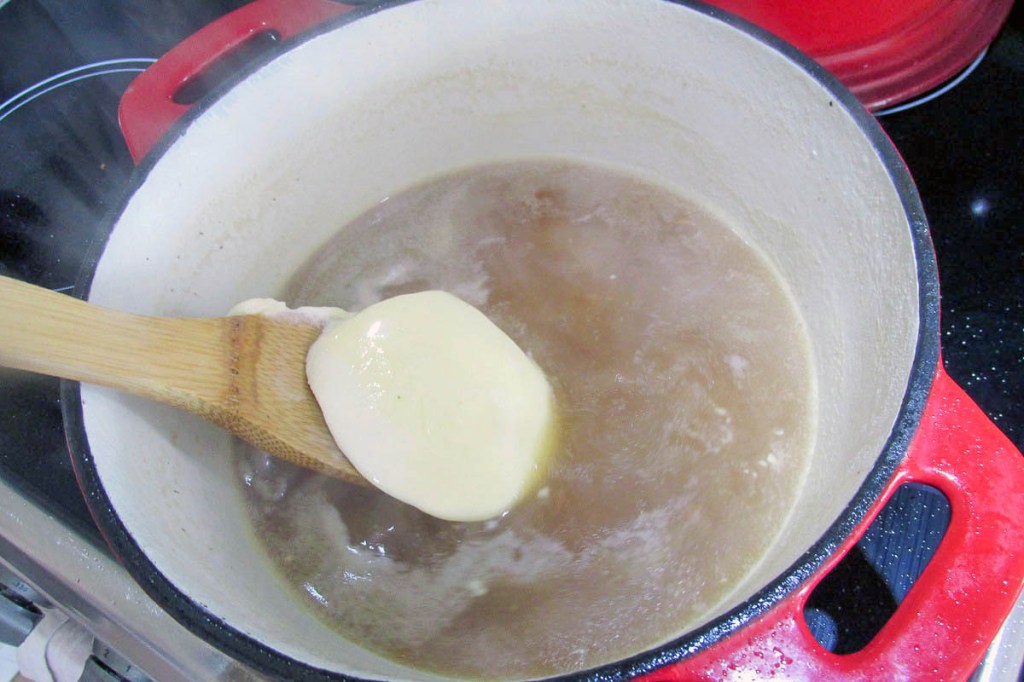
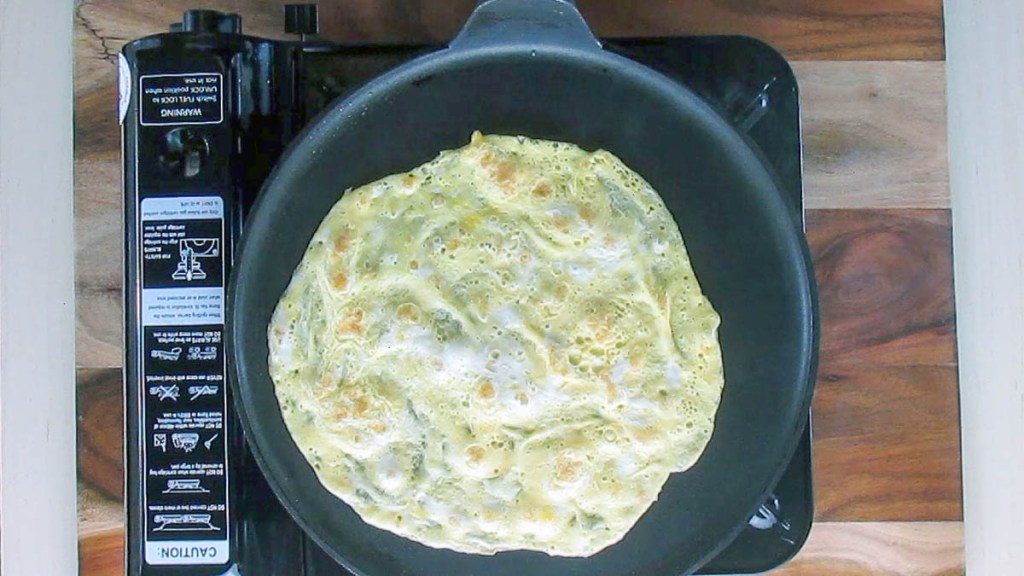
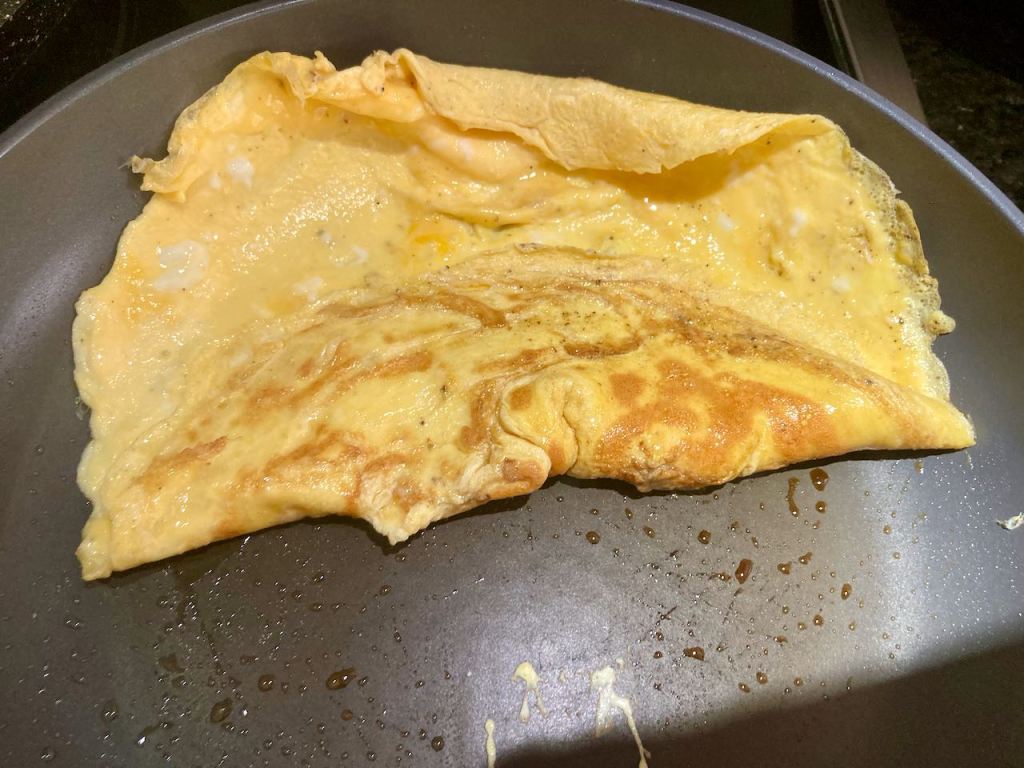
When all of the egg looks set, use your spatula to fold the omelette in half.
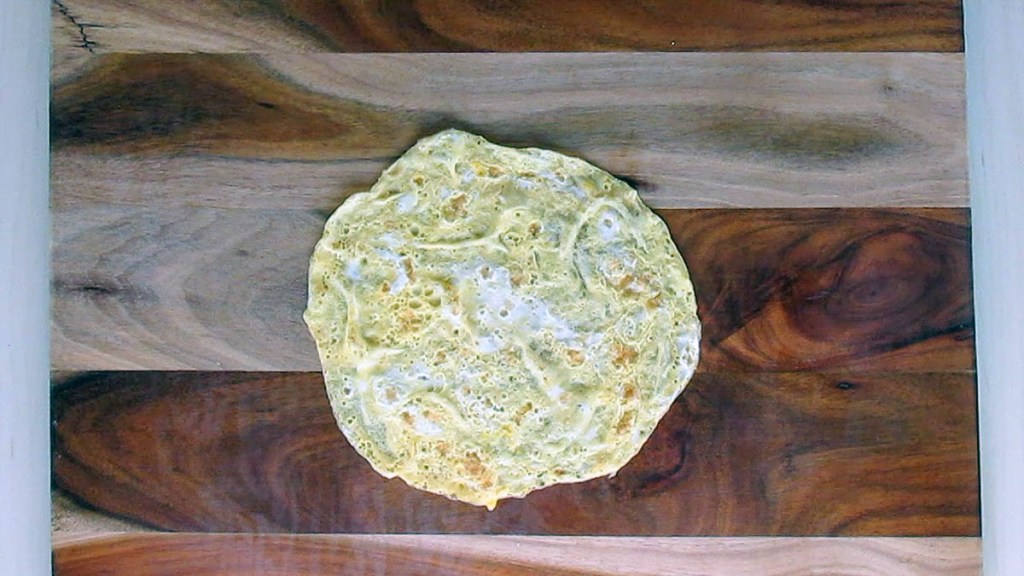
When the bottom is golden brown underneath, it is ready to serve.

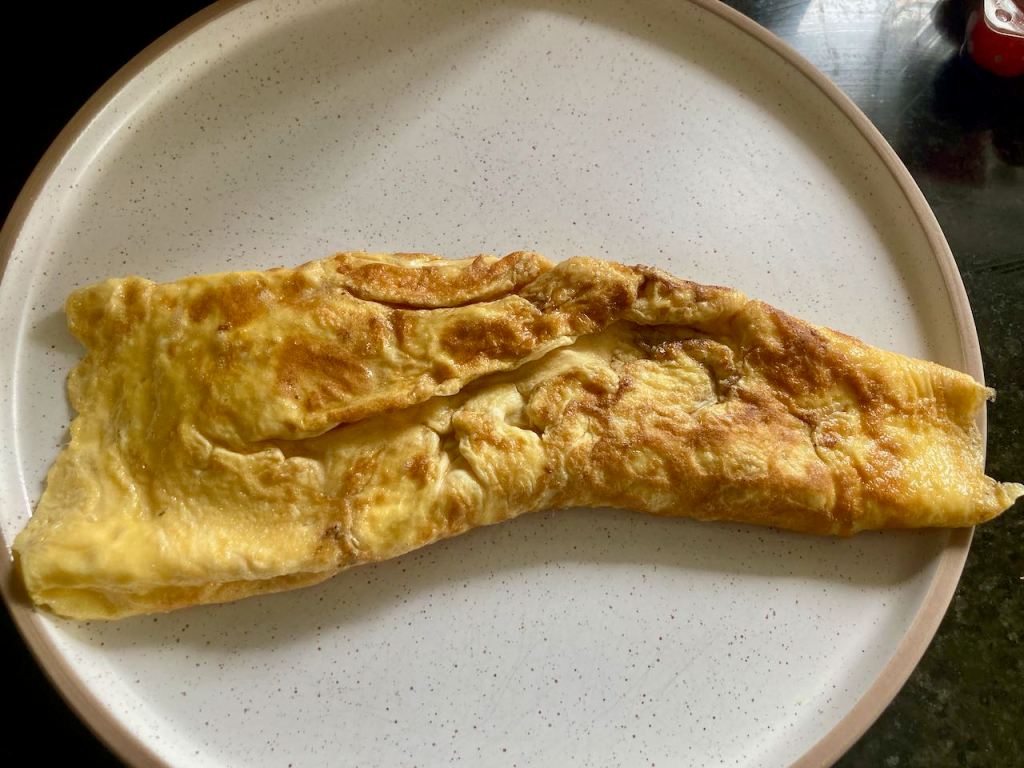
Transfer the omelette and serve.
“A
Credit: Cath @ easycleaneats
Ingredients
- 2 eggs
- Salt and pepper to taste
- A small knob of butter
Directions
Crack eggs into a mixing bowl and beat them well.
Add a pinch of salt and pepper.
Over low heat, melt the butter in a frying pan.
When the butter has melted, and the pan is hot, pour in the eggs.
Make sure the eggs are evenly spread in the pan.
The eggs will set and start to firm around the edges; if you have any liquid egg on top, gently push the egg away from the edge and allow the liquid egg to move into the space created.
When all of the egg looks set, use your spatula to fold the omelette in half.
When the bottom is golden brown underneath, it is ready to serve.
Transfer the omelette and serve.
Nutrition
Per Serving: 173 calories; 14g fat; 0g carbohydrates; 12g proteinEquipment
- Mixing bowl
- Whisk
- Frying pan
- Spatula
Nutritional disclaimer
Nutrition information is provided as an estimate based on the ingredients used and available in my area (New Zealand). The nutritional information is here to help you understand the recipe; I use MyFitnessPal to generate my estimates. For more accurate nutritional information, please use a nutritional calculator with the ingredients in your area.