Updating as we go
Early in 2021, I relocated and started updating my website; I’ve been making changes and improving everything as I go. This recipe is one of the many things I’ve tried to improve.
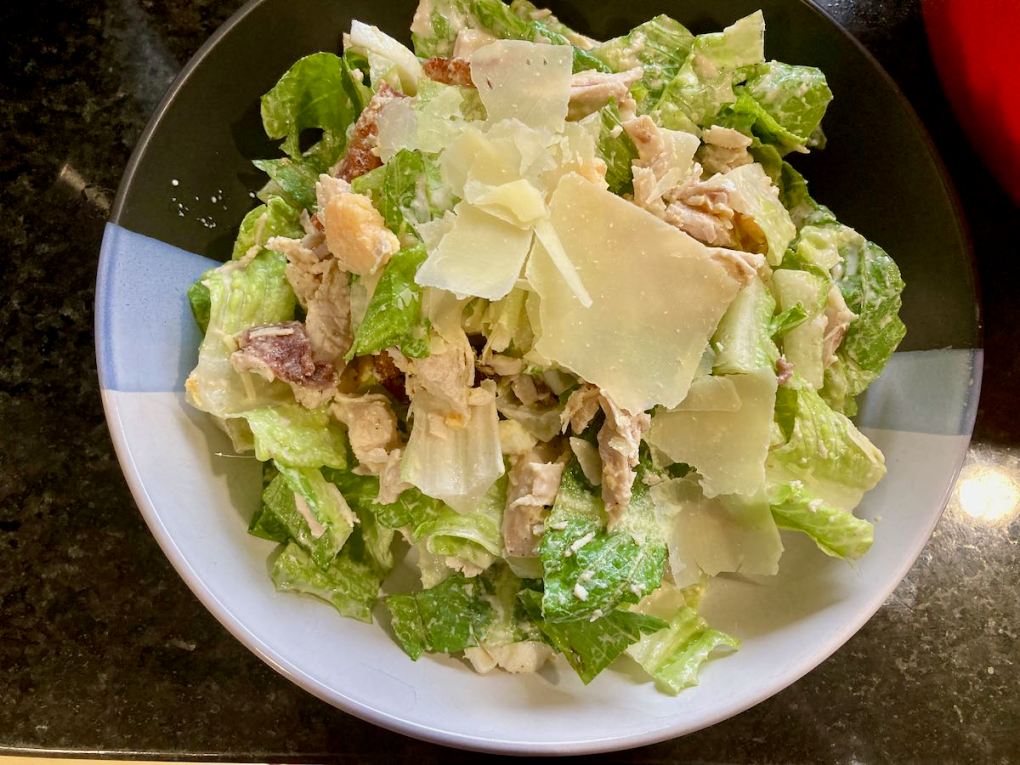
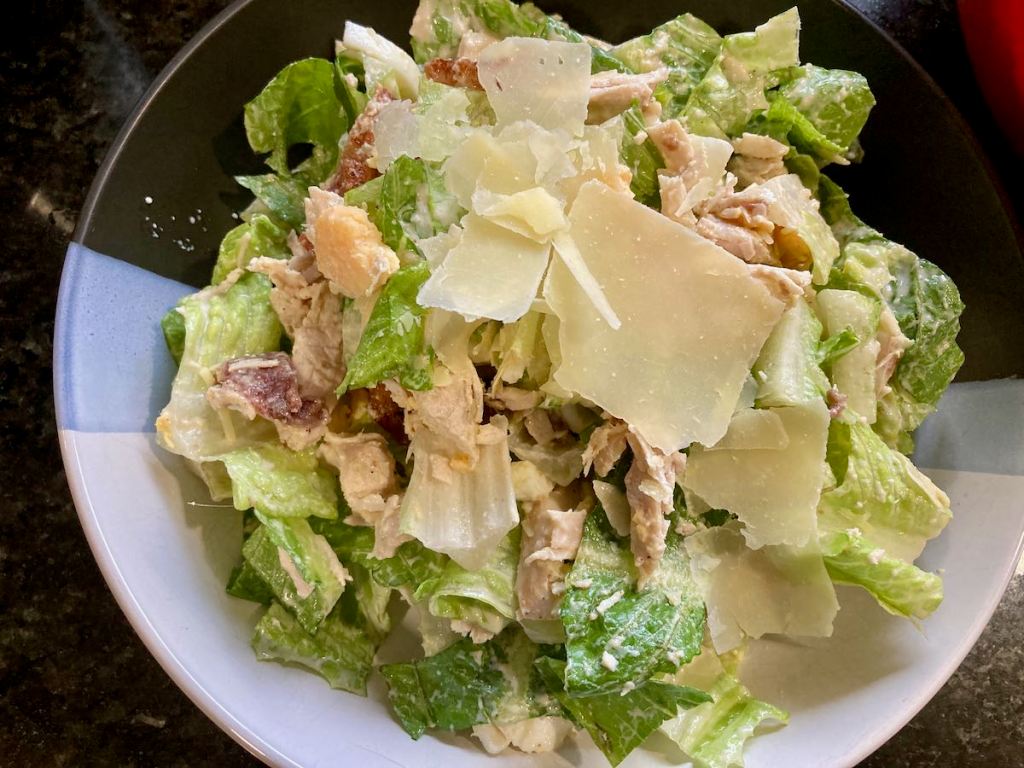
Something fresh
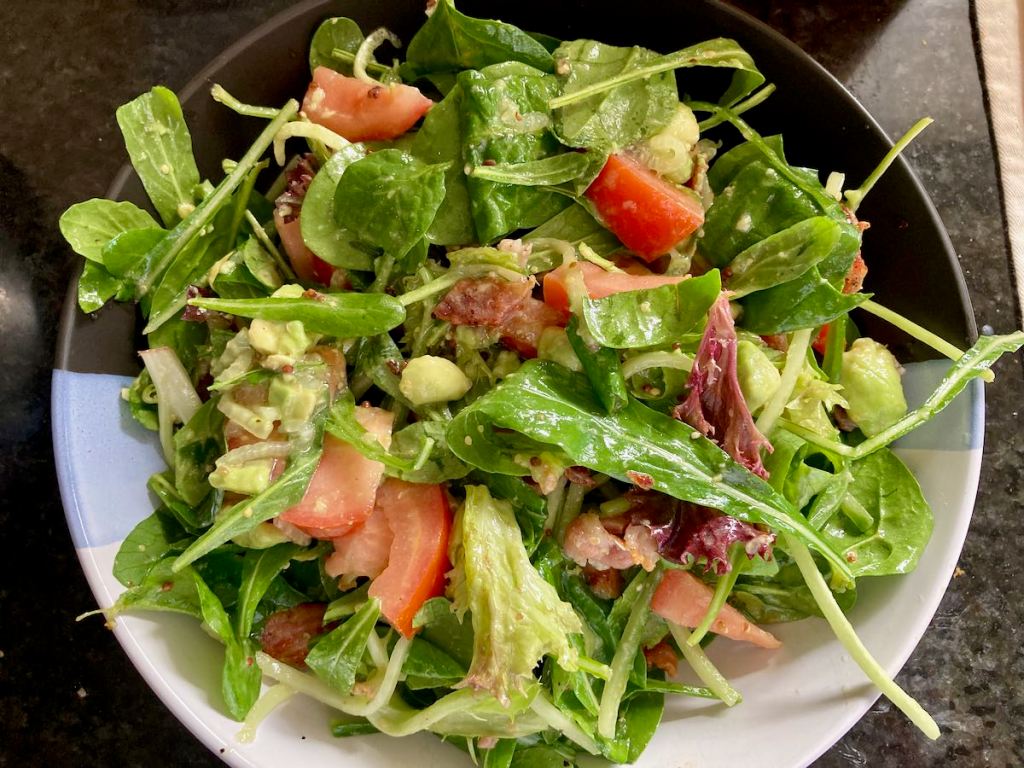
I love salad—sad but true. I could probably eat salad for every meal and never get bored. Breakfast salads are a great option when you want something a little different to start your day. This breakfast is clean, easy, and a cool take on cooked breakfast. The recipe is enough to feed two hungry people, so you can scale it to suit your needs.
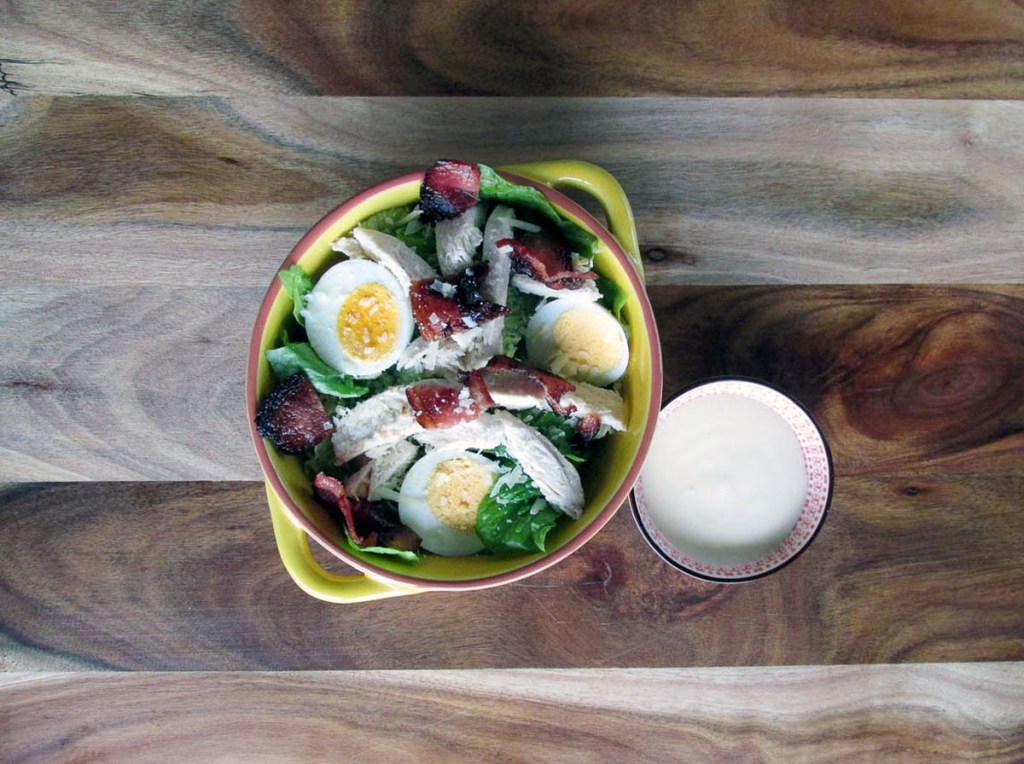
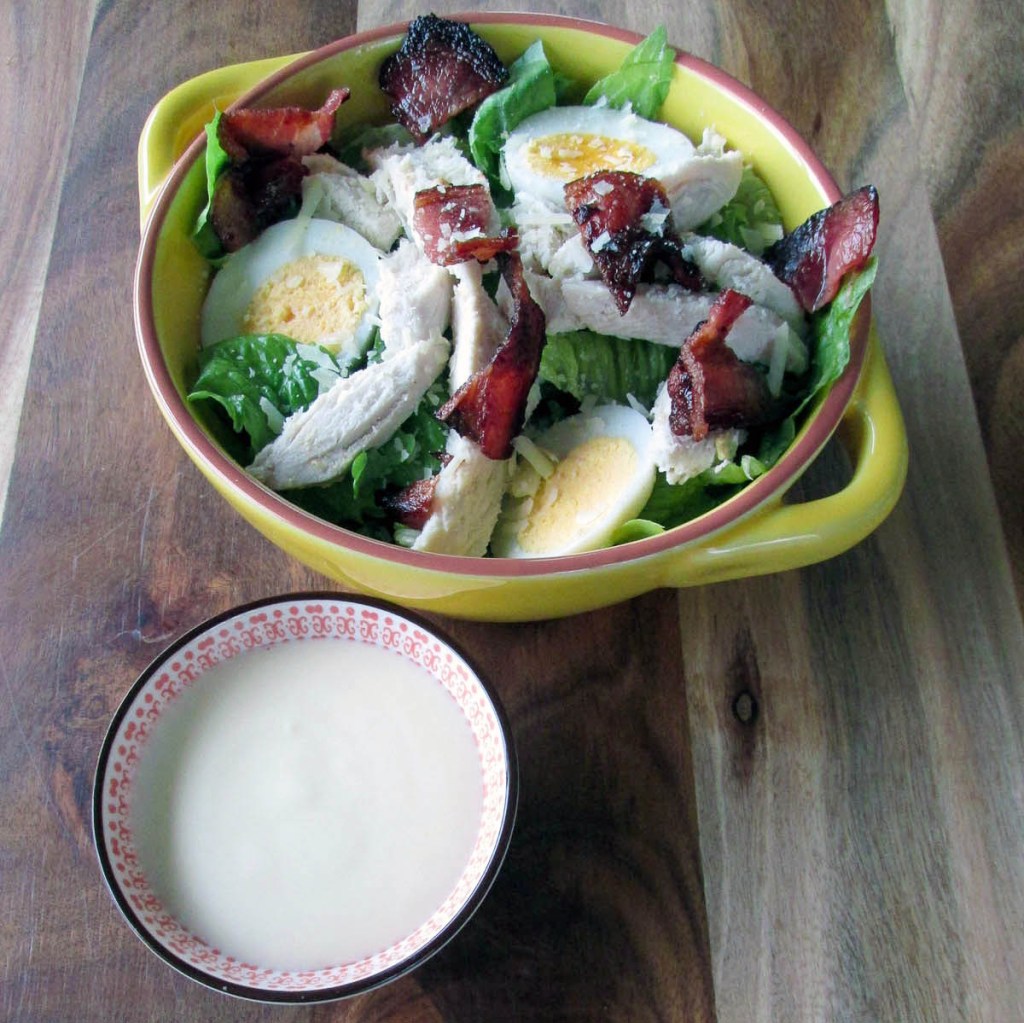
Friday morning treat breakfast
This morning, I started work later than usual, which meant I had an opportunity to make myself a nice breakfast. A breakfast salad with coffee would be enough to set me up for the day. Perfectly poached eggs with bacon and fresh salad were just what I needed.

Breakfast salad recipe
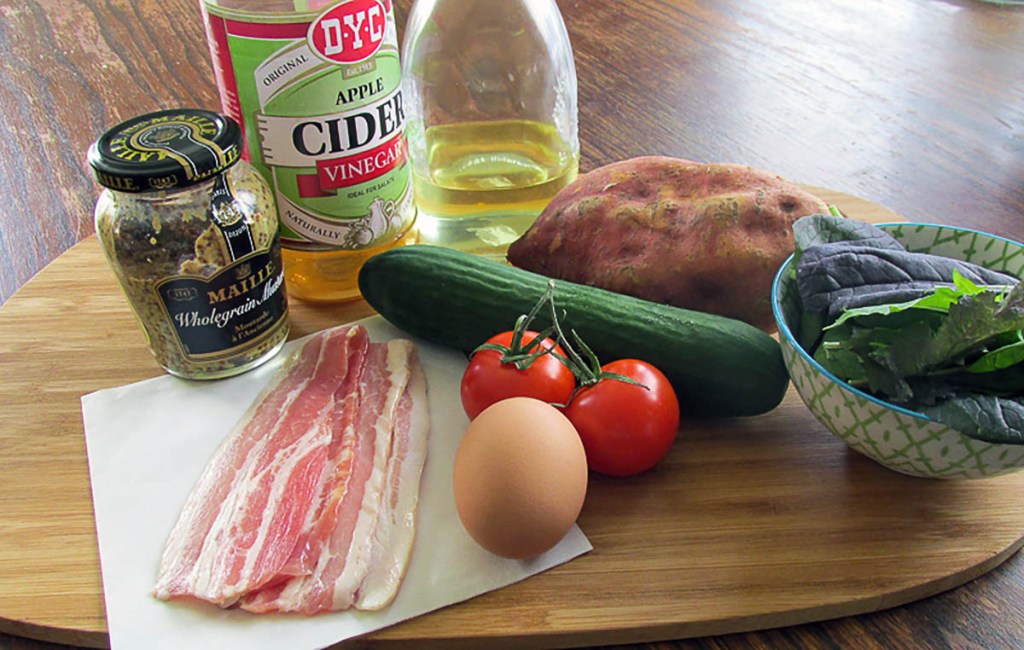
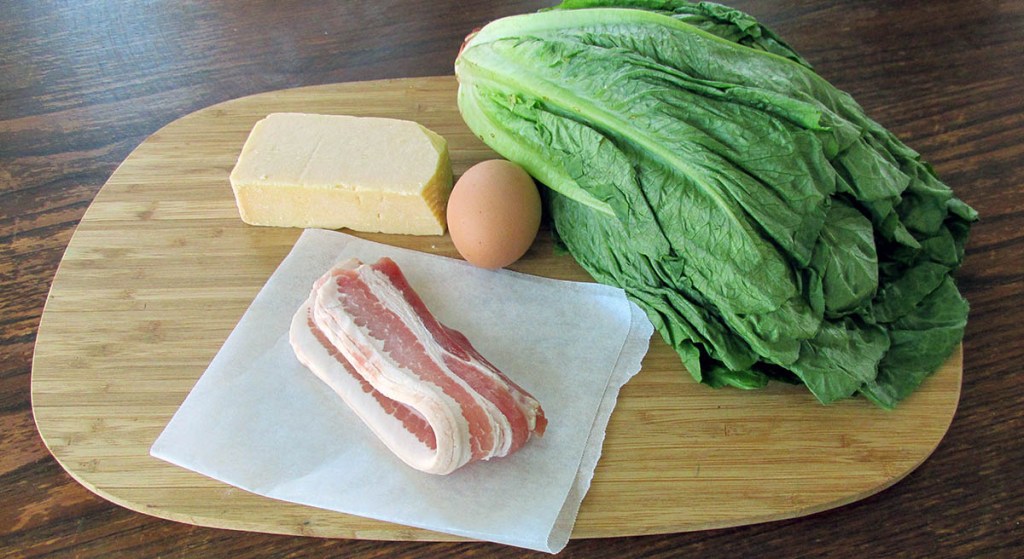
Ingredients
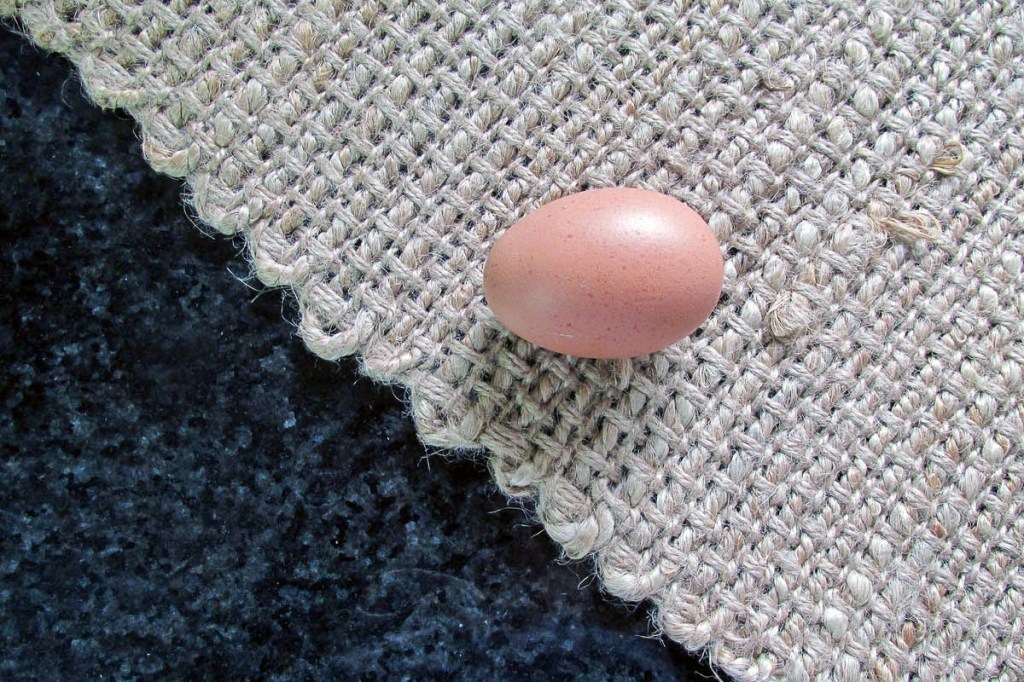
- 4 eggs
- 4 bacon rashers
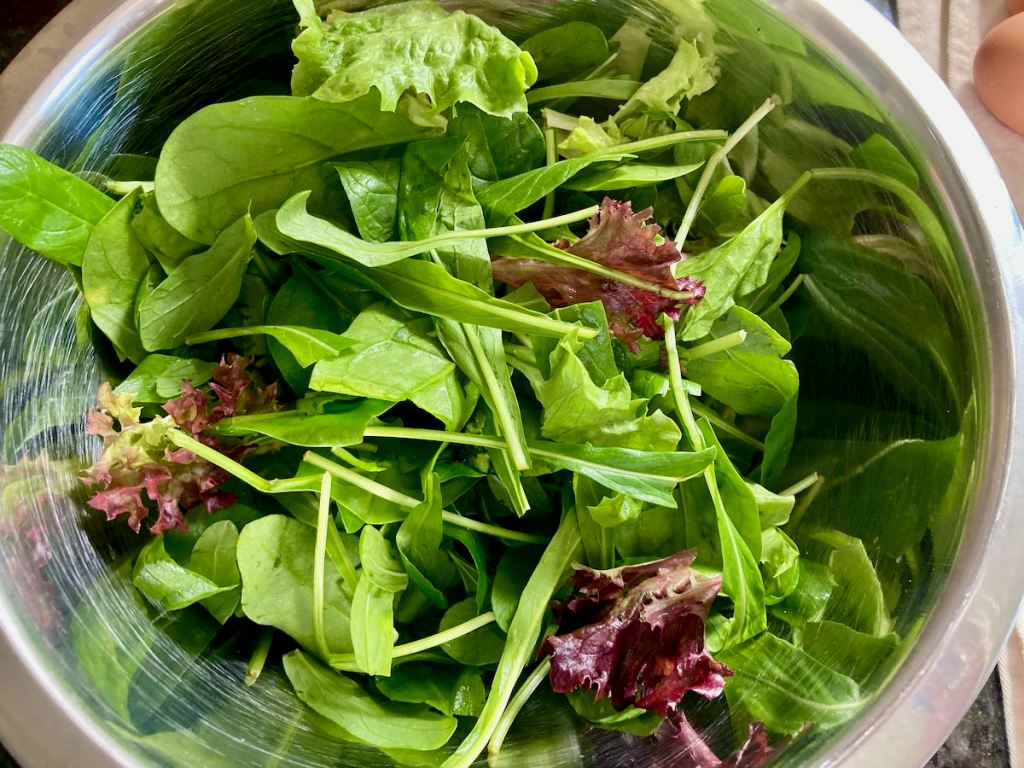
- 2 handfuls mixed leaves
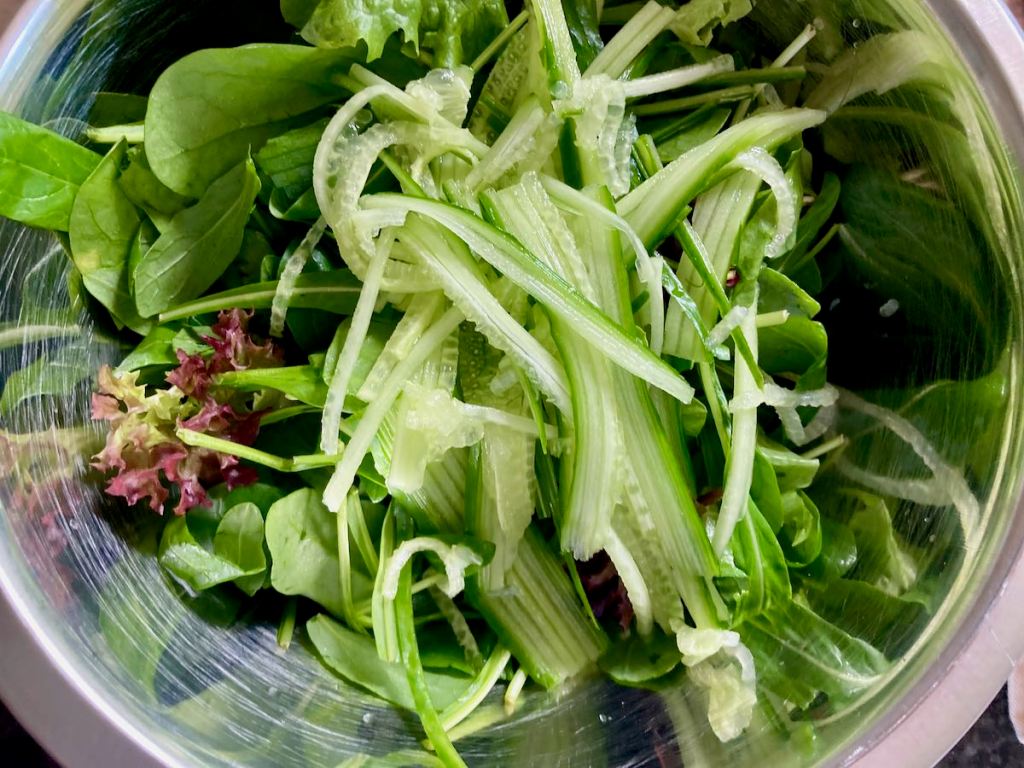
- 1 cucumber, julienne
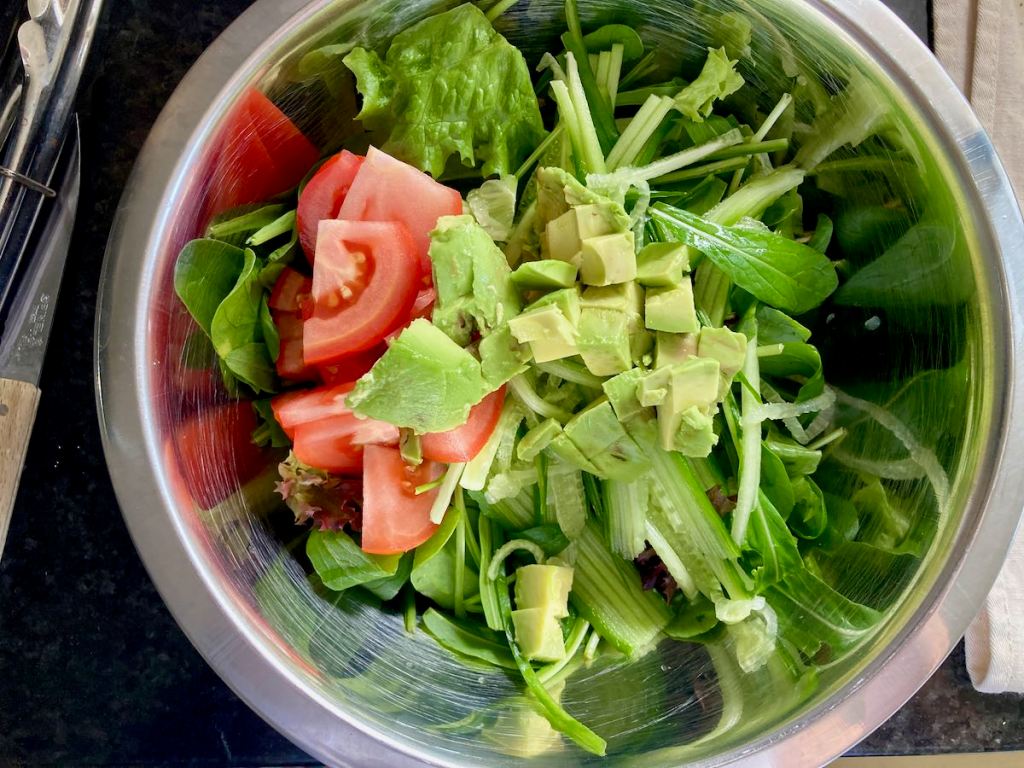
- 1 avocado, cubed
- 10 cherry tomatoes, halved
- 1 handful of sweet potato strips
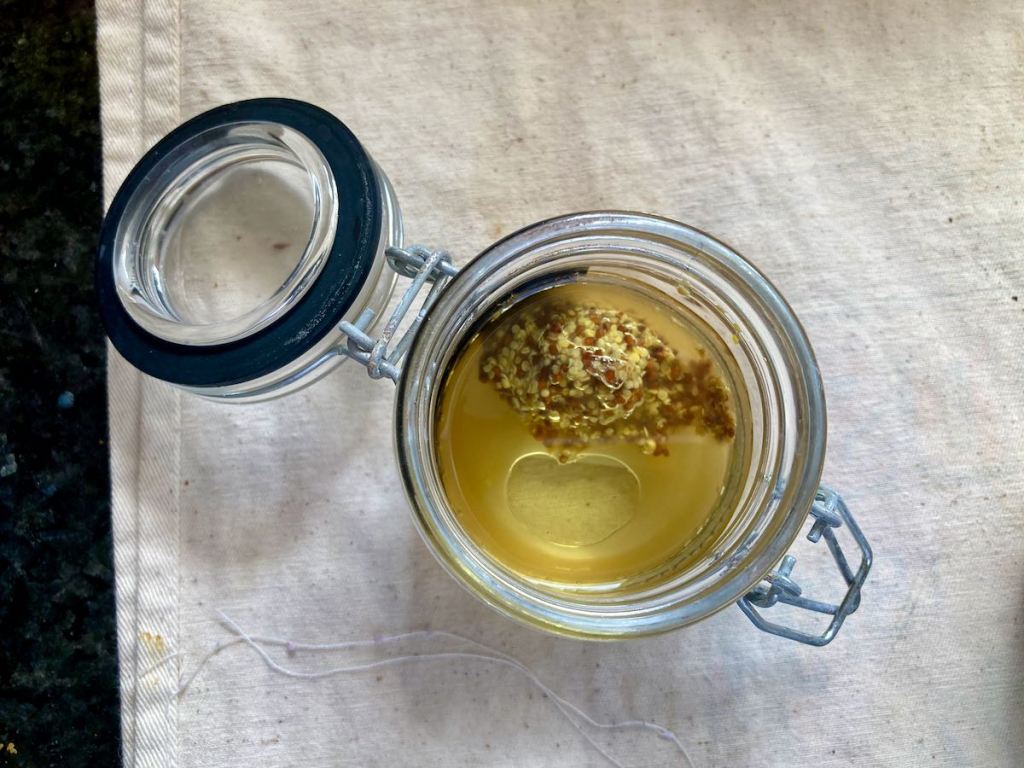
- 1 tsp. Dijon mustard
- 4 tbsp. olive oil
- 1 tbsp. apple cider vinegar
Instructions
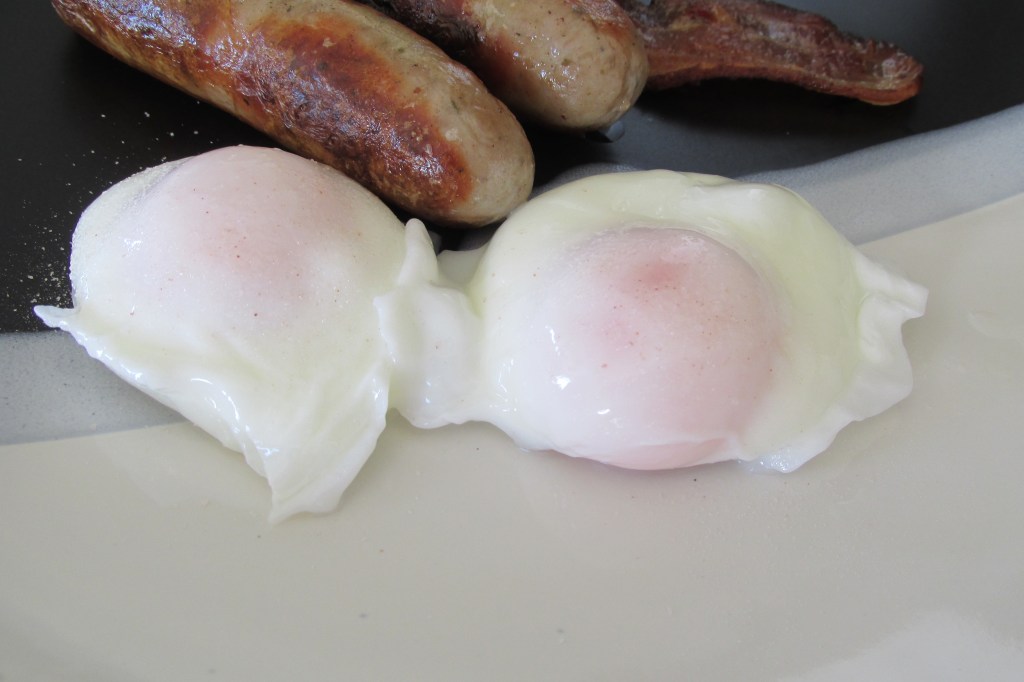
Over medium heat in a frying pan, cook off the bacon until it is crisp, then set to one side to cool.
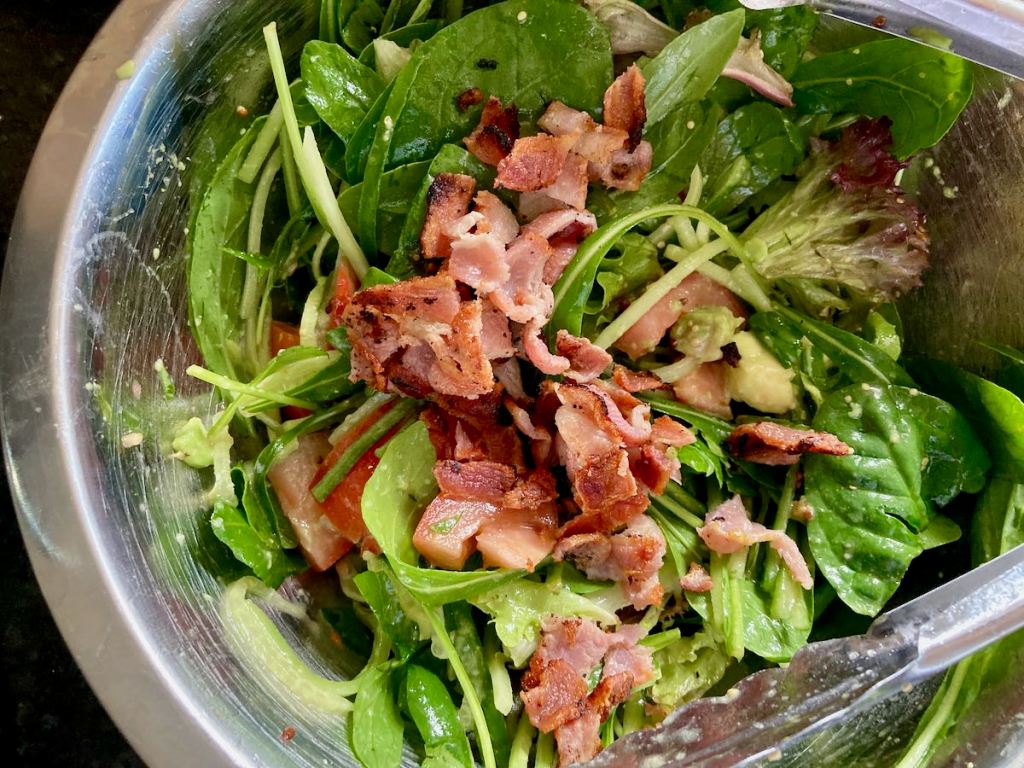
Once the bacon has cooled, cut it into thin strips.
In the same frying pan, add some oil and fry off the sweet potato pieces until they are crisp, then drain on some kitchen paper.
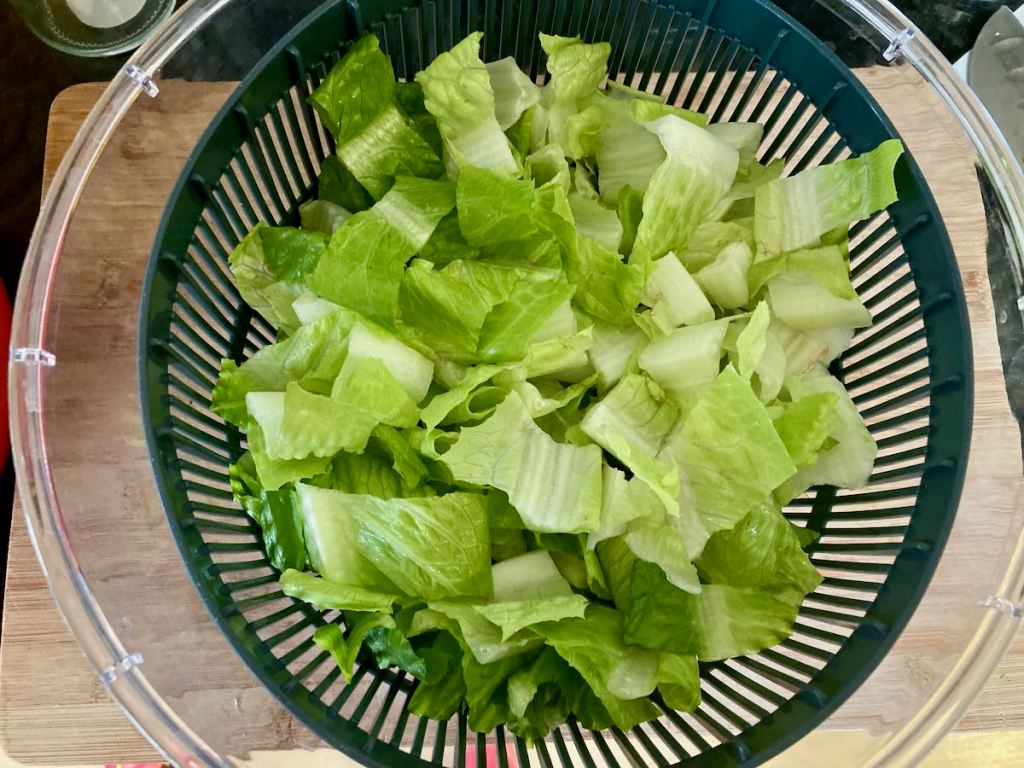
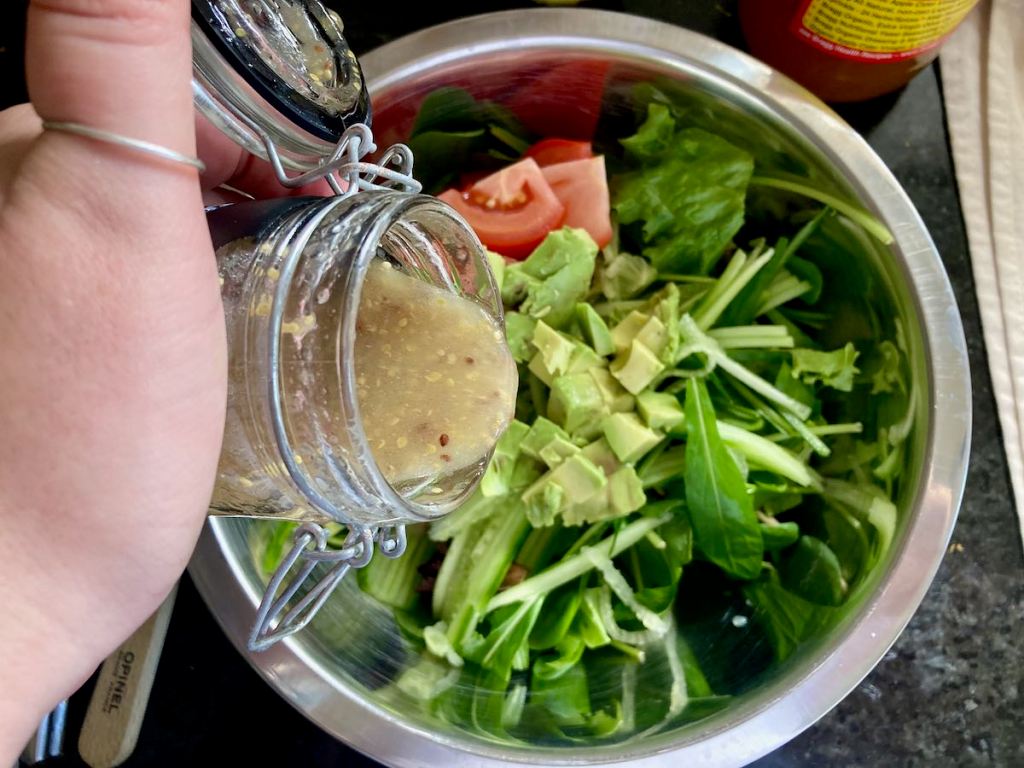
Combine the cucumber, leaves, avocado, and tomatoes in a large mixing bowl.

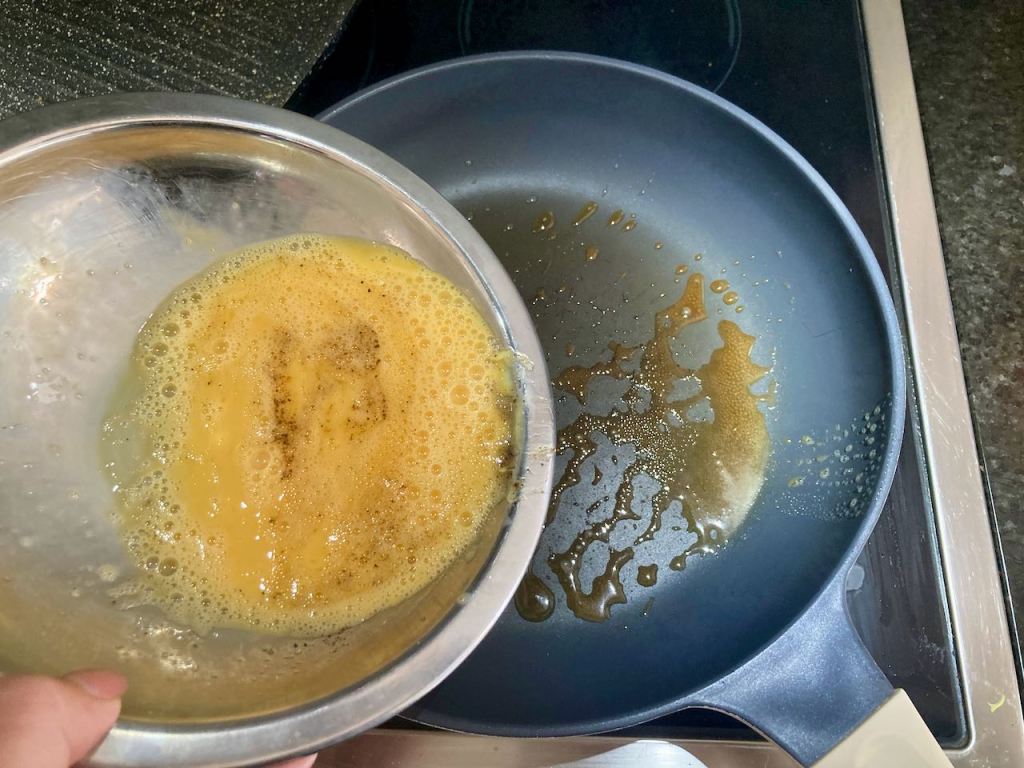
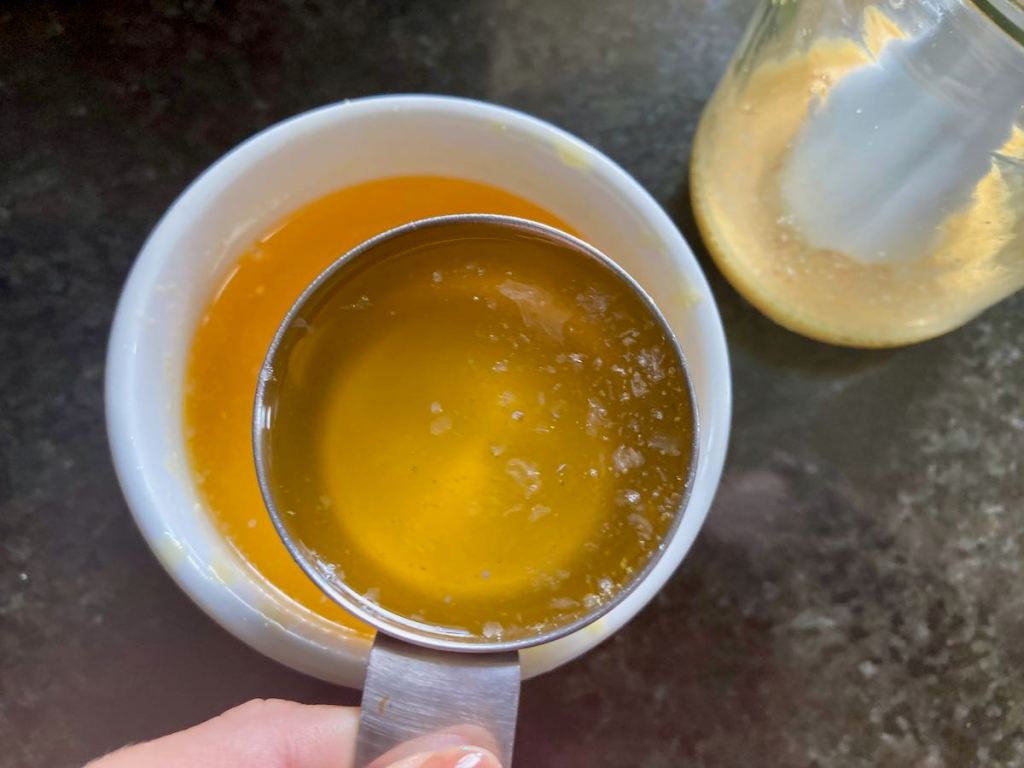
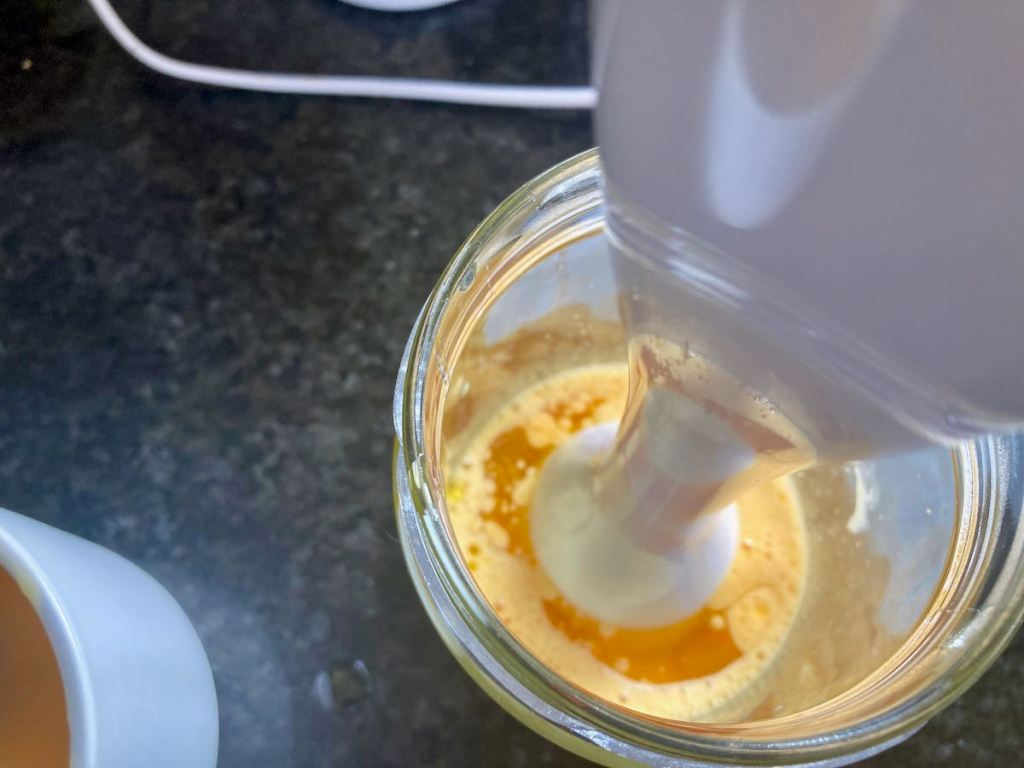
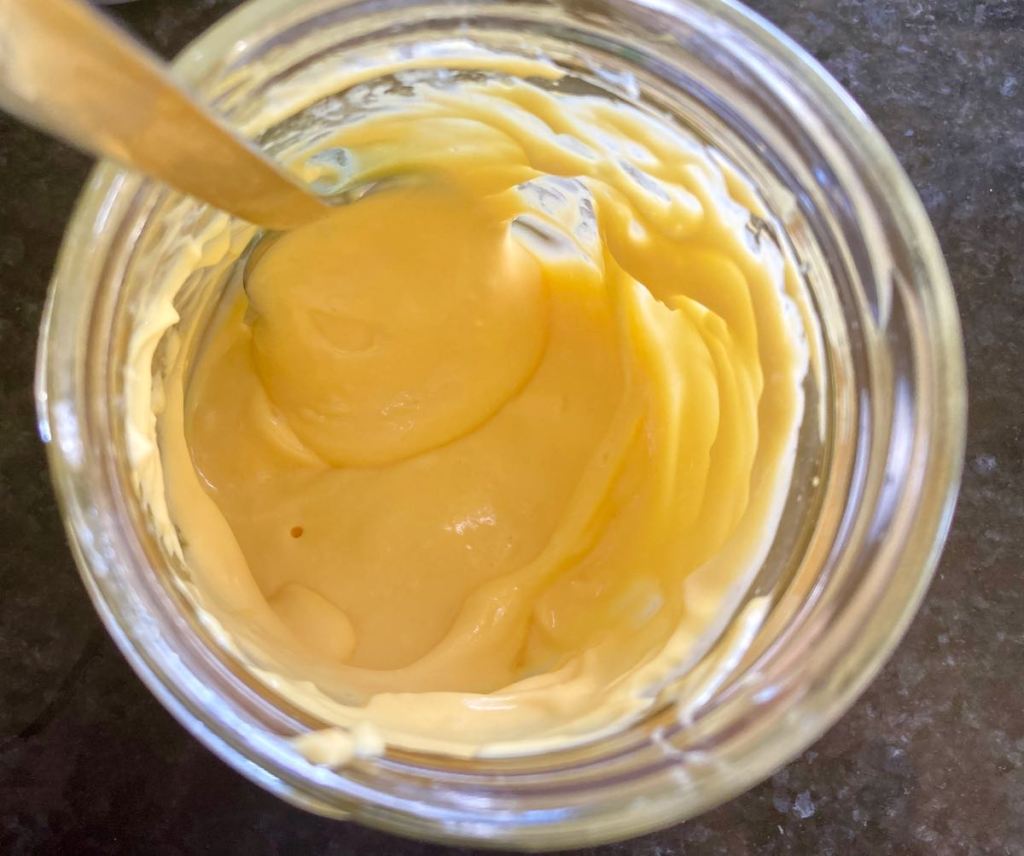
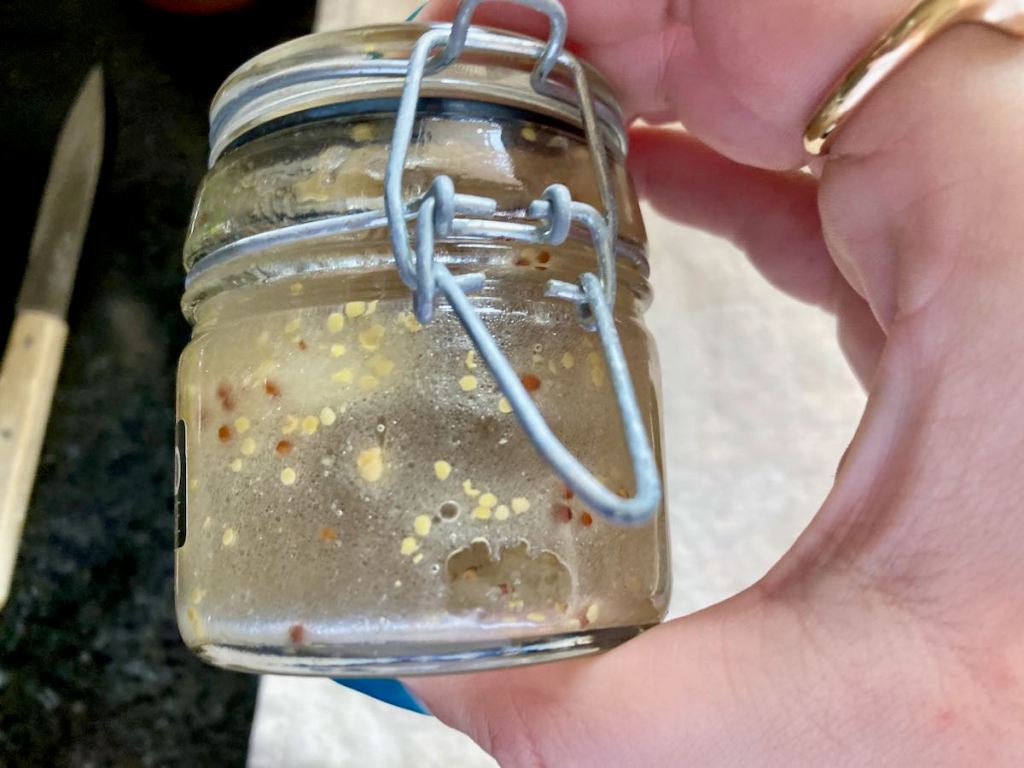
Mix the mustard, oil, and vinegar in a jar, then pour over the salad.
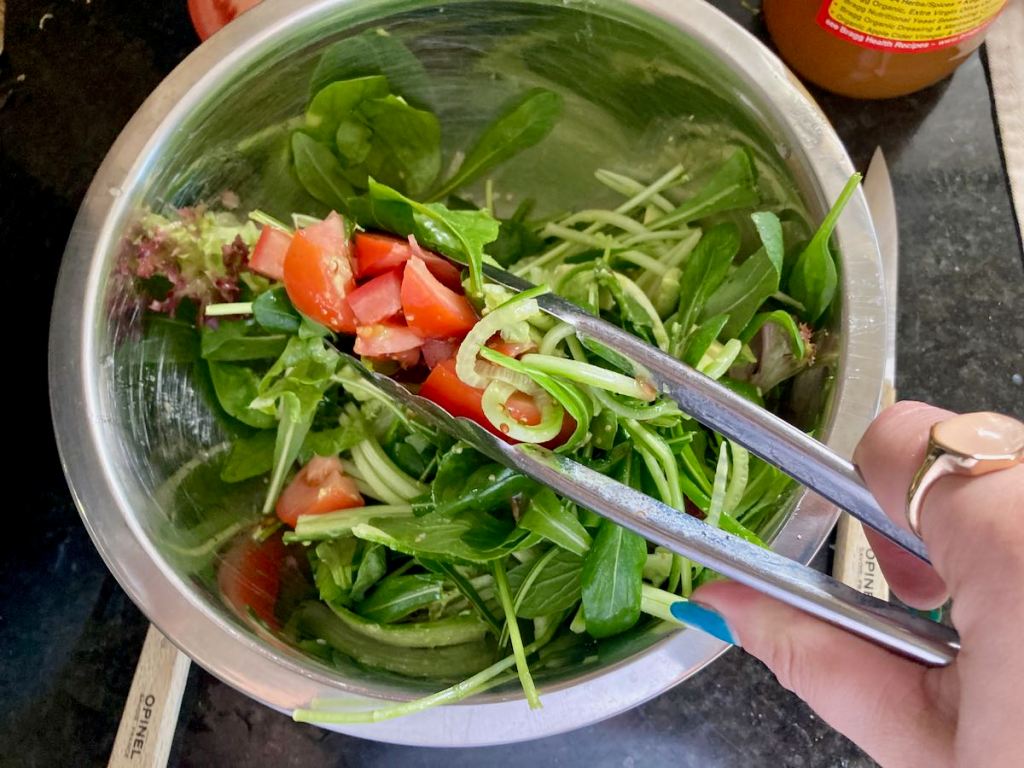
Mix the salad, ensure the dressing covers everything, and then mix in the bacon.
Divide the salad between two plates.
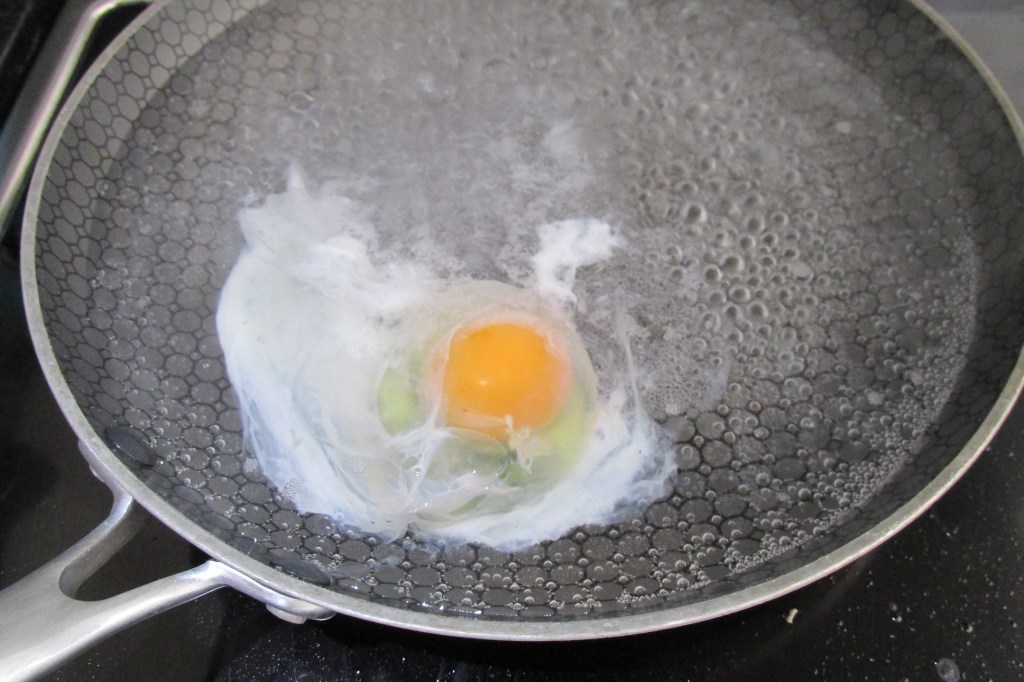
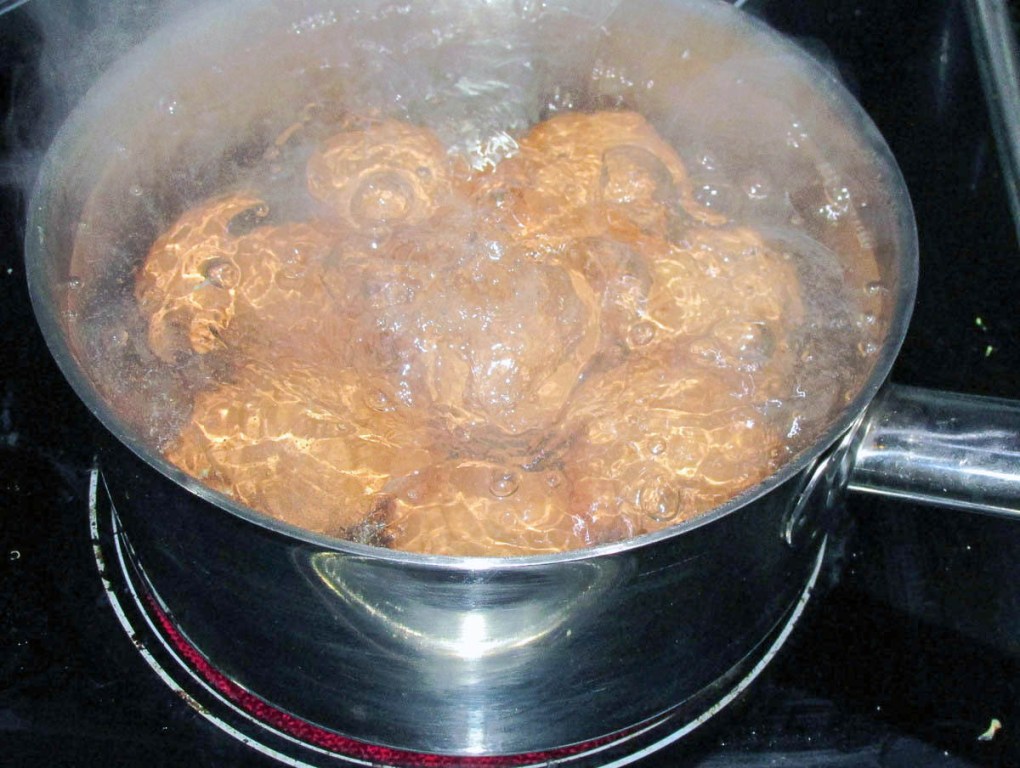
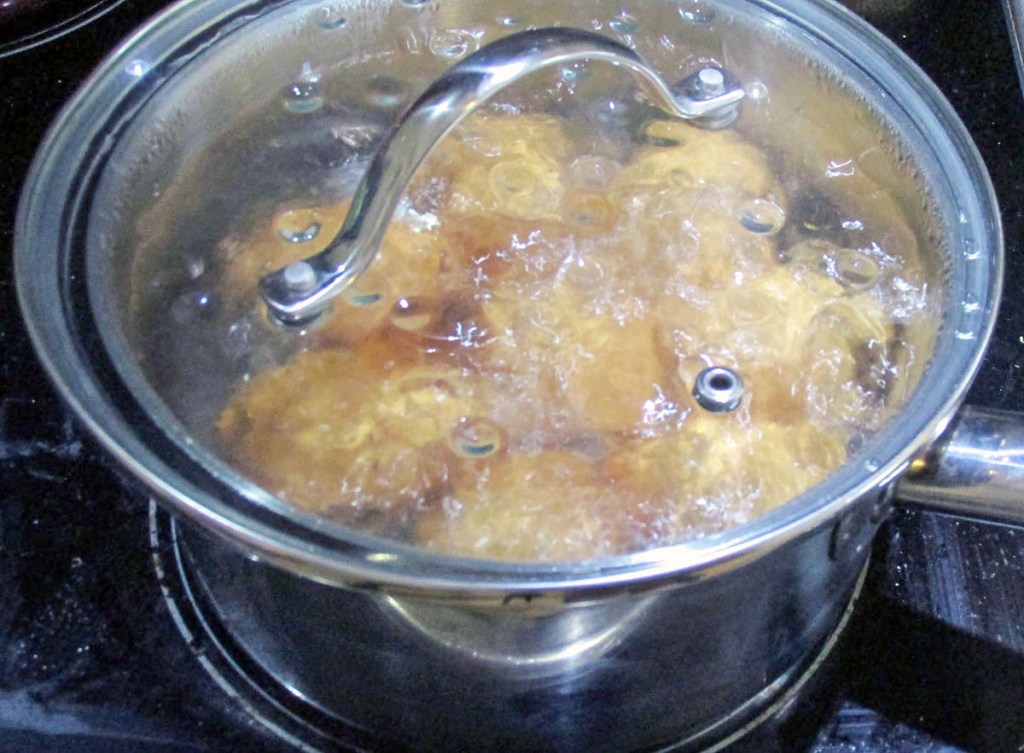
While mixing the salad, boil a pan of water, ready to poach the eggs.
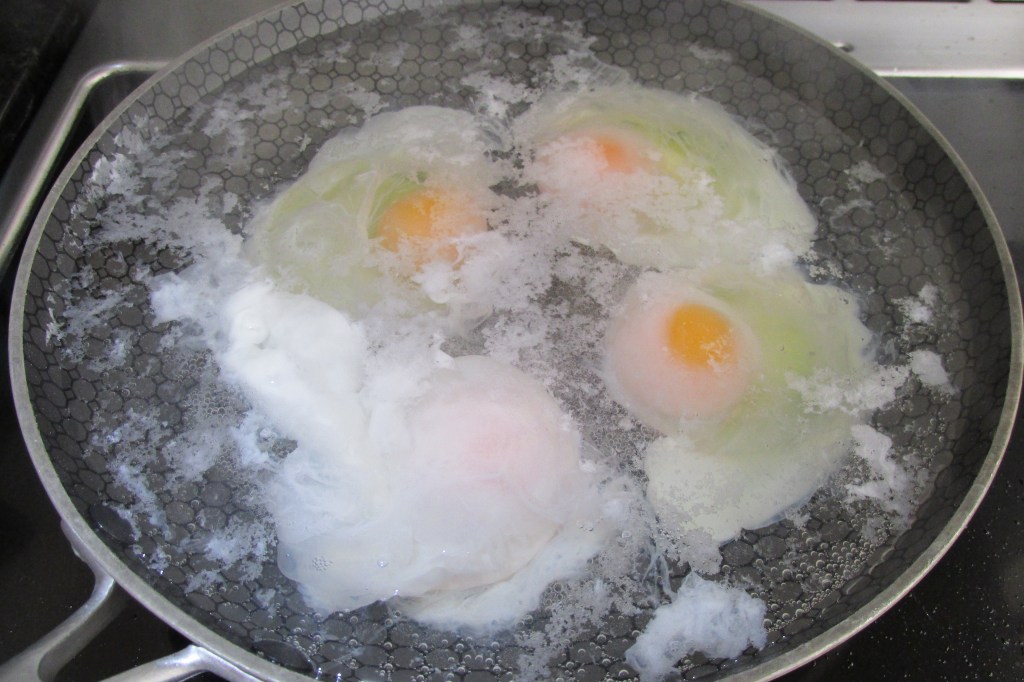
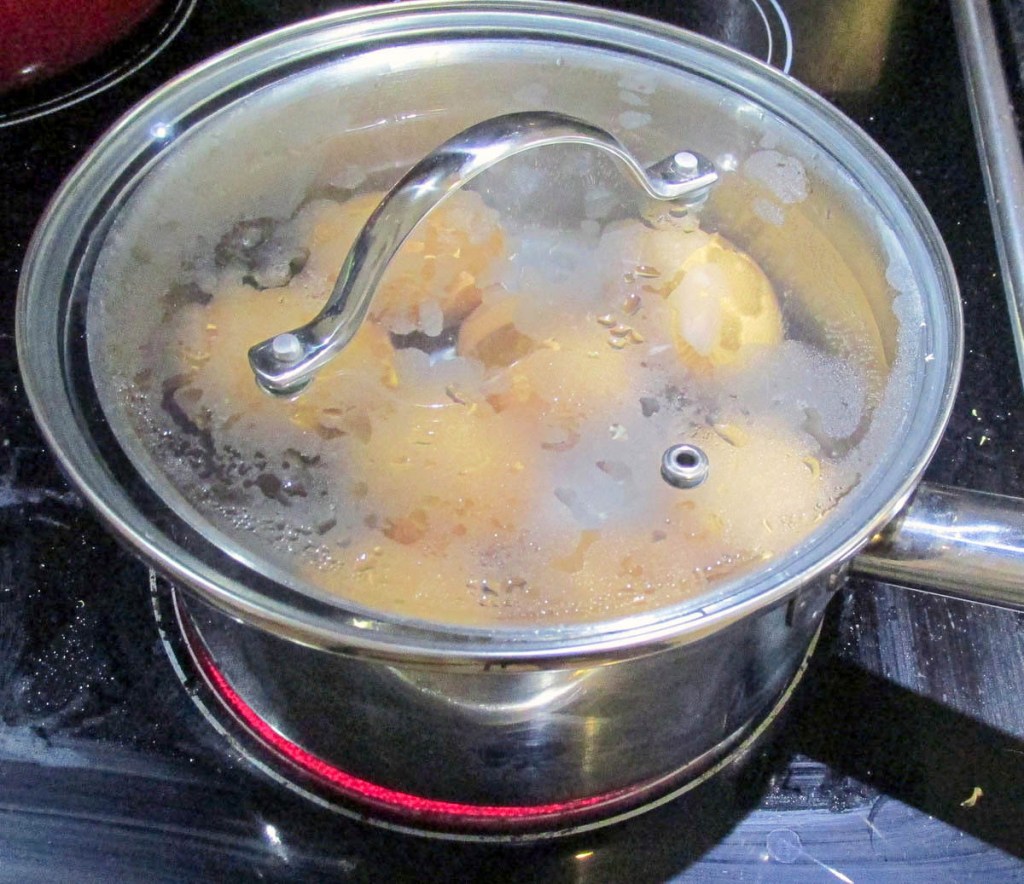
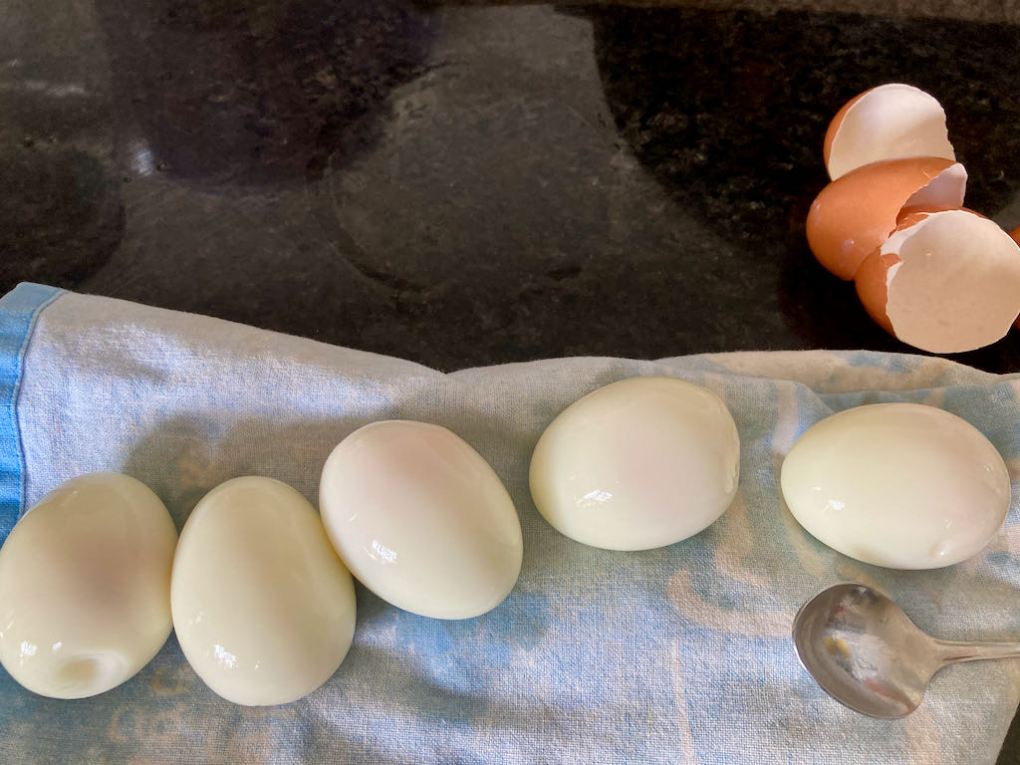
Once boiling, reduce the heat and crack in the eggs.
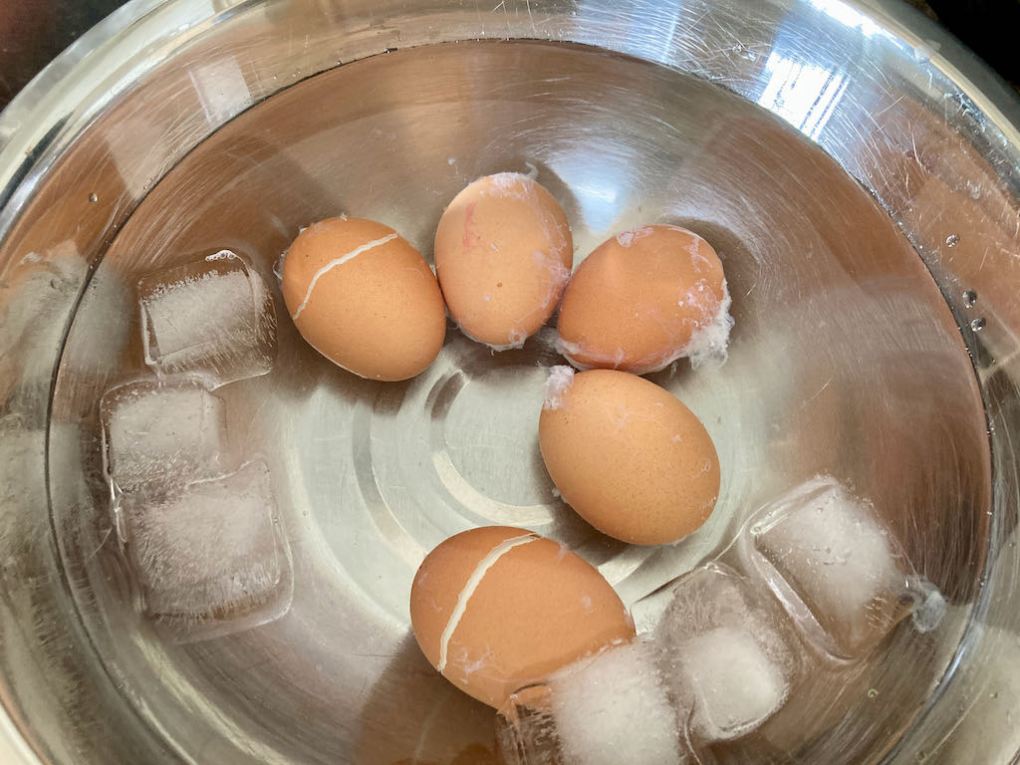
When the egg whites have set, remove the eggs from the water and place them on the salad.
Finish the salad with the sweet potato strips.
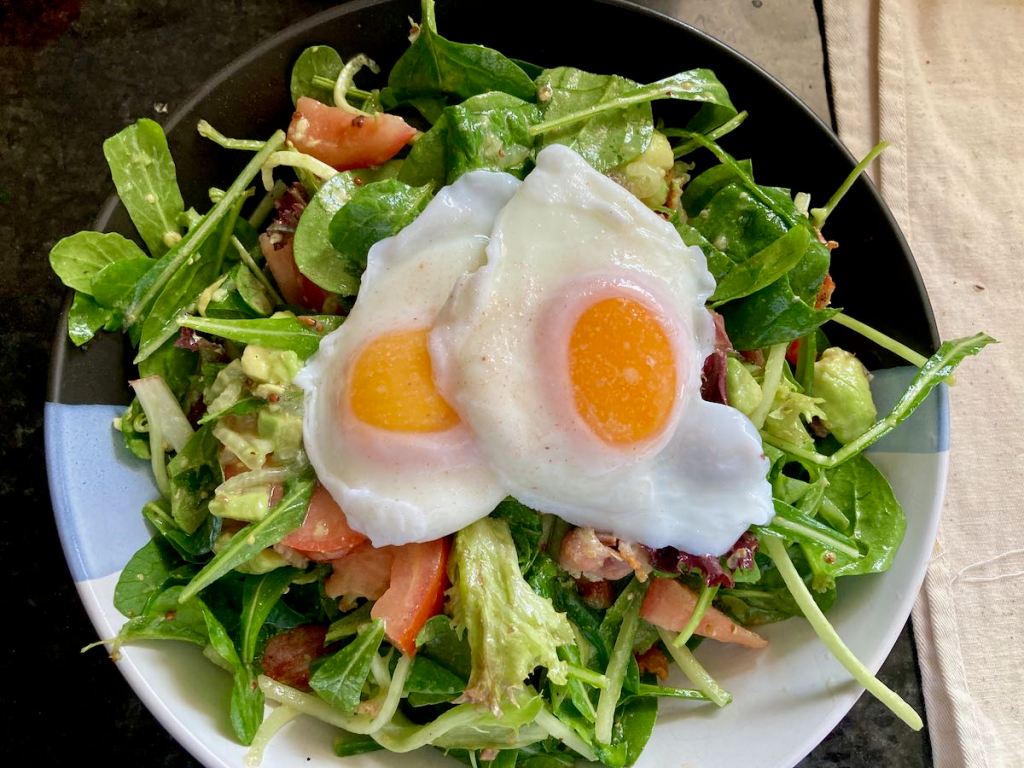

Breakfast salad
Breakfast salads are a great option when you want something a little different to start your day.
Credit: Cath @ easycleaneats
Ingredients
– 4 eggs – 4 bacon rashers – 2 handfuls mixed leaves – 1 cucumber, julienne – 1 avocado, cubed – 10 cherry tomatoes, halved – 1 handful of sweet potato strips – 1 tsp. Dijon mustard – 4 tbsp. olive oil – 1 tbsp. apple cider vinegarDirections
- Over medium heat in a frying pan, cook off the bacon until it is crisp, then set to one side to cool.
- Once the bacon has cooled, cut it into thin strips.
- In the same frying pan, add some oil and fry off the sweet potato pieces until they are crisp, then drain on some kitchen paper.
- Combine the cucumber, leaves, avocado, and tomatoes in a large mixing bowl.
- Mix the mustard, oil, and vinegar in a jar, then pour over the salad.
- Mix the salad, ensure the dressing covers everything, and then mix in the bacon.
- Divide the salad between two plates.
- While mixing the salad, boil a pan of water, ready to poach the eggs.
- Once boiling, reduce the heat and crack in the eggs.
- When the egg whites have set, remove the eggs from the water and place them on the salad.
- Finish the salad with the sweet potato strips.
Nutrition
Per Serving:560 calories;49 g fat; 14g carbohydrates; 24g proteinEquipment
- Frying pan x2
- Knife
- Chopping board
- Mixing bowl
- Tongs
- Slotted spoon
Nutritional disclaimer
Nutrition information is provided as an estimate based on the ingredients used and available in my area (New Zealand). The nutritional information is here to help you understand the recipe; I use MyFitnessPal to generate my estimates. For more accurate nutritional information, please use a nutritional calculator with the ingredients in your area.