Make your own
If you are like us and you try to avoid mass-produced processed foods, the best option is to make your own. When you make your own, you get to control which ingredients you use and how much or how sweet you want it to be. Once you have a go at making your own and you realise how easy it is, you will never go back to store-bought again.
Master the basics
Eating clean gets a lot easier once you have mastered a few essential recipes. This recipe is basic, not like basic unicorn basic, more like beard and flannel basic. Back to the point (which isn’t Unstable unicorns), having basic skills and recipes in your arsenal means you will never be left with only UberEats as your weeknight options. Once you master this recipe, the possibilities are endless.
Something fancy for the weekend
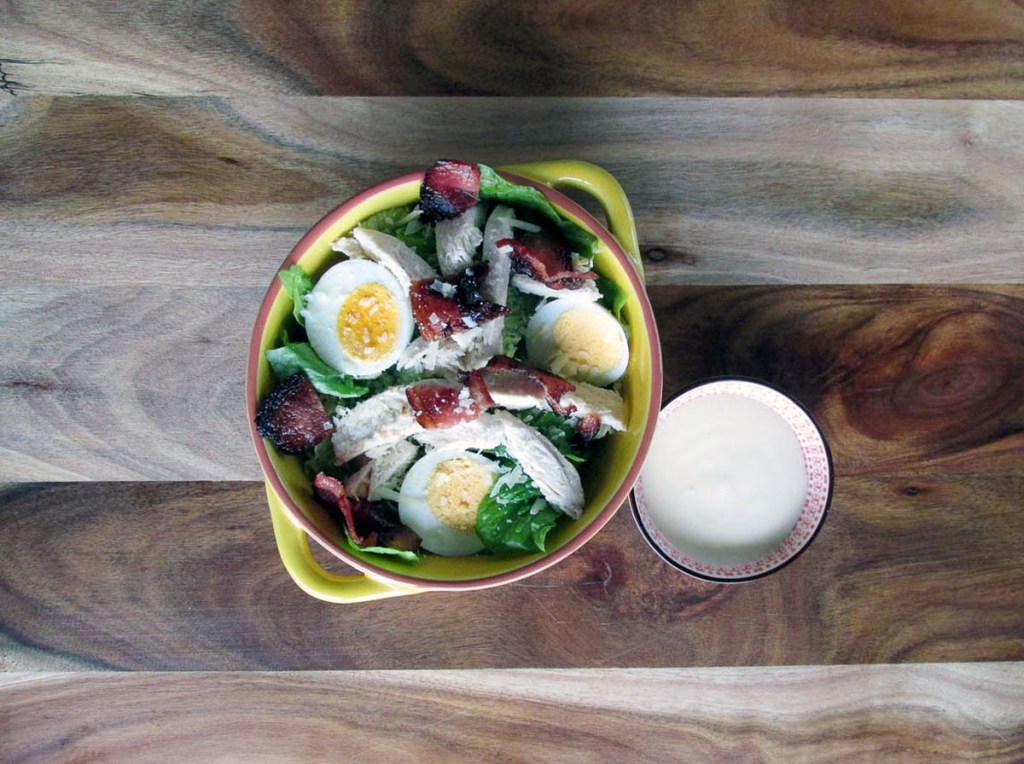
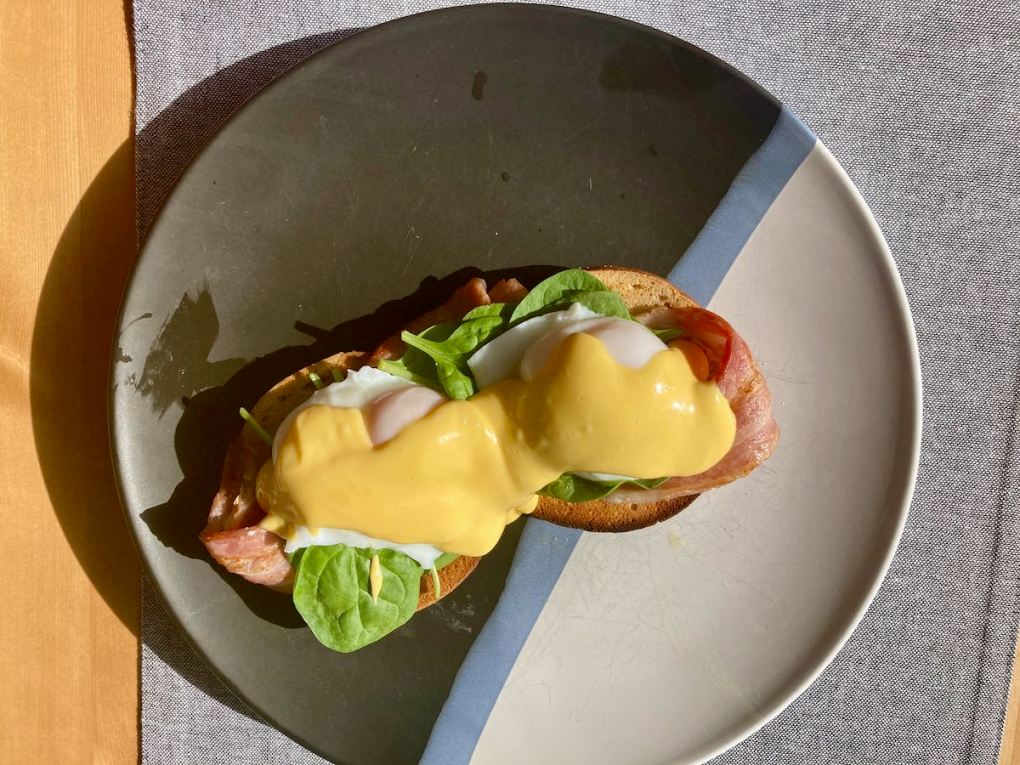
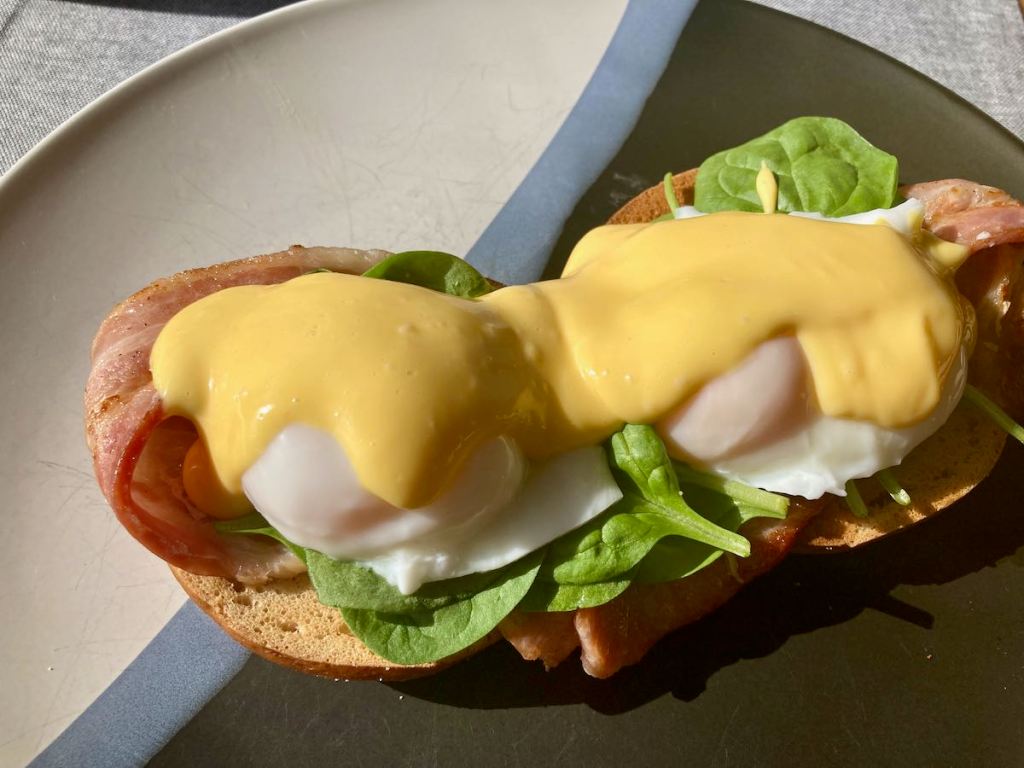
I’ve been craving a brunch fix for a few weekends, so I decided to do something about it. Hollandaise sauce is the perfect opulent topping for poached eggs and crisp bacon. I was fortunate enough to be gifted a stick blender not long ago, so I had a go at making my hollandaise with that instead of my blender jug. After a bit of trial and runny sauce, I handed on the perfect method to create thick and creamy hollandaise for my homemade eggs bene.
Easy hollandaise sauce recipe

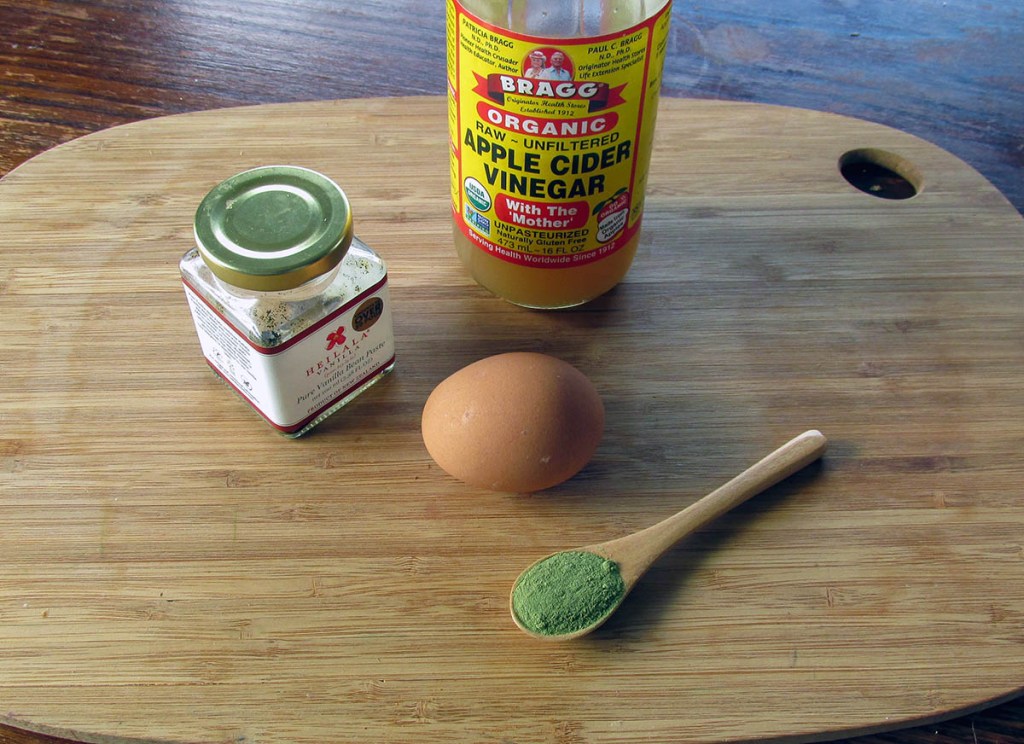
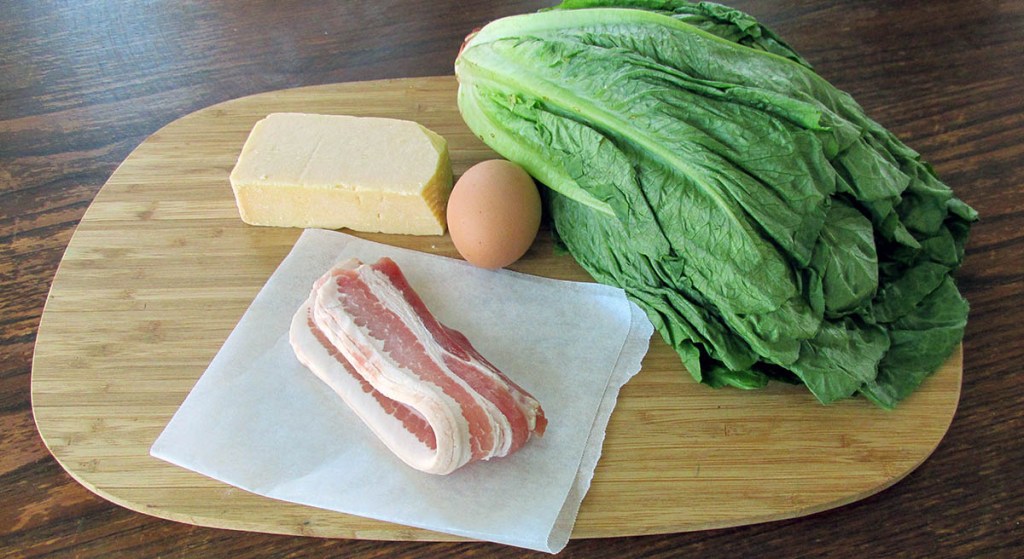
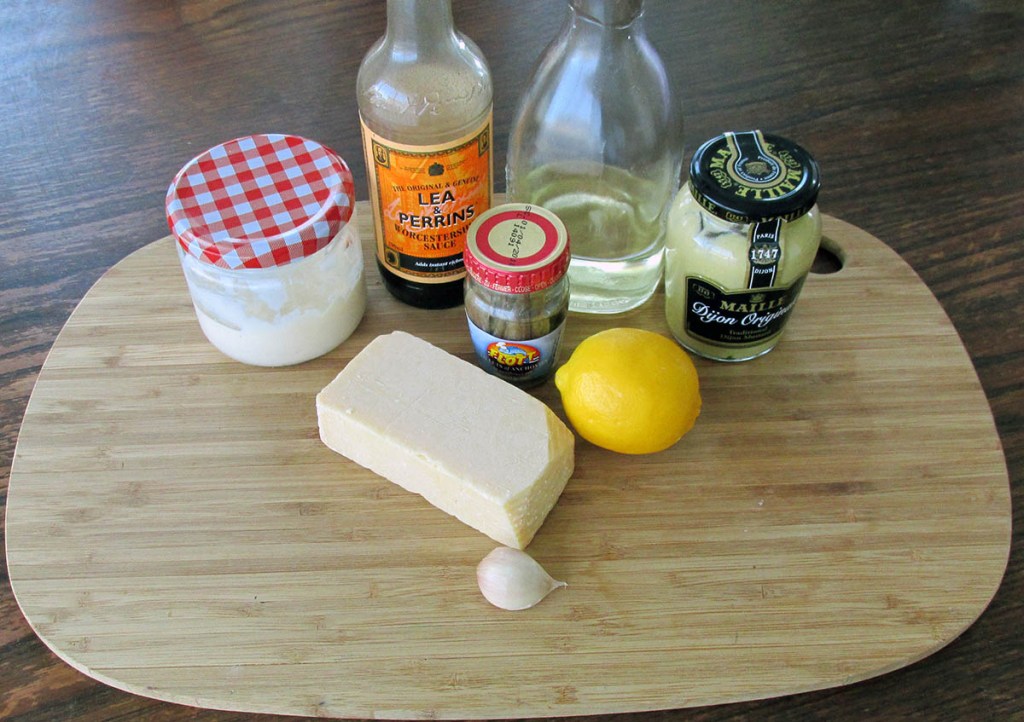
Ingredients
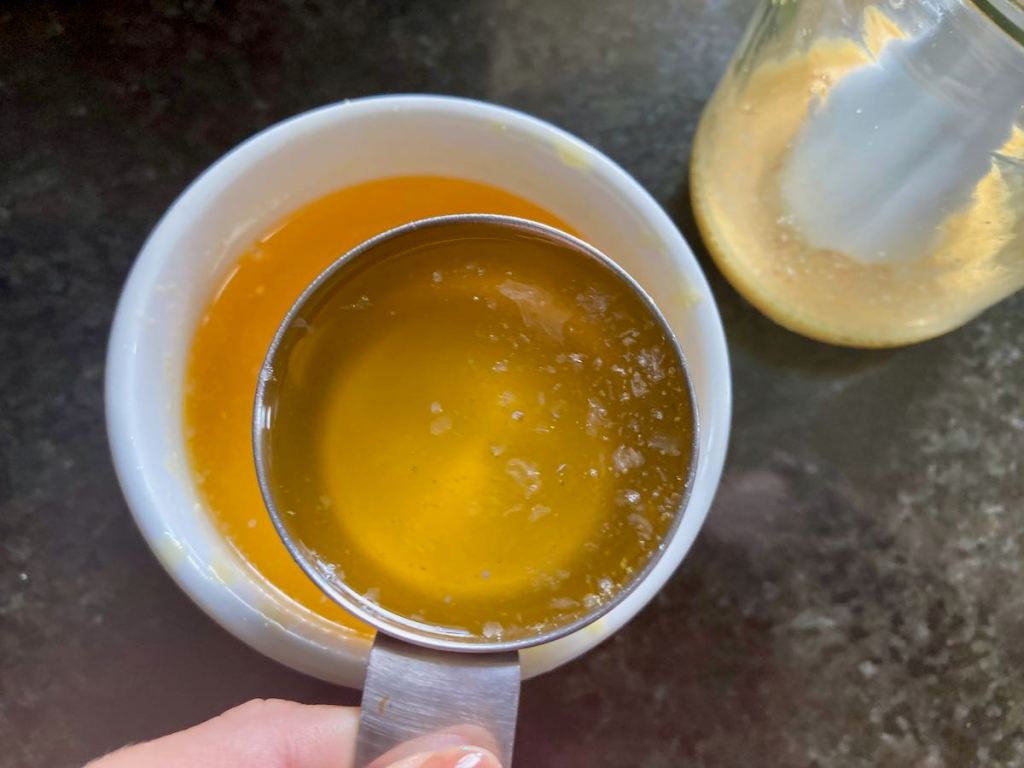
- 1/2 cup ghee, melted
- 2 egg yolks
- 1 tbsp. lemon juice
- salt
- pepper or cayenne papper
Instructions
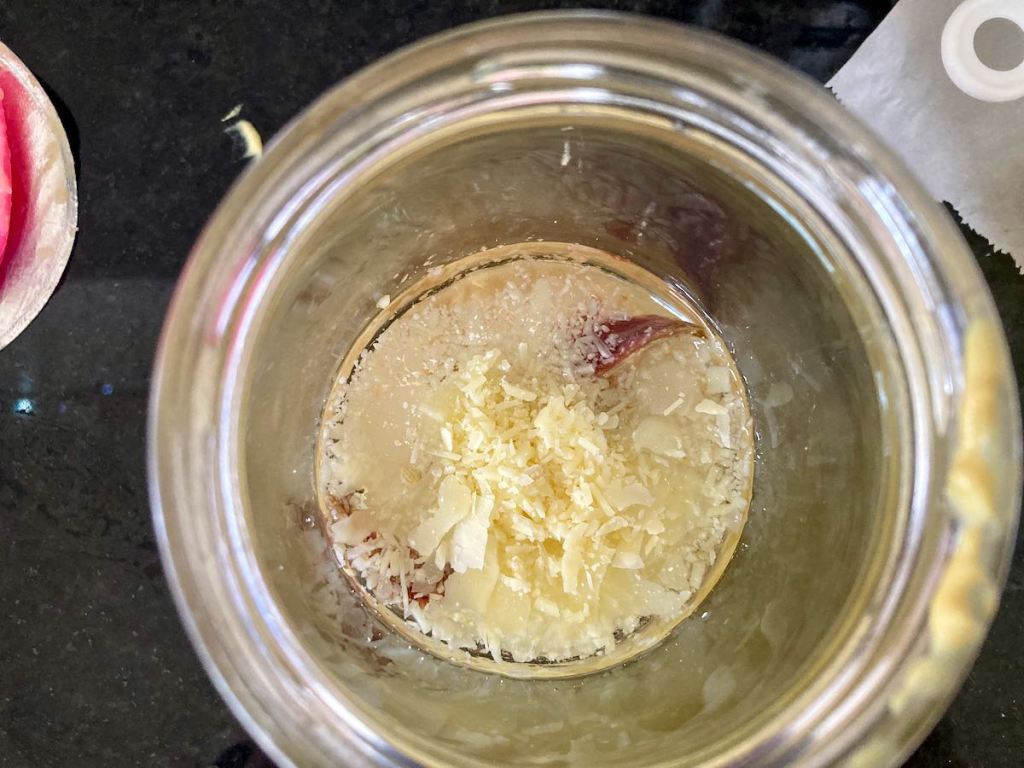
Using a stick blender
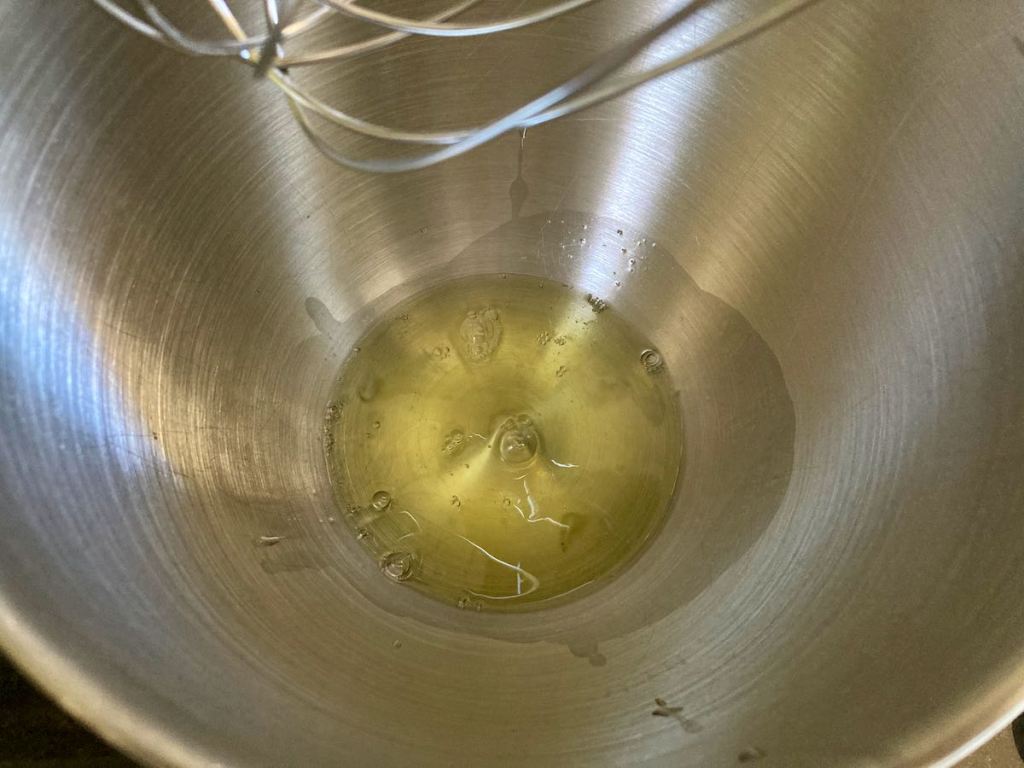
Place the egg yolks, lemon juice in a glass jar with some salt, and pepper.


Pulse the eggs to break them up.

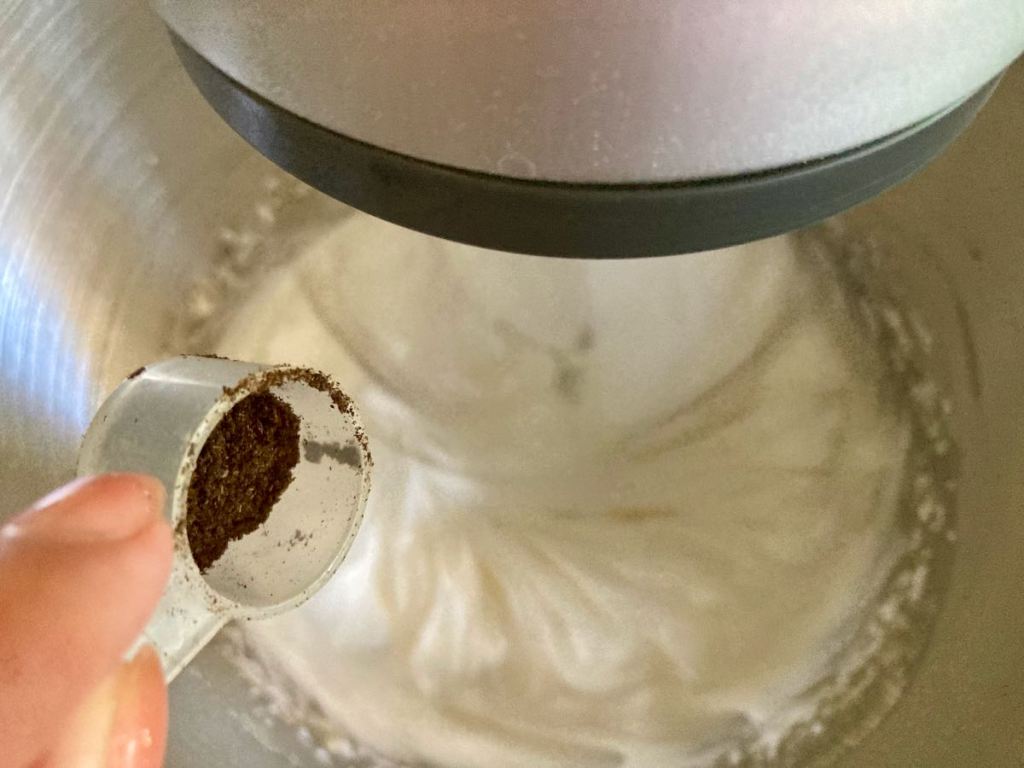
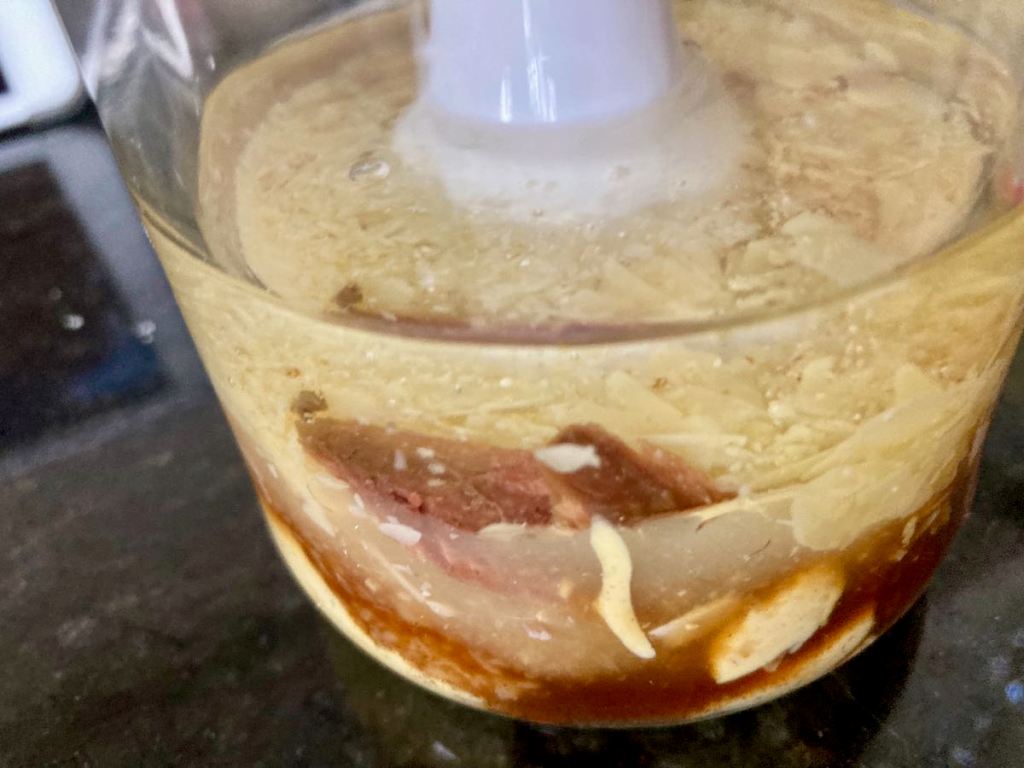
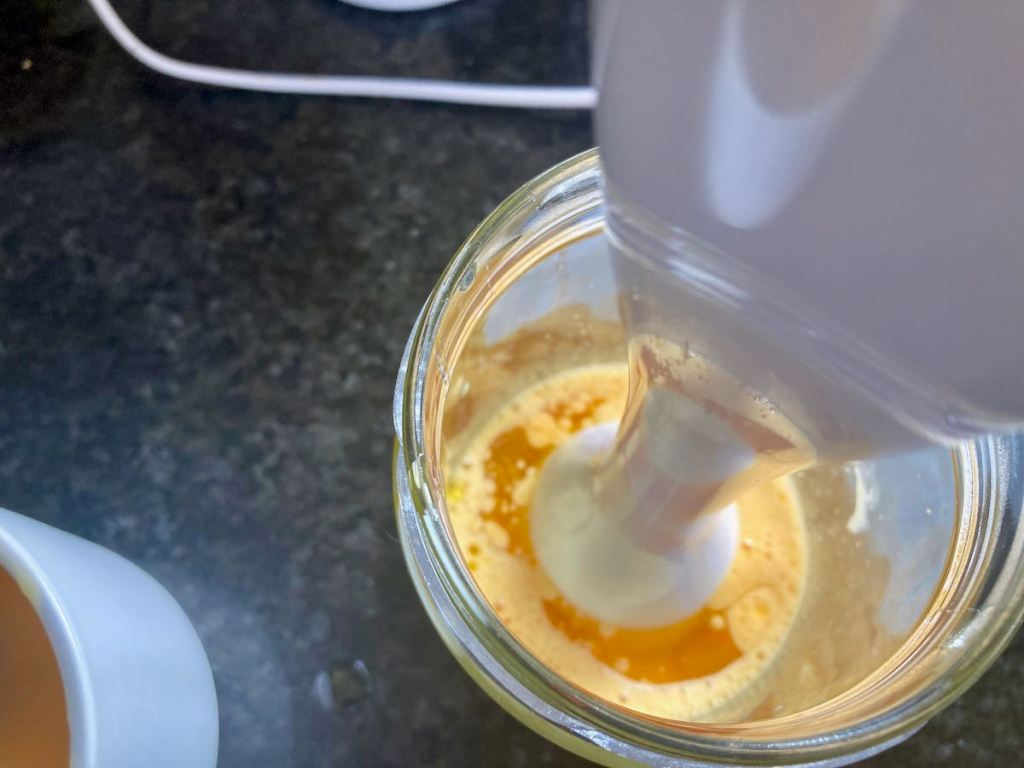
Add 2 tablespoons of the melted ghee to the jar and blend until the ghee has emulsified.
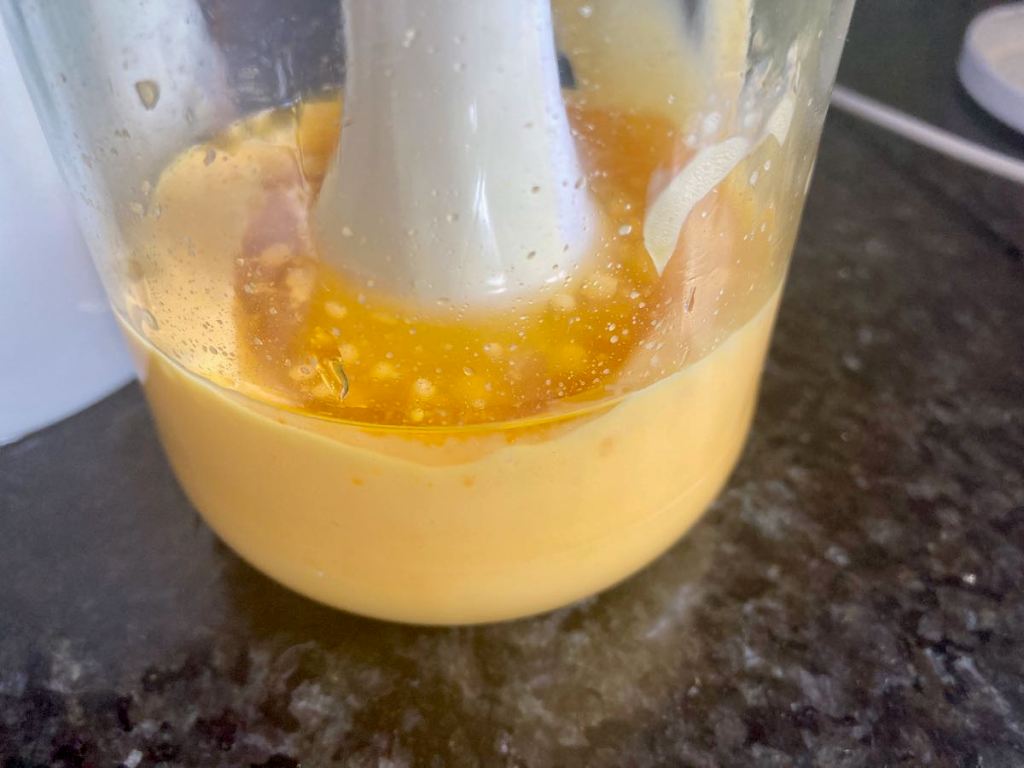
Continue to add 2 tablespoons of ghee to the jar at a time and blend until you have a thick and silky sauce.
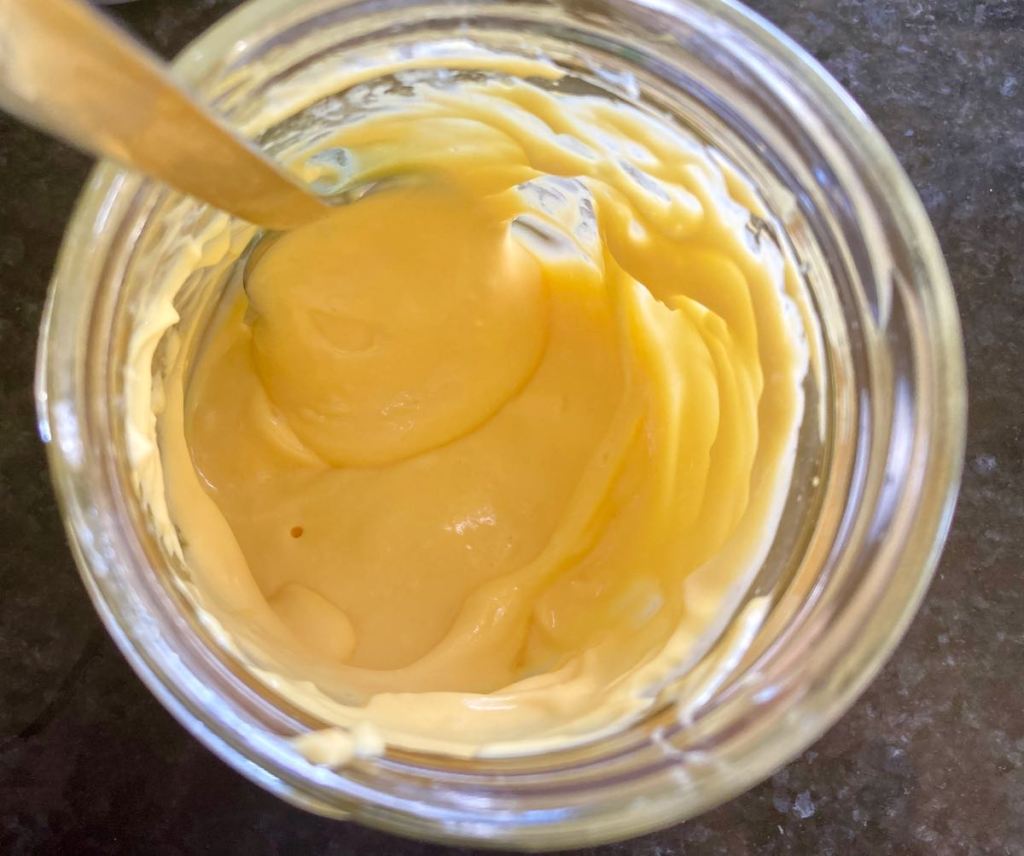
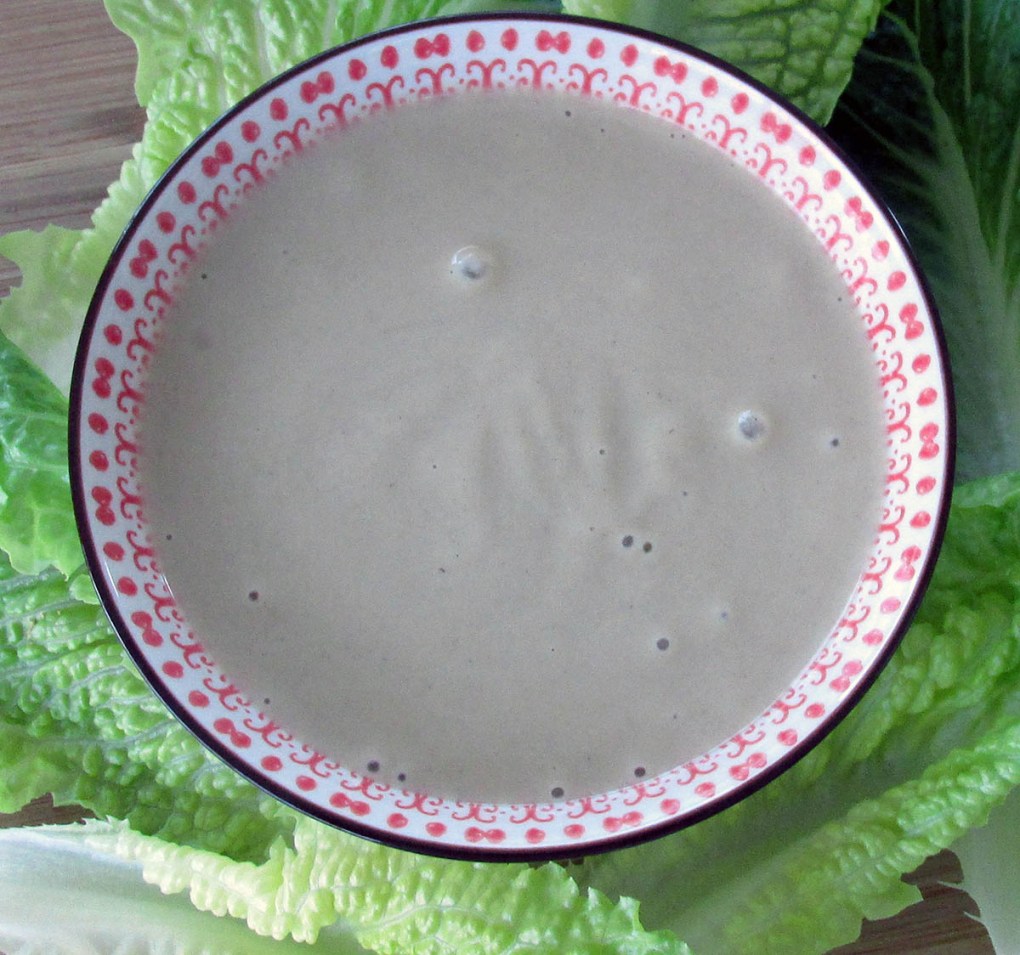
Easy hollandaise sauce
“This
Credit: Cath @ easycleaneats
Ingredients
- 1/2 cup ghee, melted
- 2 egg yolks
- 1 tbsp. lemon juice
- salt
- pepper
Directions
- 1.Melt the ghee over low heat or in the microwave, it should be liquid, not boiling.
- Using a blender
- Place the egg yolks, lemon juice in the blender with some salt, and pepper.
- Start the blender on low and run for about 30 seconds.
- Slowly pour the ghee into the blender through the hole in the lid.
- You must go slowly so that the emulsion does not separate.
- When all the ghee is added, and the sauce has thickened, you are finished.
- Using a stick blender
- Place the egg yolks, lemon juice in a glass jar with some salt, and pepper. 10.Pulse the eggs to break them up.
- Add 2 tablespoons of the melted ghee to the jar and blend until the ghee has emulsified.
- Continue to add 2 tablespoons of ghee to the jar at a time and blend until you have a thick and silky sauce.
Nutrition
Per Serving:153 calories; 16.2 g fat; 0.1 g carbohydrates; 1.6 g proteinEquipment
- Saucepan
- Blender
- Spatula
Nutritional disclaimer
Nutrition information is provided as an estimate based on the ingredients used and available in my area (New Zealand). The nutritional information is here to help you understand the recipe; I use MyFitnessPal to generate my estimates. For more accurate nutritional information, please use a nutritional calculator with the ingredients in your area.