Nut-free option
I am one of those unfortunate people that are allergic to not only peanuts but also tree nuts. When it comes to food options, not having nuts on the menu can be challenging at times and frustrating at others. There are so many foods I would love to try or eat regularly but will never get the chance, thanks to nuts. Not eating nuts doesn’t have to be the end of the world; there are always replacements and alternatives that mean you can have a nut-free option. This recipe is my attempt to create a nut-free version of a usually nut-packed recipe.

Make a big batch
These meatballs were one of our staples back in the day; I would make double batches of them and stuff them in the freezer ready for cooking when things got busy. These meatballs are jam-packed with flavour and go great with my satay-style sauce.
Thai-inspired pork and veggie meatballs recipe
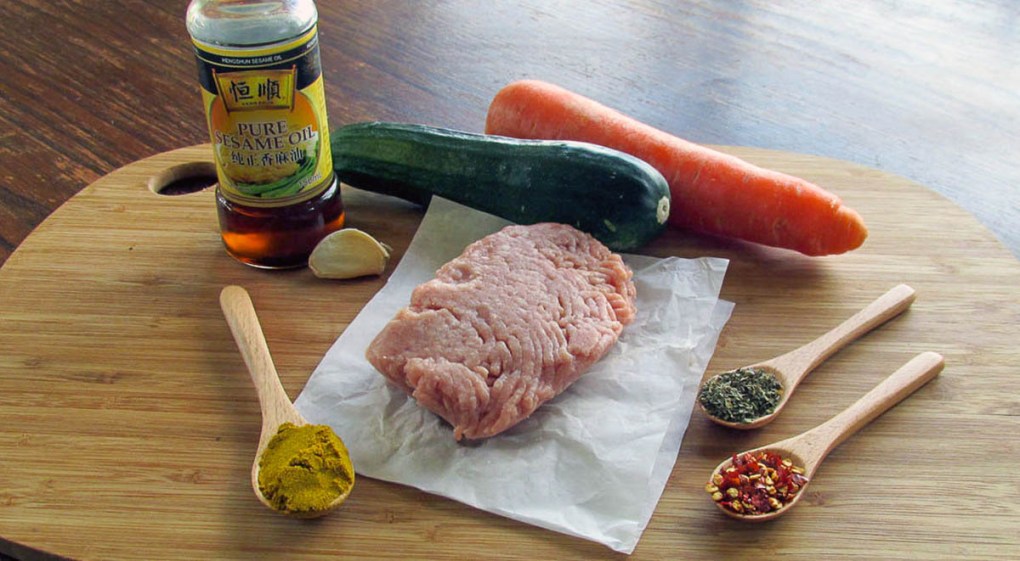
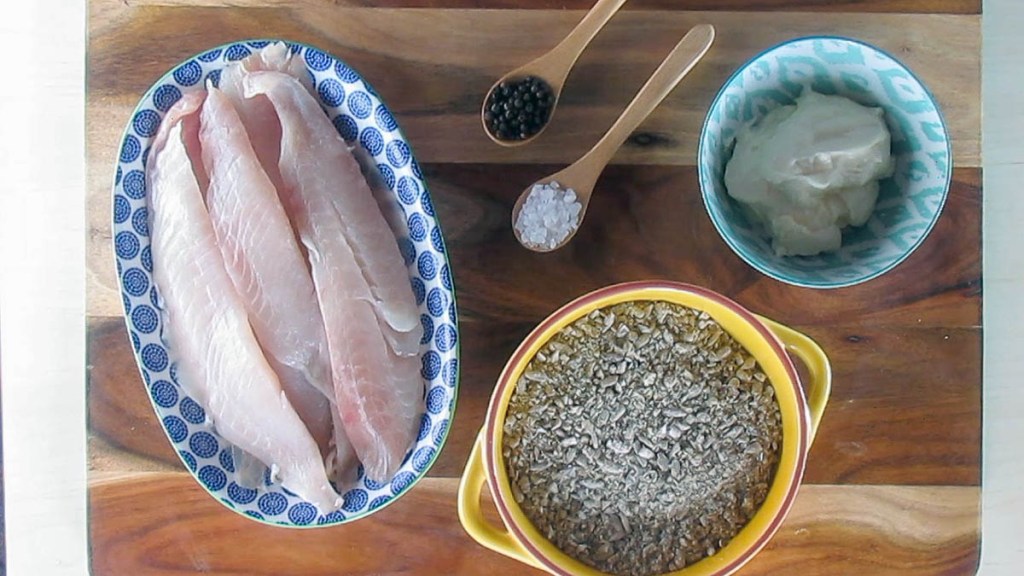
Ingredients
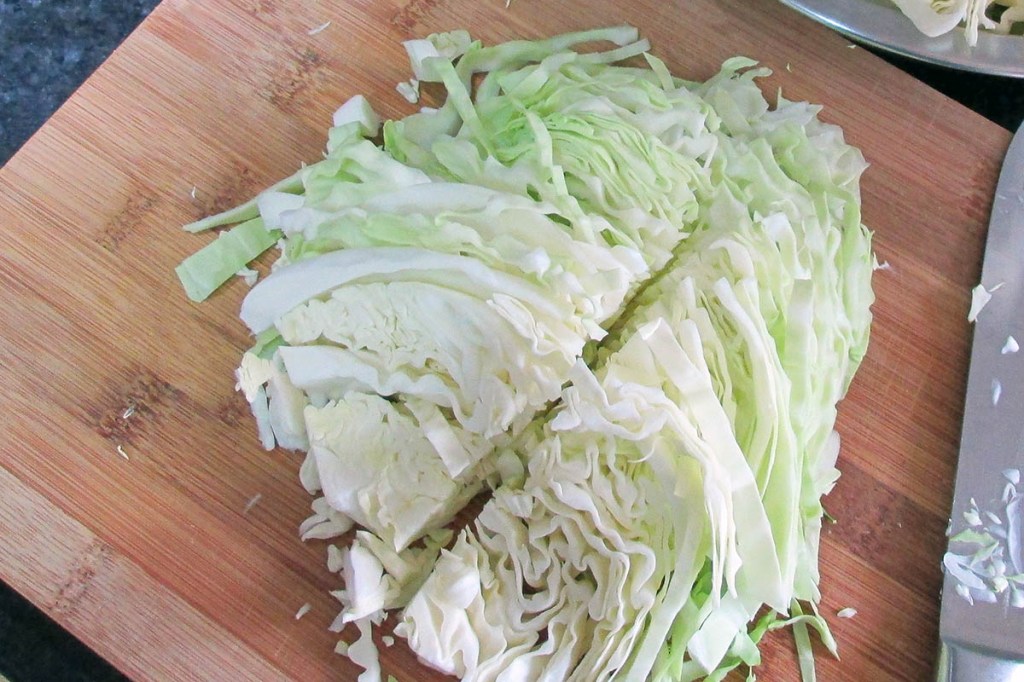
- 2 courgettes, grated
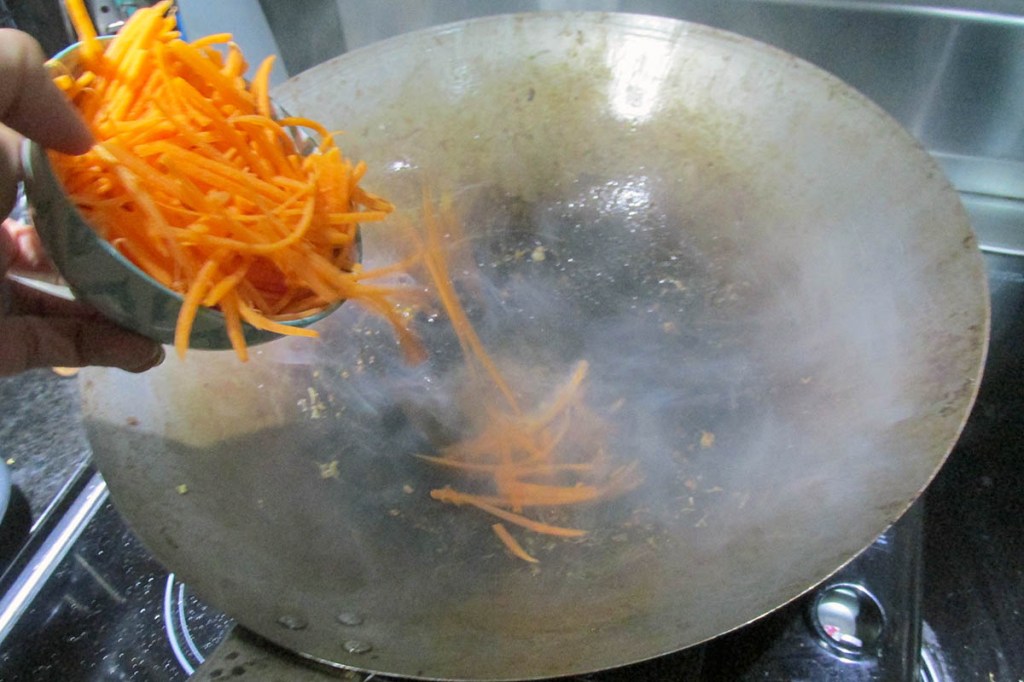
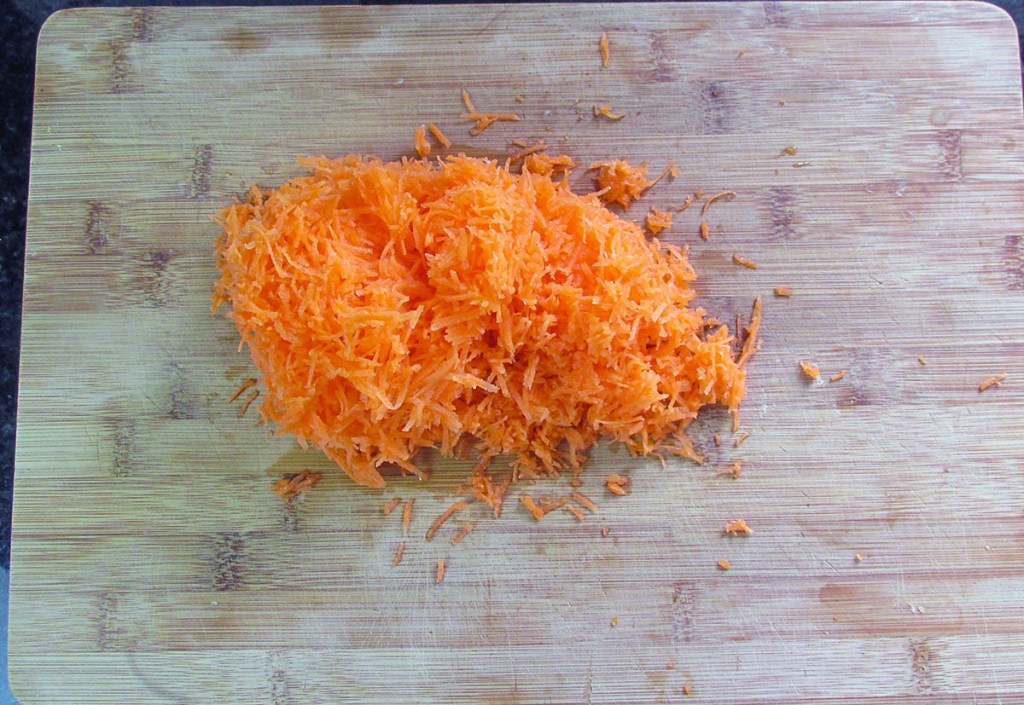
- 2 carrots, grated
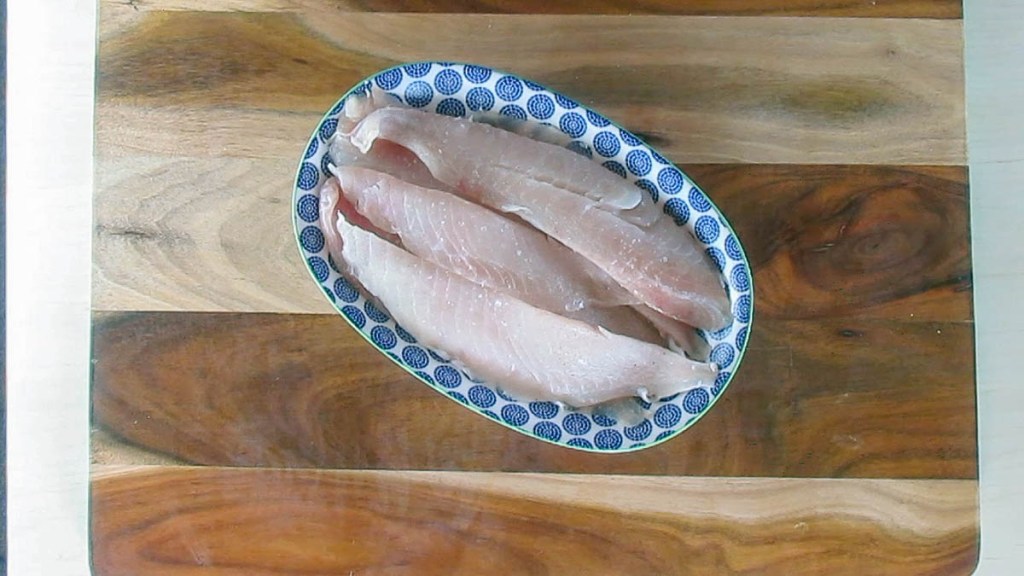
- 450g pork mince
- 250g chicken mince
- 1 tbsp. ginger, grated
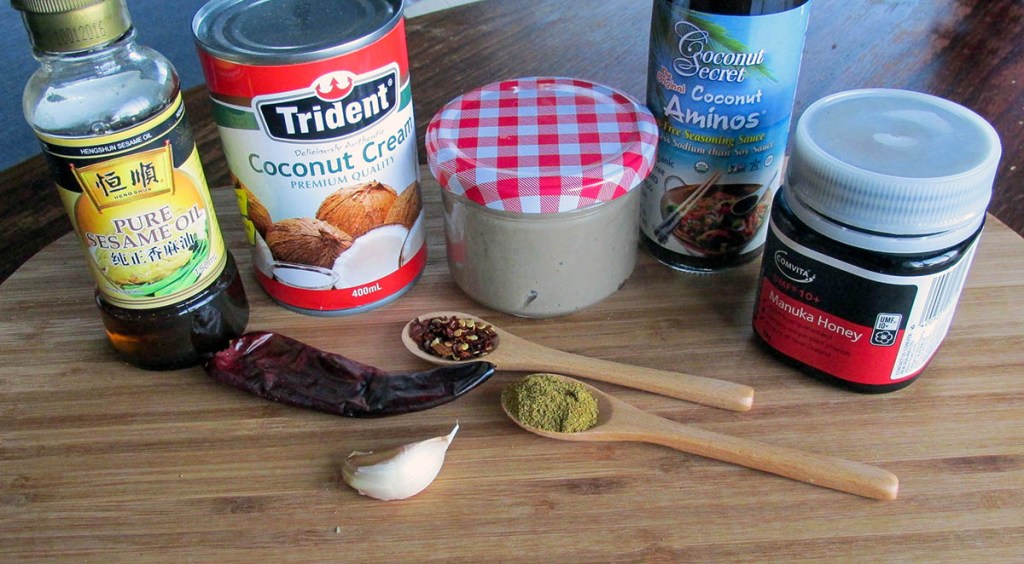
- 1 tsp. sesame oil
- 2 tbsp. fresh basil, minced
- 2 garlic cloves, minced
- 1 tbsp. curry powder
- 1/2 tsp. red chilli flakes
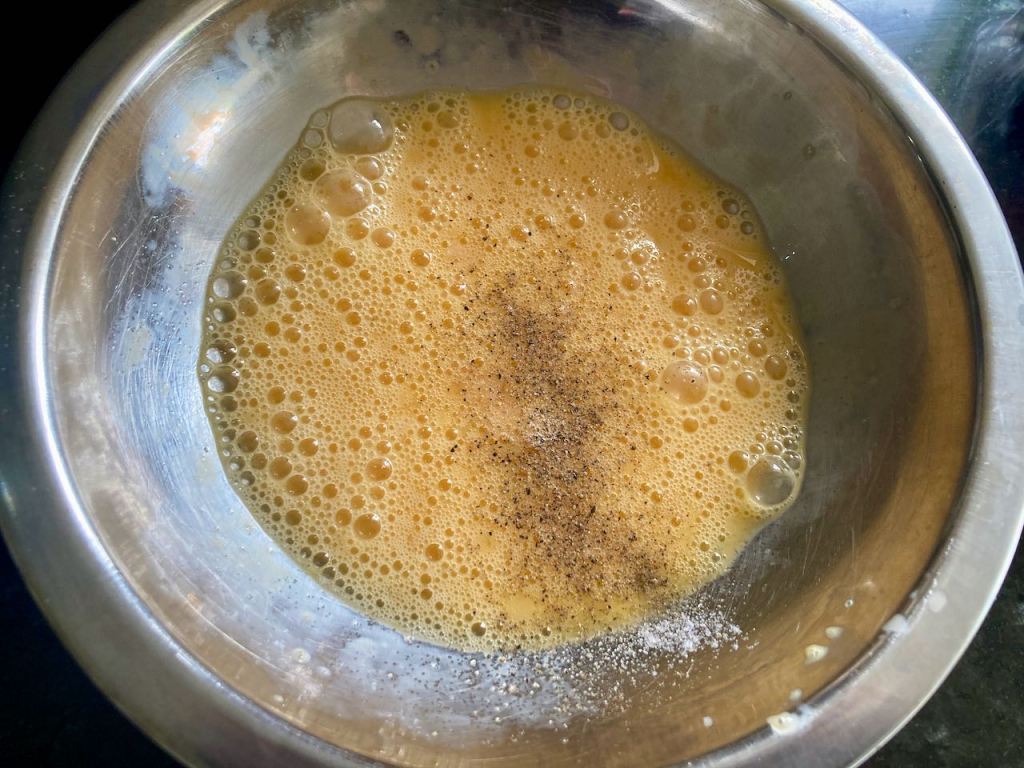
- salt and pepper, to taste
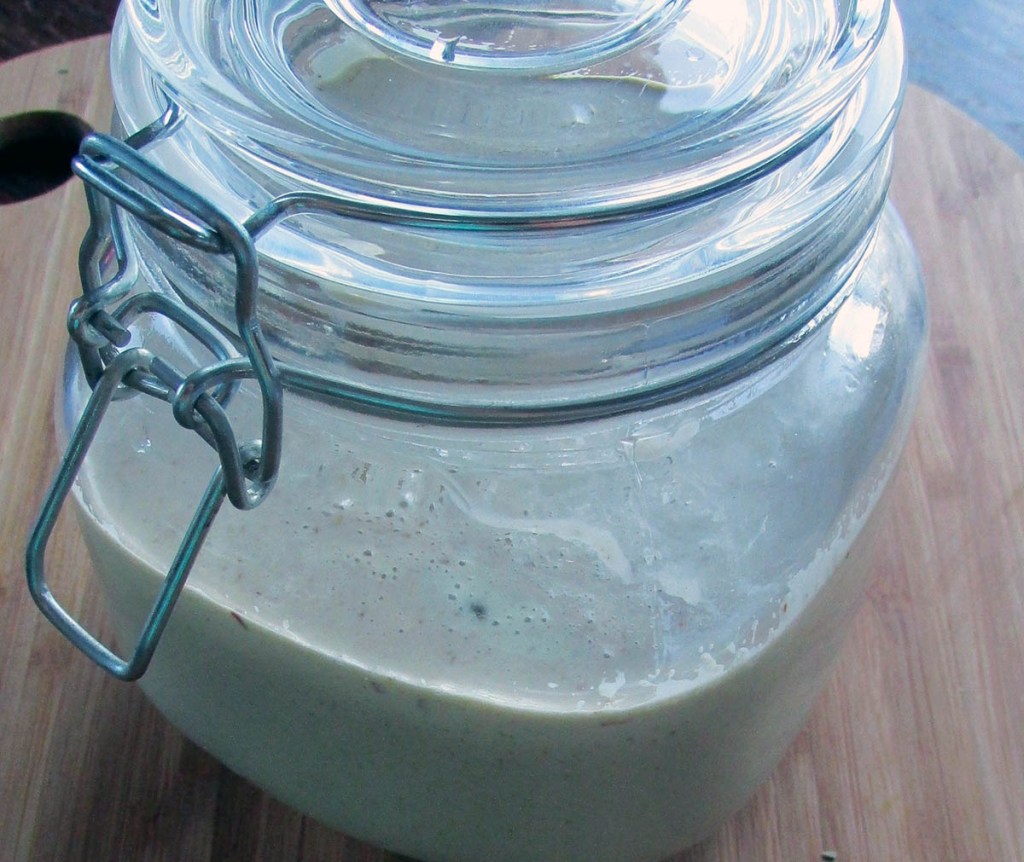
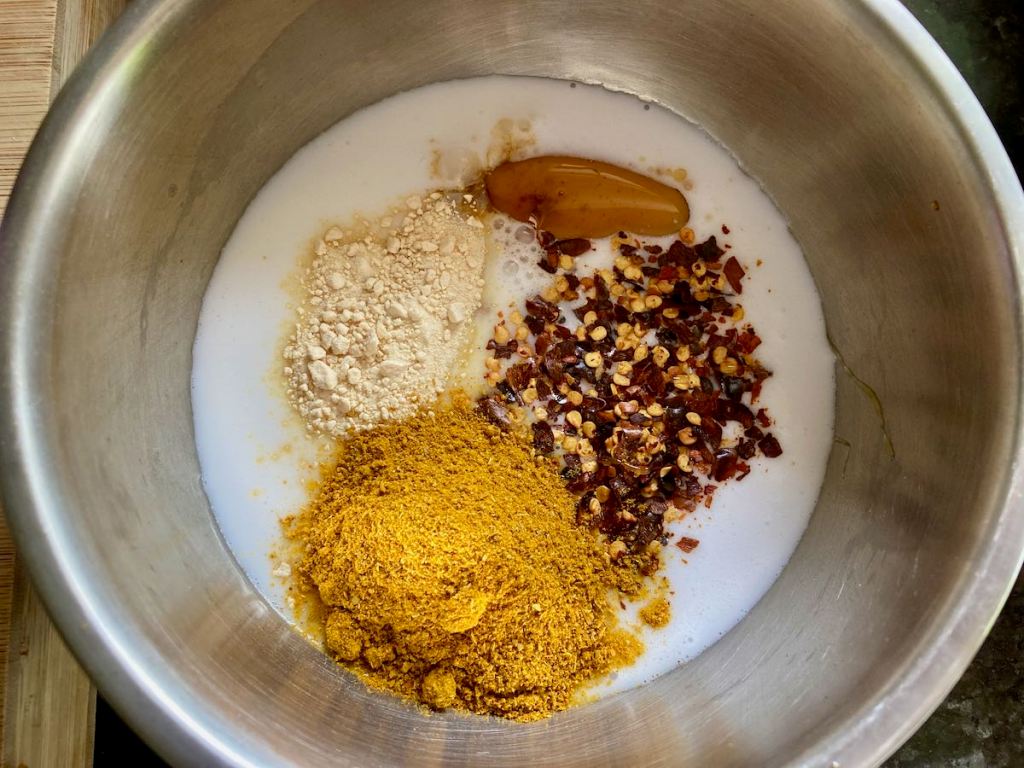
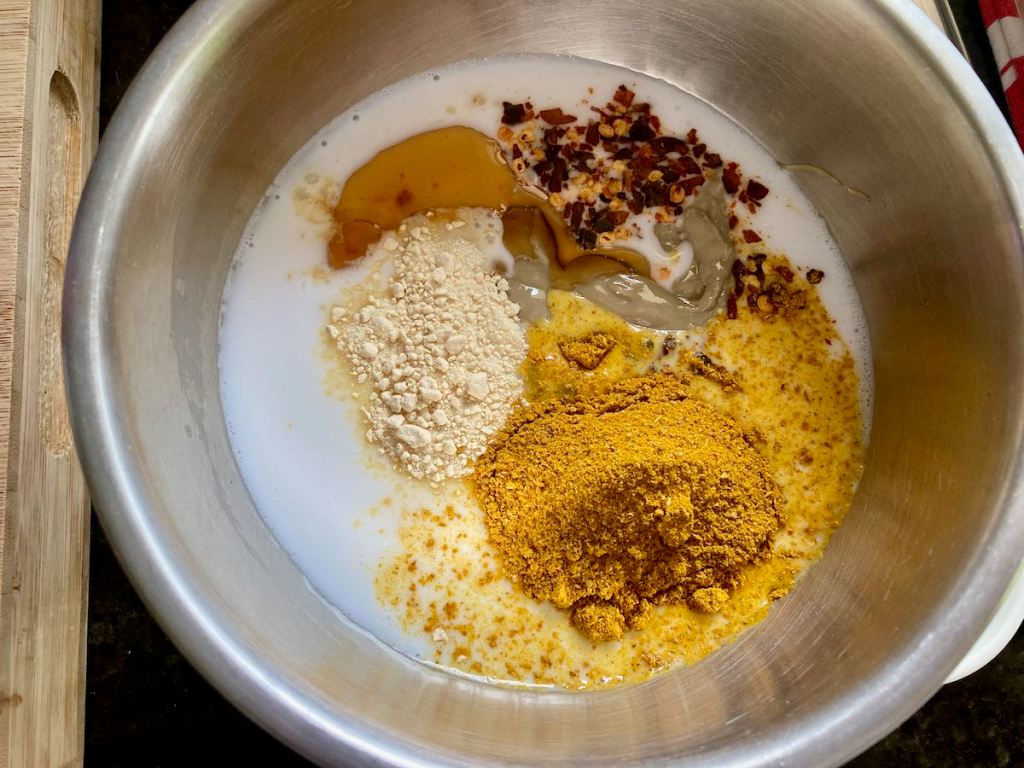
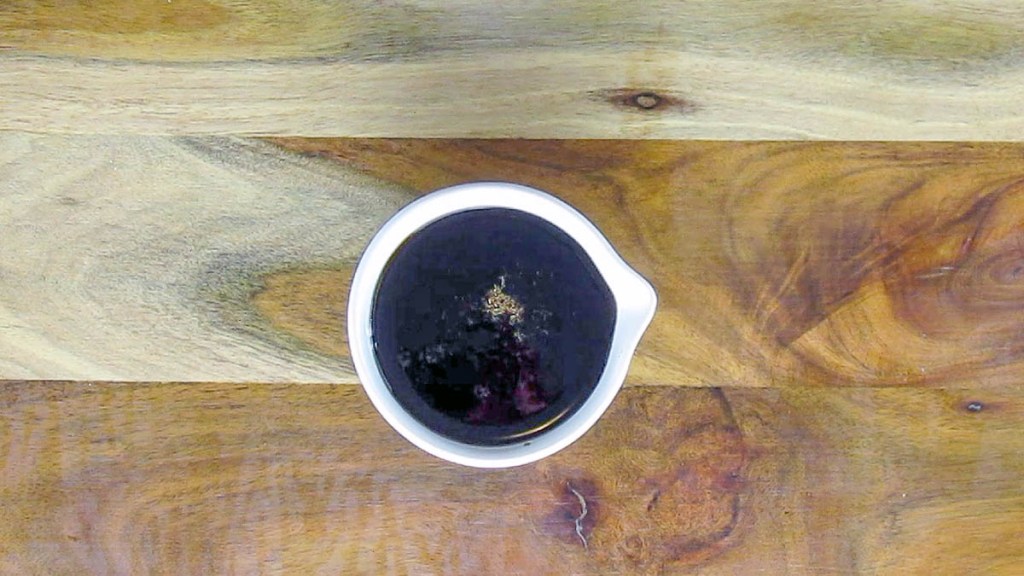
- Satay Style Sauce
Instructions
Preheat the oven to 175 degrees C/350 degrees F.
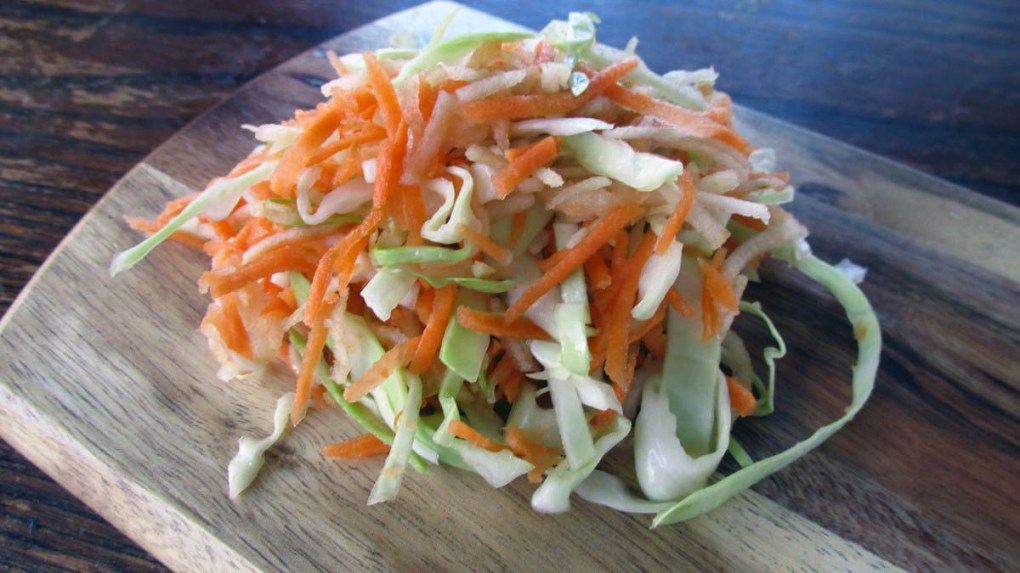
Grate the courgette and carrot; I use my food processor with a fine grating attachment.
Take a large bowl and place a large clean dishcloth in the bowl.
Add the carrot and courgette to the bowl.

Squeeze out the excess water from the carrot and courgette.
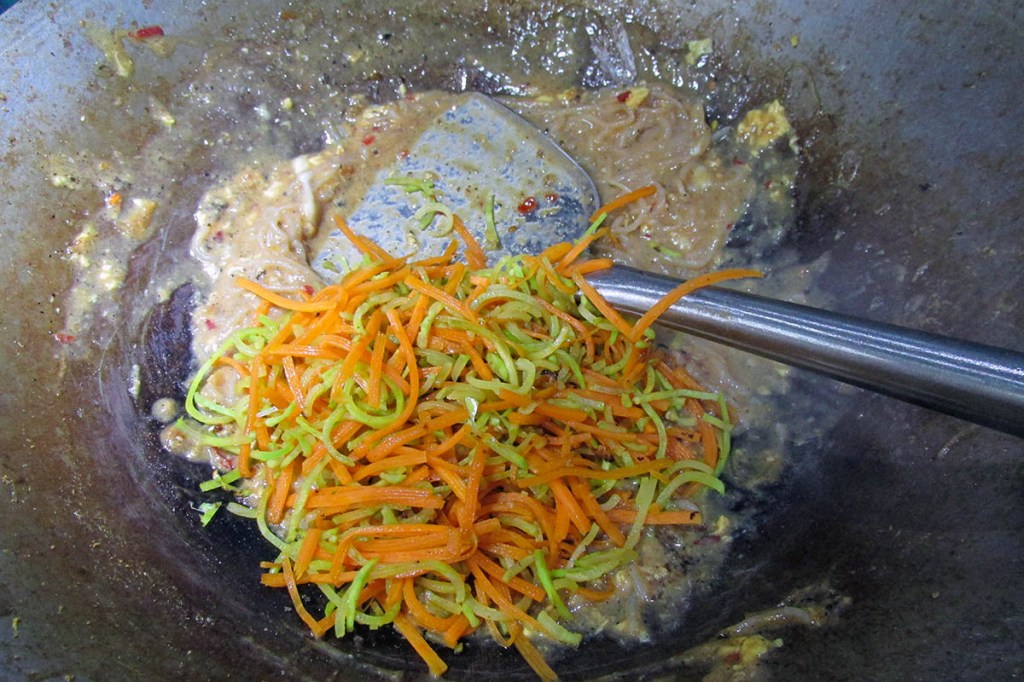
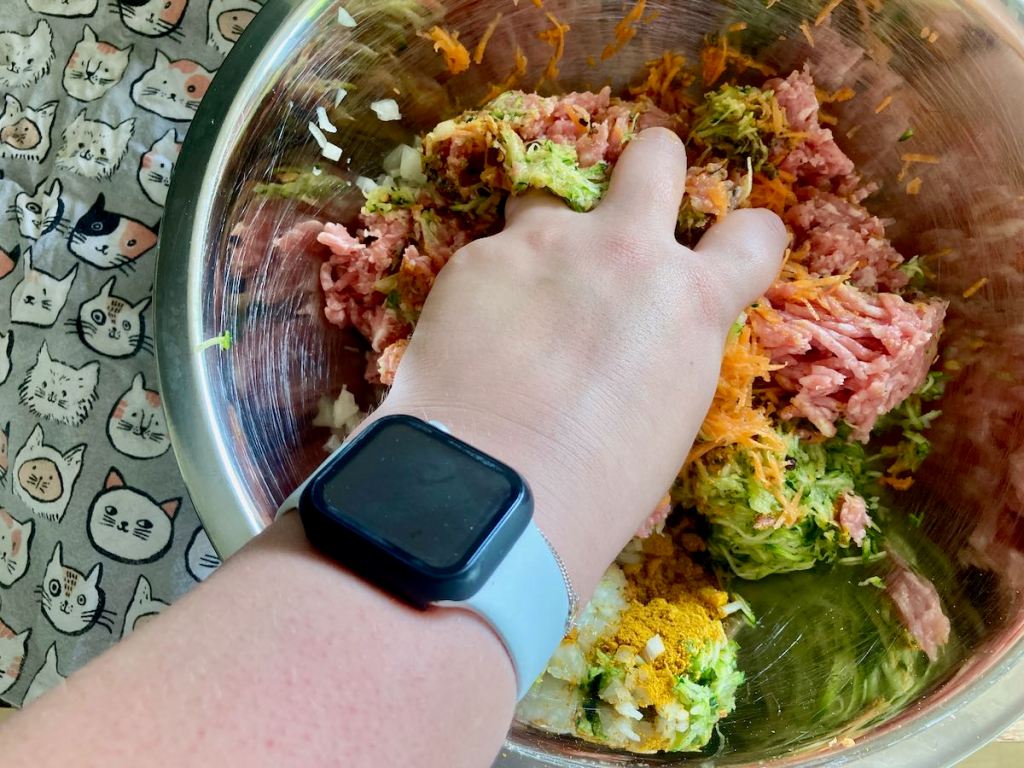
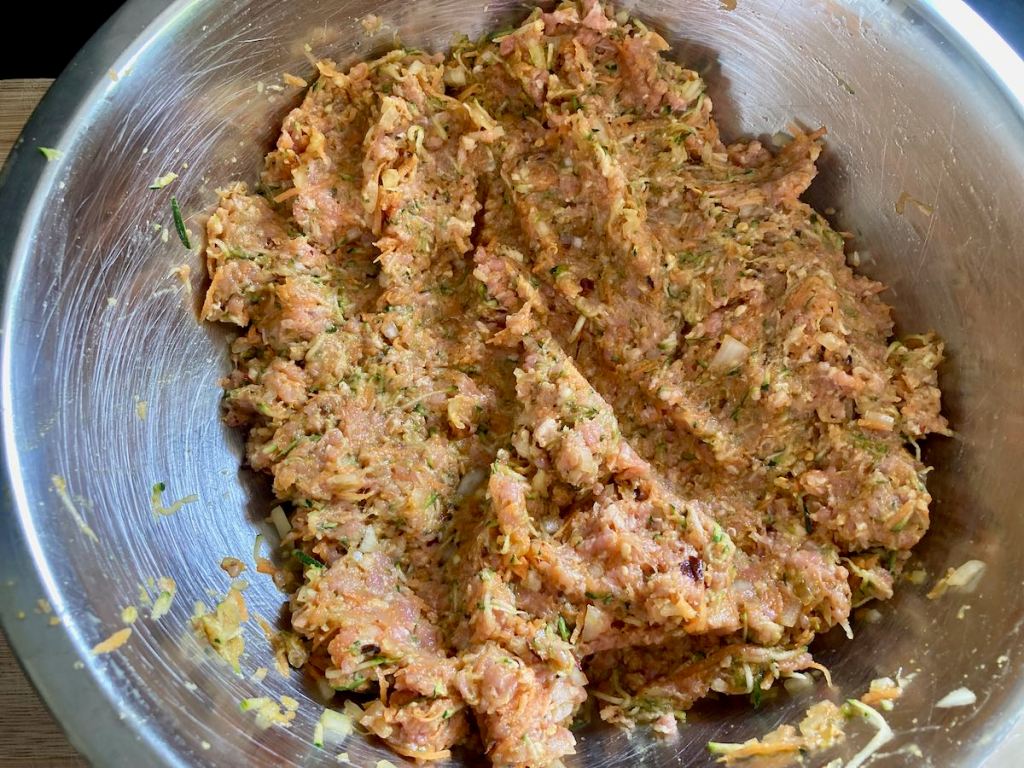
Add the carrot and courgette to a bowl along with the other ingredients.


Use your hands to mix the meat and vegetables together.
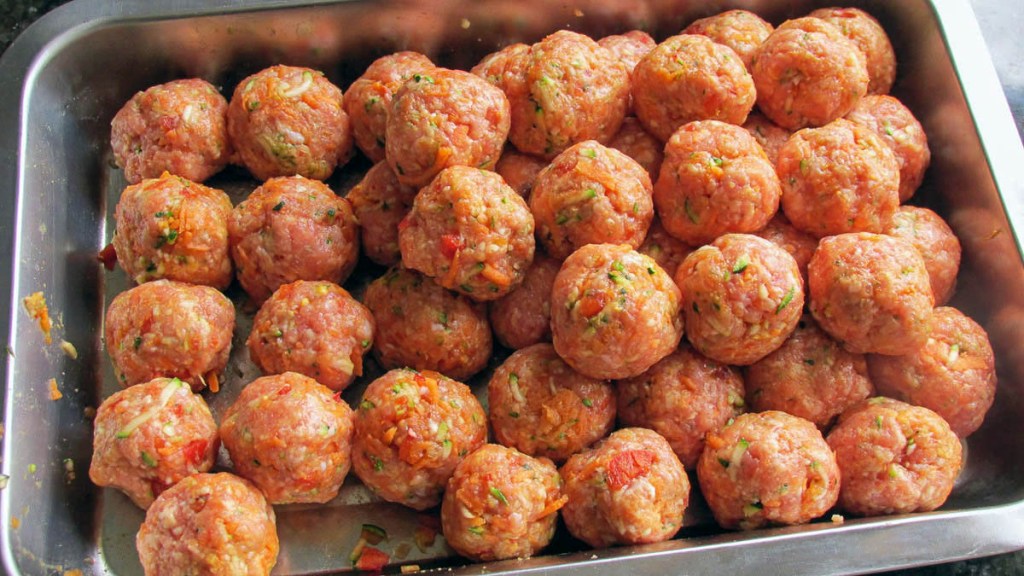
Use a soup spoon or ice cream scoop to portion the meat into meatballs.
Roll the meatballs and place them on a plate.
Depending on how large the meatballs are, you may have between 30 and 40 meatballs.
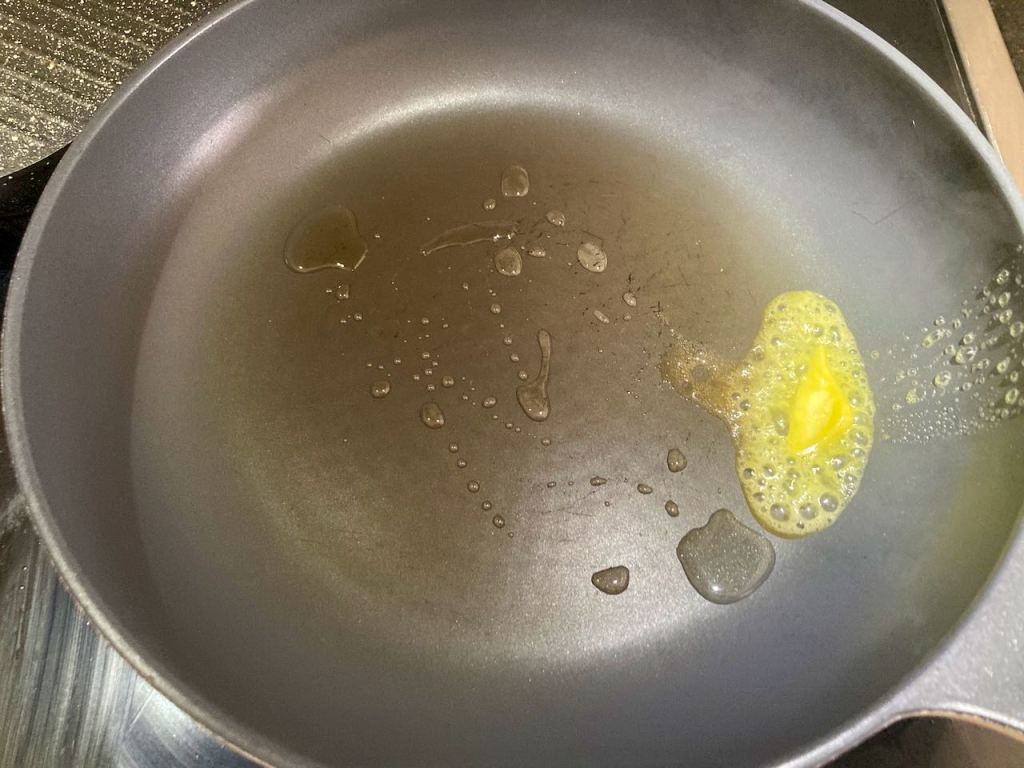
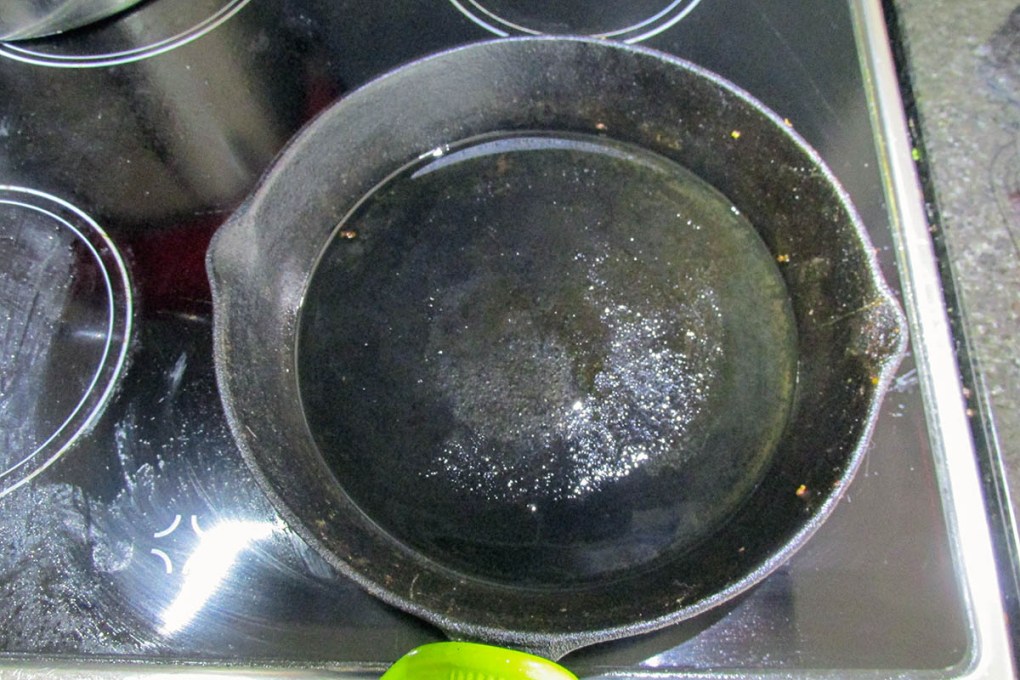
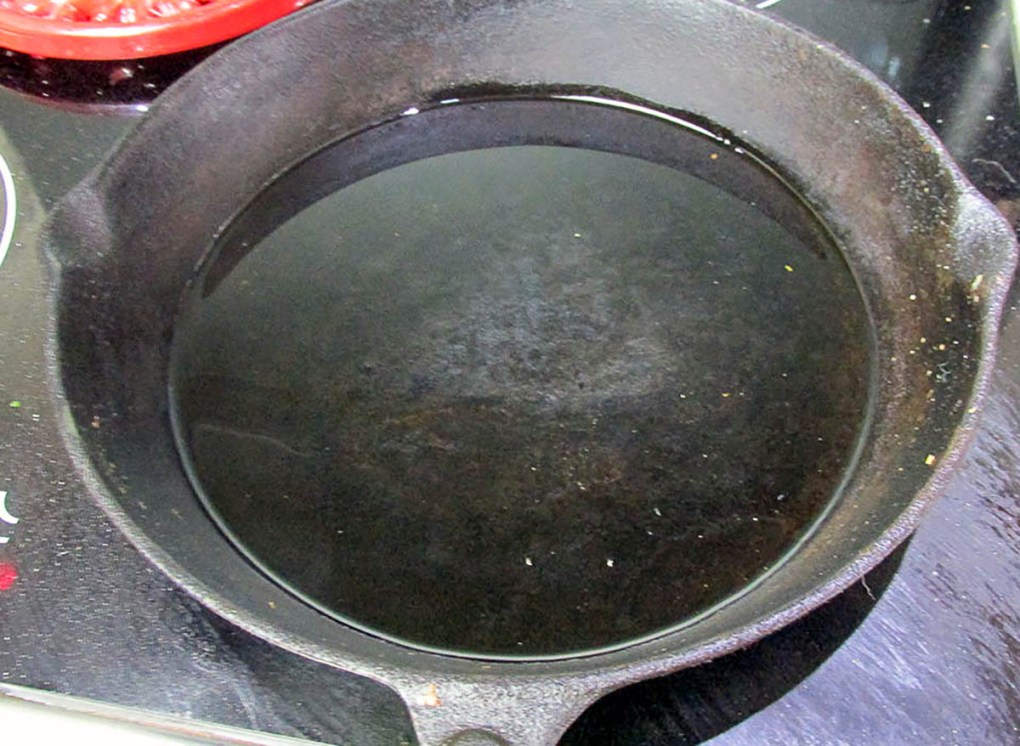
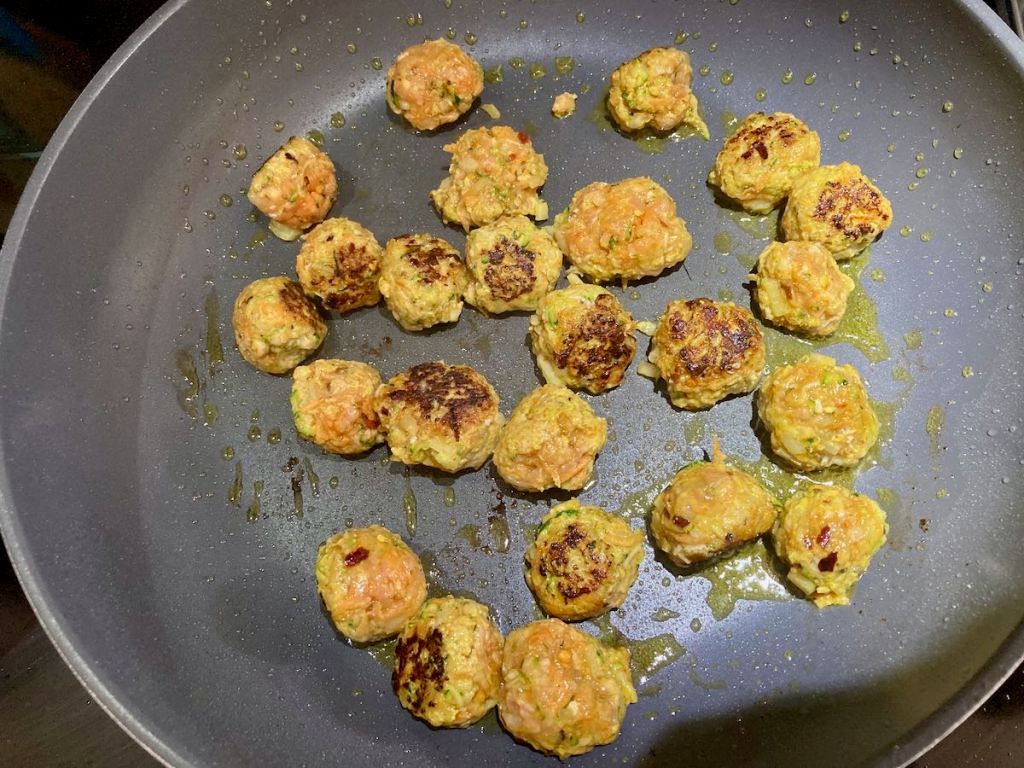
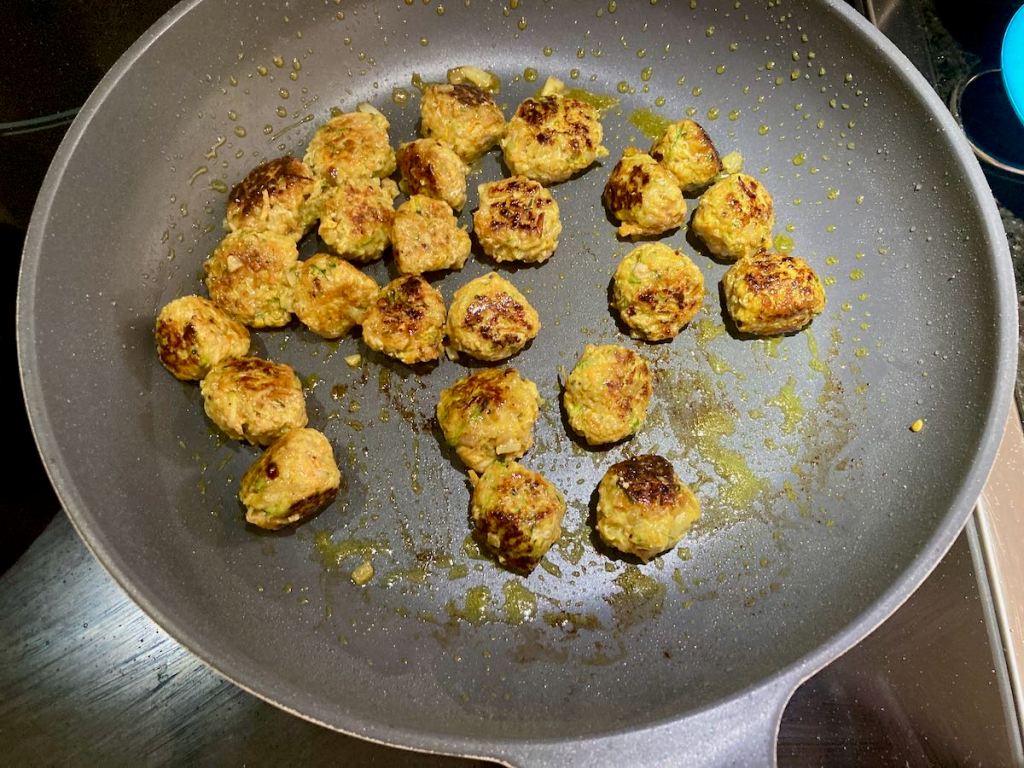
Take a large frying pan or cast iron skillet and heat some oil over medium heat.
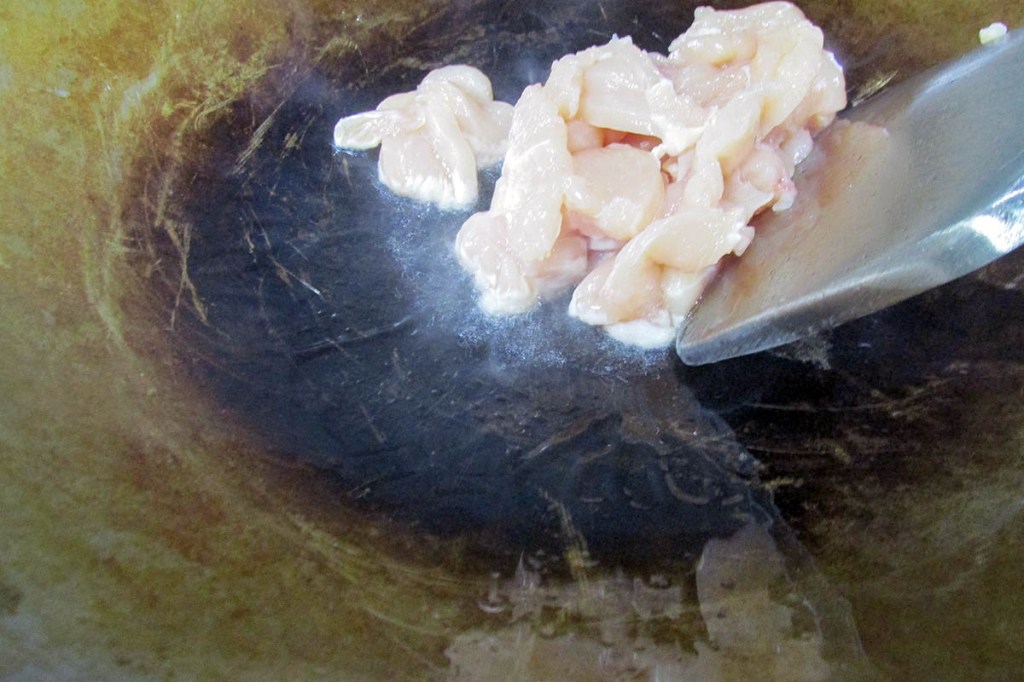
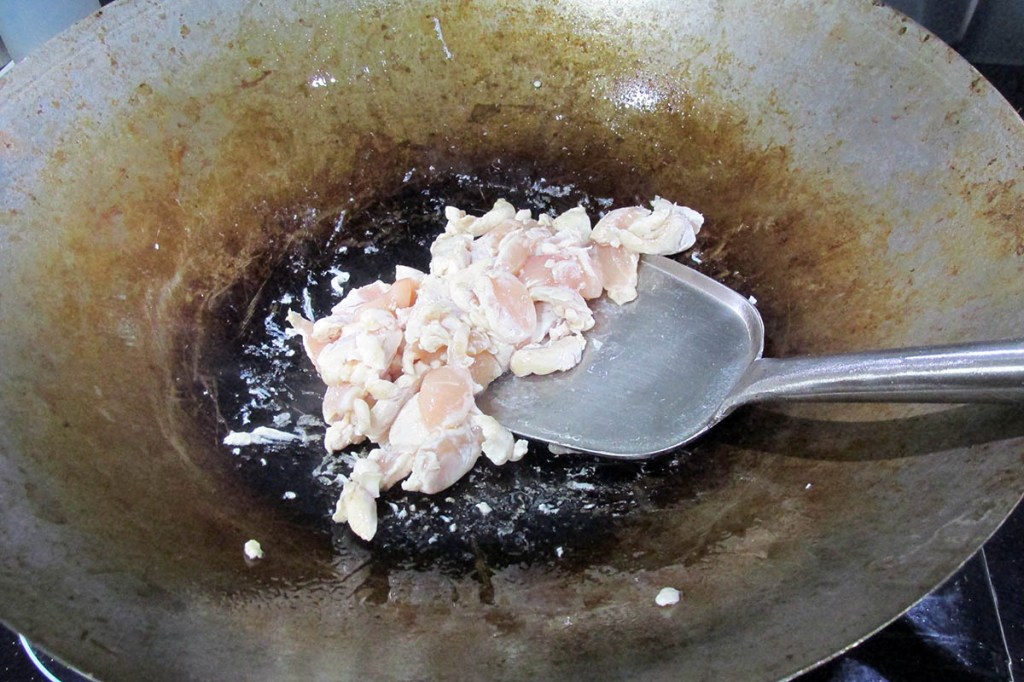
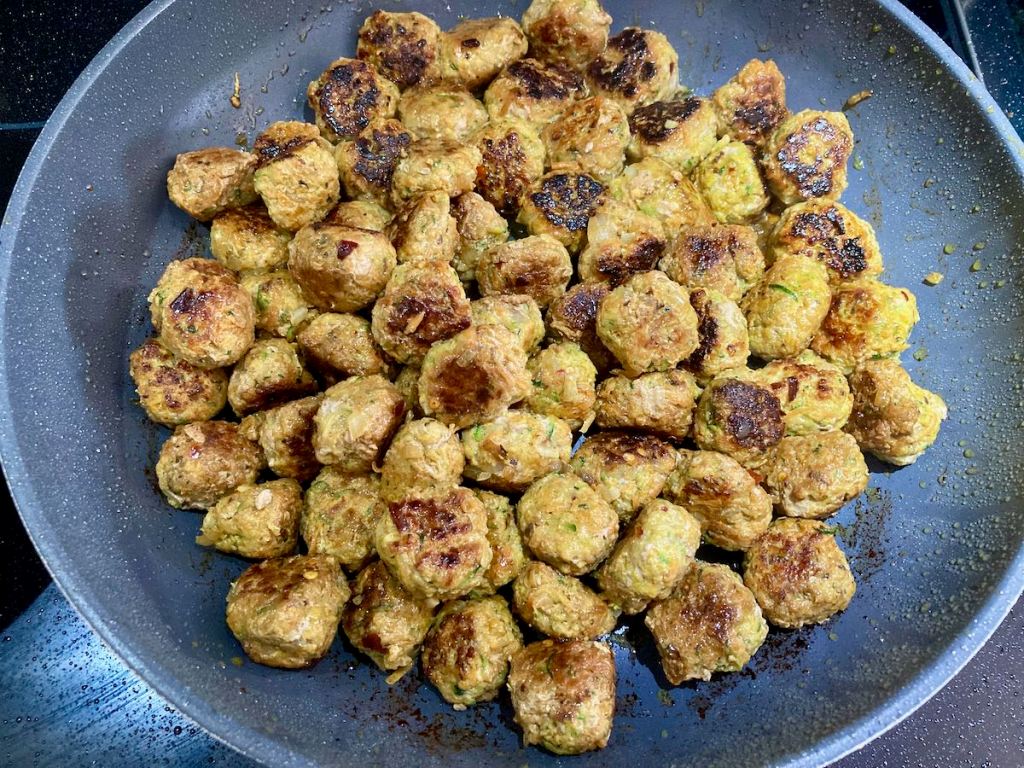
Cook the meatballs in batches,
The meatballs should be browned on all sides before you take them out of the pan.
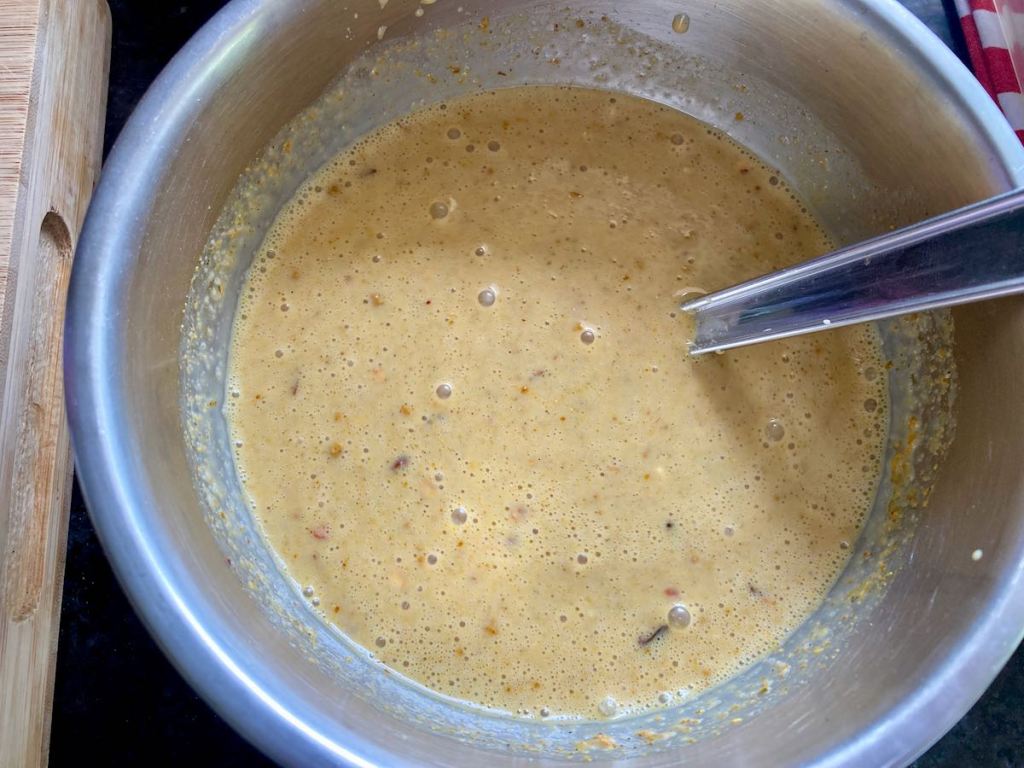
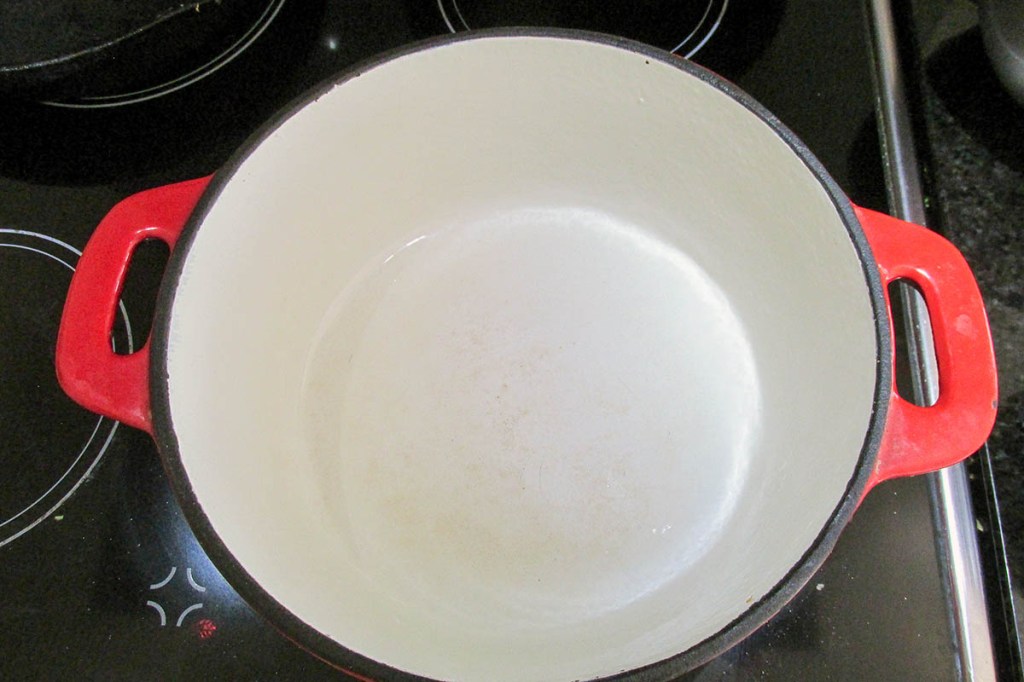
Once the meatballs have been cooked, warm up the satay-style sauce in the same pan and add the meatballs back into the pan.
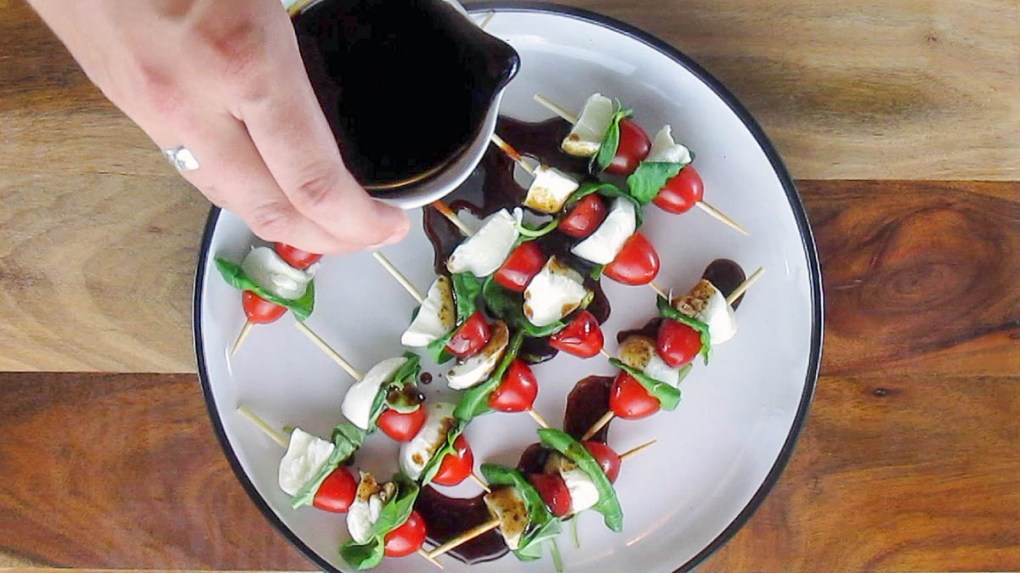
Thai inspired pork and veggie meatballs
“This
Credit: Cath @ easycleaneats
Ingredients
– 2 courgettes, grated – 2 carrots, grated – 450g pork mince – 250g chicken mince – 1 tbsp. ginger, grated – 1 tsp. sesame oil – 2 tbsp. fresh basil, minced – 2 garlic cloves, minced – 1 tbsp. curry powder – 1/2 tsp. red chilli flakes – salt and pepper, to taste – Satay Style SauceDirections
- Preheat the oven to 175 degrees C/350 degrees F.
- Grate the courgette and carrot; I use my food processor with a fine grating attachment.
- Take a large bowl and place a large clean dishcloth in the bowl.
- Add the carrot and courgette to the bowl.
- Squeeze out the excess water from the carrot and courgette.
- Add the carrot and courgette to a bowl along with the other ingredients.
- Use your hands to mix the meat and vegetables together.
- Use a soup spoon or ice cream scoop to portion the meat into meatballs.
- Roll the meatballs and place them on a plate.
- Depending on how large the meatballs are, you may have between 30 and 40 meatballs.
- Take a large frying pan or cast iron skillet and heat some oil over medium heat.
- Cook the meatballs in batches,
- The meatballs should be browned on all sides before you take them out of the pan.
- Once the meatballs have been cooked, warm up the satay-style sauce in the same pan and add the meatballs back into the pan.
- Simmer the sauce with the meatballs for 15-20 minutes.
- Serve the meatballs on a bed of noodles or cauliflower rice with satay-style sauce.
Nutrition
Per Serving:307 calories; 22.4g fat; 18.9g carbohydrates; 8.6g proteinEquipment
- Food processor
- Grater attachment
- Kitchen towel
- Mixing bowl x2
- Ice cream scoop
- Plate
- Whisk
- Frying pan or skillet
- Tongs
Nutritional disclaimer
Nutrition information is provided as an estimate based on the ingredients used and available in my area (New Zealand). The nutritional information is here to help you understand the recipe; I use MyFitnessPal to generate my estimates. For more accurate nutritional information, please use a nutritional calculator with the ingredients in your area.