Here is another quick, easy and practical post to add to your kitchen skill toolbox.
Meatballs are an easy weeknight option, they are easy to make, and each one can be made into a little flavour bomb.
Making meatballs is easy, a little messy but easy. You can follow these key steps to make tender meatballs every time no matter what flavours you put in the mix. Remember that meatballs are comfort food, so it is ok to keep it simple.
Homemade meatballs
Picking the right meat
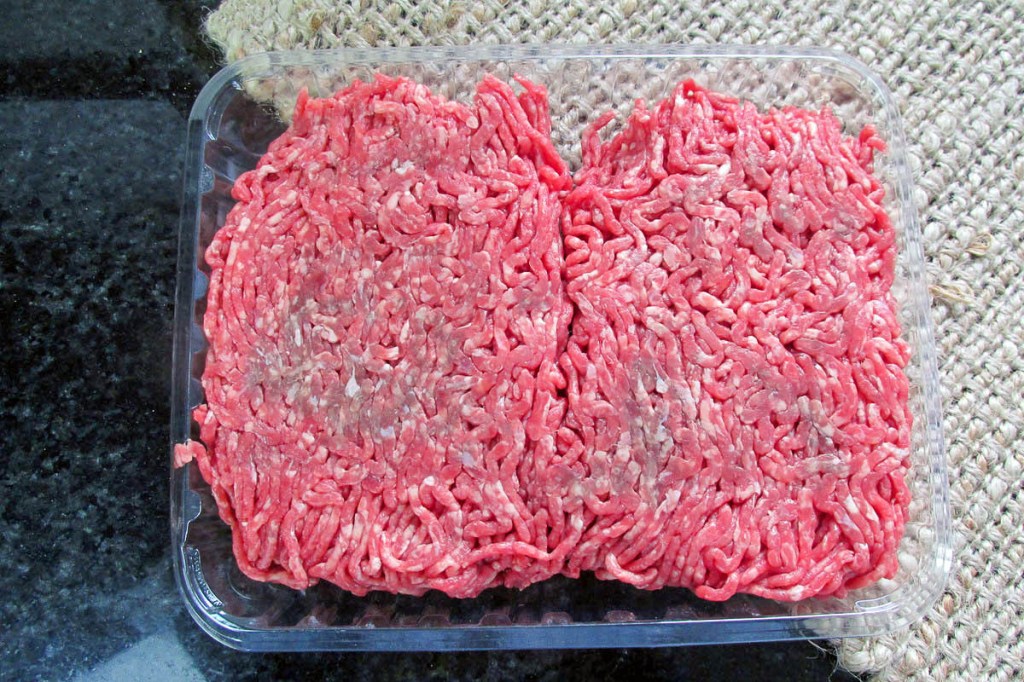
The most important thing about your meatballs is the meat (obviously). It doesn’t matter what meat you want to use for your meatballs, what is important is fat. The fat content of the meat is what will give you tender meatballs; if you use lean meat make sure you keep an eye on the meatballs while they cook. Without fat, you get dry, chewy meatballs.
Remember that you can mix and match your meat.
Beef mince
Do you need to bind it?
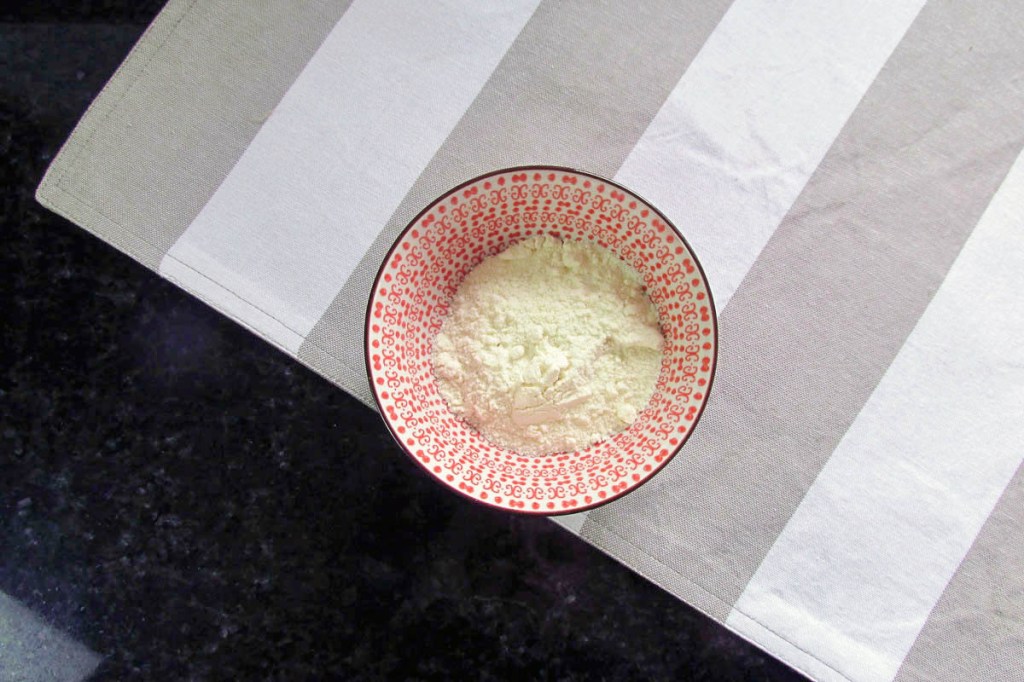
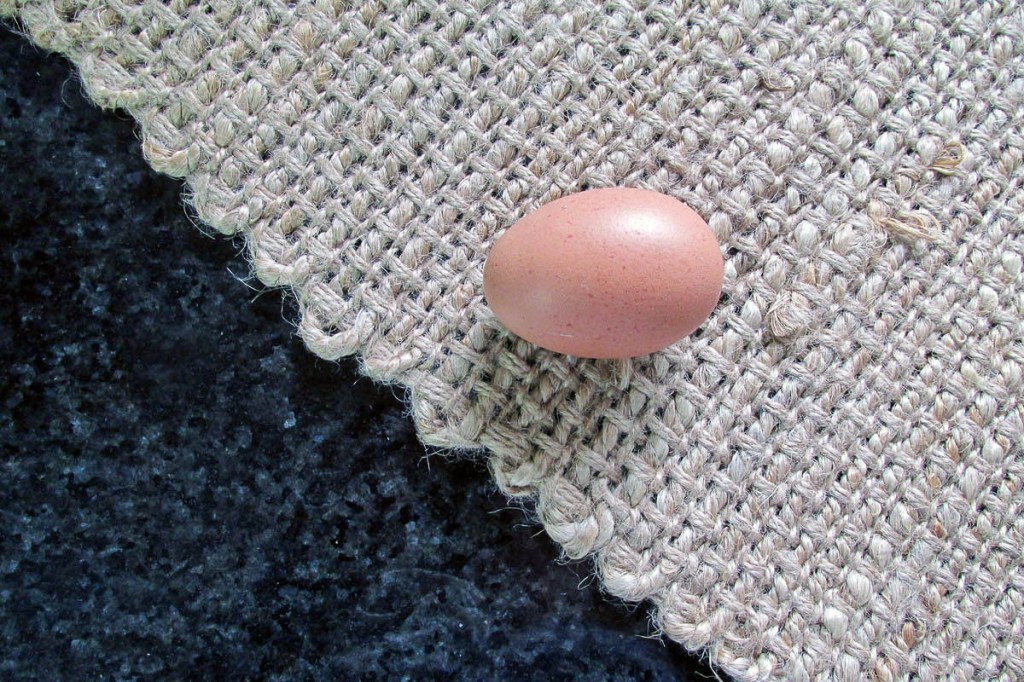
Traditionally people add eggs and breadcrumbs to meatballs; I have never actually seen the need to add a binder to meatballs. Depending on what meat you use will generally dictate if you need to add anything to keep the meatballs together. I often find that sticker meats (sausage meat, chicken mince, or turkey) benefit from having something added to keep in some of the moisture. If you are looking to add a binder, look at adding coconut flour and egg. Just remember a little coconut flour goes a long way.
Coconut flourEgg
Don’t handle the meat too much
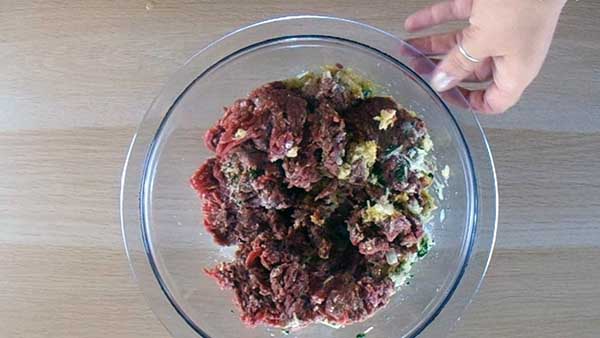
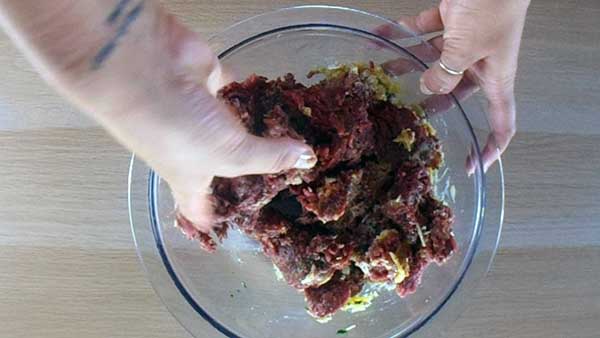
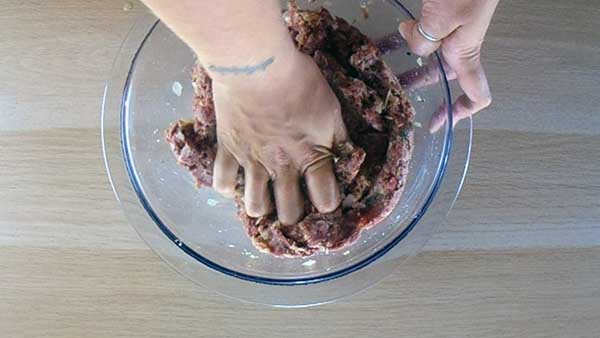
Another key thing to remember is not to overwork the meat. You want to work the meat as little as possible. The best tool you have for mixing ingredients in your hands, and this makes it easier to feel when everything is combined well. I know that working meat with your hands can feel a little gross, but your hands are the best tools for mixing and rolling.
Making meatballs
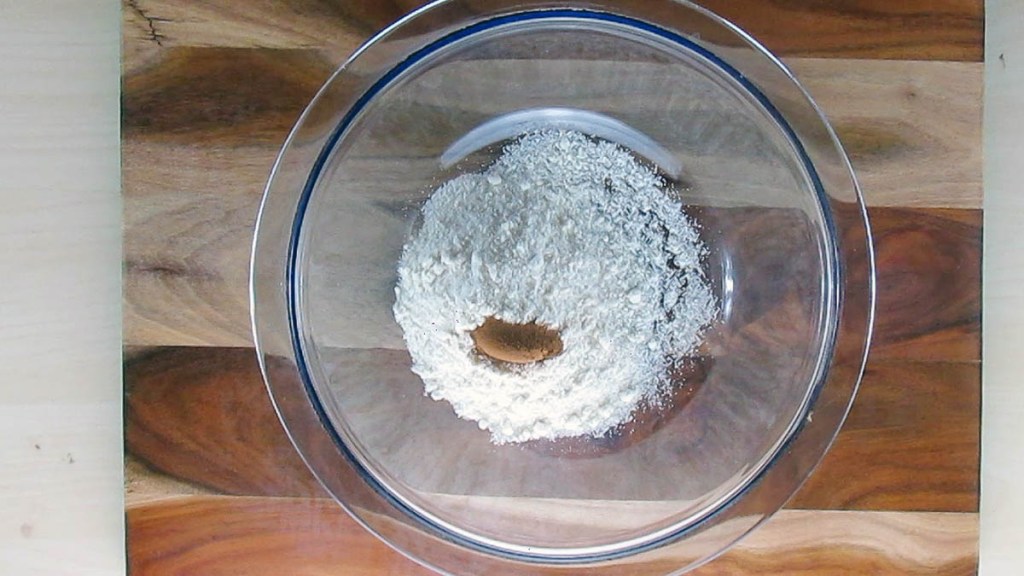
Add the dry ingredients to the bowlAdd the herbs and egg if you are using lean meat.Add the meat to the bowlUse your hands to mix together the meat.Don’t overwork the meatMake sure everything is well combinedDivide the meat mix into portionsRoll the portions into balls
Add the dry ingredients to the bowl.
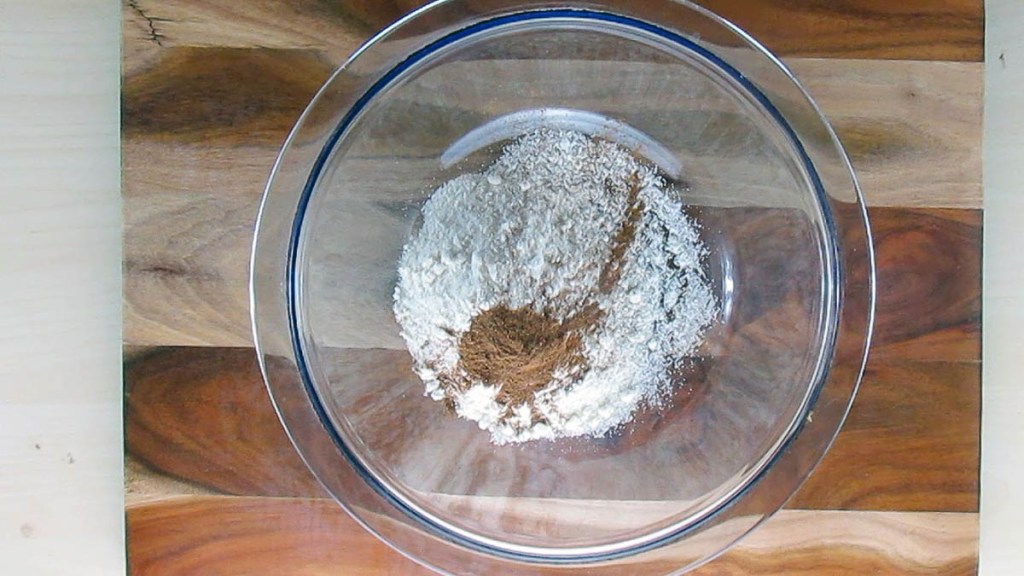
Add the herbs and egg if you are using lean meat.
Add the meat to the bowl.
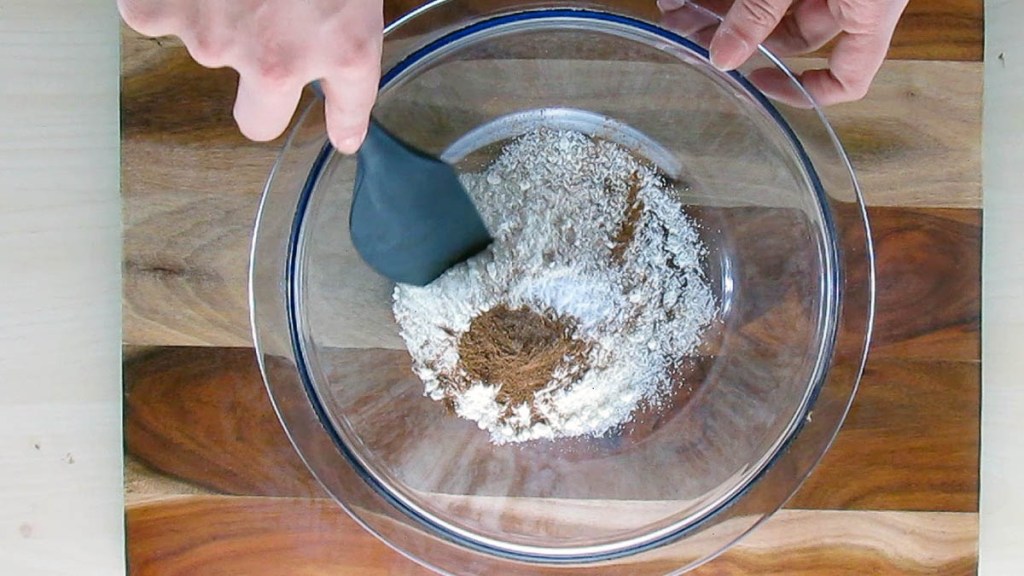
Use your hands to mix together the meat.
Don’t overwork the meat.
Make sure everything is well combined
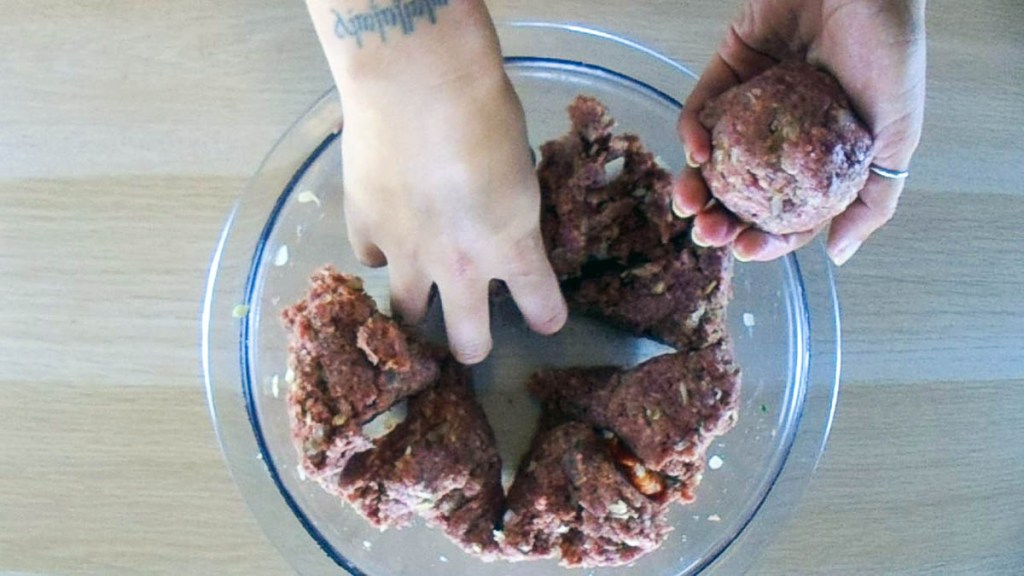
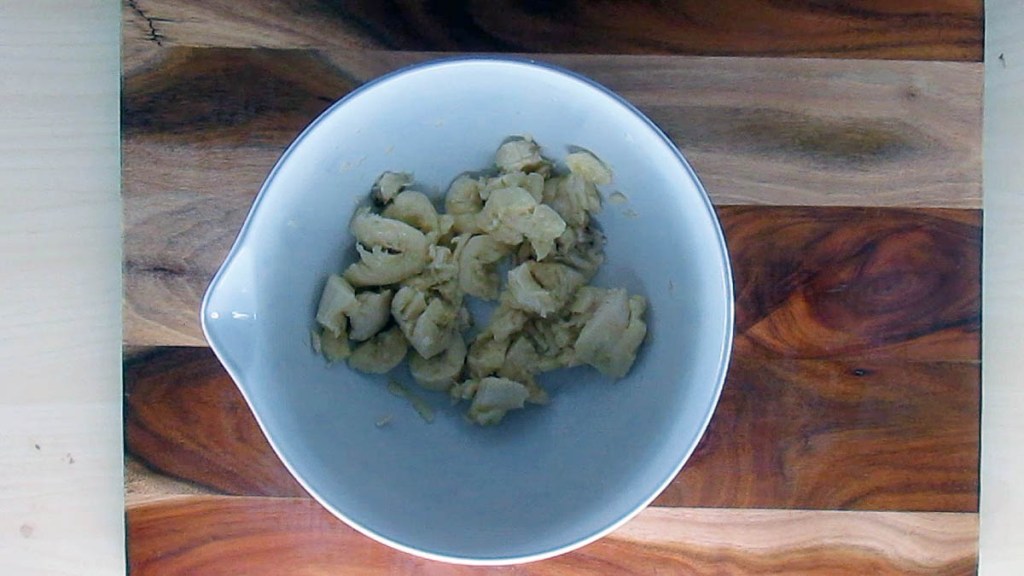
Divide the meat mix into portions
Roll the portions into balls
How should you cook them?
There are two options for cooking meatballs, roast them or cook them in a sauce.
If you intend to freeze the meatballs or to serve them without sauce roasting is the best option. You can grill or roast the meatballs, make sure you let them cool before freezing.
If your meatballs are going to be served with sauce, the best option is to cook the meatballs in the sauce, which will add flavour to the meat and keep it tender.
When you start to spend more time in your kitchen, you start to realise that high-quality equipment makes a big difference to the effort required from you.
I’ve found that spending a little bit more on some things has a huge benefit; the key is knowing what to buy and what you get out of it in the long run.
Here are the things I recommend spending a little more on when you are ready
Food processor
Blender
Cast iron pan
Slow cooker
A quick reminder I’m based in New Zealand, so the products I specifically recommend are available here, if you live in the northern hemisphere you will have different products available.
Food processor
Best investment ever
For me investing in a good quality food processor was the best investment I have made in the kitchen. A good food processor will have multiple attachments that will cut down the time and effort significantly. If I used my processor for nothing but grating Cauliflower for Cauliflower rice then the processor would have paid for itself in 2 months (trust me band-aids are expensive).
Before buying a food processor, it would take an hour to cut up then grate one Cauliflower (and at least one grated knuckle). Now I can cut up and grate 3 cauliflowers in 20 minutes, and it is no longer seasoned with human skin.
Other uses
That is just one of the things I use my food processor for, consider other uses
Ice cream
Seed or nut butter
Shredding vegetables
Grating vegetables
Making cake batters
Making mousse
Mincing meat
Slicing vegetables
What I can personally recommend is the Kenwood multi pro unit, this is the model that I bought and can say it is a great all-rounder. It is a little bit more than some of the other models on the market. What I can say is that you should look for a processor that meets your needs, suits your budget and will be an excellent investment in your kitchen.
Here are a few general things to consider when looking for a food processor
Power
Look for a processor that has a high watt motor, at a minimum you want a 500w motor, any lower than that and it will likely struggle. When you look at the motor size, also take a look at the speed settings, the more settings, the longer your machine will last as it doesn’t need to go flat out for everything it does.
Warranty
Most of the well-known brands offer a 12-month manufacturer’s warranty; I do recommend you look for a processor that has one.
Bowl size
This is a critical thing to consider when shopping for a processor if you want to make cauliflower rice you need a bowl with a large capacity, believe me, it is not fun having to stop grating and empty the bowl when you are only halfway through a cauliflower. I would recommend that you look for something that has a bowl with a 1 litre capacity as a minimum.
Attachments
I could say that the best idea is to look for a processor that has as many as possible, the truth is that this isn’t the best approach. I think a better way is to figure out what you want the processor to do and what functionality is essential for you. To get the best bang for your buck, I would recommend that you look for a processor that has a minimum of a processing blade, shredding discs and slicing discs. If additional attachments are on your wish list, you can find processors with attachments such as
Very much like the investment in a food processor, I made sure I bought the best blender I could afford. A blender may not be as versatile a piece of kit as a food processor, but I believe in having the right tool for the job. In the case of my blender I actually saved some money because I bought a food processor and blender combo, it was a great deal, I got one base that the blender and processor fit onto.
Do you need both?
You may ask yourself why you need a blender when you have a food processor, trust me you do. A blender is a much better tool when you are making sauces, smoothies, or soups than a food processor is. Once you start making your own mayonnaise, hollandaise, and tomato sauce, you will want to have a good quality blender to make your life easy.
As with buying a food processor, you want to be sure to look for the right qualities including a good size motor with multiple speed settings, a manufacturer warranty, and a jug that will hold at least 1 litre.
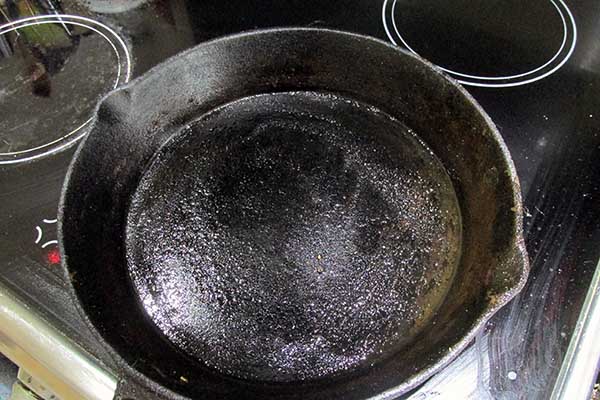
Cast iron pan
I’ll be honest here, cast iron pans are not the easiest option, they take a little bit of care and take some getting used to when you start cooking with them. That being said when you find your feet with cast iron you never want a non-stick frying pan again.
Facts not fiction
Let’s get a few things clear about cast iron
It is not difficult to look after you just need to know the basics for looking after cast iron
It needs to be seasoned when you get a cast iron pan you need to season it, even the pre-seasoned cast iron pans need to be seasoned
Re-season every time you use the pan when you have rinsed the pan out re-season.
Use it a lot the more you use the pan, the better the pan will get
Don’t let it stay wet once you have cleaned the pan dry it off and re-season it straight away, wet pans rust no matter how good your seasoning is
Follow these simple rules are a cast iron pan will be a perfect piece of kit for your kitchen.
Budget
When it comes to cast iron pans, you are going to spend a fair amount of money, there are a few brands available with prices ranging from $40 to $200, and the quality of pan differs from brand to brand.
Here are some of the things to consider when looking for a cast iron pan.
The weight of the pan will have a huge impact on your experience with cast iron. Generally, the heavier pans tend to hold heat more, but you want something you can hold in one hand without feeling like it’s a workout.
How it feels in your hand it’s important when you get a pan that you can lift. You also want something that has a user-friendly handle, when you look at the handle you should check if it is heat resistant or has a place suitable to use a potholder, some pans have two handles to make it easier.
Just because it is expensive doesn’t mean it’s good- don’t use price as the real guide, cheaper doesn’t always mean less efficient, do your homework on the brands available and knowing what you want the pan for.
Slow cooker
I love my slow cooker, it is a lifesaver when it comes to dinner during the week, I love the simplicity of taking food out of the freezer, putting in the slow cooker, turning it on, and coming home to a meal that is ready to eat. You don’t need to invest a heap in a slow cooker, there are a lot of good quality ones out there.
What to look for
When shopping for a slow cooker, these are some of the things to consider
How is the bowl heated
Different slow cookers have a different configuration for the heating elements, look for a slow cooker that has heating elements that come up around the side of the bowl, this will help with even cooking.
What is the bowl made of
There are a few different materials that bowls are made of including ceramic, porcelain and metal, you want a bowl that is easy to remove and clean. Don’t buy a cooker that has a bowl that is fused to the heating unit. If you can get a metal or ceramic bowl as they are durable and will conduct heat very well.
What is the lid made of
We could discuss the options, but the truth is a glass top is the best material for the lid of a slow cooker. It allows you to look inside the bowl without having to remove the lid, it is easy to clean, and durable, the same cannot be said about plastic covers.
What shape is best
There are three main shapes available; oval, round and square. What you want to cook in your slow cooker will help make the decision of which shape to buy, chickens and roasts will do better in an oval or square than in a round pot.
What is the bowl capacity
There are a variety of bowl sizes out there you can get a slow cook that will hold 1 litre of food all the way up to 10 litres, which is best will depend on how many people you are cooking for, the more people, the bigger capacity you need. I would recommend that you look for something that is big enough to hold a chicken; you will feel the benefits of cook once eat twice.
What buttons does it have
There is a large range of options when it comes to buttons and functions on slow cookers. These include the timers, heat setting, and warming settings. Different brands have various options, so really it’s all about what functions you think would be useful to you. Most slow cookers come with the settings of off/on/low/high as a standard. Some come with a timer that lets you programme or set the time you want the cooker to be on for at one of the standard heat settings. A timer is a great option if you are not likely to be home exactly 8 hours after you put it on, it is an excellent way to prevent mushy vegetable and overdone meat issues.
Let me know in the comments what items you think everyone should invest in for the kitchen
I have been on a mission this year to make simple but tasty meals. The aim was to create recipes that can be prepared and cooked quickly on a busy weeknight.
We all struggle to make healthy and tasty meals while keeping on top of everything else in life.
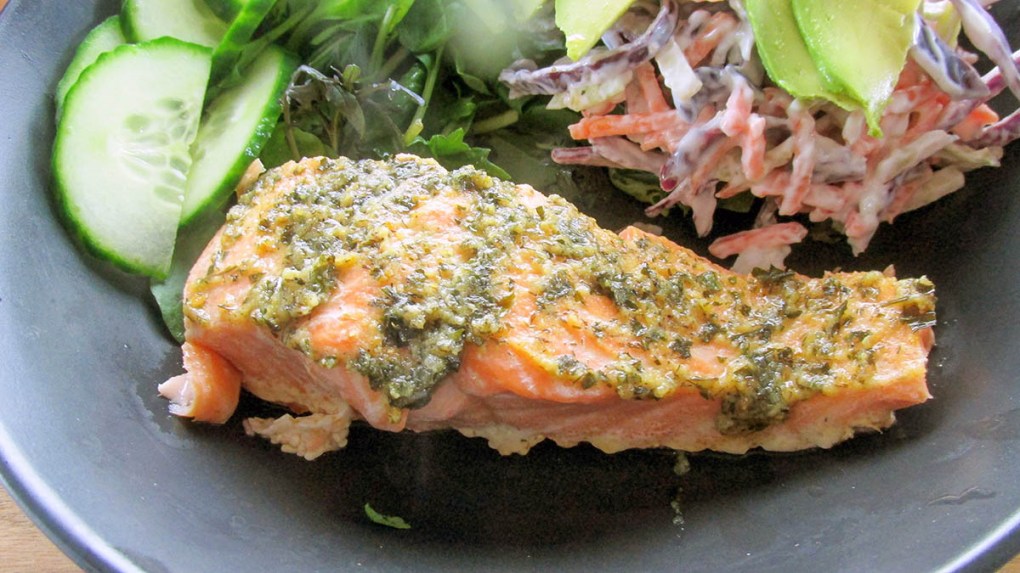
This recipe is healthy, delicious and easy to make; you can cook on a single tray in the oven. The preparation takes no more than 20 minutes, that is all of the slicing, dicing and mixing.
Each meal is portioned to feed four adults.
Two for one
A recent trip to visit my mother in law (Hi Sue) presented me with a two for one opportunity. We have been eating lemons from the trees up North for a while now. The lemons are coming to an end now; I wanted to use them for something other than lemon curd. Sue loves salmon (as do most of us), so we wanted to give her a little treat why not use the last of the lemons with some salmon steaks?
More goodies
I could have done the boring thing and just sliced the lemon and baked them together, but I wanted to try something new.
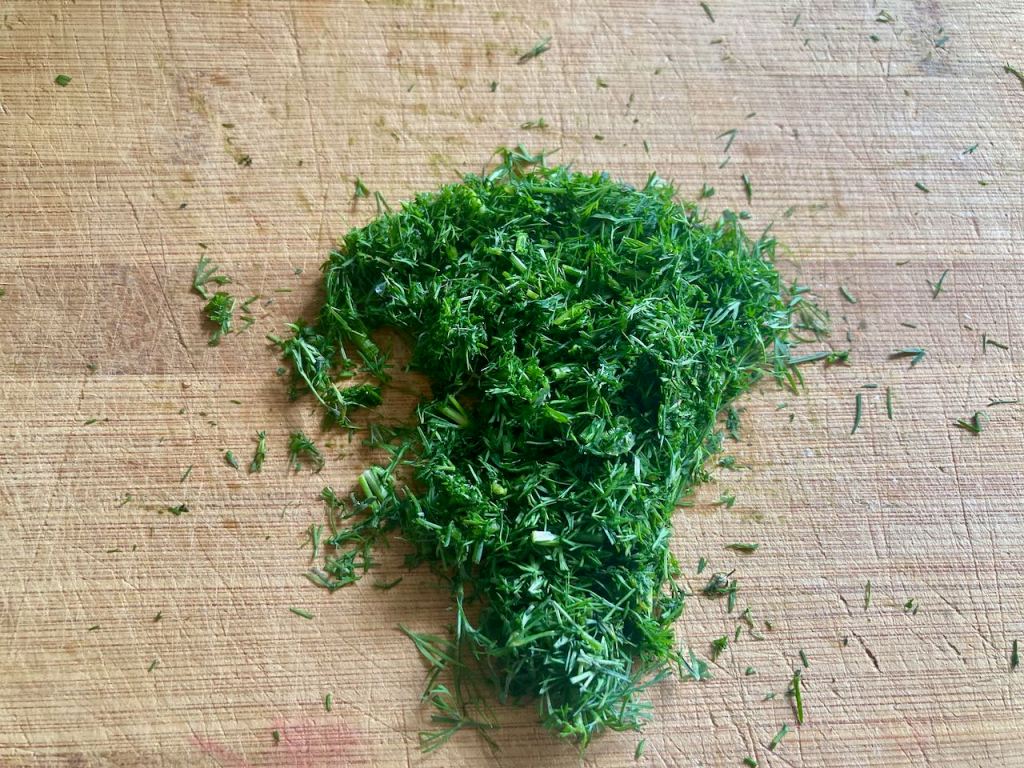
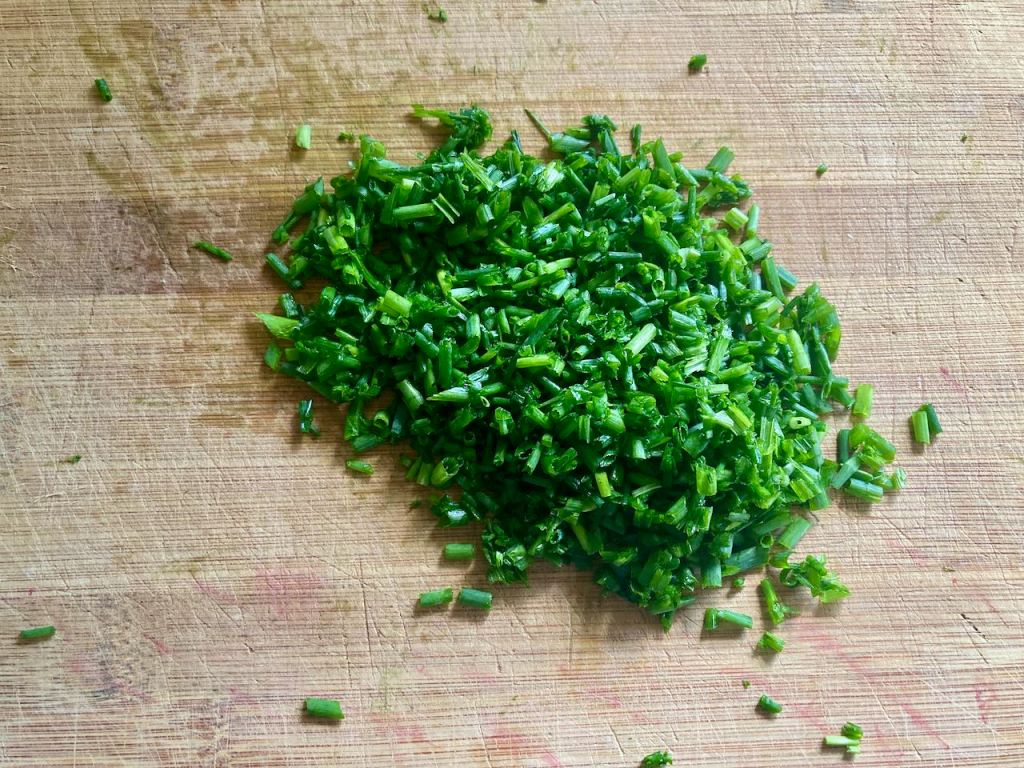
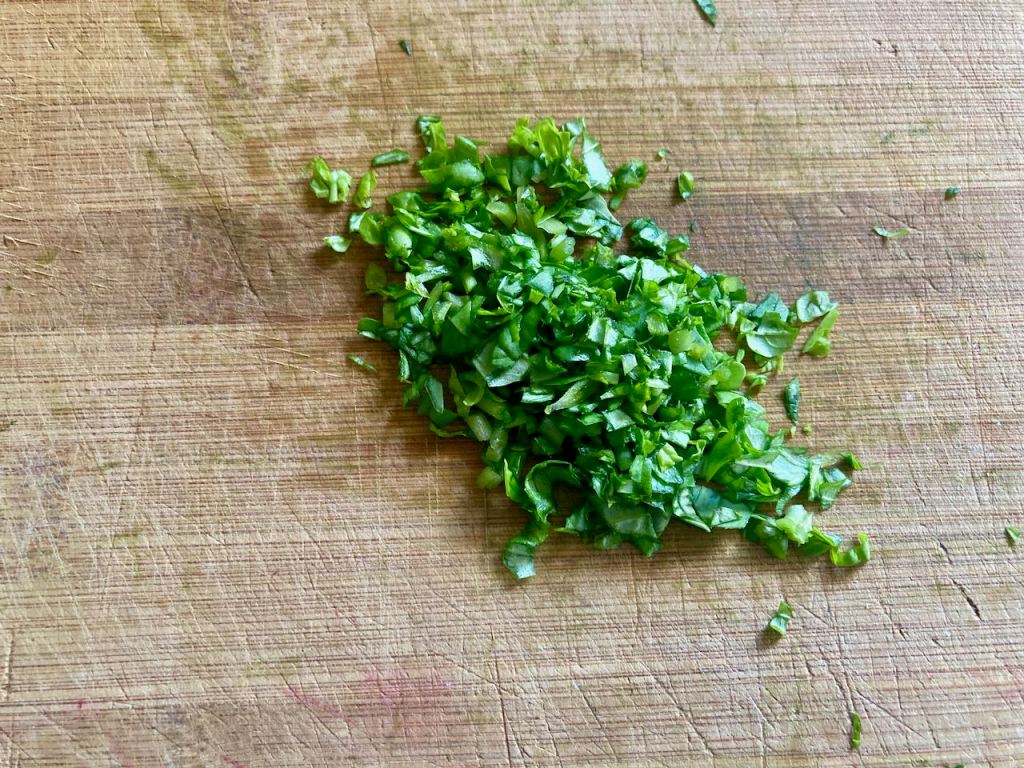
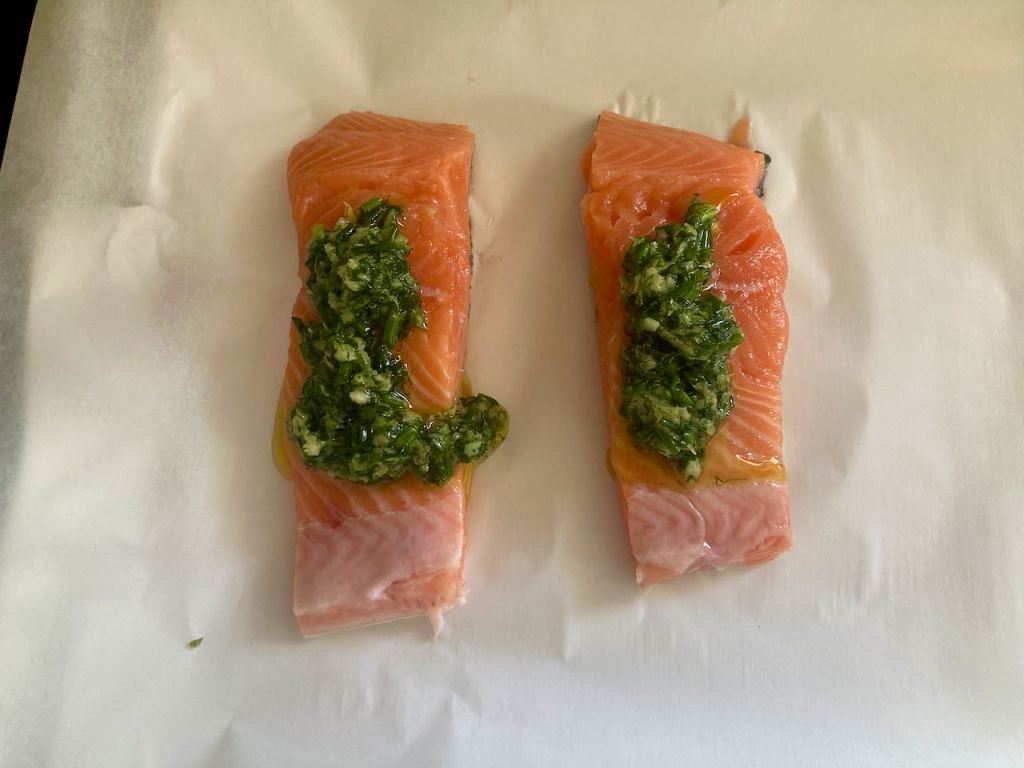
A quick rummage around the garden and pantry scored some fresh parsley and garlic. A quick smash together with some butter gave me a thick paste, a generous spread of the paste over each salmon steak, and the salmon was ready for the oven.
Lemon garlic herb crusted salmon recipe
Ingredients
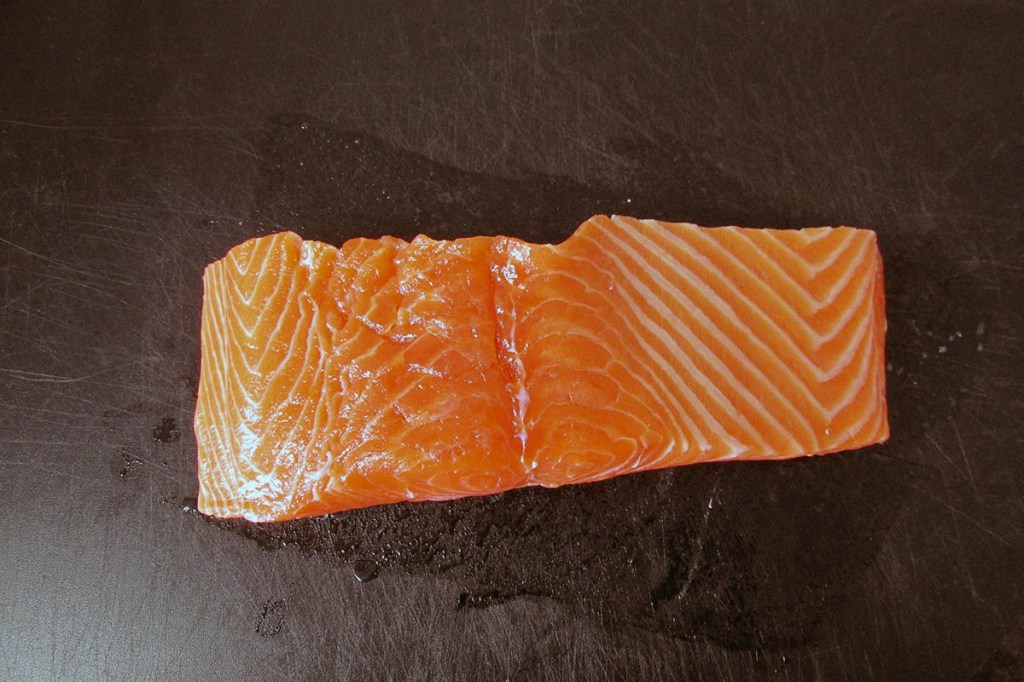
4 Salmon fillets
1 tbsp. dill
1 tbsp. chives
1 tbsp. basil
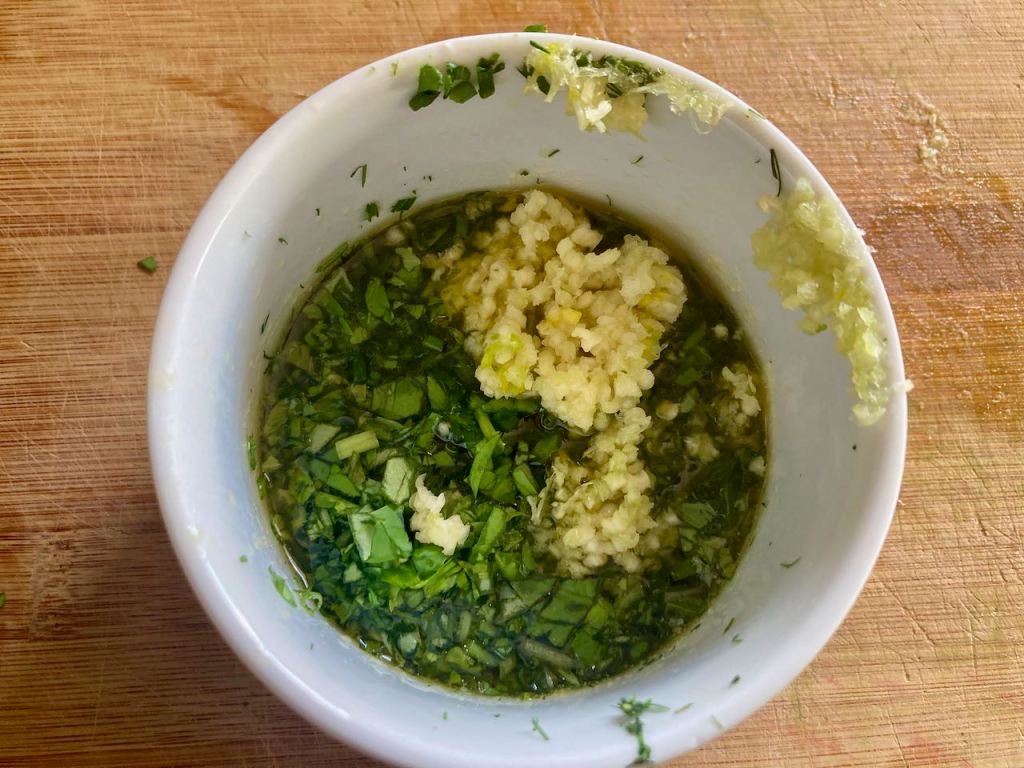
1 garlic clove
Zest of a lemon
Salt and pepper
85g Butter
Instructions
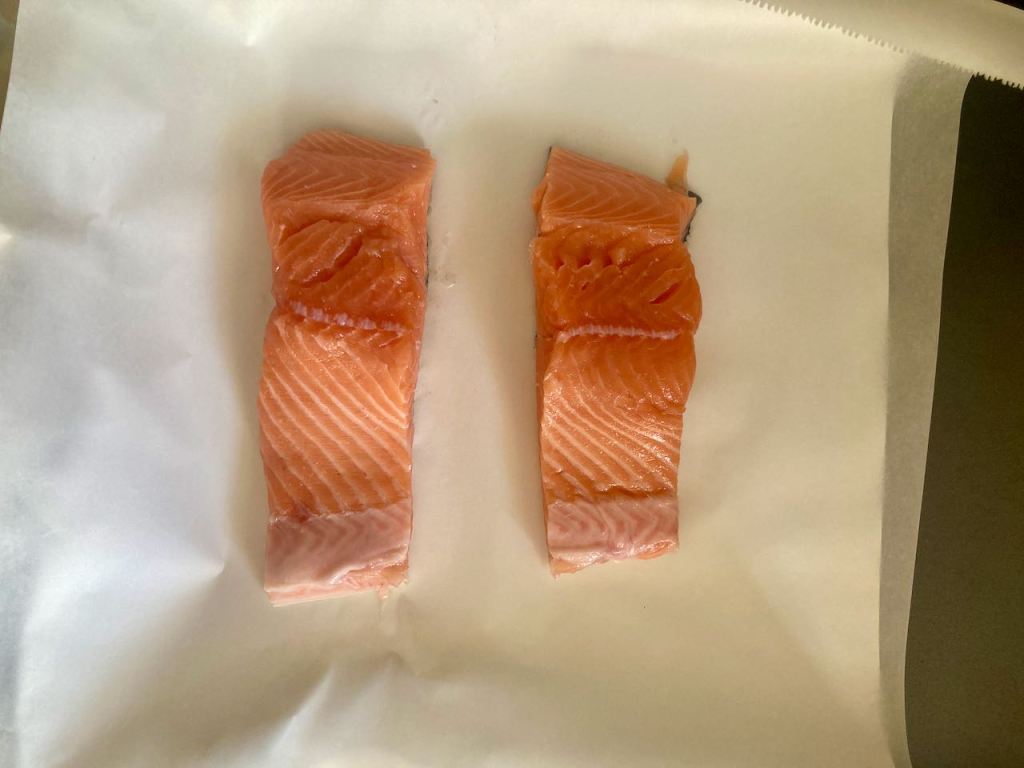
Line a baking tray with some baking paper or a silicone liner; and place the salmon fillets on the tray.
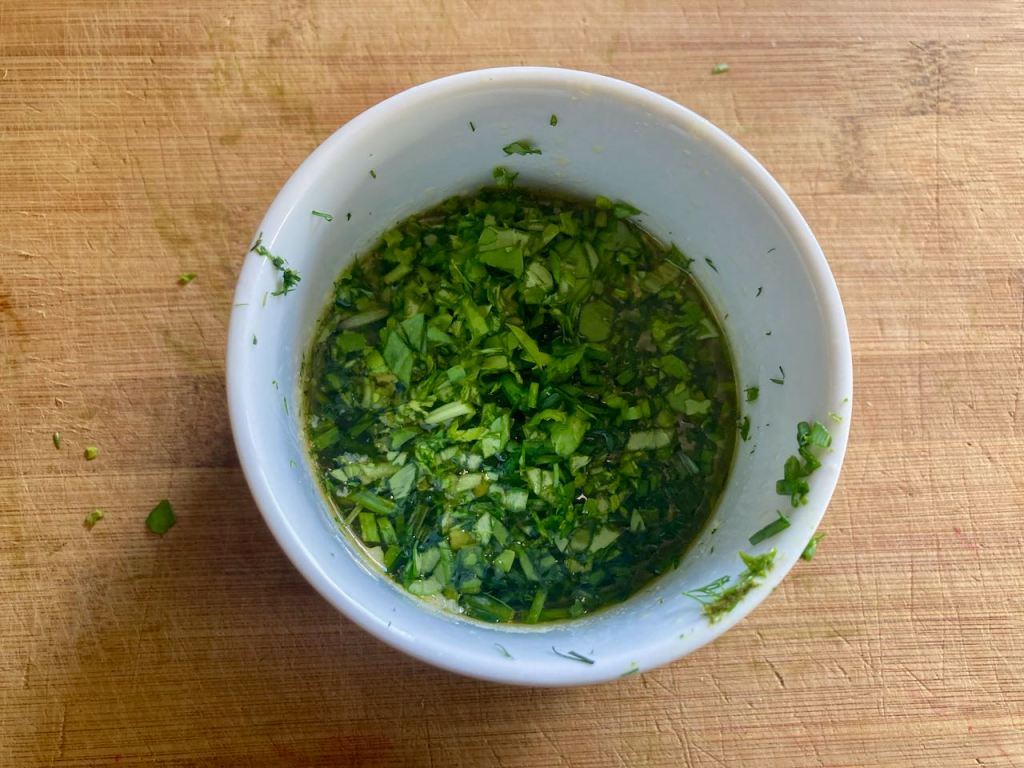
Take the remaining ingredients and place them in a small saucepan or the microwave safe bowl.
Gently heat the ingredients in the saucepan over a low heat, stir everything together as the butter melts.
Or melt the butter in the microwave and add the herbs, lemon and garlic to the butter.
When the herb butter is melted, mix it all together.
Spread the herb butter over the top of each fillet evenly.
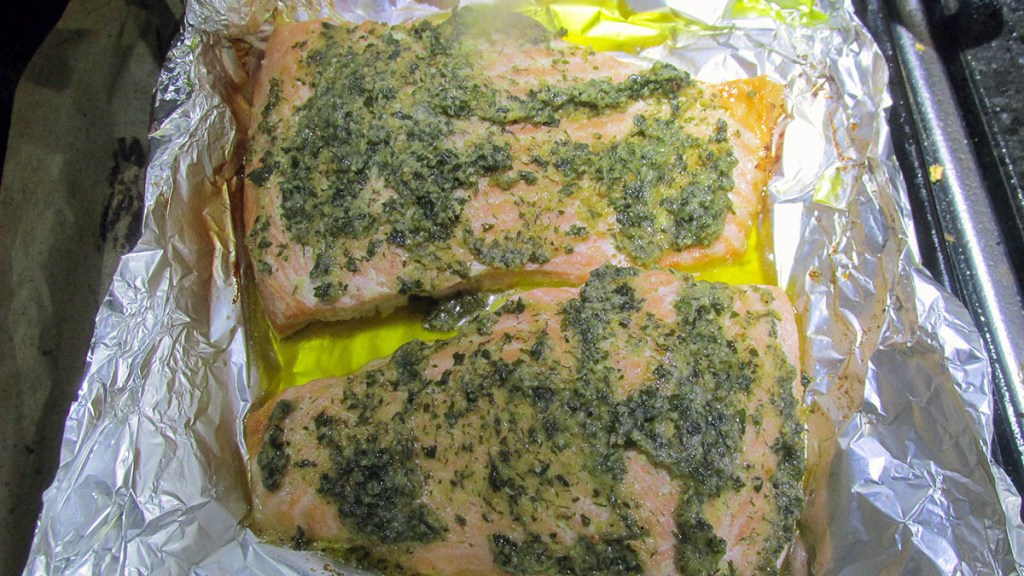
Bake the salmon at 200 degrees C/ 400 degrees F for 10 to 20 minutes, this will depend on the size of the fillets.
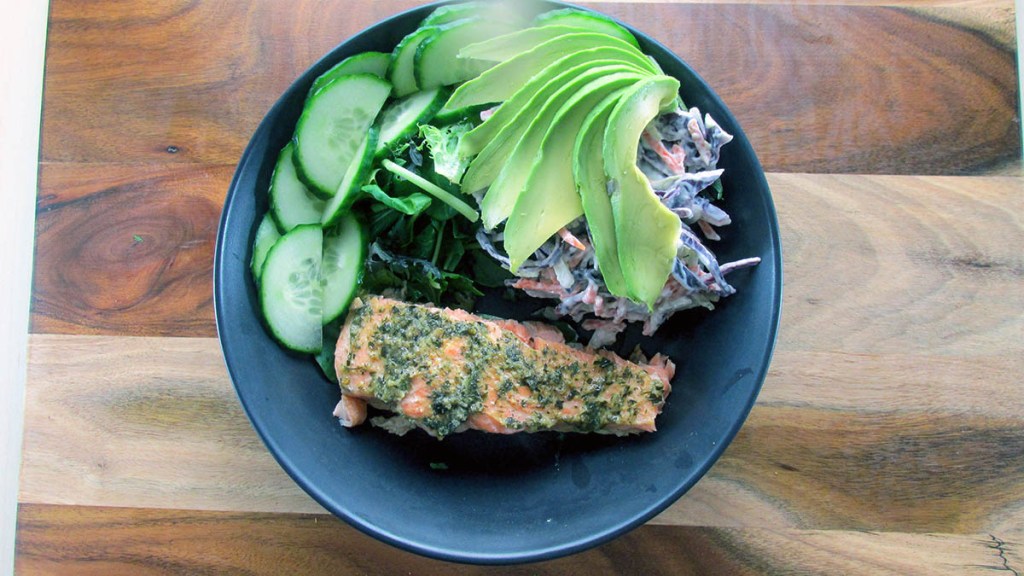
This simple meal doesn't take long to make and is a great way to make use of seasonal lemons
Credit: Cath @ easycleaneats
Ingredients
4 Salmon fillets
1 tbsp. dill
1 tbsp. chives
1 tbsp. basil
1 garlic clove
Zest of a lemon
Salt and pepper
85g Butter
Directions
Line a baking tray with some baking paper or a silicone liner. and place the salmon fillets on the tray.
Take the remaining ingredients and place them in a small saucepan or the microwave safe bowl.
Gently heat the ingredients in the saucepan over a low heat, stir everything together as the butter melts.
Or melt the butter in the microwave and add the herbs, lemon and garlic to the butter.
When the herb butter is melted, mix it all together.
Spread the herb butter over the top of each fillet evenly.
Bake the salmon at 200 degrees C/ 400 degrees F for 10 to 20 minutes, this will depend on the size of the fillets.
Serve with a fresh salad or greens.
Nutrition
Per Serving: 402 calories; 31 g fat; 4 g carbohydrates; 29 g protein
Equipment
Zester
Bowl
Fork
Knife
Chopping board
Baking tray
Baking paper or a silicone liner
Spoon
Measuring spoons
Nutritional disclaimer
Nutrition information is provided as an estimate based on the ingredients used and available in my area (New Zealand). The nutritional information is here to help you understand the recipe; I use MyFitnessPal to generate my estimates. For more accurate nutritional information, please use a nutritional calculator with the ingredients in your area.
Don’t worry, I did not have a brain fart or spell that wrong; I meant to put magel. What the hell is a magel? You may be asking yourself. The easy answer is it is a bagel made out of meat, hence m-agel.
Meat with everything
I know it is an out-there idea, but the magel works when you don’t have grains as part of your diet and really want something to spread cream cheese on for breakfast. I know that there is no real alternative or replacement for bread in life, but I think that replacing bread products with cauliflower, coconut or meat may be the future.
I have tried several ways to create a bagel without grains and have to be honest; it has never ended well. There have been a few times I feared for my teeth and even more times that my taste buds have flat out said no.
I can’t say that the magel is the best replacement for the traditional bagel, but it is probably my favourite so far. If that changes, I will keep you posted.
This meaty treat is a great and filling way to start your day. The high protein breakfast is perfect for a lazy.
Sunday morning when you want something other than pancakes.
I like to add some chipotle powder to mine to give them a little kick if you don’t like spice or have kids that don’t like it you can leave it out. I love to pair my magel with a generous helping of cream cheese and fried egg with a perfectly runny yolk.
Magel recipe
Ingredients
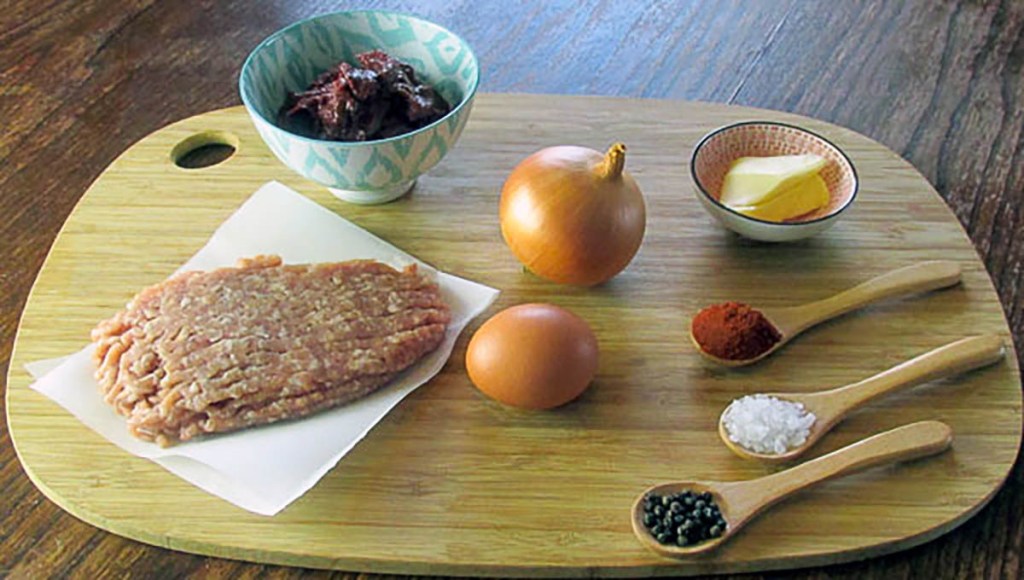
1/2 onion finely diced
1 tbsp. butter
500g minced pork
2eggs
2 tbsp. Tomato sauce
1 tsp. Paprika
1 tsp. Salt
1/2 tsp. Ground pepper
1 tsp. chipotle powder
Preheat the oven to 180 degrees c/ 350 degrees f.
Line a baking tray with baking paper or a silicone liner .
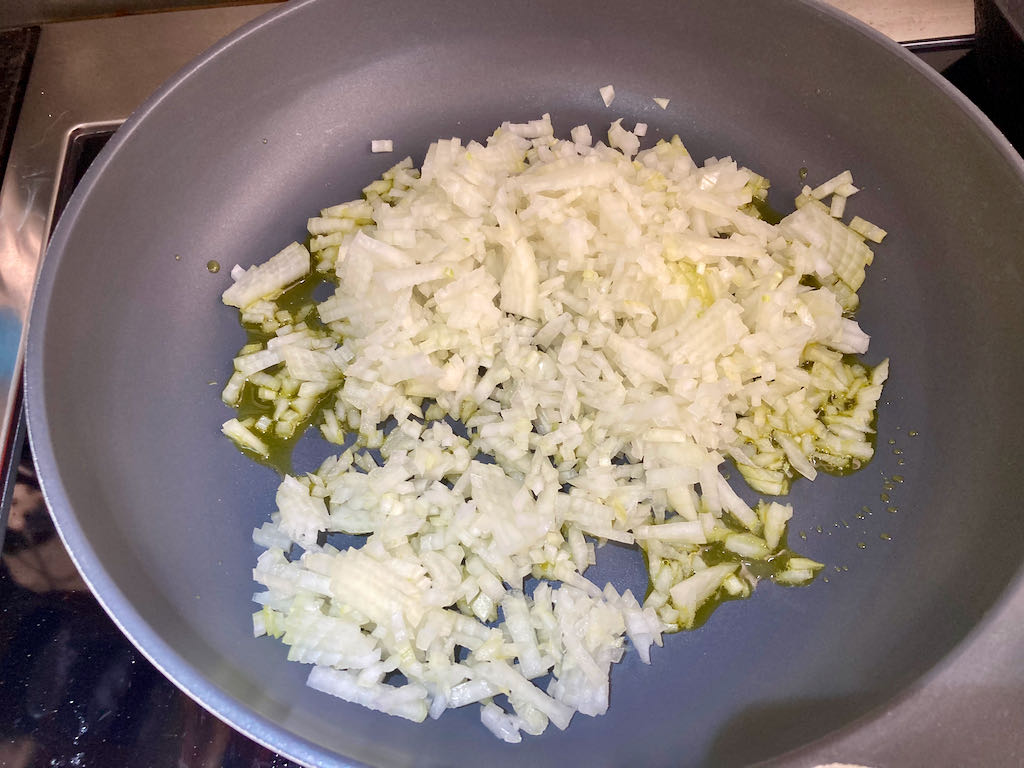
In a frying pan sauté the onions over medium heat with some butter until they become translucent.
Remove the onions from the pan and allow them to cool before adding them to the meat.
Mix together all the ingredients in a large bowl; make sure all the ingredients are evenly distributed.
Divide the meat into 6 portions, roll into balls then flatten down on the baking dish then create a hole in the centre to form the magel.
Bake for 40 minutes or until the meat is fully cooked.
Allow the magels to cool slightly before slicing in half.
What the hell is a magel? you may be asking yourself. Easy answer it is a bagel made out of meat, hence m-agel.
Credit: Cath @ easycleaneats
Ingredients
1/2 onion finely diced
1 tbsp. butter
500g minced pork
2eggs
2 tbsp. Tomato sauce
1 tsp. Paprika
1 tsp. Salt
1/2 tsp. Ground pepper
1 tsp. chipotle powder
Directions
Preheat the oven to 180 degrees c/ 350 degrees f.
Line a baking tray with baking paper or a silicone liner .
In a frying pan sauté the onions over medium heat with some butter until they become translucent.
Remove the onions from the pan and allow them to cool before adding them to the meat.
Mix together all the ingredients in a large bowl; make sure all the ingredients are evenly distributed.
Divide the meat into 6 portions, roll into balls then flatten down on the baking dish then create a hole in the centre to form the magel.
Bake for 40 minutes or until the meat is fully cooked.
Allow the magels to cool slightly before slicing in half.Allow the magels to cool slightly before slicing in half.
Serve with cream cheese, fried eggs and bacon.
Nutrition
Per Serving: 150 calories; 7.6 g fat; 0.7 g carbohydrates; 19.7 g protein
Equipment
Baking tray
Baking paper or a silicone liner
Frying pan
Spatula
Mixing bowl
Measuring cup
Measuring spoons
Scales
Nutritional disclaimer
Nutrition information is provided as an estimate based on the ingredients used and available in my area (New Zealand). The nutritional information is here to help you understand the recipe; I use MyFitnessPal to generate my estimates. For more accurate nutritional information, please use a nutritional calculator with the ingredients in your area.
I have been on a mission to make simple and tasty meals. I aim to create recipes that can be prepared and cooked quickly on a busy weeknight. We all struggle to make healthy and delicious meals while keeping on top of everything else in life. So this recipe is designed to be healthy, delicious and easy to make. You can cook this meal on a single tray in the oven. The preparation takes no more than 20 minutes and is portioned to feed four adults.
Sweet and sour on one plate
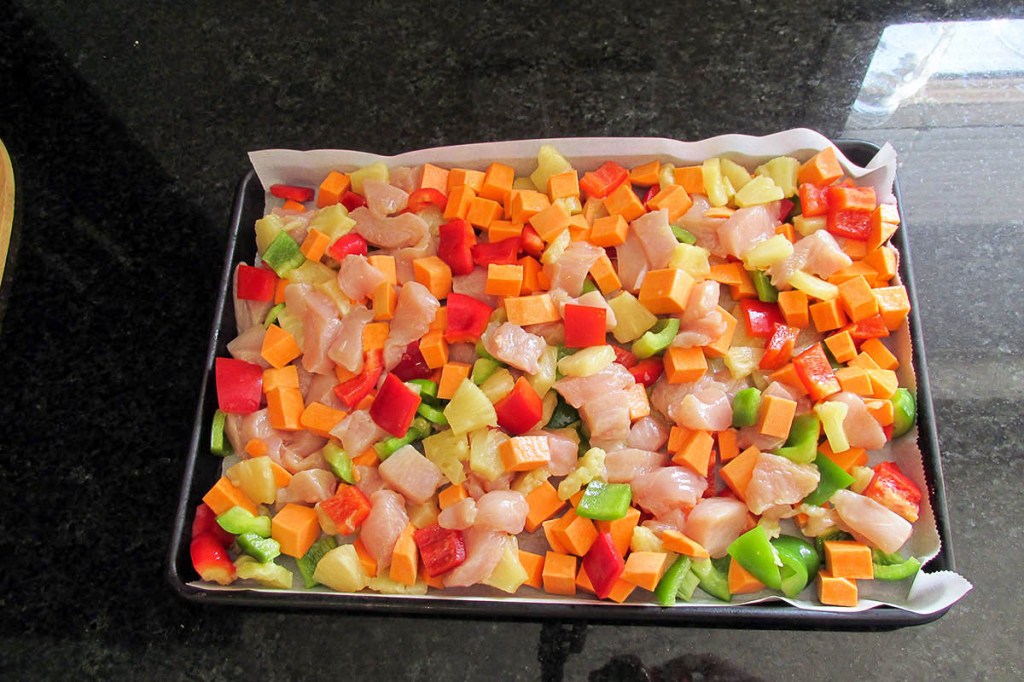
There is something irresistible about chicken and pineapple; they go so well together. Add in the sweetness of some peppers, and I am sold. I’ll be honest this one-tray meal was born from a pantry cleanout. I found a tin of pineapple that was soon to go out of date; in an effort to save on food waste, I thought of a way to make the most of the pineapple slices, other than eating them from the tin, of course.
One tray Hawaiian chicken recipe
Ingredients
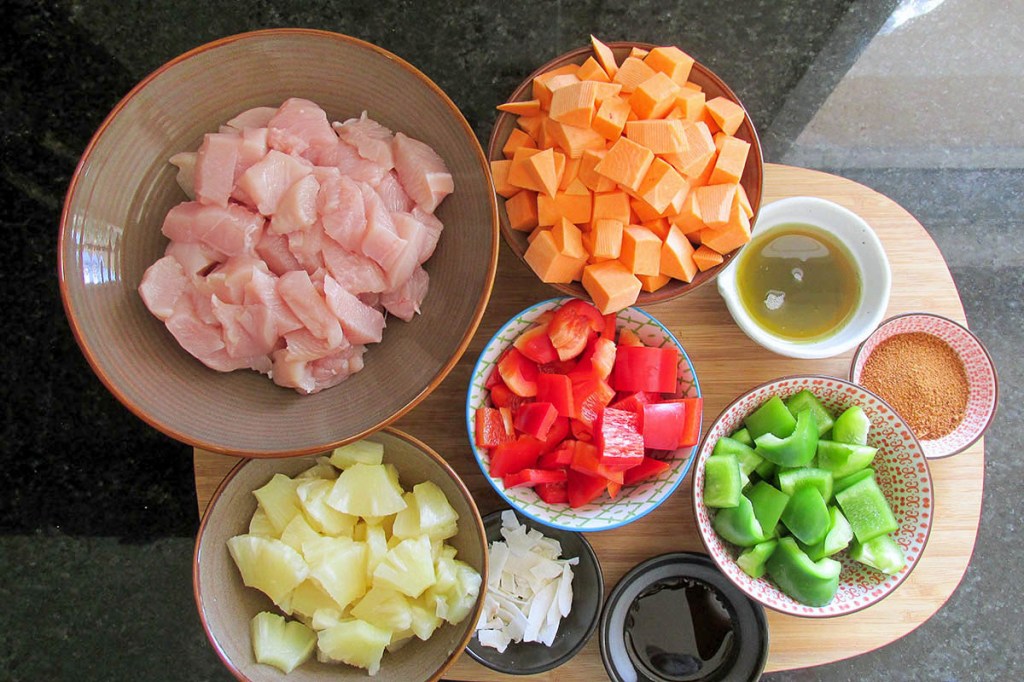
500g chicken breast, cubed
2 cups pineapple chunks
1 red pepper, cubed
1 green pepper, cubed
1 sweet potato, cubed
1 tbsp. Sesame seed oil
1 tbsp. Coconut oil
1 tbsp. Coconut sugar
1 tbsp. Coconut flakes
1 tbsp. Lime juice
Instructions
Preheat the oven to 200 degrees C/ 400 degrees F.
Line a baking tray with baking paper or a silicone liner.
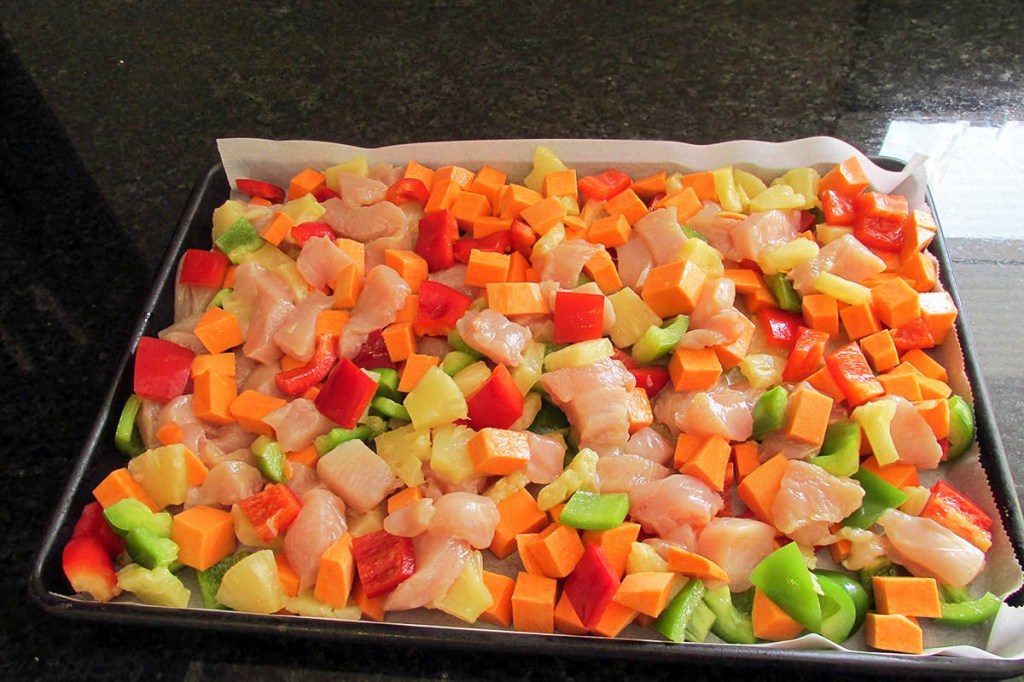
Mix the chicken, peppers, sweet potatoes and pineapple in a bowl with the oils and sugar.
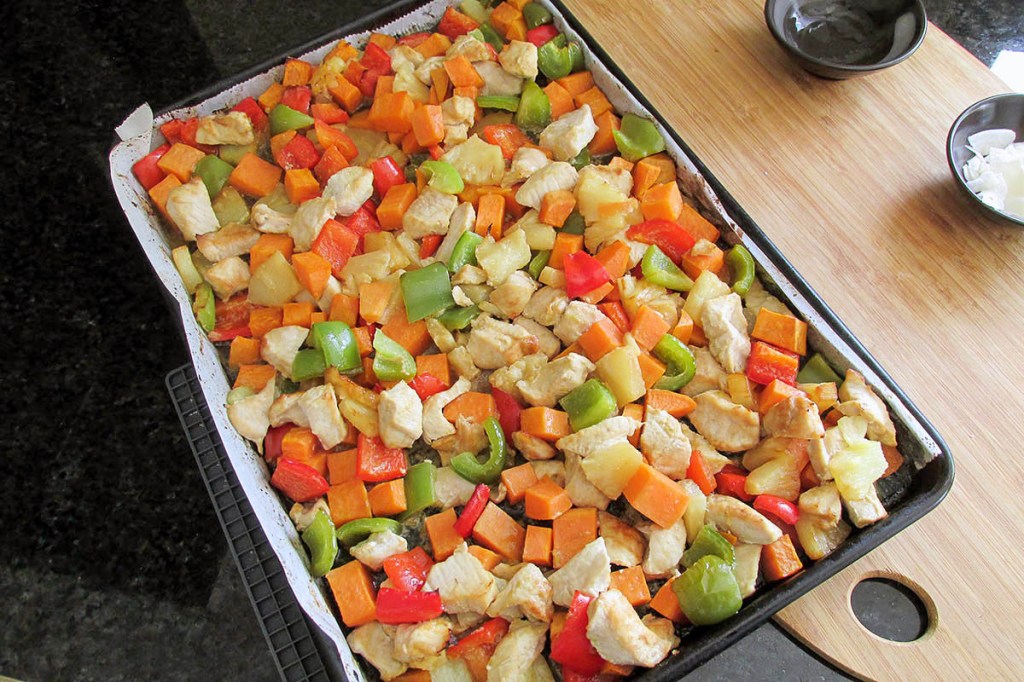
Spread out on the baking tray and bake for 15 minutes.
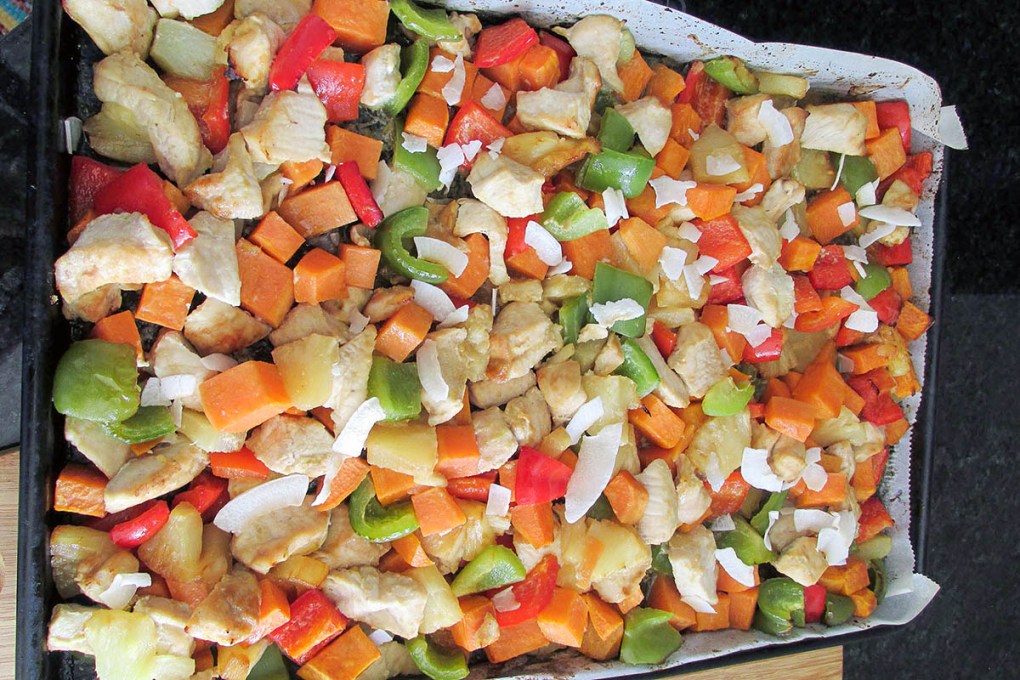
Turn the vegetables and chicken and bake for another 10 minutes.
Sprinkle the lime juice and coconut flakes over the tray before serving.
Line a baking tray with baking paper or a silicone liner.
Mix the chicken, peppers, sweet potatoes and pineapple in a bowl with the oils and sugar.
Spread out on the baking tray and bake for 15 minutes.
Turn the vegetables and chicken and bake for another 10 minutes.
Sprinkle the lime juice and coconut flakes over the tray before serving.
Nutrition
Per Serving: 322 calories; 13g fat; 26g carbohydrates; 26g protein
Equipment
Measuring cups
Measuring spoons
Kitchen scale
Mixing bowl
Baking sheet
Baking paper or silicone liner
Nutritional disclaimer
Nutrition information is provided as an estimate based on the ingredients used and available in my area (New Zealand). The nutritional information is here to help you understand the recipe; I use MyFitnessPal to generate my estimates. For more accurate nutritional information, please use a nutritional calculator with the ingredients in your area.
I have been on a mission to make simple and tasty meals. I aim to create recipes that can be prepared and cooked quickly on a busy weeknight. We all struggle to make healthy and delicious meals while keeping on top of everything else in life. So this recipe is designed to be healthy, delicious and easy to make. You can cook this meal on a single tray in the oven. The preparation takes no more than 20 minutes and is portioned to feed four adults.
Updating as we go
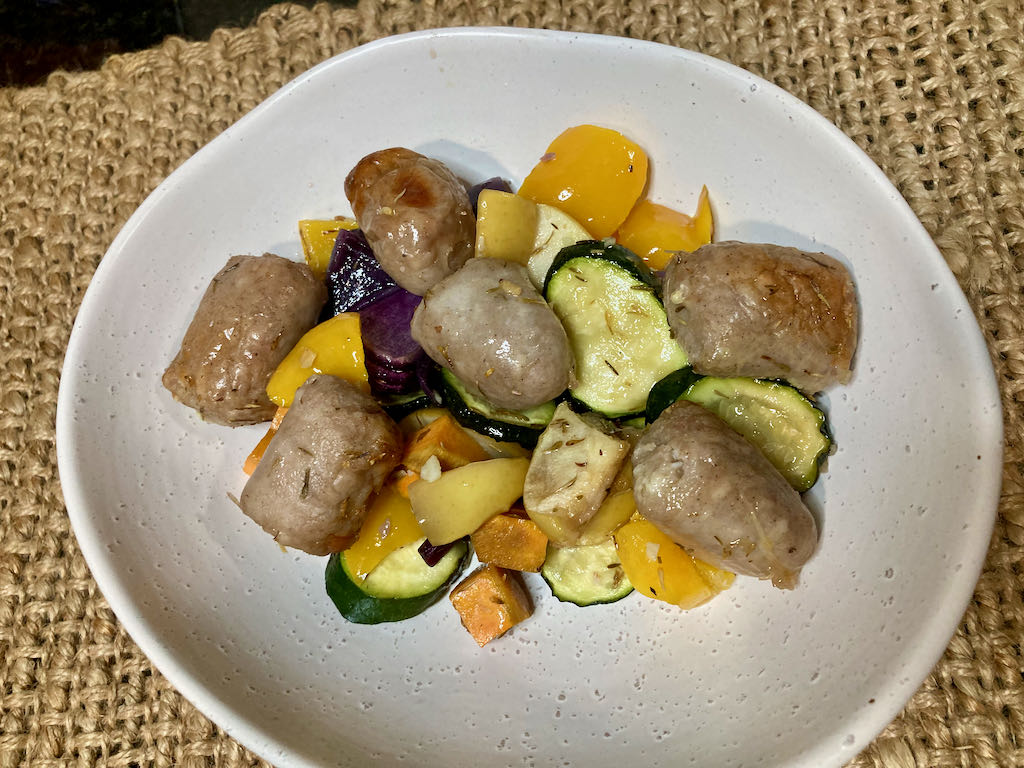
Early in 2021, I made the move to relocate and update my website; I’ve been making changes and improving all of the things as I go. This recipe is one of the many things I’ve tried to improve. This recipe is one of the first one-tray meals I came up with back in 2015. It has remained a regular meal that I crack out when we get some good quality sausages from Pokeno.
One tray of awesomeness
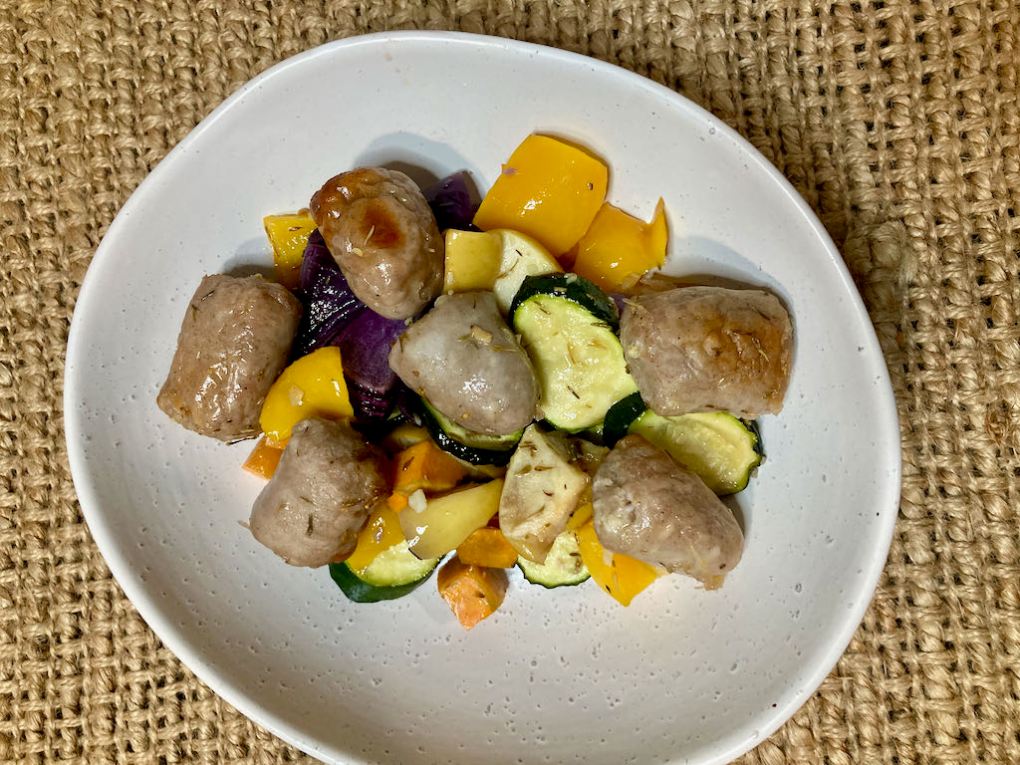
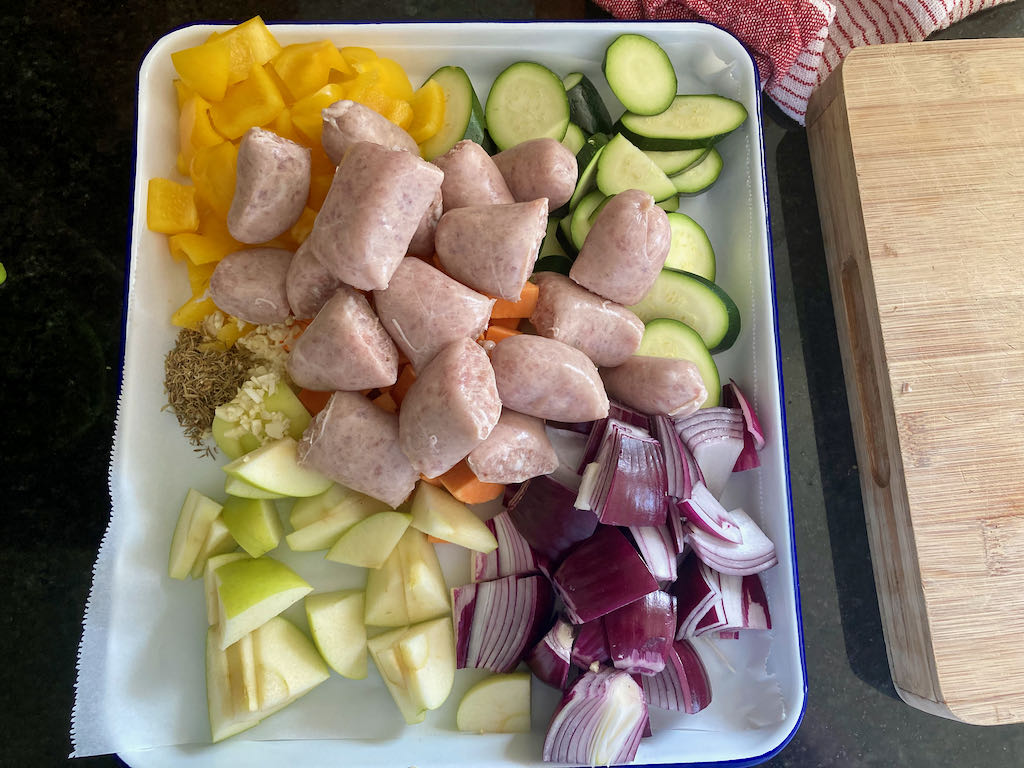
This recipe is one of the very first one-tray meals I made back when we started eating clean. I was big on throwing dinner in the slower cooker before heading off for a busy day at work, but it was always nice to have something a bit different on the weekends. The combination of tasty sausages and fresh vegetables always won on a Saturday afternoon after a day with the kids. We don’t spend our weekends running around playgrounds with the kids, but we still love a one-tray maple sausage roast.
Maple sausage roast
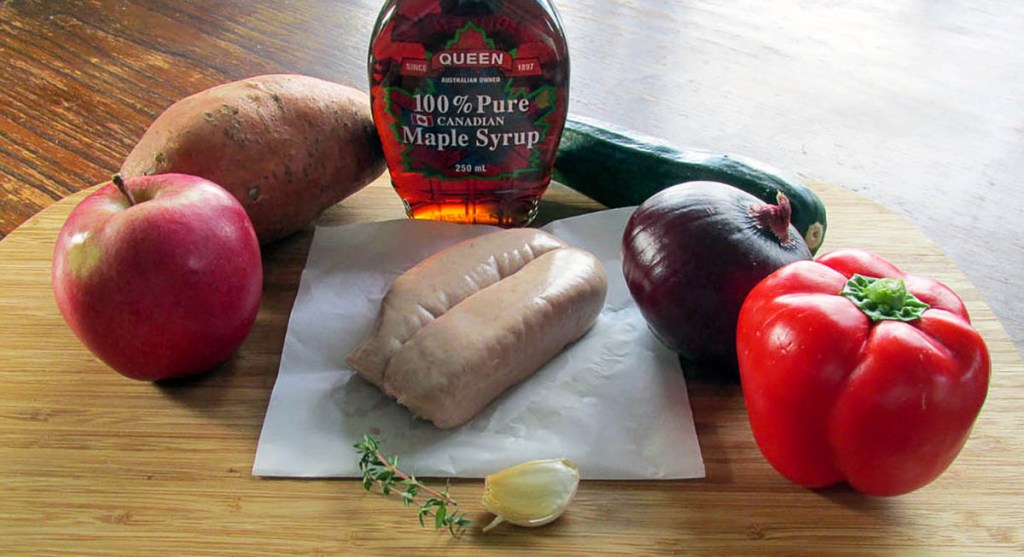
Ingredients
8 pork sausages cut into 3rds
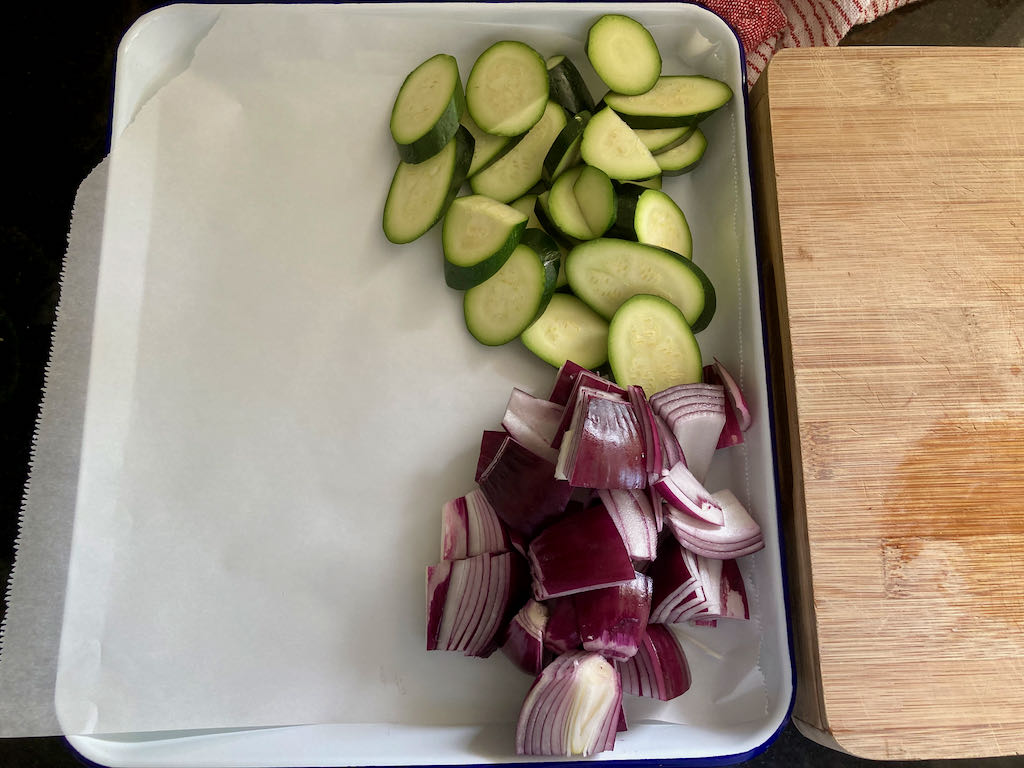
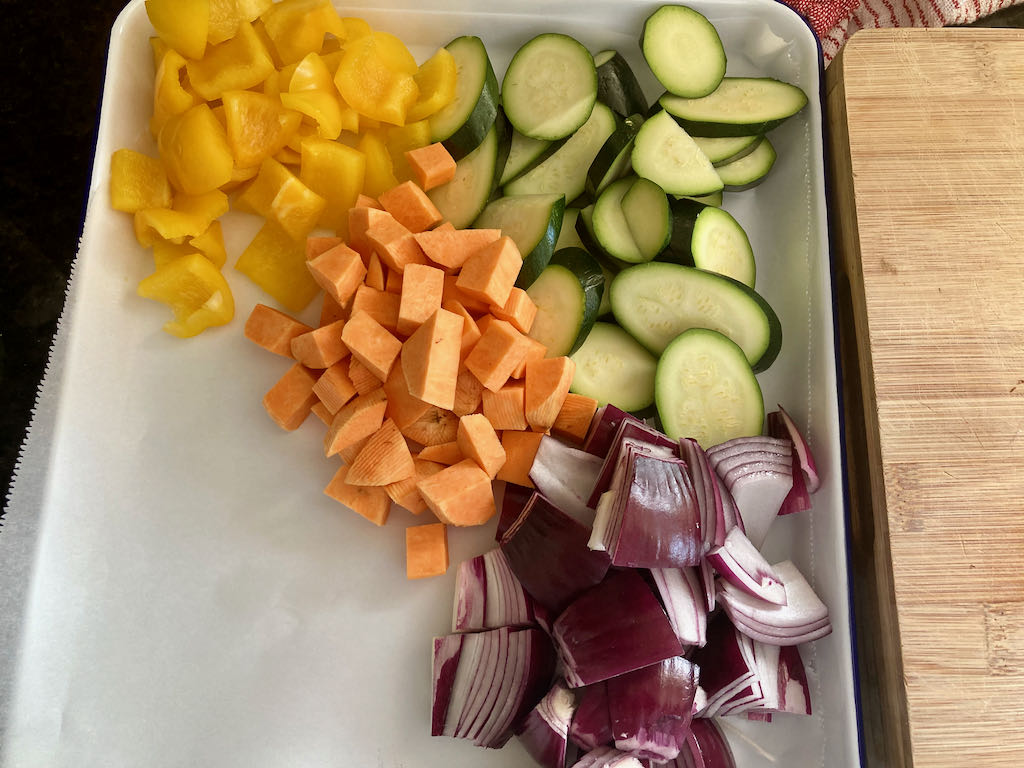
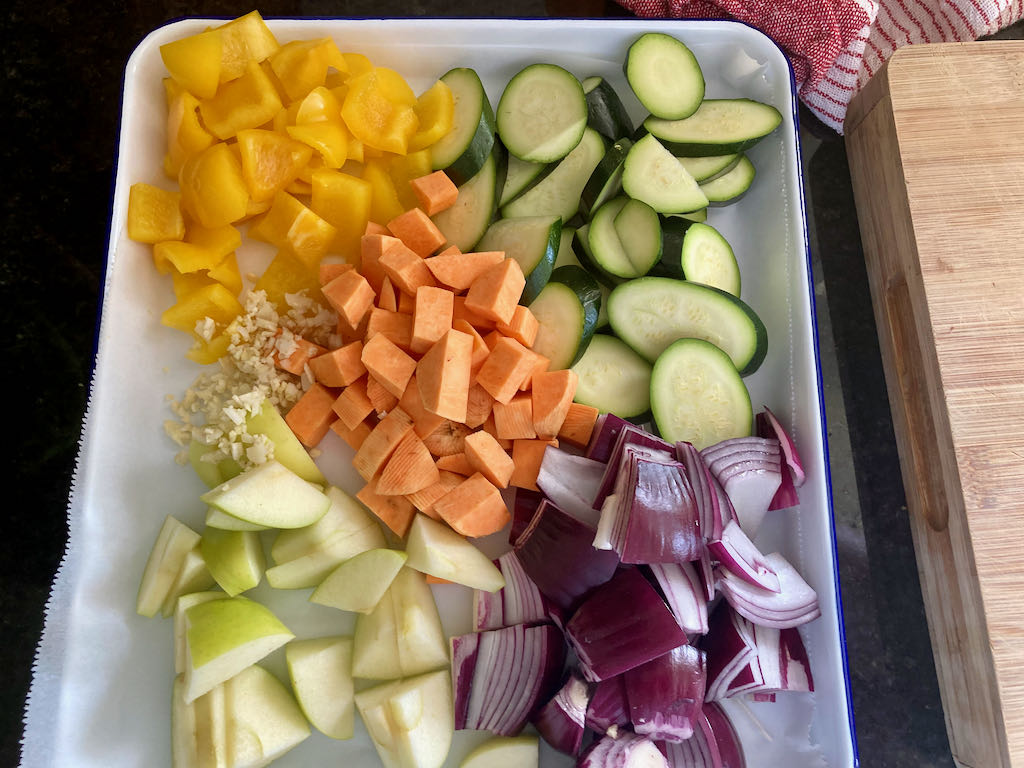
1 red onion cut into 8th
2 red apples cut into chunks
2 red peppers cut into chunks
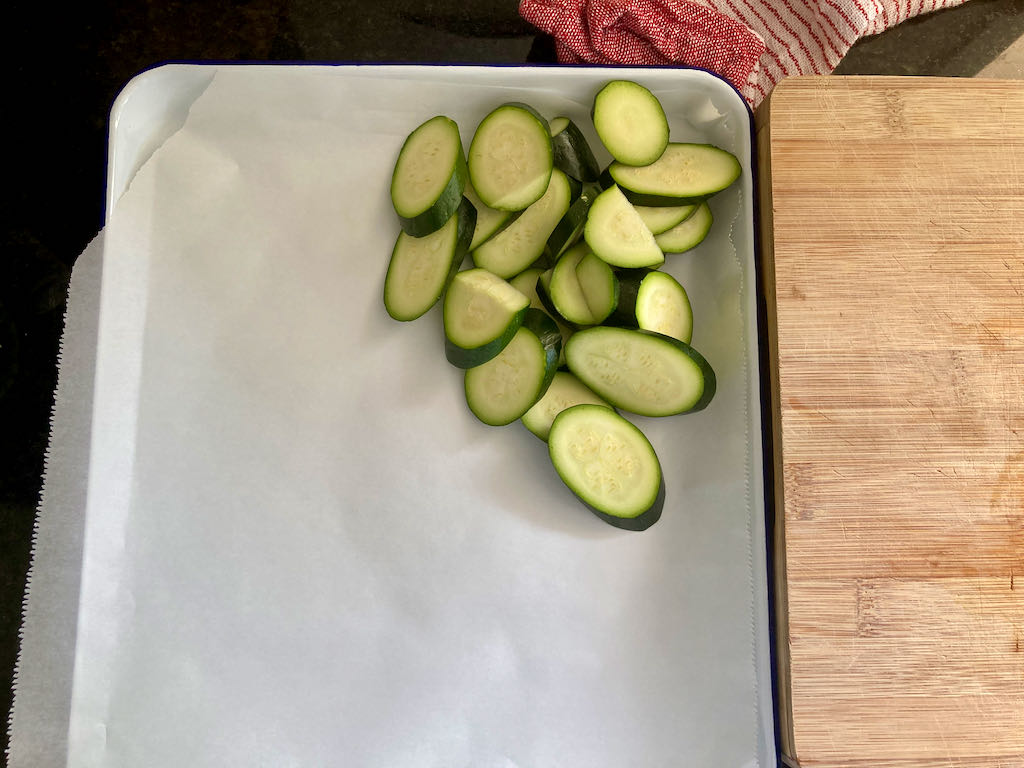
2 courgettes cut into chunks
2 sweet potatoes cut into chunks
2 garlic cloves minced
2 tbsp. thyme
1/4 cup maple syrup
Instructions
Preheat oven to 210 °C/ 410 °F.
Line a roasting tray with baking paper or a silicone liner.
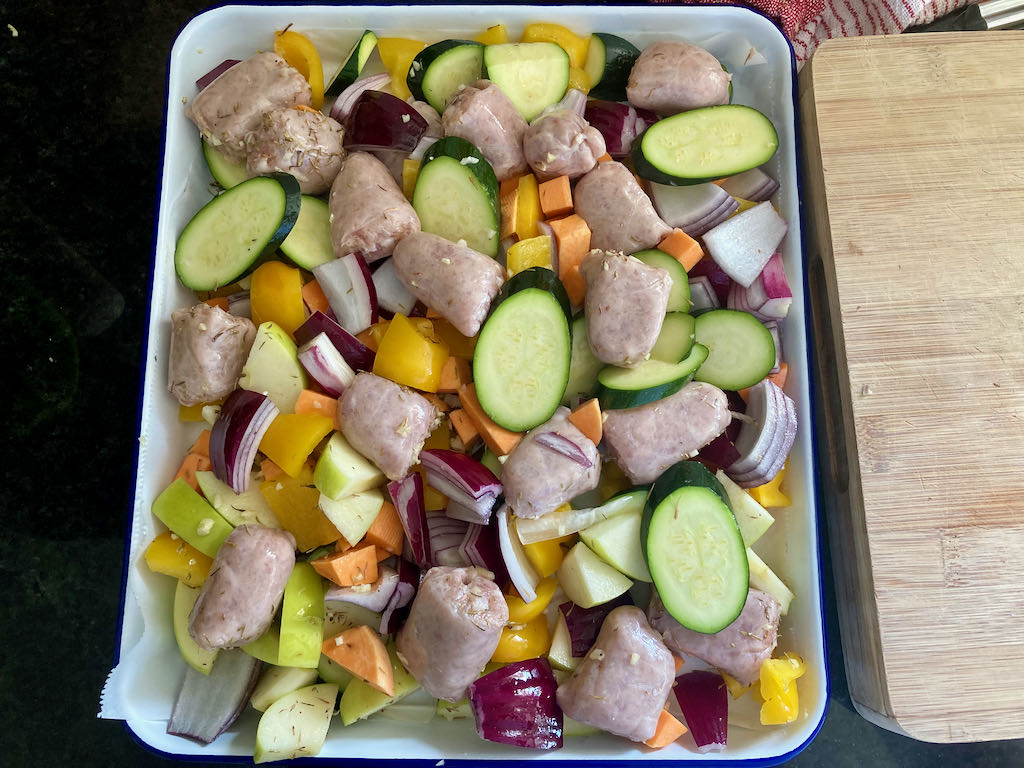
In the roasting tray, mix together all ingredients but keep the maple syrup to one side.
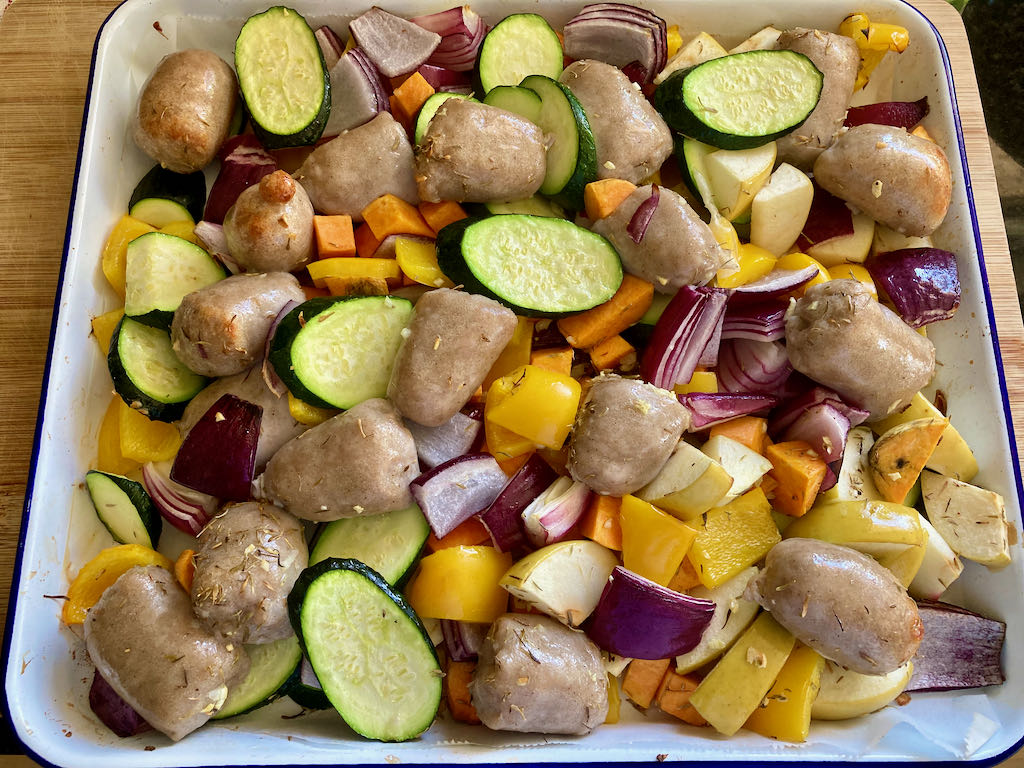
Bake for 20 minutes.
Remove the roasting tray from the oven.
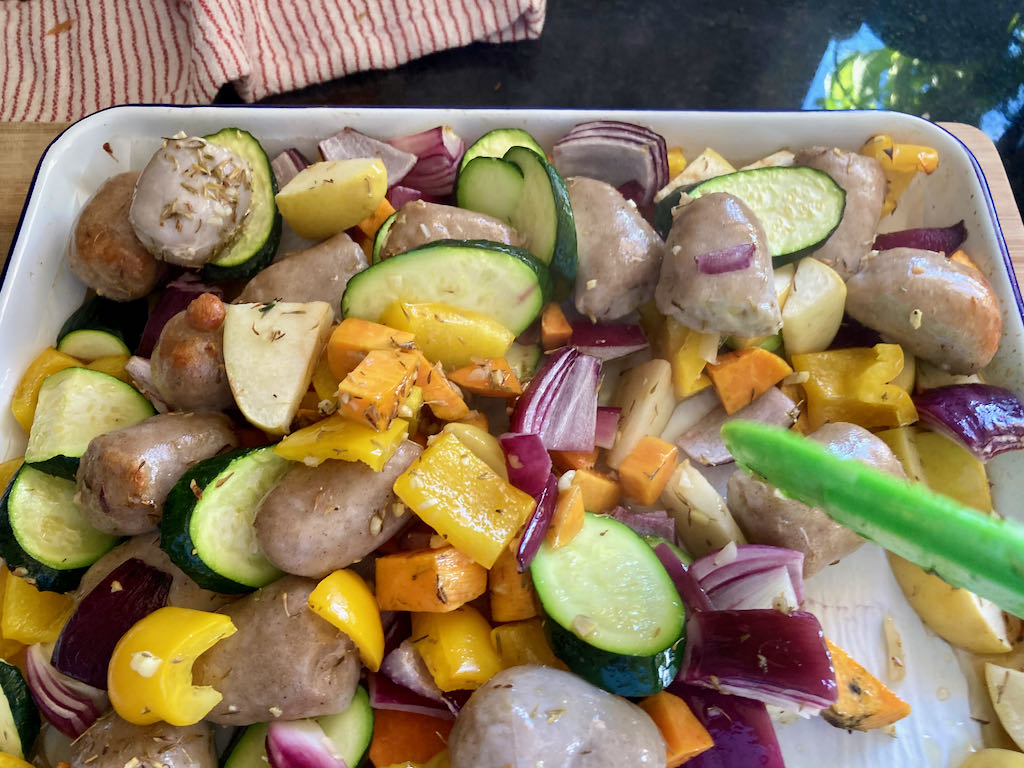
Stir everything up and pour the maple syrup on top of everything.
Bake for another 10 minutes.
If your sausages are thick, you may need to cook them longer.
Line a roasting tray with baking paper or a silicone liner.
In the roasting tray, mix together all ingredients but keep the maple syrup to one side.
Bake for 20 minutes.
Remove the roasting tray from the oven.
Stir everything up and pour the maple syrup on top of everything.
Bake for another 10 minutes.
If your sausages are thick, you may need to cook them longer.
Nutrition
Per Serving: 292 calories; 13g fat; 26g carbohydrates; 18g protein
Equipment
Chopping board
Knife
Baking tray
Baking paper or silicone liner
Measuring cups
Measuring spoons
Tongs
Spatula
Nutritional disclaimer
Nutrition information is provided as an estimate based on the ingredients used and available in my area (New Zealand). The nutritional information is here to help you understand the recipe; I use MyFitnessPal to generate my estimates. For more accurate nutritional information, please use a nutritional calculator with the ingredients in your area.
I don’t know about you, but I’m always looking to learn new skills that make life easy in the kitchen. Sharing is caring so I’m sharing my little tips, tricks and hacks with you.
When you talk about making poached eggs lots of people think poaching eggs is impossible to get right; some count it in the same category as higher-level mathematics. I can understand why most people believe that poached eggs are difficult, there are so many different methods out there, with vinegar, without, boiling water, simmering water and the whirlpool method, and it’s a little overwhelming.
I’ve tried every method out there, and after lots of trials and plenty of error, I’ve found a way to get consistently good poached eggs. Most weekends I have to poach 6 eggs at the same time, and they all need to have a solid white and runny yolk.
I’ve found that the secret to success is a frying pan here is the method is how I get good poached eggs every time.
Here is what you need
Frying pan
Water
Slotted Spoon
Eggs
What to do
Take large frying pan.
Take a large frying pan.
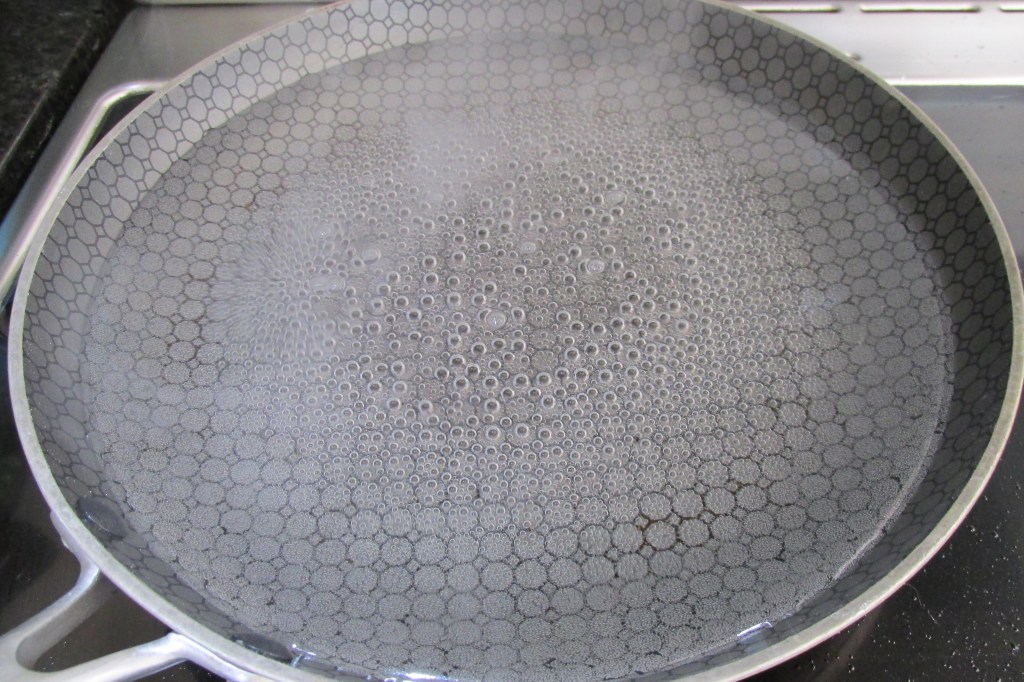
Fill the frying pan with about 3cm of water, this will depend on the depth of your pan; make sure there is space for the eggs.
Fill the frying pan with about 3cm of water, this will depend on the depth of your pan; make sure there is space for the eggs.
Bring the water to the boil
Bring the water to the boil
Once the water is at a rolling boil, turn off the heat.
Once the water is at a rolling boil, turn off the heat.
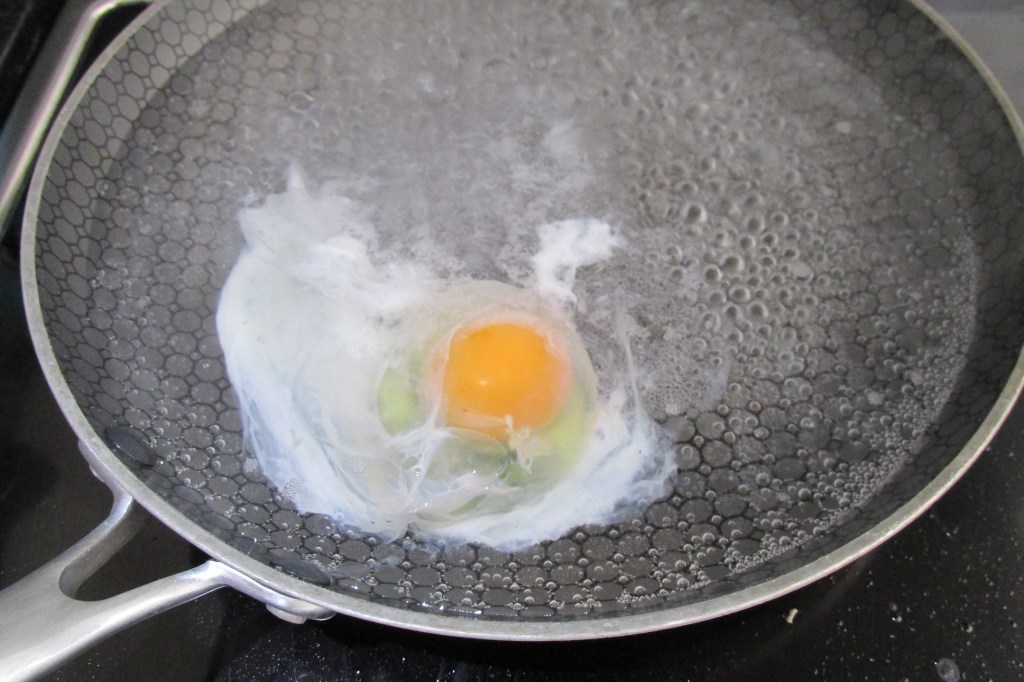
Crack the egg and drop it into the water from just above the surface of the water.
Crack the egg and drop it into the water from just above the surface of the water.
If you have trouble keeping the egg intact, crack the egg into a small bowl or ramekin and use that to pour the egg into the water.
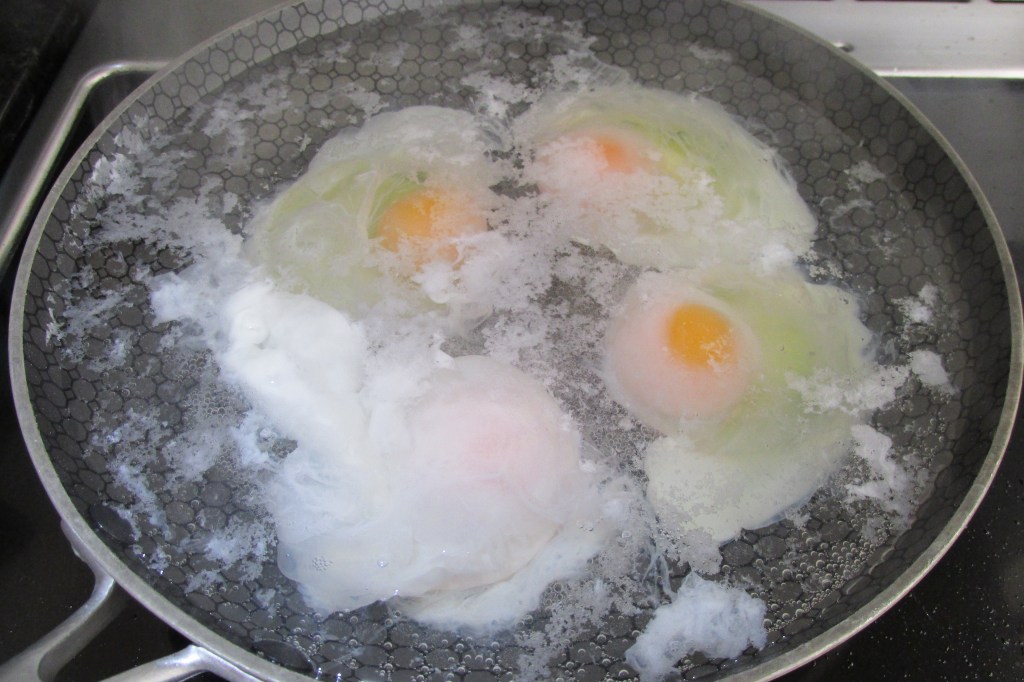
Crack all the eggs you want into the water.
Once you have your eggs in the water, leave them alone until the white is set.
Once you have your eggs in the water, leave them alone until the white is set.
Use the slotted spoon to remove the egg from the water
Use the slotted spoon to remove the egg from the water
Serve
As simple as that
As simple as that
What to do
Fill the frying pan with about 3cm of water, this will depend on the depth of your pan; make sure there is space for the eggs.
Bring the water to the boil
Once the water is at a rolling boil, turn off the heat.
Crack the egg and drop it into the water from just above the surface of the water.
If you have trouble keeping the egg intact, crack the egg into a small bowl or ramekin and use that to pour the egg into the water.
Once you have your eggs in the water, leave them alone until the white is set.
Use the slotted spoon to remove the egg from the water
I’ve been revisiting recipes that have been some of my old-school recipes and family favourites that were our staples when we got started as clean eaters. I first posted this recipe in 2015; at that time, the kids were fussy, vegetables had to be hidden and disguised, and there was no potential for intense flavours or spice.
Times (thankfully) have changed, the kids have grown (like man-sized grown), and they now enjoy a wide range of foods. Things like vegetables are enjoyed, spice and chilli are consumed without complaint, and new ingredients are tried without tantrums.
As the kids have grown, my recipes have changed organically to meet their palates and preferences, I’ve updated this recipe because of that, but fear not; all I have done is make it a little bit better.
Converted to love pork
I never really liked pork. I always found it dry and bland or very chewy, so I stayed away from it. Now I know a little more about the different pork cuts and the differences between good quality meat and mass-produced meat. Good quality meats well-raised make all the difference.
Pork shoulder
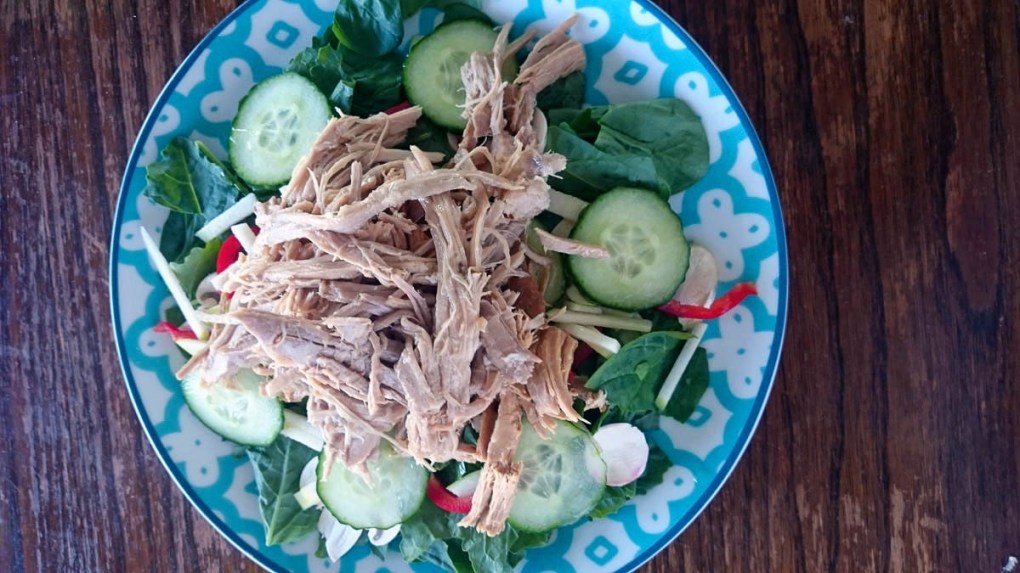
Pork shoulder is one of the meat cuts that I have come to love over the last few years. It is cheap to buy, easy to cook and can be used in many different ways. Pork shoulder is excellent; you cook it once and end up with about five meals. When buying pork shoulder, pick a joint that has the bone in, as it will have more flavour, and the best-tasting meat is right by the bones. This recipe is basic; it lets the natural flavour of the pork shine and makes it a perfect base for other meals.
Garlic pulled pork recipe
Ingredients
1-1.5kg pork shoulder
6 garlic cloves, mashed
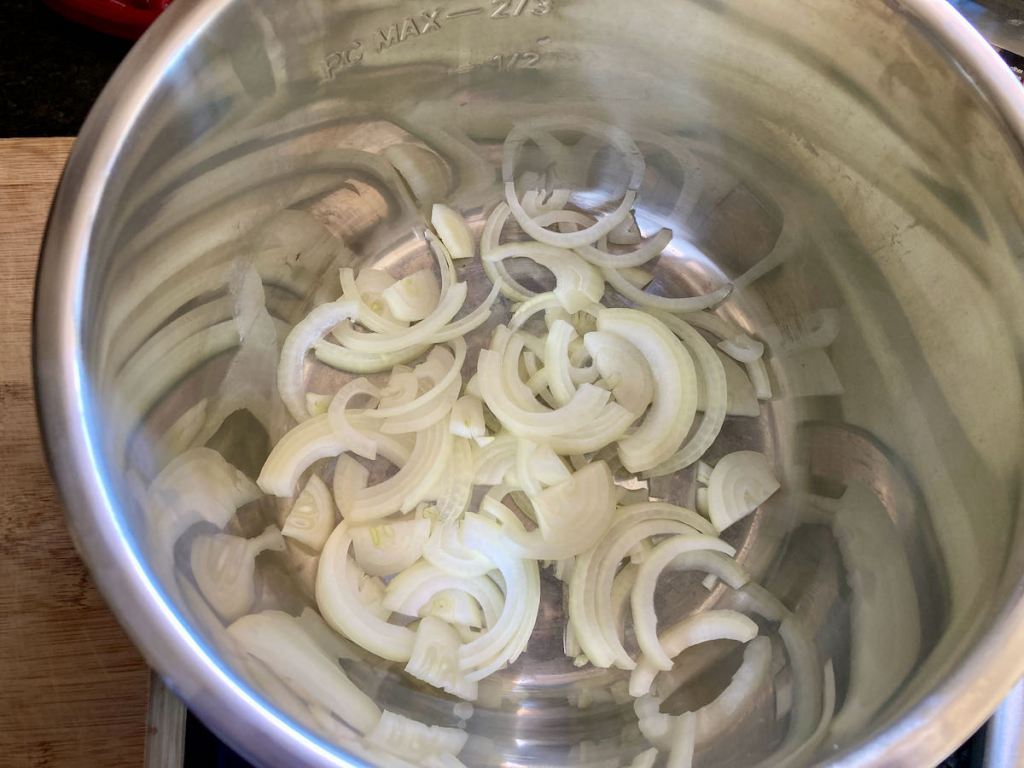
1 onion, sliced
1 tsp. onion powder
1 tsp. chilli powder
Salt and pepper to taste
Place the onions in the bottom of your slow cooker, and build a little platform for the meat.
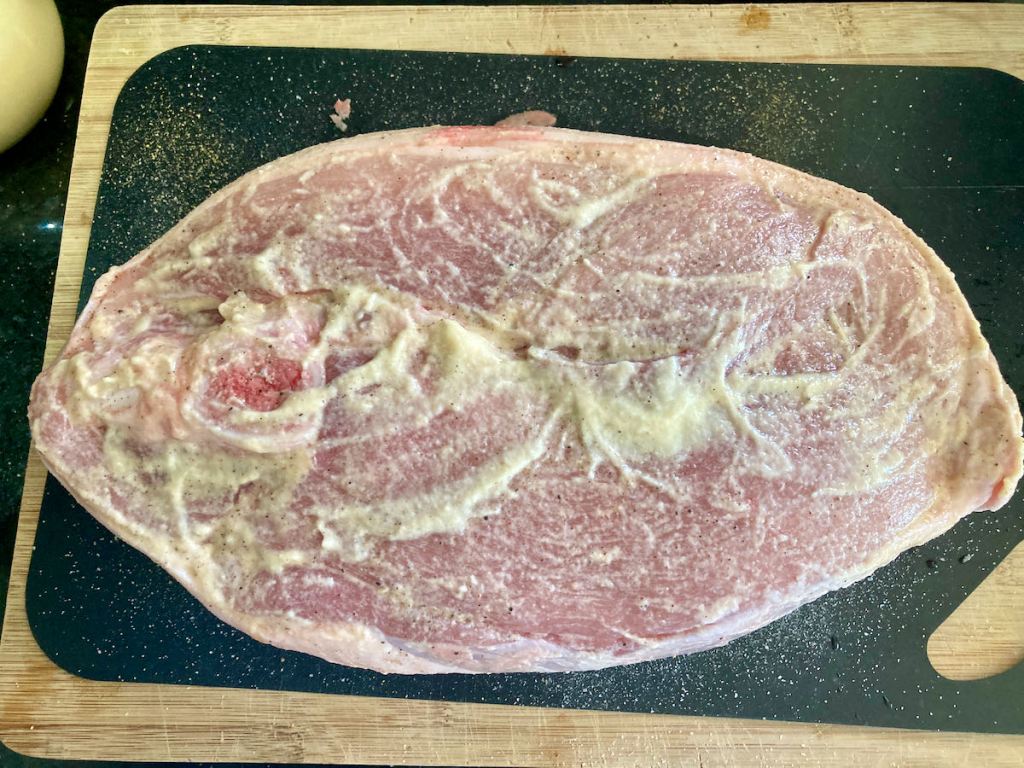
Place the pork shoulder on a chopping board.
Season the meat with salt and pepper, then sprinkle over the onion powder and chilli powder.
Spread the mashed garlic all over the meat, make sure to get it in all the little pockets around the shoulder.
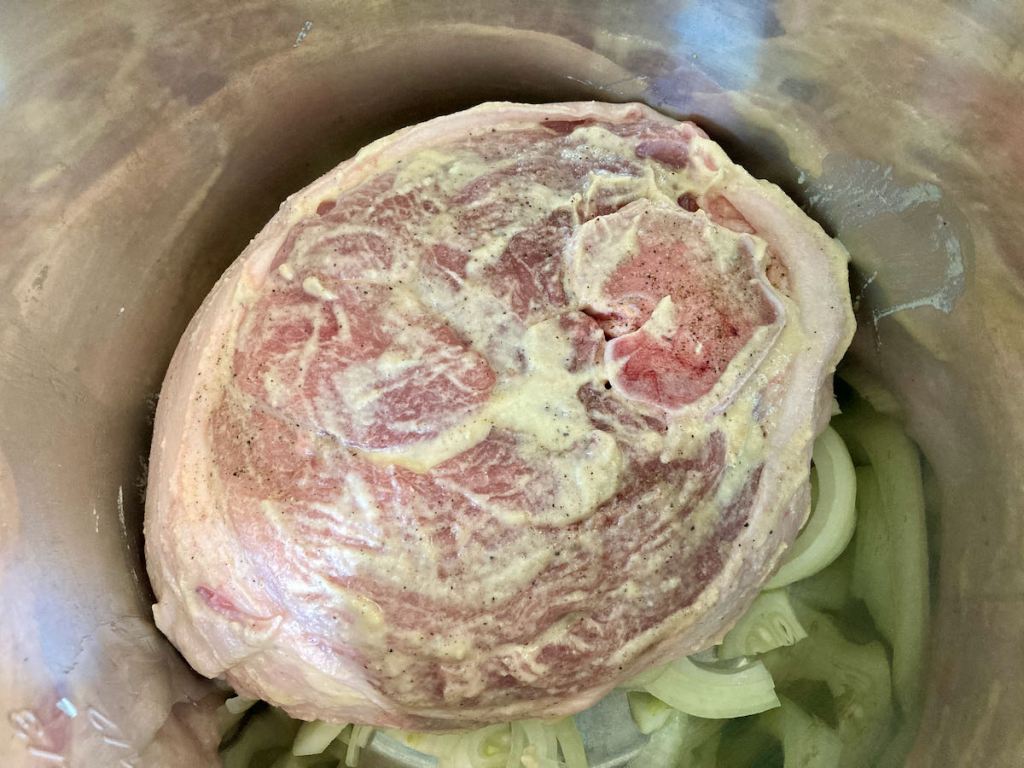
Place the meat on the onions in the slow cooker.
Cook the meat on low for 8-10 hours. Once the pork is cooked, you can pull it apart using forks or claws!
Place the onions in the bottom of your slow cooker, build a little platform for the meat.
Place the pork shoulder on a chopping board.
Season the meat with salt and pepper then sprinkle over the onion powder and chilli powder.
Spread the mashed garlic all over the meat, make sure to get it in all the little pockets around the shoulder.
Place the meat on the onions in the slow cooker
Cook the meat on low for 8-10 hours.
Once the pork is cooked, you can pull it apart using forks or claws!
Nutrition
Per Serving: 236 calories; 13g fat; 1g carbohydrates; 30g protein
Equipment
Knife
Chopping board
Forks
Slow cooker
Nutritional disclaimer
Nutrition information is provided as an estimate based on the ingredients used and available in my area (New Zealand). The nutritional information is here to help you understand the recipe; I use MyFitnessPal to generate my estimates. For more accurate nutritional information, please use a nutritional calculator with the ingredients in your area.
Eating clean gets a lot easier once you have mastered a few essential recipes. This recipe is basic; not like basic unicorn basic, more like beard and flannel basic. Back to the point (which isn’t Unstable unicorns), having basic skills and recipes in your arsenal means you will never be left with only Uber Eats as your weeknight option. Once you master this recipe, the possibilities are endless.
New take on a classic
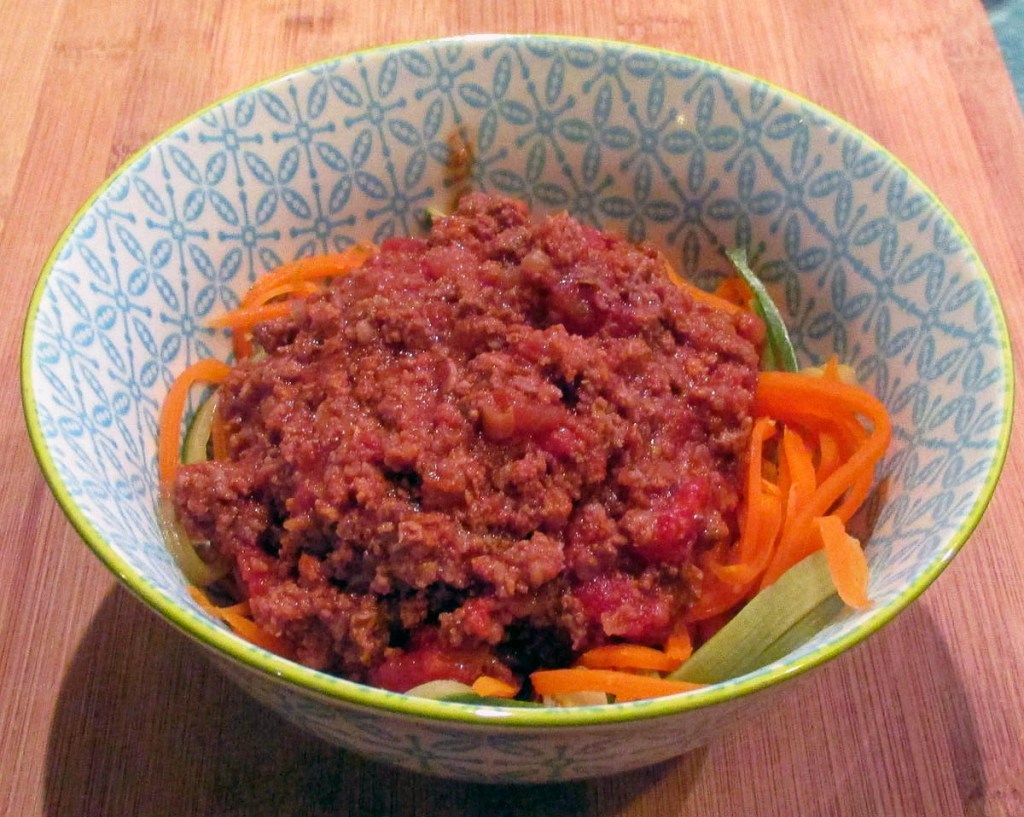
Bolognese is one of those dishes that everyone knows and probably has their version of it. While traditionally, Bolognese is used for dressing pasta, this meaty sauce is a perfect centrepiece to a meal instead of dressing.
This dish is full of flavour and tastes better the day after you make it.
Bolognese is an easy recipe to make; it is cheap and makes the perfect weeknight dinner.
Bolognese recipe
Ingredients
500g beef mince
2 tins chopped tomatoes
2 onions, finely diced
2 garlic cloves, minced
2 tbsp. tomato puree
2 tbsp. olive oil
a handful of basil, plus extra for garnish.
1 tsp. dried oregano.
Instructions
Put a large stock pot over medium heat.
Add the olive oil to the pan.
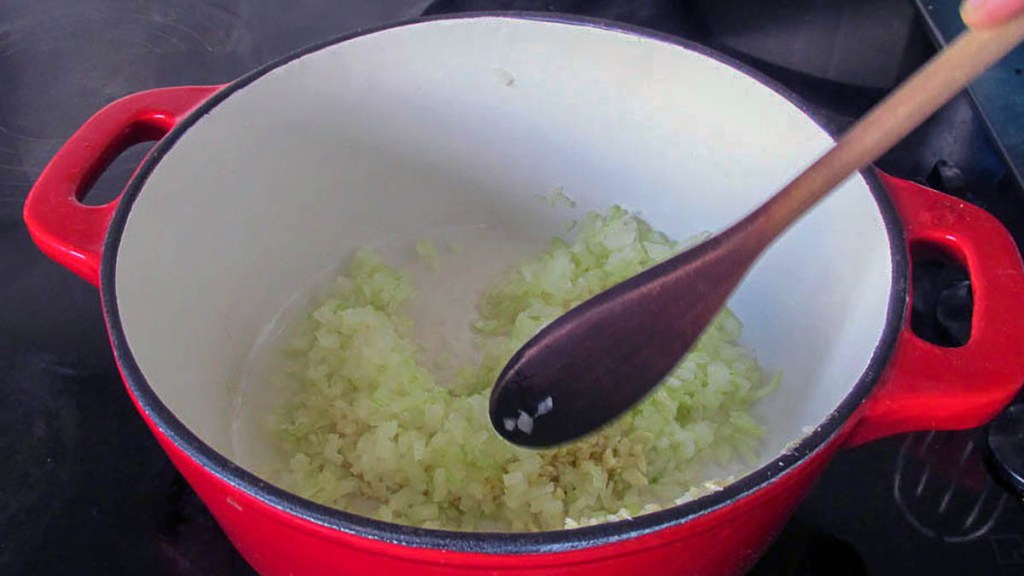
When the oil is hot, add the onions and stir them.
Reduce the heat when the onions start to colour.
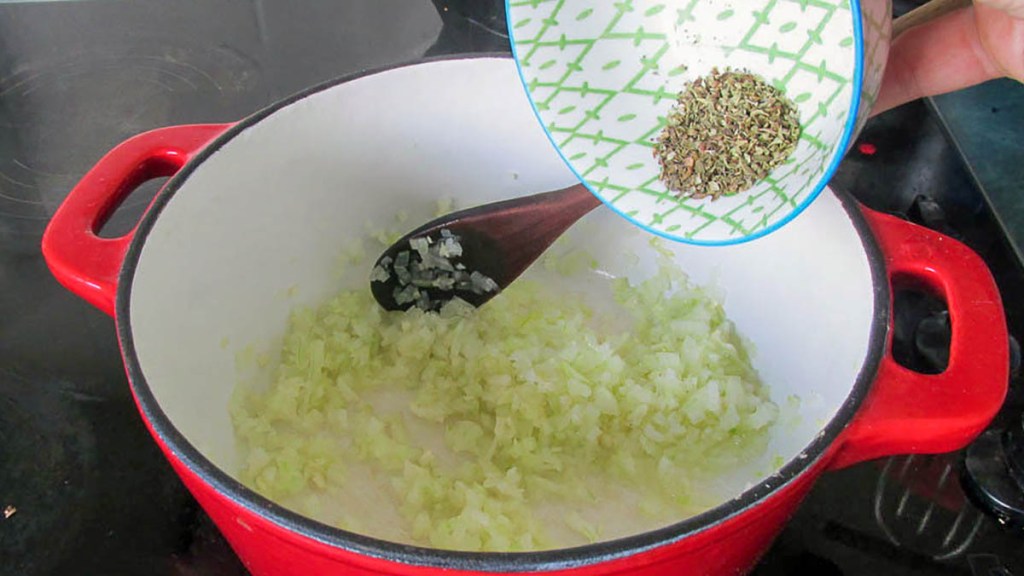
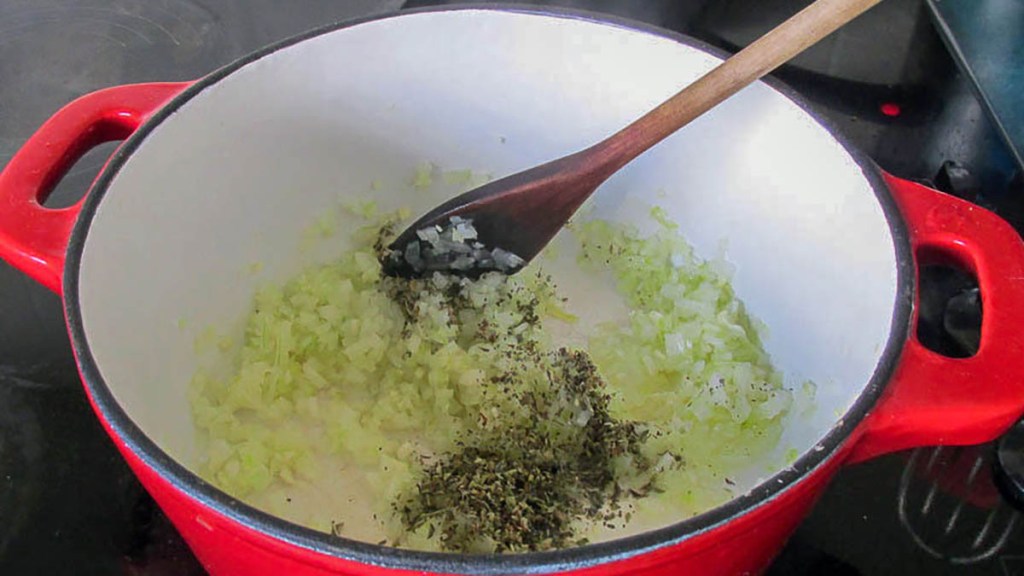
Add the garlic, basil and oregano.
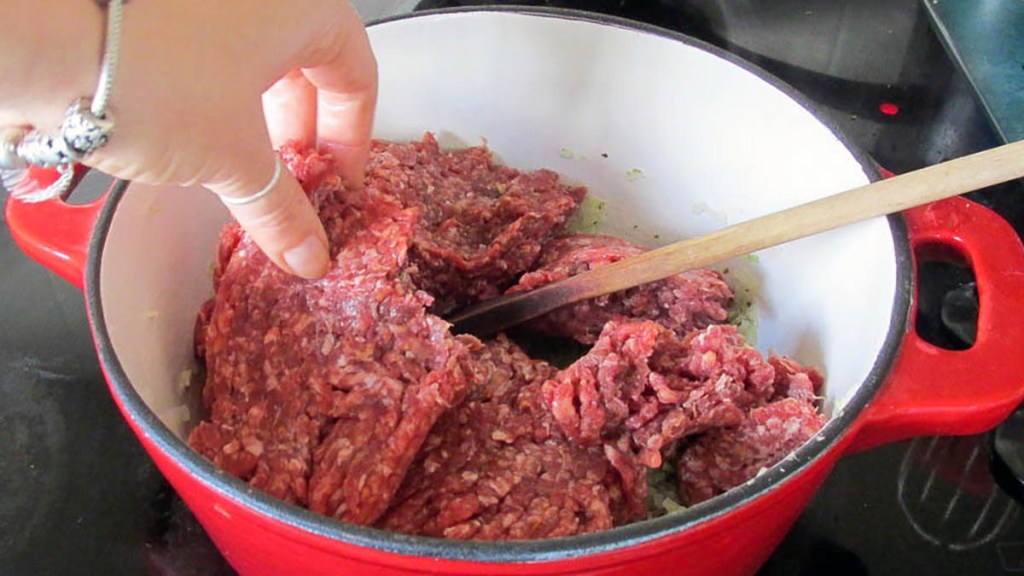
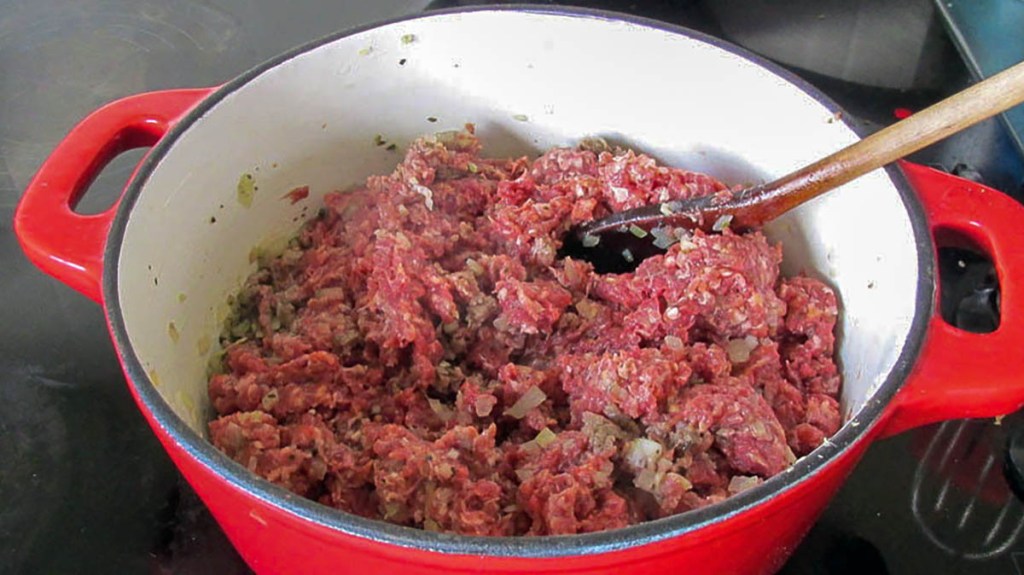
Add the beef mince to the pan with the onions.
Cook the meat off until it is browned.
Use a spoon to break the meat up as it cooks.
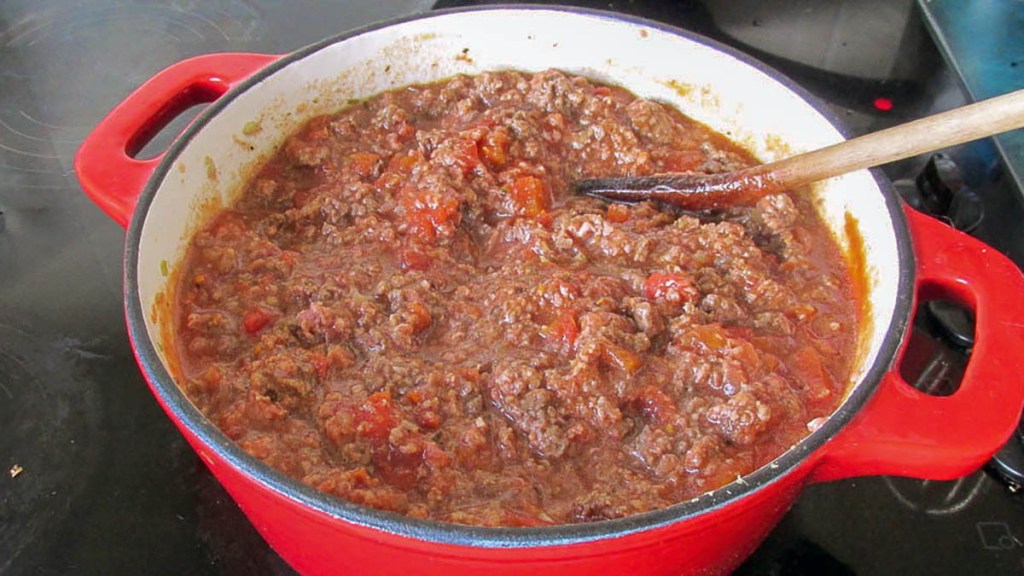
Stir in the chopped tomatoes and puree into the meat.
Turn up the heat to bring the liquids up to a boil.
When you have rolling bubbles reduce the heat and keep stirring everything.
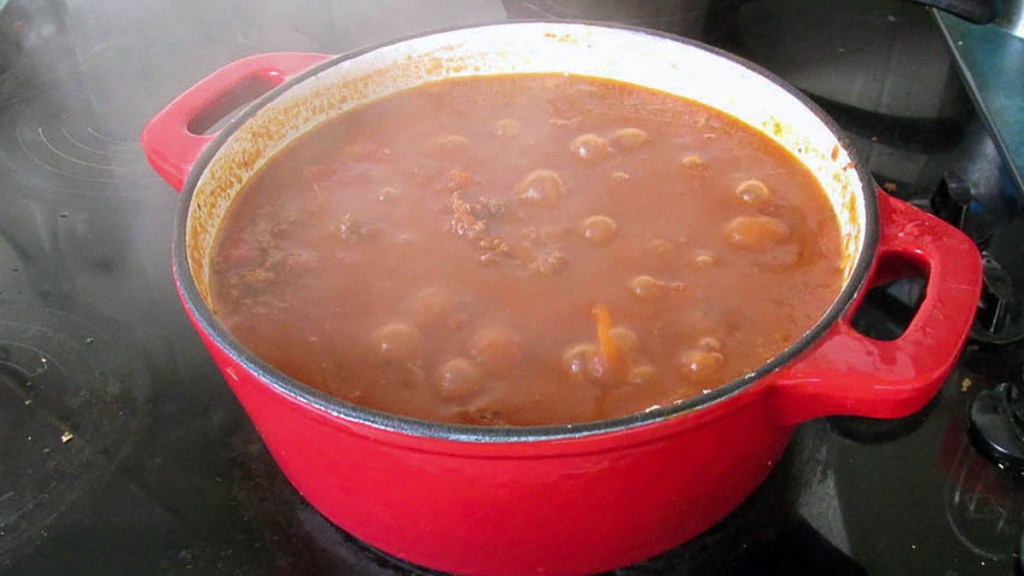
When you get to a gentle simmer, put the lid on your pan and let everything cook down for a least an hour.
Stir the sauce now and then to make sure it doesn’t stick or catch on the bottom.
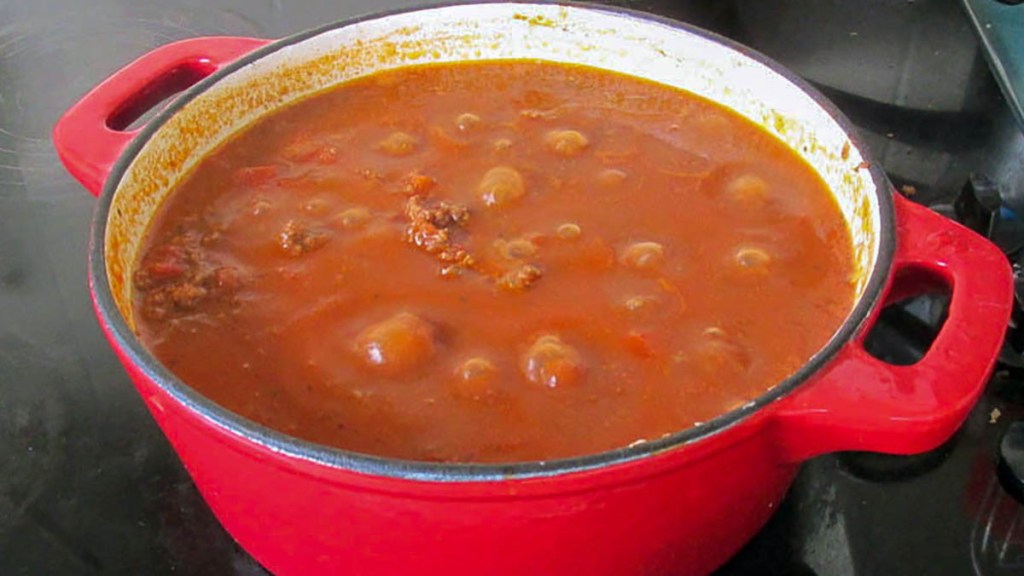
Serve over some coodles with some grated parmesan cheese.
The flavour will develop and be better the day after you have made it, so it will be great for leftovers.
When the oil is hot, add the onions and stir them.
Reduce the heat when the onions start to colour.
Add the garlic, basil and oregano.
Add the beef mince to the pan with the onions.
Cook the meat off until it is browned.
Use a spoon to break the meat up as it cooks.
Stir in the chopped tomatoes and puree into the meat.
Turn up the heat to bring the liquids up to a boil.
When you have rolling bubbles reduce the heat and keep stirring everything.
When you get to a gentle simmer, put the lid on your pan and let everything cook down for a least an hour.
Stir the sauce now and then to make sure it doesn’t stick or catch on the bottom.
Serve over some coodles with some grated parmesan cheese.
Nutrition
Per Serving: 186 calories; 10.7g fat; 9.3g carbohydrates; 12g protein
Equipment
Knife
Chopping board
Stockpot
Wooden spoon
Measuring spoons
Nutritional disclaimer
Nutrition information is provided as an estimate based on the ingredients used and available in my area (New Zealand). The nutritional information is here to help you understand the recipe; I use MyFitnessPal to generate my estimates. For more accurate nutritional information, please use a nutritional calculator with the ingredients in your area.
Earlier in 2021, I moved to relocate and update my website; I’ve been making changes and improving all of the things as I go. This recipe is one of the many things I’ve tried to make better.
Something sweet but healthy
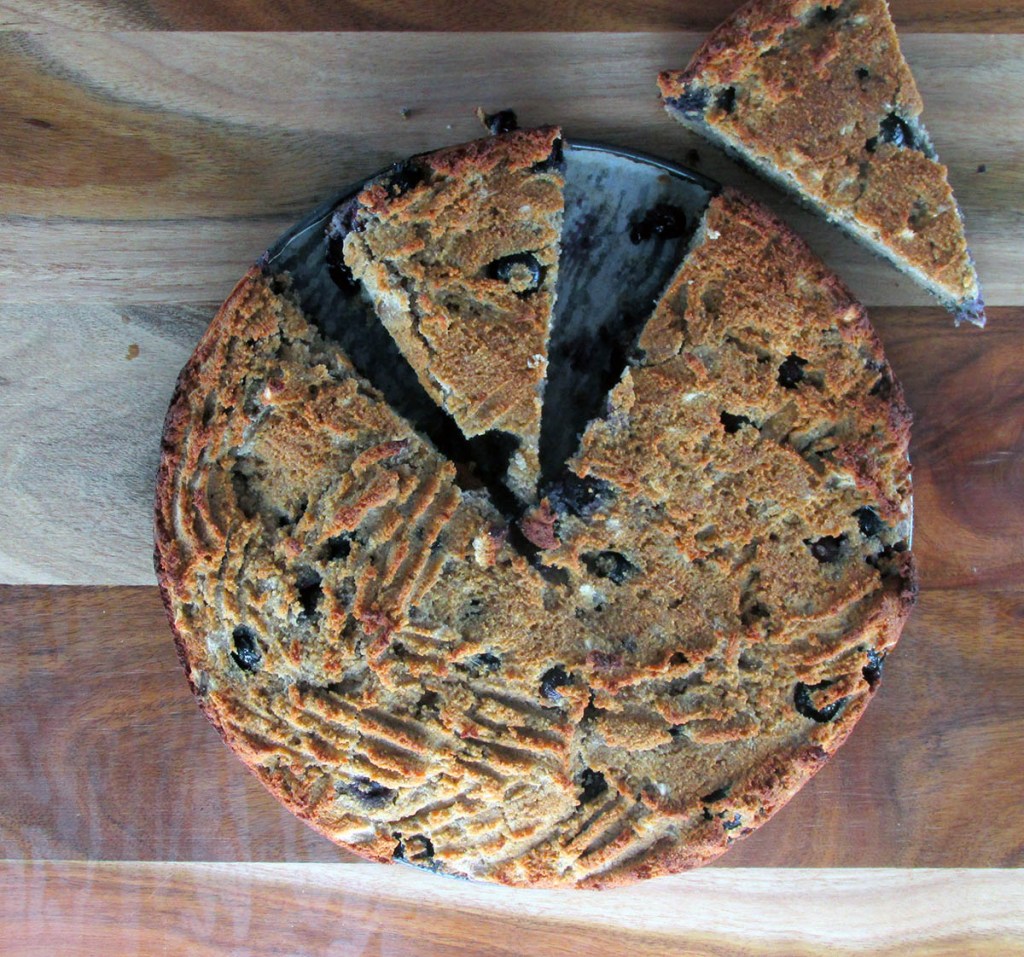
Sometimes we need something sweet to get us through the day. In the spirit of not eating crappy processed food, I like a simple recipe that is easy to whip up and reasonably healthy. This cake is easy to make, uses pantry items you should have already and will only take a short time to sit down and enjoy.
Banana blueberry cake
Ingredients
1/2 cup coconut flour, sifted
1/2 tsp. baking soda
1/2 tsp. salt
1/2 tsp. ground cinnamon
1/2 tsp. ground nutmeg
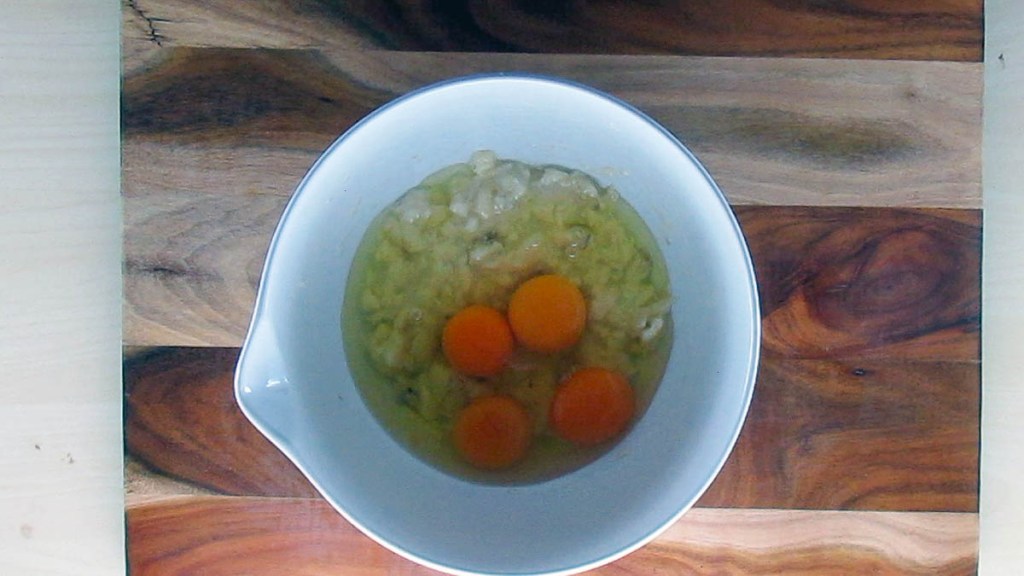
4 eggs
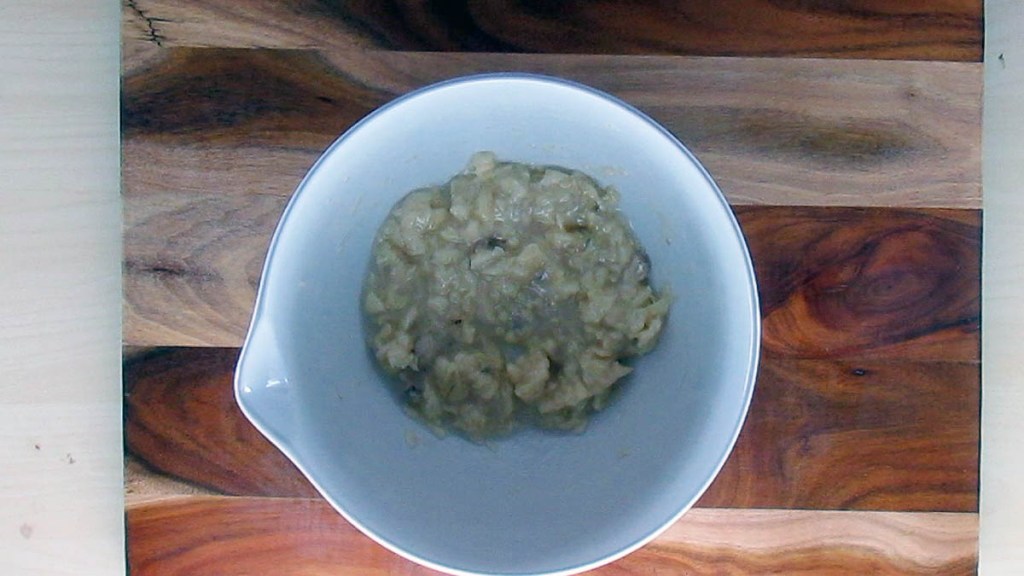
2 bananas, ripe
1/2 cup coconut oil, melted
3 tbsp. honey
1 cup blueberries
Instructions
Preheat the oven to 180 degrees C/ 350 degrees F.
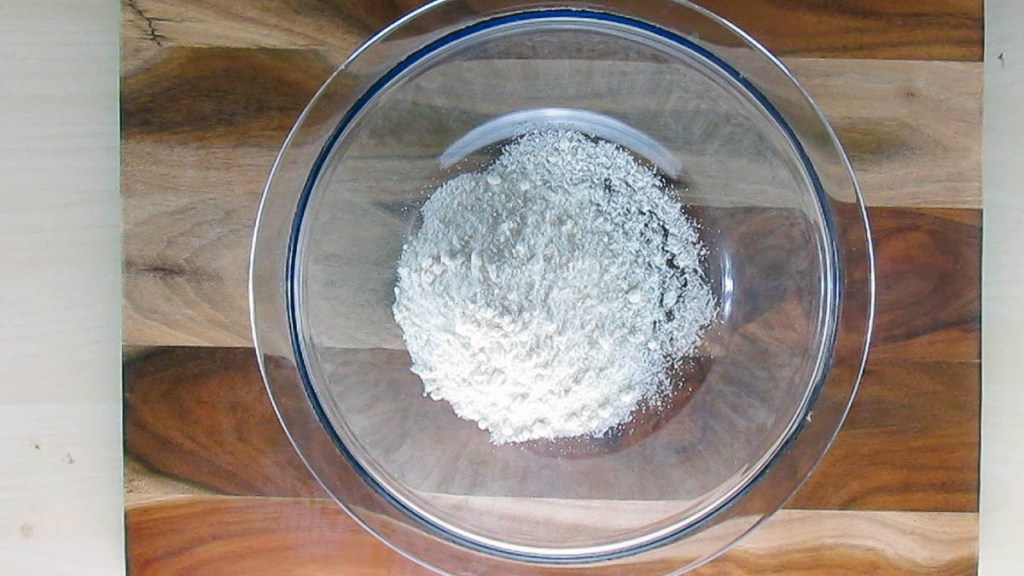
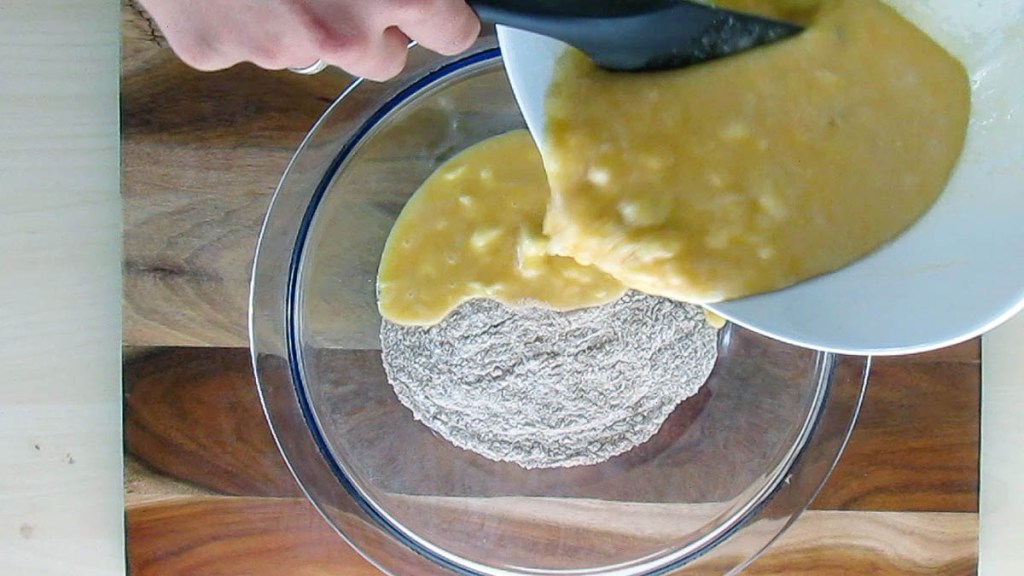
In a large bowl, mix together the coconut flour, baking soda, salt, ground cinnamon and nutmeg.
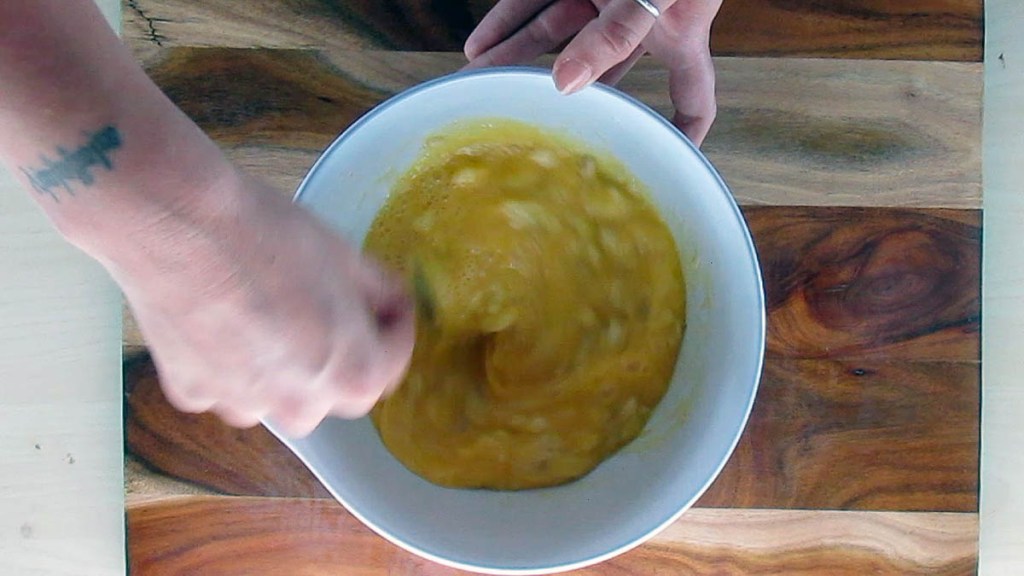
In another bowl, mix together the eggs, bananas, coconut oil and honey.
Add the wet ingredients to the dry ingredients and mix well.
Fold in the blueberries.
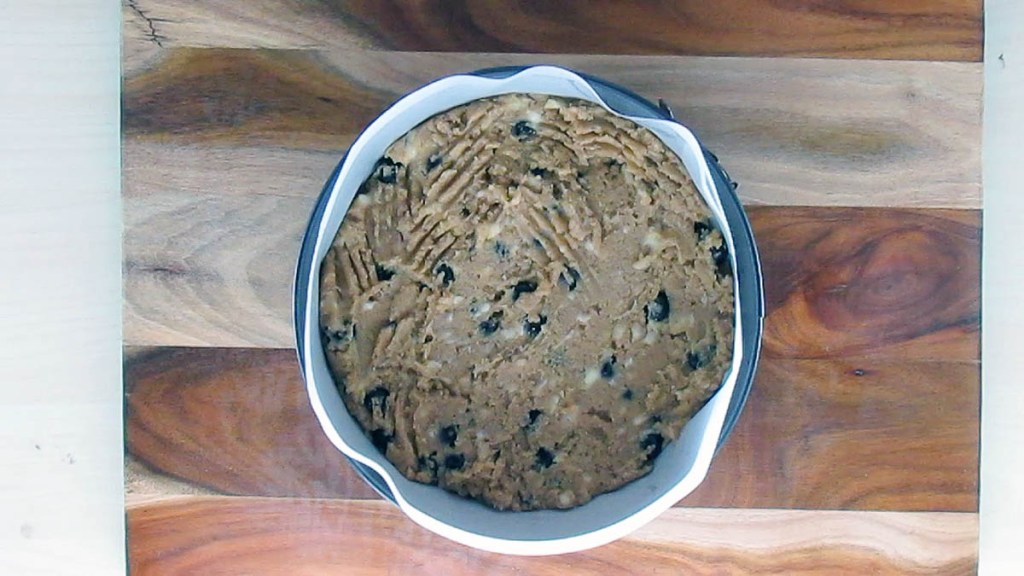
Take a spring-form cake pan and line it with baking paper or a silicone liner.
Pour the batter into the cake pan.
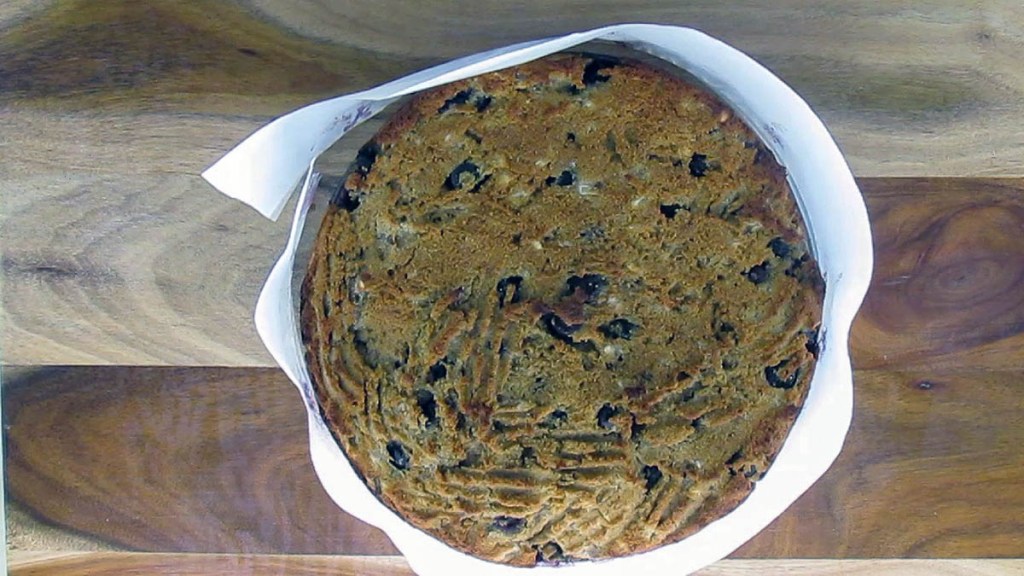
Bake the cake for 30 minutes or until the cake is cooked through.
Remove the cake and allow it to cool slightly before removing it from the cake pan.
Preheat the oven to 180 degrees C/ 350 degrees F.
In a large bowl, mix together the coconut flour, baking soda, salt, ground cinnamon and nutmeg.
In another bowl, mix together the eggs, bananas, coconut oil and honey.
Add the wet ingredients to the dry ingredients and mix well.
Fold in the blueberries.
Take a spring-form cake pan and line it with baking paper or a silicone liner.
Pour the batter into the cake pan.
Bake the cake for 30 minutes or until the cake is cooked through.
Remove the cake and allow it to cool slightly before removing it from the cake pan.
Nutrition
Per Serving: 166 calories; 12g fat; 14g carbohydrates; 3g protein
Equipment
Mixing bowl x2
Fork
Wooden spoon
Cake pan
Baking paper or a silicone liner
Measuring spoons
Measuring cups
Nutritional disclaimer
Nutrition information is provided as an estimate based on the ingredients used and available in my area (New Zealand). The nutritional information is here to help you understand the recipe; I use MyFitnessPal to generate my estimates. For more accurate nutritional information, please use a nutritional calculator with the ingredients in your area.