Kombucha
I don’t profess to know the origins of Kombucha, there any many theories about who came up with it. To be honest, I don’t mind who invented it, I’m just interested in the benefits it offers.
So you may be asking yourself, what is Kombucha?
The basic answer is Kombucha is fermented tea, don’t worry; it is not as gross as it sounds.
Here is the bro science explanation.
To make kombucha, you need sweetened black or green tea and a SCOBY. SCOBY short for symbiotic ‘colony’ of bacteria and yeast, is a jellyfish looking thing that you put in the tea. The bacteria and yeast munch on the sugar in the tea which causes the fermentation of the tea. It’s similar to making beer but with better health benefits. The sugar in the tea is there only to feed the SCOBY. Some commercial brands of Kombucha are high in sugar; this is usually to mask the sour taste of the finished Kombucha.
Many people claim Kombucha is a cure-all. I don’t really buy into these claims, what I do buy into is that Kombucha is full of probiotics and these are great for you.
Probiotics
We all know that antibiotics are important when you have an infection. They don’t just wipe out the bacteria that cause infections, they wipe out all of the good bacteria in your gut. We all have good bacteria in our gut, and it’s crucial for a healthy immune system.
I have to say that Kombucha has done wonders for the immune systems in our house, even the kids slam down a glass.
I will be honest, Kombucha is an acquired taste, but it’s a taste worth acquiring. It’s tart and fizzy, once you get past the smell which is far stronger than the taste you will be sold on it.
One major drawback of Kombucha is the cost when buying it; a litre can set you back as much as $15. If everyone in the family grabs a glass daily it quickly becomes very expensive.
Make your own
There is a much cheaper way to have kombucha, and that is by brewing your own, don’t worry it is not as complicated as you might think. The key to brewing your own is a good SCOBY and a starter. (you can get one here)
Equipment needed is minimal.
- A saucepan or stock pot
- A jar large enough to hold the kombucha
- Cheesecloth or clean tea towel
- Rubber bands
That’s it


So here is what to do.
How to make kombucha
The brew
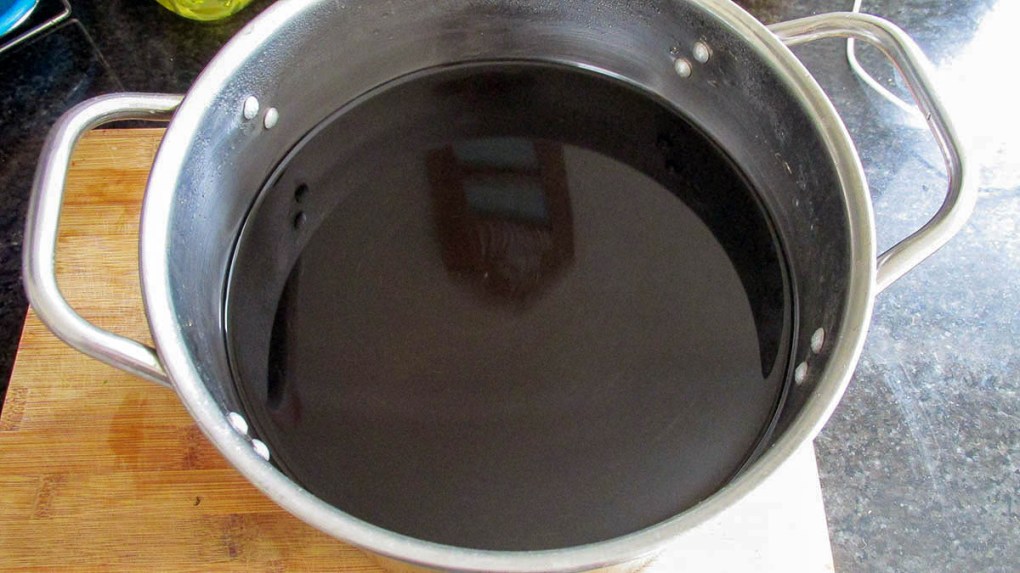
In a large stock pot bring 2-4 litres of water to the boil.
When the water is at a rolling boil turn off the heat and stir in 1/2 1 cup of white sugar.
If you want sweet kombucha use 1 cup per 2 litres, for less sweet kombucha add 1/2 cup per 2 litres.
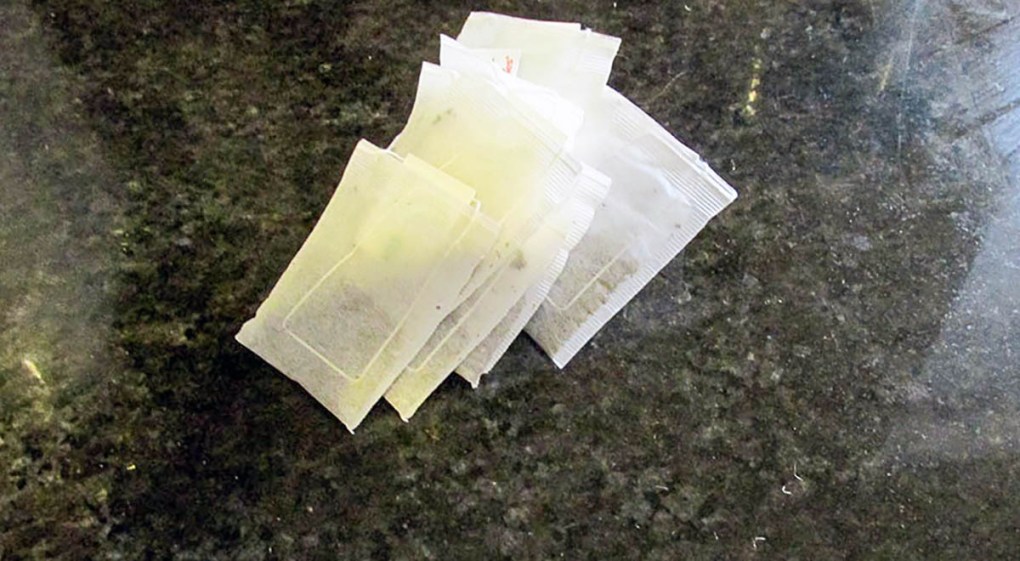
When the sugar has dissolved add in your tea bags
- 2 litres use 4-6 tea bags
- 4 litres use 8-12 tea bags
You can use plain black tea or a mixture of black and green tea bags.
When the tea bags have been added leave the tea to cool to room temperature (I usually leave the tea overnight to cool in the stock pot with the lid on).
The ferment
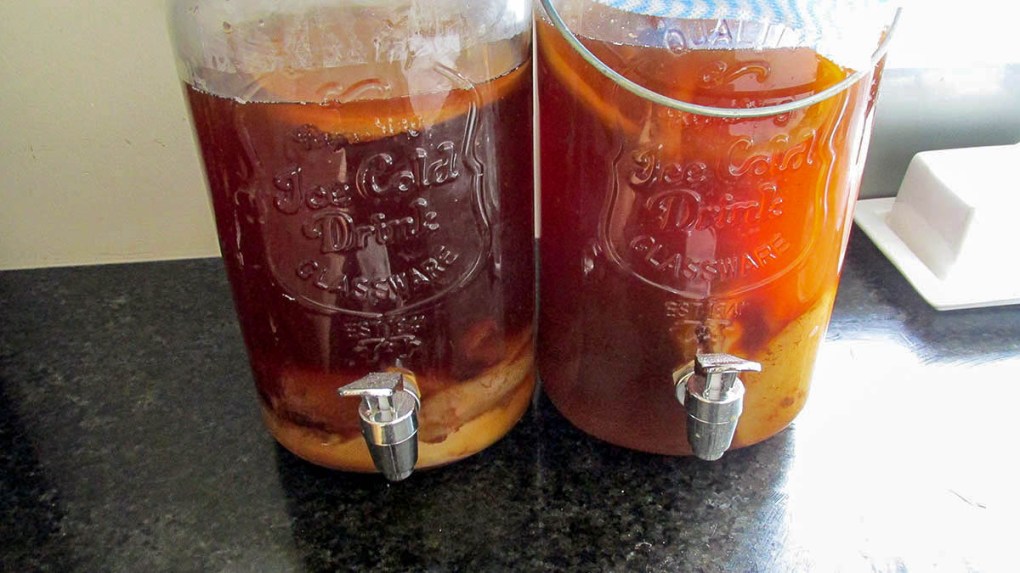
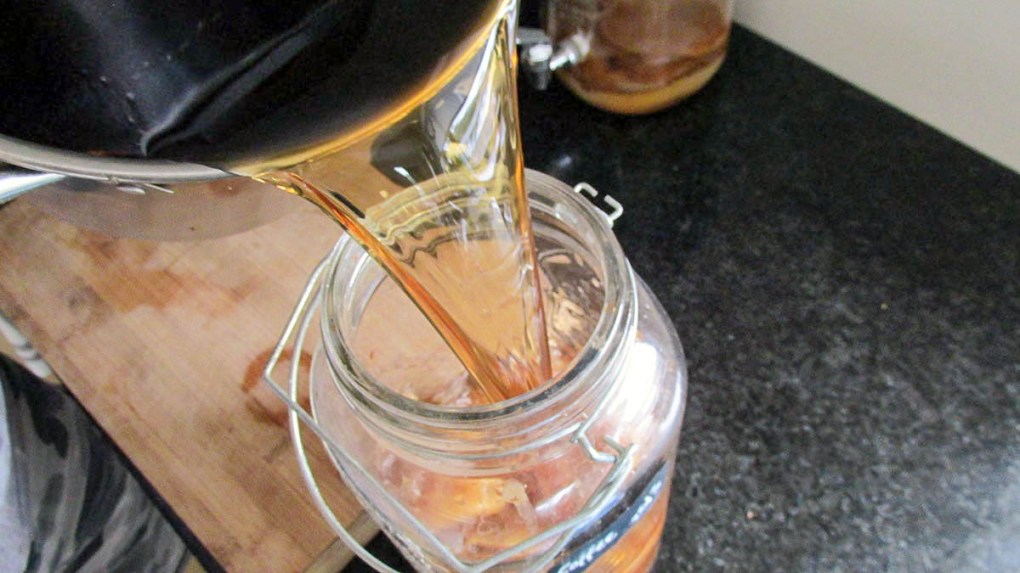
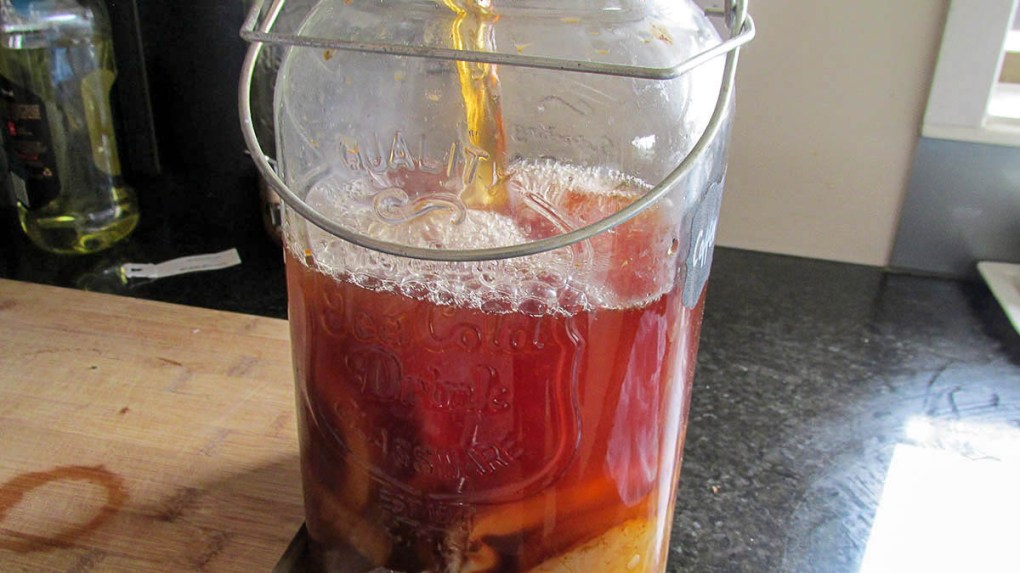
When the tea is at room temperature pour it into a jar or container, I recommend using a large glass jar with a tap on it (like the one below).
Add the scoby to the jar with approximately 250ml of the kombucha starter.
Be warned every scoby has a mind of its own, some float, some sink, some sit sideways. You will grow a new scoby every time you brew and that will have a mind of its own as well.
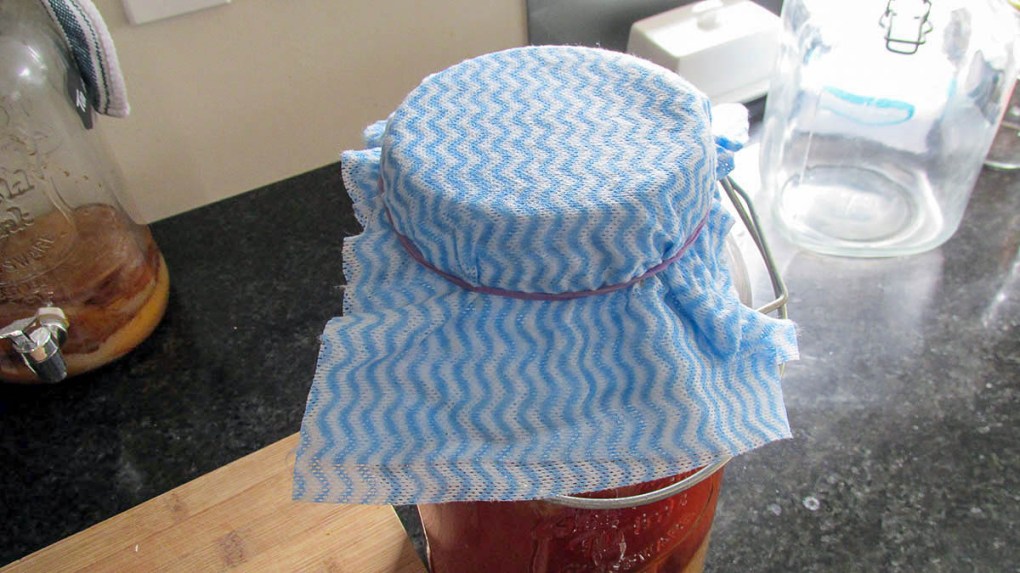
Cover the top of the jar with a clean cloth and secure the cloth with some string or an elastic band.
Put the jar is a warm place but away from direct sunlight.
Leave the tea for about a week how long it takes to brew will depend on how warm your house is.
A good indicator that your tea is close to ready is that you have a new scoby forming on the top of the tea. The new scoby will look like patches of jelly to start, then it will look like a film on the top of your tea, then it will look like a skinny version of your scoby. At this point you can start to taste the tea.
When you get the tang you want it is ready to bottle, put it in a sterilised bottle and store it in the fridge.
Make sure you save 250ml as a starter for your next batch and make sure you leave some liquid for the scoby to live in. The scoby will use the liquid to get bigger even when you are not brewing kombucha, check on it regularly to make sure it does not dry out.
Carbonation
If you want a fizzy kombucha you can carbonate it.
If you do want to carbonate you will need to use a plastic bottle to make it easier to check the carbonation level.
Fill the bottles as much as possible, when filled, seal the bottles and put them out of direct sunlight at room temperature. It will take a few days for carbonation to get started.
Don’t carbonate your kombucha unless you are home to check them twice a day they will explode and make your house smell funky.
When you use a plastic bottle it is easy to check for carbonation, check the bottle twice a day, when the bottle becomes hard it is carbonated.
As soon as the kombucha is carbonated put all of the bottles in the fridge.
The bigger your scoby gets the more natural carbonation you will get without having to do the additional step.