What to do with extra avo
I have an abundance of avocados at that moment; they are in season here in New Zealand, which means I can’t resist picking up a bag every time I head to the supermarket. The warmer weather means I get a few ripe avocados at a time and need to do something with it. While I love guacamole and never say no to smashed avo on toast, I have to put a meal on the table that is more of a balanced meal.

Quick and easy meal
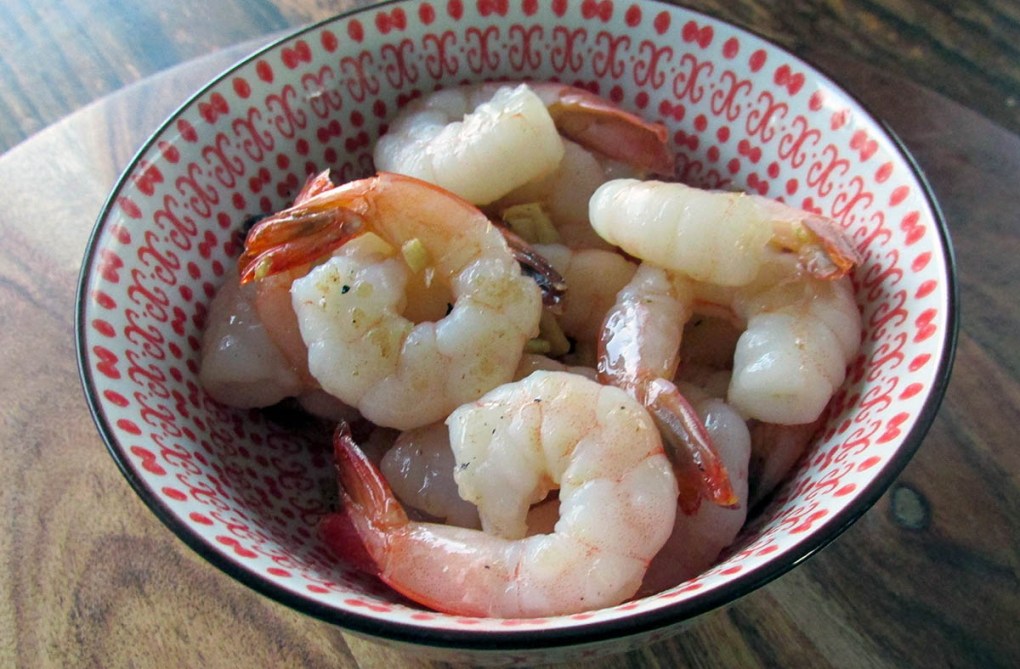
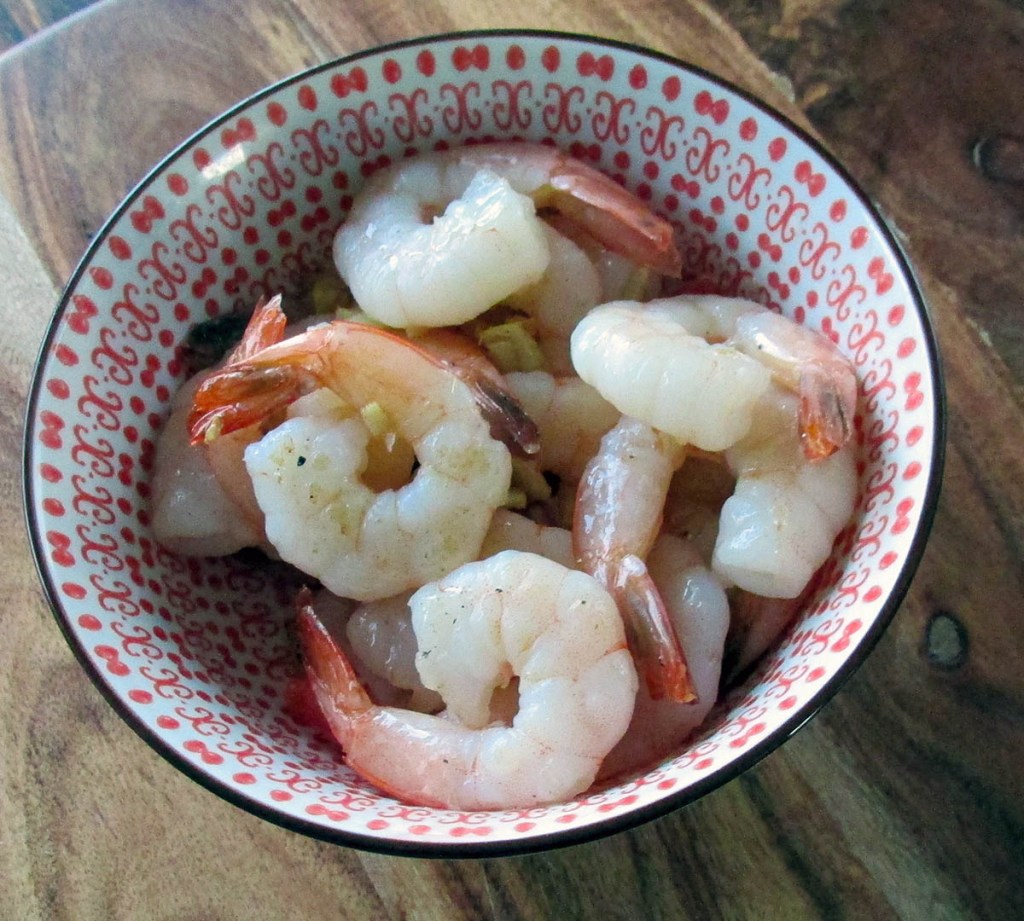
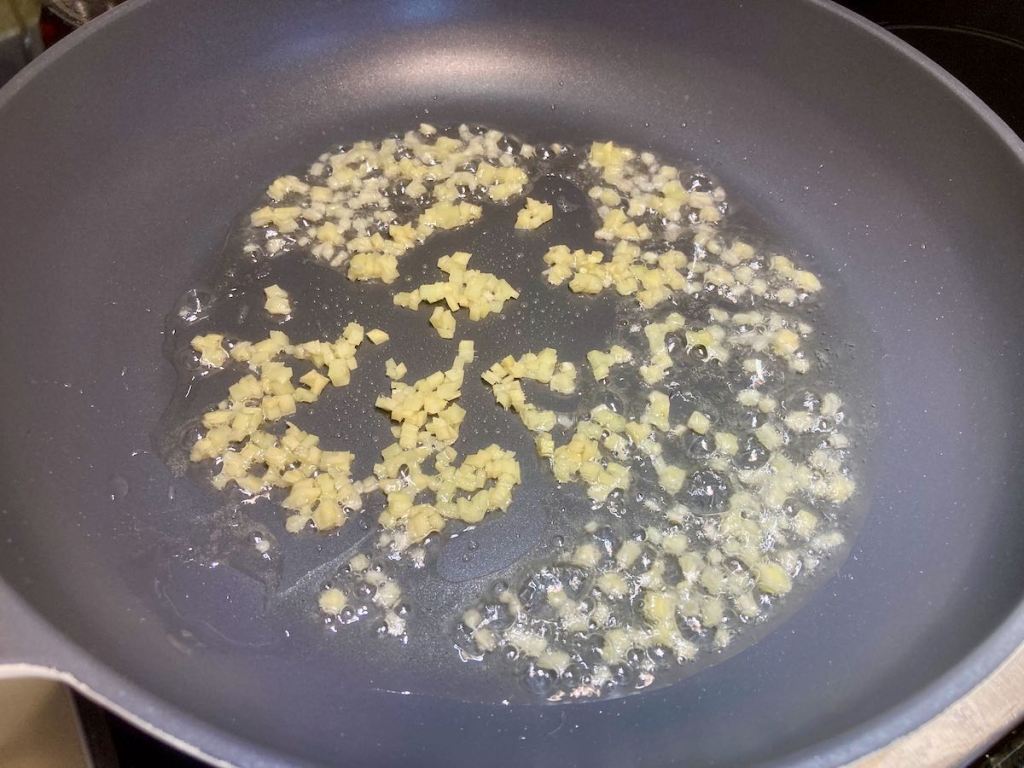
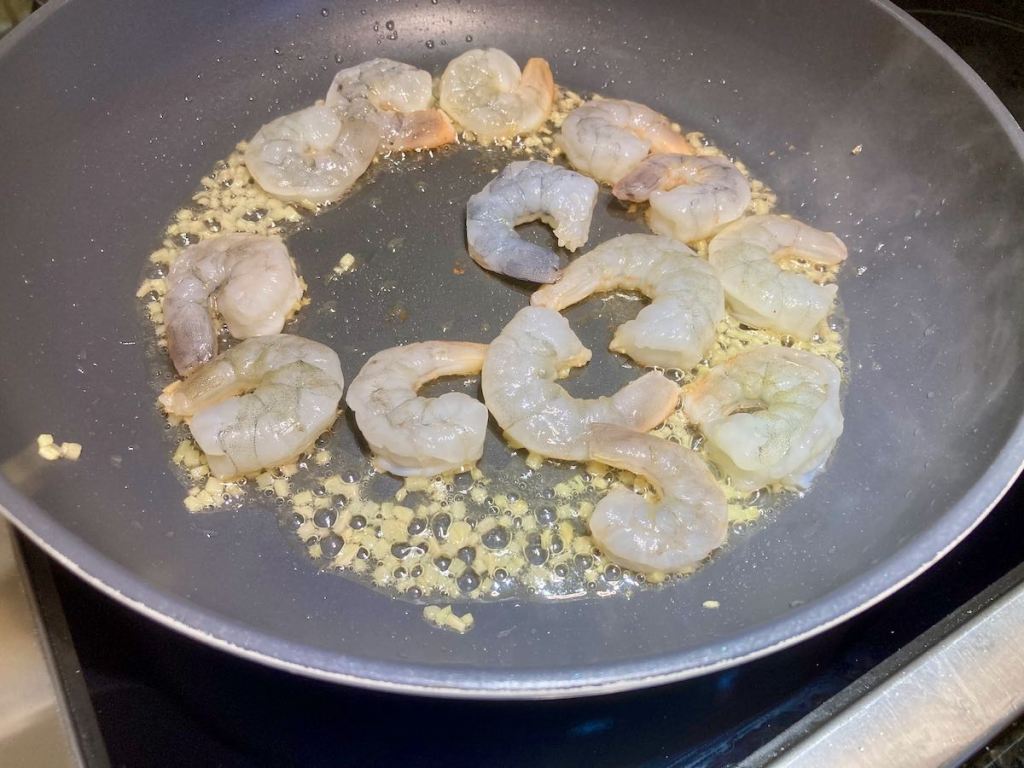
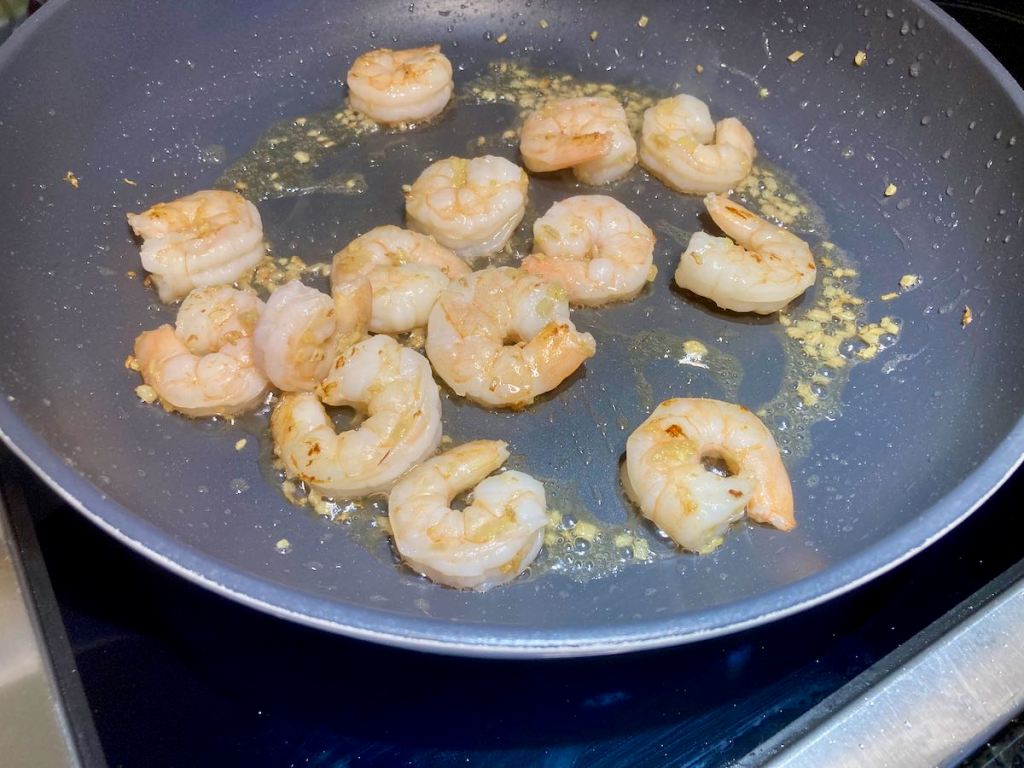
I cooked up a batch of garlic prawns the other day and had a large enough portion left to feed the family. I grabbed my perfectly ripe avocado and threw together this tasty salad in less than 20 minutes. No cooking, just chopping and mixing; if you want to save on washing up, you can even use your salad bowl to put it all together.
Prawn and avocado salad recipe
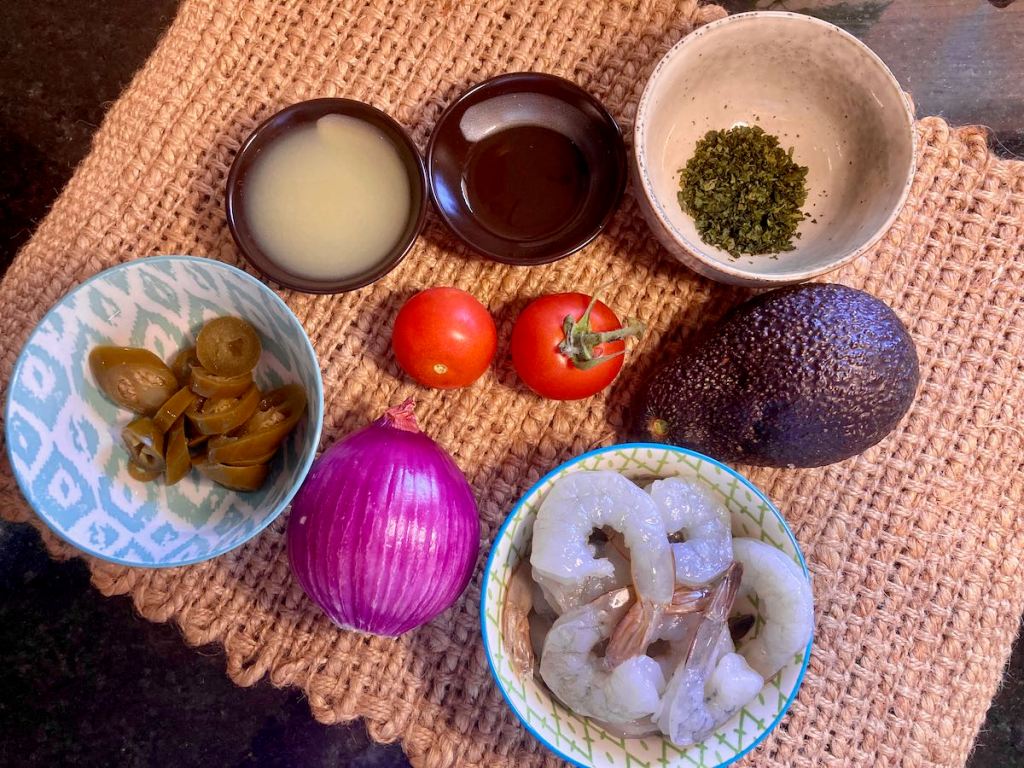
Ingredients
- 1/4 cup red onion, chopped
- 2 limes, juice of
- 1 tsp. olive oil
- salt and black pepper to taste
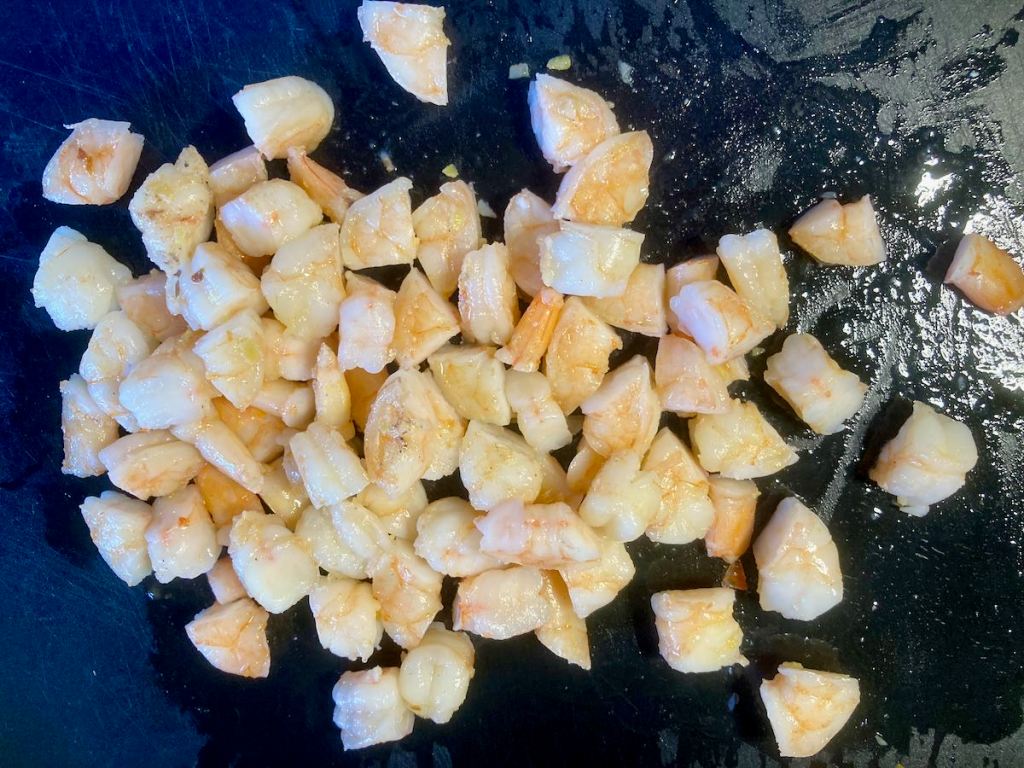
- 450g jumbo prawns, cooked, peeled prawns and chopped
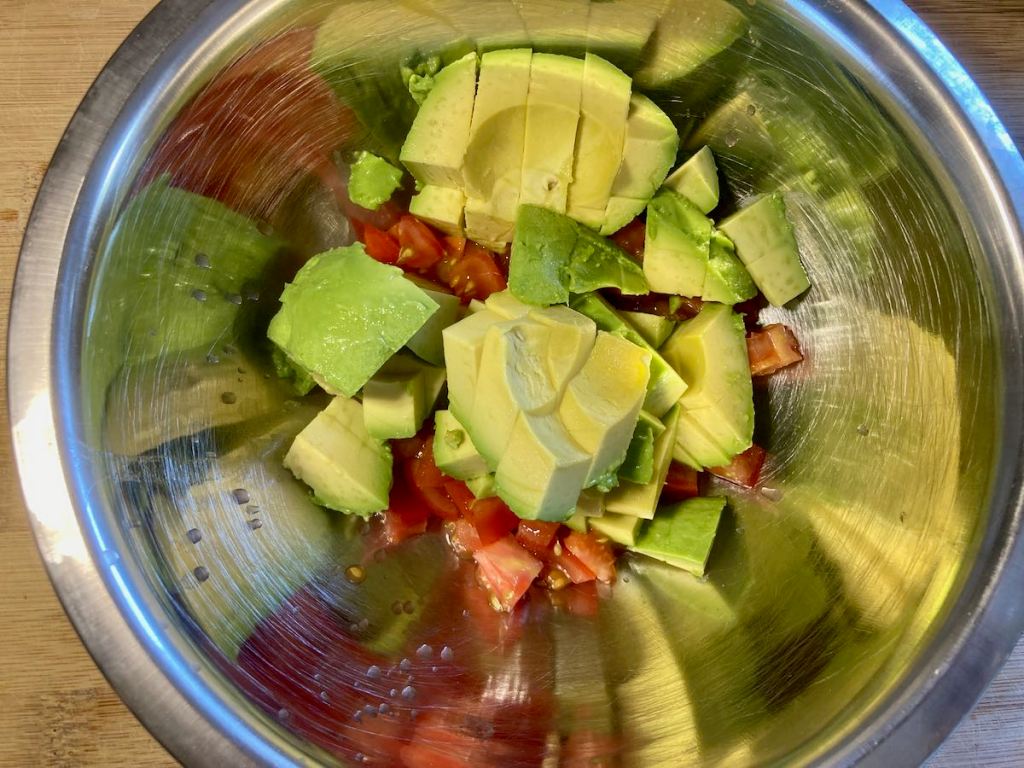
- 1 tomato, diced
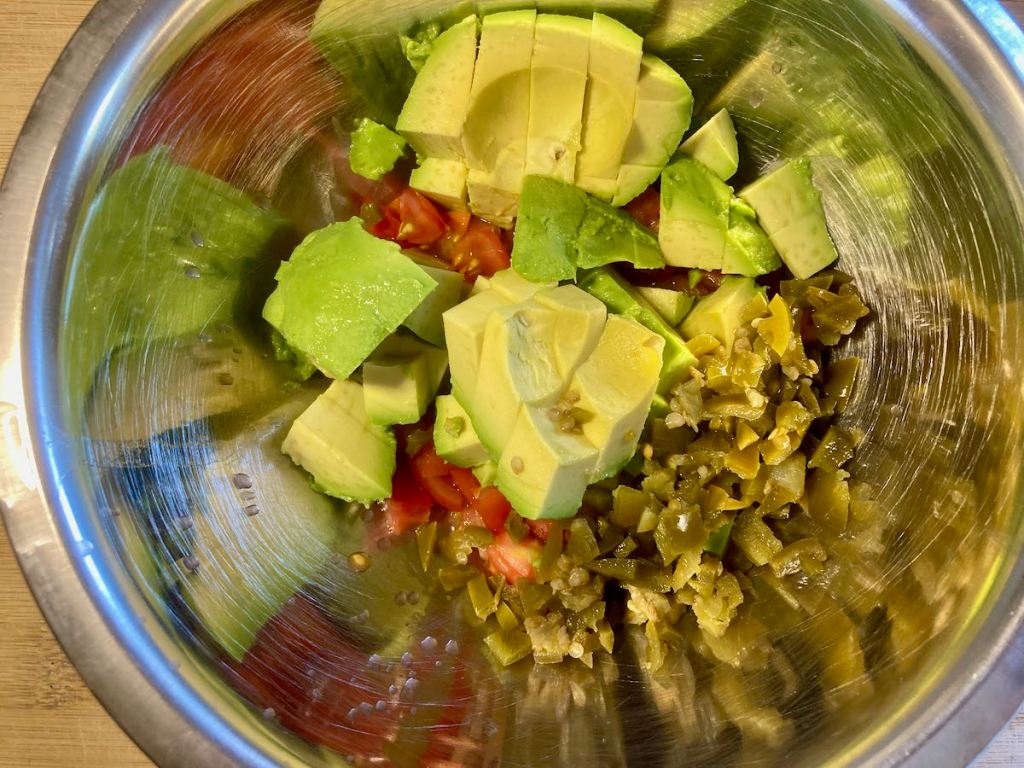
- 1 avocado, diced
- 1 jalapeño, diced fine
- 1 tbsp. coriander chopped
Combine the red onion, lime juice, olive oil, salt and pepper in a small bowl.

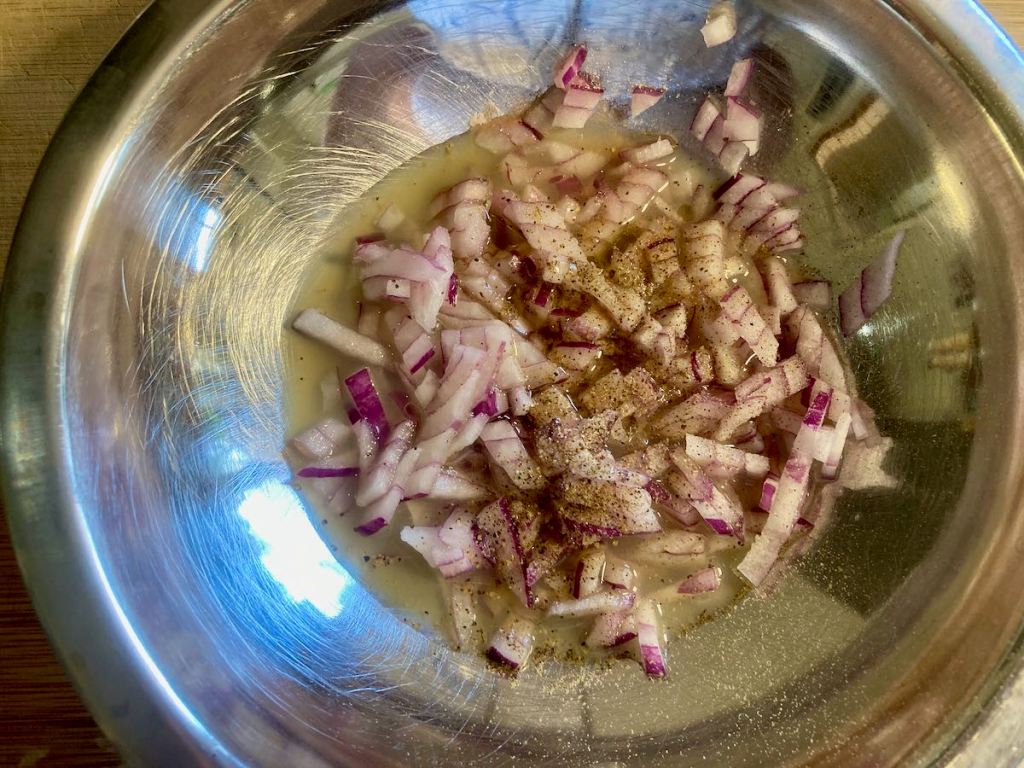

Let them marinate at least 5 minutes.
While they marinade, put together the rest of the salad.
In a large bowl, combine chopped prawns, avocado, tomato, jalapeño.


Add the marinaded onions along with the marinade to the large bowl.
Gently toss to mix everything evenly.
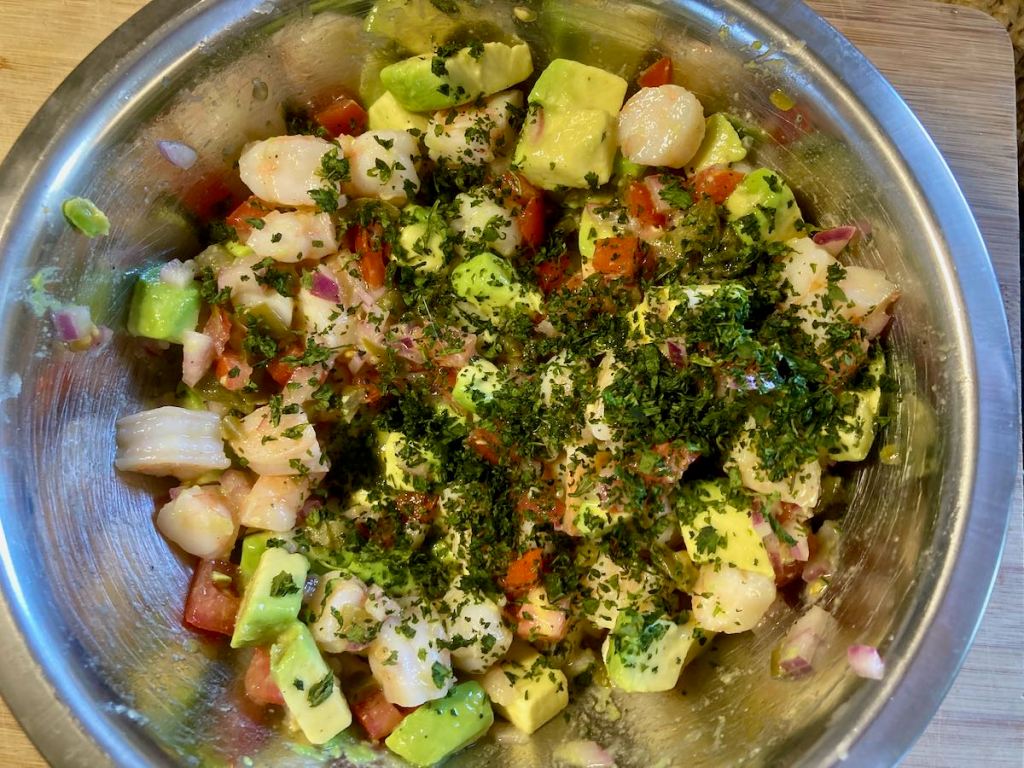
Season to taste, then add the coriander before serving.
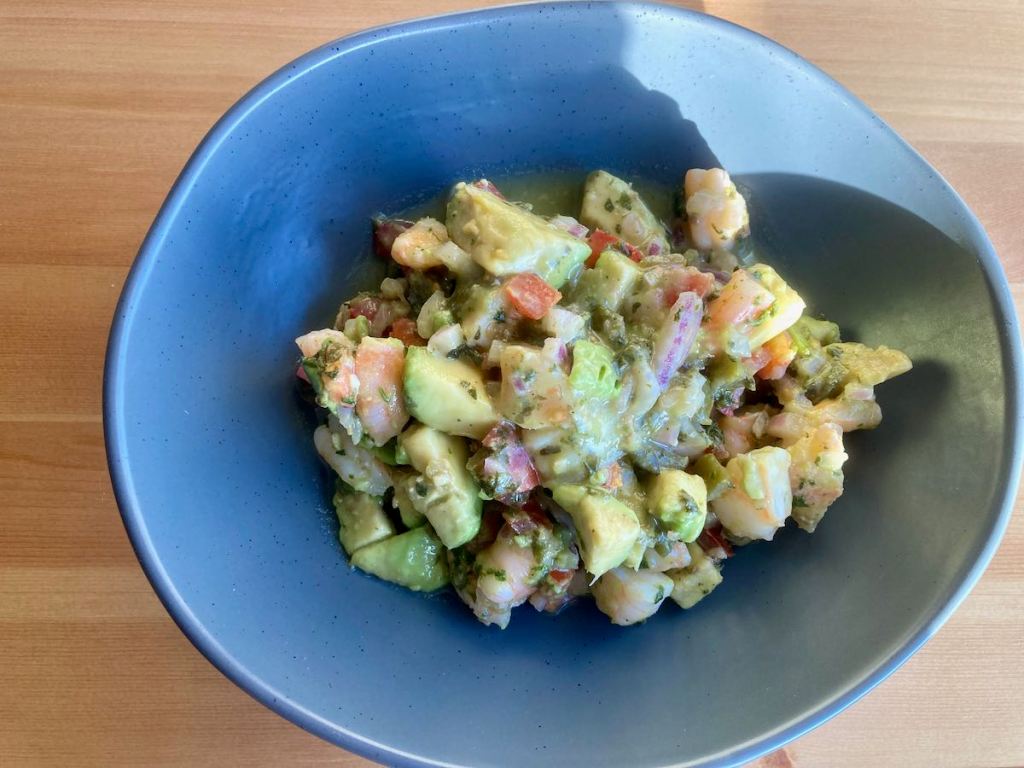
Prawn and avocado salad
“No
Credit: Cath @ easycleaneats
Ingredients
- 1/4 cup red onion, chopped
- 2 limes, juice of
- 1 tsp. olive oil
- salt and black pepper to taste
- 450g jumbo prawns, cooked, peeled prawns and chopped
- 1 tomato, diced
- 1 avocado, diced
- 1 jalapeño, diced fine
- 1 tbsp. coriander chopped
Directions
- Combine the red onion, lime juice, olive oil, salt and pepper in a small bowl.
- Let them marinate at least 5 minutes.
- While they marinade, put together the rest of the salad.
- In a large bowl, combine chopped prawns, avocado, tomato, jalapeño.
- Add the marinaded onions along with the marinade to the large bowl.
- Gently toss to mix everything evenly.
- Season to taste, then add the coriander before serving.
Nutrition
Per Serving: 129 calories; 5.1g fat; 5g carbohydrates; 16.5g proteinEquipment
- Measuring cups
- Measuring spoons
- Fork/citrus juicer
- Knife
- Chopping board
- Large mixing bowl
- Small mixing bowl
- Wooden spoon or spatula
Nutritional disclaimer
Nutrition information is provided as an estimate based on the ingredients used and available in my area (New Zealand). The nutritional information is here to help you understand the recipe; I use MyFitnessPal to generate my estimates. For more accurate nutritional information, please use a nutritional calculator with the ingredients in your area.