Alternative to rice
A huge challenge I faced when transitioning away from pasta and rice was finding something to pair with yummy sauces and curries. Paleo gave us the grateness, sorry, I meant the greatness of cauliflower rice.
I’ve found some cool things to do with it over the years, but the base recipe is the starting point for inventions.
Easy to make with the right tools
Cauliflower rice is simple to make when the ingredients are prepared, but the preparation can take some time. I spent a year grating all of my cauliflowers by hand before moving over to a food processor and away from the weekly skin grafts to my fingers. I was becoming concerned that my family would develop a liking for long pig in their food. A food processor with a grating attachment is a must if you plan to switch from real rice. You can process four cauliflower heads in the time it takes to grate one by hand. To make rice, I like to use the smaller grating attachment to get a fine texture.
Buy in bulk
If you’re transitioning away from rice and pasta, consider keeping cauliflower rice on hand. You can freeze cauliflower if it is raw or cooked. That means you can make the most of cauliflower when it is in season and cheap. I like to buy in bulk, grate, portion and freeze. That way, you can pull a bag or tub of cauliflower rice from the freezer and cook it up when you need it.
Cauliflower rice recipe
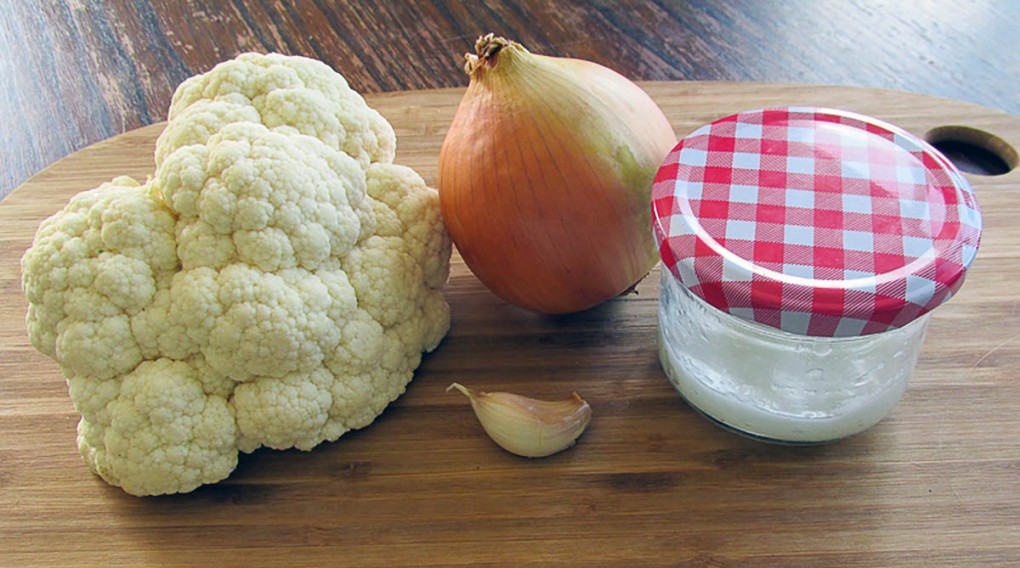
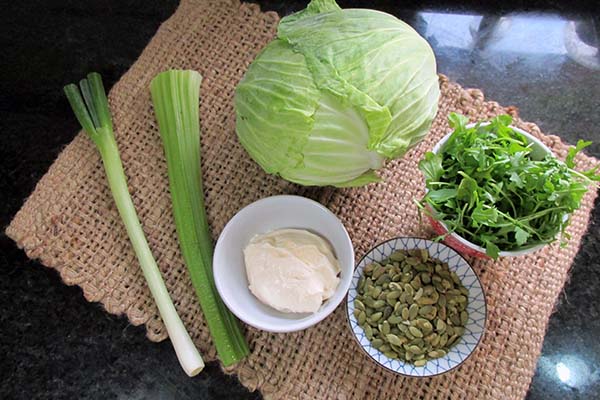
Ingredients
- 1 head cauliflower finely grated
- 1/2 onion finely minced
- 2 garlic cloves finely minced
- 1 tbsp. coconut oil
Instructions
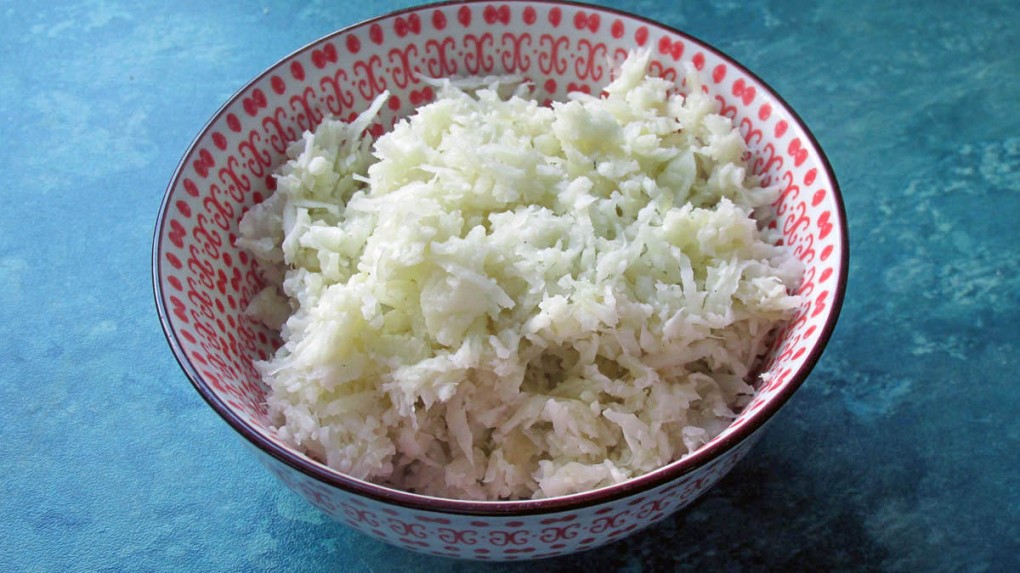
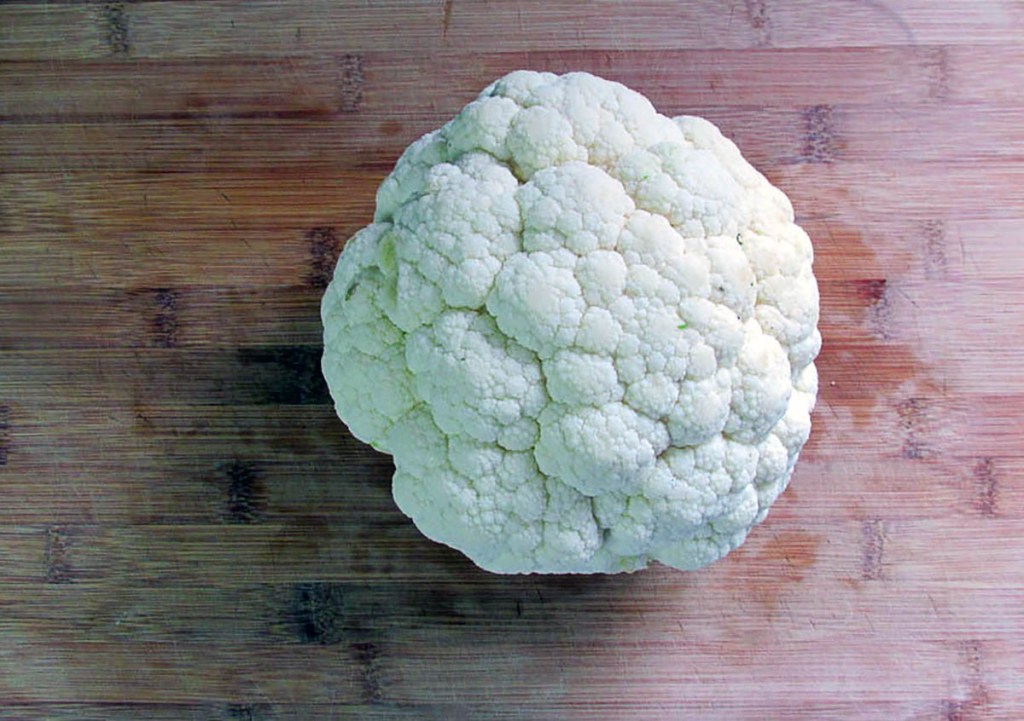
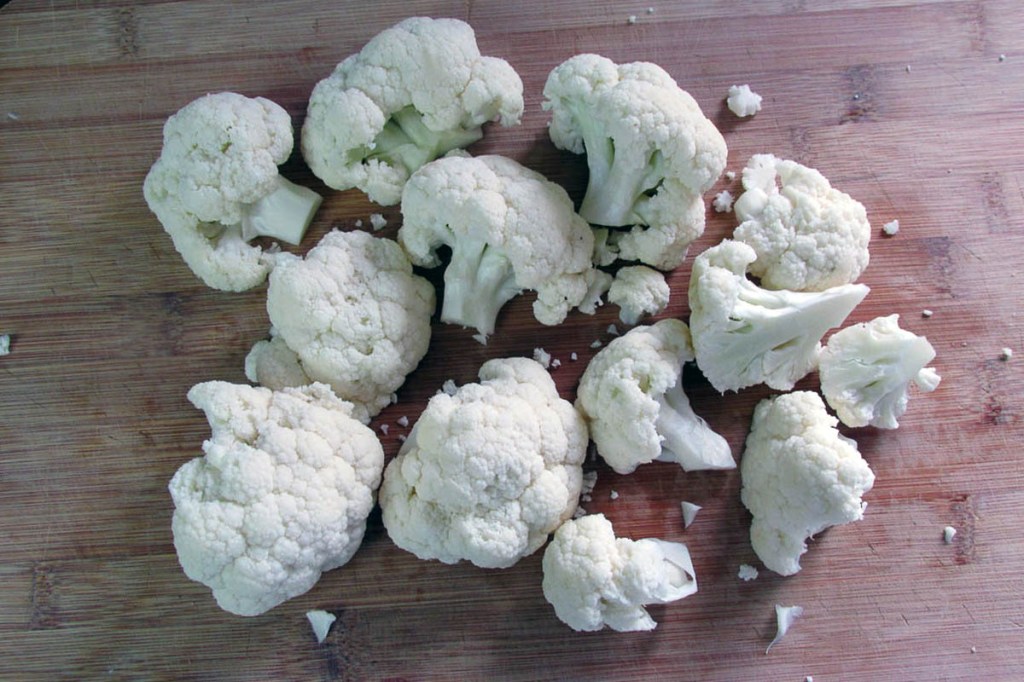
Break the cauliflower into large florets.
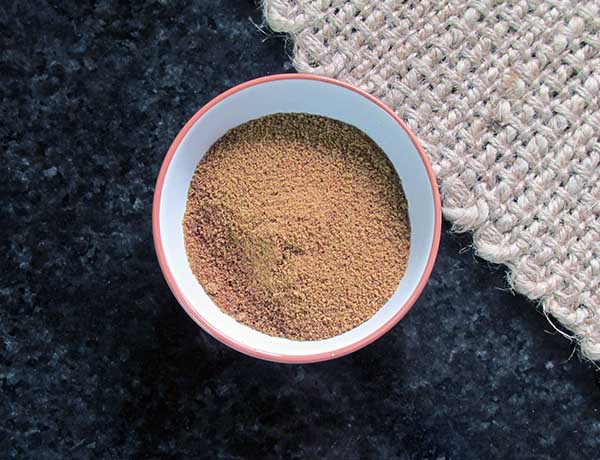
Use a food processor with a fine grating attachment to grate cauliflower.
If you don’t have a food processor, you can grate the cauliflower by hand.
Finely chop the onion.
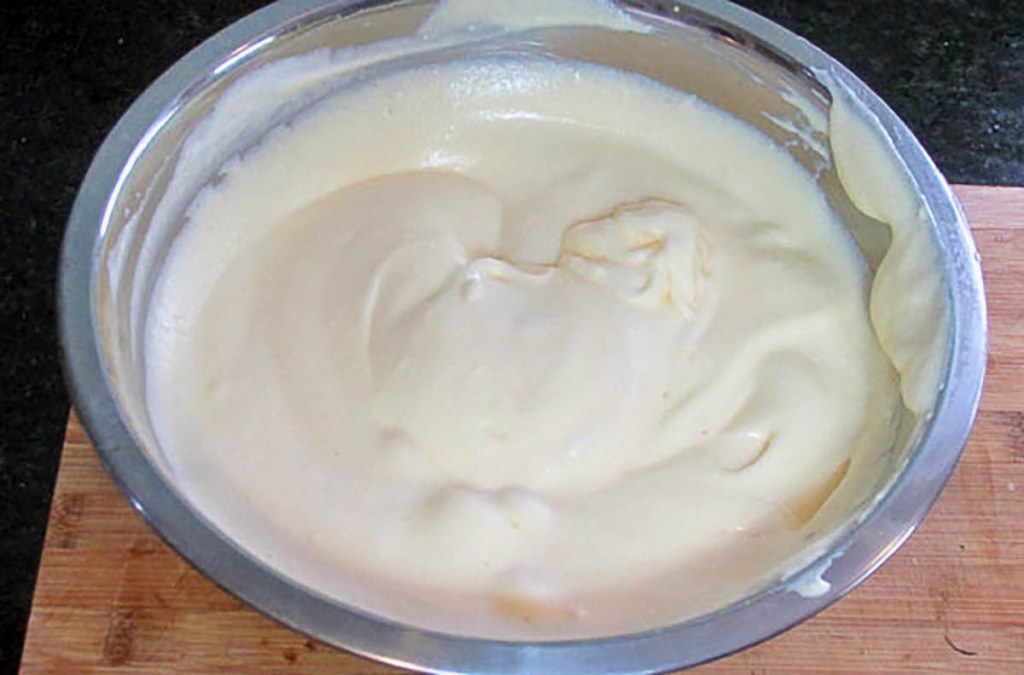
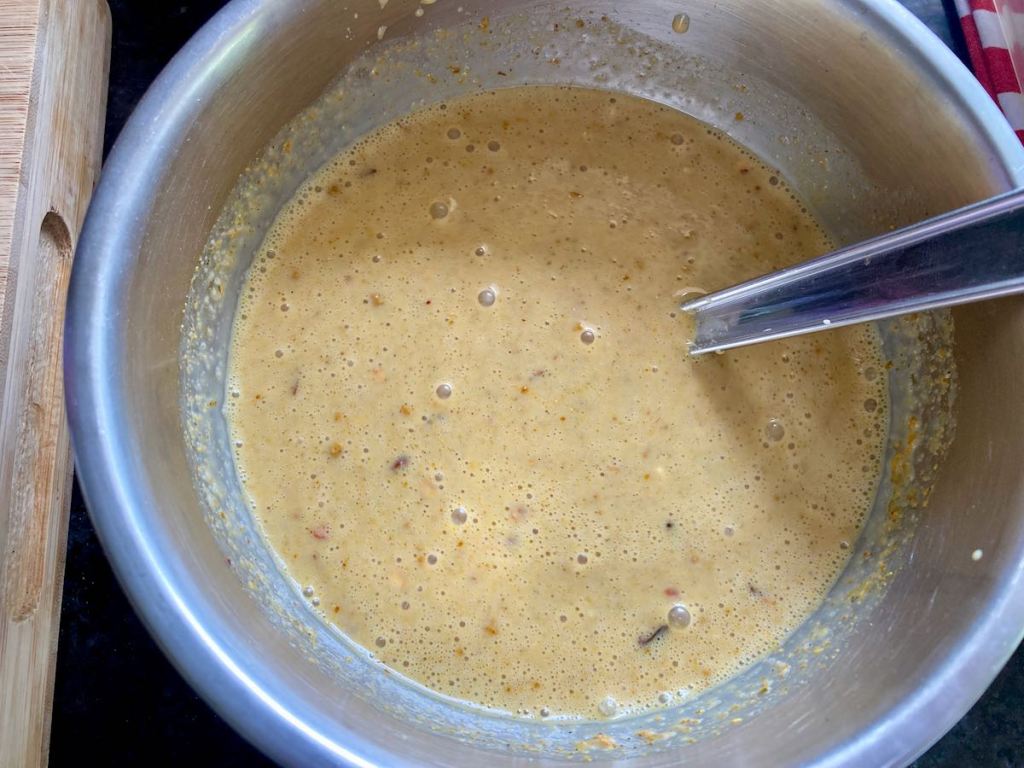
When all of the cauliflower is grated, transfer it to a mixing bowl.
Take a large frying pan and place it over medium heat, then melt some coconut oil.

Add the onion to the frying pan.
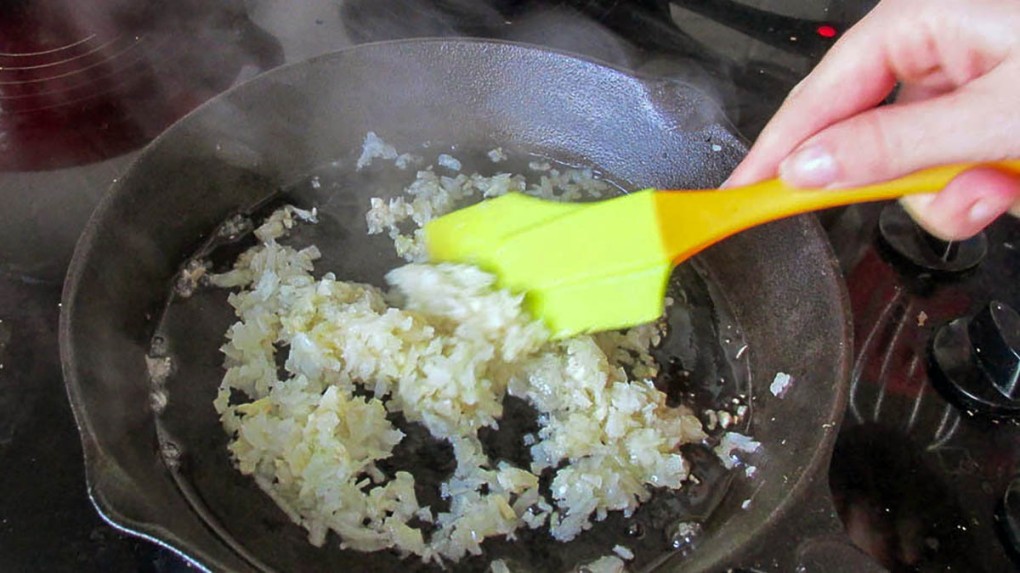
Cook the onion until it is softened.
Add the cauliflower to the frying pan.

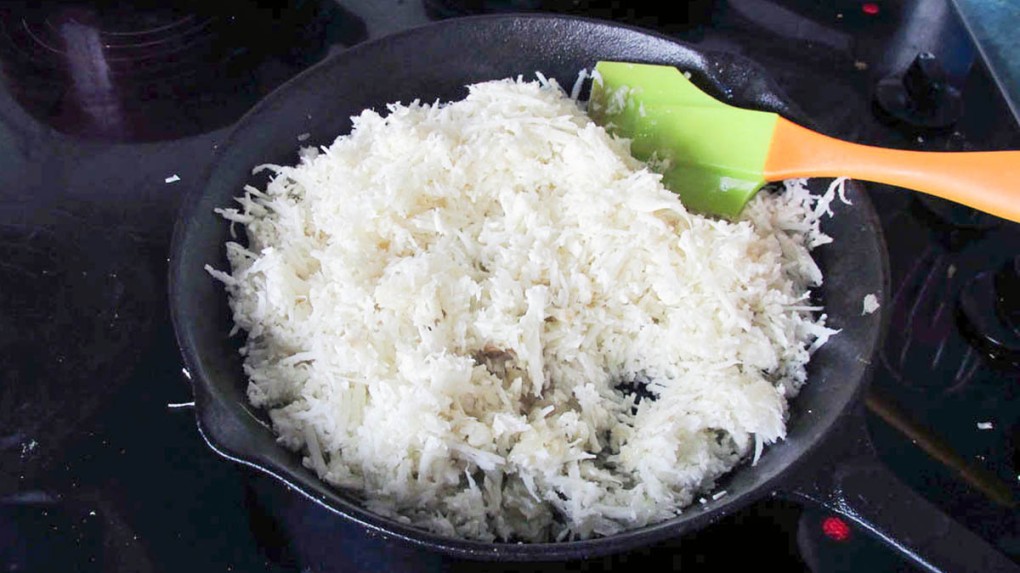
Cook the cauliflower and onion for 5 minutes.

Keep the cauliflower moving in the pan; you don’t want it to colour.
When the cauliflower has softened, it is ready to serve.
Serve hot or cold.

You can freeze the cauliflower rice to use anytime you need it.

Cauliflower rice

This easy to make alternative to rice is a must know recipe for clean eating, paleo, primal and keto diets.
Credit: Cath @ easycleaneats
Ingredients
- 1 head cauliflower grated
- 1/2 onion, finely minced
- 1 tbsp. coconut oil
- 1 garlic clove minced (optional)
Directions
- Break the cauliflower into large florets.
- Use a food processor with a fine grating attachment to grate cauliflower.
- If you don’t have a food processor you can grate the cauliflower by hand.
- Finely chop the onion.
- When all of the cauliflower is grated transfer it to a mixing bowl.
- Take a large frying pan over a medium heat and melt some coconut oil.
- Add the onion to the frying pan.
- Cook the onion until it is softened.
- Add the cauliflower to the frying pan.
- Cook the cauliflower and onion for 5 minutes.
- Keep the cauliflower moving in the pan, you don’t want it to colour.
- When the cauliflower has softened it is ready to serve.
- Serve hot or cold.
- You can freeze the cauliflower rice to use anytime you need it.
Nutrition
Per Serving: 54 calories; 0 g fat; 12 g carbohydrates; 3 g proteinEquipment
- Knife
- Chopping board
- Food processor with the grating attachment
- Or grater
- Mixing bowl
- Frying pan
- Wooden spoon
- Measuring spoons
Nutritional disclaimer
Nutrition information is provided as an estimate based on the ingredients used and available in my area (New Zealand). The nutritional information is here to help you understand the recipe; I use MyFitnessPal to generate my estimates. For more accurate nutritional information, please use a nutritional calculator with the ingredients in your area.