Make your own
If you are like me and you try to avoid mass-produced processed foods, the best option is to make your own. When you make your own, you control which ingredients you use and how much or how sweet you want it to be. Once you have a go at making your own and realise how easy it is, you will never go back to store-bought again.
Updating as we go
Early in 2021, I relocated and started updating my website; I’ve been making changes and improving everything as I go. This recipe is one of the many things I’ve tried to improve.
Fancy a fakeaway
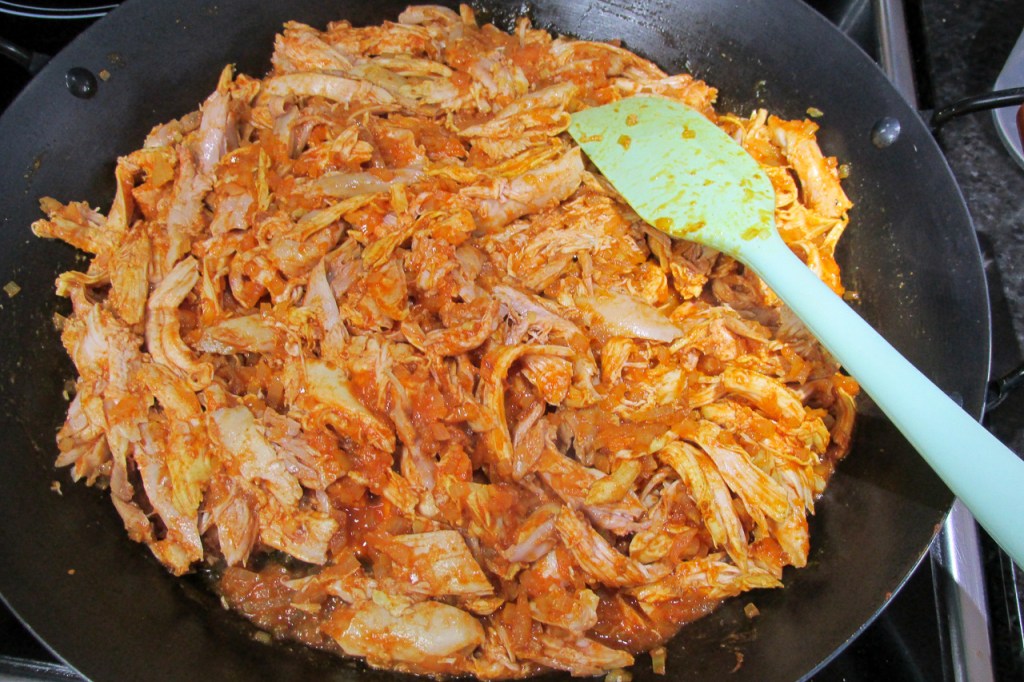
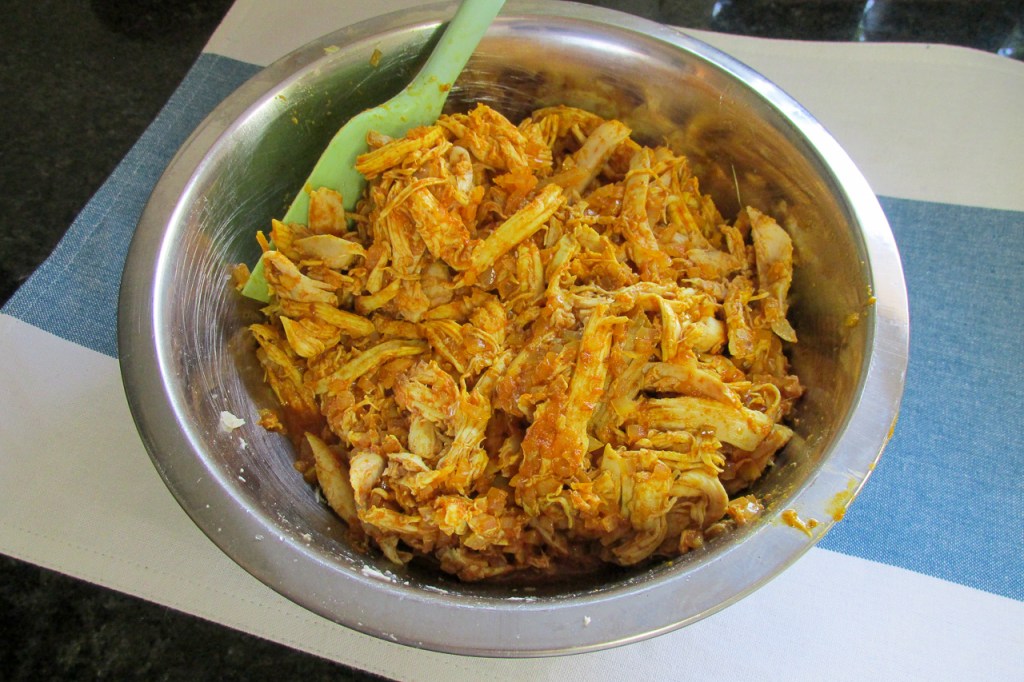
We all love a naughty takeaway, but we can all live without the extra calories and the expanding waistlines. You don’t need to live without your takeaway; swap it out for a delicious, healthier fakeaway. Fettuccine Alfredo was one of my favourite takeaway pasta dishes back in the day. As much as I would love the carb-filled dinner after a long day and a hard workout, it is never worth the carb coma afterwards. A while ago, I started experimenting to perfect my Alfredo sauce, which I could quickly whip up to pour over a bowl of coodles and generous chicken. It is ideal as a healthier takeaway option and keeps in the fridge for a few days.
Alfredo sauce recipe
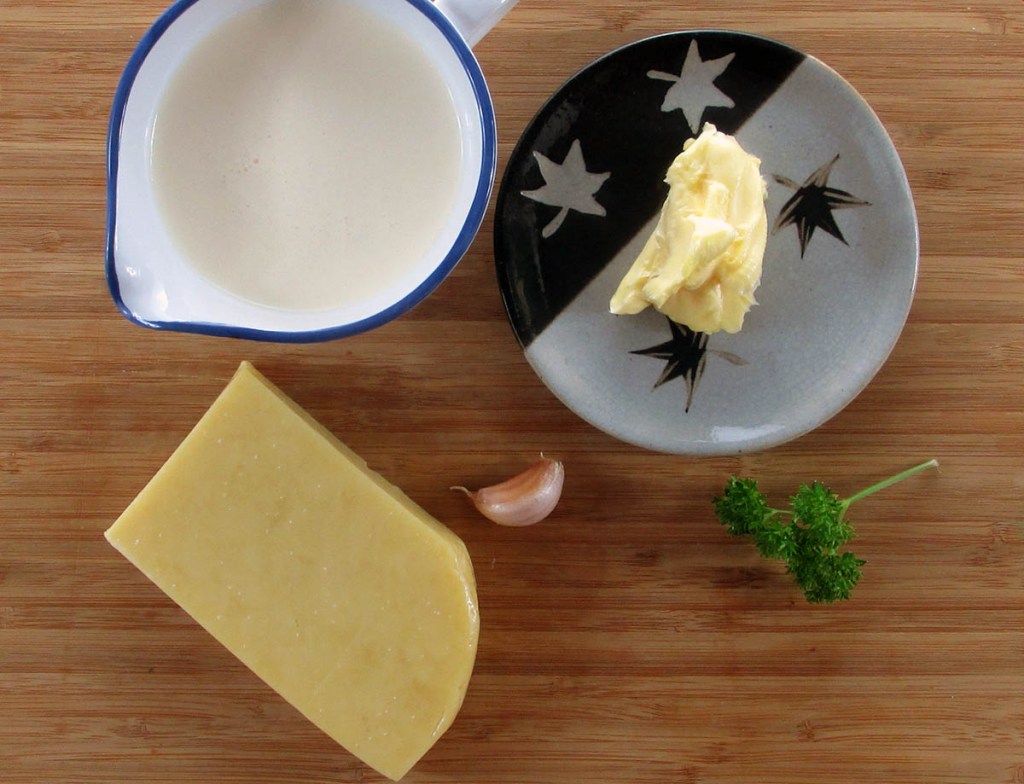
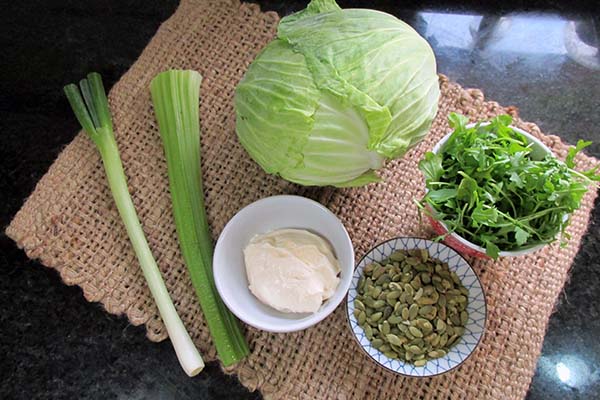
Ingredients
- 1/4 cup butter
- 1 cup heavy cream
- 1 garlic clove, crushed
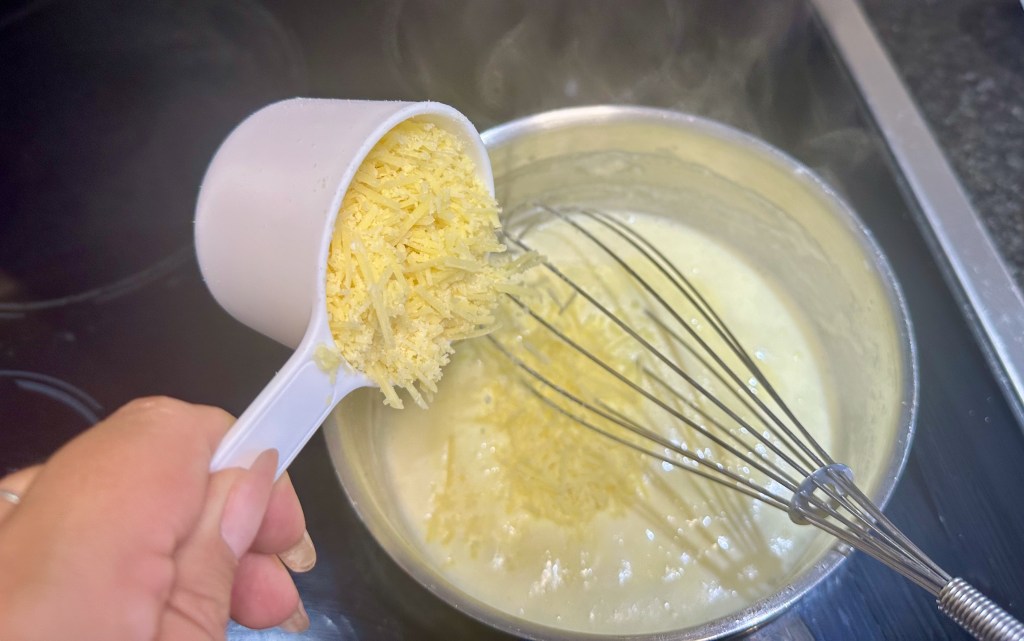
- 1 1/2 cups Parmesan cheese, grated
- 1/4 cup parsley, chopped
Instructions

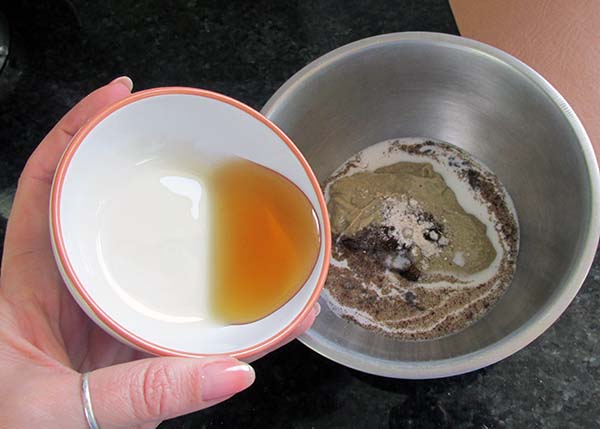
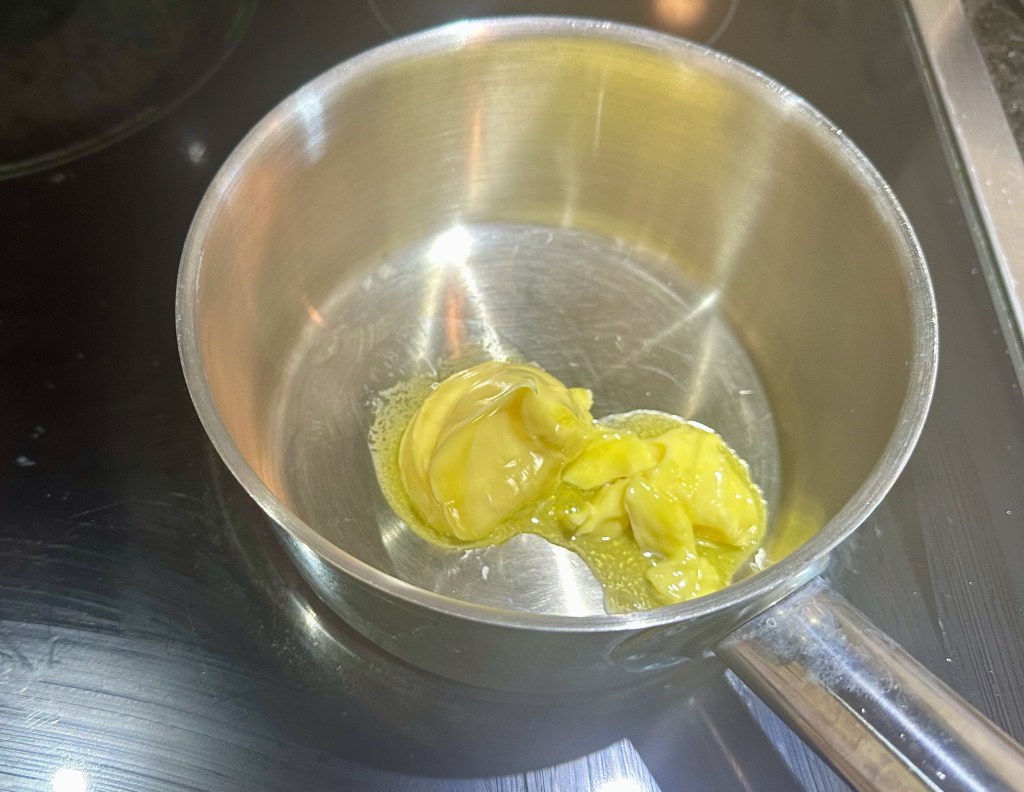
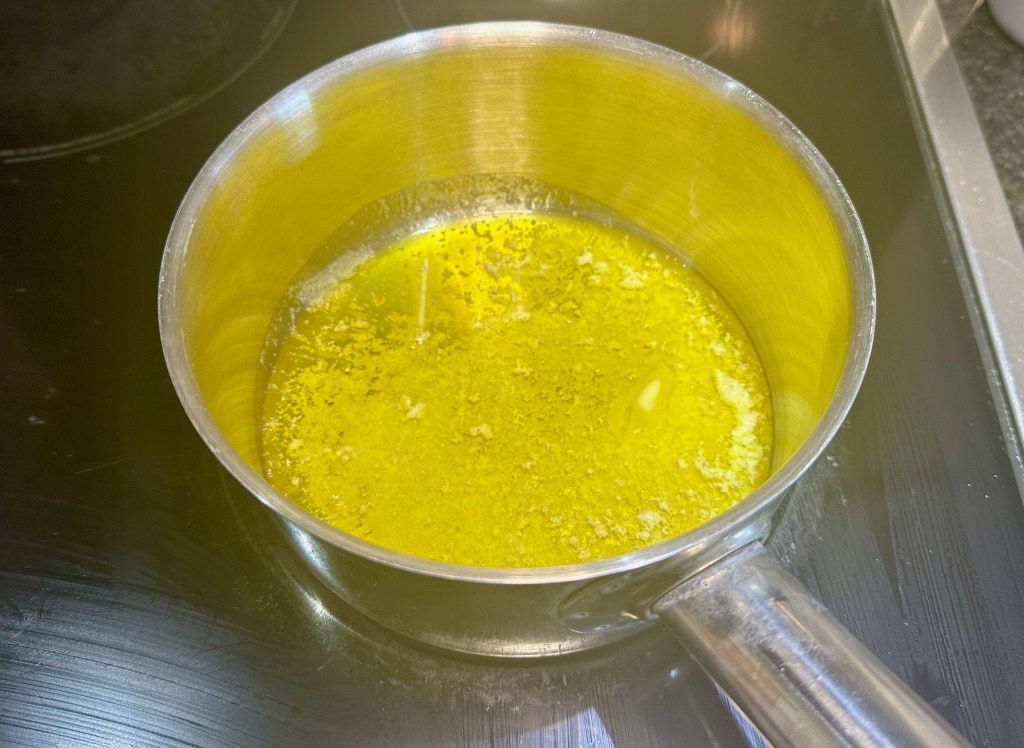
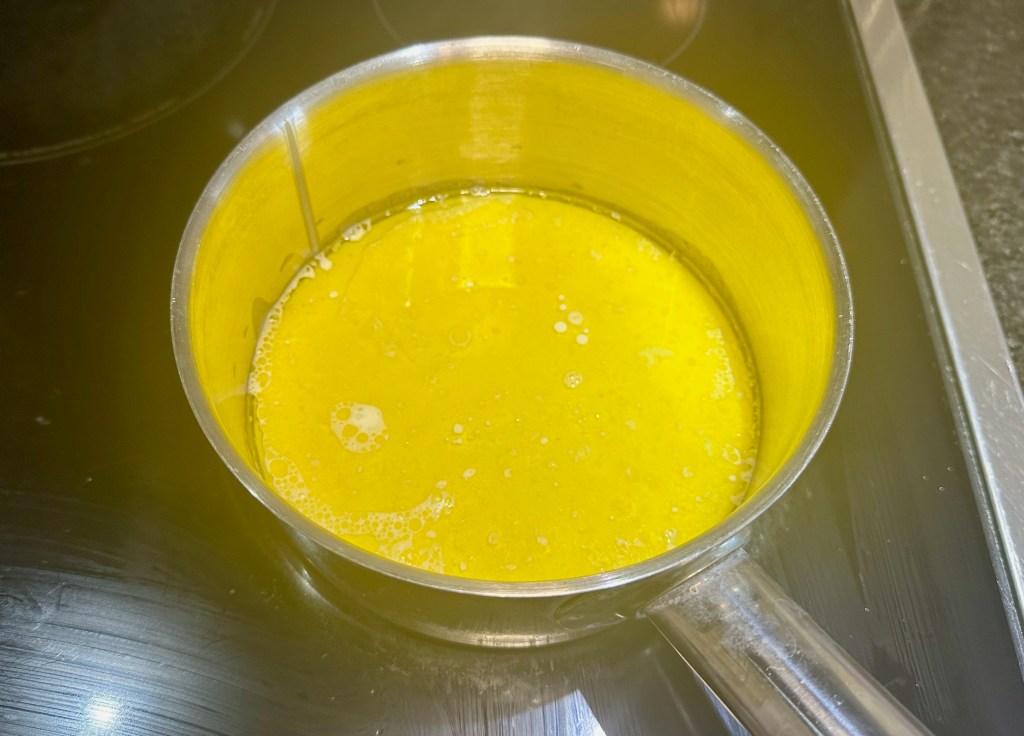
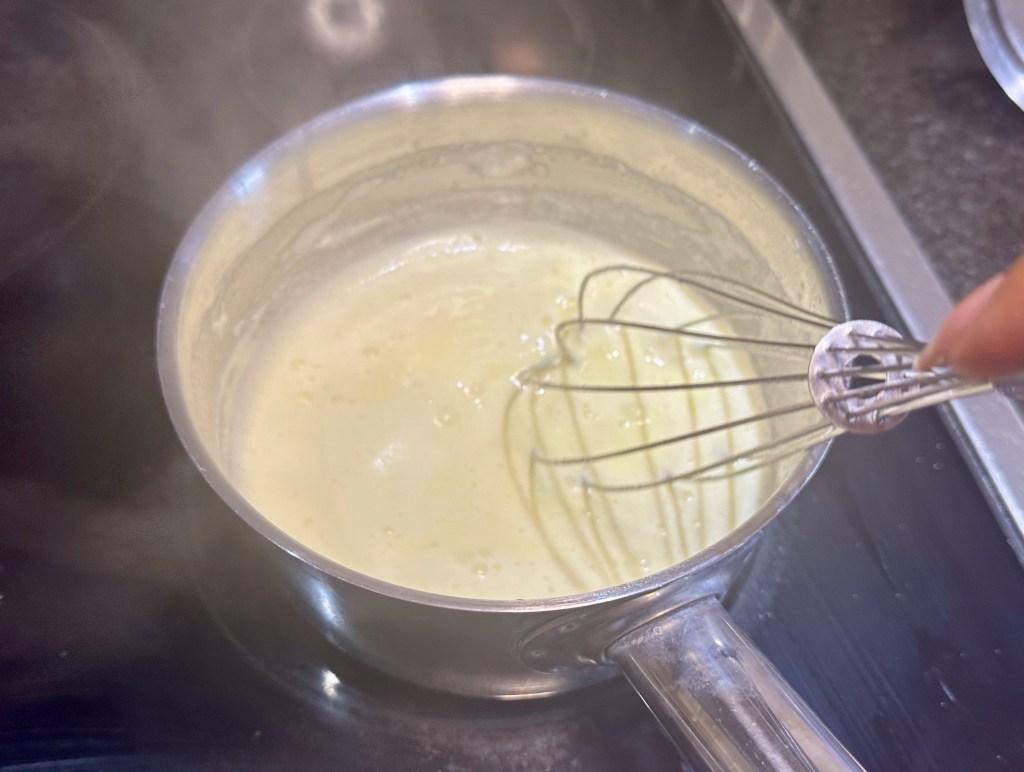
Melt butter in a medium saucepan over medium-low heat.
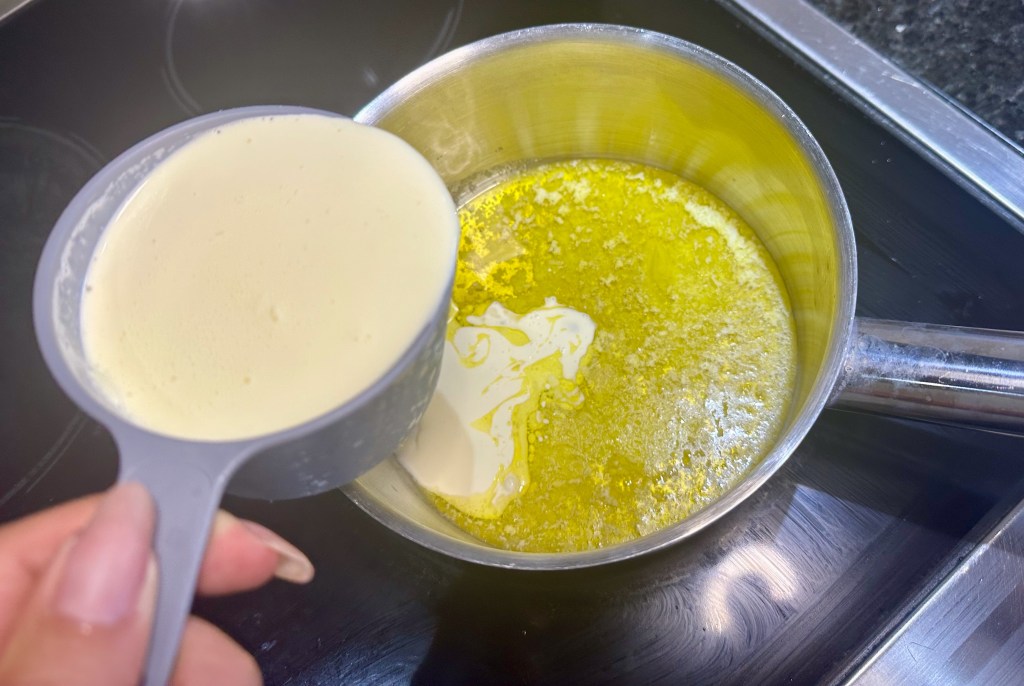
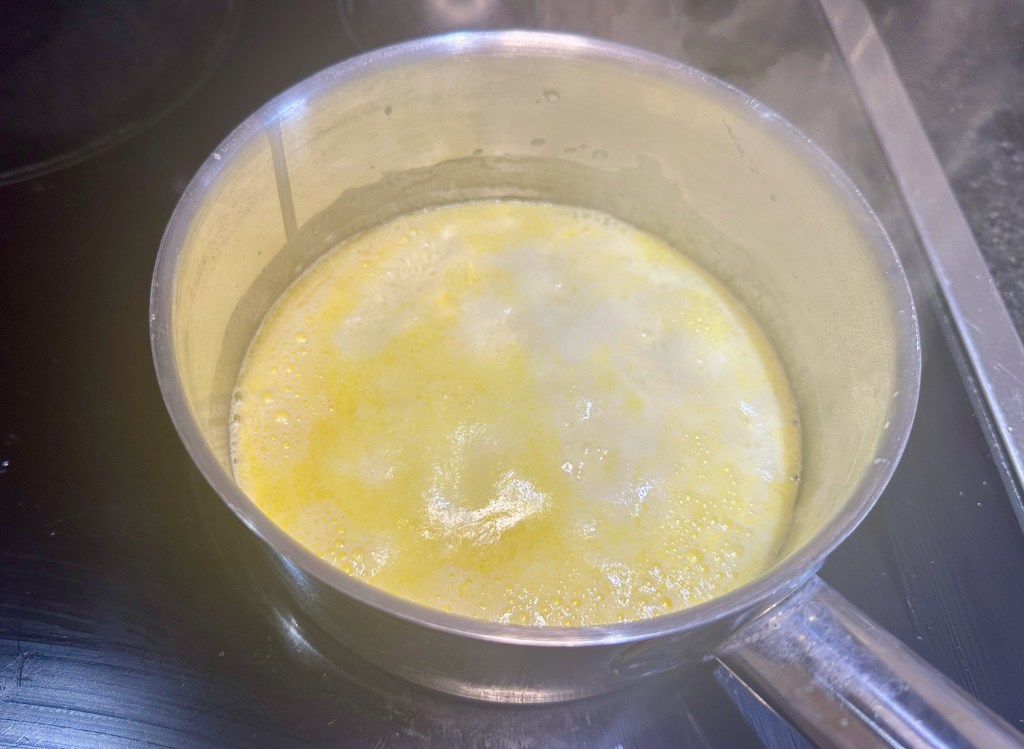
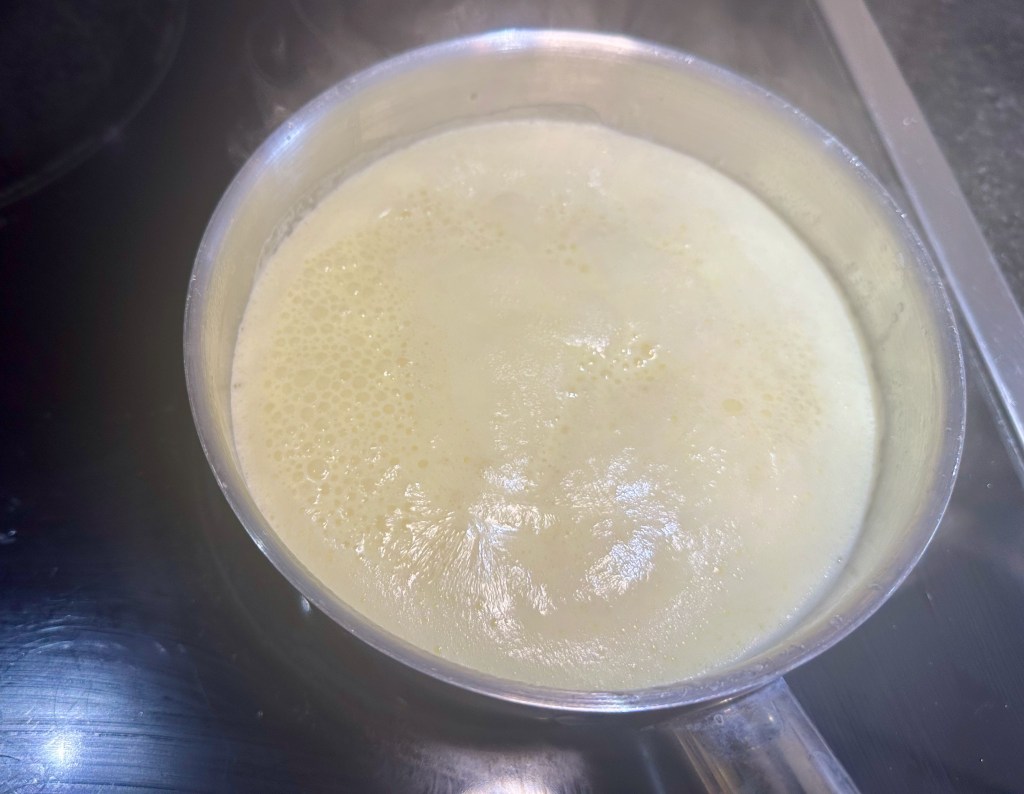
Add cream and simmer for 5 minutes.
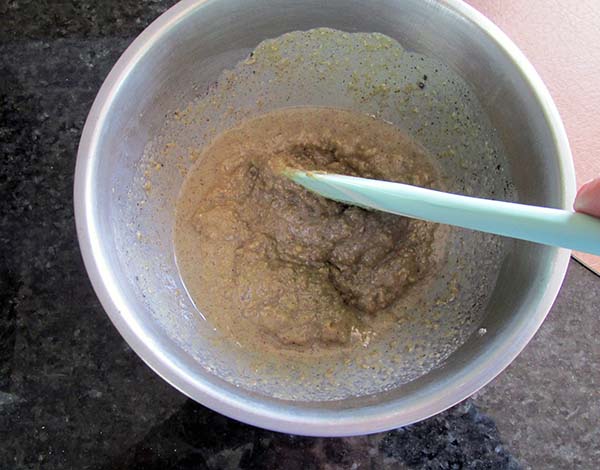
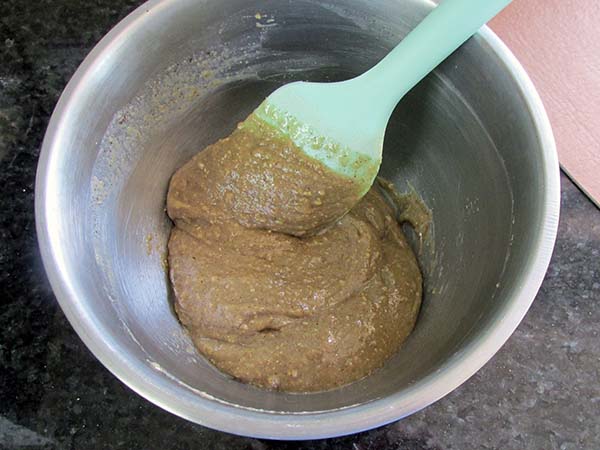
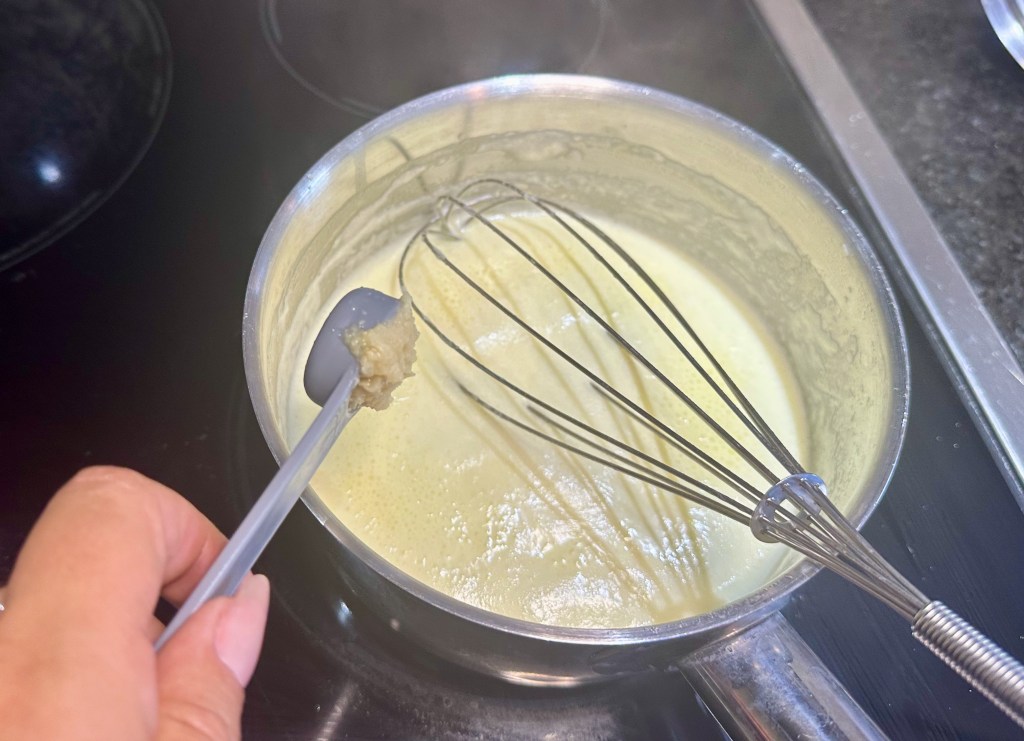
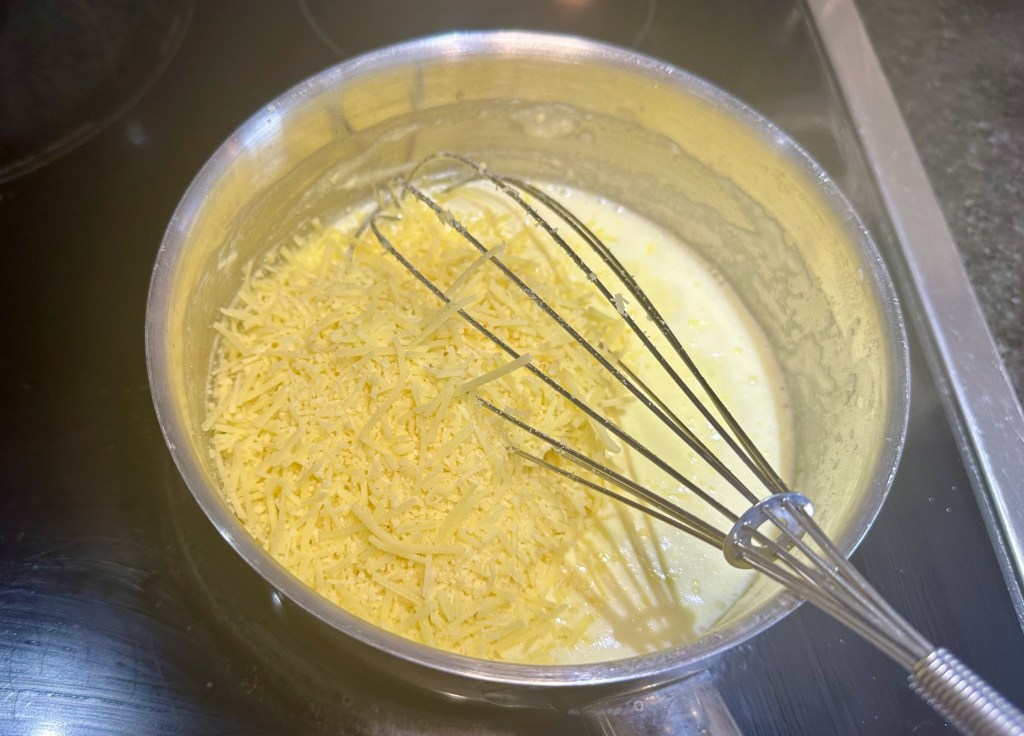
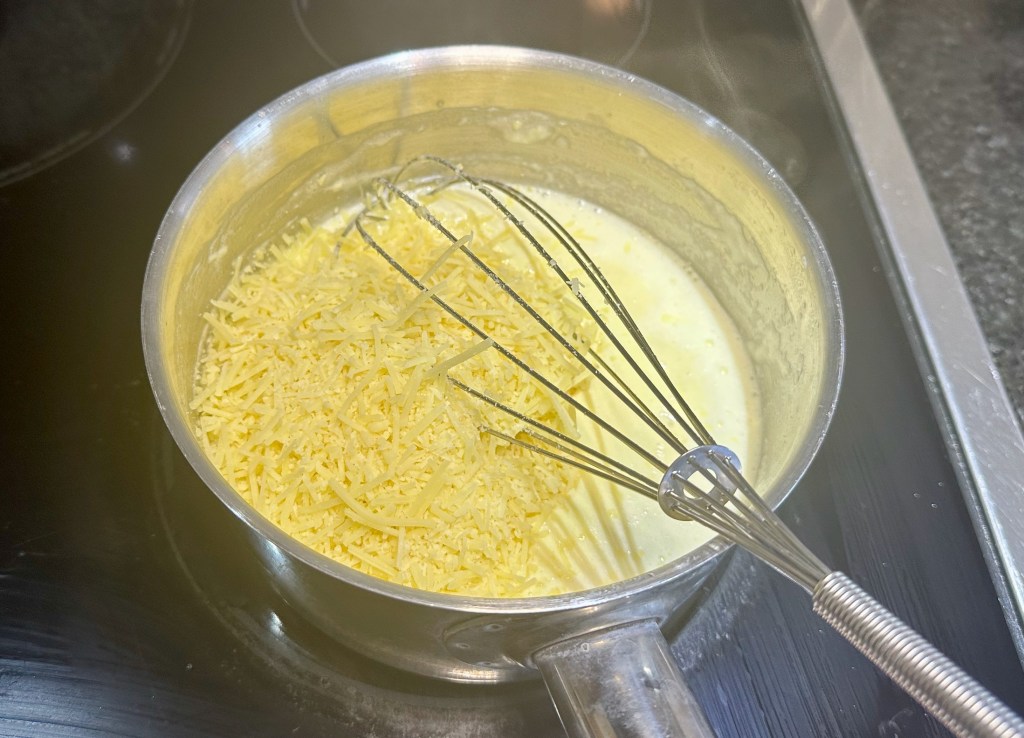
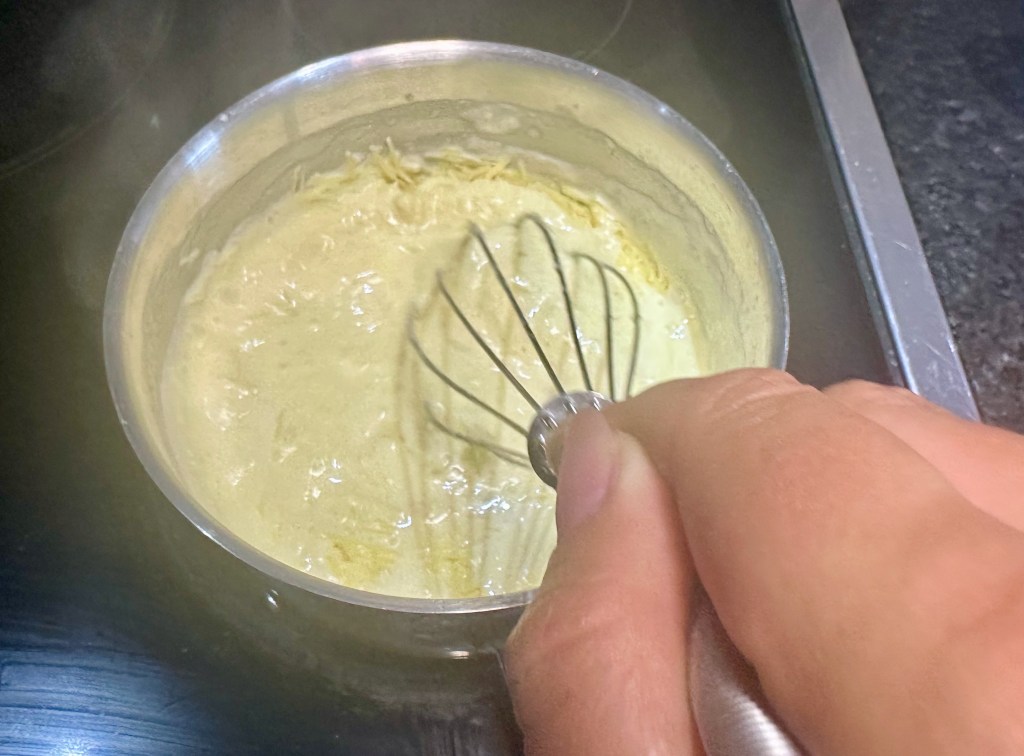
Add the garlic and cheese and whisk quickly, heating through.
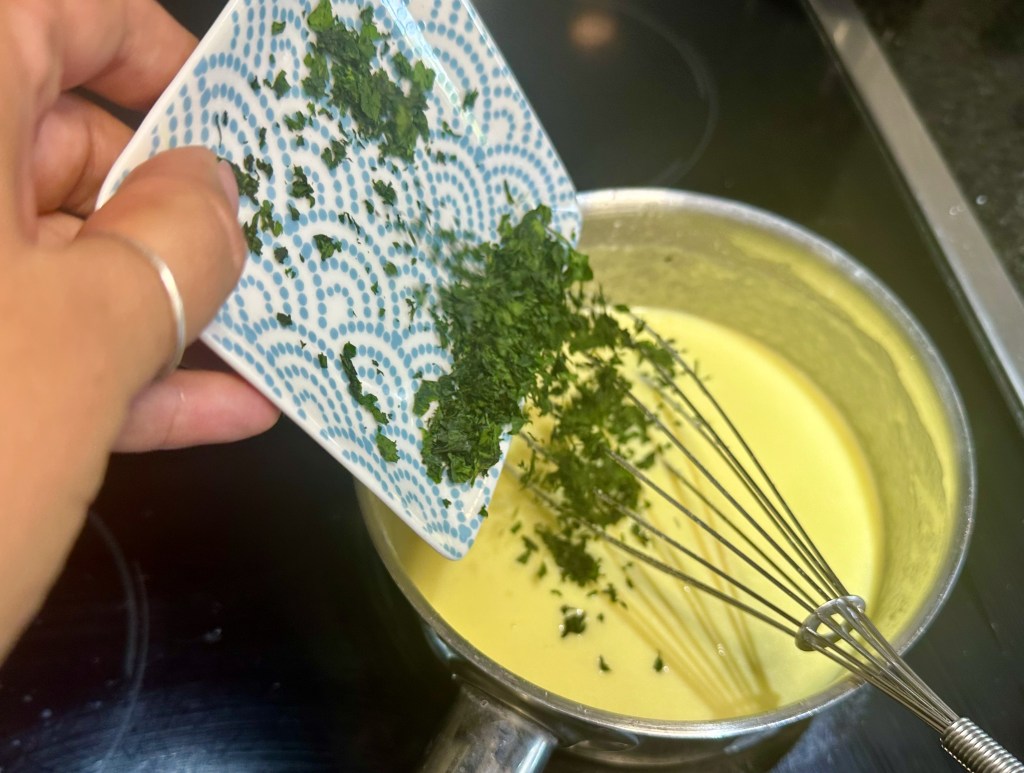
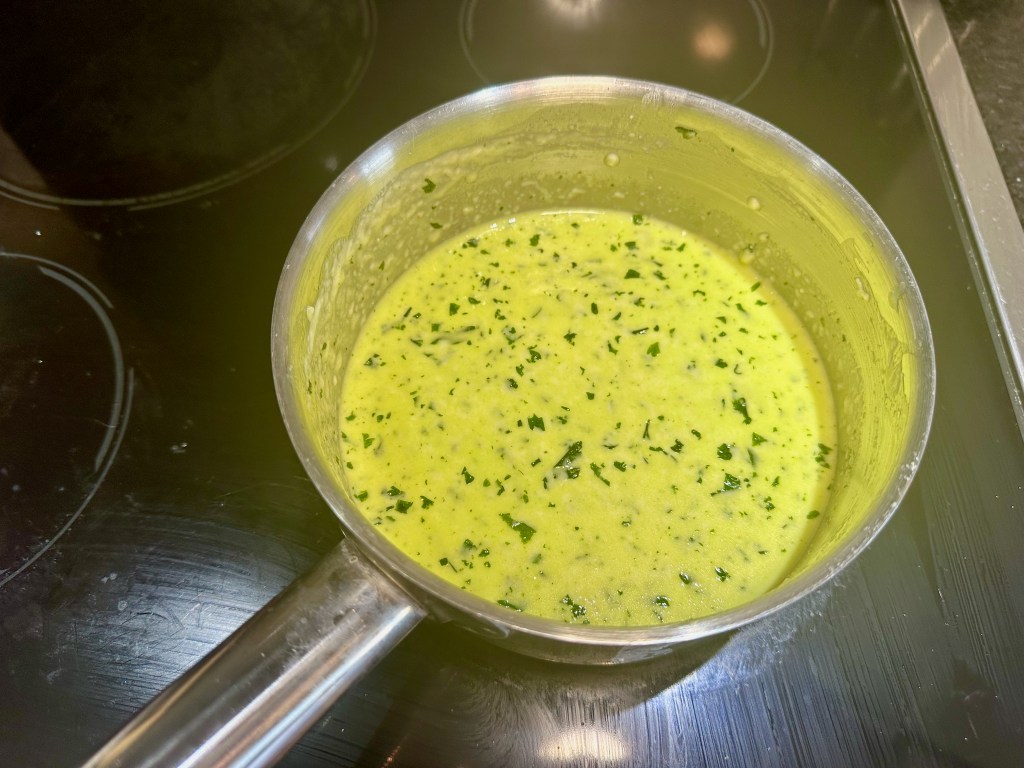

Stir in parsley and serve.

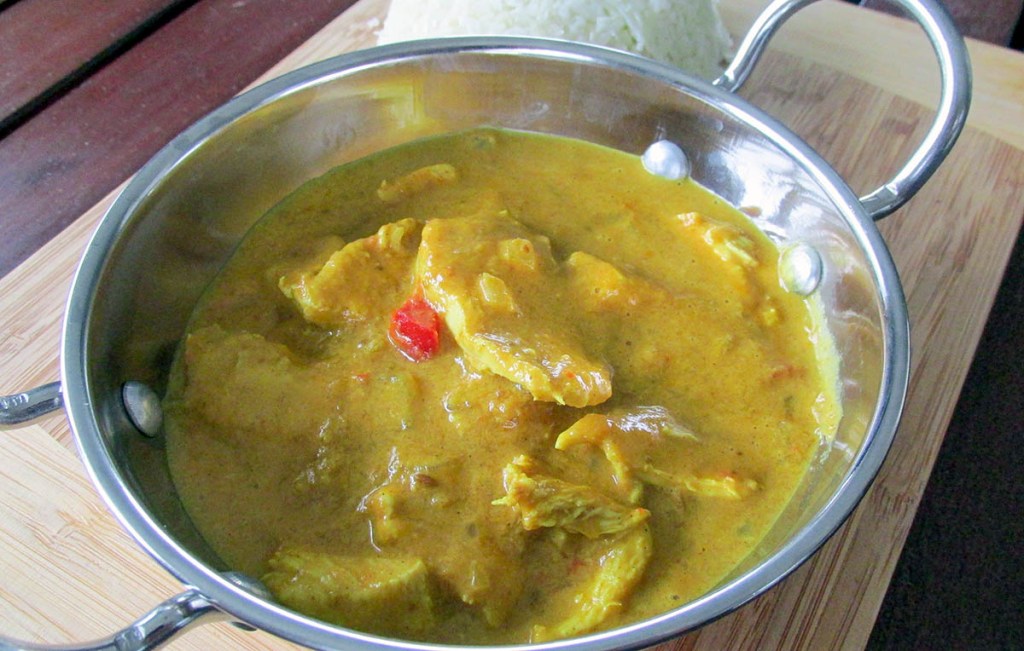
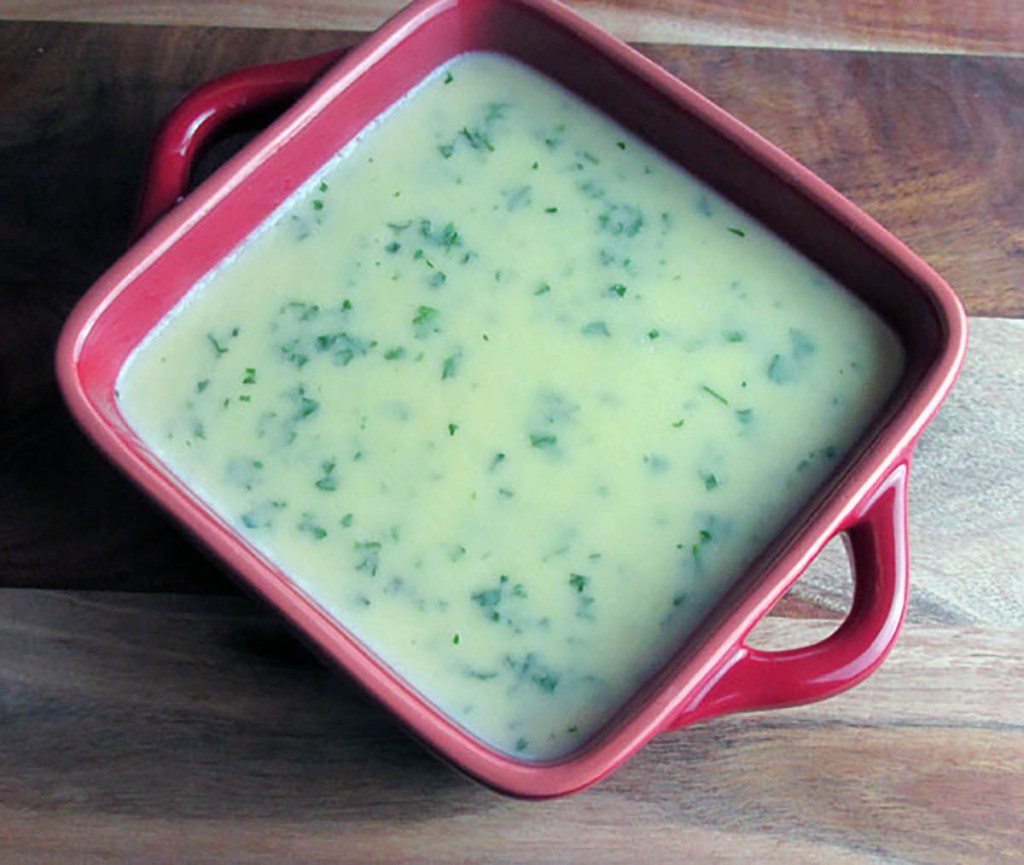
“Alfredo
Credit: Cath @ easycleaneats
Ingredients
- 1/4 cup butter
- 1 cup heavy cream
- 1 garlic clove, crushed
- 1 1/2 cups Parmesan cheese, grated
- 1/4 cup parsley, chopped
Directions
- Melt butter in a medium saucepan over medium-low heat.
- Add cream and simmer for 5 minutes.
- Add the garlic and cheese and whisk quickly, heating through.
- Stir in parsley and serve.
Nutrition
Per Serving: 230 calories; 21 g fat; 3.5 g carbohydrates; 5.4 g proteinEquipment
- Measuring cups
- Knife
- Chopping board
- Saucepan
- Spatula
- Grater
Nutritional disclaimer
Nutrition information is provided as an estimate based on the ingredients used and available in my area (New Zealand). The nutritional information is here to help you understand the recipe; I use MyFitnessPal to generate my estimates. For more accurate nutritional information, please use a nutritional calculator with the ingredients in your area.