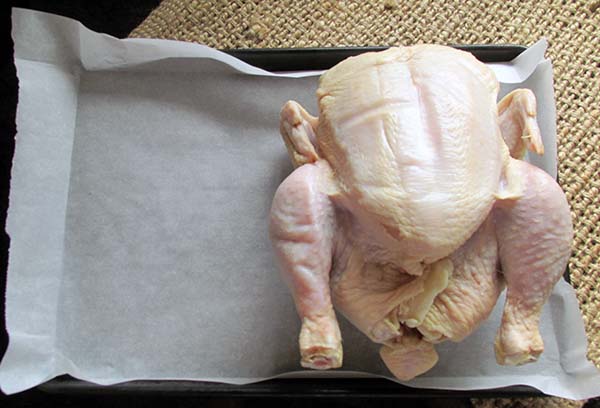
Chicken again?
I do like to mix things up a little when it comes to chicken. We eat a reasonable amount of chicken; it can get boring if you don’t add a bit more flavour now and then.
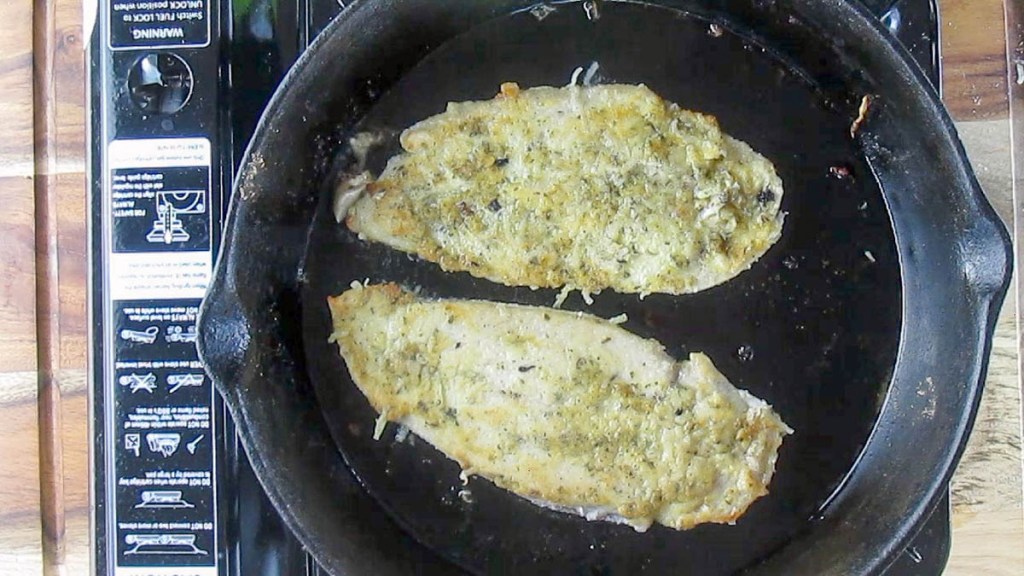
It is crust but not as you know it.
Normally crusted chicken will be panko or, but I like to do things a little differently. The crust for this chicken comes entirely from items in my pantry and fridge, a quick raid around the kitchen and I was ready to go. I didn’t have to buy anything special for this recipe, and it took very little work to get a crisp and tasty coating.
Cheese is the key
I think a great crust needs to have some crunch; it can be challenging to get a good crunch from a coating that doesn’t use breadcrumbs. The solution is to add cheese. Not all cheese will give you a crunch; most will not give you a crunch at all; you will probably get a fatty coating. To get a crunch in your coating Parmesan cheese is the key. When Parmesan cheese cooks it gives up some fat but as it cools it gives you a nice crisp crunch to your coating.
Mustard herb crusted chicken recipe

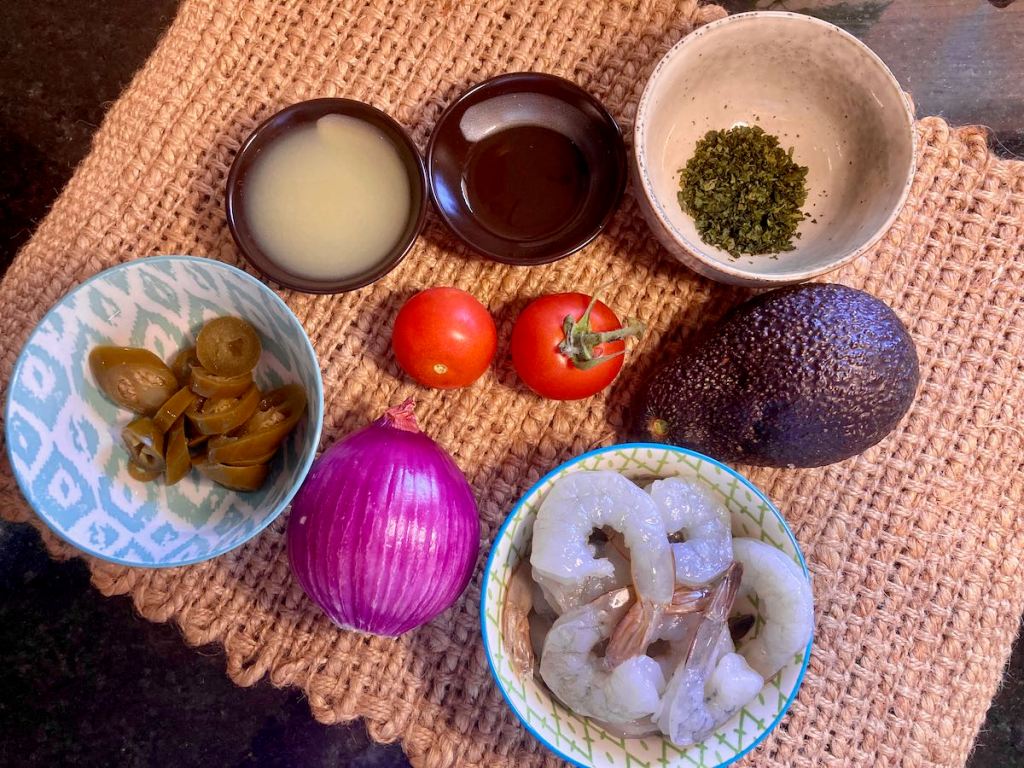
Ingredients
- 450g chicken breasts
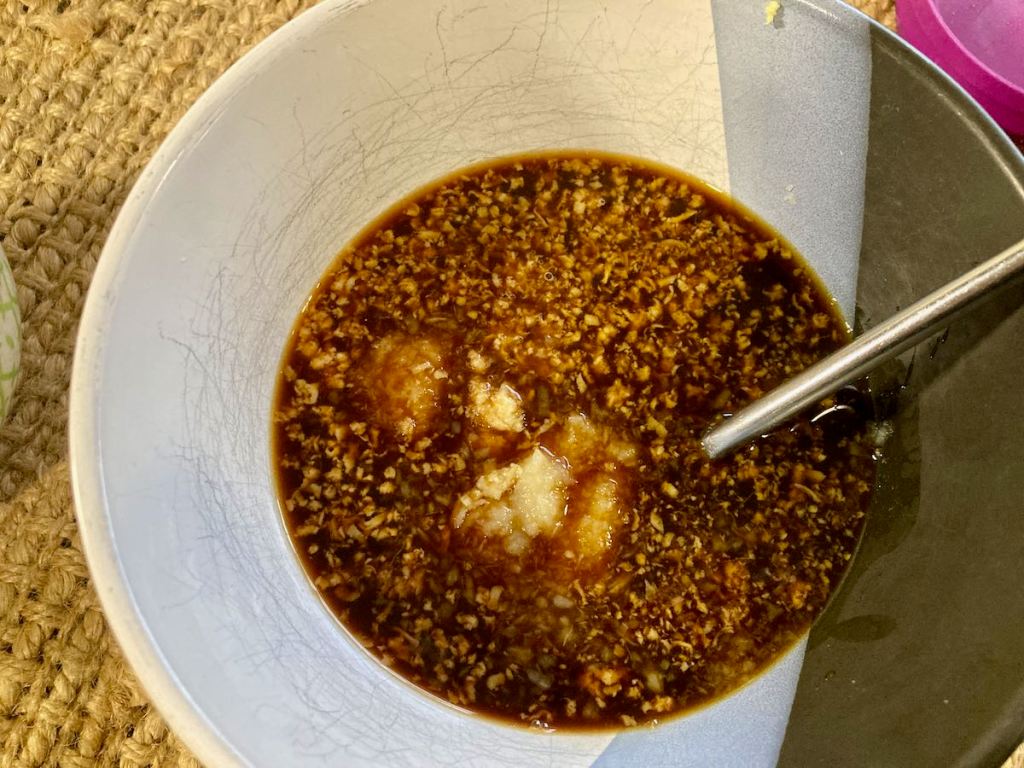
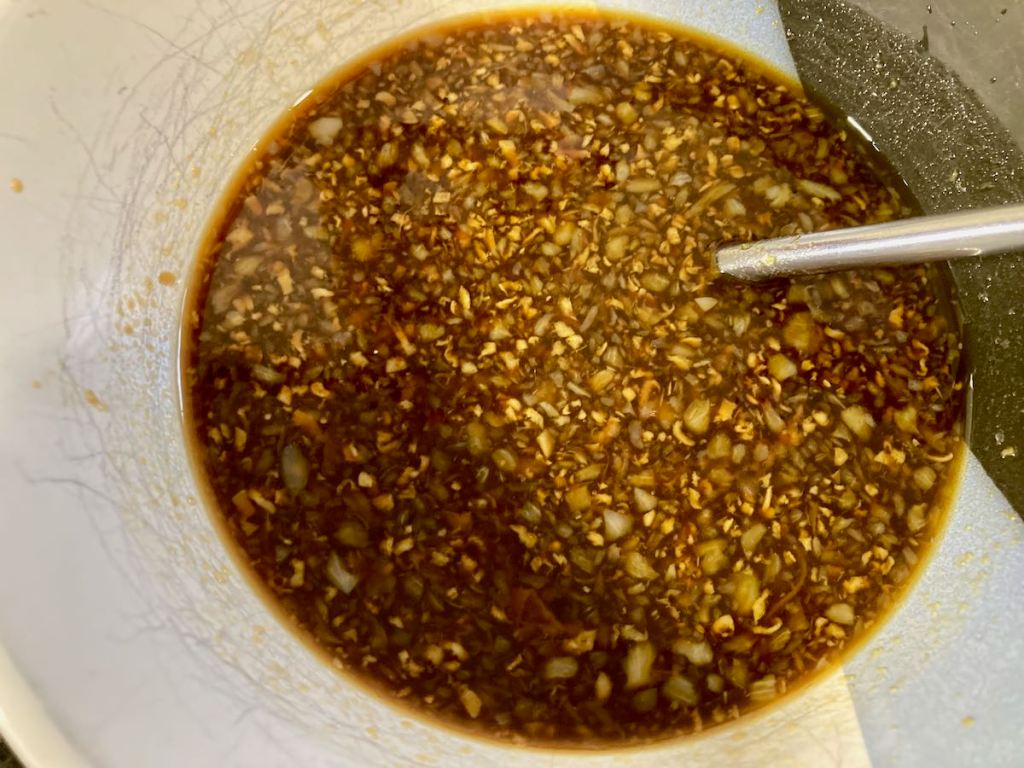
- 1 tbsp. basil
- 1 tbsp. thyme
- 1 tbsp. oregano
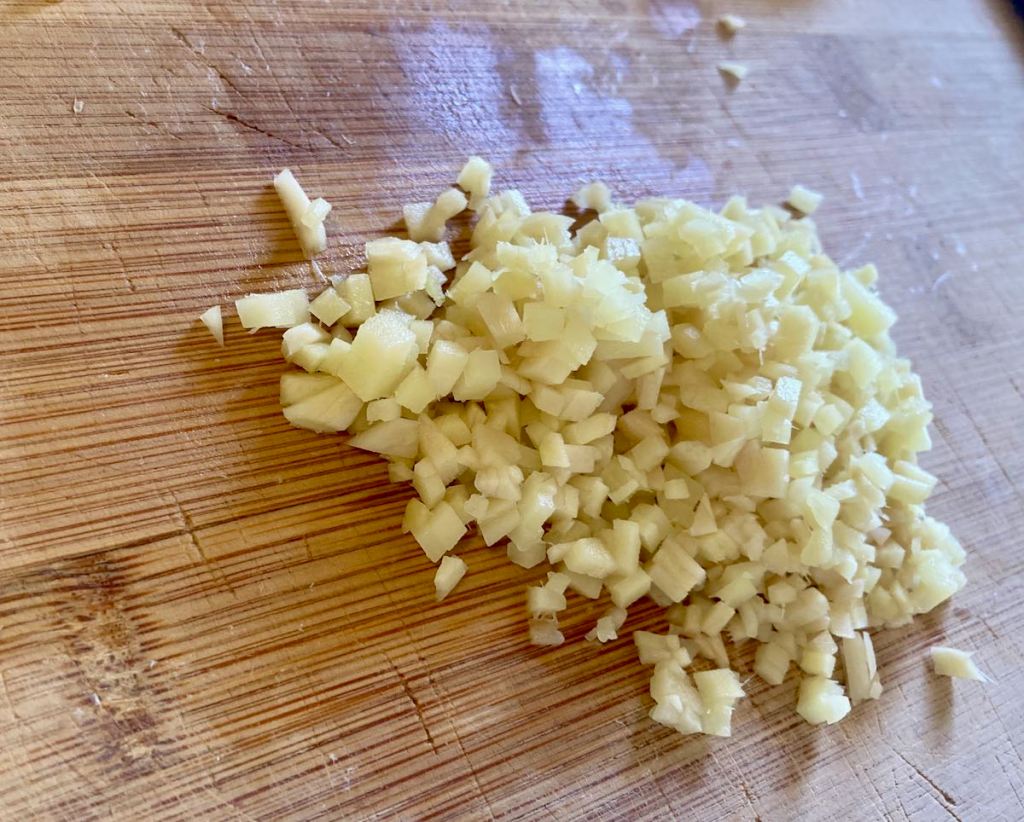
- 2 garlic cloves, minced
- 6 tbsp. Dijon mustard
- 1/2 cup coconut flour
- 1/4 cup tapioca flour
- 1/4 cup Parmesan cheese, grated
- 1 tbsp. olive oil
- minced parsley for serving (optional)
Preheat the oven to 200 degrees C/ 400 degrees F.
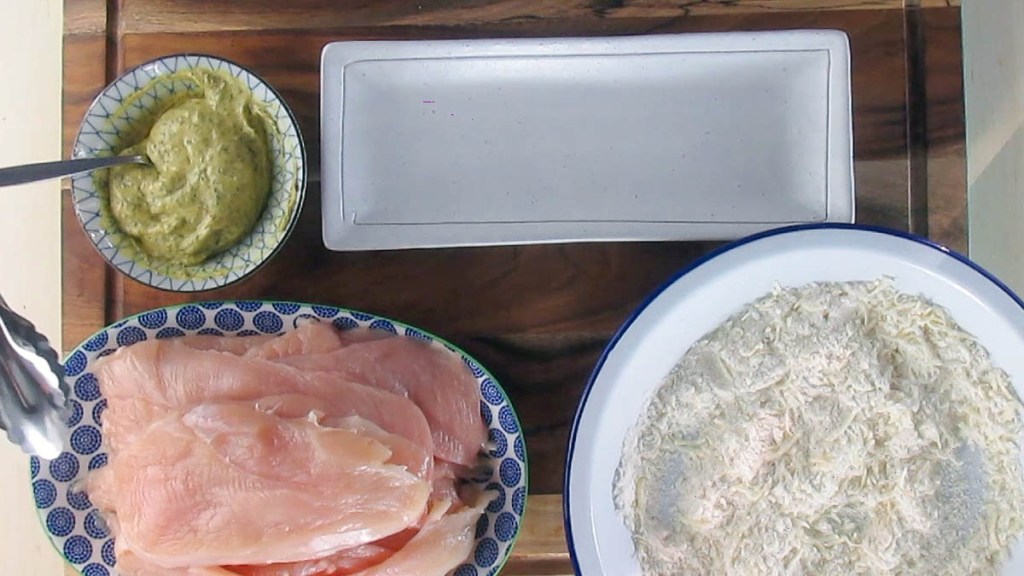
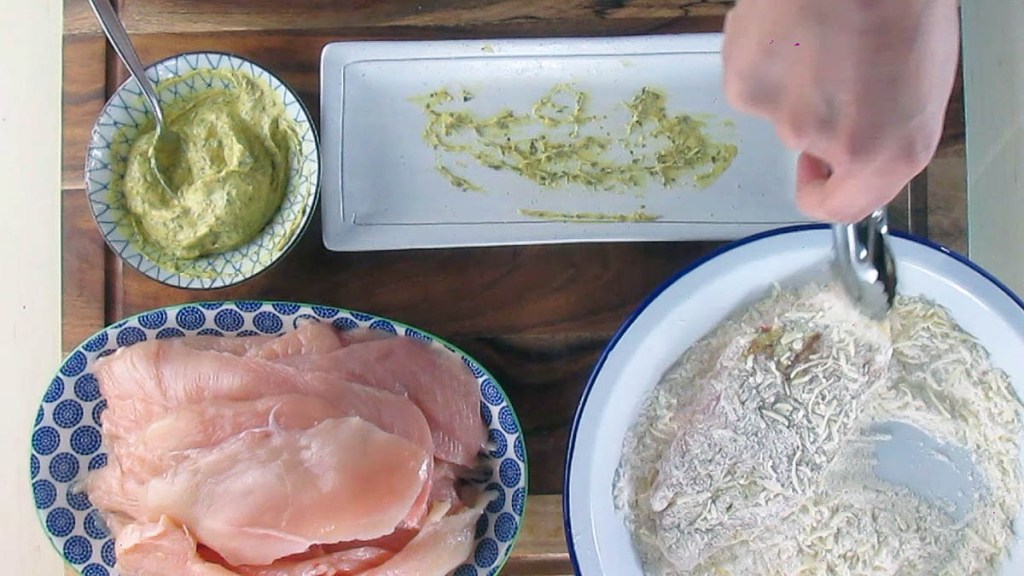
Slice each chicken breast in half lengthwise, and then flatten each cutlet out between some cling film.
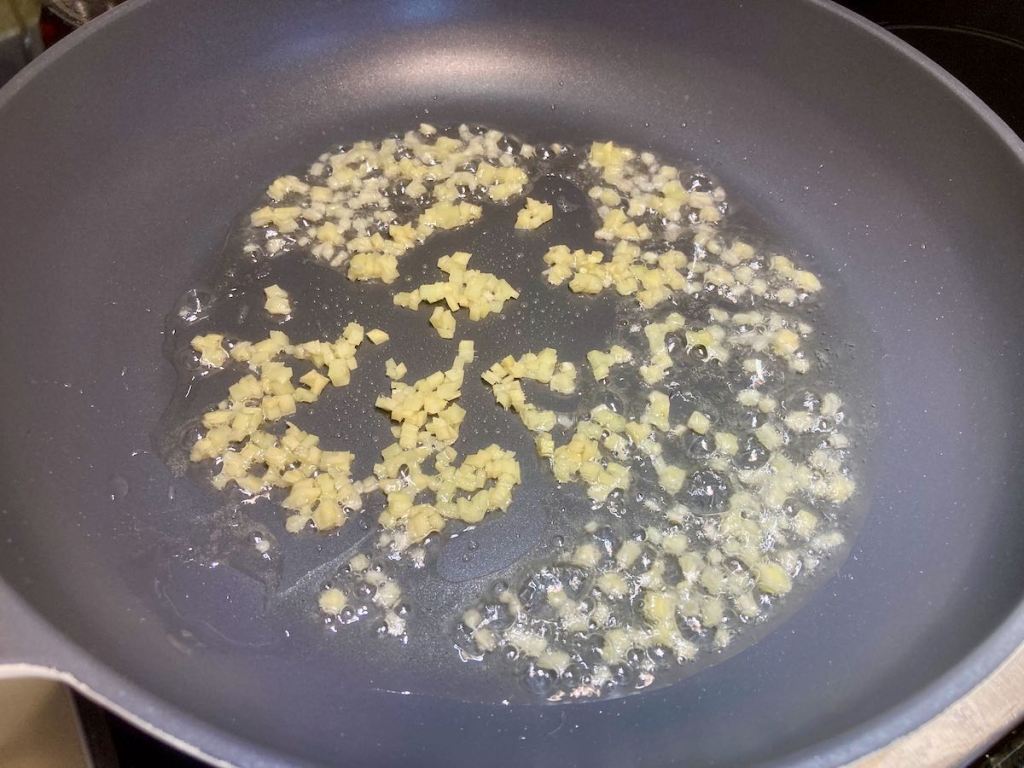
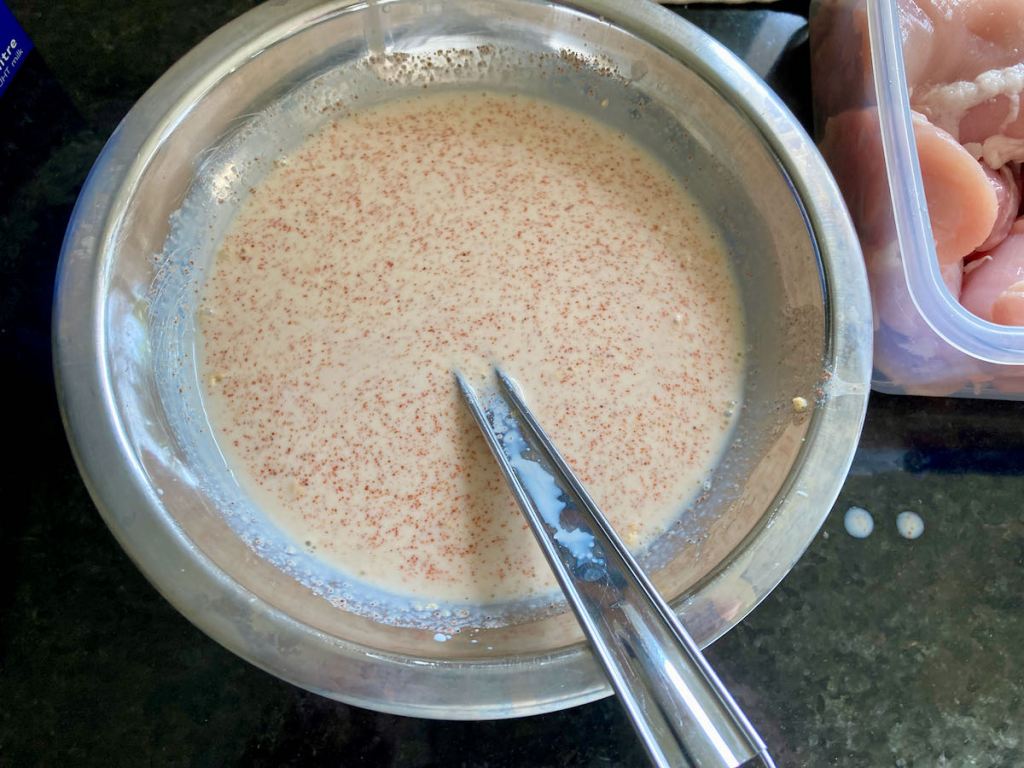
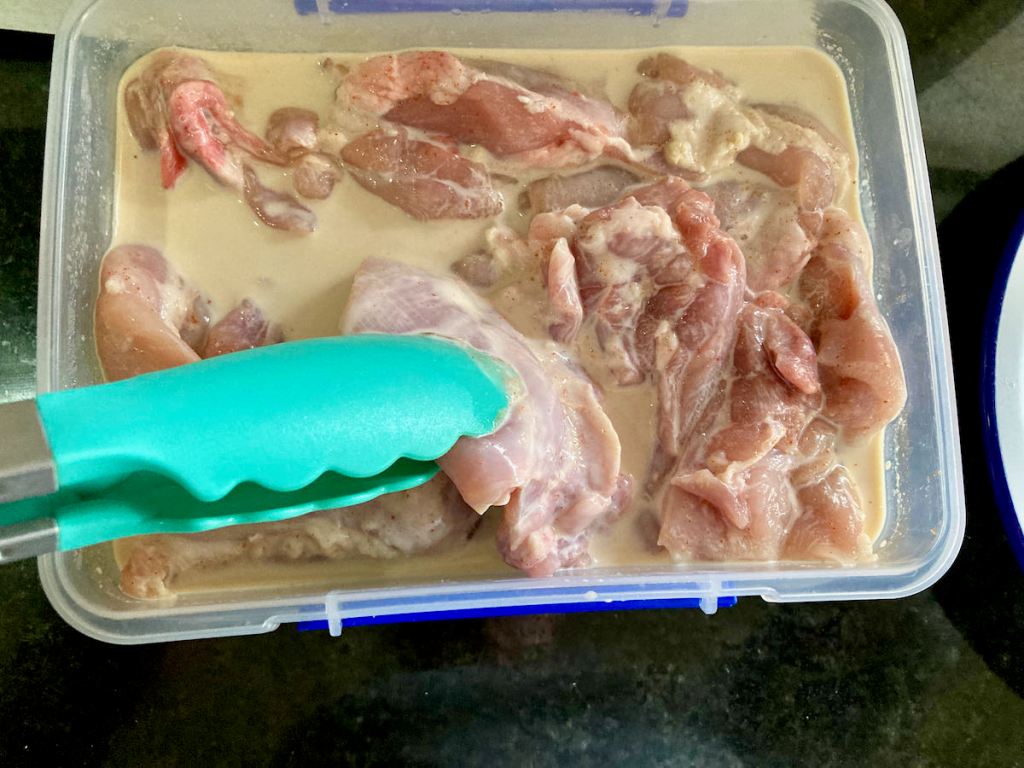
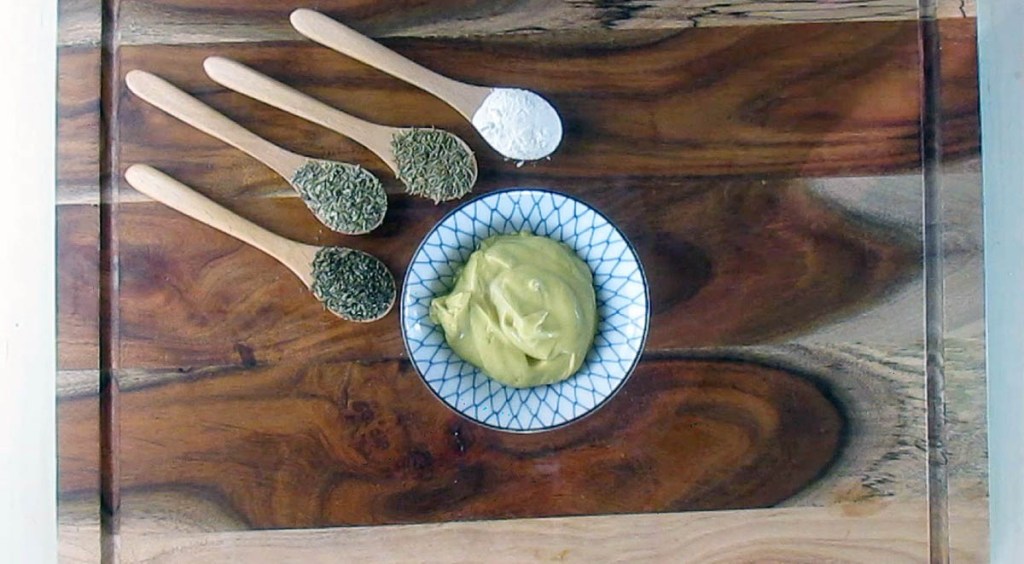
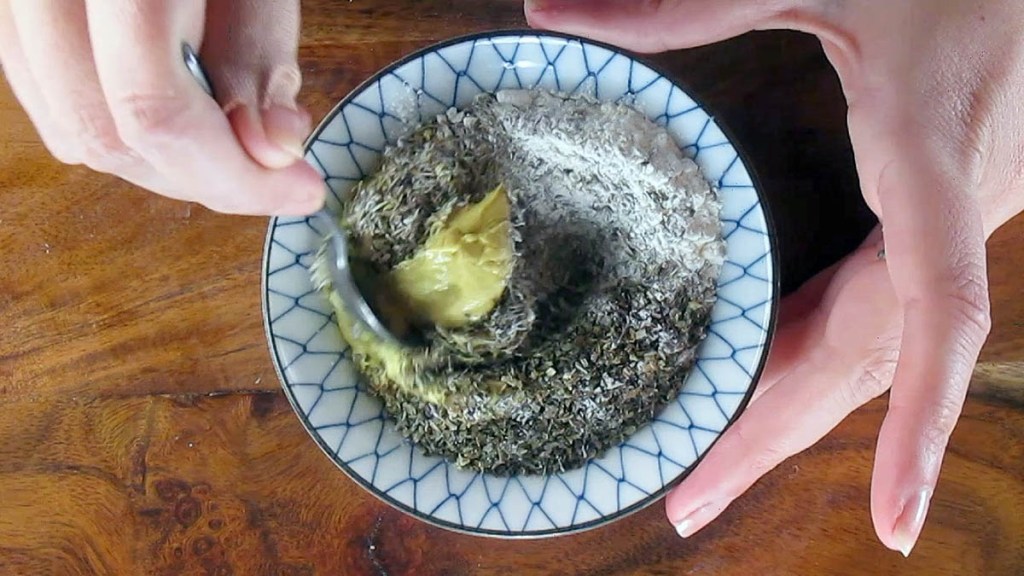
In a bowl mix together the herbs, garlic and mustard together.

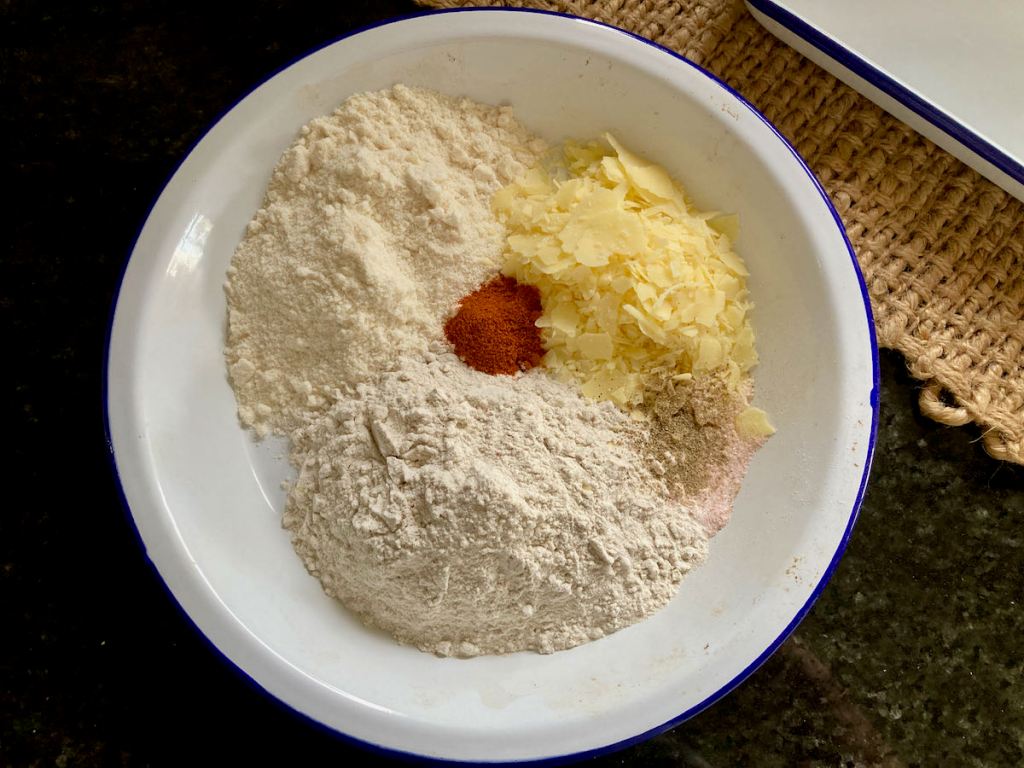
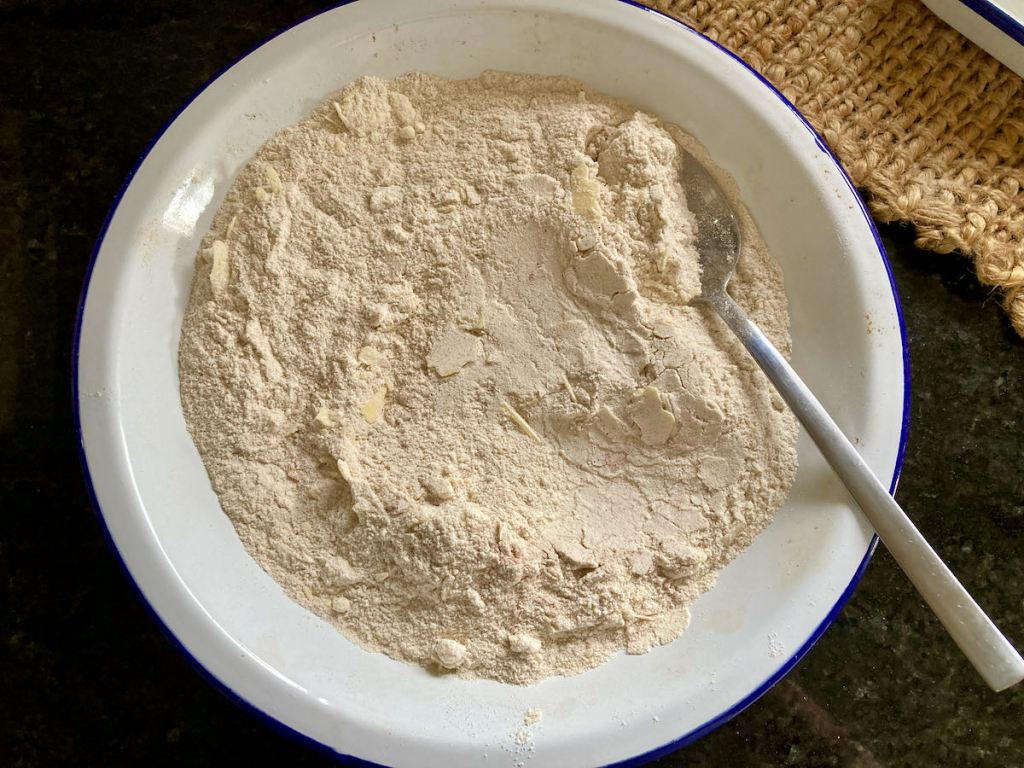
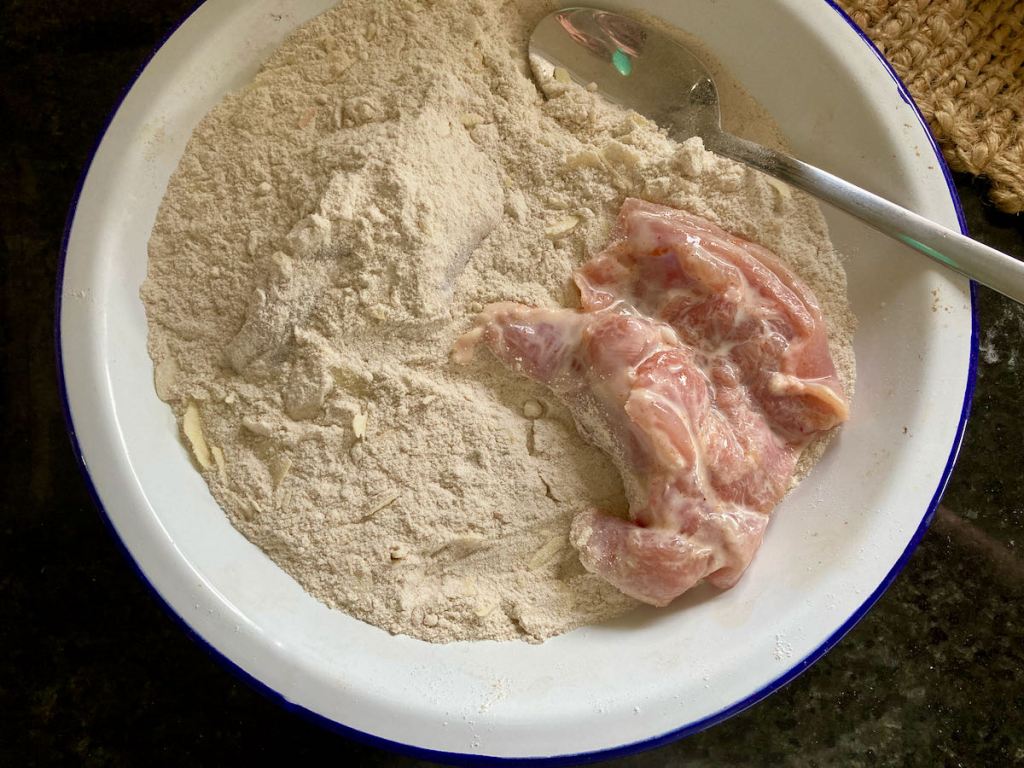
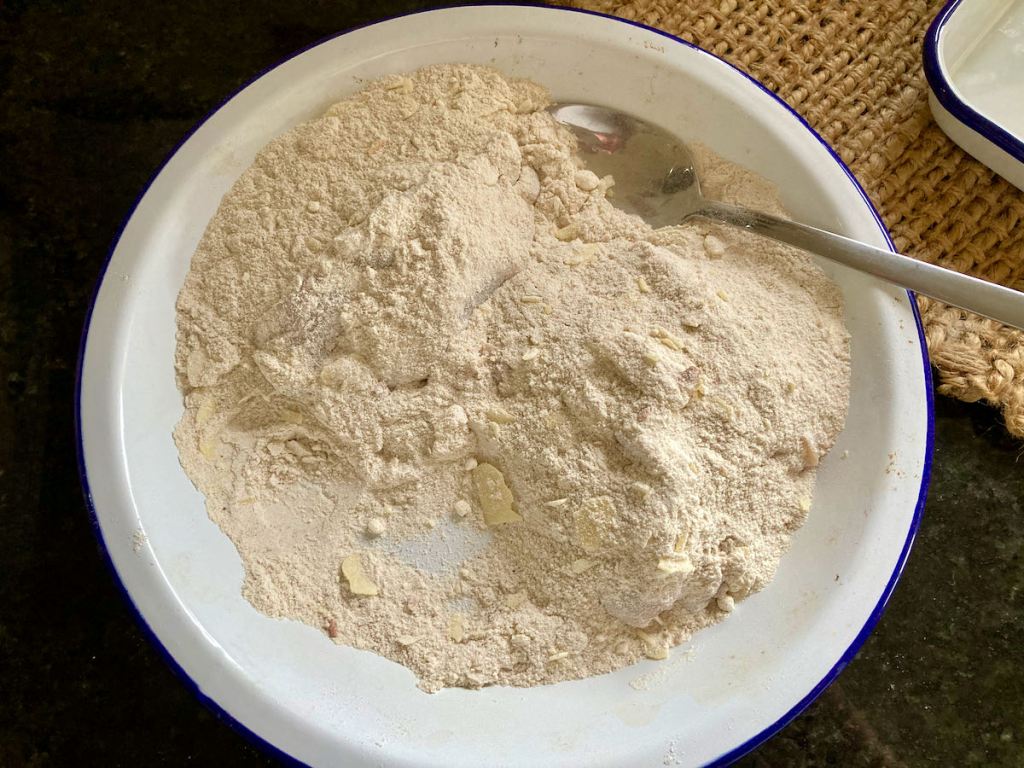
On a plate mix together the flours and cheese.


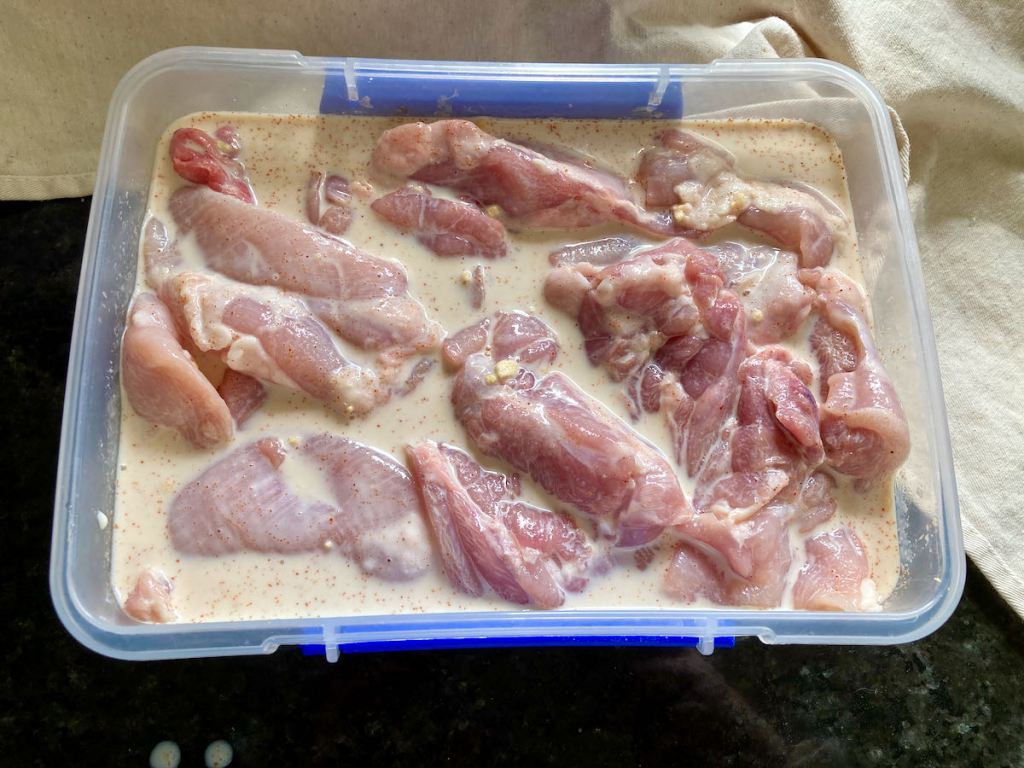
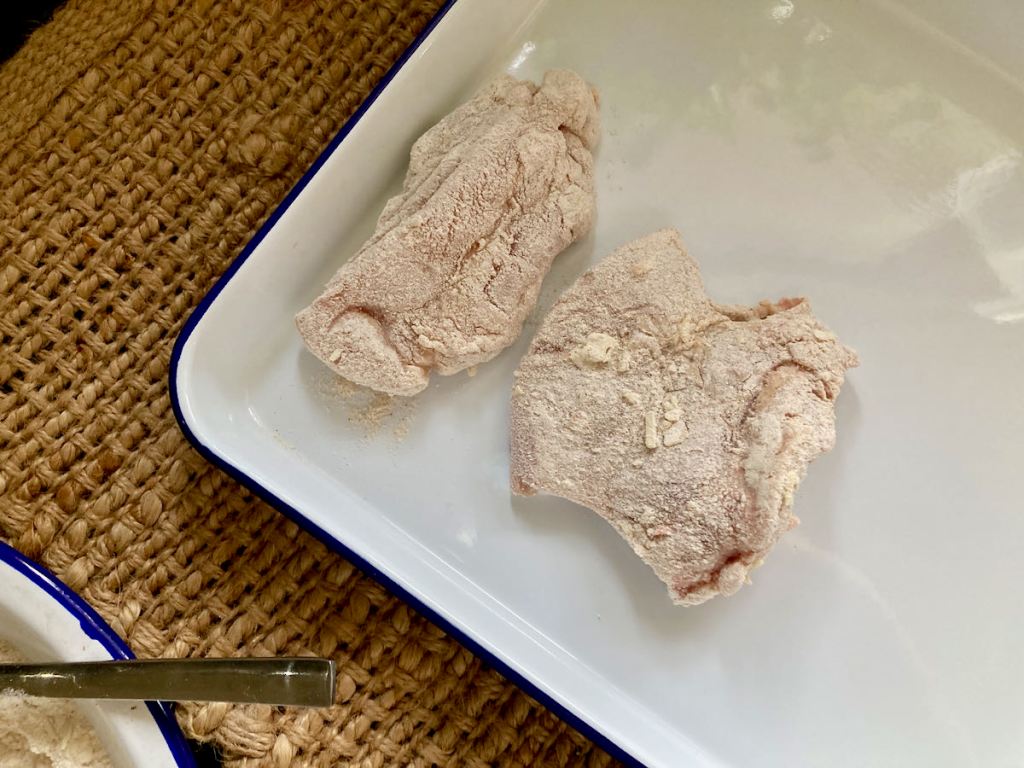
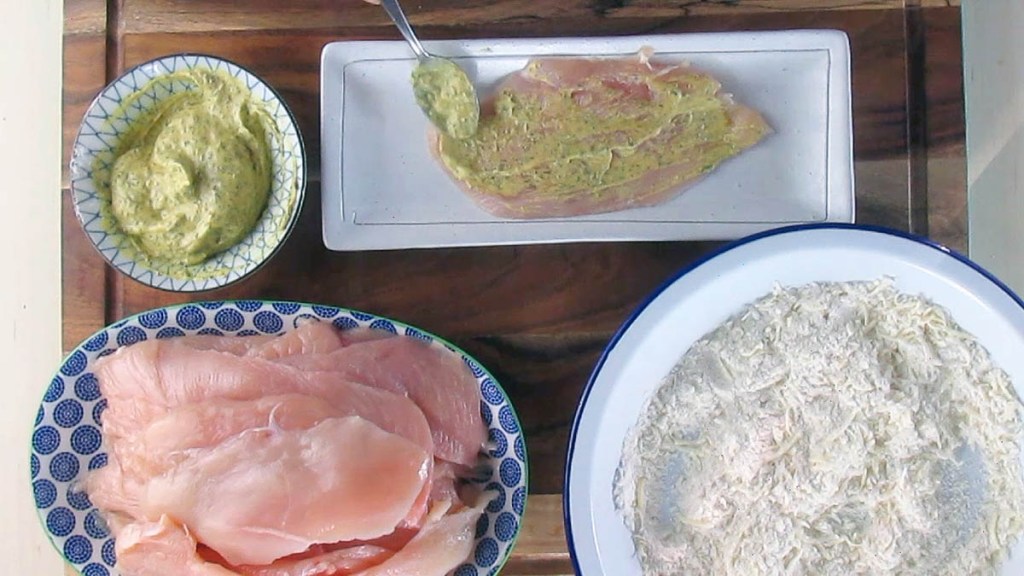
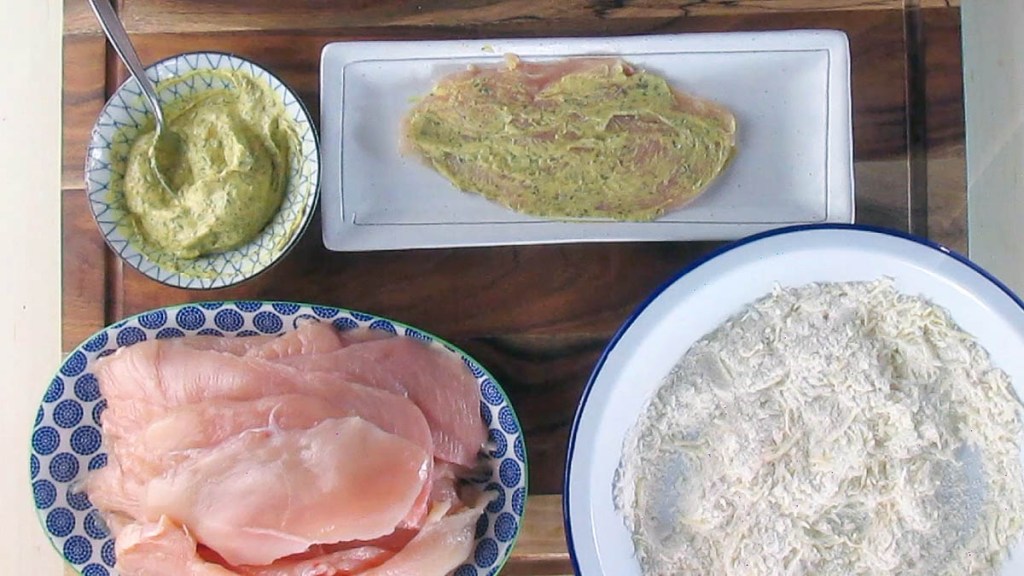
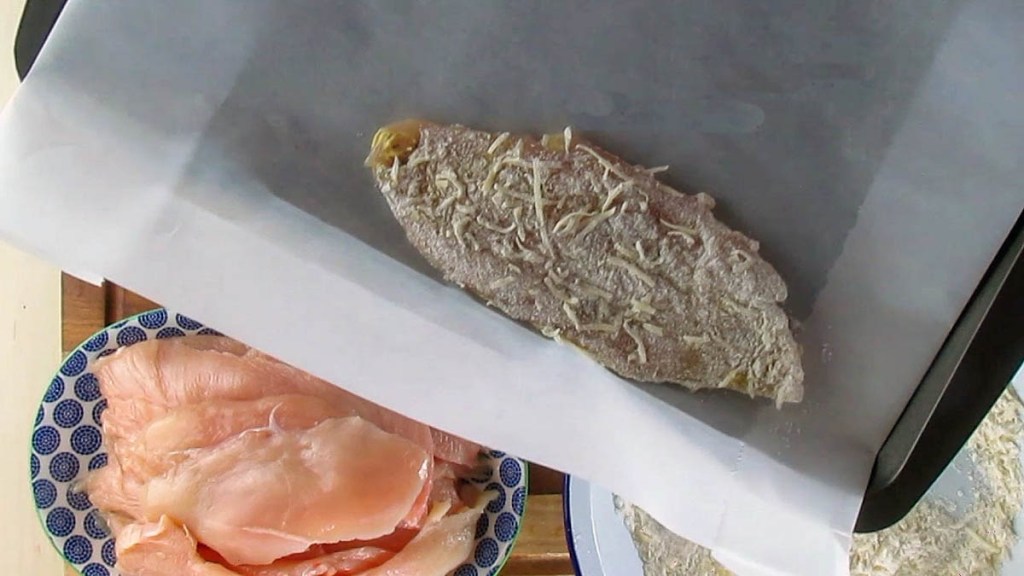
Coat each of the chicken with the mustard and herb mix before covering the chicken in the flour and cheese mixture.
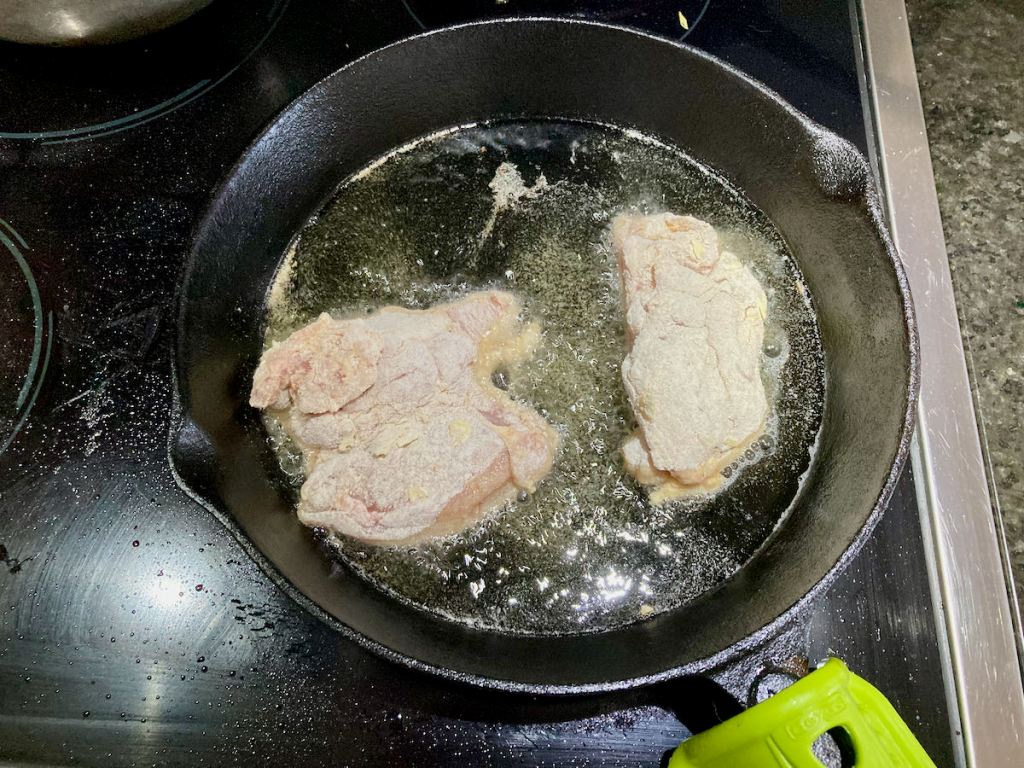
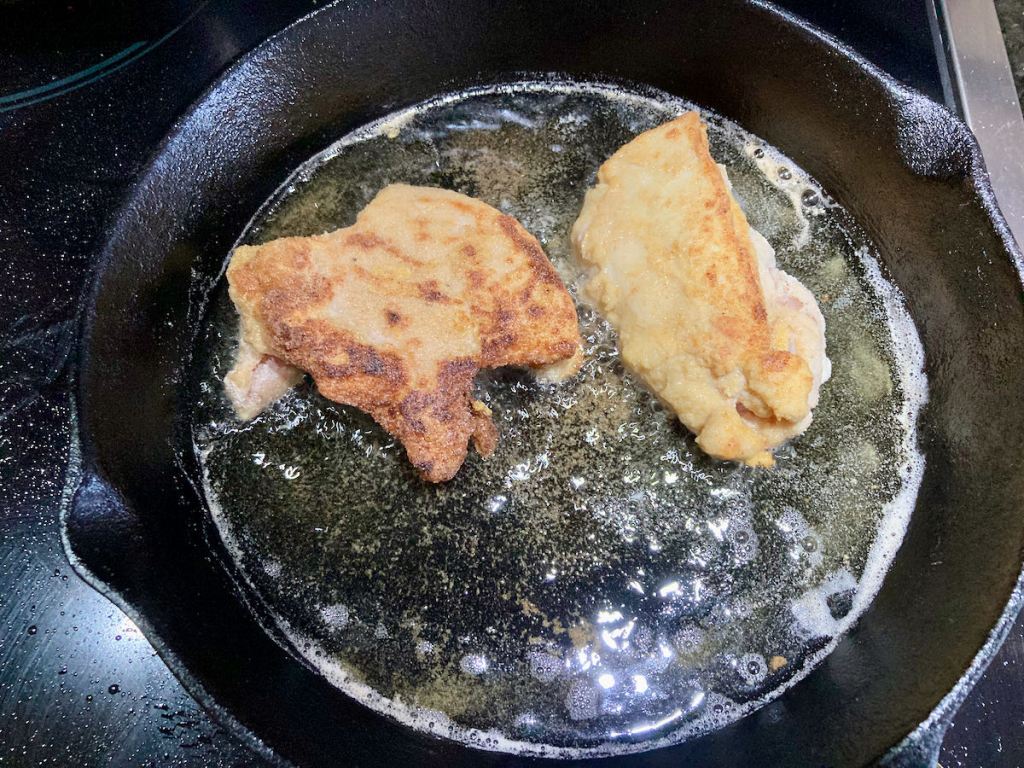
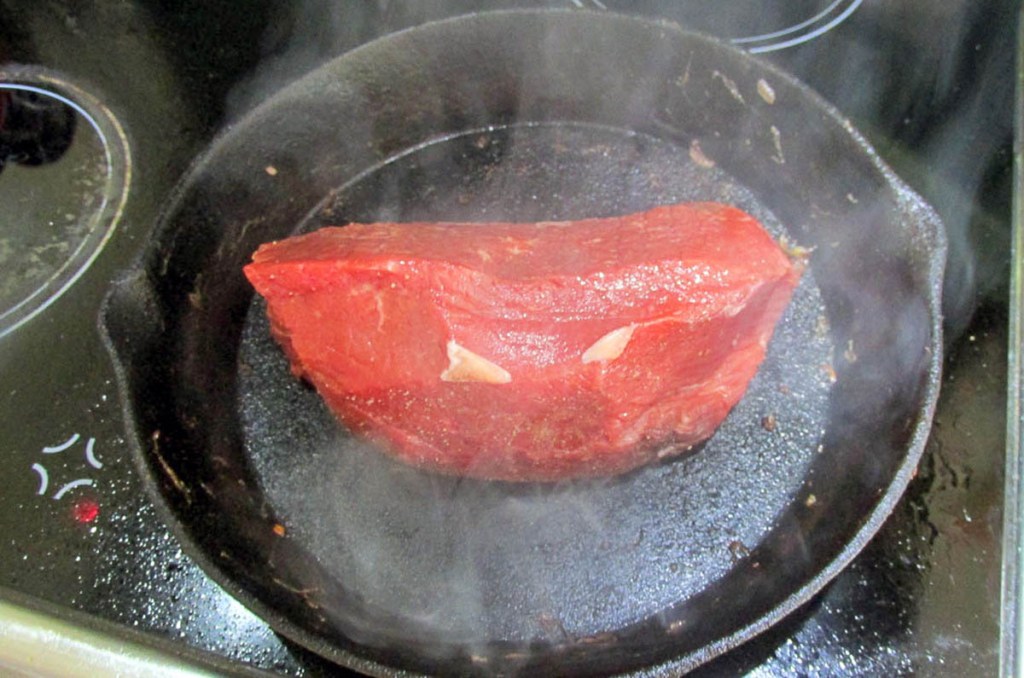
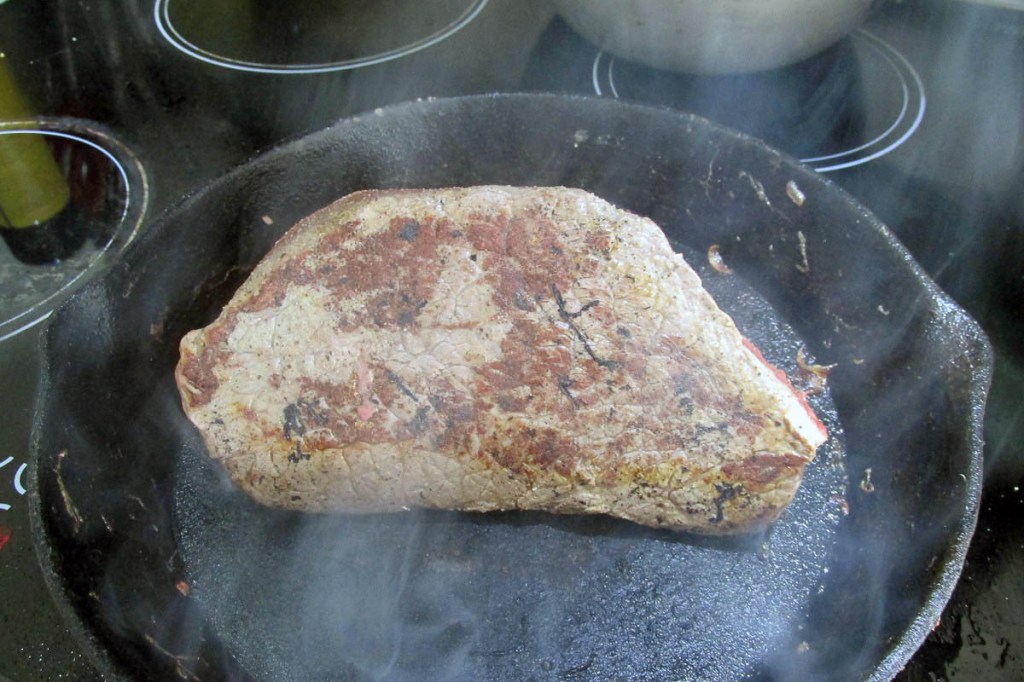
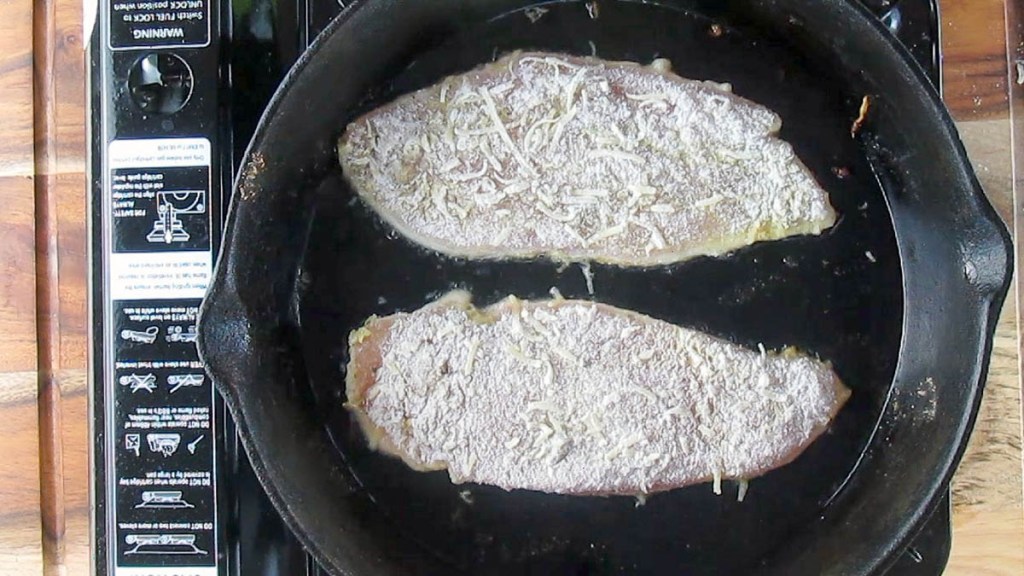
Heat some oil over a medium to high heat, fry off each of the chicken breast until they are golden brown on each side.
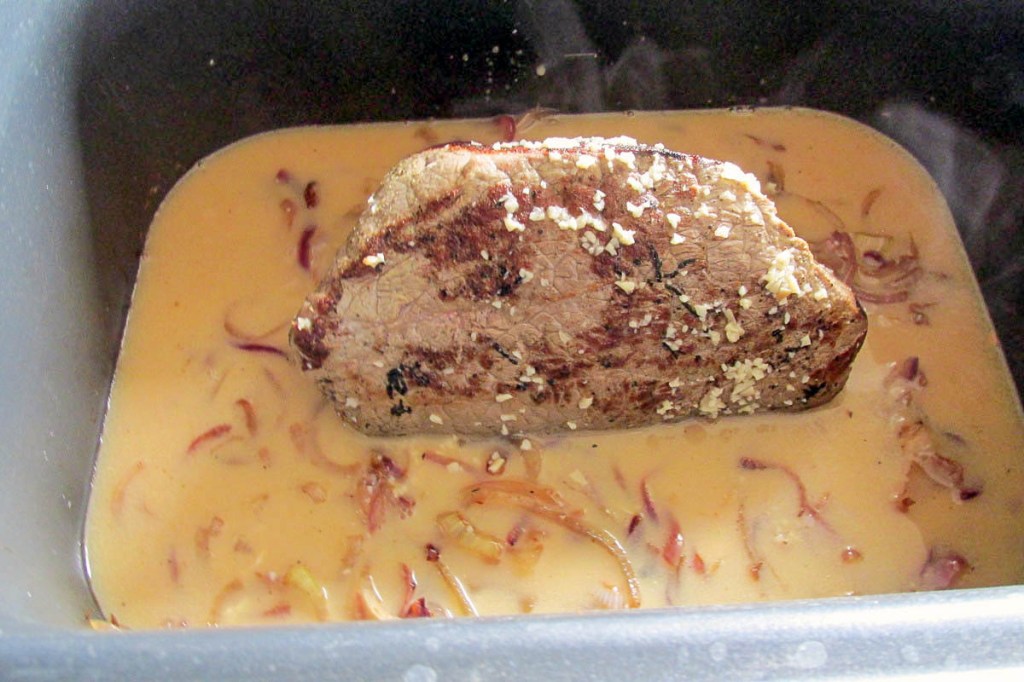
Place breasts on a baking tray lined with baking paper or a silicone liner.

Bake for 10 minutes at 165 degrees C 325 degrees F.
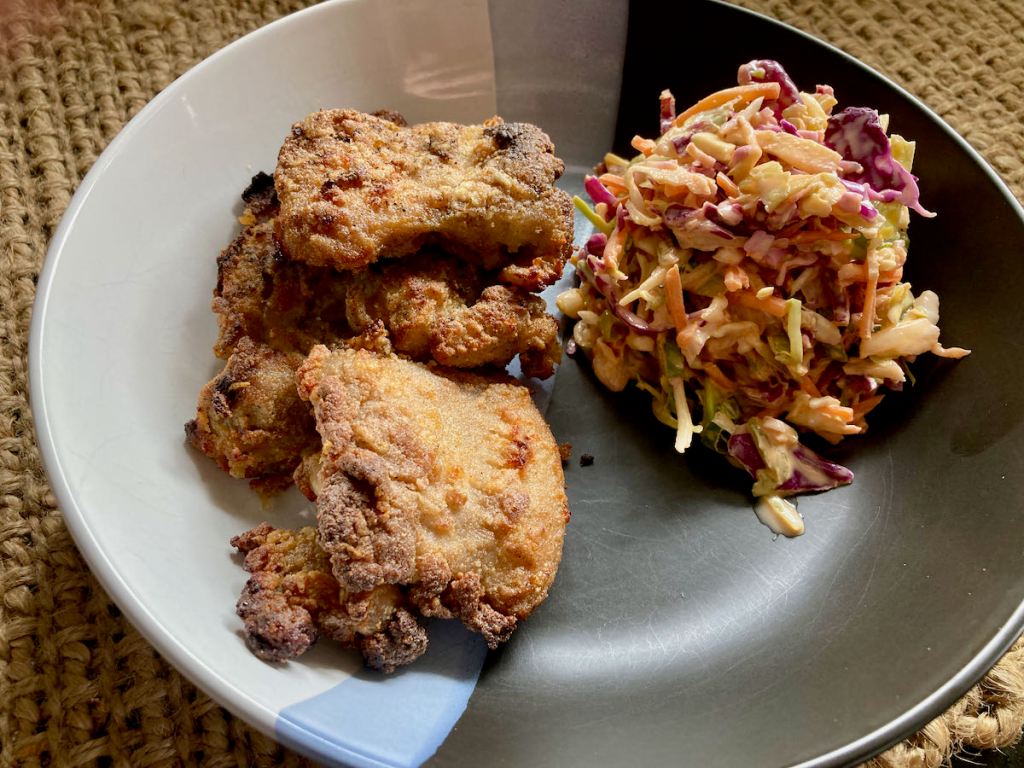
Sprinkle with chopped parsley to serve.

Mustard herb crusted chicken
“This
Credit: Cath @ easycleaneats
Ingredients
- 450g chicken breasts
- 1 tbsp. basil
- 1 tbsp. thyme
- 1 tbsp. oregano
- 2 garlic cloves, minced
- 6 tbsp. Dijon mustard
- 1/2 cup coconut flour
- 1/4 cup tapioca flour
- 1/4 cup Parmesan cheese, grated
- 1 tbsp. olive oil
- minced parsley for serving (optional)
Directions
- Preheat the oven to 200 degrees C/ 400 degrees F.
- Slice each chicken breast in half lengthwise, and then flatten each cutlet out between some cling film.
- In a bowl mix together the herbs, garlic and mustard together.
- On a plate mix together the flours and cheese.
- Coat each of the chicken with the mustard and herb mix before covering the chicken in the flour and cheese mixture.
- Heat some oil over a medium to high heat, fry off each of the chicken breast until they are golden brown on each side.
- Place breasts on a baking tray lined with baking paper or a silicone liner.
- Bake for 10 minutes at 165 degrees C 325 degrees F.
- Sprinkle with chopped parsley to serve.
Nutrition
Per Serving: 230 calories; 15g fat; 13g carbohydrates; 21g proteinEquipment
- Knife
- Chopping board
- Small bowl
- Plate
- Frying pan
- Baking tray
- Baking paper or a silicone liner
- Measuring spoons
- Measuring cups
- Scales
Nutritional disclaimer
Nutrition information is provided as an estimate based on the ingredients used and available in my area (New Zealand). The nutritional information is here to help you understand the recipe; I use MyFitnessPal to generate my estimates. For more accurate nutritional information, please use a nutritional calculator with the ingredients in your area.