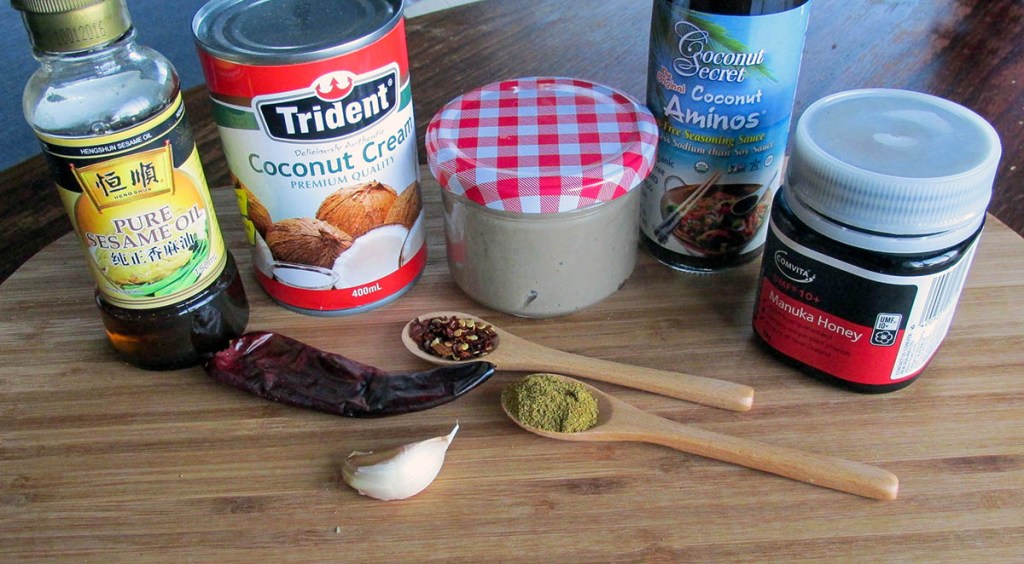
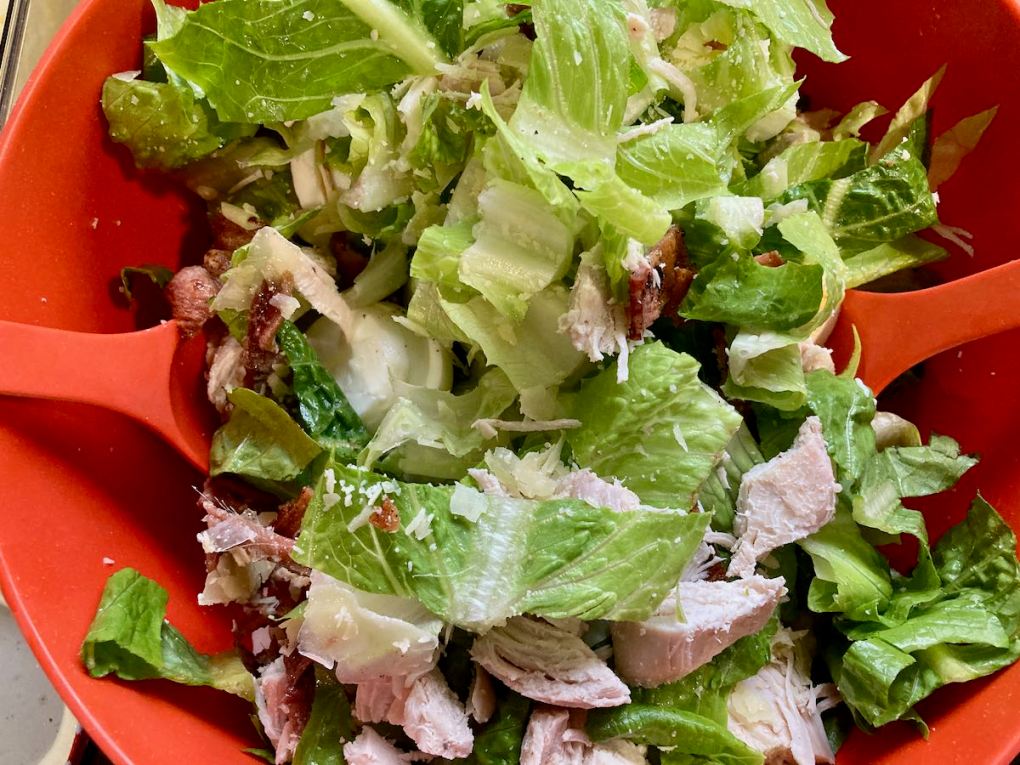
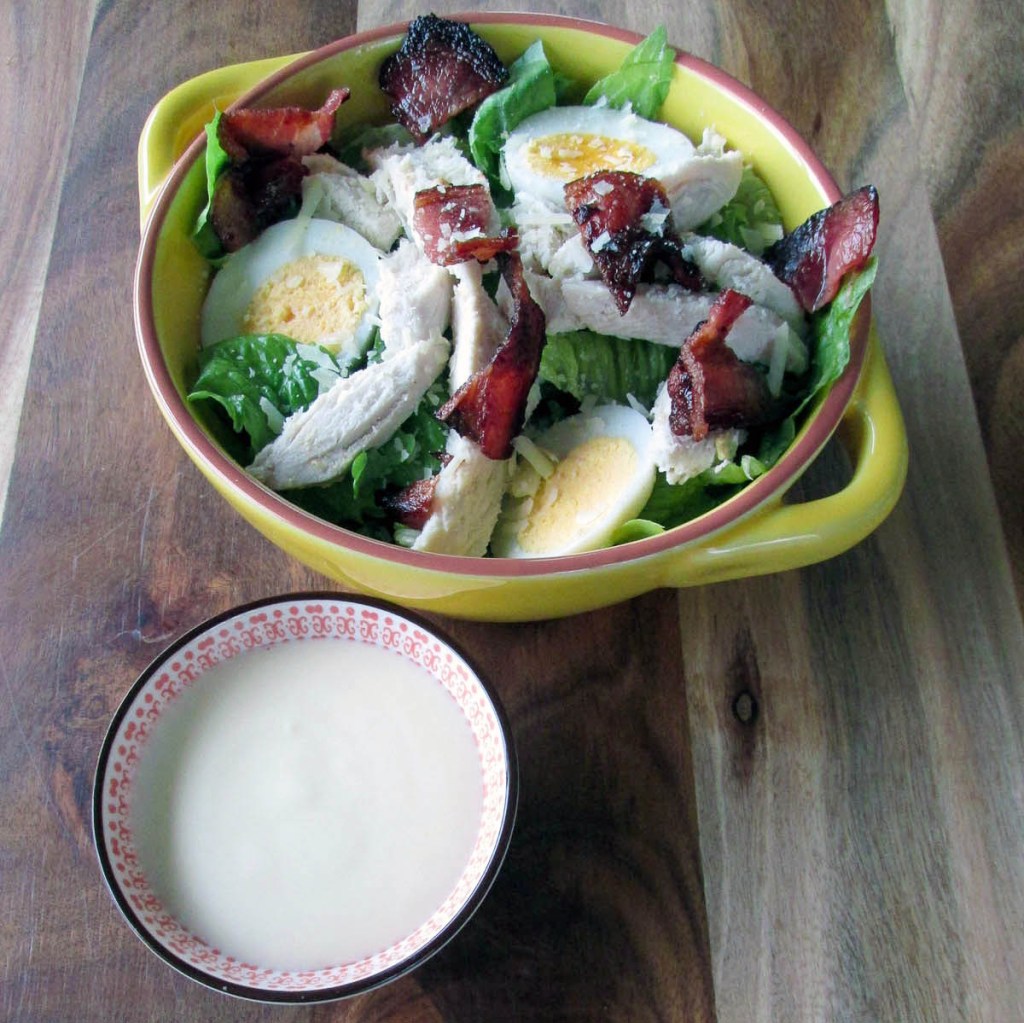
Master the basics
Eating clean gets a lot easier once you have mastered a few essential recipes. This recipe is basic; not like basic unicorn basic, more like beard and flannel basic. Back to the point (which isn’t Unstable unicorns), having basic skills and recipes in your arsenal means you will never be left with only Uber Eats as your weeknight option. Once you master this recipe, the possibilities are endless.
New take on a classic
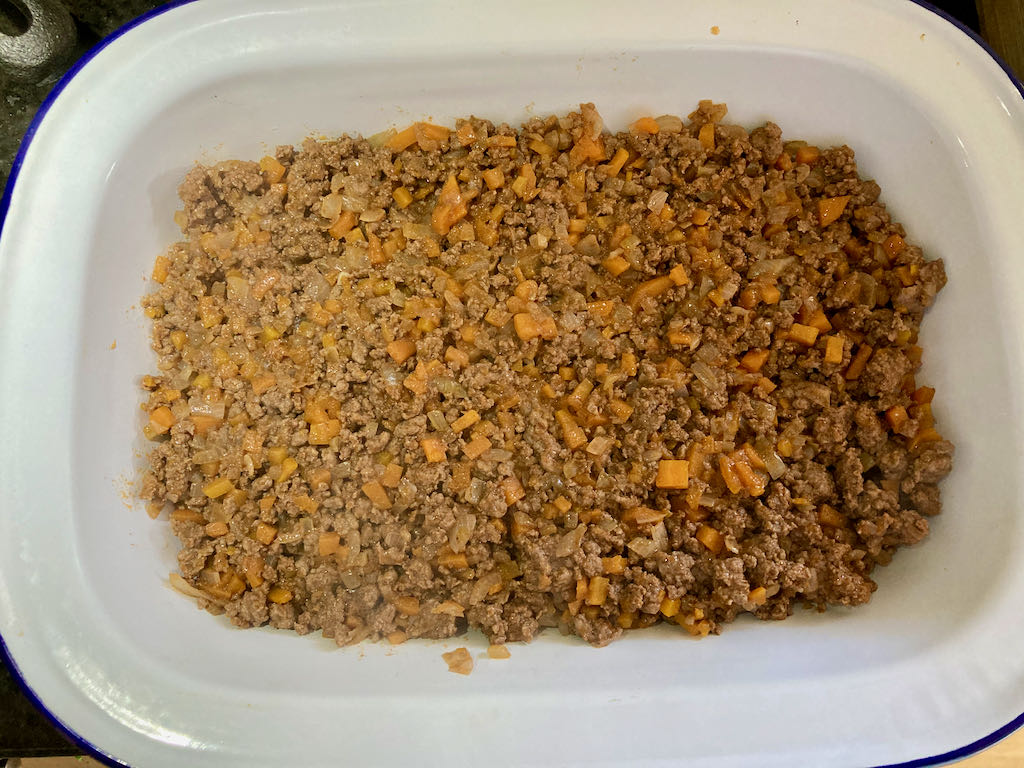
Bolognese is one of those dishes that everyone knows and probably has their version of it. While traditionally, Bolognese is used for dressing pasta, this meaty sauce is a perfect centrepiece to a meal instead of dressing.
This dish is full of flavour and tastes better the day after you make it.
Bolognese is an easy recipe to make; it is cheap and makes the perfect weeknight dinner.
Bolognese recipe

Ingredients
- 500g beef mince
- 2 tins chopped tomatoes
- 2 onions, finely diced
- 2 garlic cloves, minced
- 2 tbsp. tomato puree
- 2 tbsp. olive oil
- a handful of basil, plus extra for garnish.
- 1 tsp. dried oregano.
Instructions
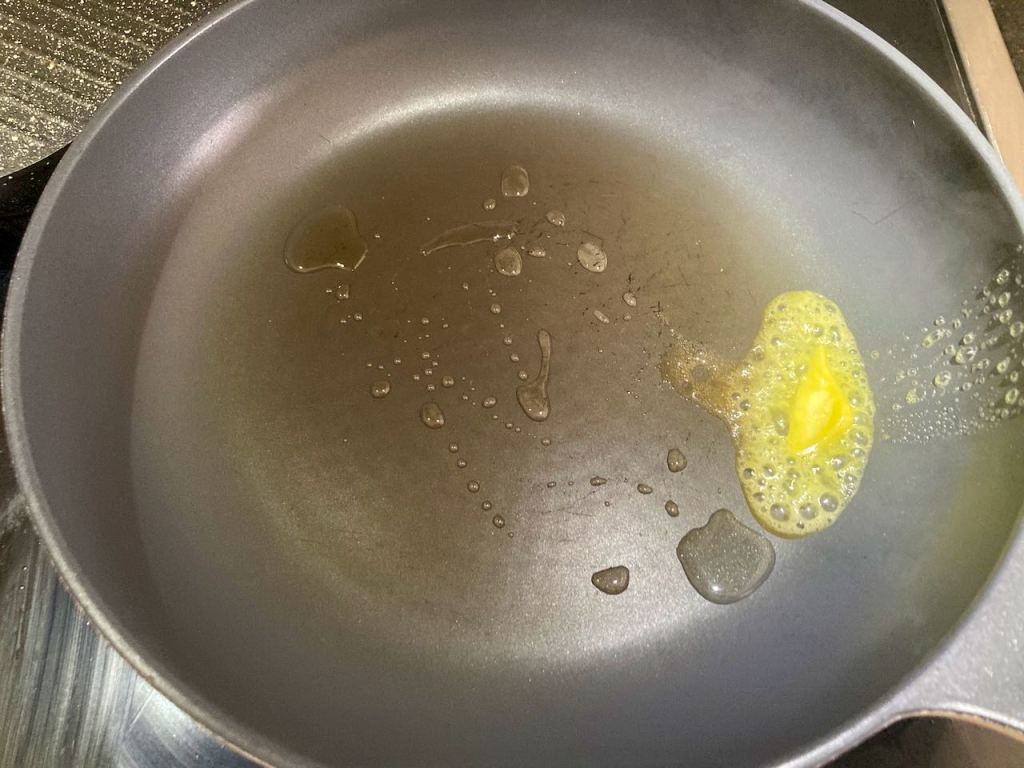
Put a large stock pot over medium heat.
Add the olive oil to the pan.
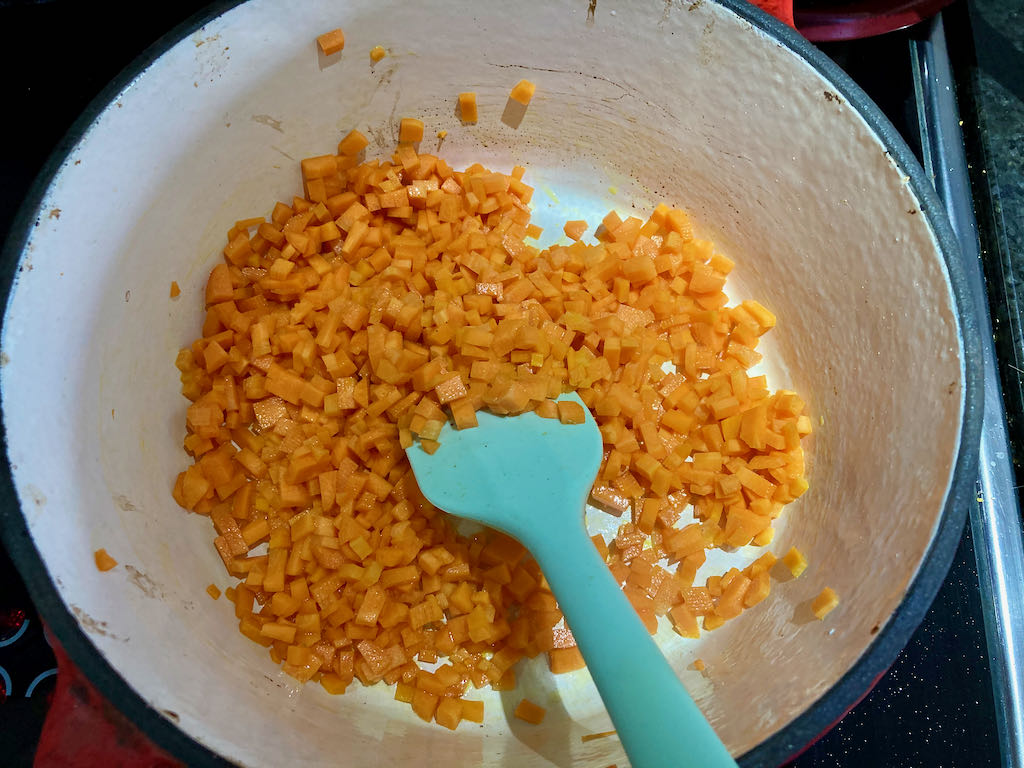
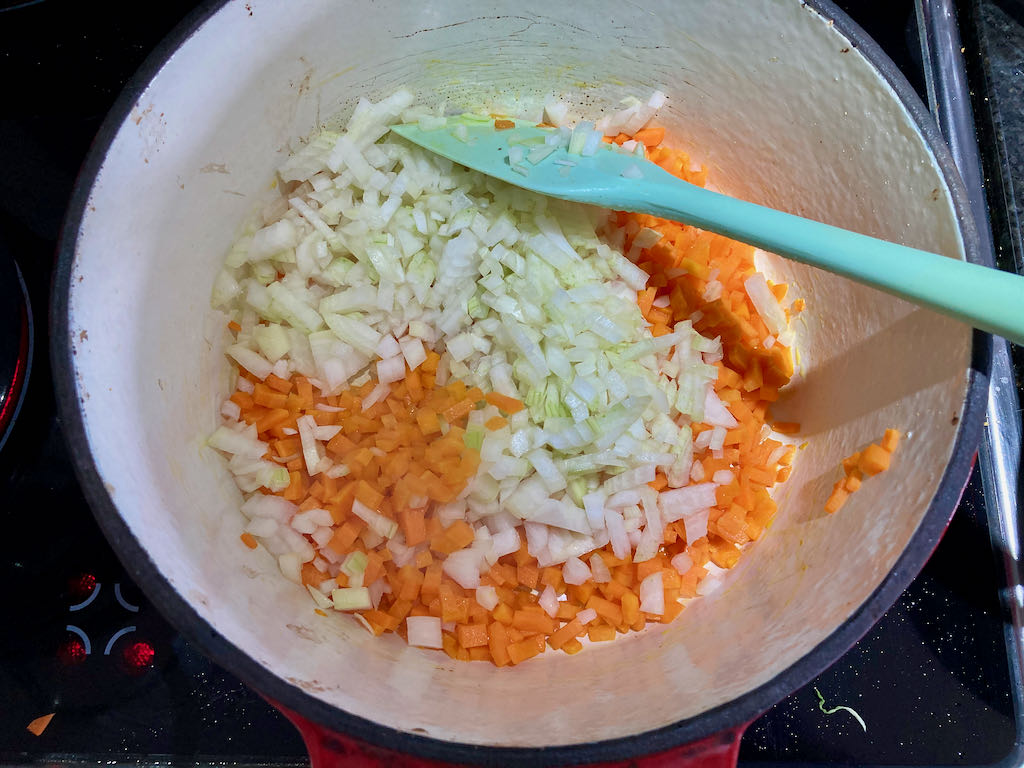
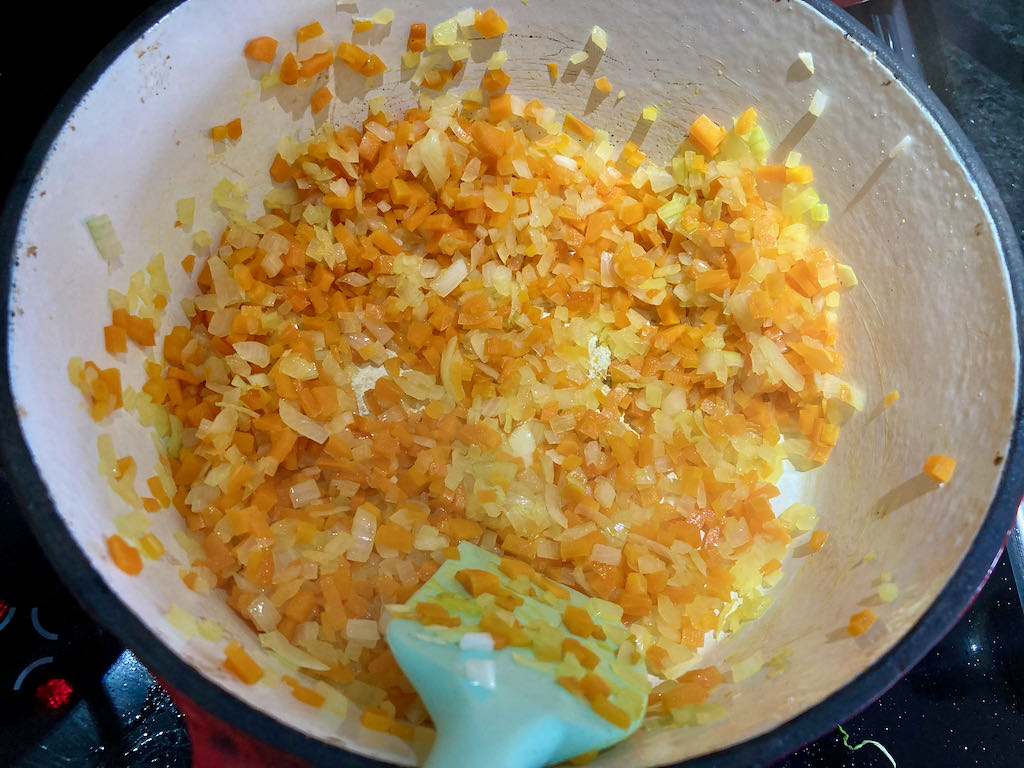
When the oil is hot, add the onions and stir them.
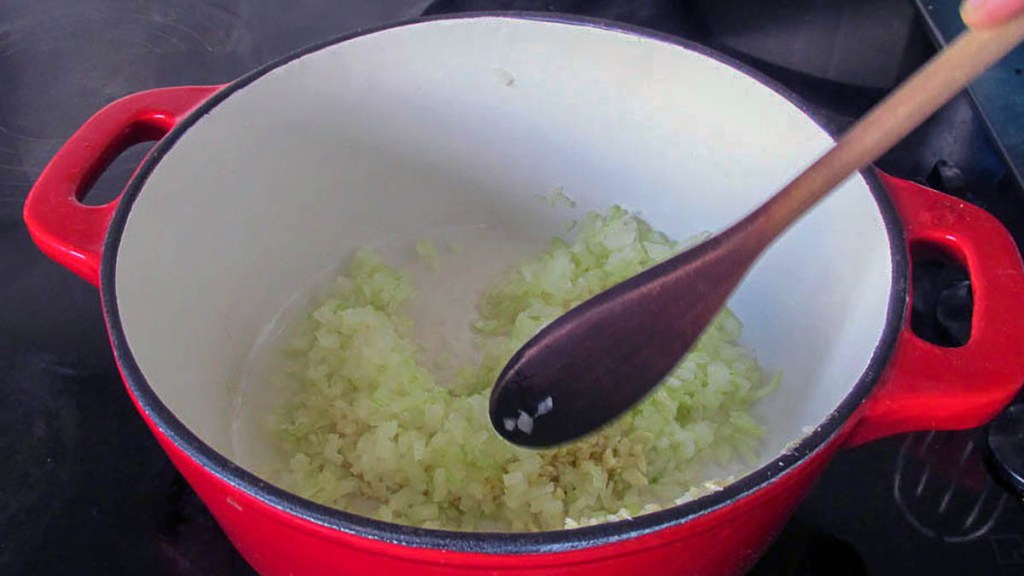
Reduce the heat when the onions start to colour.
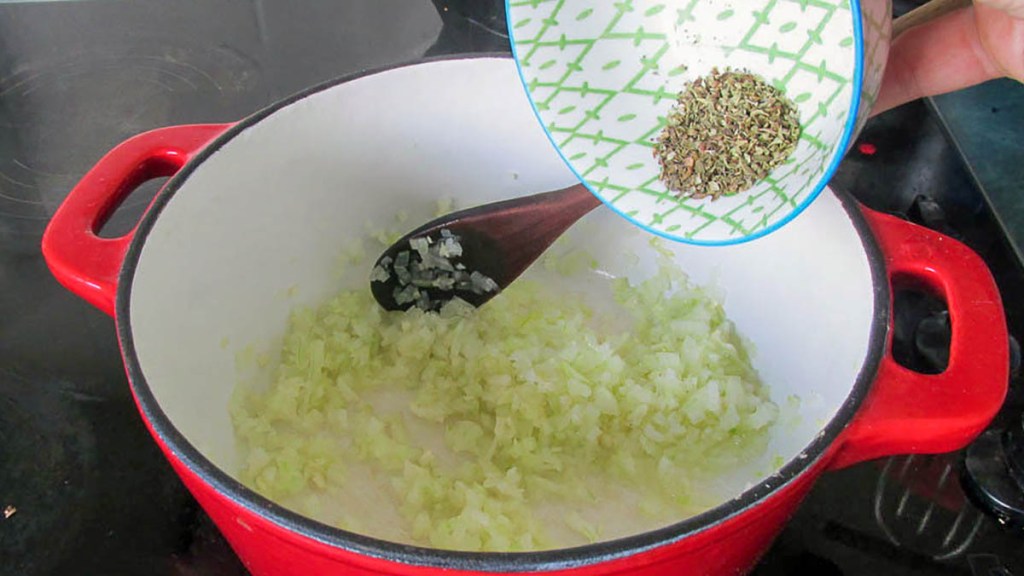
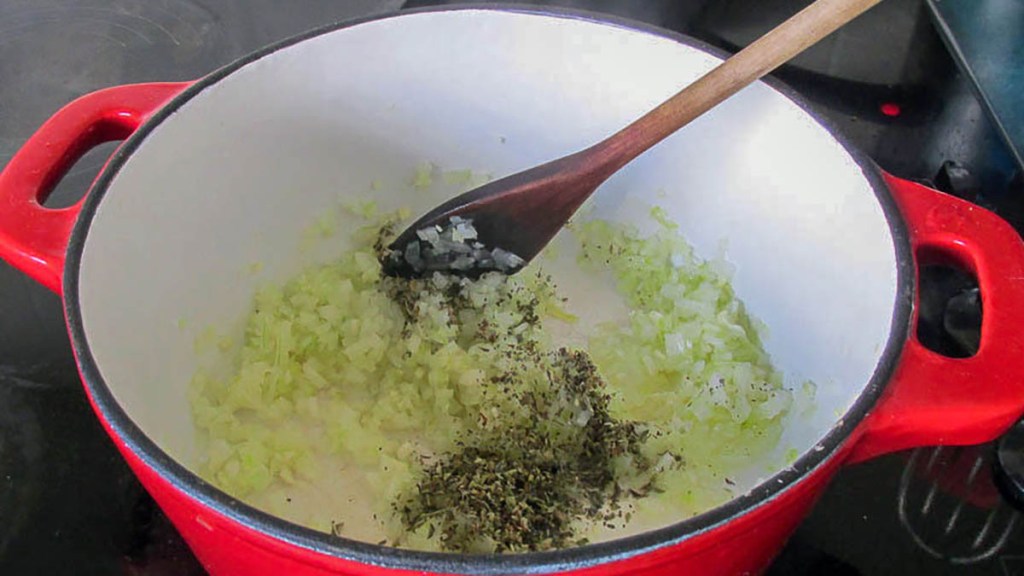
Add the garlic, basil and oregano.
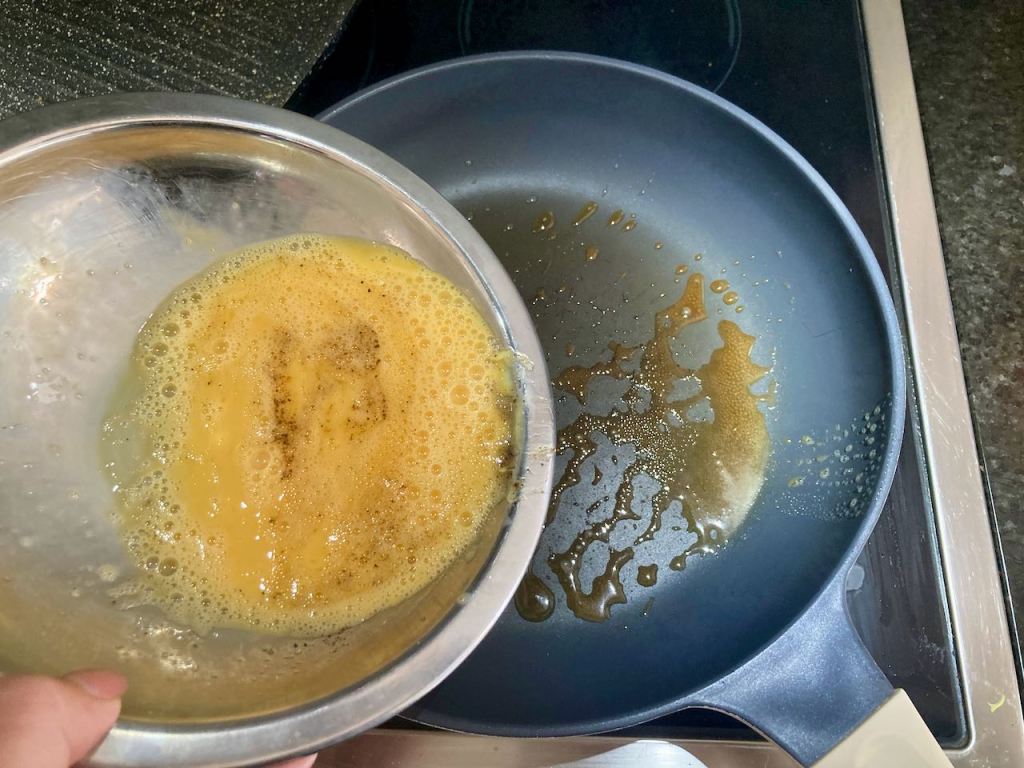
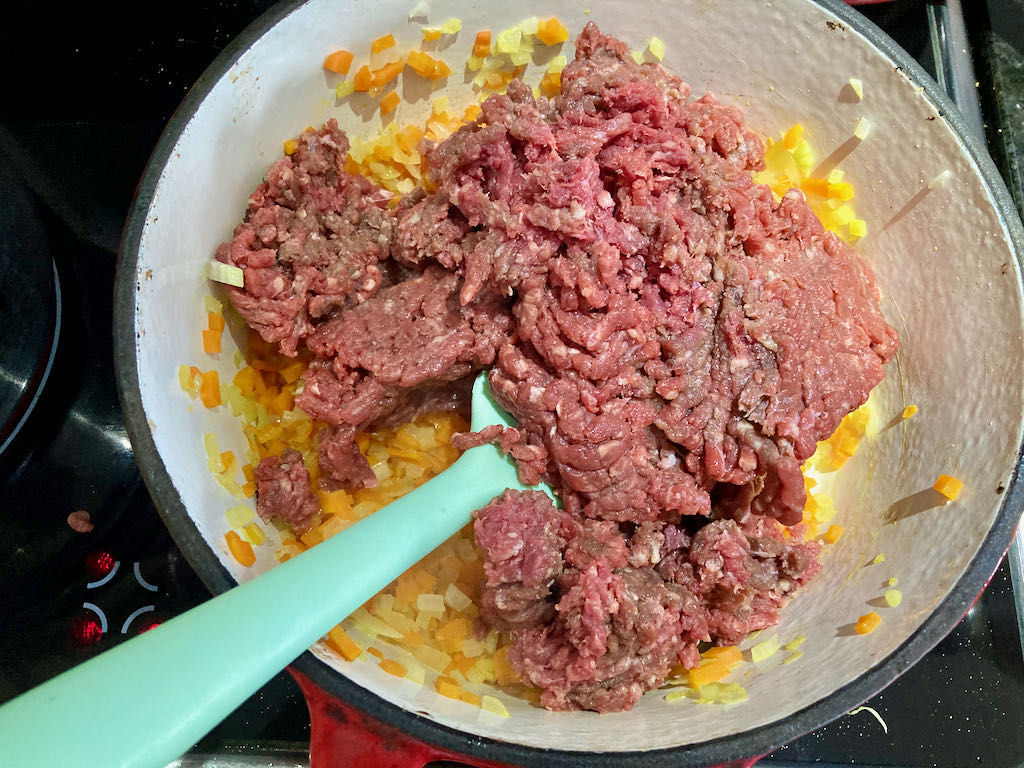
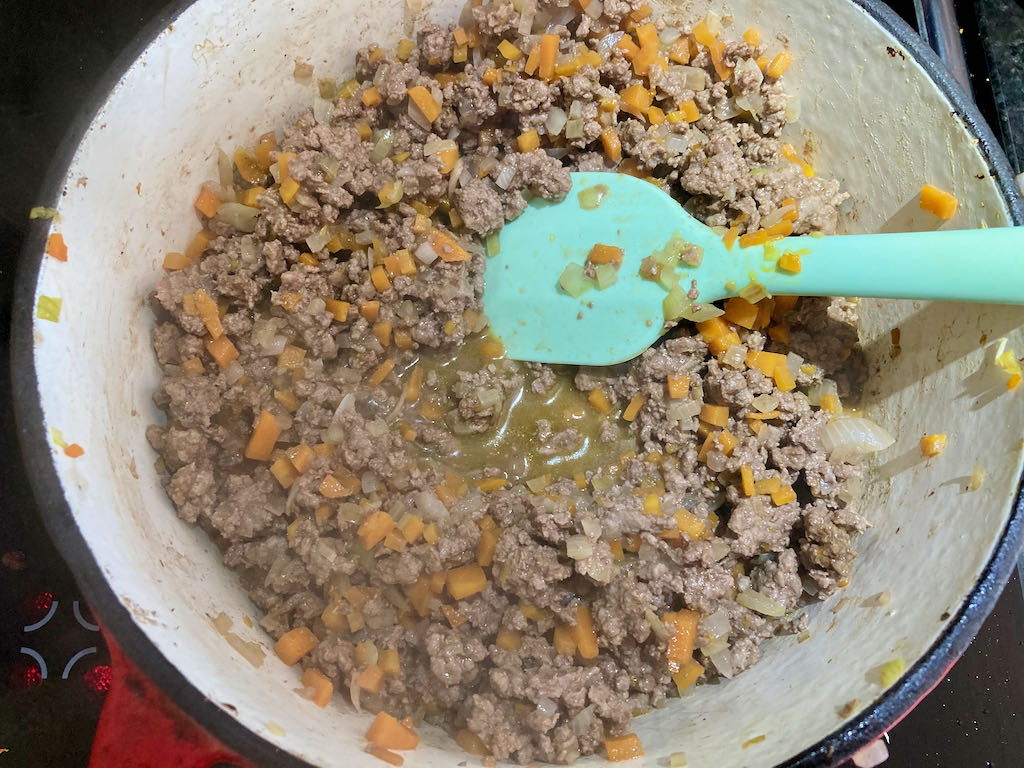
Add the beef mince to the pan with the onions.
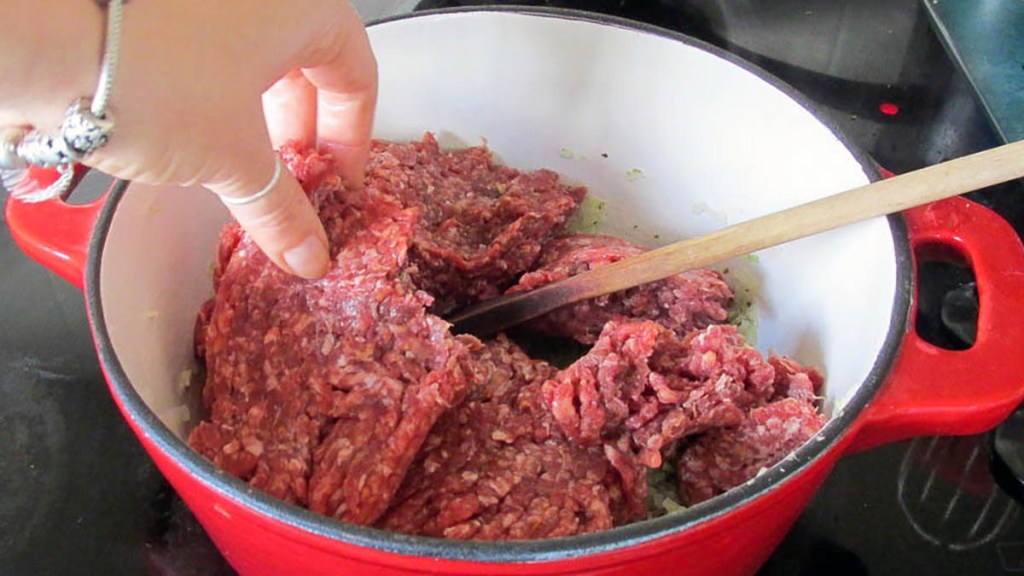

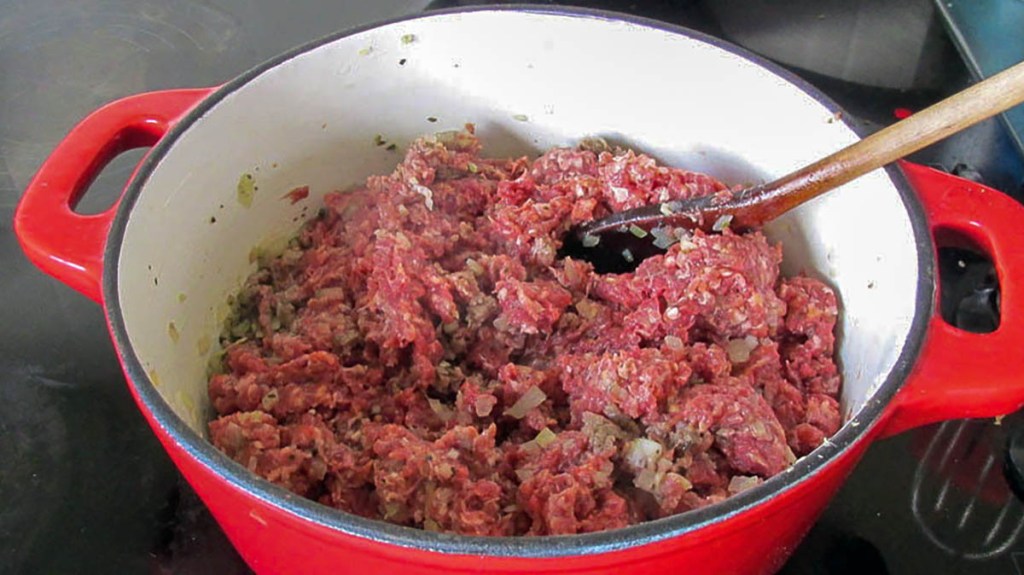
Cook the meat off until it is browned.
Use a spoon to break the meat up as it cooks.

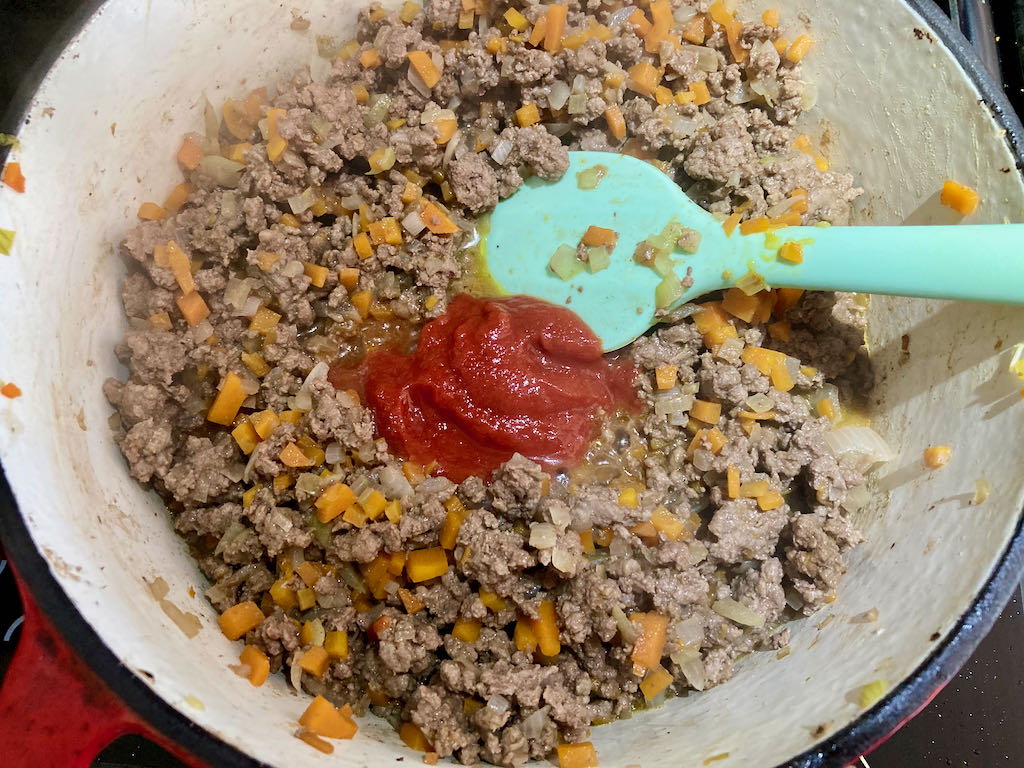
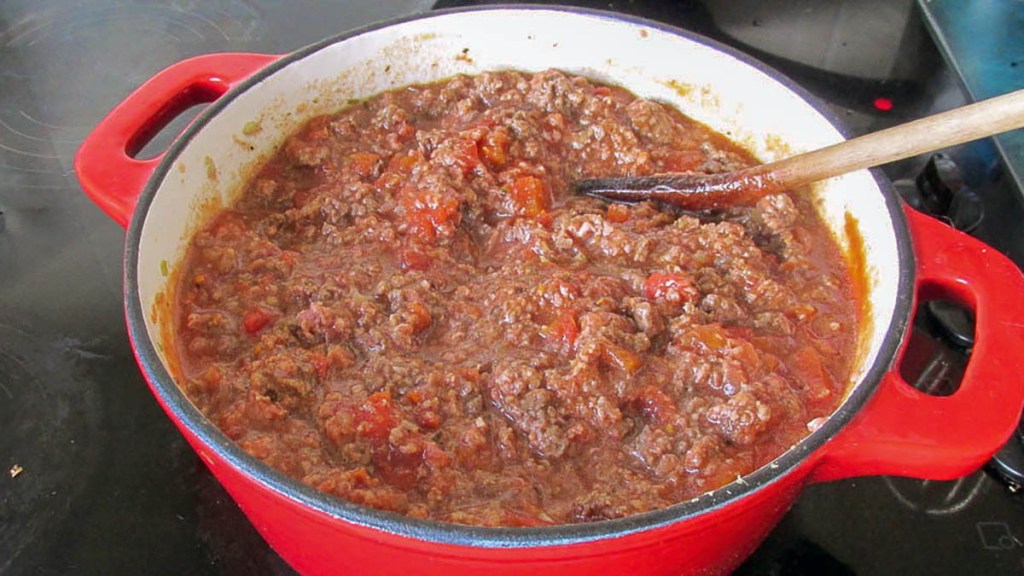
Stir in the chopped tomatoes and puree into the meat.
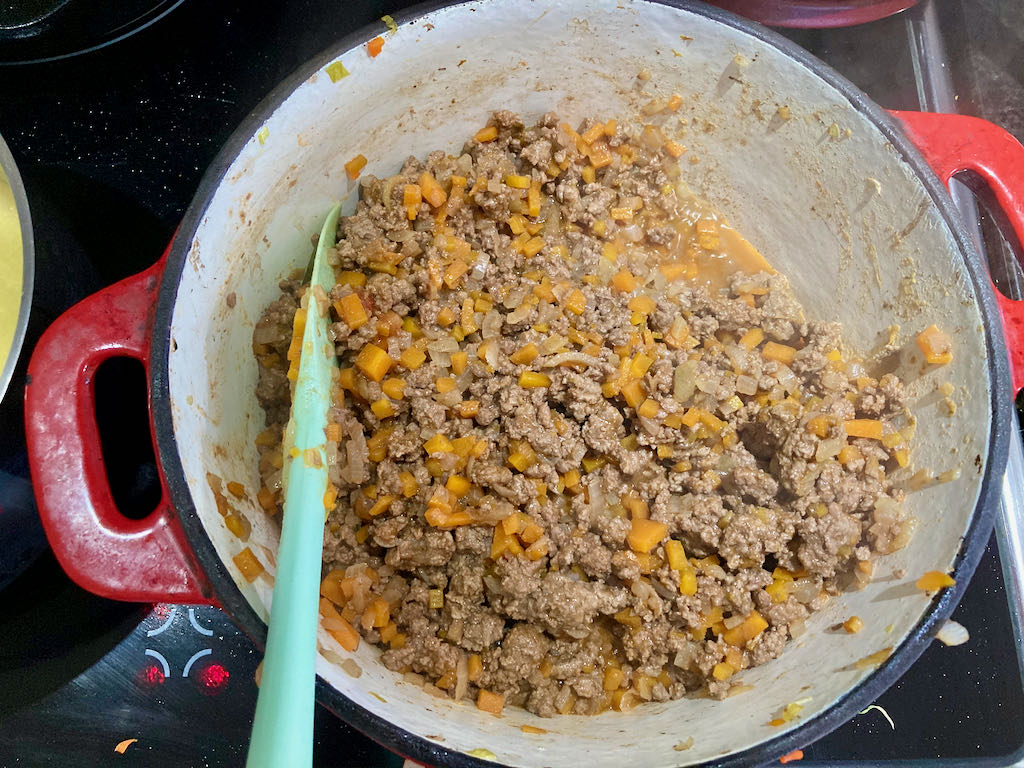
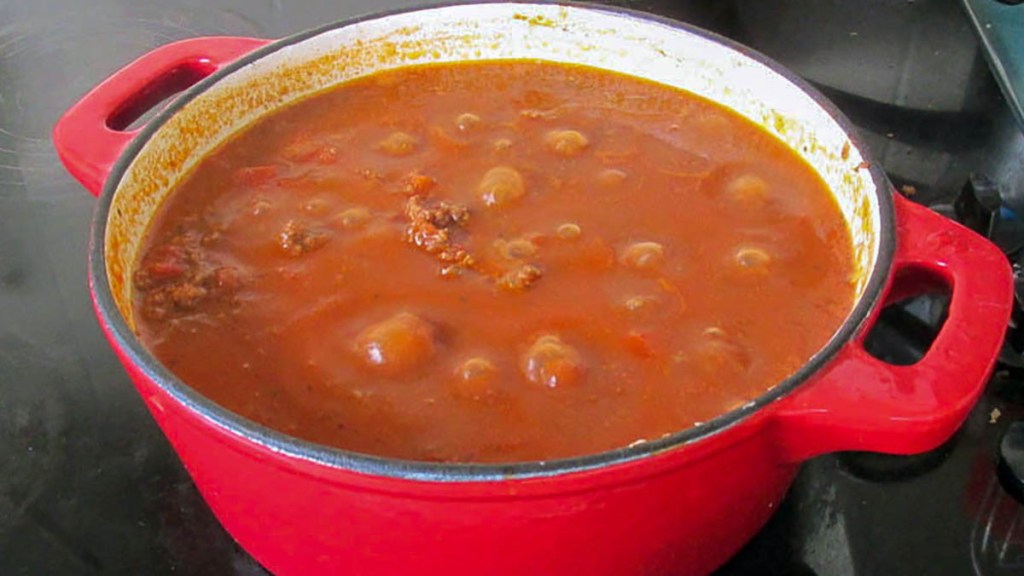
Turn up the heat to bring the liquids up to a boil.


When you have rolling bubbles reduce the heat and keep stirring everything.
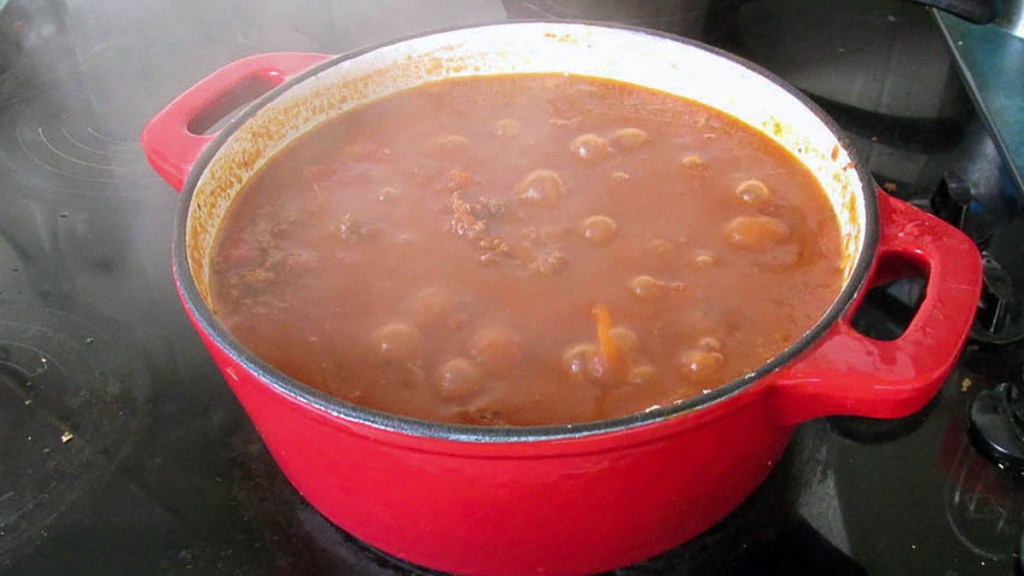
When you get to a gentle simmer, put the lid on your pan and let everything cook down for a least an hour.
Stir the sauce now and then to make sure it doesn’t stick or catch on the bottom.
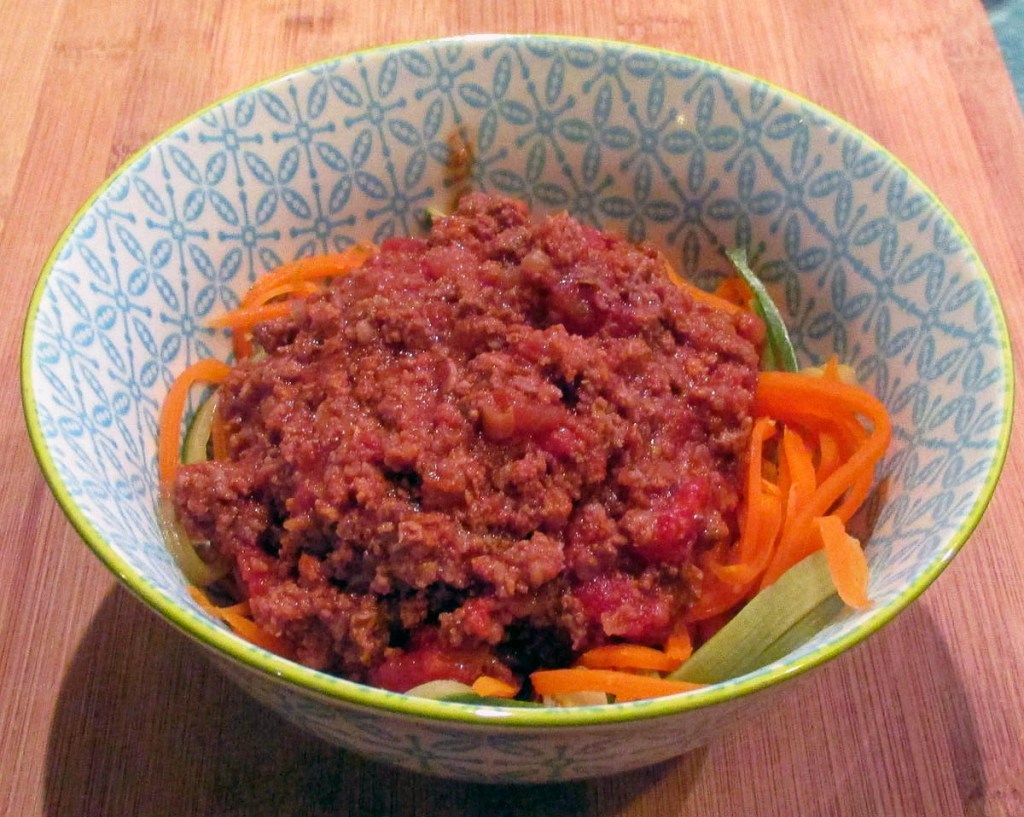
Serve over some coodles with some grated parmesan cheese.
The flavour will develop and be better the day after you have made it, so it will be great for leftovers.
Bolognese
Credit: Cath @ easycleaneats
Ingredients
- 500g beef mince
- 2 tins chopped tomatoes
- 2 onions, finely diced
- 2 garlic cloves, minced
- 2 tbsp. tomato puree
- 2 tbsp. olive oil
- a handful of basil, plus extra for garnish.
- 1 tsp. dried oregano.
Directions
- Put a large stock pot over medium heat.
- Add the olive oil to the pan.
- When the oil is hot, add the onions and stir them.
- Reduce the heat when the onions start to colour.
- Add the garlic, basil and oregano.
- Add the beef mince to the pan with the onions.
- Cook the meat off until it is browned.
- Use a spoon to break the meat up as it cooks.
- Stir in the chopped tomatoes and puree into the meat.
- Turn up the heat to bring the liquids up to a boil.
- When you have rolling bubbles reduce the heat and keep stirring everything.
- When you get to a gentle simmer, put the lid on your pan and let everything cook down for a least an hour.
- Stir the sauce now and then to make sure it doesn’t stick or catch on the bottom.
- Serve over some coodles with some grated parmesan cheese.
Nutrition
Per Serving: 186 calories; 10.7g fat; 9.3g carbohydrates; 12g proteinEquipment
- Knife
- Chopping board
- Stockpot
- Wooden spoon
- Measuring spoons
Nutritional disclaimer
Nutrition information is provided as an estimate based on the ingredients used and available in my area (New Zealand). The nutritional information is here to help you understand the recipe; I use MyFitnessPal to generate my estimates. For more accurate nutritional information, please use a nutritional calculator with the ingredients in your area.