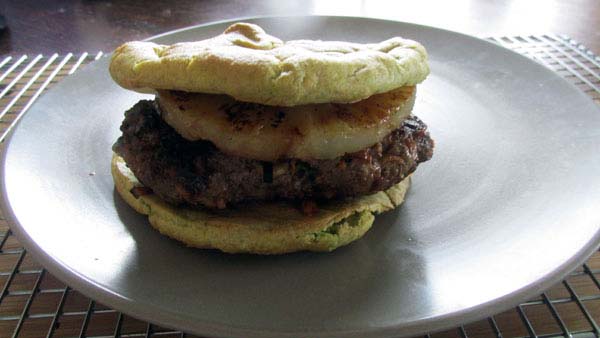
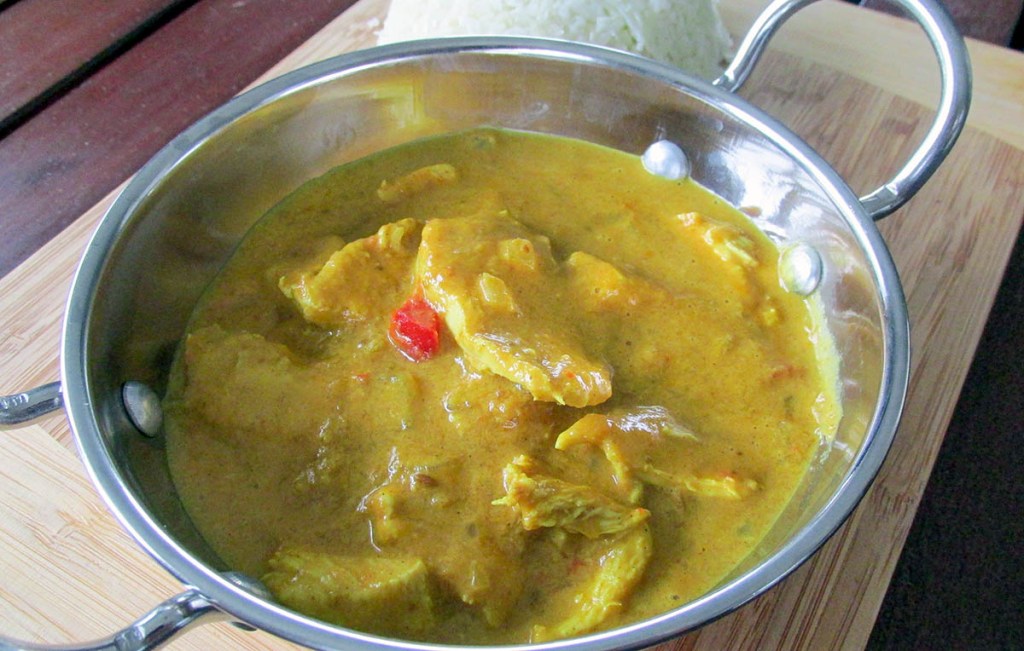
I never had any interest in corned beef when I was younger. I thought of corned beef as something nasty that came in a can and smelled a bit gross. While I still think that the corned beef in a can is gross, I do like a nice chunk of corned beef cooked just right. As with all things, learning how to do something right is a key to success; cooking the meat right is no exception.
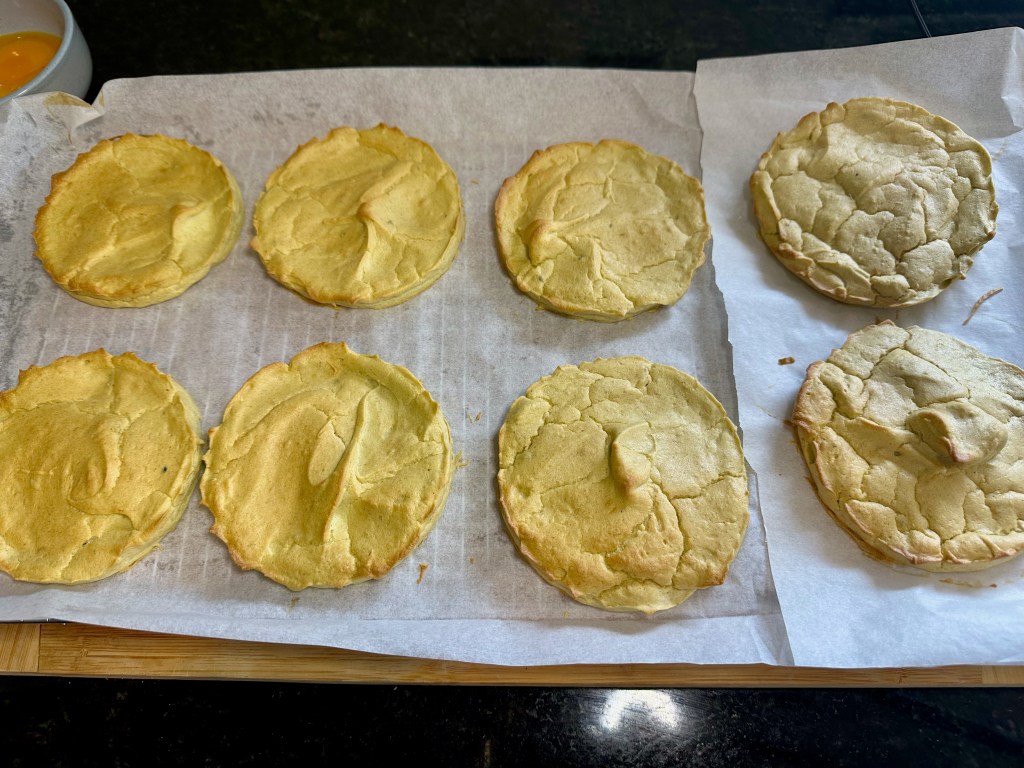
A good crust
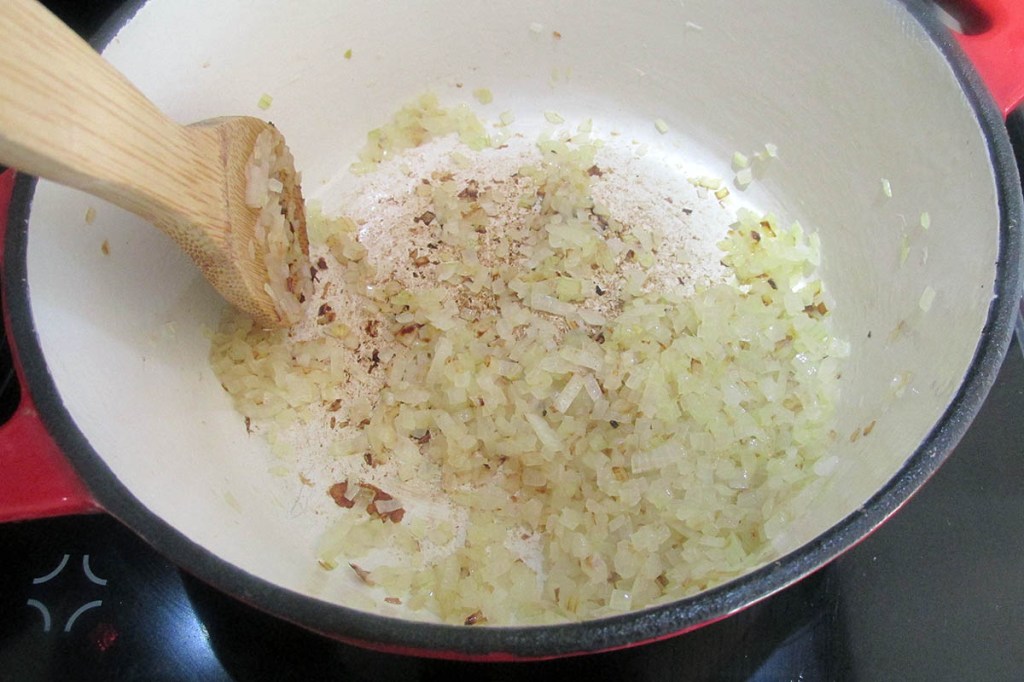
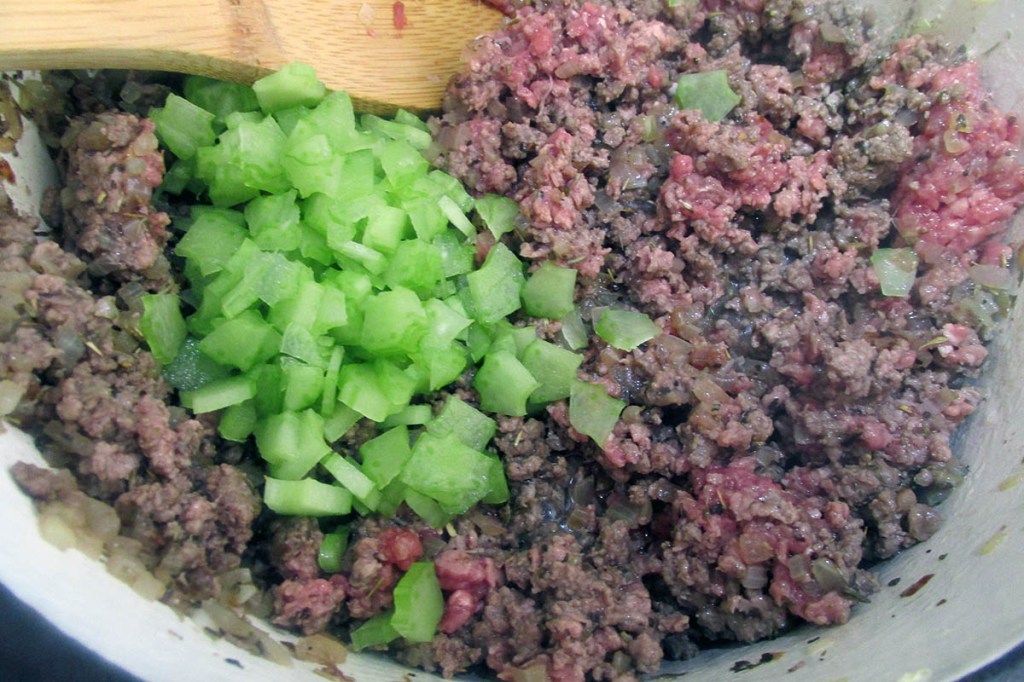
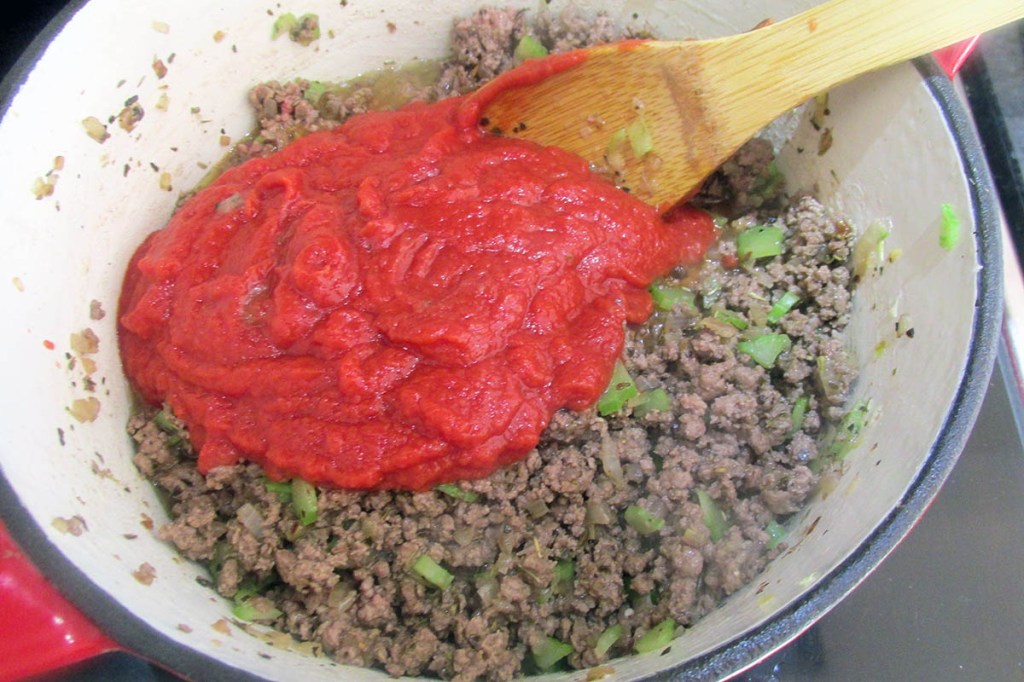
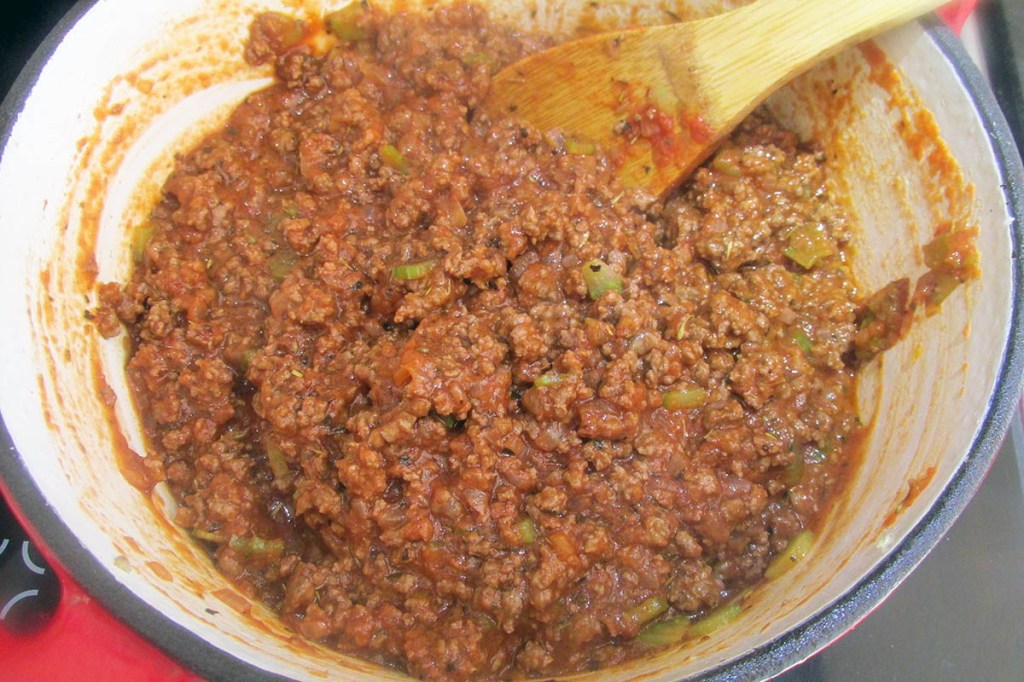
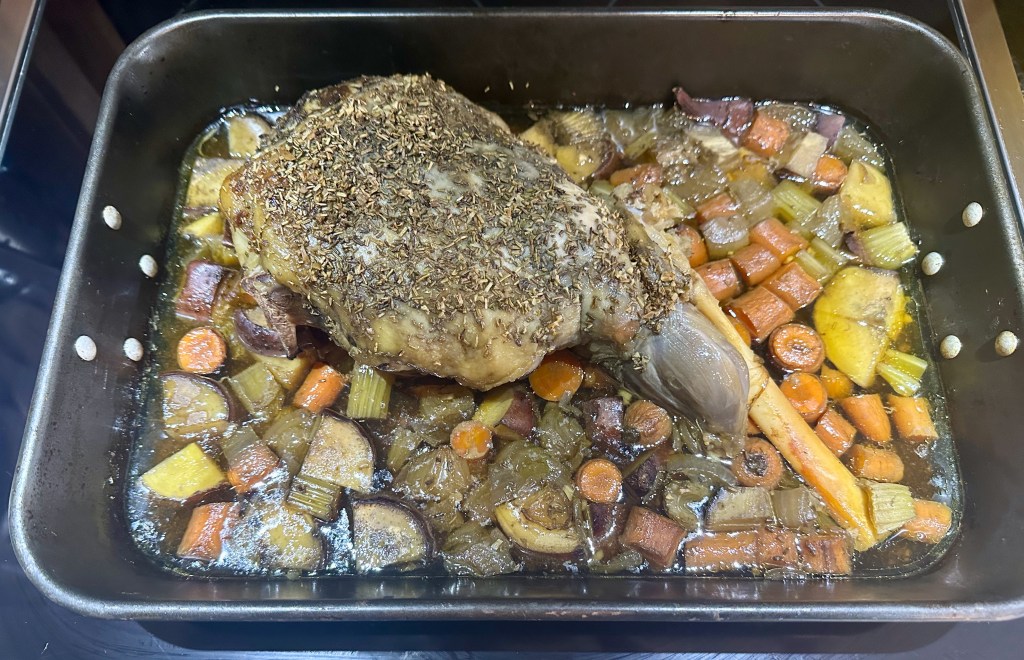
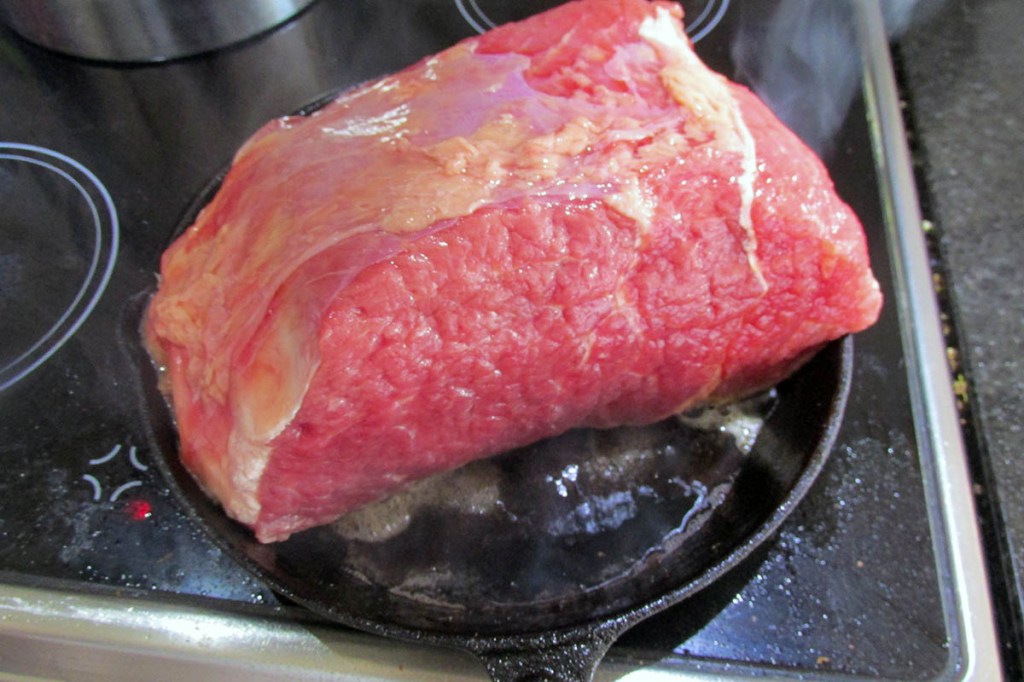
The first few times I made corned beef, I simply plopped the meat in the pan with some water and boiled it. Boring, I know. I decided to see what would happen if I seared the meat before boiling. The difference in flavour was amazing. I could not believe how much better the corned beef was. I know I shouldn’t be surprised that searing meat makes such a difference, but I was. The simple step adds a depth of flavour to any dish and brings out the best in your meal.
Instant Pot vs Cooker top
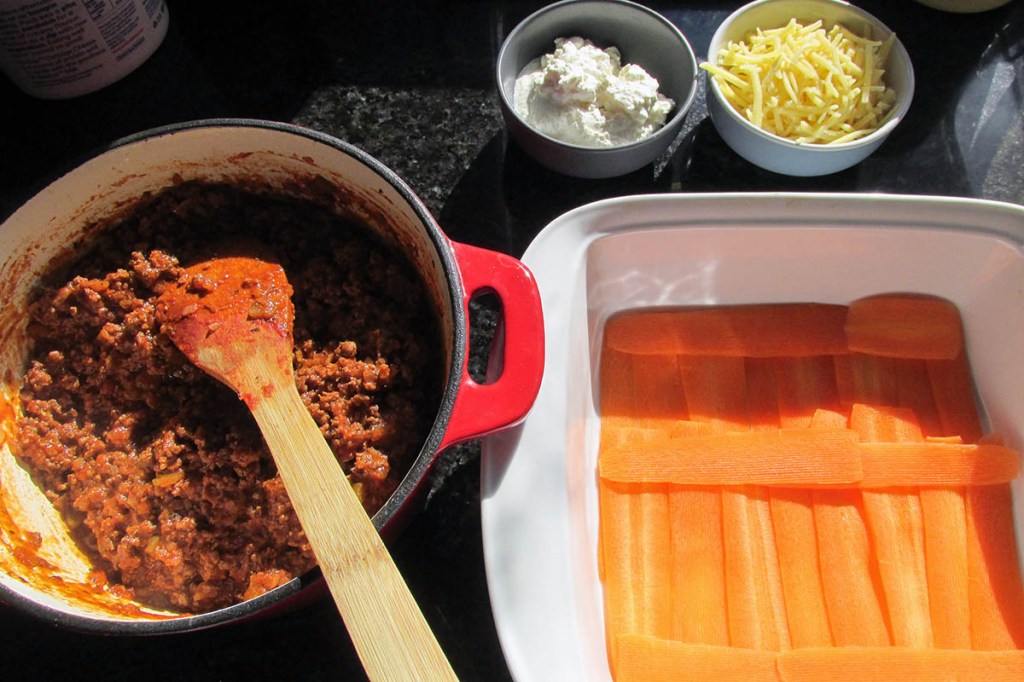
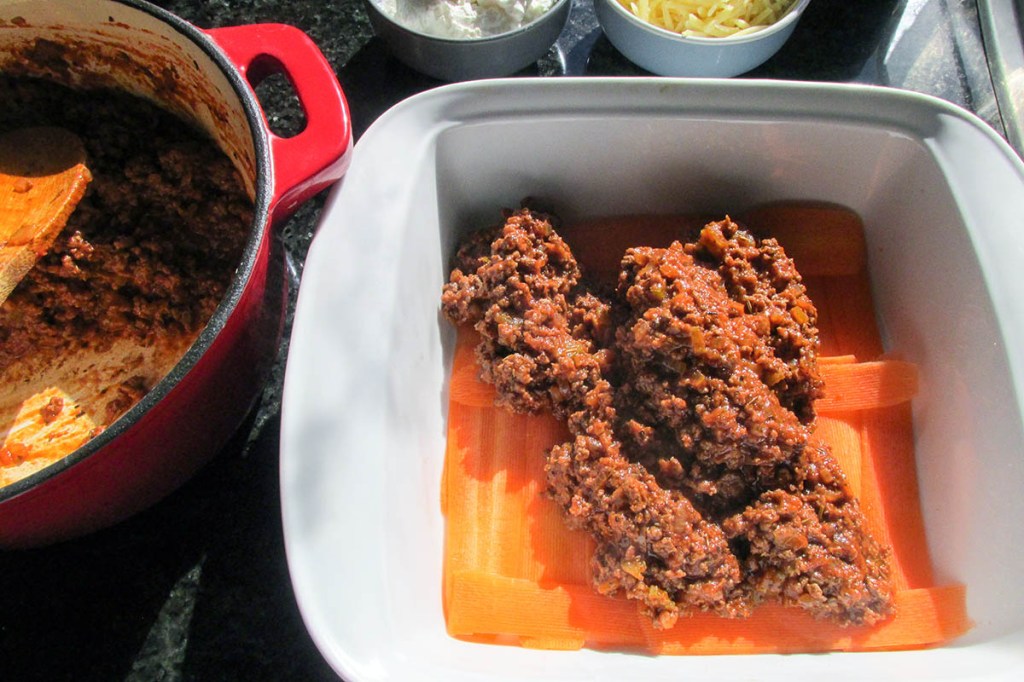
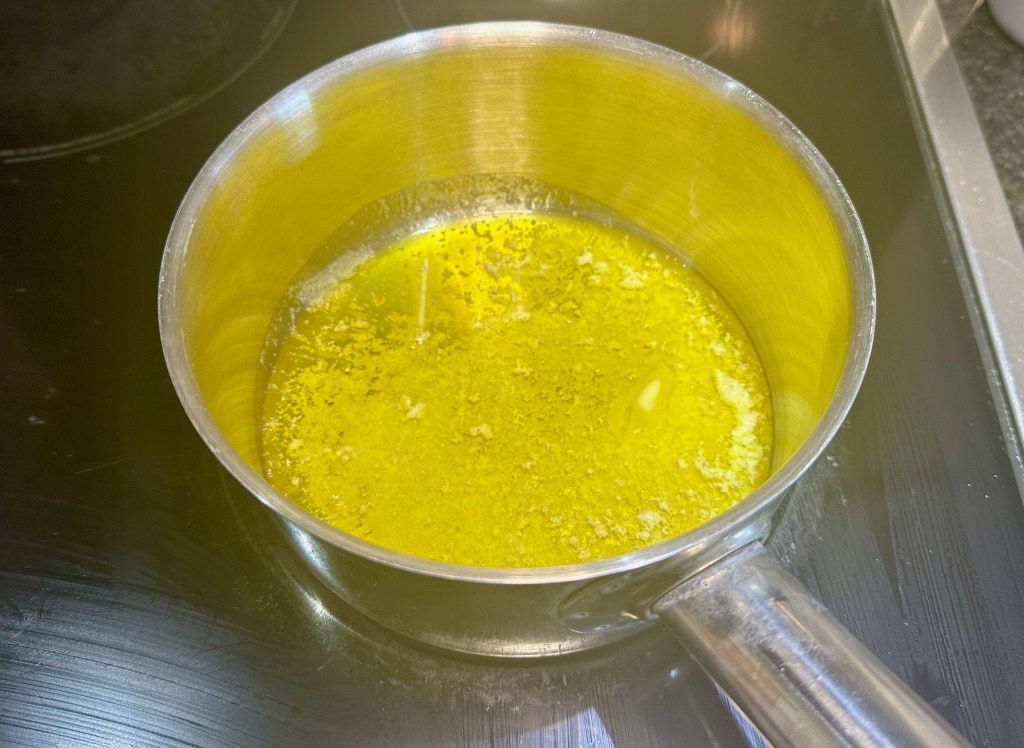
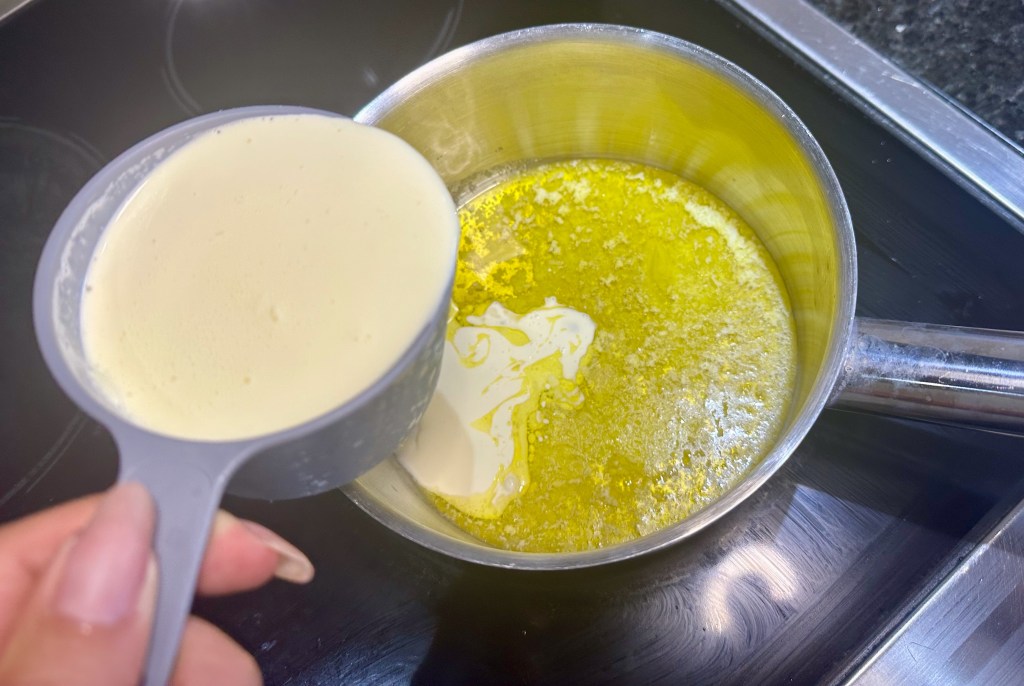
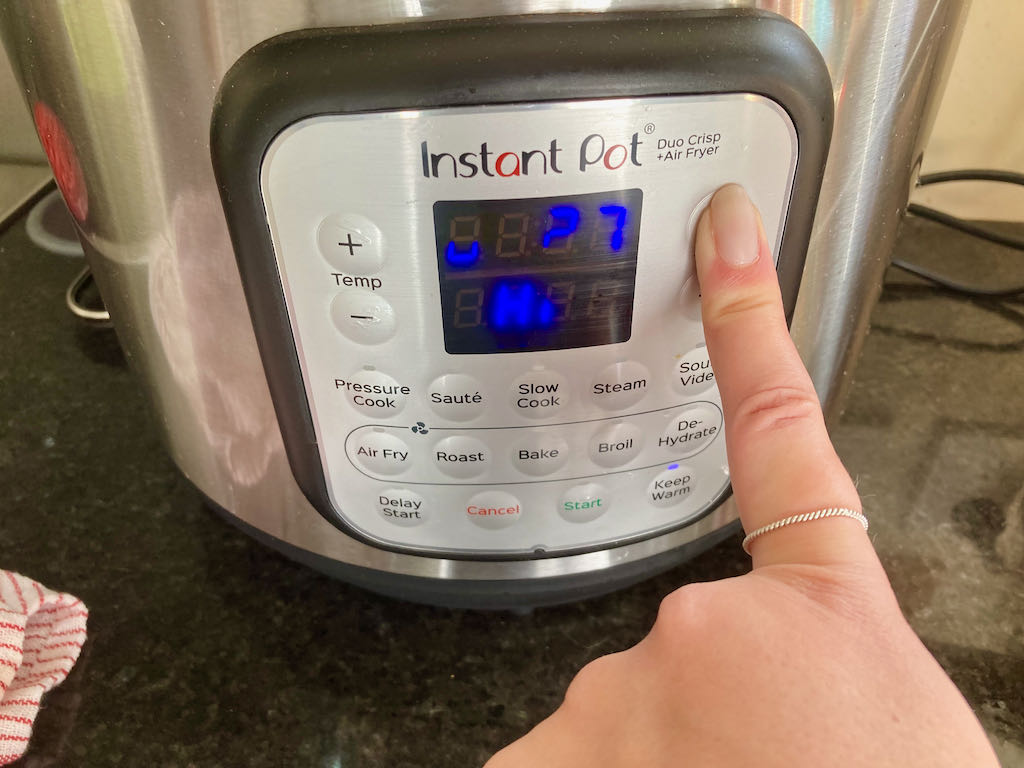
A few years ago, I decided to buy an Instant Pot when my old slow cooker died. It was a game-changer for slow cooking, but it changed my life thanks to the pressure cooker function. I remember the 1980s pressure cooker in my Nan’s kitchen with the valve that sounded like a jackhammer when it was time to release the pressure, and it scared the crap out of me. Thankfully, the Instant Pot pressure cooker setting is easy to use and has a beep to let you know when it is ready to release the pressure, not a jackhammer. When it comes to making corned beef now, I always break out the Instant Pot, mainly because it is so easy to use and I get perfectly cooked meat every time. On the rare occasions when my Instant Pot is in use and my corned beef is cooking on the stove, I have found that the cast iron pot is the best for simmering the meat. Whatever option you are going with, just make sure that you have enough water to completely cover the meat to make sure it ends up tender and juicy.
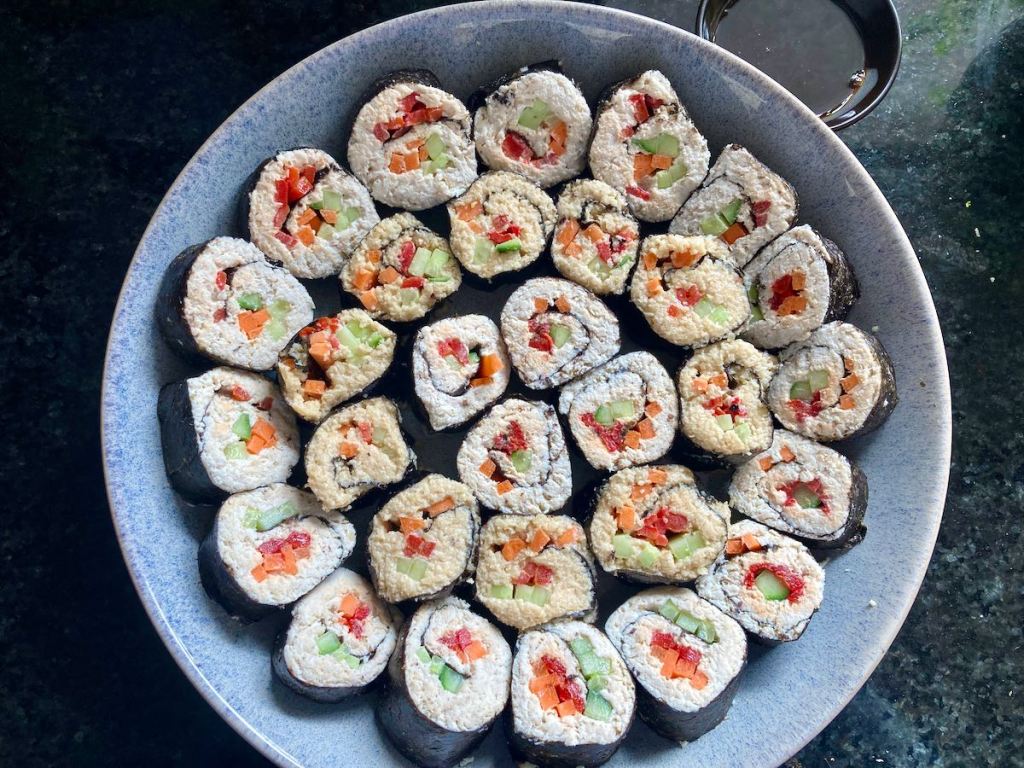
Corned beef

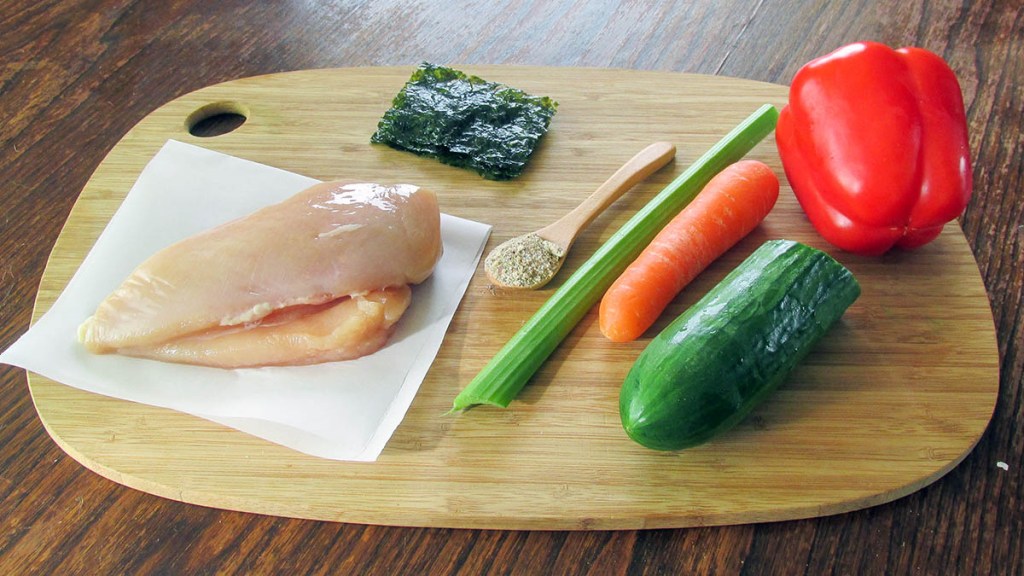
Ingredients
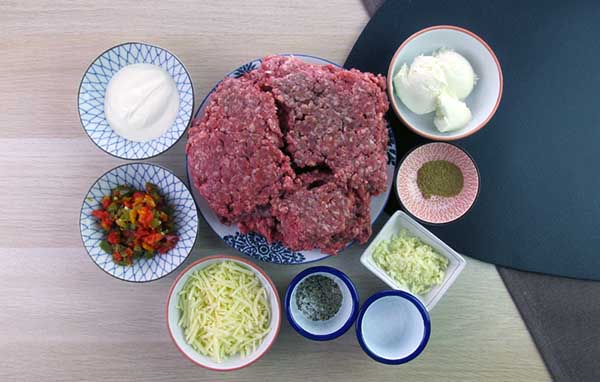
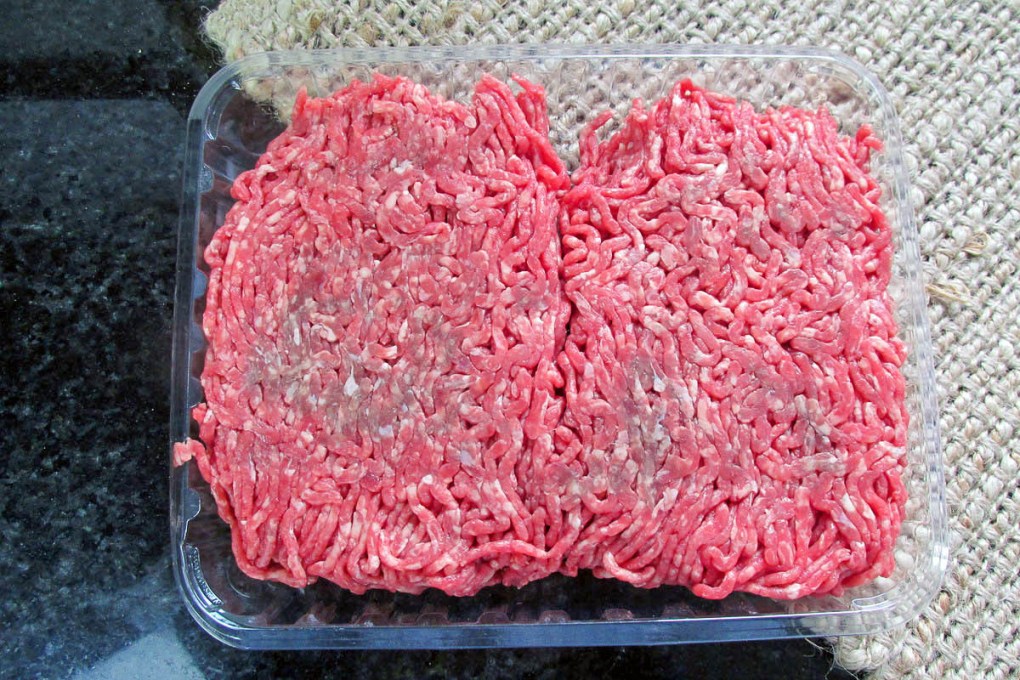
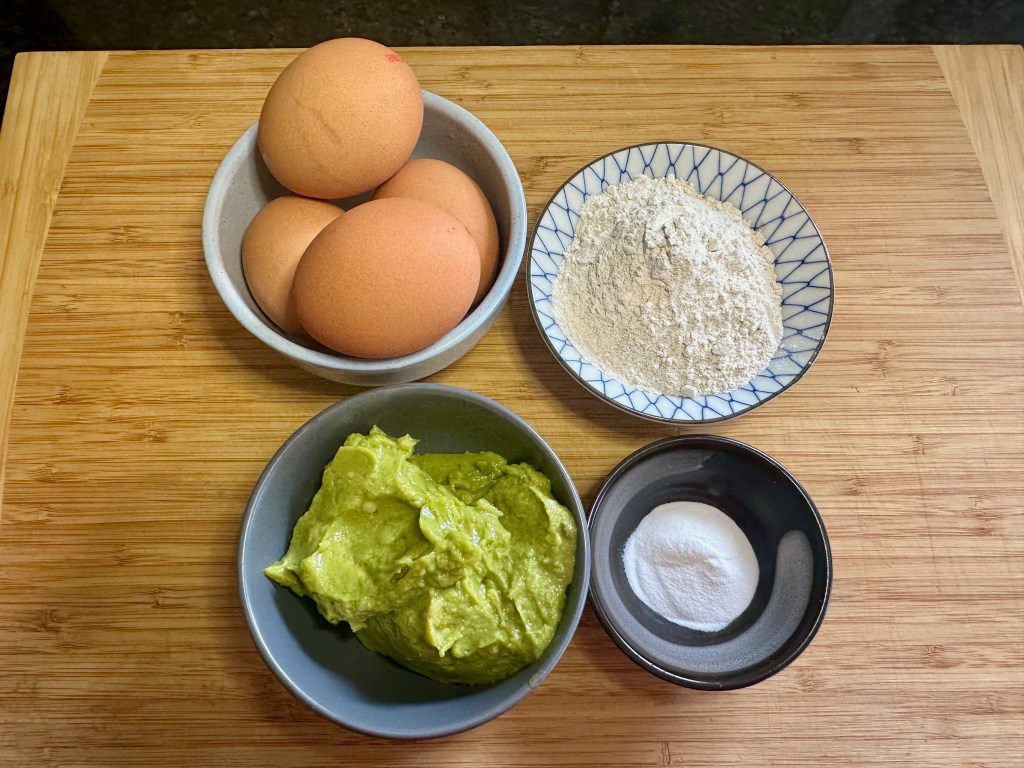
- 2kg Corned beef
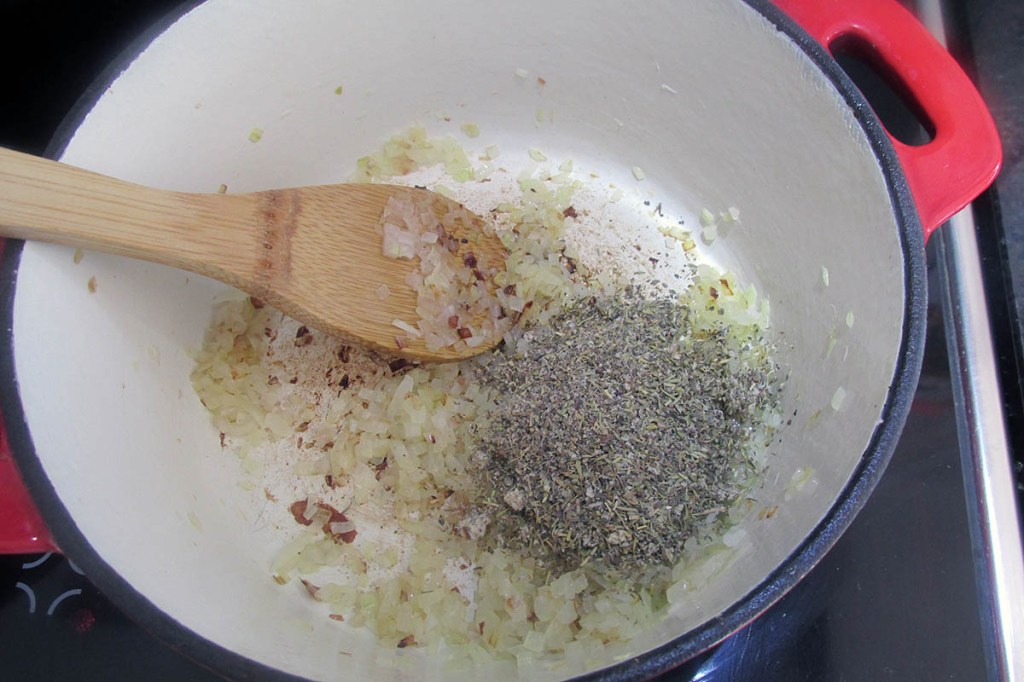
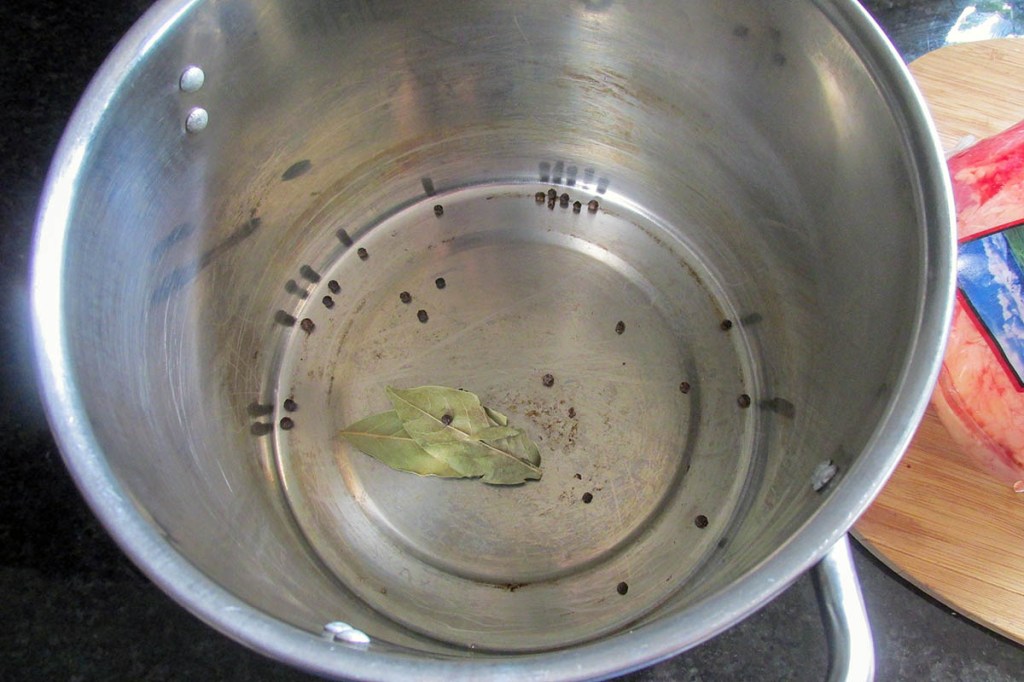
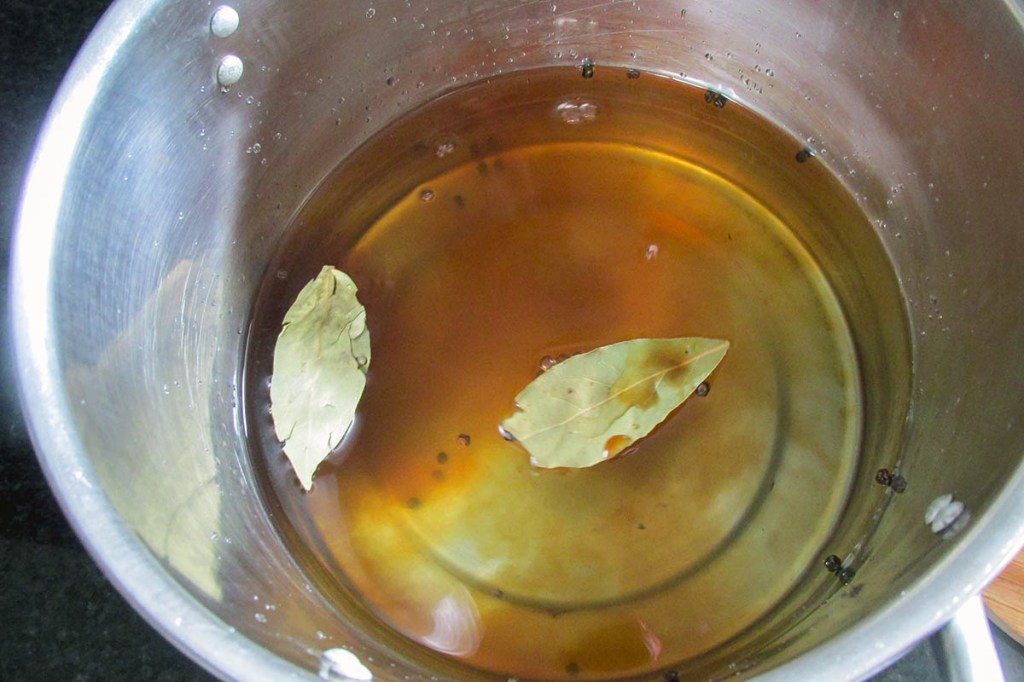
- 2 bag leaves
- 12 peppercorns
- 2 tbsp coconut aminos
Instruction
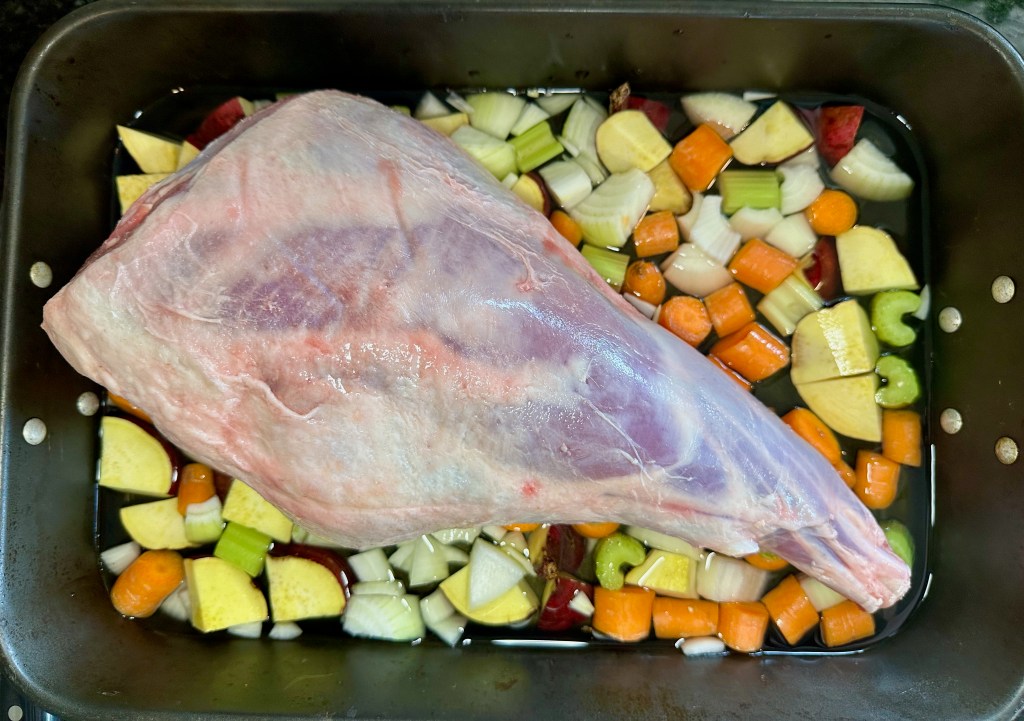
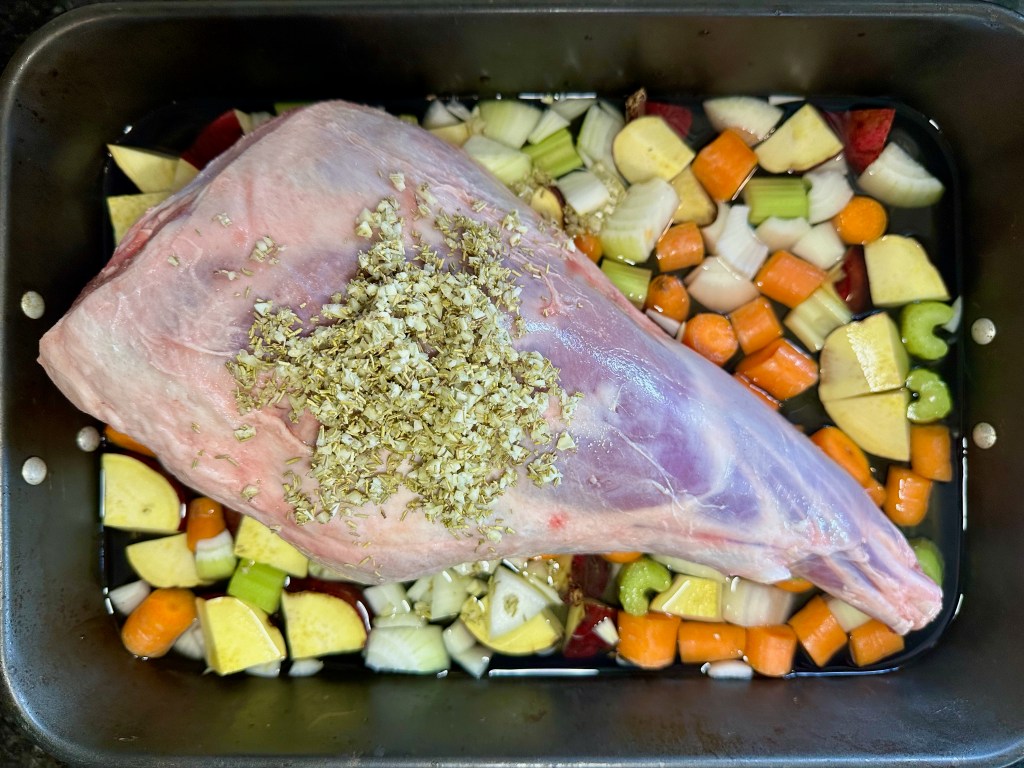
Preheat a heavy-bottomed or cast-iron frying pan.
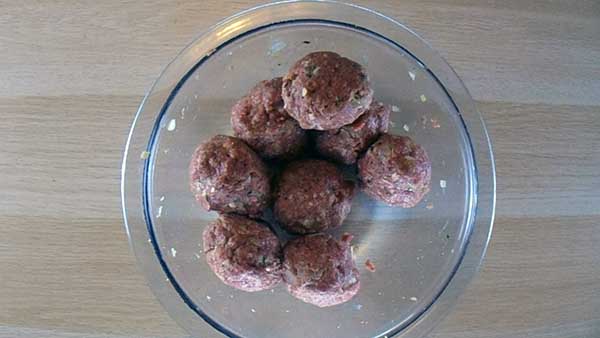
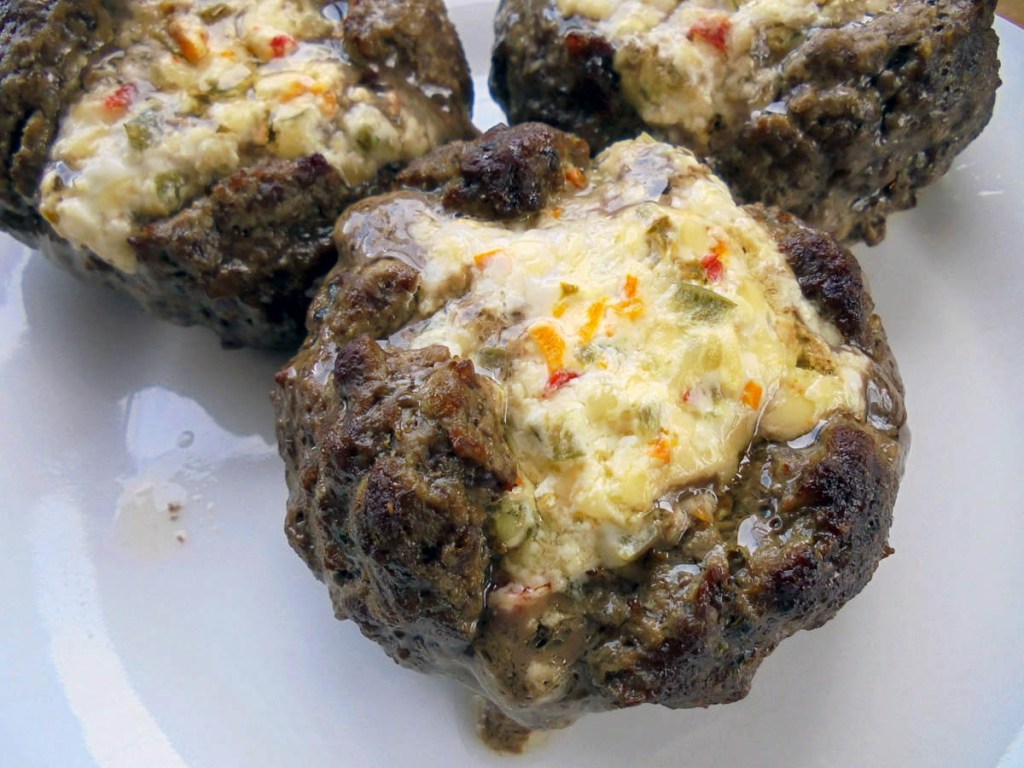
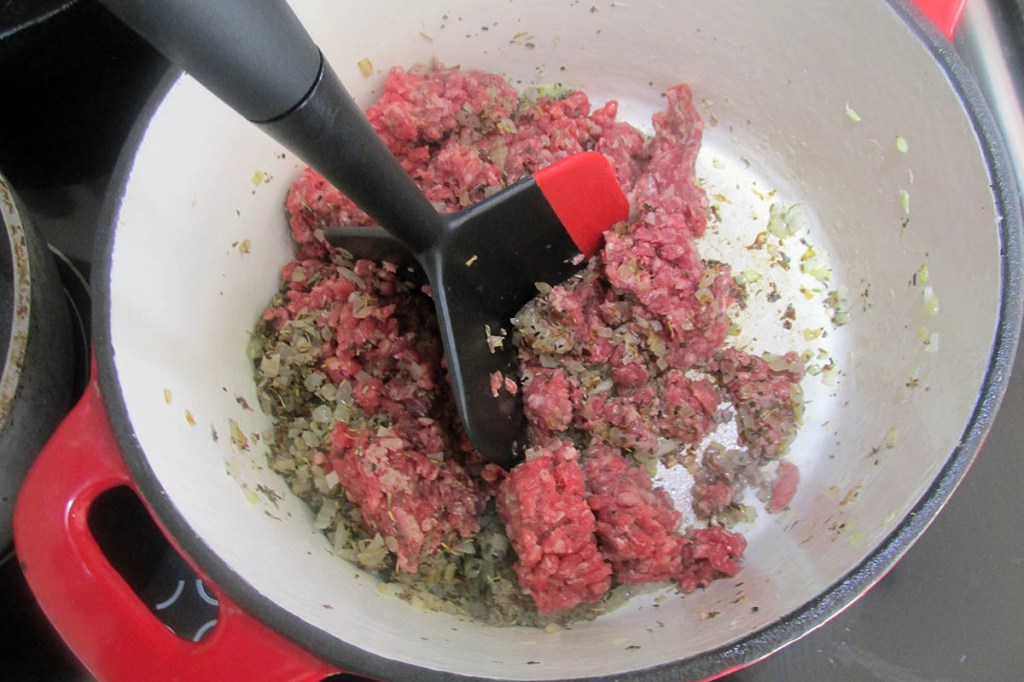
Sear all sides of the beef to create a golden crust.

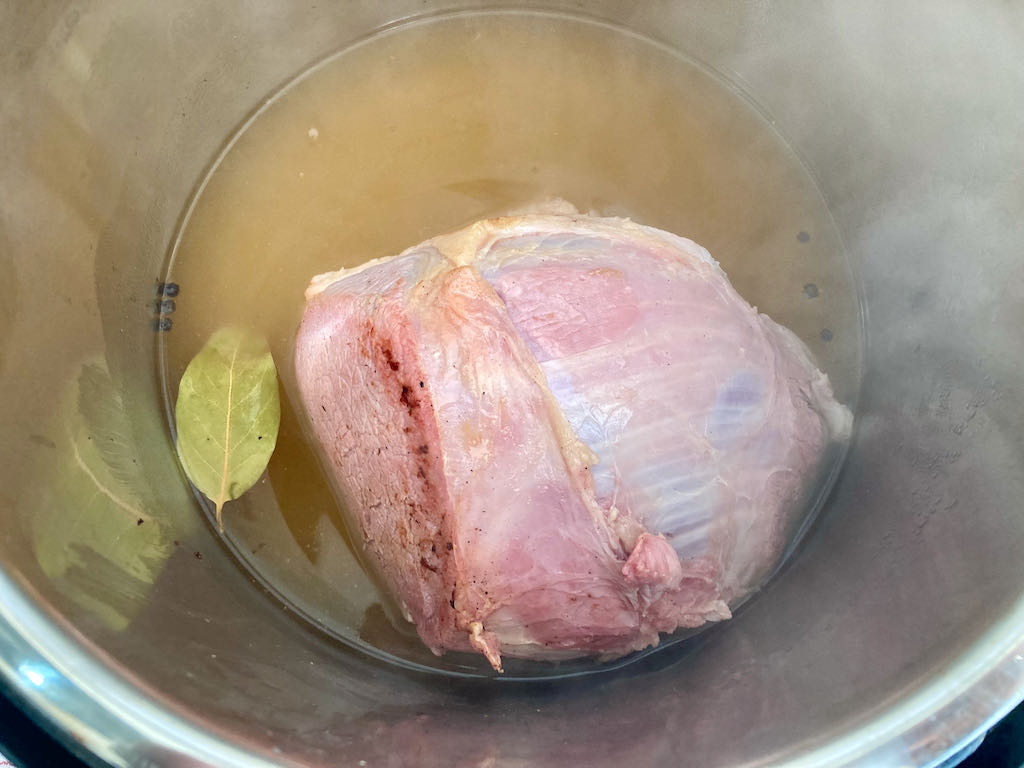
If using an Instant Pot, place all the ingredients in the pot with water up to the minimum water line.
Set the Instant Pot to cook on the pressure cooking setting, on high for 90 minutes.
Allow the pressure to release naturally.

Alternatively
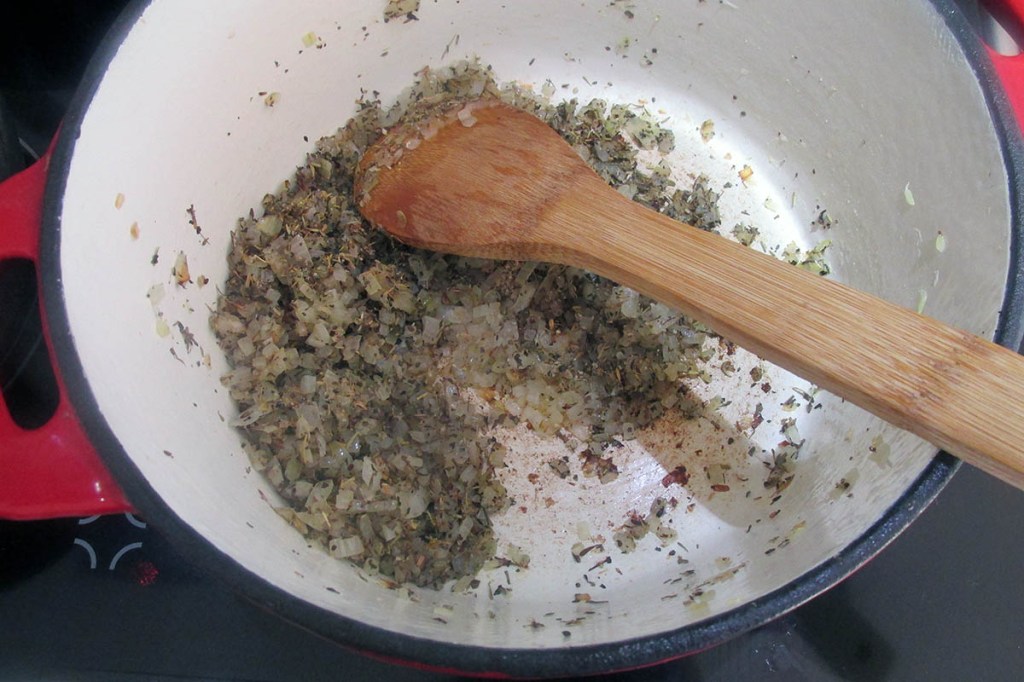
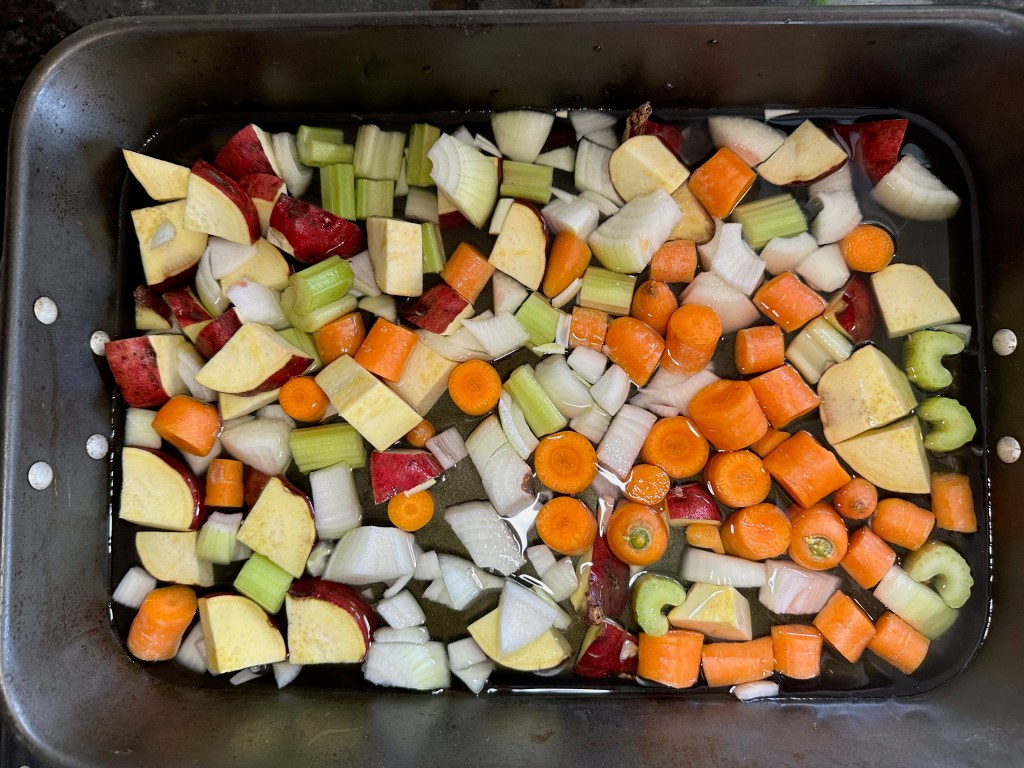
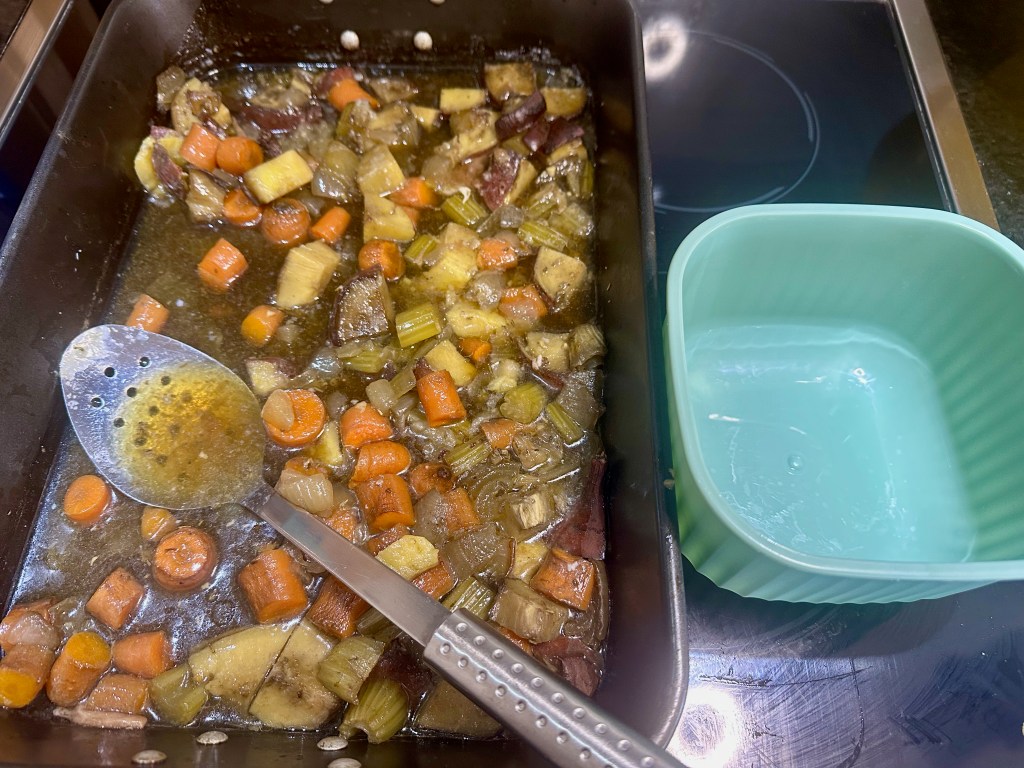
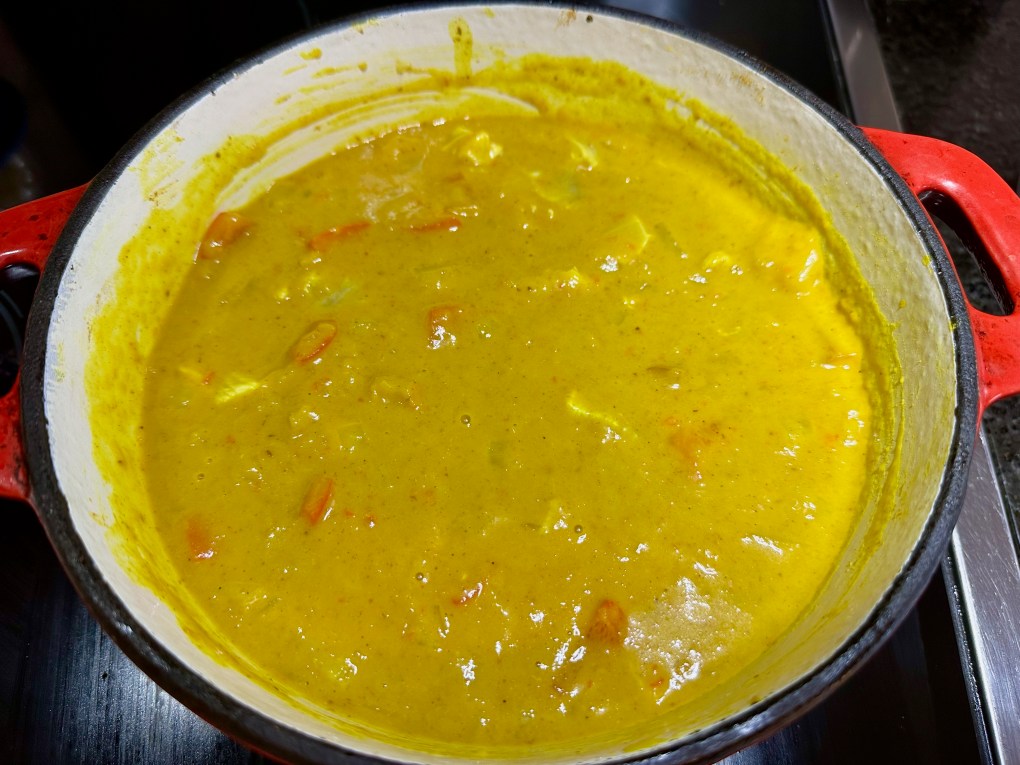
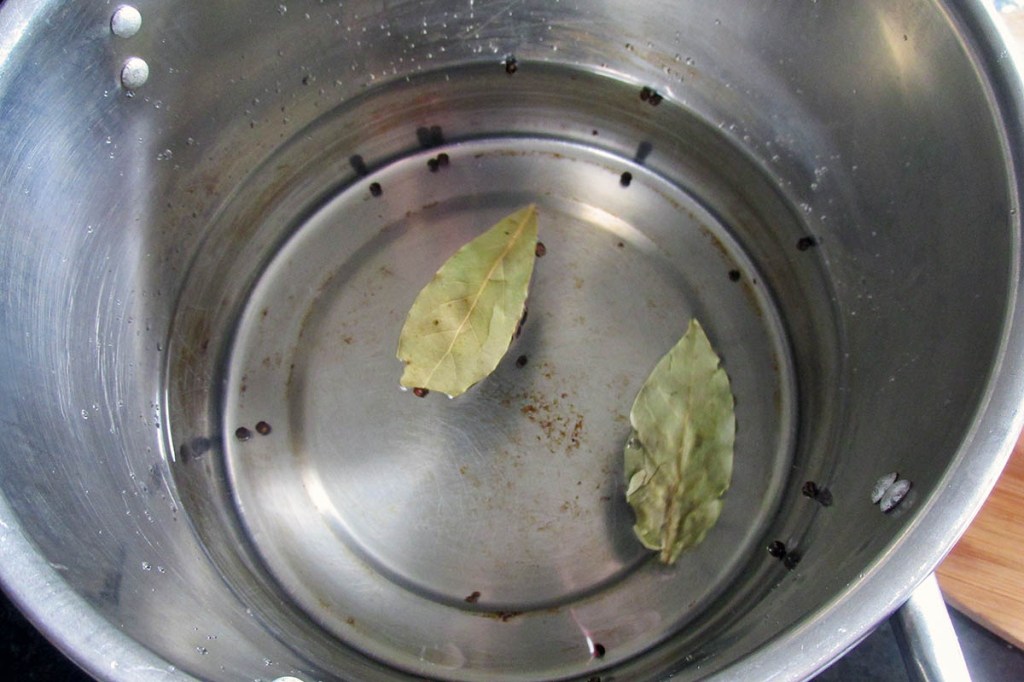
Place the peppercorns, bay leaves, coconut aminos and seared meat in a large stockpot.
Cover the meat with boiling water.
Bring the water to a rolling boil.
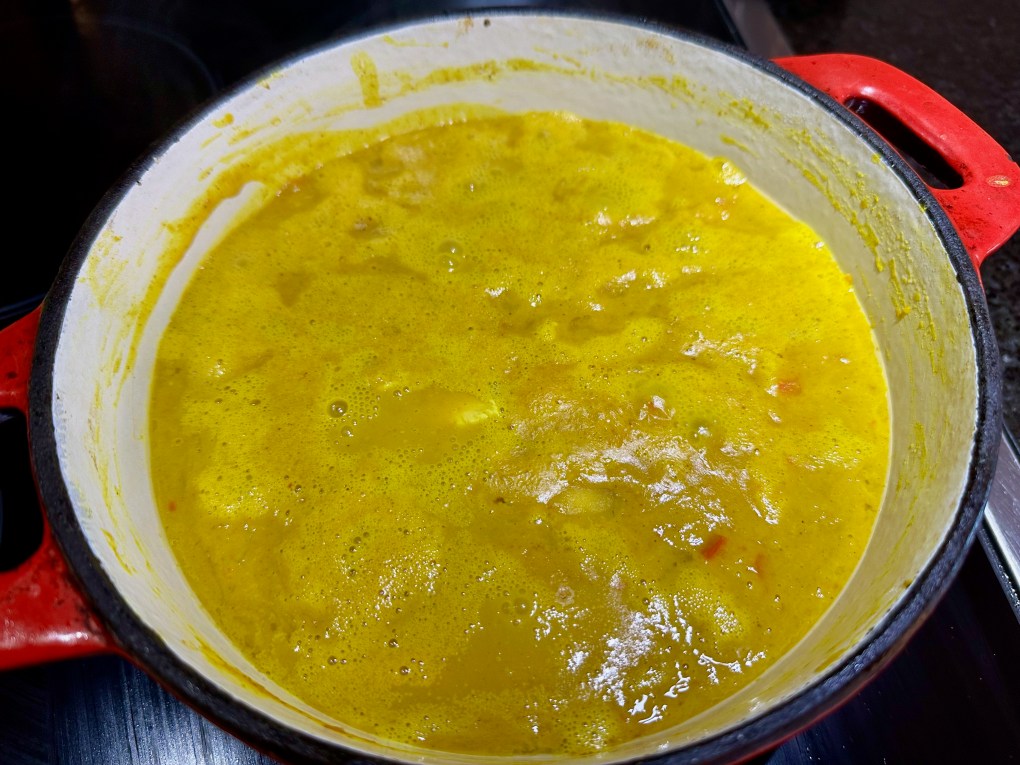
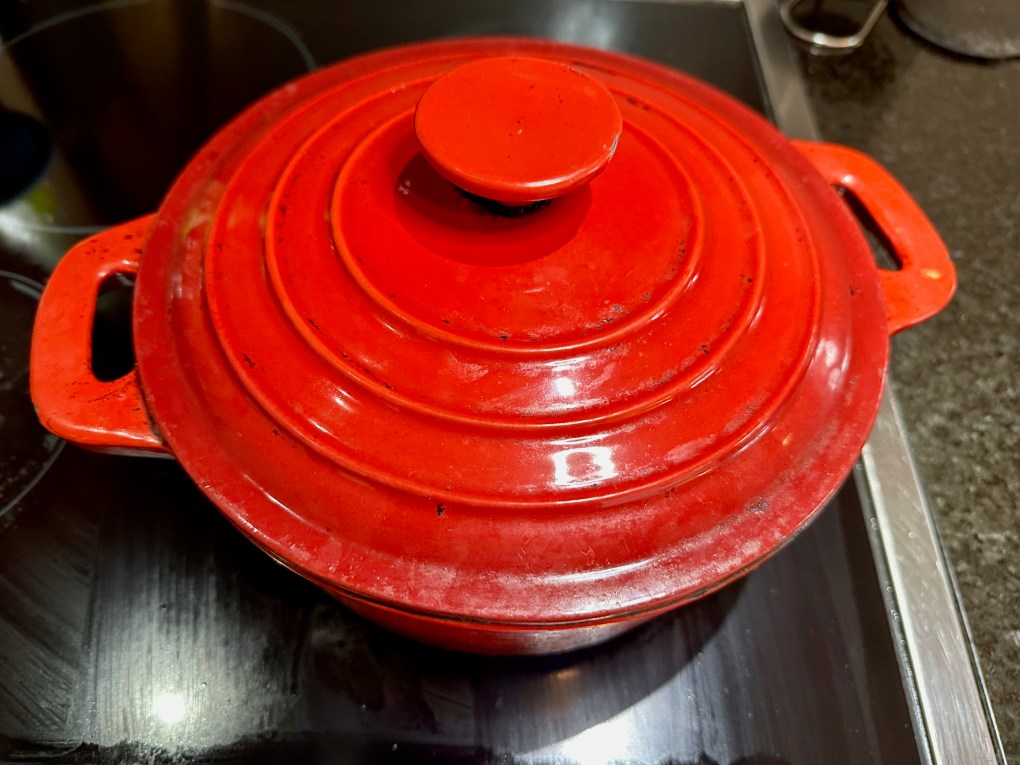
Reduce the heat to allow the meat to simmer, and cover the pan gently.
Simmer the meat for 40 minutes per 500g of meat.
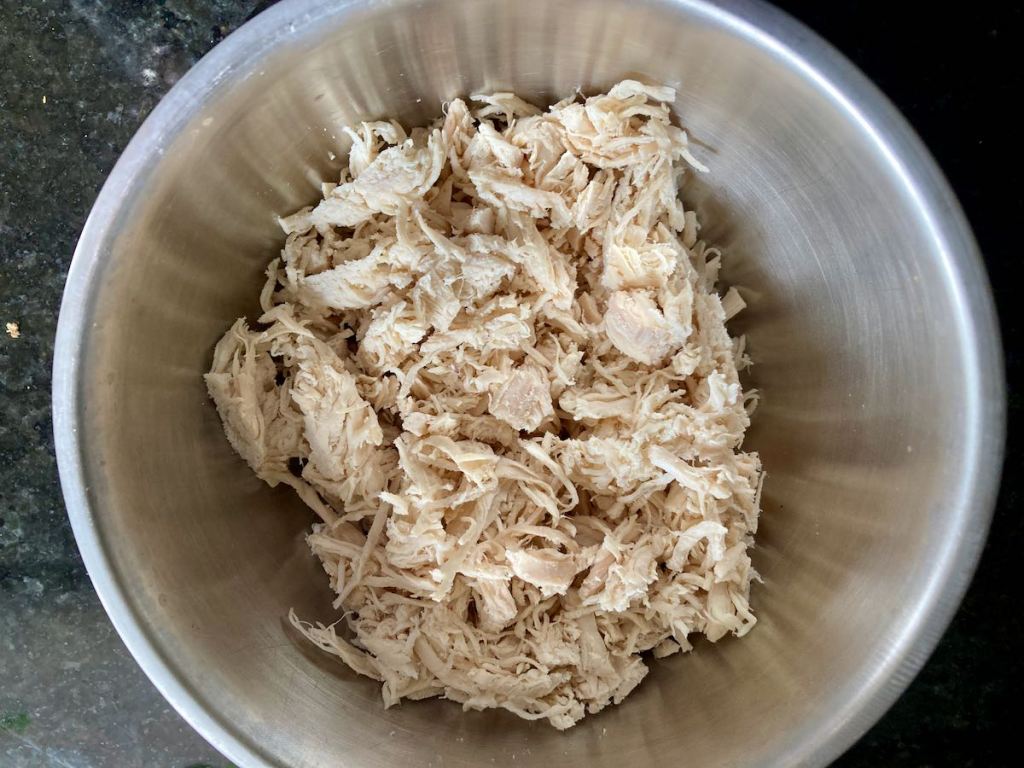
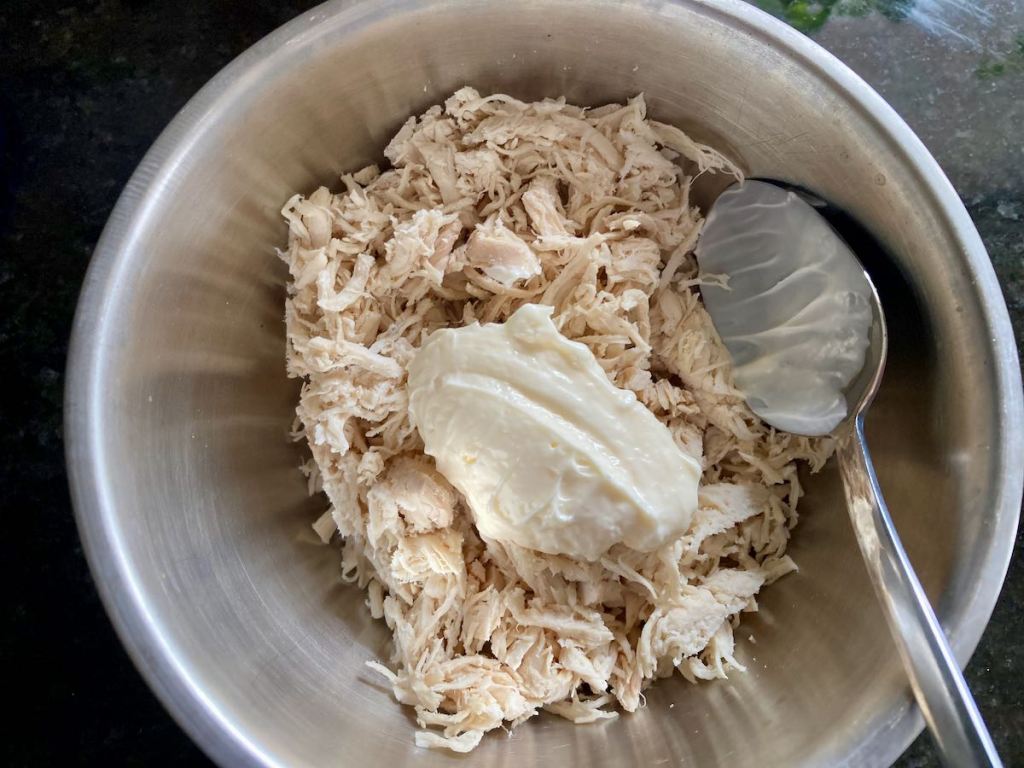
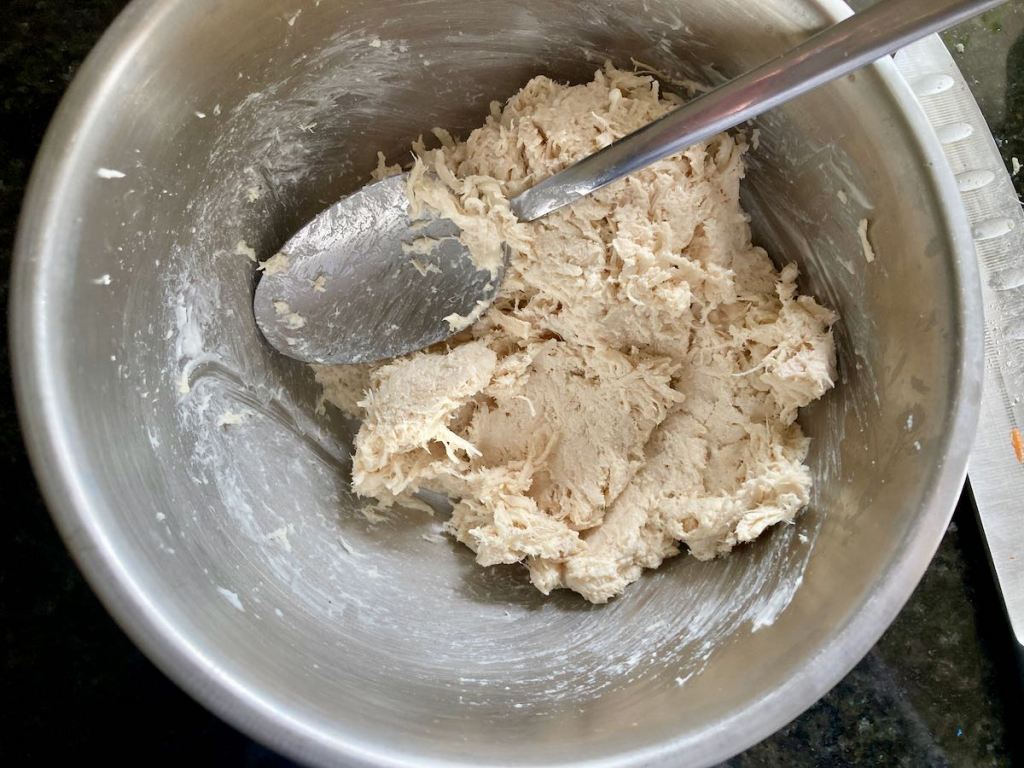
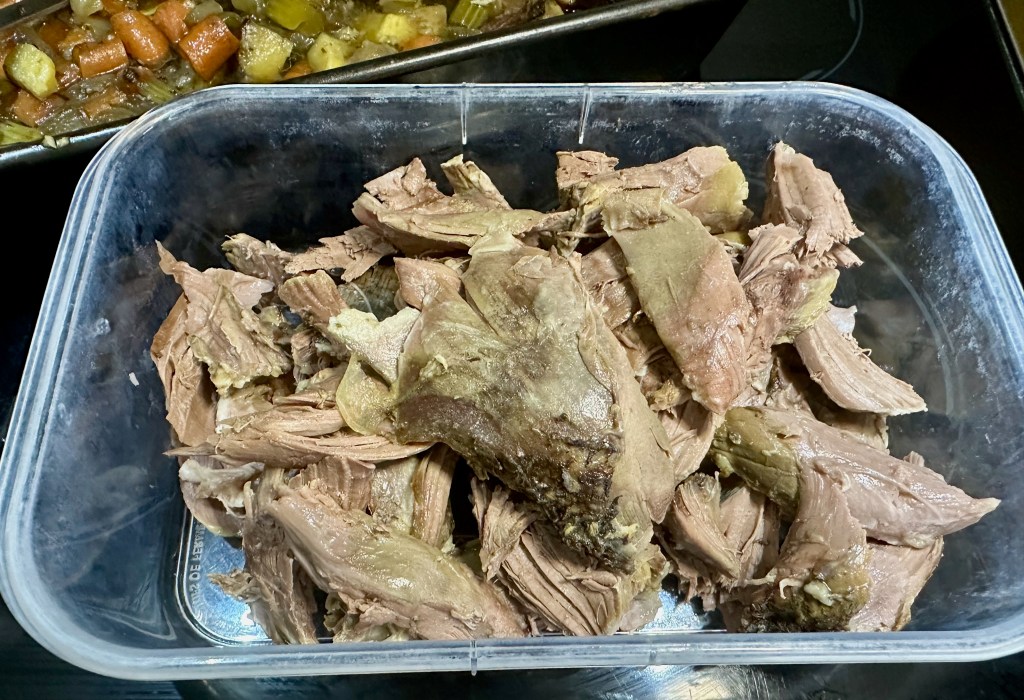
Once the meat is cooked, remove it from the pan.
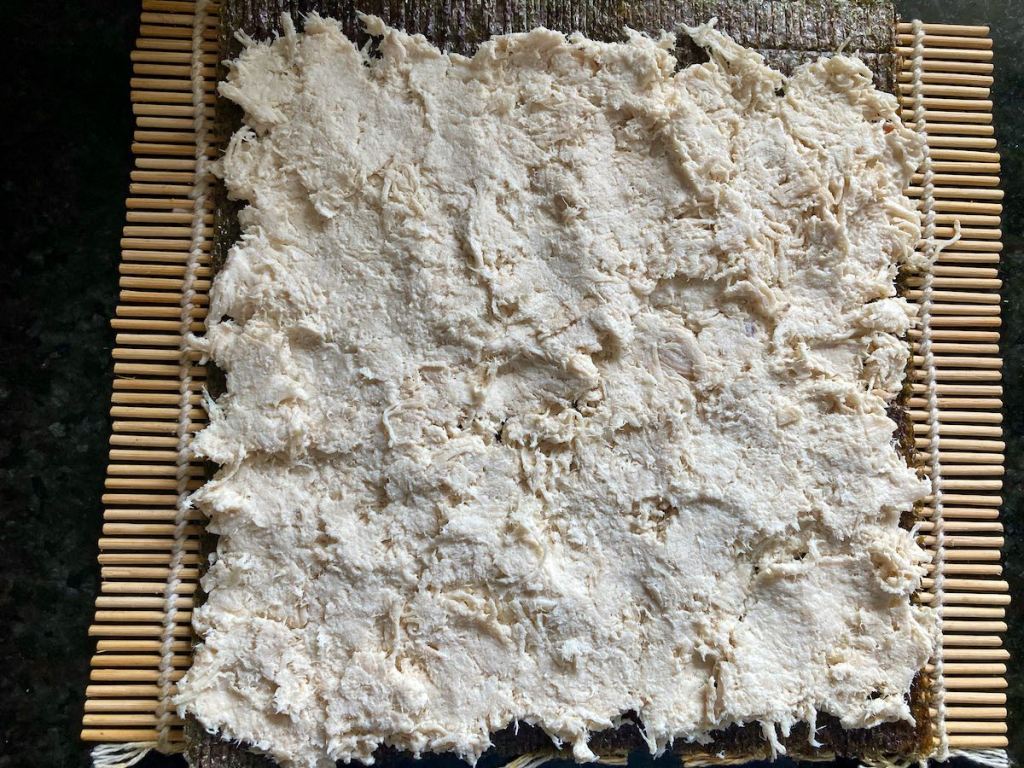
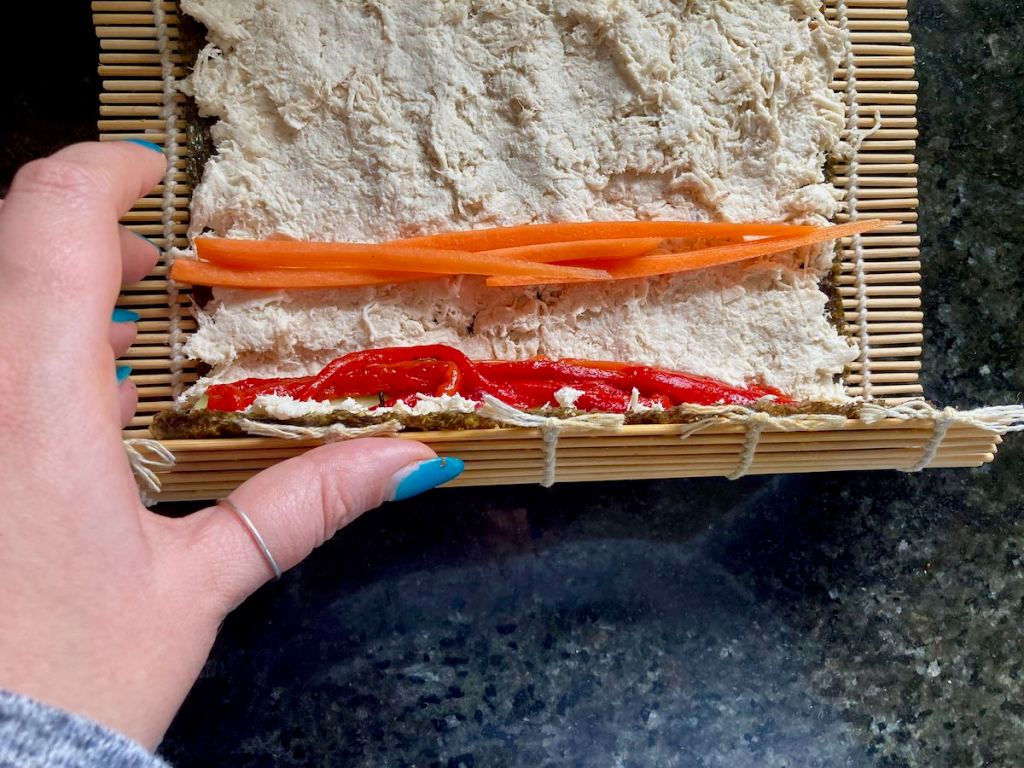
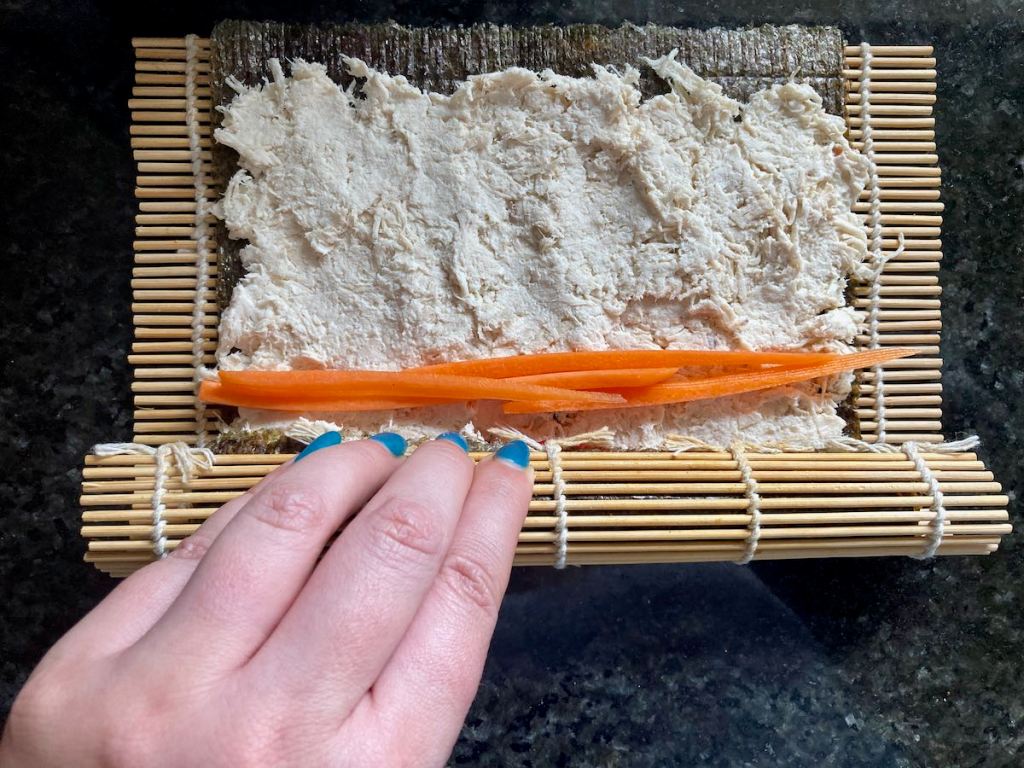
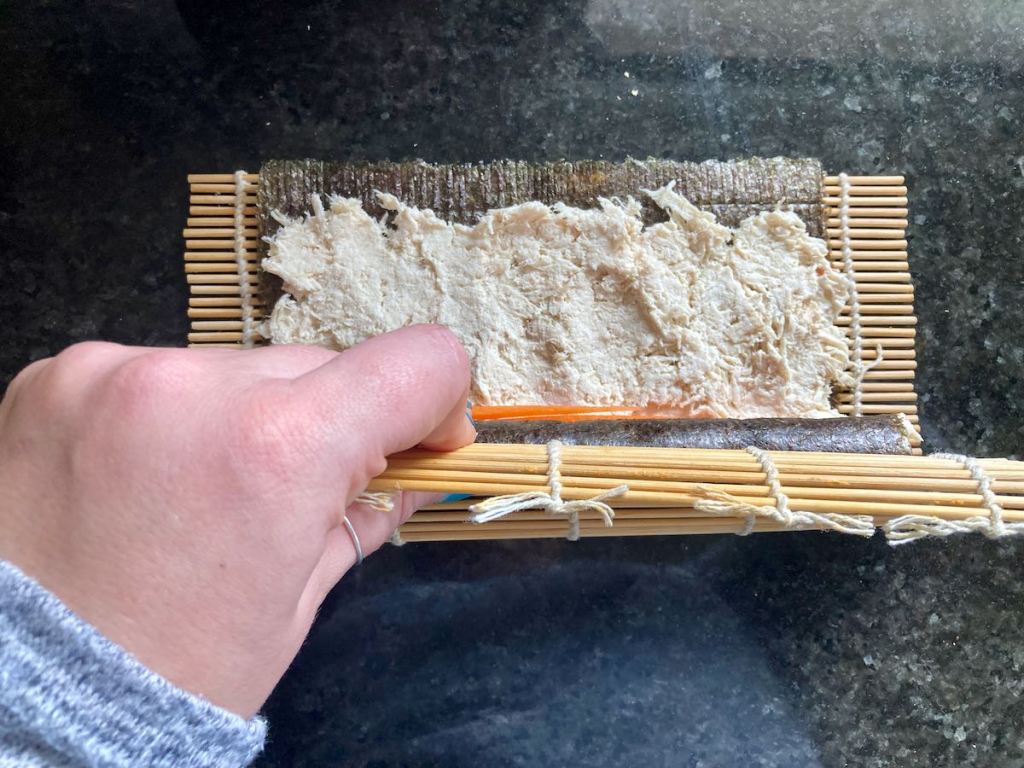
Let it rest for 15 minutes before shredding.
Corned beef
“Easy
Credit: Cath @ easycleaneats
Ingredients
- 2kg Corned beef
- 2 bay leaves
- 12 peppercorns
- 2 tbsp coconut aminos
Directions
- Preheat a heavy bottom or cast won frying pan.
- Sear all sides of the beef to create a golden crust.
- If using an Instant pot place all of the ingredients in the pot with water up to the no higher than the minimum water line.
- Set the Instant pot to cook on the pressure cooking setting, on high for 90 minutes.
- Allow the pressure to release naturally.
- Alternatively
- Place the peppercorns, bay leaves, coconut aminos and seared meat in a large stockpot.
- Cover the meat with boiling water.
- Bring the water to a rolling boil.
- Reduce the heat to allow the meat to gently simmer, cover the pan.
- Simmer the meat for 40 mins per 500g of meat.
- Once the meat is cooked, remove it from the pan.
- Let it rest for 15 minutes before shredding.
Nutrition
Per Serving:196 calories;5 g fat; 2 g carbohydrates; 35 g proteinEquipment
- Cast iron frying pan
- Tongs
- Stockpot with a lid
Nutritional disclaimer
Nutrition information is provided as an estimate based on the ingredients used and available in my area (New Zealand). The nutritional information is here to help you understand the recipe; I use MyFitnessPal to generate my estimates. For more accurate nutritional information, please use a nutritional calculator with the ingredients in your area.